The second part of my in-depth look at how I made my Crow Soldier costume. Although, it may actually be a Raven Soldier costume, depending on translation... As I refer to the main villains as the Monster Raven, and Prince of Ravens respectively, but for some reason I call these guys crows? Except when they are in bird form, in which I call them ravens...? I dunno... XD
So, without further ado, let's journey back approximately 3 months to when I started this project. :D

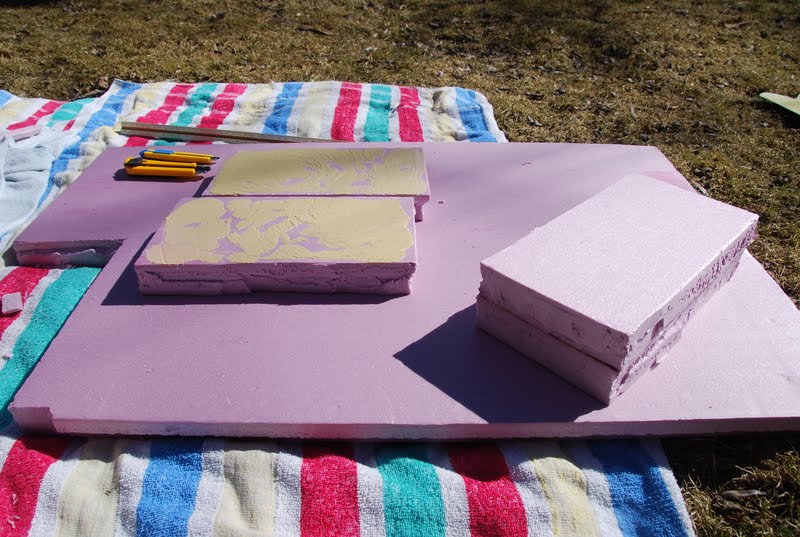
My workstation I set up for cutting foam. It was only like 15 degrees (
celcius) and the grounds was kind of wet, but it was nice to work out in the sun. XD I cut out 4 pieces that were the same shape (approximately). 11" x 7" rectangles I believe.
While I was at it, I figured I would do a spray test with the insulation foam and spray paint. Because I didn't want to have any problems. Of course I put down 2 layers of gesso to protect the foam, as suggested by various websites. The black paint went on perfectly fine except that for some reason a bubble formed in the paint. I peeled it off, covered that area with gesso again and painted it with a different colour... the results were as follows: NOT GOOD. The silver paint ate into the foam... So I decided not to use that one. As is, it was too sparkly anyway.
After that disaster I did a test with the plastic canvas and yarn to make sure they wouldn't be destroyed by spray paint when I sprayed the wires. As far as I can tell they were unaffected.
After consulting the guy at Home Depot (who didn't know that making insulation foam into anything but insulation for your house was possible), he recommended to me foam adhesive that was designed specifically for insulation foam. I used this to sandwich the 4 pieces together to make one big block of foam to carve.

It smelt kind of terrible... The label recommended to clamp the pieces together. But I didn't have a clamp. So I used the cheap and trendy alternative of gravity and books.
I wore various states of protective gear throughout this process. Particularly when I was sanding and didn't want the stuff to get in my eyes.
I left it alone for several days and then started to carve... and then had to stop because the adhesive 2 cm in wasn't dry yet. It was gunking up my knife really badly to the point where I would have to clean it after every cut. D:< Arg. So I left it alone for 2 more days with similar problems again. When I realized there was no way it would be ready in time for my Ryerson interview, I left it alone for 3 weeks.
Still too big... looks kind of like Toucan Sam. After I had finished carving off bits with a big exacto-knife, I set about sandpapering it to get a smooth surface.
Still too big. And rounded. I needed it to look more scary and sinister. It didn't help that it was pink.
I eventually got it down to a shape that was quite sharp and looked really good when I didn't hold it up to the head, but I soon realized what the problem was: It was just too plain. It lacked detail and looked unrealistic. So I set about adding details: first I started with the nostrils, which also functioned as the eye-holes for the mask. I carved them with a smaller exacto-knife. (Although when I say 'carving' I actually mean gouging and hacking inaccurately. )
I used more sandpaper to smooth out the holes, but had trouble with the deepest parts.
It still wasn't good enough. So after googling what real ravens look like, I decided to carve out the lower jaw.
I drew on a guideline and hacked away until it resembled what I wanted. Then I sandpapered that too.

Much better. :D

So here's a 360 of the beak before I ruined it.... Yes. It was all too good to last...
I filled in all the gaps with wood filler. And then made the stupidest mistake
ever. I used a product on my beak, which I had worked on for 2 months,
without fully testing it. And if that weren't bad enough, I used it just a week before Anime North. WHY?! DX Lesson learned. I am an idiot.
Let me tell you: Foam Coat is a horrible product.
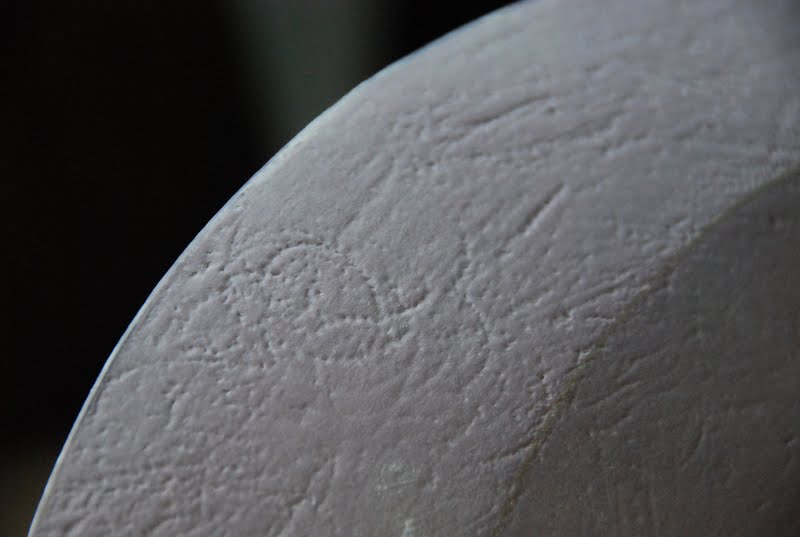
Never use it. It said on the label that it goes on rough, but is sand-able. SANDABLE MY BUTT!!!! D:< It looked like someone had stuccoed my work!
This is what the product looks like when you try to sand it. Not at all smooth and it also falls off in chunks.
I knew there was no way it could be fixed by adding a layer of something else on top.Because I had spent so much time sanding it to that perfect shape and the layer of foam coat was so thick I would have had to add so much that it would have changed the shape of the beak entirely. So I set about sanding it all off and using something else to give it a protective coating. (Btw it's the wednesday before the con. I'm freaking out.)
But even that decision had to come back and bite me in the butt. There was one thing the product had not lied about, the coating was indeed rock hard, and it took quite a bit of force to sand it off. Of course as I was sanding it, the rock hard foam coat was digging into the foam and gouging out craters and scratches in my masterpiece. It was essentially destroyed.
After a mild fit of hysteria--please remember that at this time I have not finished my outfit that goes with the mask, and that I needed time for whatever I used next to dry before I spray painted it--I made an emergency trip to Home Depot to pick up the only product I could think of that would fill in the gaps: wood filler. It's spray-paintable, inexpensive, easy to apply and sands to be extremely smooth. Not the best protective coating, but I will be using it to coat foam from now on.

I applied my wood filler with a palate knife.
There were only a few spots that required some touch-ups after the first layer. After sanding all of those to my satisfaction (the lip of the beak had lost quite a bit of definition and I didn't have the time necessary to fix it...) I started spray-painting it with a flat black.
Of course it had to be raining. This is friday morning now. I don't have any pictures of the rest of the painting because the coats were done under an umbrella on the lawn and some were even done at night with no light to see by... I got up early and did some more coats of paint. I had to bring it inside to help it dry faster because it was so cold and damp out.

The last coat of paint drying. It is now about 11:00 saturday morning. I wanted to do some dry-brushing of a different colour (probably grey) to make it look less flat, but ran out of time.
Finally, I glued the two pieces together. And it was done. I would like to fix it up for the next time I wear it. I will probably do the dry-brushing and replace the crappy flashlights, but the the important point is that was now wearable and looks bloody awesome! :D
Next part: Crow Soldier - Cape & Cowl


 My workstation I set up for cutting foam. It was only like 15 degrees (celcius) and the grounds was kind of wet, but it was nice to work out in the sun. XD I cut out 4 pieces that were the same shape (approximately). 11" x 7" rectangles I believe.


 It smelt kind of terrible... The label recommended to clamp the pieces together. But I didn't have a clamp. So I used the cheap and trendy alternative of gravity and books.


 Much better. :D
 So here's a 360 of the beak before I ruined it.... Yes. It was all too good to last...


 I applied my wood filler with a palate knife.


 The last coat of paint drying. It is now about 11:00 saturday morning. I wanted to do some dry-brushing of a different colour (probably grey) to make it look less flat, but ran out of time.

No comments:
Post a Comment