
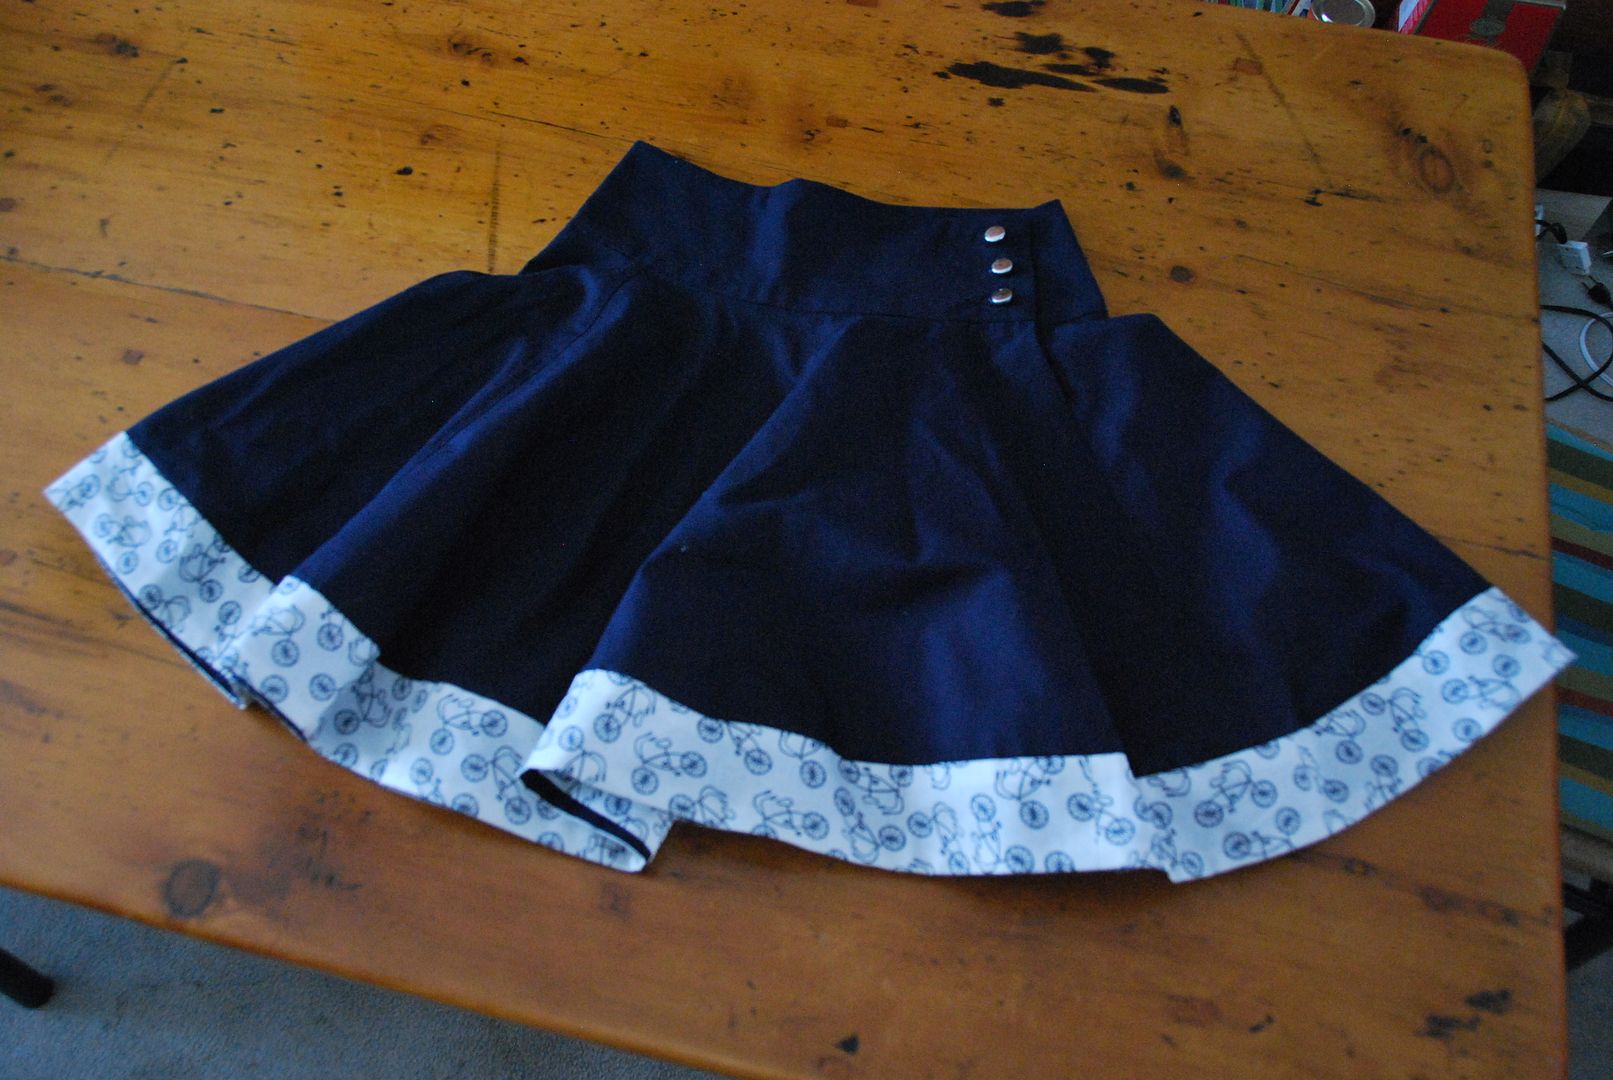
 I think I have finally gotten over my aversion to navy blue. Having to wear the same colour to school everyday for 4 years gets a bit tiring. 2 years later I am just finally getting back into wearing navy again. Hahaha The print fabric featured on this skirt I got in a cute little shop on Granville Island when I was in Vancouver last summer. :D
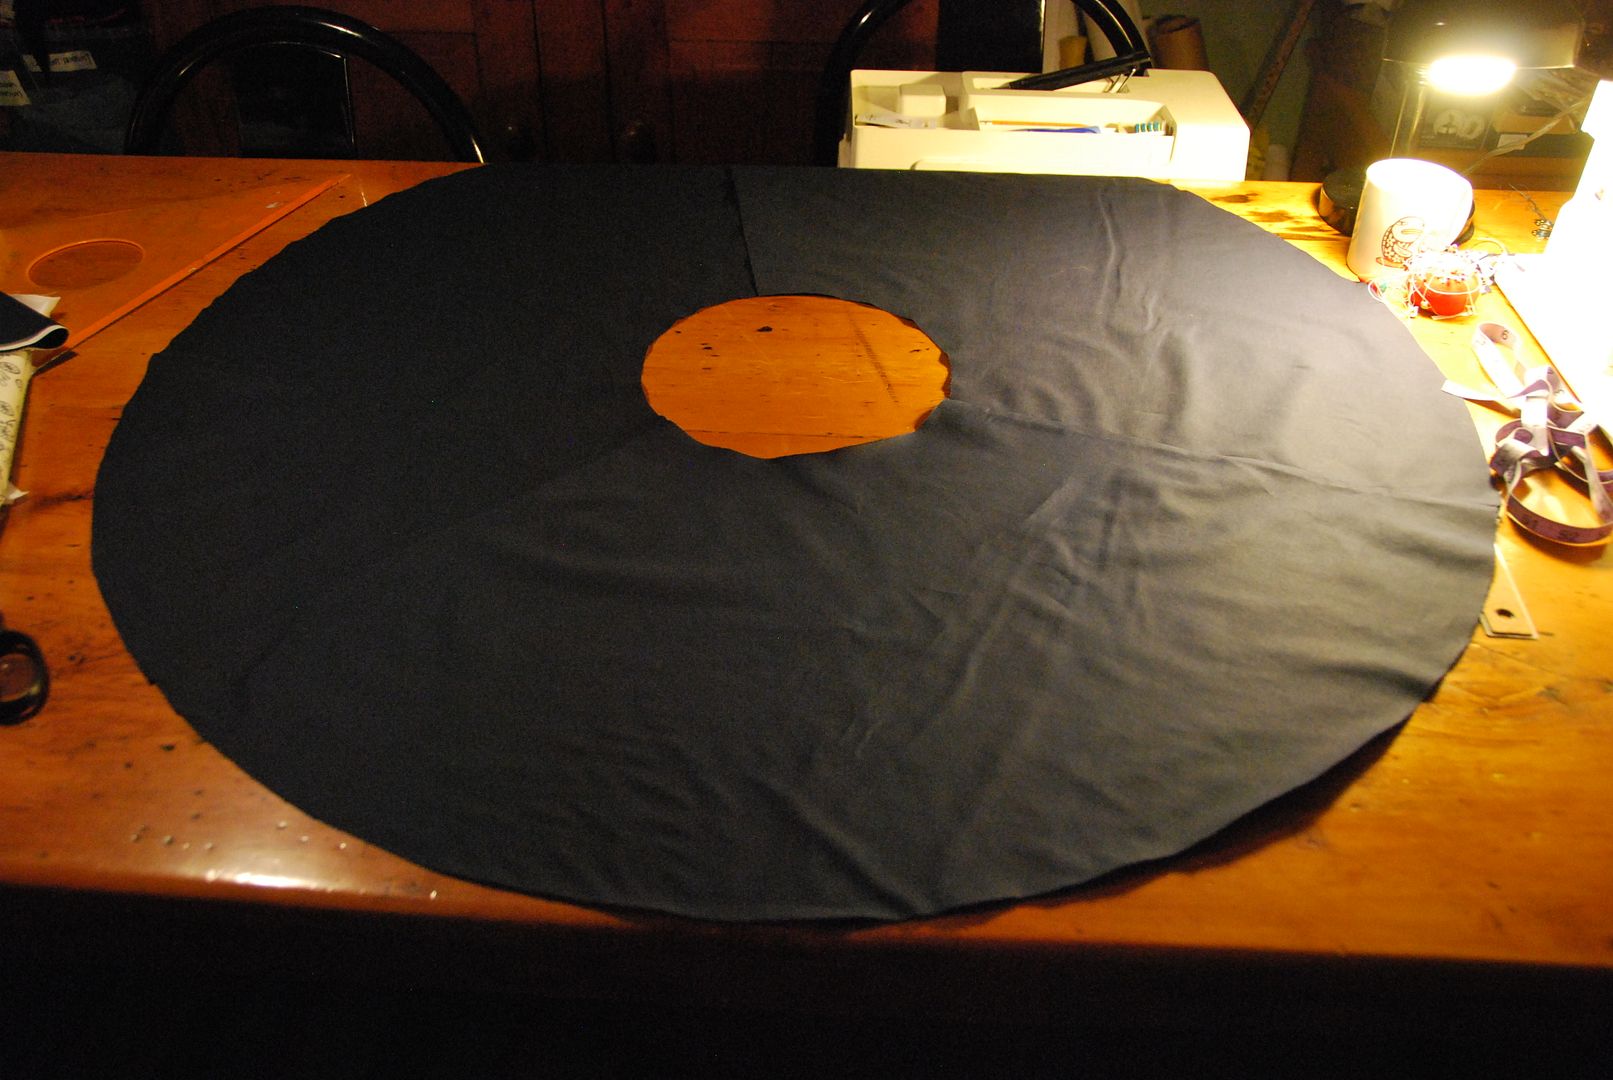
This time I decided to make a circle skirt without a gather at the waistband. I drafted and cut 3 panels that would form a full circle to get a skirt with a lot of volume.

In order to draft it I figured out the radius measurement for a circle that was my waist measurement. First I marked a center point. Then taped a string to that spot. Using the radius measurement I found, I tied the string to a pencil at the distance and drew an arc. Then I decided how long I wanted it to be, retied the pencil at that point on the string and the drew the arc for the bottom edge of the skirt panel.
I divided the waist measurement by 3 then added seam allowance and overlap for the closure. I marked this measurement on my top arc. Using the string pulled tight from the center point I marked and drew a straight line that passed through my marker point to the bottom arc.
Of the cut panels I sewed up 2 of the seams leaving the closure seam open. I finished these seams before continuing on.
 Then I drafted a waistband with a slight curve, adding in the same amount of overlap as for the skirt panel.
I wanted a wide waistband on this skirt with a button closure on one side.
I cut this piece 3 times (2 navy blue and 1 white). The white would just be an added layer of stability to help keep the waistband a little stiffer.
Like a collar it was sewn right sides together, leaving the bottom edge open. Then it was flipped right way out (clipped and pressed). One side was stitched to the skirt panels, then the raw edges were tucked up inside the waistband and ditch stitched to finish the seam.

 I ironed the waistband/skirt connection flat.
Then, with right sides together, I marked the overlap and pinned where the panels would be sewed together. I stitched up the marked line, leaving an opening partway up until the top of the waistband. This would be left open, closed with buttons later.

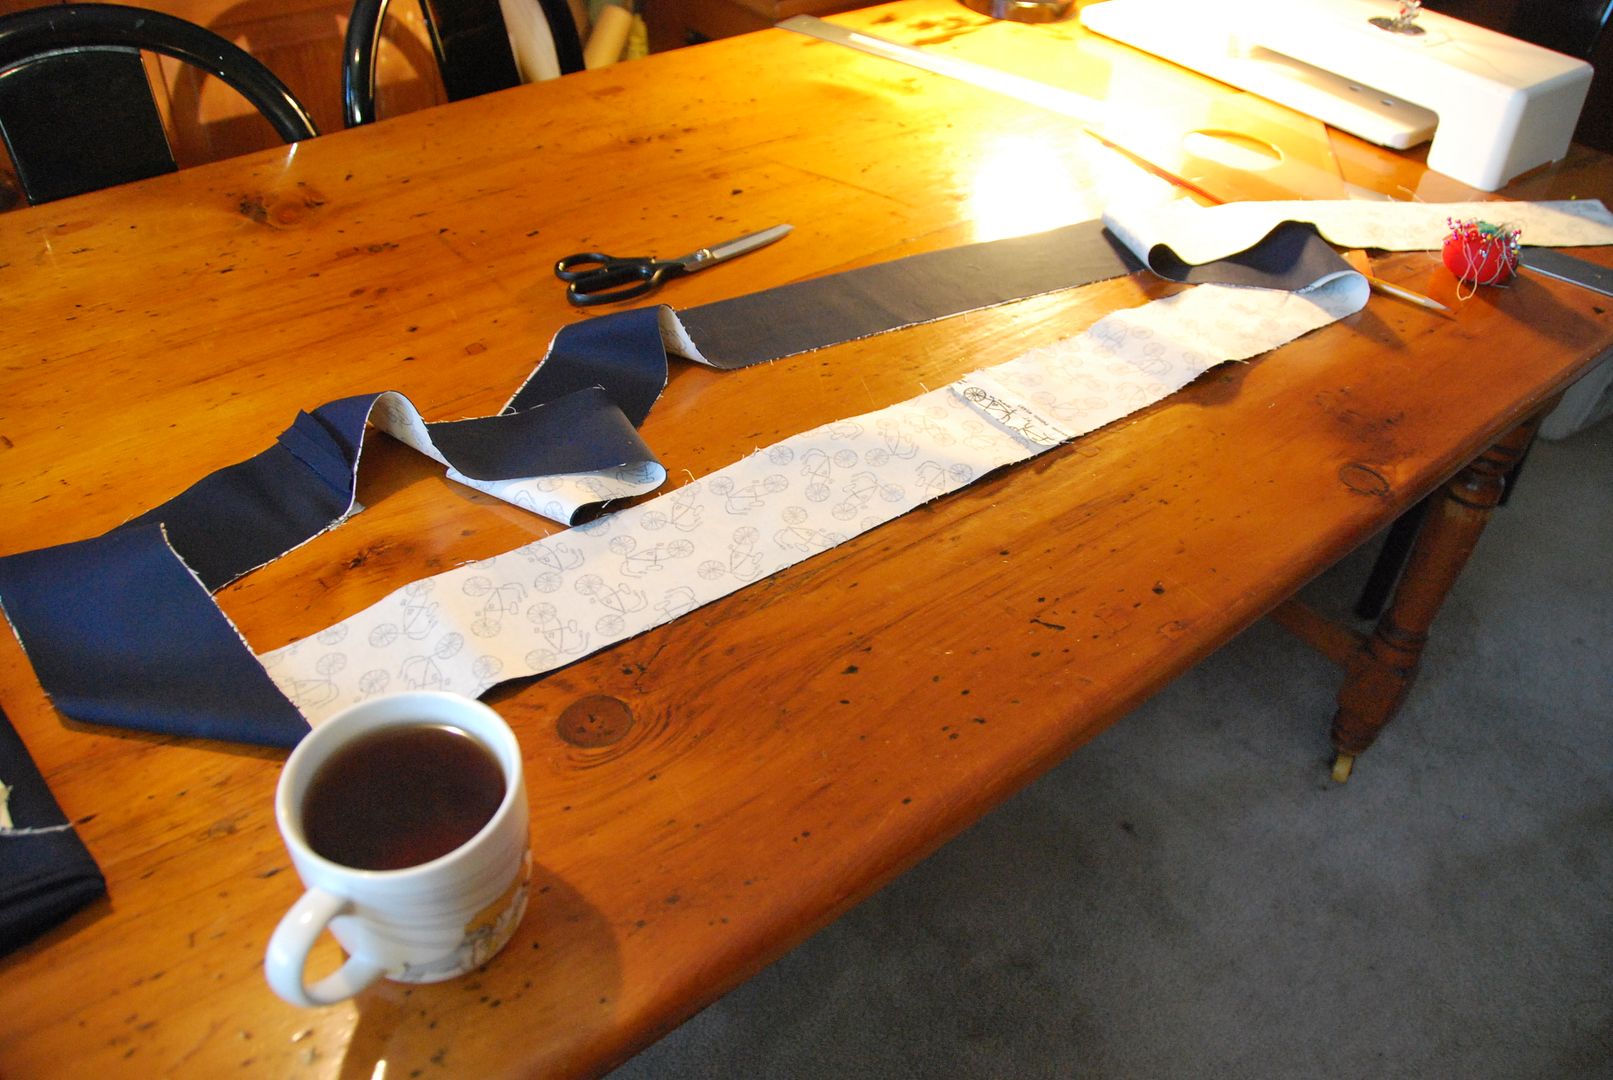 Then I measured the final edge of the skirt. I measured and cut a piece of my detail fabric a little bit longer than the finished edge, and 4.5" wide. This included seam allowances. I cut a matching piece in my navy fabric that would act as a lining for this piece.
These two long strip were placed right sides together and sewn along one edge. Then I flipped it right way out and pressed it flat.

 Similarly to how I attached the waistband, I placed the right side of the bicycle fabric to the outside of the skirt, pinned the edges together and then stitched it in place all the way around. After ironing this flat I closed off the strip, turning it into a closed loop.

After clipping the excess fabric away, I folded up the navy half of my strip to the inside of the skirt, folding the raw edges inside the bottom hem detail, ditch-stitching it closed. (Ditch-stitching was done from the outside to ensure that the stitch line was hidden in the ditch caused by the seam between the skirt panels and the bicycle detail strip.)
Then I marked and added the buttons and button holes. Presto!