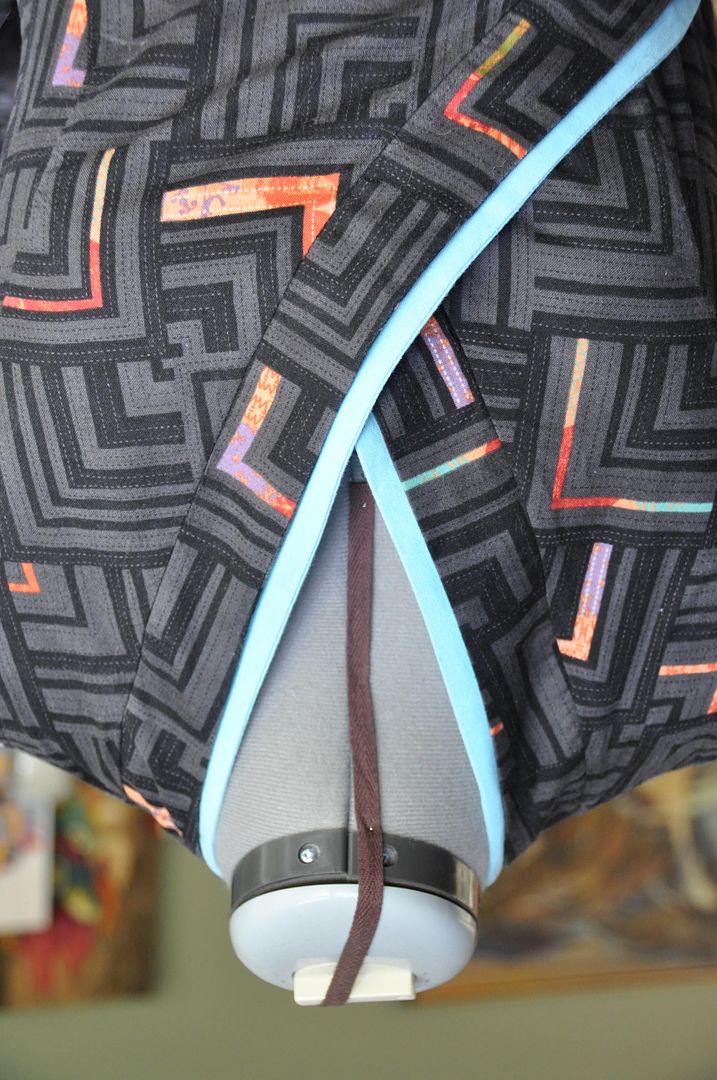
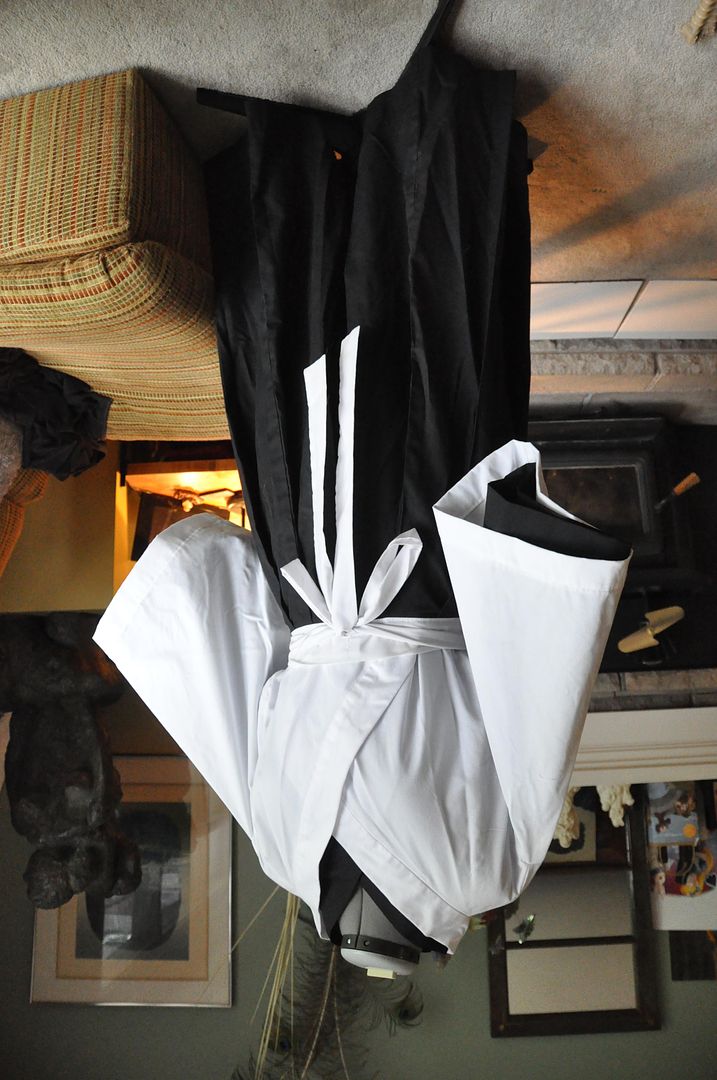
Here's a kimono top set I made for my mum as an easy casual costume to wear around the convention. Very comfortable, and not cumbersome to wear. Also super easy to make!
This costume was loosely based on the main character Ran from an old anime called
Tsukikage Ran, which is one of my mum's favourite animes. It's a really great show, just a wandering female samurai who is just looking for some really good sake and a nice nap. Good action/comedy mix. My mum fondly refers to this show as "The Samurai Sake Woman", which is also an apt title. Hahaha
I suppose I could have made the sleeves bigger if I wanted to be really accurate.
I will actually be going in depth on the pattern I modified for this costume, so hopefully this tutorial will be helpful!

The pattern (which was modified from one my mum made ages ago for some Bleach Shinigami costumes) goes as follows:
Outer Kimono:
Back: (cut 2) Length 34", Width 11", Shoulder 5 1/2"
Front: (cut 2) Length 34", Width 22", Shoulder 5 1/2", Slope to 15"
Sleeve: (cut 2) Length 17 1/2", Width 31"
Collar: (cut 2) Length 34", Width 3"
Inner Kimono:
Back: (cut 2) Length 34", Width 11", Shoulder 6 1/2"
Front: (cut 2) Length 34", Width 22", Shoulder 6 1/2", Slope to 16"
Sleeve: (cut 2) Length 18 1/2", Width 28"
Collar: (cut 2) Length 30 1/2", Width 3"
(This all includes 1/2" seam allowance, and 1 1/2" roll over hem for the sleeves and bottom edge. Will most likely fit a person who wears a medium to large size women's shirt.)
The shoulder length listed is on a 1" slope down from the max length to the side seam. The leftover width on the back curves down 1" to the center back seam for the neckhole, leftover width on the front slopes down across the panel to the other side forming the overlapping front. You will also need twill tape for the ties. 4 decent sized pieces for each kimono.
I sewed up the main seams first: The side seams, center back and shoulders. Then I finished the inside nicely.

The two collar pieces were stitched together to make one long strip. I added the collar facing in the same way I normally do waistbands-- sewing the band right sides together with the collar, folding it over and ditch stitching it in place.
I cut off the excess from the collar in a straight line following the vertical edge of the front overlap. Then I finished this edge by folding over the edge and stitching it in place.
I sewed each sleeve into a tube finishing the side seam, then I sewed the sleeves onto the shirt. On the outer kimono, I only sewed on the top half of the sleeve, leaving the bottom an open gap in the armpit. By doing this, you can see the colour of the under kimono through. The under kimono I closed the sleeve all the way.
I then finished all the edges. This included the open underarm on the outer kimono, the bottom hem, and the sleeve hem.
The last thing I did was to mark and add the ties, which helped to keep the kimono from slipping open. This kimono was tucked into a pair of black hakama pants that my mum made for our set of Bleach Shinigami outfits back in the day.


 First I sewed the collar pieces together at the shoulder seams. Then I sewed the inner collar to the outer collar along the outer edge, right sides together--this way the outer edge was finished nicely. I clipped the curves and flipped it right way out, then ironed it flat.
 I made my inner collar accent piece the same way as the outer collar. The inner collar is about 3/8" wider so it is visible in behind. The inner collar is made out of leftover fabric from my Suppi costume!