Showing posts with label dress. Show all posts

Wednesday, October 14, 2015

Sakura - Dress, Blouse & Petticoat - Cardcaptor Sakura

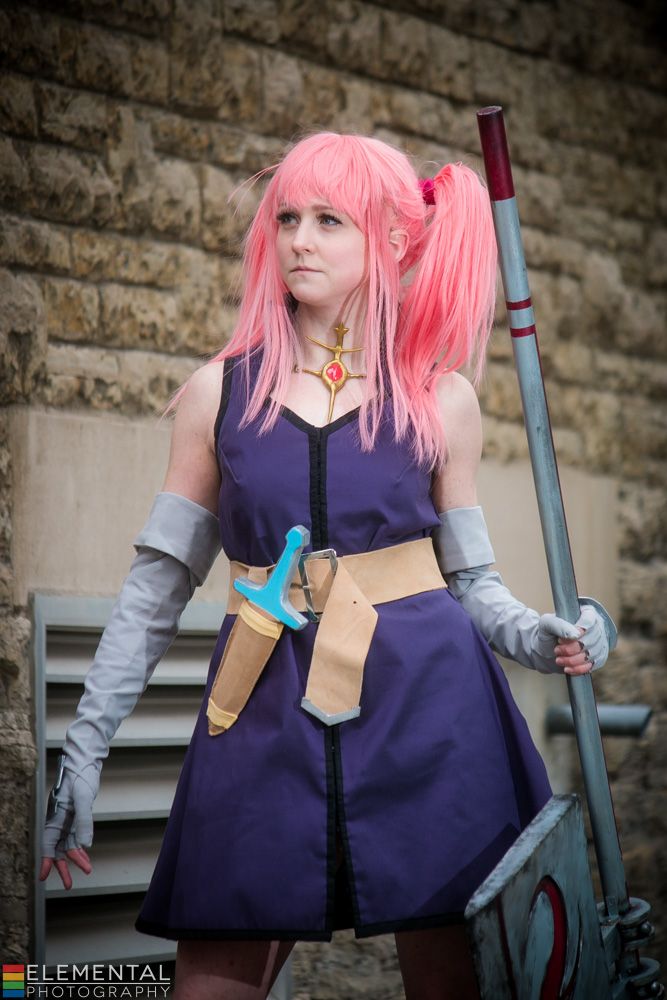
So guys, it finally happened: I finally got some finished shots of this costume. Special thanks to EleventhPhotograph for the amazing fall shoot! I loved the use of colour gels in the trees to pump up the colour even more!

You may have already guessed that I have a slight obsession with the 90s series CardCaptor Sakura. It was the first anime I ever watched in Japanese with subtitles. The numerous other CCS costumes should have clued you in to my obsession at this point.

I've already made Suppi & Kero, Sakura's sailor suit, and Tomoyo. Adding this one and the one I am currently working on, that brings my total up to 6 costumes from the same series. Which is kind of crazy. Although, not all of these costumes are for me. Suppi was for my older sister Alex, and this iconic Sakura outfit was made for my lovely sister Elanne.

It may not be totally apparent that my sister is actually 7 years younger than me (we have been told on numerous occasions that we look like twins...), but this means that she was not old enough/actually alive to watch the series with me in the 90s. She only watched it for the first time about 3 years ago when Alex and I were having a nostalgia trip. And she quickly became a fan. She hadn't cosplayed in a few years, but asked me if I would consider making something CCS for her. How could I refuse? And behold, the cutest Sakura I know!

So lets get started talking about how I made the dress, blouse and petticoat!

This is definitely one of the most iconic Sakura outfits, this one is featured in the season 1 opening theme. Fabric shopping proved a bit of a challenge for this costume, as I had difficulty finding the correct colour of pink. Because the dress is pink, not red, as some people make it--though that may be to better match one of the manga illustrations? I don't know. It's a reddish/salmon-y/flamingo-ish pink depending on which reference picture you look at. The fabric I found was a medium salmon-y pink colour. When compared to the red fabric I already had on hand for the bow details it had a nice contrast and the colours looked good together. Which is an important part of colour matching any costume.

The most difficult thing about CLAMP is that the way they draw their CCS designs is so simple. They look simple. But they aren't. My main issue is that they don't typically draw seams onto the clothes. This can make it extraordinarily difficult to determine how exactly the clothes should be constructed.
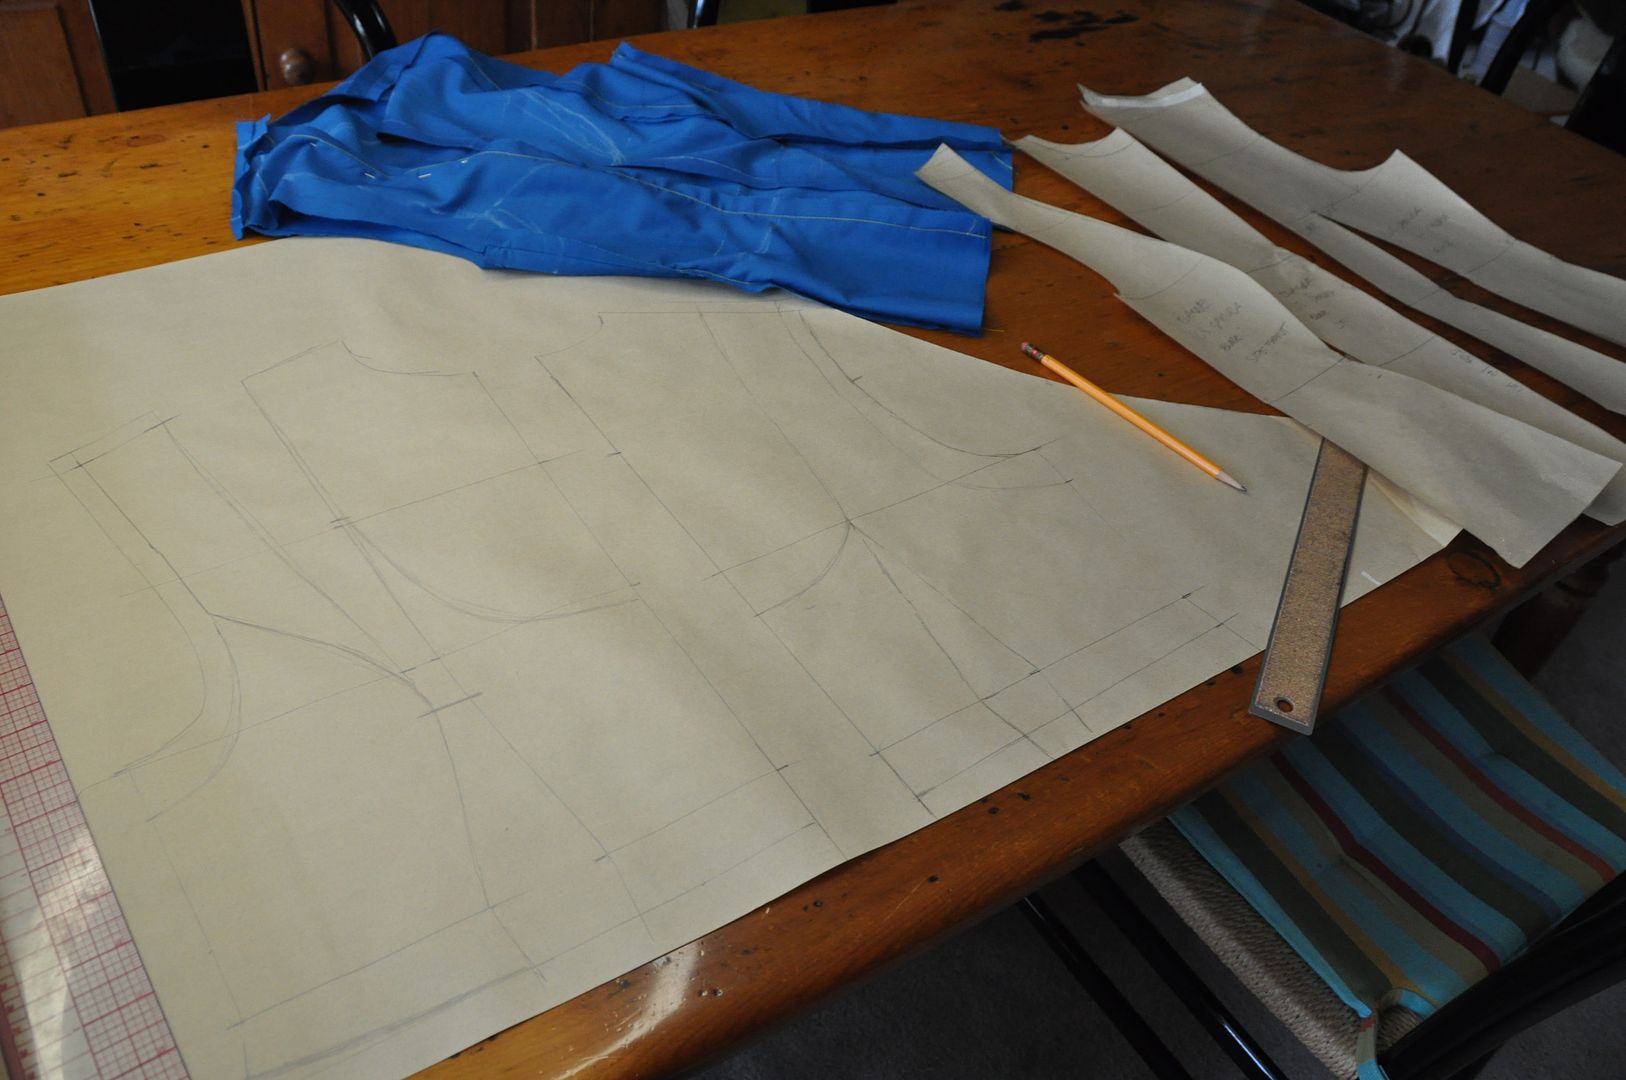
I started off by patterning a basic block, which I heavily modified to create the pattern for the bodice.

The skirt is a full circle and a half. It has been too long since for me to explain the mathematics of how I did that. It consists of 3 panels which are 1/2 of a circle each. This is so I can have a seam down the center back for the zipper, but not one down the center front (which I think looks bad).
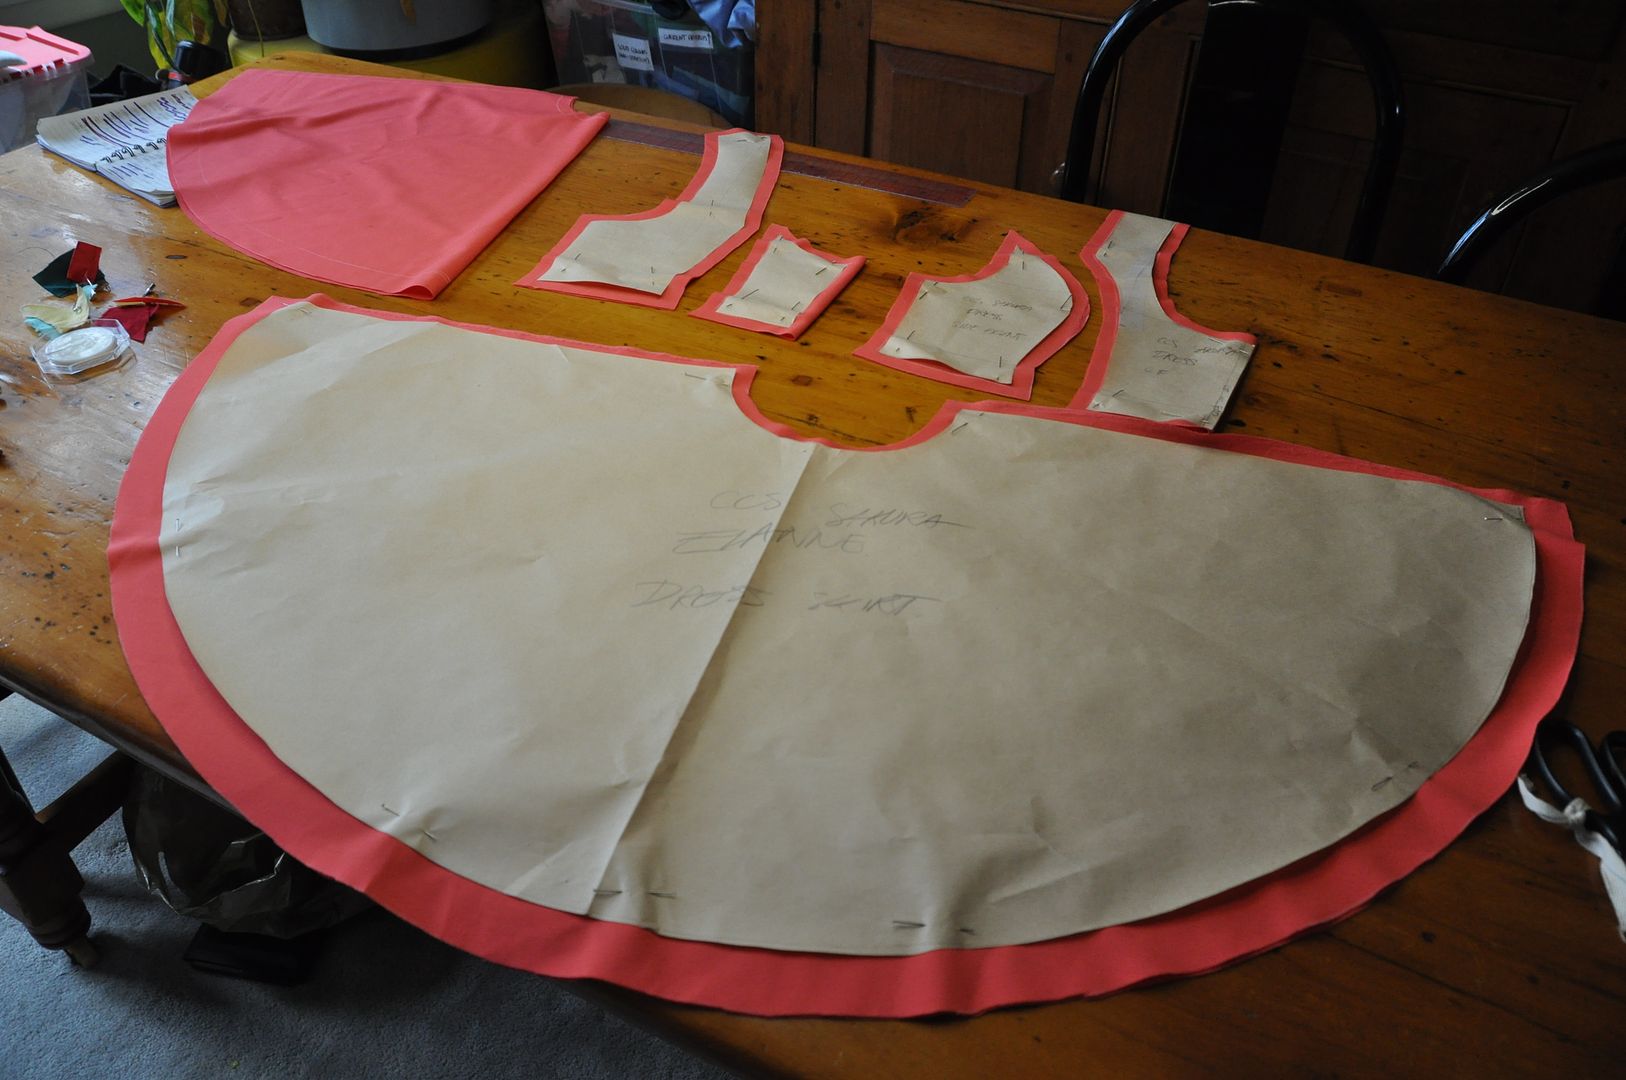


I cut out my pieces and then began assembling it.

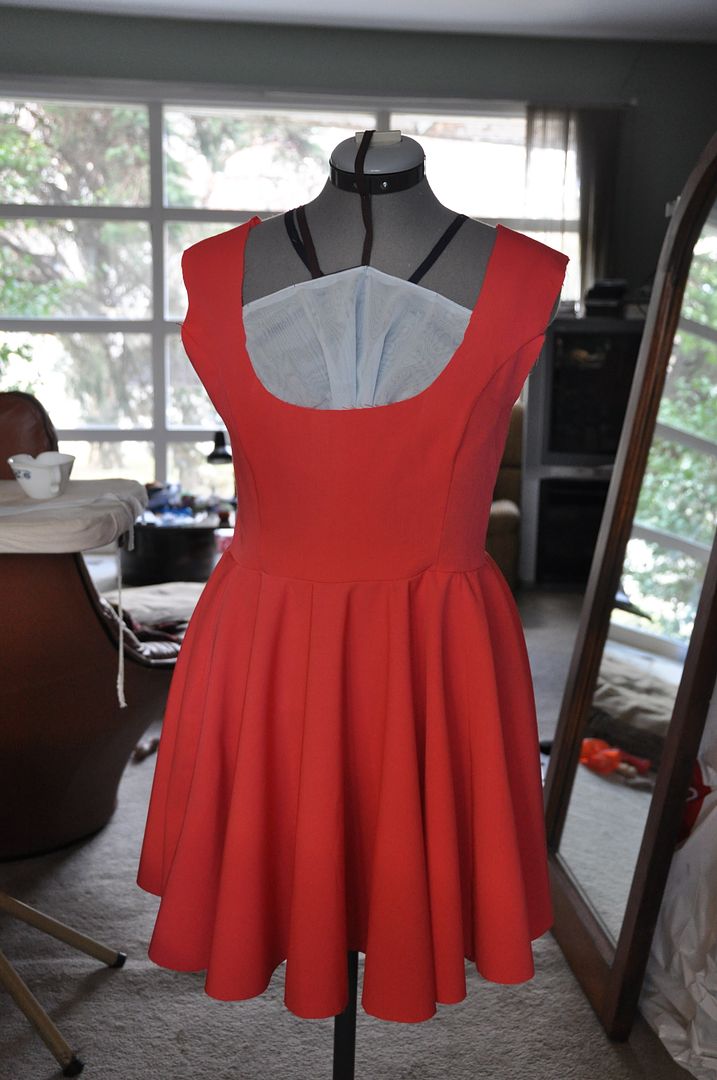
The bodice was designed not to be super fitted to her curves in spite of having a princess seam--Sakura is supposed to be like 10, so emphasizing curves does not really emulate the character accurately. But not having the seam would have made the bodice gape weirdly at the armholes. Also, it couldn't be too fitted, because there were several layers going underneath: the wing rig being the bulkiest, but also the blouse and the petticoat waistband. If it was super fitted she would look lumpy. Sakura is not lumpy.
I finished the seams on the inside.

You can see how full the skirt is as it hangs. This is what the skirt looks like without the petticoat underneath. Pretty sad and not floofy. I always think it looks so sad when a character is supposed to have a giant floofy skirt and cosplayers aren't wearing a petticoat. :( Sometimes it's understructure that can make or break a costume.
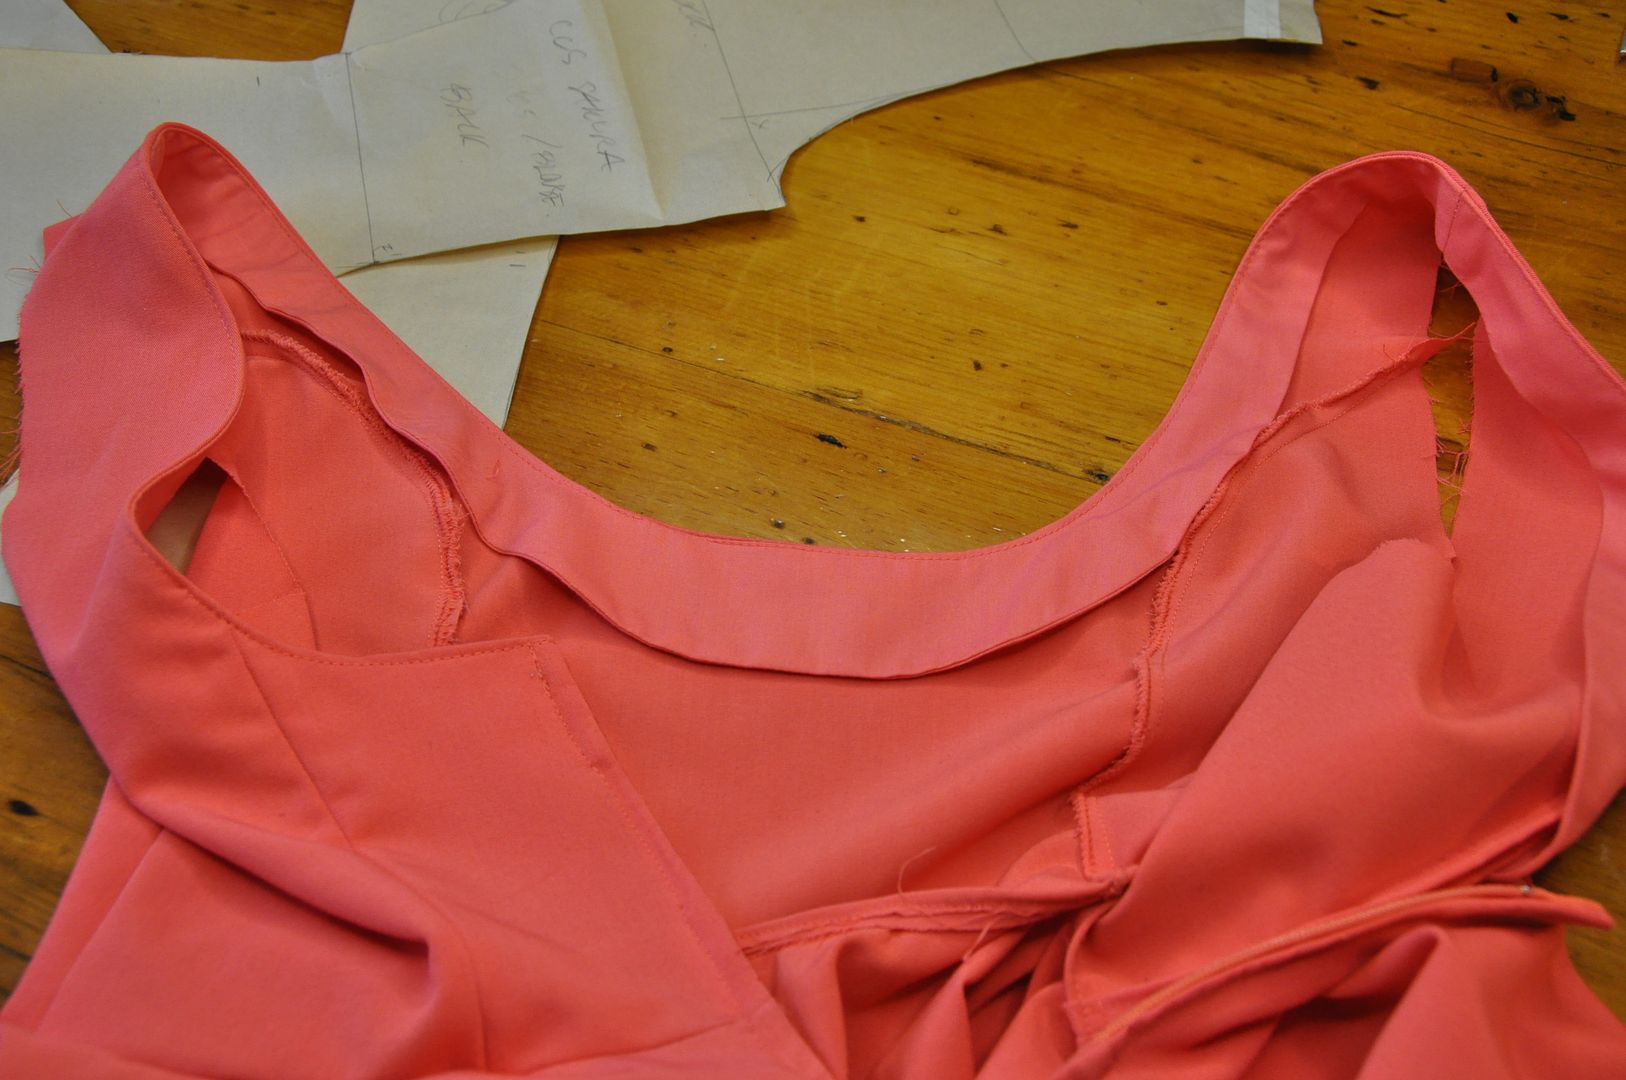
Next I added a zipper into the center back seam. Next I finished the edge of the neckline with a facing. This was tacked down on the inside to keep it from flapping about.


Next I made a facing for the armholes. This was also tacked to the inside.

Next the stripe was added to the bottom of the dress with a pale yellow bias tape, and the dress was hemmed.
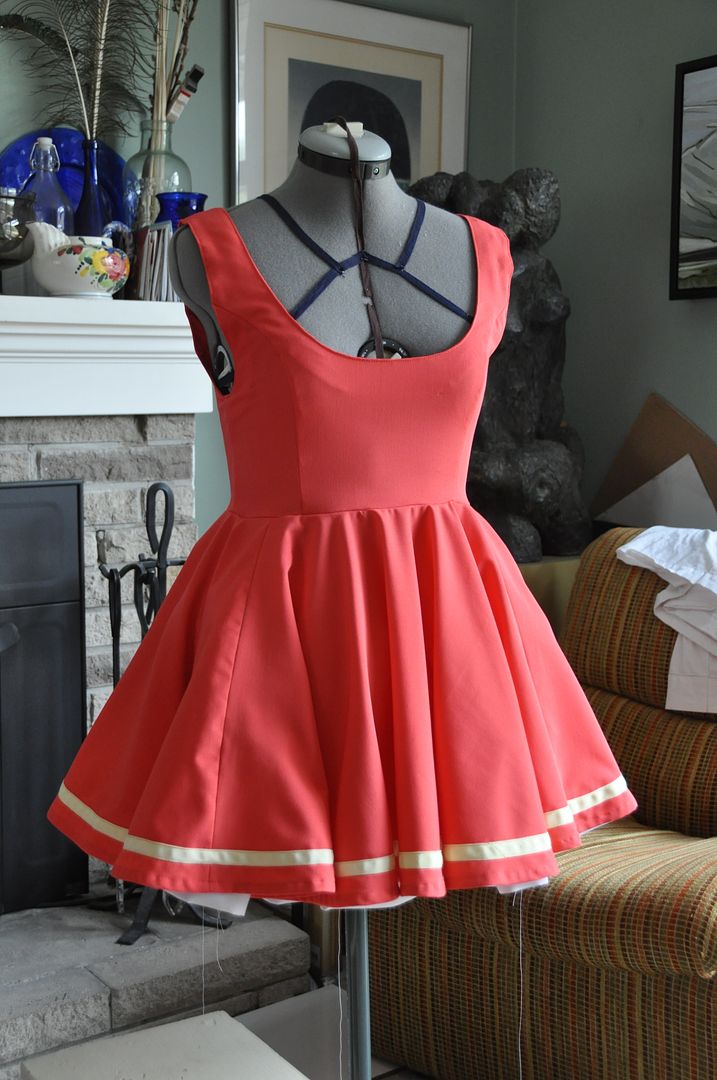
Special thanks must go to my wardrobe gnome Alli, who helped me with finishing up this dress. She did 99% of the hand stitching on this costume. Which included hand basting the yellow bias tape stripe along the bottom edge and the hem (as well as making and attaching all of the bows!). This was so I could machine stitch it with absolute precision (and no wrinkles later. Hand basting is one of those tasks I loathe doing, even though it can be super helpful.

Here you can see I have tested out the dress with 1 layer of the petticoat. Even then I decided I would need almost 3 times as much floof. And even still, I feel I could have done 1 more layer.

Simultaneously I was making the blouse. It started off as the same basic block, but the similarities end there. For the top front portion of the blouse (that would be revealed by the neckline of the pink dress) I created a panel that was wider than the center front piece below by about 2 inches. I gathered  this panel along the bottom edge and neckline so that it would appear ruffled along the center front. The rest of the blouse was fitted, so there wouldn't be too much added bulk under the dress.

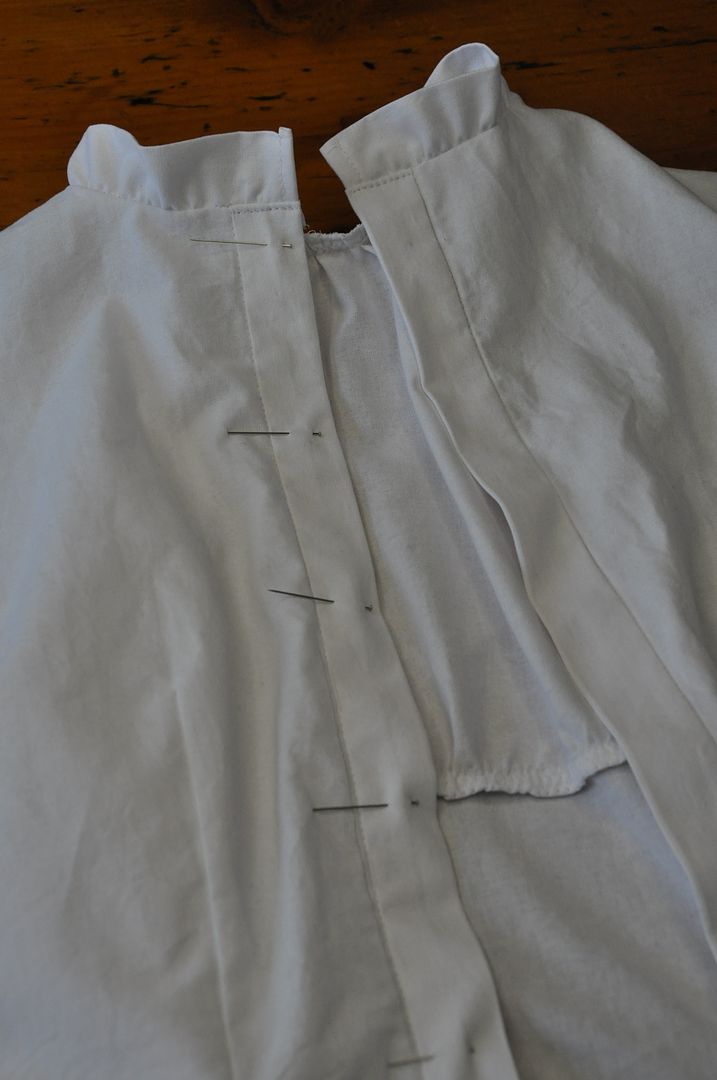
The collar is simply a long rectangle of fabric folded in half lengthwise. It was made long and gathered to fit the neck hole. Again, this costume is nothing but ruffles, ruffles, and more ruffles.

For the back closure I decided to make it button up, because it looked adorable. Although it was a bit of a challenge for her to take on and off, she managed!
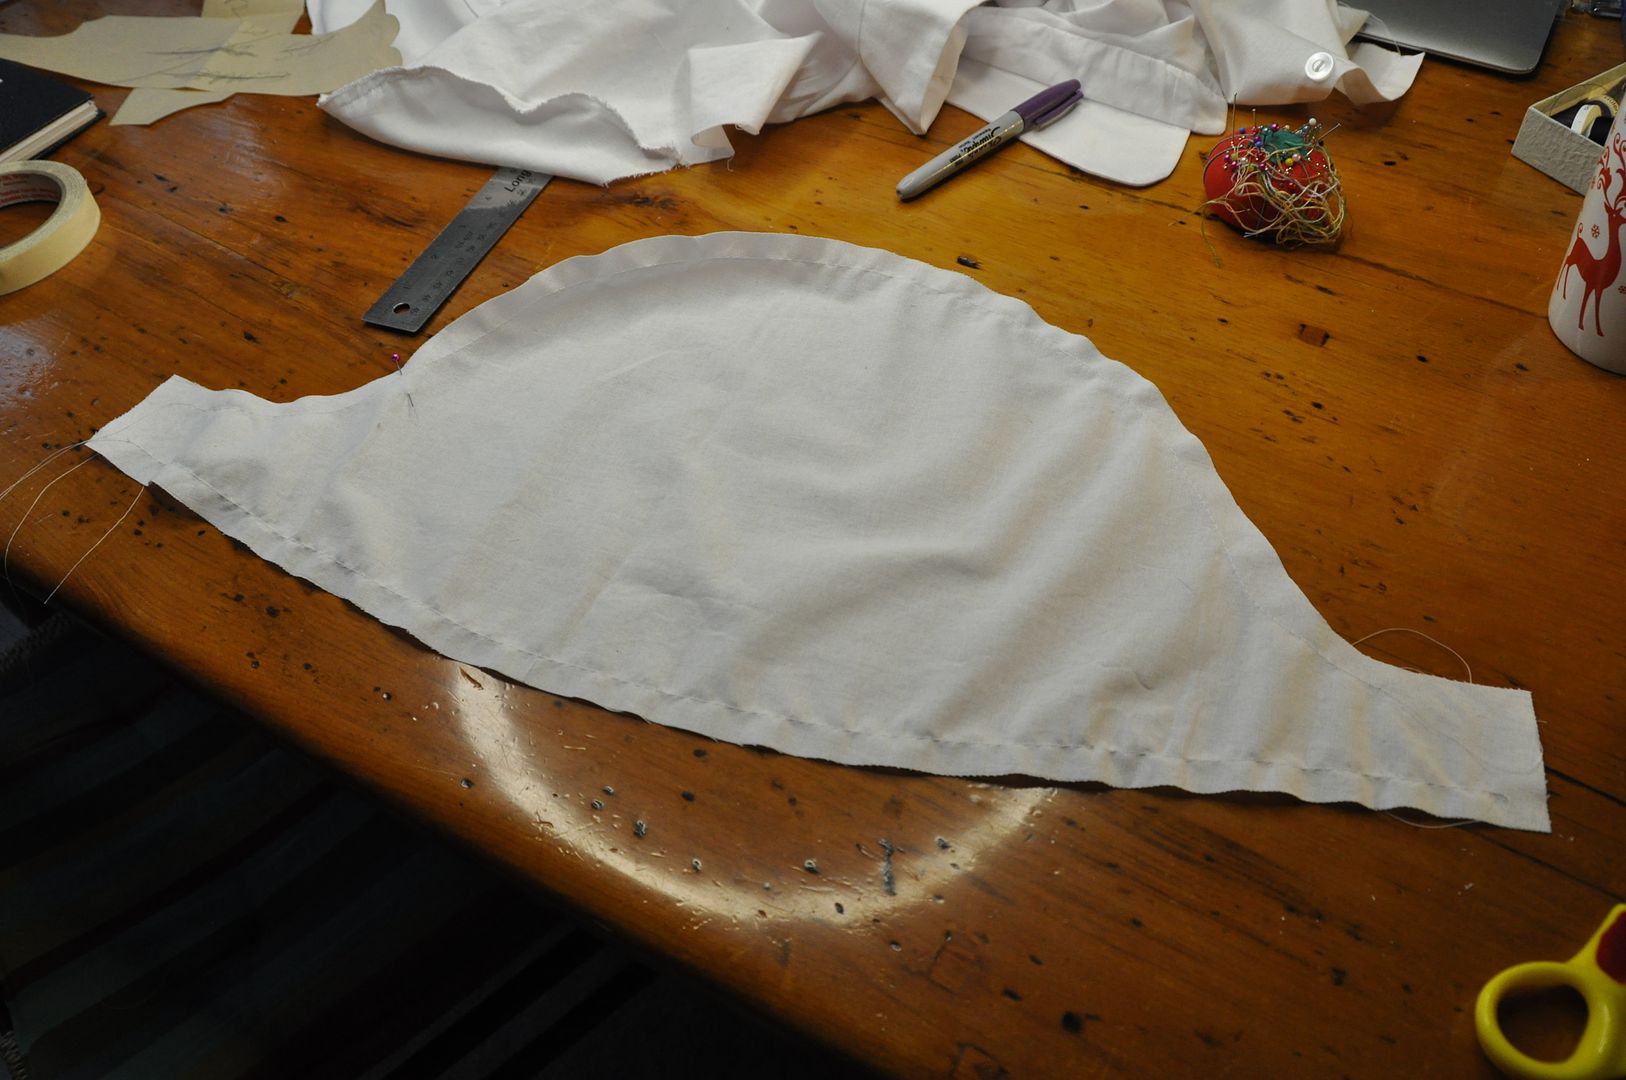
The sleeve took a few tries to get the correct proportion of poof. They are larger than the sleeve hole and gathered to fit.

The sleeve cuffs were done in the same way as the collar.
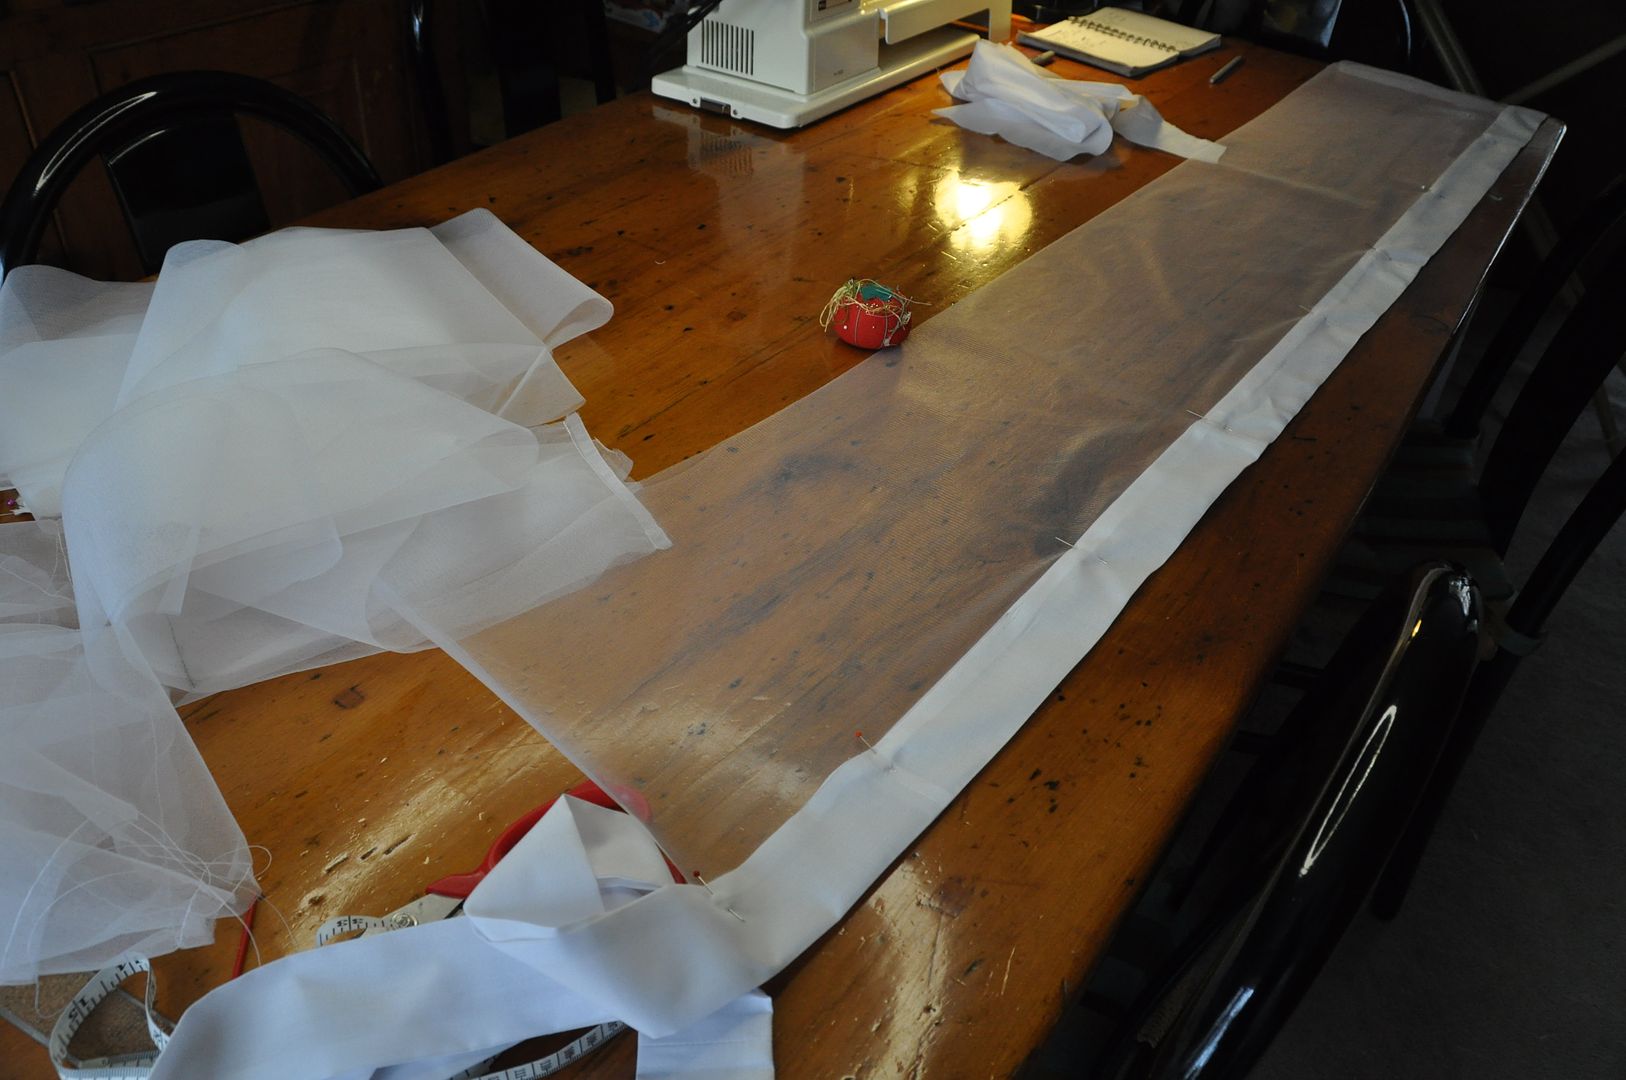
The last step in the project was the petticoat. It is surprisingly labour intensive to make one. With this I used up all the crinoline I had left from when I bought it for my Alice petticoat.

After determining how long I wanted it to be, I cut as many strips as I could of crinoline in each width I needed. I sewed these together, with french seams.

Much like layer cakes, petticoats are easiest to construct from the bottom up. You make the bottom tier first--finish the hem, ruffle it along the top edge--then attach it to the tier above and repeat until you get to the waistband. You make each layer separately.

You can see that each layer in this petticoat has 2 tiers of crinoline--a small one at the waistband. This was to cut down on the already substantial bulk that would have to be sewn into the waistband.

To finish the bottom hem, I created a strip of broadcloth to fold over the bottom edge. This created the look I wanted for the bottom visible edge. While still having the structure that crinoline provided. Making the petticoat entirely out of broadcloth would have been far too flimsy.
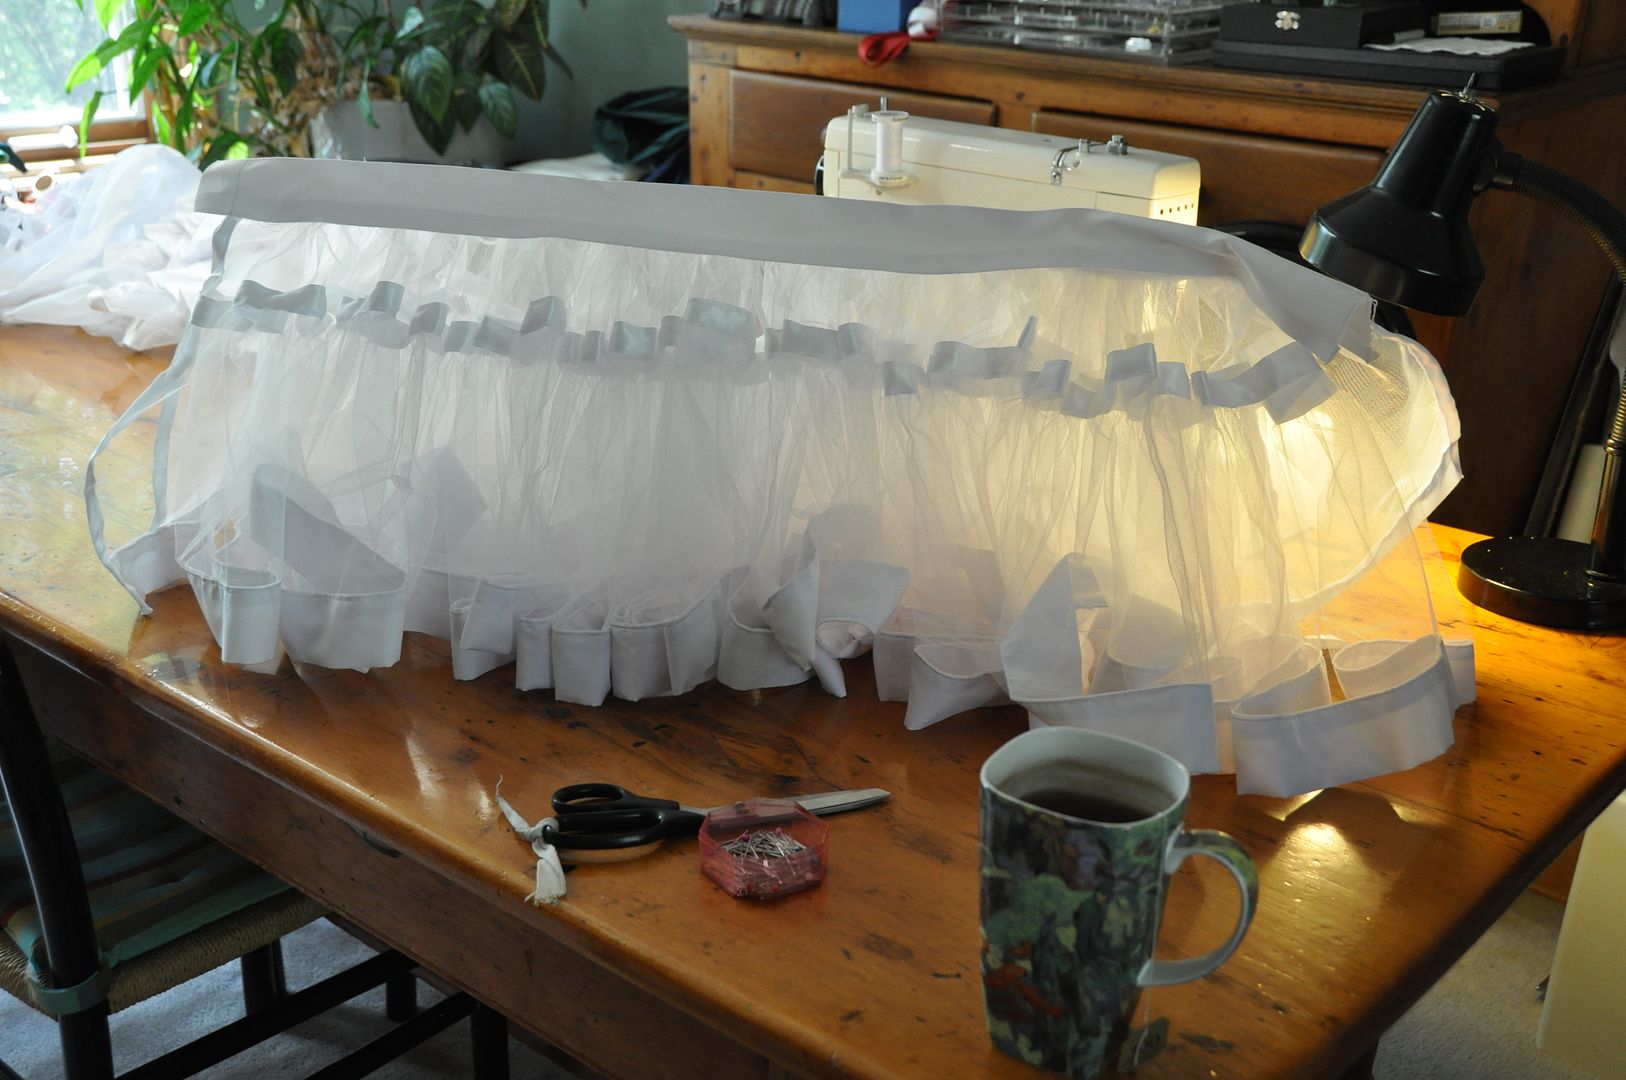
To give you an idea of just how much fabric this is: the petticoat can stand on its own. This is only 2 layers, this is before I decided to make a third.


After making layer number 3, I also made a simple white circle skirt (1 full circle) to go over top of it. Like the blouse I made a ruffle to add along the bottom edge. This was long enough so it would be visible below the edge of the skirt.
To give you some perspective, this is how much petticoat I put into this costume. And I could have done more. I would probably have used a stiffer crinoline layer.

This one is 3 layers of crinoline, plus a white circle skirt with a ruffle along the edge over top.


The completed dress looked pretty good!

Tuesday, October 29, 2013

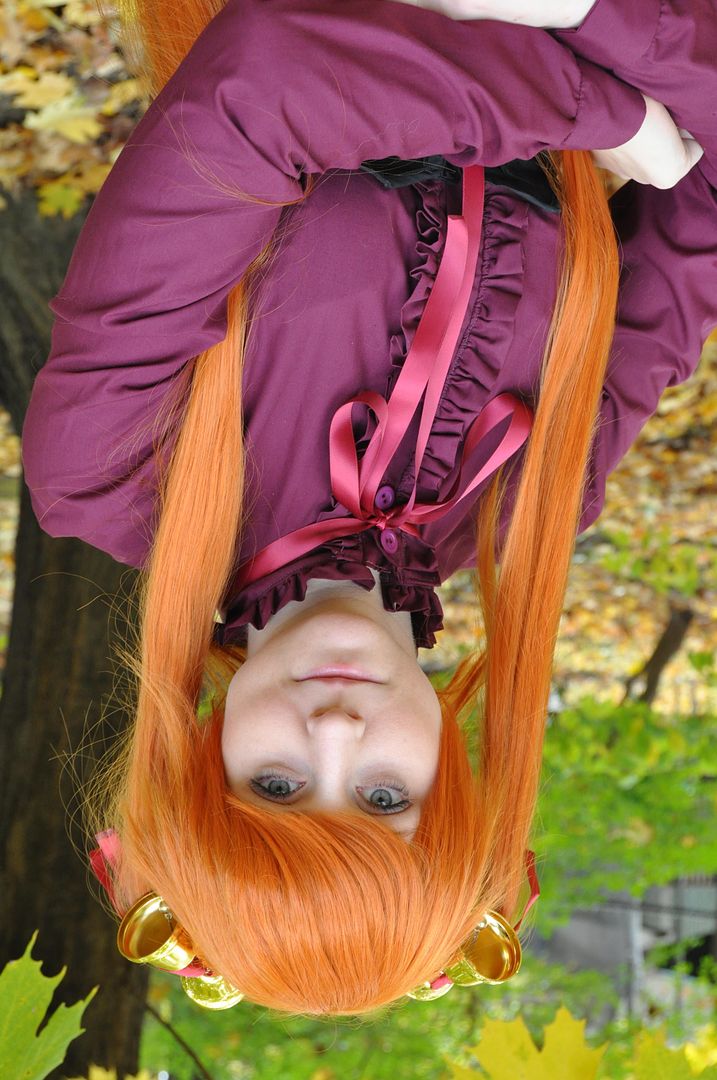
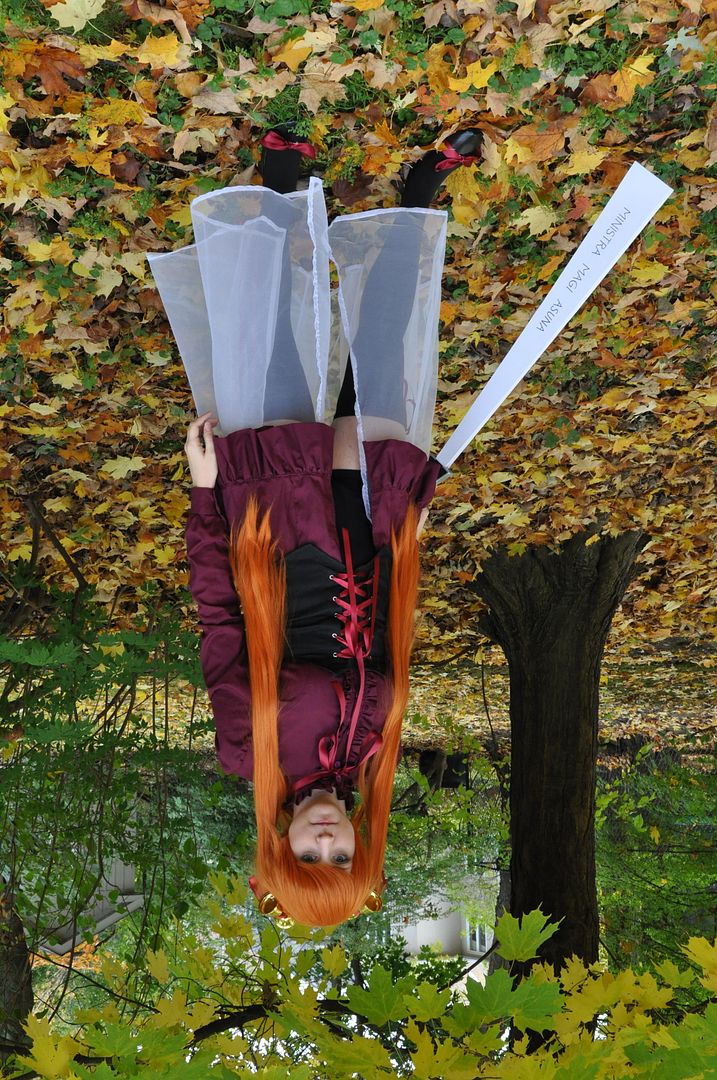
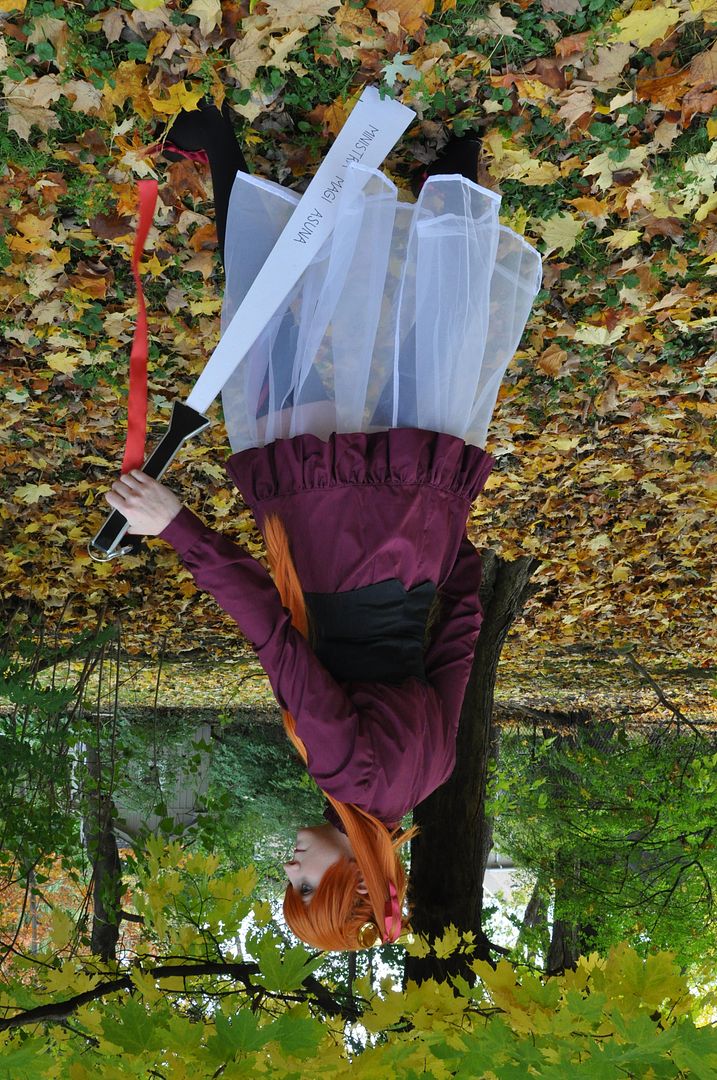
Asuna Kagurazaka (V.2) - Outfit - Negima

As my 3rd costume for Otakon I decided to make an alternate outfit of Asuna's. I already had a wig, and Asuna has many, many outfits in the manga, so I thought I would make one of my favourites.

Special thanks to my mum for doing an impromptu fall photoshoot in the backyard!

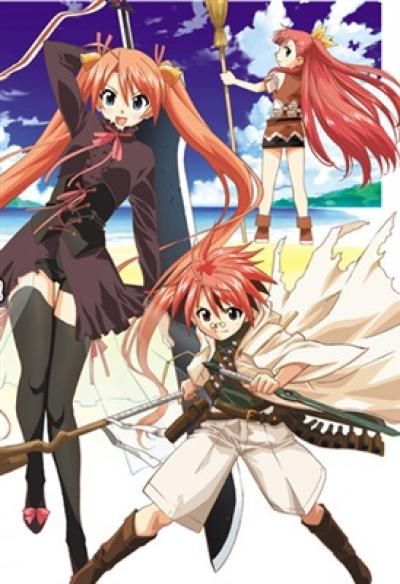
I picked this one (pictured left) particularly so I could re-purpose the sheer under skirt I had originally made for her other costume! This outfit is worn during the training arc prior to their trip to Mundus Magicus, for anyone who actually knows the series.

I really like the deep burgundy colour of the blouse (dress?), but I went more saturated with my colour choice.

(There sure are a lot of orange-haired characters in this manga...)

I drafted a basic block, with a princess seam that I extended to be longer and go outward in an a-line style at the sides.

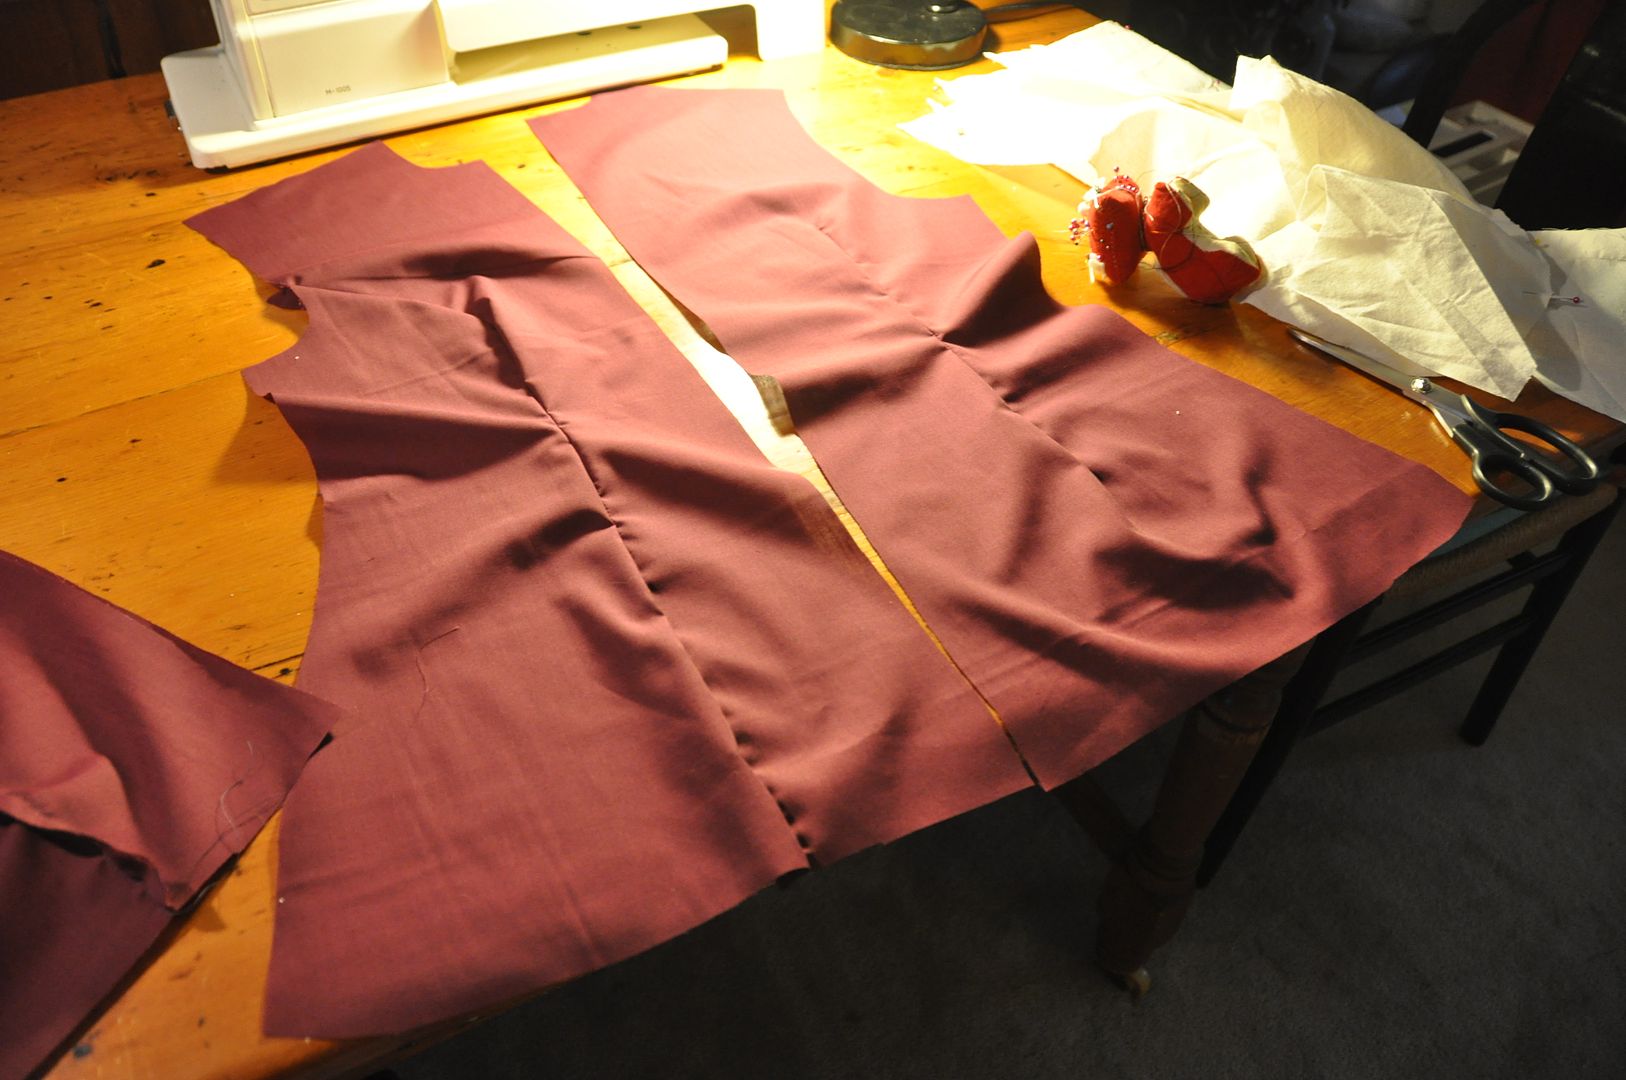
I cut out all my pieces (2 center front panels, 2 center back panels, 2 side front panels). Then I sewed up the darts, then side, back and shoulder seams. 

When this was done I finished the inner seams.
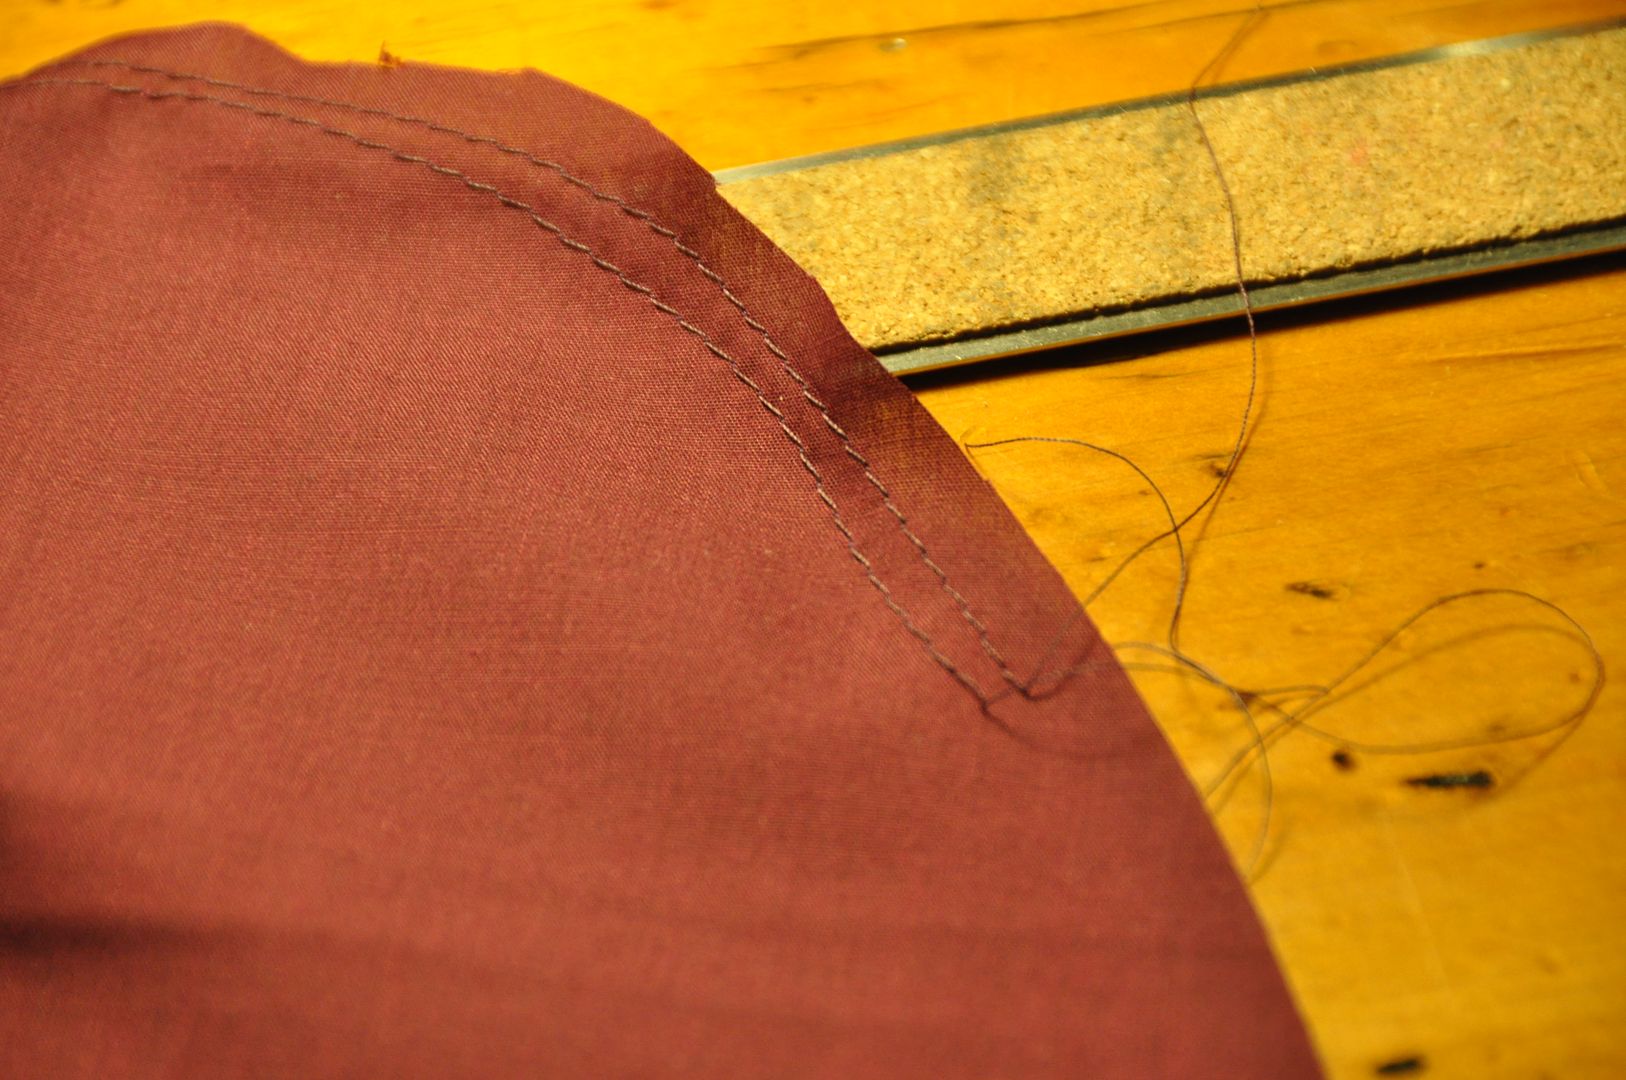
I drafted the sleeve to have a slight pouffe at the shoulder. I cinched the ruffle with a double row of basting stitches (leaving the thread ends long so I could pull on them). 


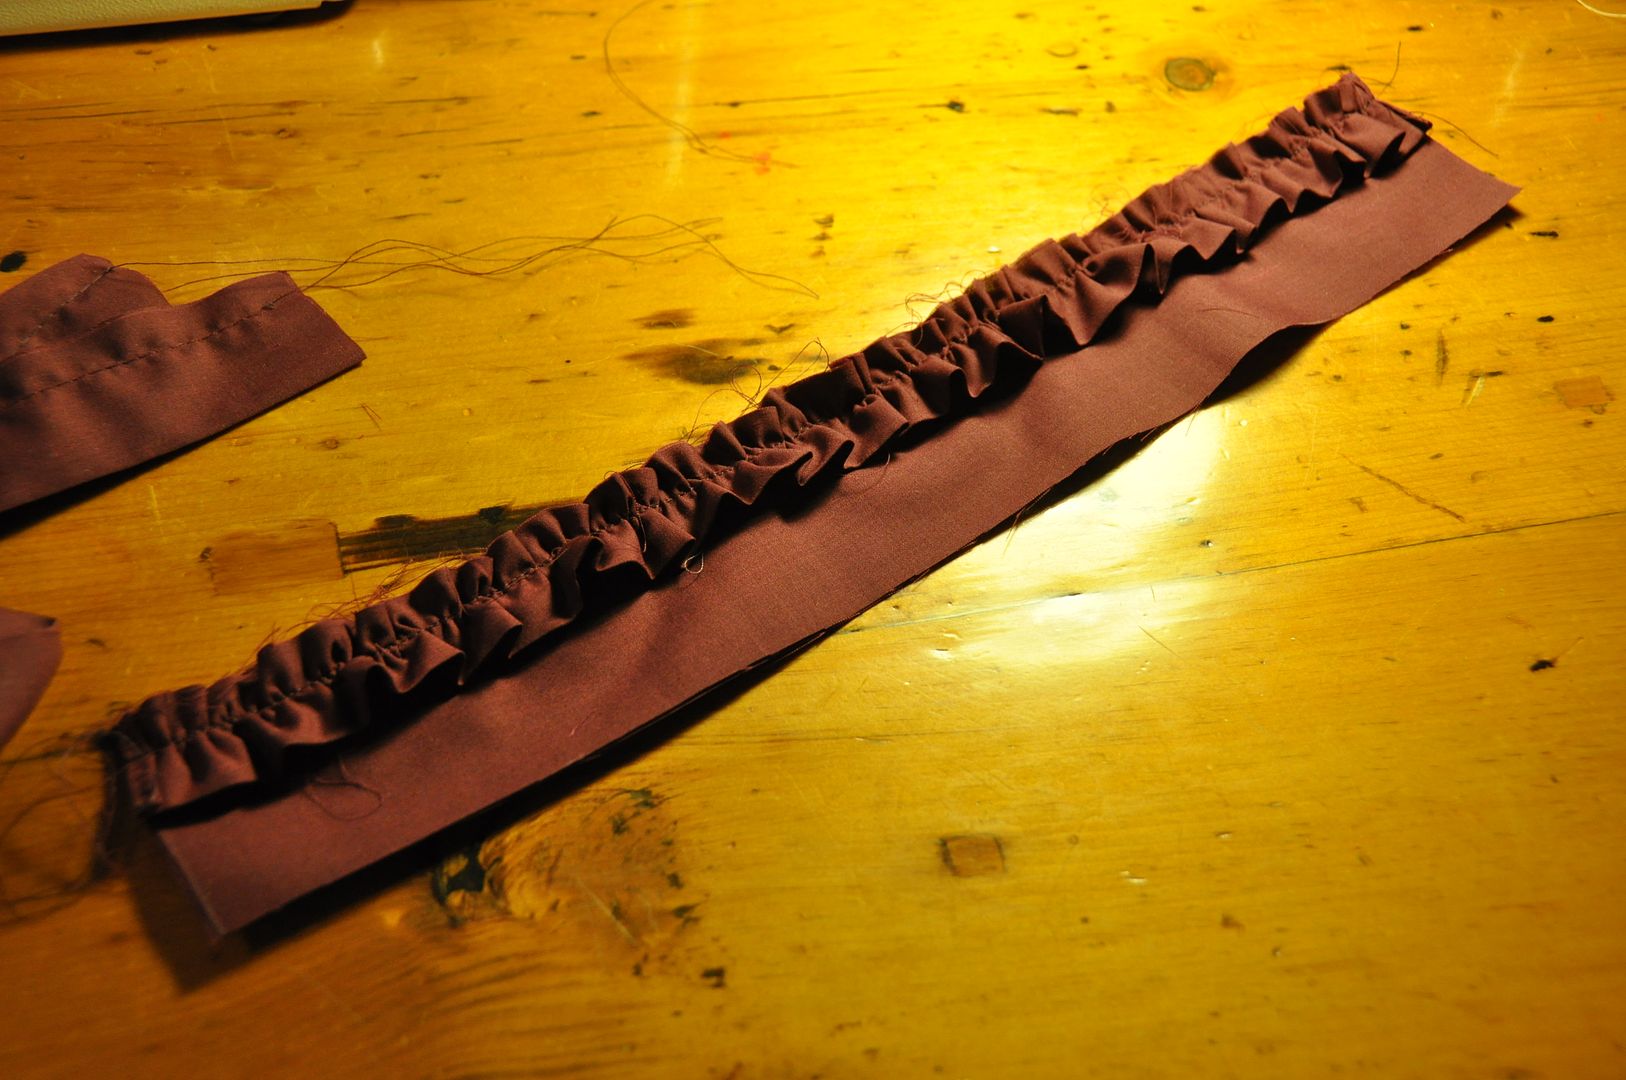
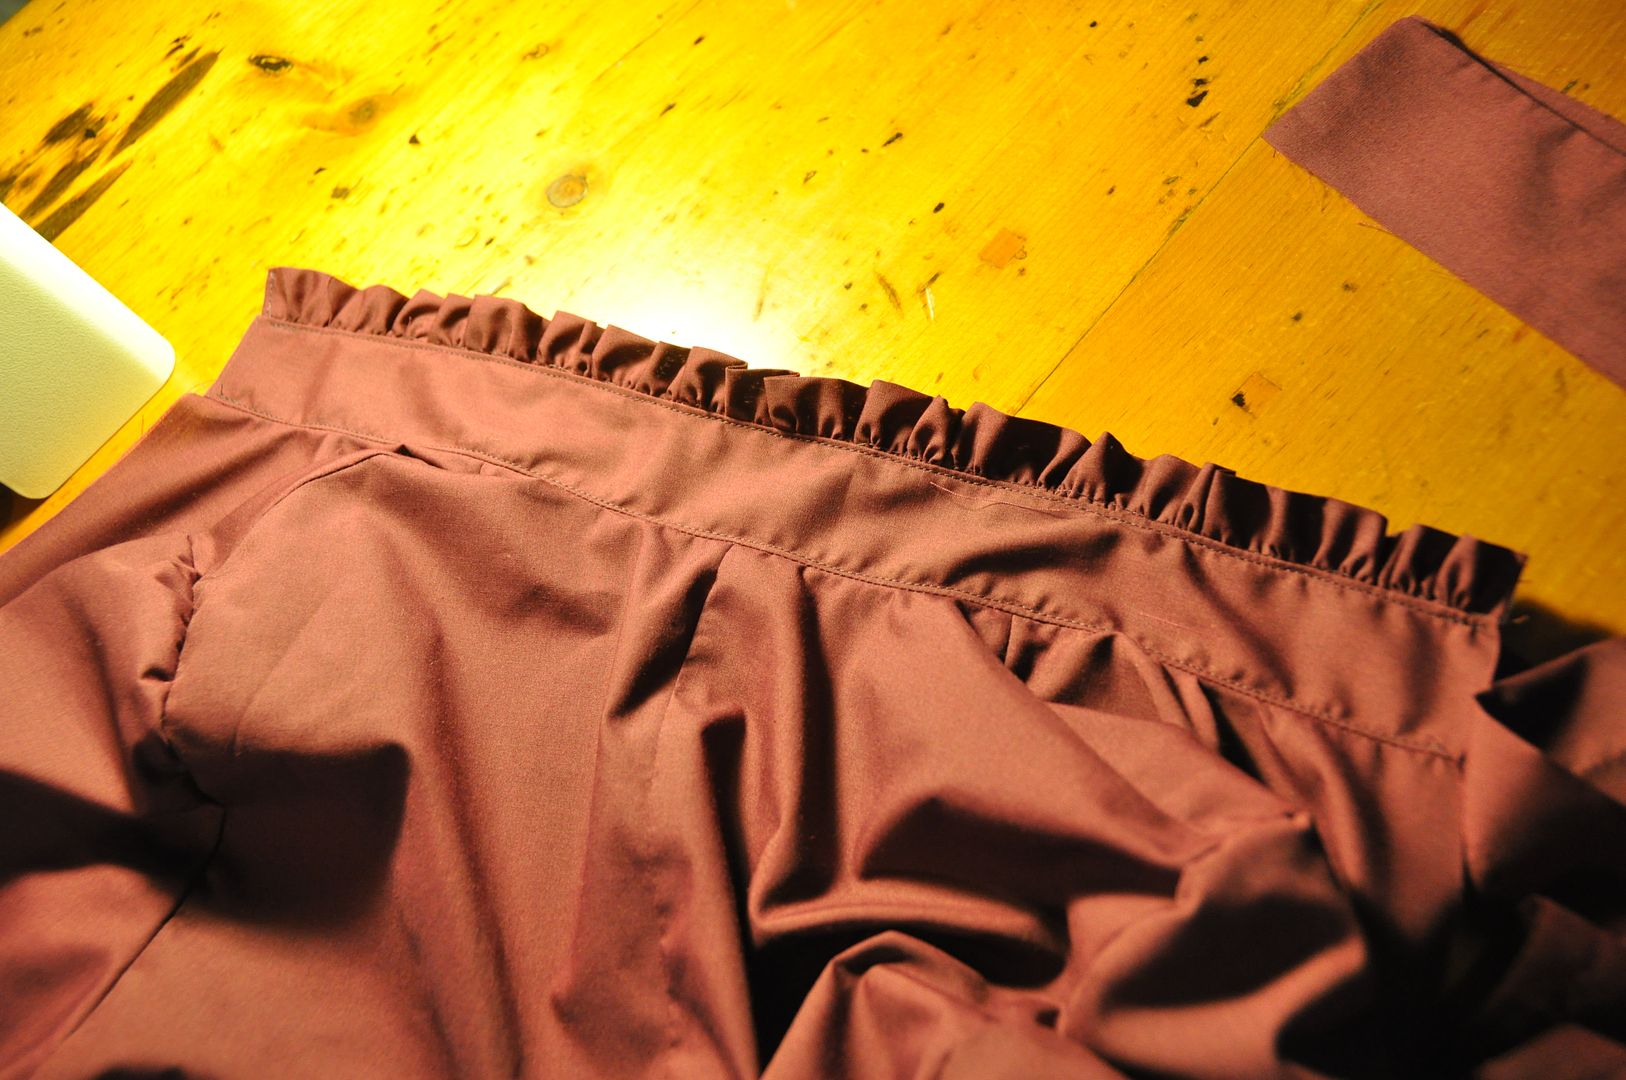
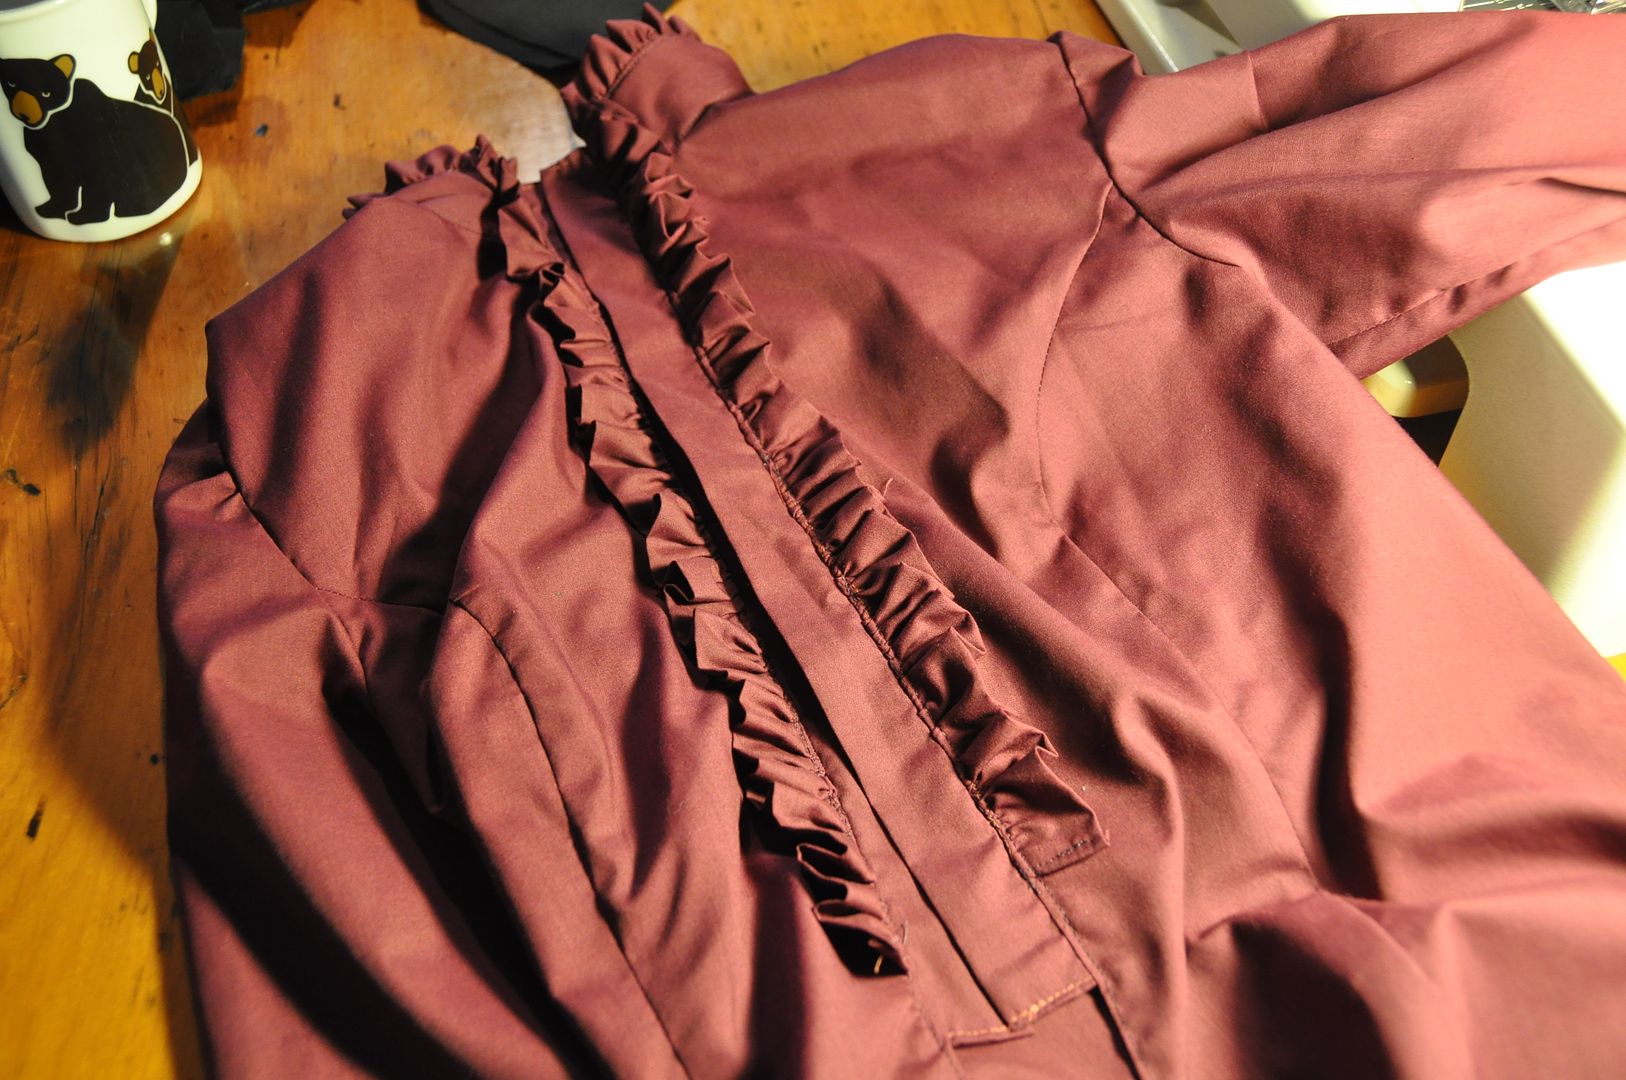
I made the collar ruffle, which was sandwiched inside the collar pieces and turned right way out. This was then attached to the neckline. 
I made the 2 front ruffles, which I stitched down to the front opening.

Then I attached the placket and finished off the opening edge and armhole seams.

Then I made a bias tape to finish off the sleeve slit, before I attached the cuffs. The sleeve pouffed just a touch at the cuffs as well.

The last thing I did was attach the bottom ruffle and do all the button holes.
Then I made the "corset". Now I say "corset" instead of corset, because this is just designed to look like an underbust corset, but does not have any of the structuring a corst would have (like boning). For all intents and purposes it is a glorified belt. Hahaha
I figured out how long I wanted ti to be, my underbust measurement, my waist measurement and natural waist measurement (where a modern pair of pants would sit). From there I was able to pattern this. Using my widest measurement I could then divide and calculate my darts.

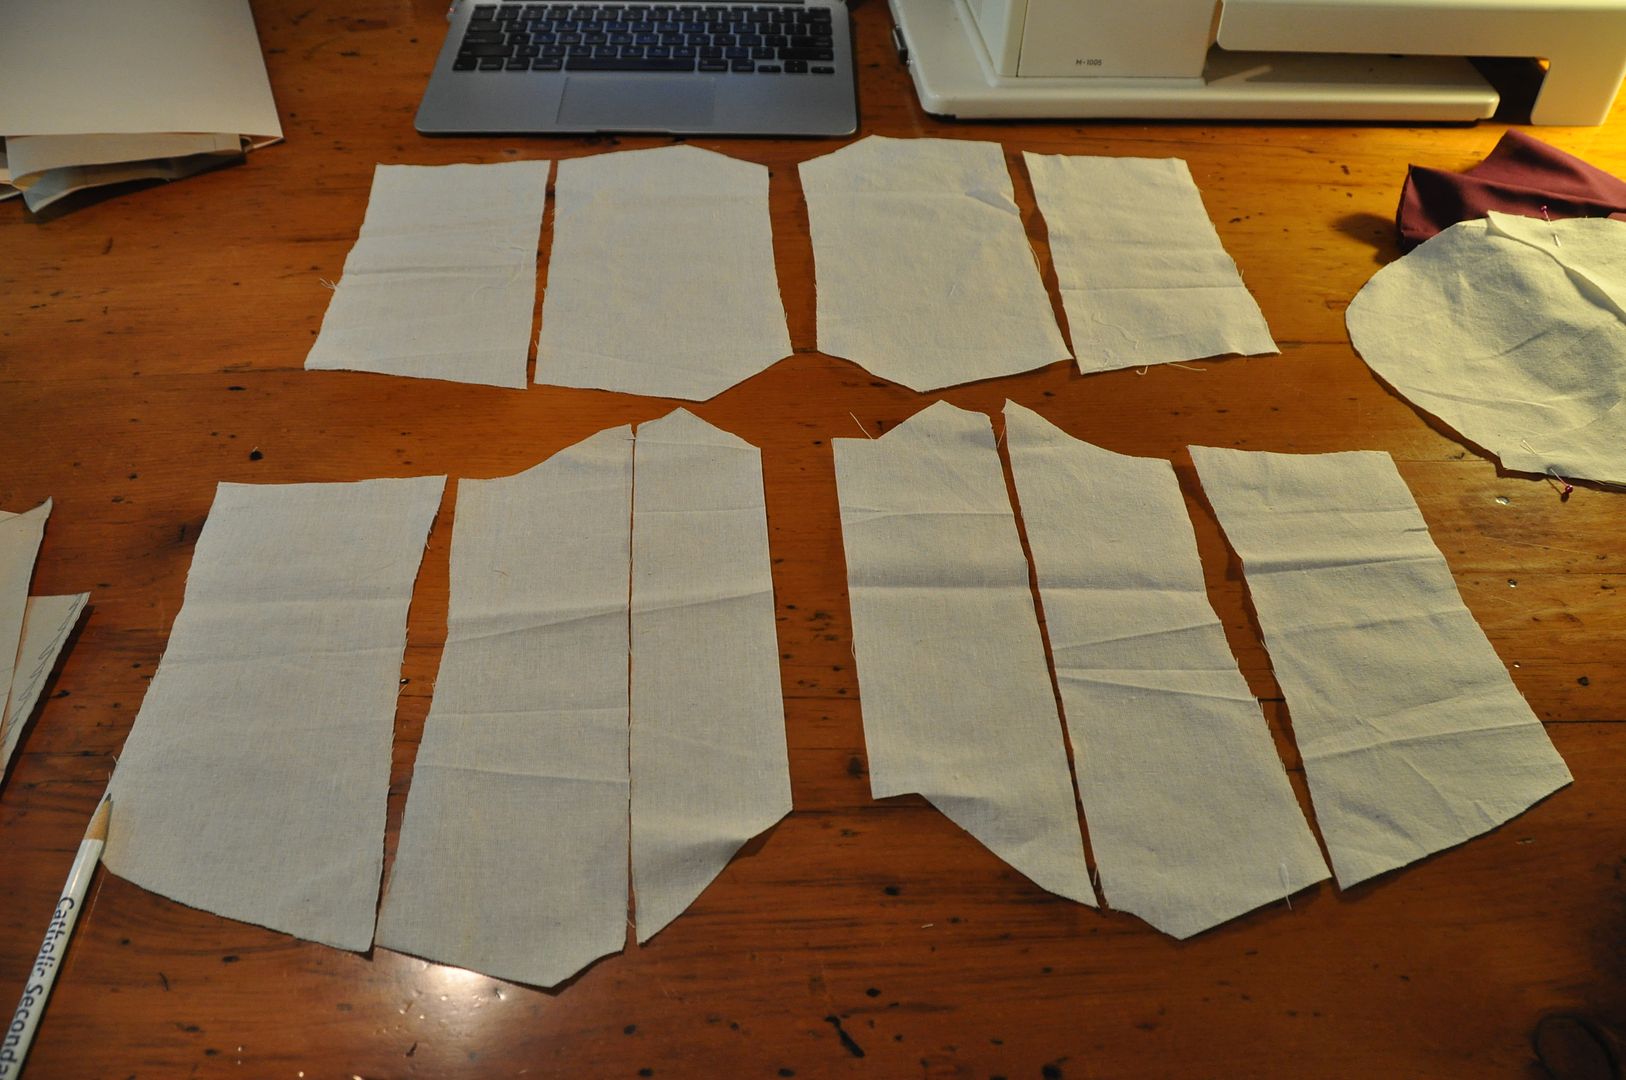
The result was these 10 pieces (pictured left: top row is the back panels, bottom row is the front panels). 

I made a mockup, then a good version.

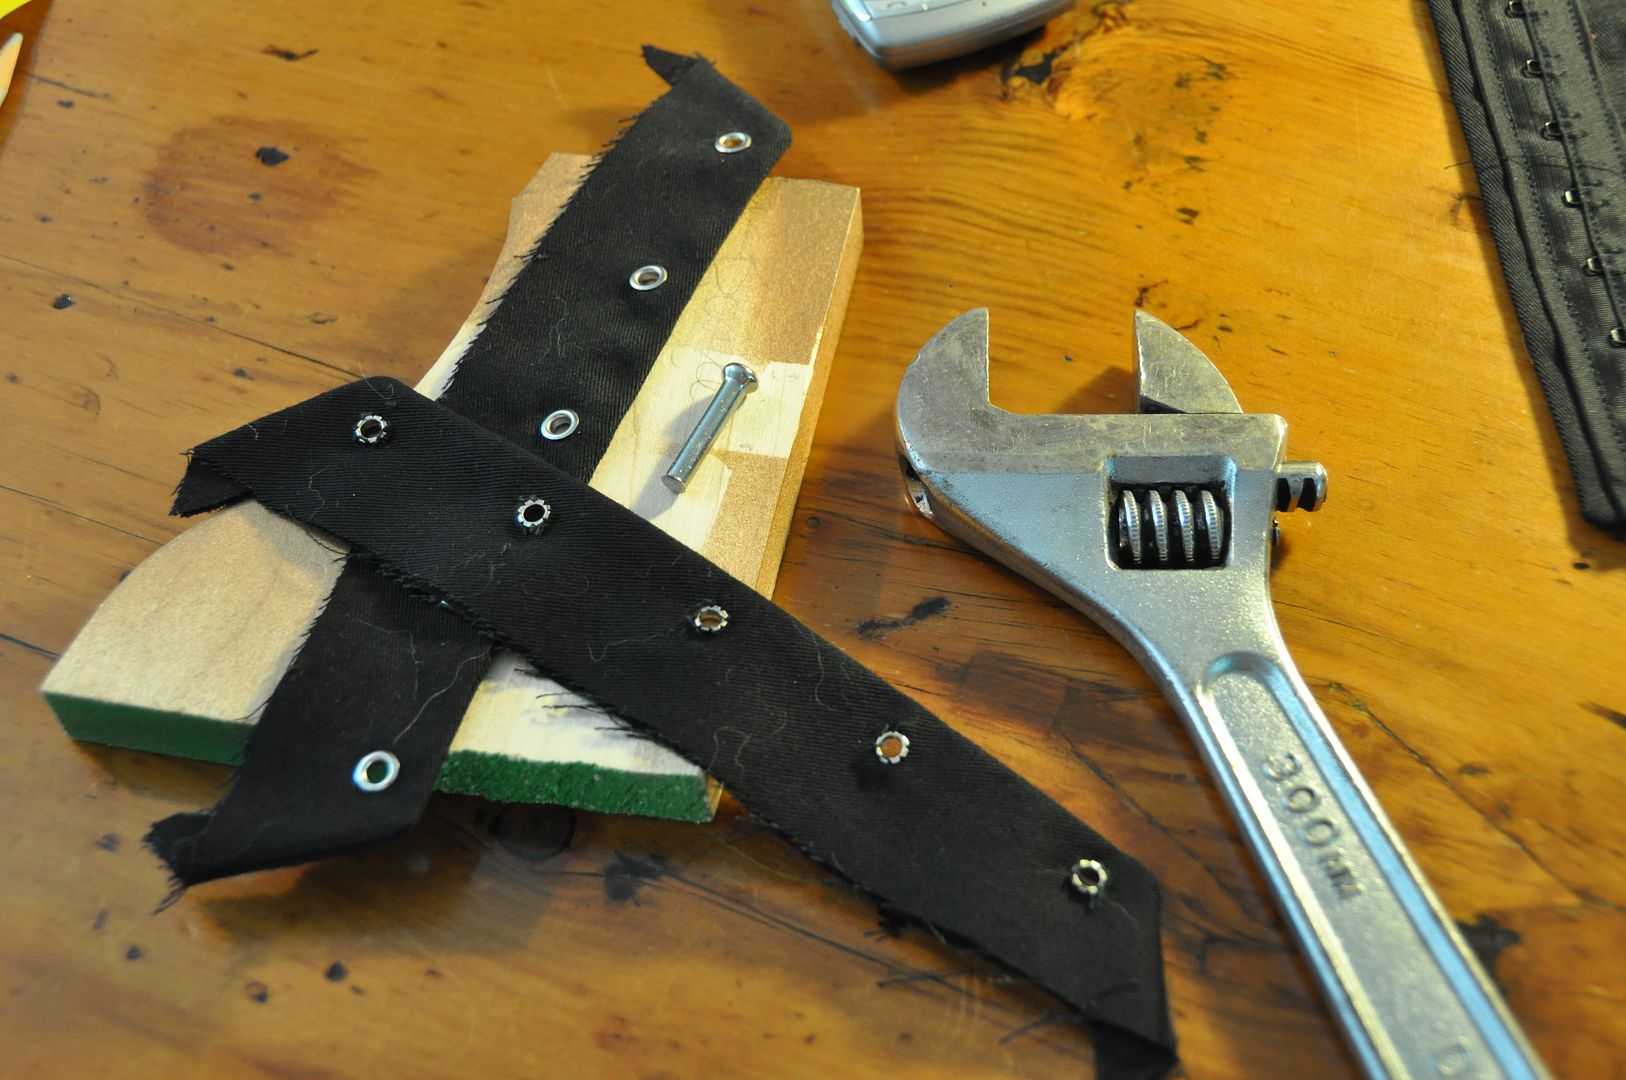
Then I hammered in the grommets. I couldn't find a hammer, so I used a wrench instead (my shop professor would be crying right now). It is always recommended to have a scrap piece of wood handy when hammering grommets, otherwise you will end up with dents in your table...
The grommets and lacing are just for show though, the actual closure is a row of hook and eye tape. Because it is way more secure.  Lastly I finished up the edges with bias tape! Woo!

I bought the thigh-high socks and ribbons for the costume. All of the bows on the socks were attached with safety pins, so I can use the socks for other things (and real life). The black flats are the same ones from my Alice costume.

Tuesday, October 15, 2013

Presea - Dress - Tales of Symphonia

(Edit: photos finally added many years later!)

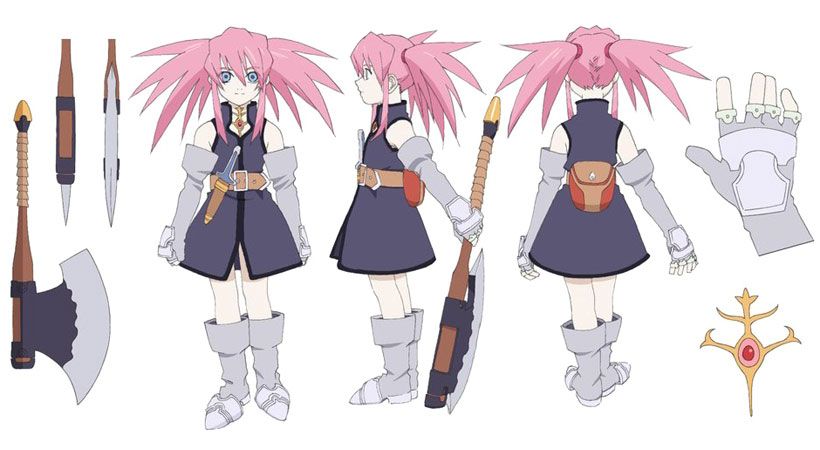
This is the first part of my in-depth look at how I made my Presea costume from Tales of Symphonia. (Attn: I currently have no pictures of the finished costume, as I need to make some major repairs to my axe before doing a photoshoot. I will post photos of the finished costume sometime soon!)

This costume had been in the works on and off for over a year. Originally meant to debut at Otakon in 2012, I encountered a lot of set-backs in the initial build that made it impossible to get it done for that con. Instead, I set it aside, to be finished for the following year. It was received quite well at Otakon 2013! Though I am a little sad I missed the Tales photoshoot.

Presea Combattir is a character from the Gamecube game Tales of Symphonia, released in 2004. This game, although being primarily single player, had the option of setting one of the computer controlled party members to player controlled during combat. So, I spent a great deal of time playing this game with my older sister. Originally, the party is quite small, and there are not too many characters to choose from, but later on there are about 9 characters and Presea was always one of my favourites. She was a silent badass, wielding a mighty axe, hefting trees, fighting off the bad guys. Also a very cute character. (Much preferable to Colette, as far as the main cast goes.)


It's interesting for me to compare how I made things 1 year ago to now. There is a lot I have learned over the past year, and there are many things I would have done differently on this costume had I made it now instead of then. The dress was the piece I finished first when I first began making the costume, so when I returned to the costume a year later I decided to leave it as it was, rather than improving it.

Like Suppi, this is another costume where colour is debatable because every reference picture is different. This dress ranges from blue to grey to purple. I decided to go with purple, because a) I like purple, b) I found purple fabric, c) I like purple on this character, and d) that is the colour the dress is in actual gameplay. Haha

 Finding the correct colour of purple fabric was not so easy however. The only purple I found was in the drapery section, so yes, my dress is made out of drapery fabric.
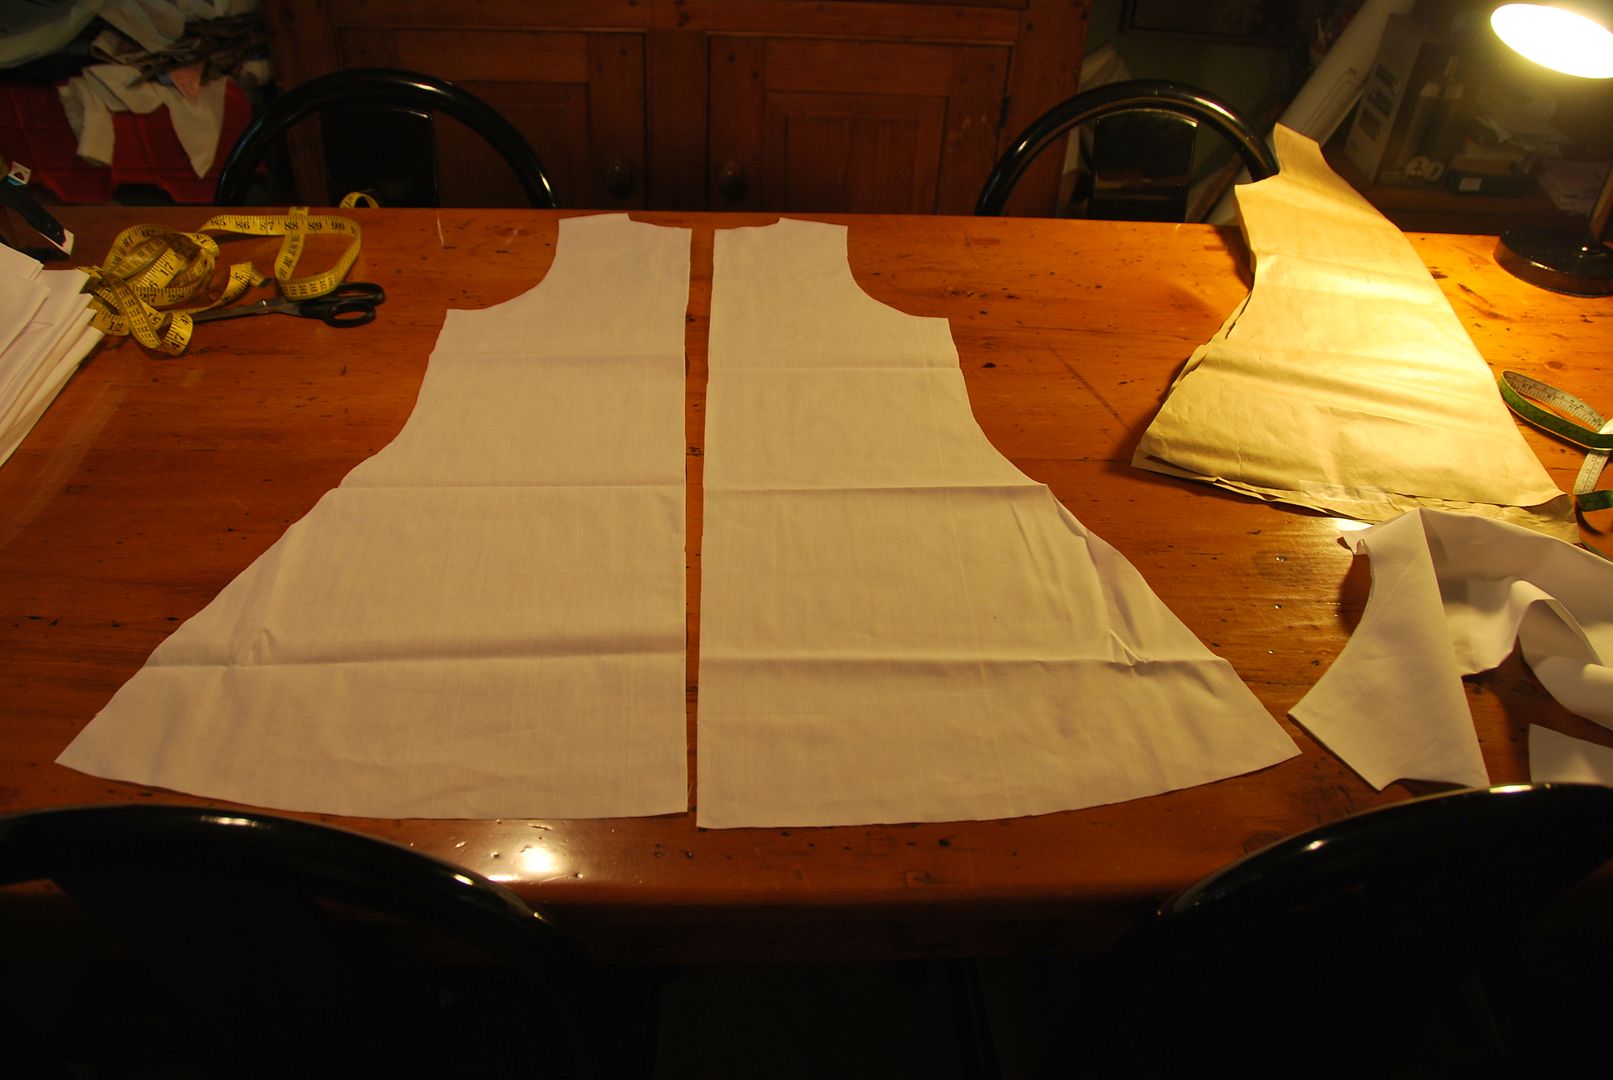
I started by tracing a shirt to get the width and armholes I wanted. I made the dress a wide a-line with no darts. All the cinching at the waist would be done with the belt. From there I made a broadcloth mockup. I drew my desired diamond neckline onto the mockup, then transfered it onto the paper pattern.
I then cut out my pieces from my purple fabric. I cut out double, making the dress double thickness to make it stiffer.

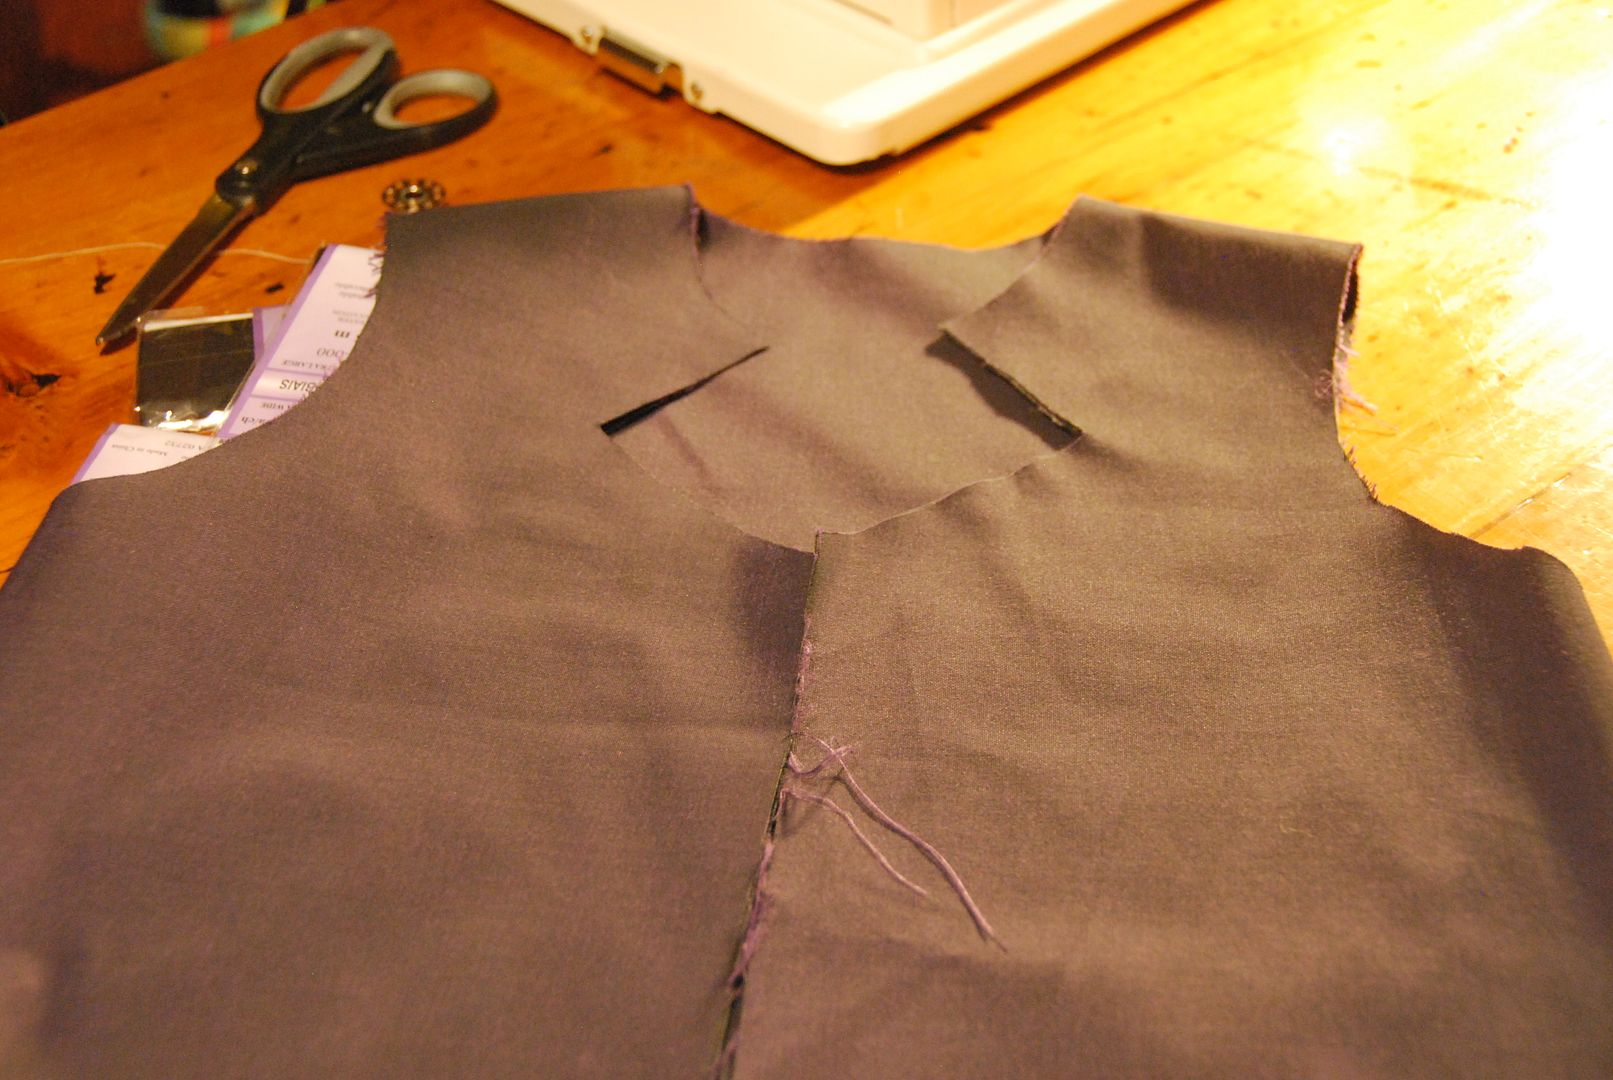
I sewed the side seams, and shoulder seams, then finished the inside edges.
Then I made the collar, which was 2 pieces of my purple fabric, with 1 layer of interfacing to keep it stiff. The collar is slightly shorter in the back than in the front. These pieces were basted together, then attached to the neckline.

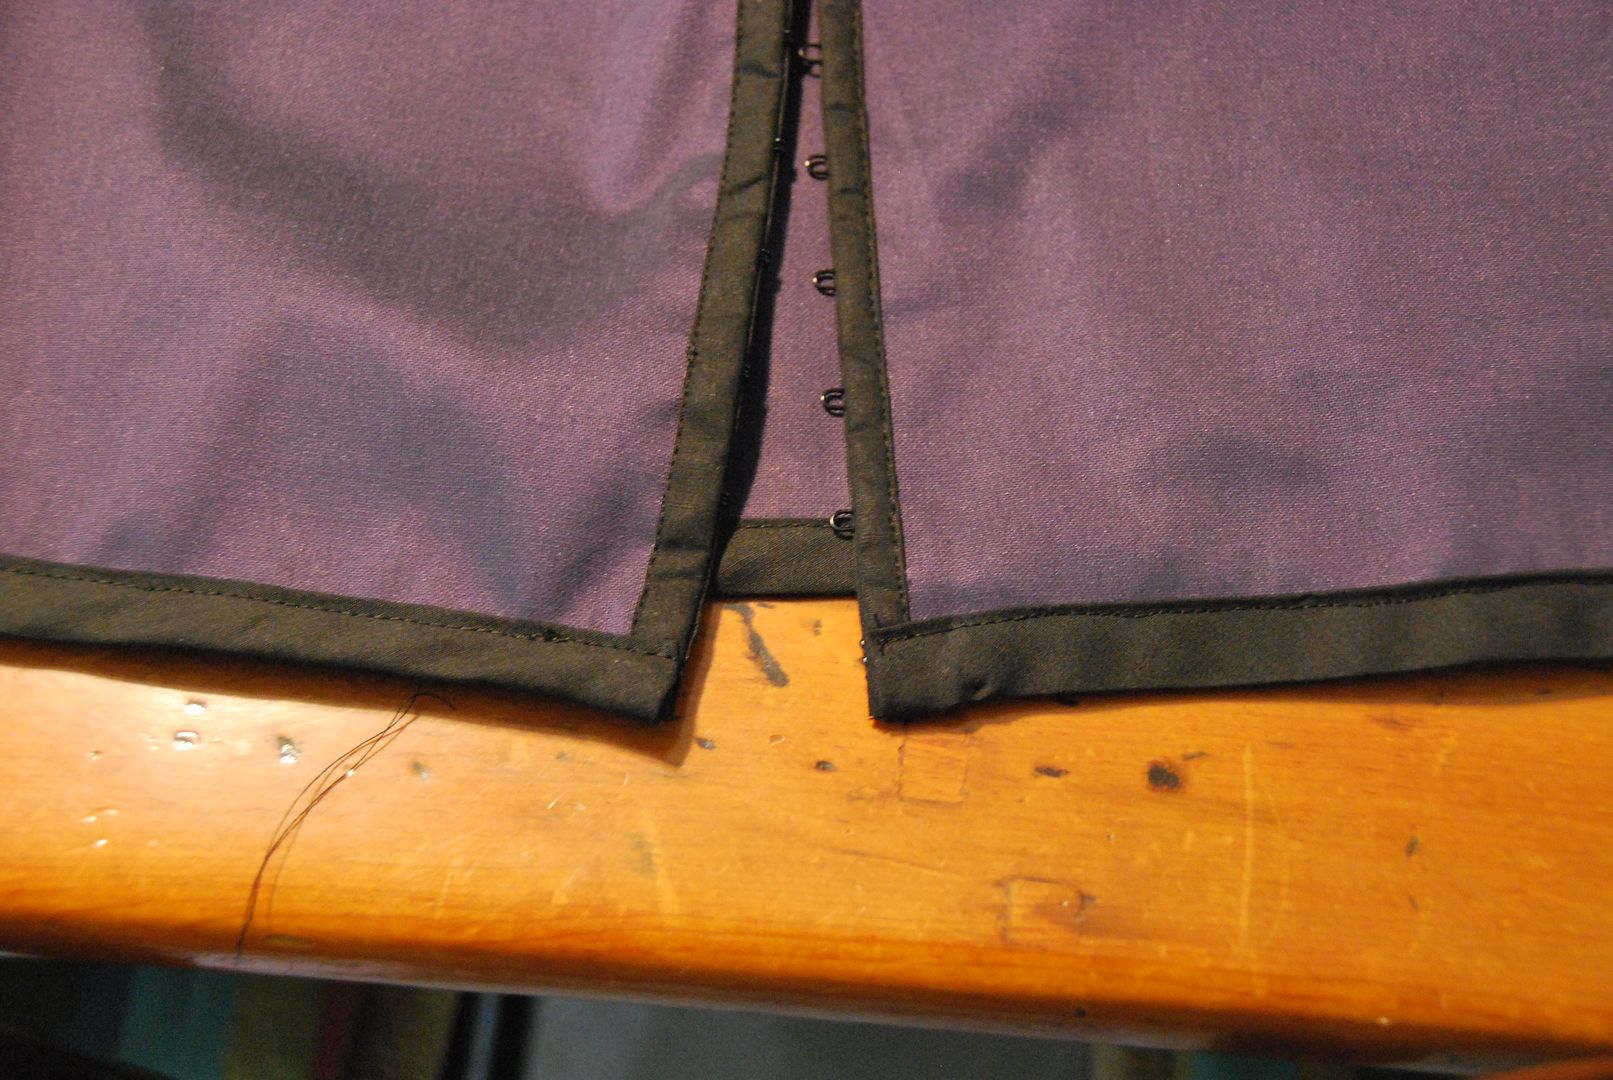
I then added a black modesty panel, and a long row of hook and eye tape down the front.
Next step was to finish the bottom edge with black bias tape.

Then I added a dart coming in from the armhole. This stopped it from gaping weirdly at the front. The armholes were also finished with bias tape.
The last step was to finish the collar with black bias-tape. This was the first time I had done sharp corners with bias tape. I put the corners into the bias tape before sewing it on.

Tuesday, September 4, 2012

Alice in Wonderland - Dress

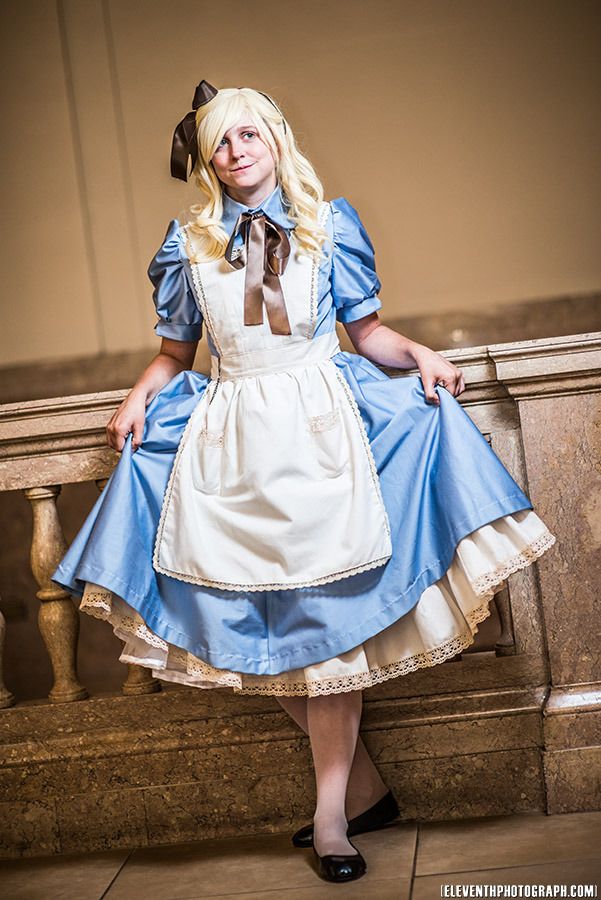
Here's a look at how I made my Alice in Wonderland dress. This costume debuted at Otakon back in July. I also wore it to Otakuthon and FanExpo this past month.

(My Alice posts will be divided into three parts: the dress, the petticoats and the apron. )

Special thanks to Mike of Eleventh Photograph for the awesome photoshoot! Go here for the pictures!

This was a costume that I had wanted to make for a long time and I am really happy with the end result. This version is loosely based off of both the '60's Disney movie, the original illustrations from the book and my own designs. I wanted to go less cartoon-y and more historical.

I had a great difficulty deciding on my blue fabric. I didn't want something excessively shiny, as I find that can look extremely tacky, but I did want a fabric that had a bit of a sheen and some nice weight to it. After much scouring I eventually found this fabric at a really reasonable price and also somehow managed to miscalculate and buy almost twice as much as I actually needed... whoops.

I started to pattern this by figuring out how wide I wanted the skirt to be at the bottom. I guesstimated the circumference and divided that number by 4. Then I calculated the length of the skirt, from where I wanted it to start to where I wanted it to fall. Keeping in mind that it would puff out in the end because of the petticoats.  I drew this out on craft paper. I tapered it in at the waist, because although I wanted it to bunch and ruffle, I didn't need like 200 inches of fabric doing that at the waist...
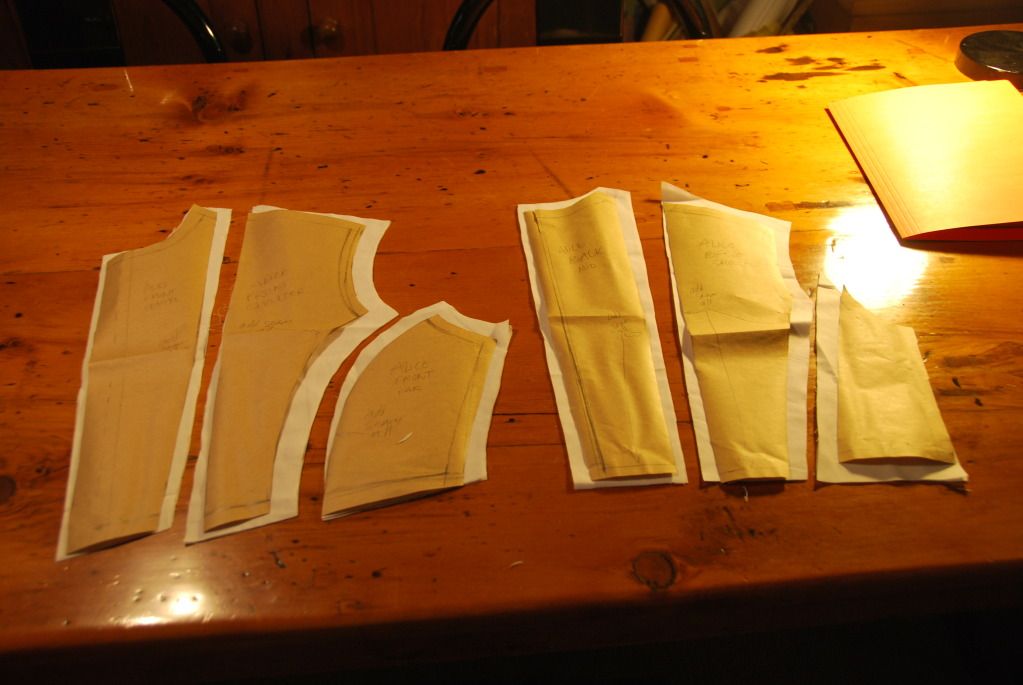
With great care and consideration, I patterned the bodice of this dress. Basing this off my measurements, a blouse pattern and my original design I created a bodice that was well fitting. I wanted to have a button up front, with 2 seams on each side making the dress taper in at the waist. The pattern I created consisted of 12 pieces that would form the bodice (+ the placket I would add later).
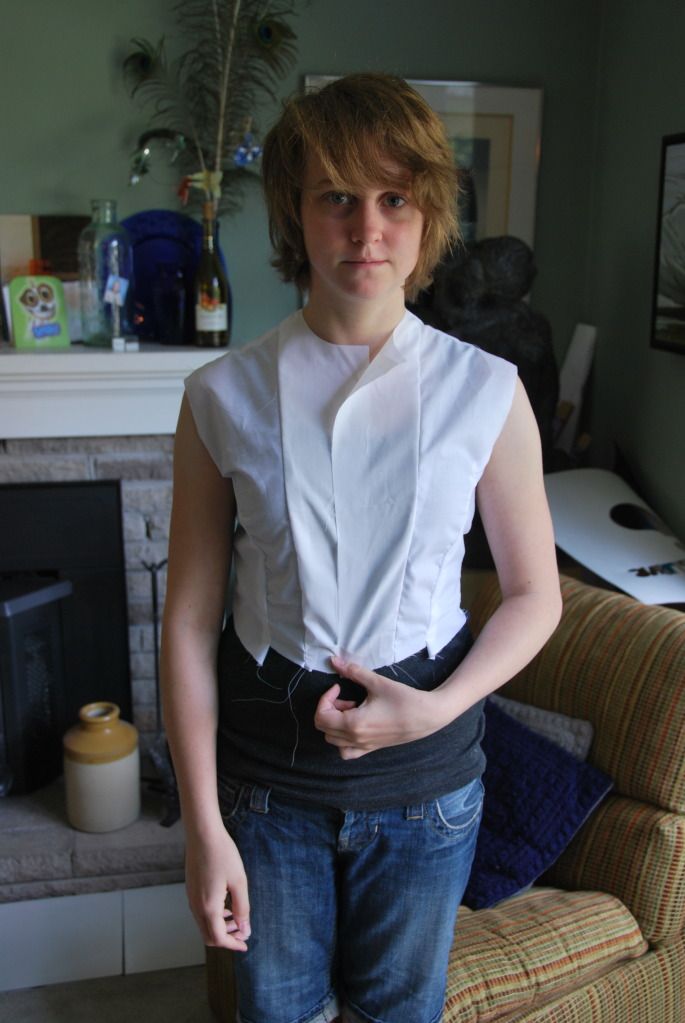
I first made a mock-up to determine if my pattern worked. Some adjustments were required--I ended up lengthening it by 1/2" and I took the shoulders in a bit--but overall the fit was good.
I then cut my pieces out of my good fabric, making sure to add the seam allowances.
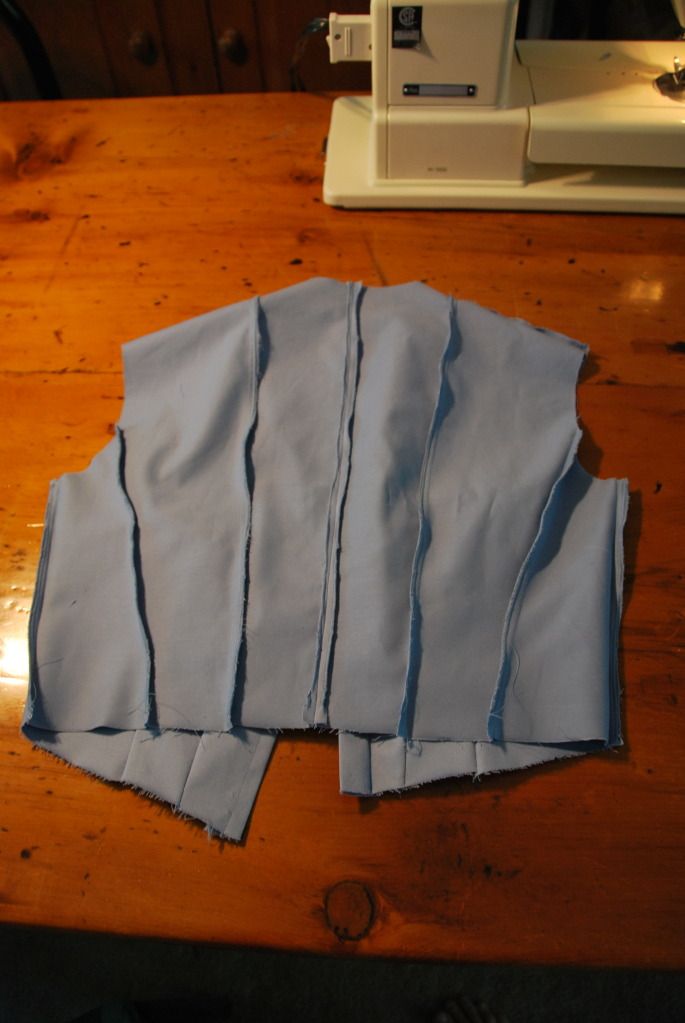
I sewed the front panels and back panels together. I pressed the seams flat.
I clipped and finished the tops of the seams that would be sewn in the shoulder seam. I left the rest of the seams in the bodice unfinished so I could make adjustments, but I had to do up the sides and shoulders first so I could determine the fit.
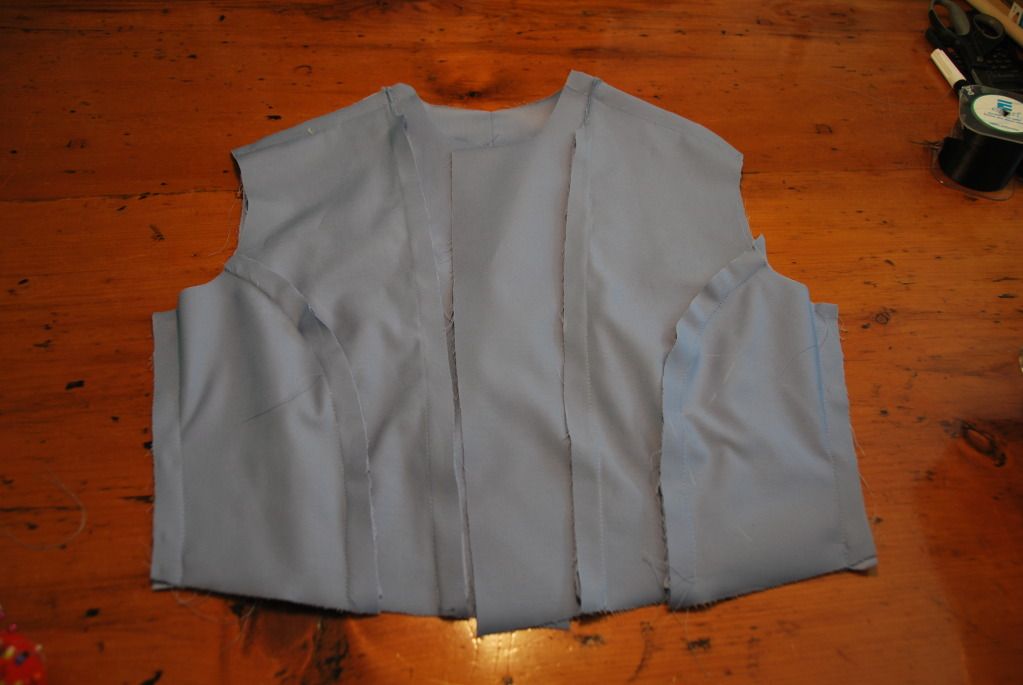
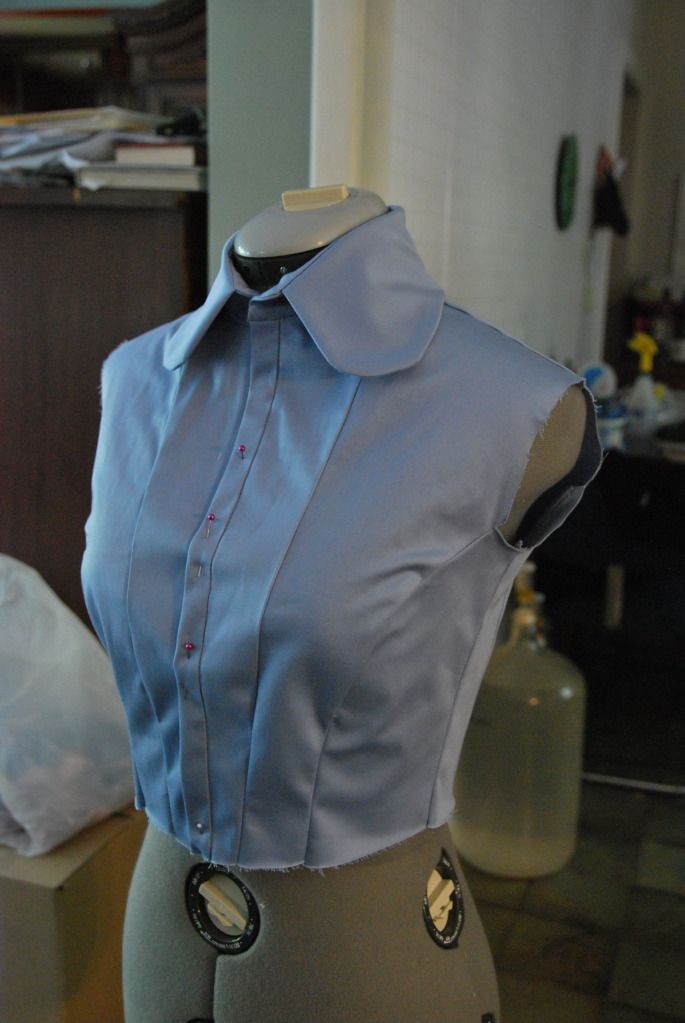
I then added the placket to the front where the button holes would go.
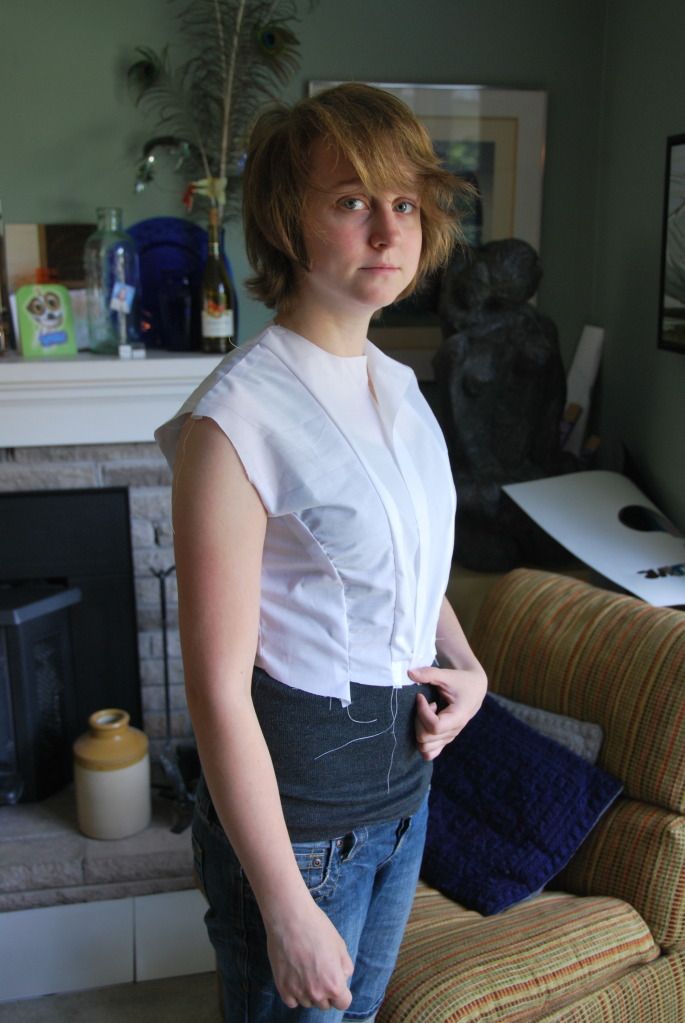
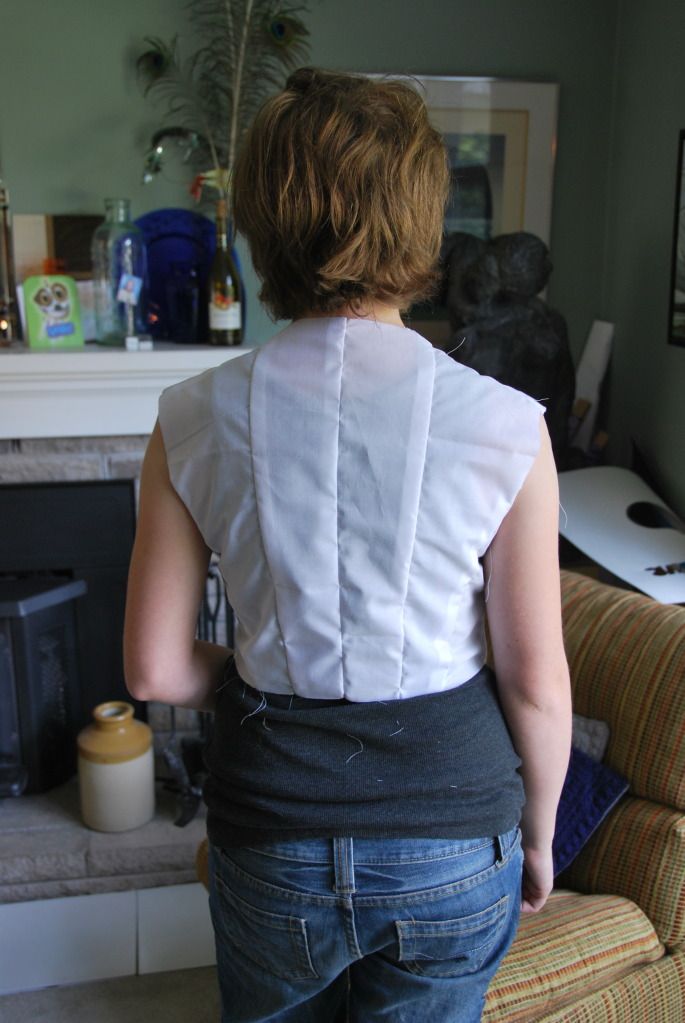
Once the placket was complete, I made a few more adjustments to the fit, particularly at the arms and shoulders. It is easiest to pin these adjustments when the garment is worn inside-out.
I tried it on and decided the fit was right,so I was ready to move on. (Please ignore the fact that my pants are kind of falling down even though I am totally wearing a belt...)
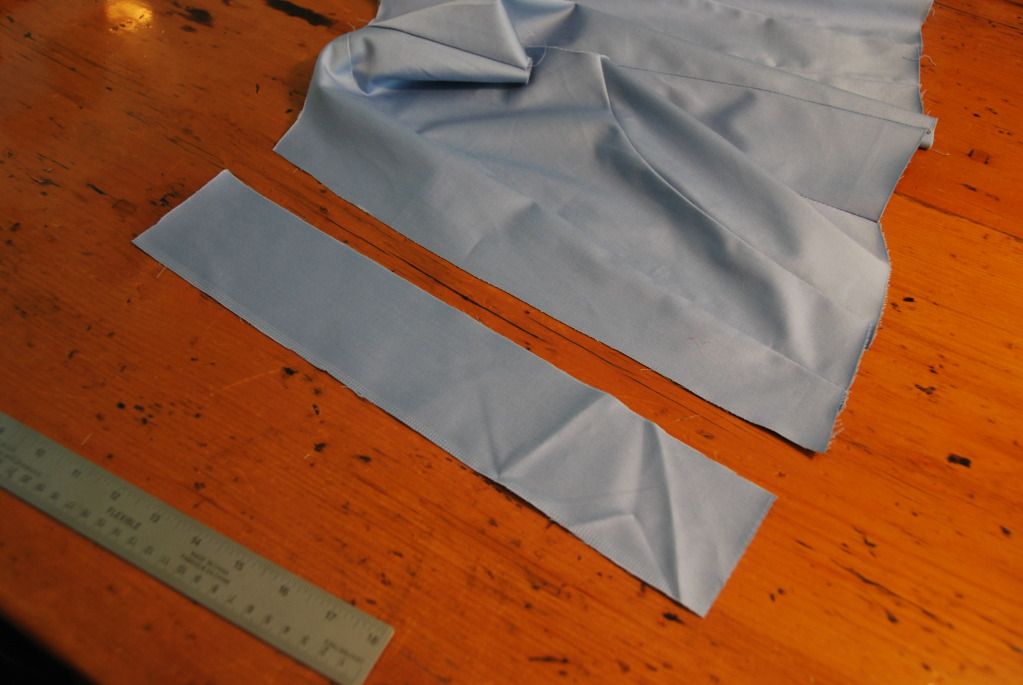
I then got to work on the collar. I based the pattern pieces off the blouse pattern I had from my Doctor Who costume, but I changed the shape of the collar at the front to be rounded as opposed to pointy.
I sewed the outer part of the collar together, clipped it, turned it right way out and pressed it. Then I sewed it into the inner part of the collar. After clipping and pressing that, I was able to attach it to the bodice.
I finished the inner seams of the bodice, and then attached the collar. First on the outside and then using a ditch-stitch to finish the inside. Pretty! :D
I sewed my 4 panels for the skirt together and finished the inner seams. On on of the seams I left a 2.5" gap at the top that was un-stitched. This is where it would be attached to the front opening. By having this 'slit' I would be able to easily remove the dress when it was unbuttoned, but with the overlap it would be unnoticeable when buttoned up.
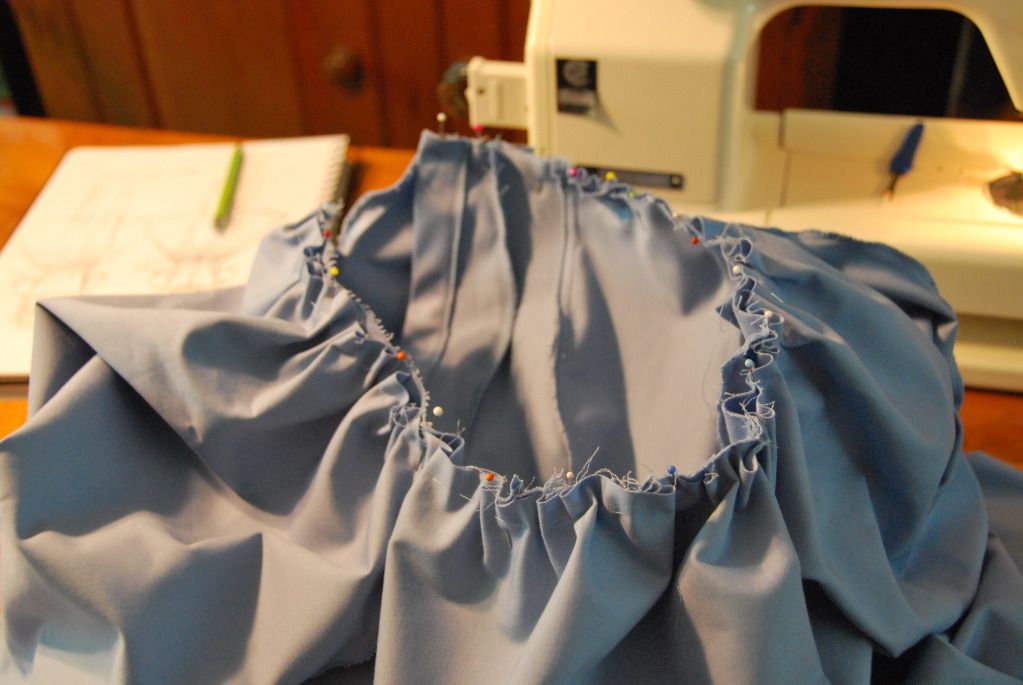
I then used a basting stitch and sinched up the skirt to the correct cicumference so it could be attached to the bodice. This was pinned in place and sewn on (right sides together).
The dress so far. At this point I knew I needed to take in the shoulders even more, because even with a half inch seam allowance the sleeves would still sit too low.
I marked and pinned the dress for hemming. I had a sewing party with a friend and she hemmed the dress beautifully for me while I made gloves for another costume.
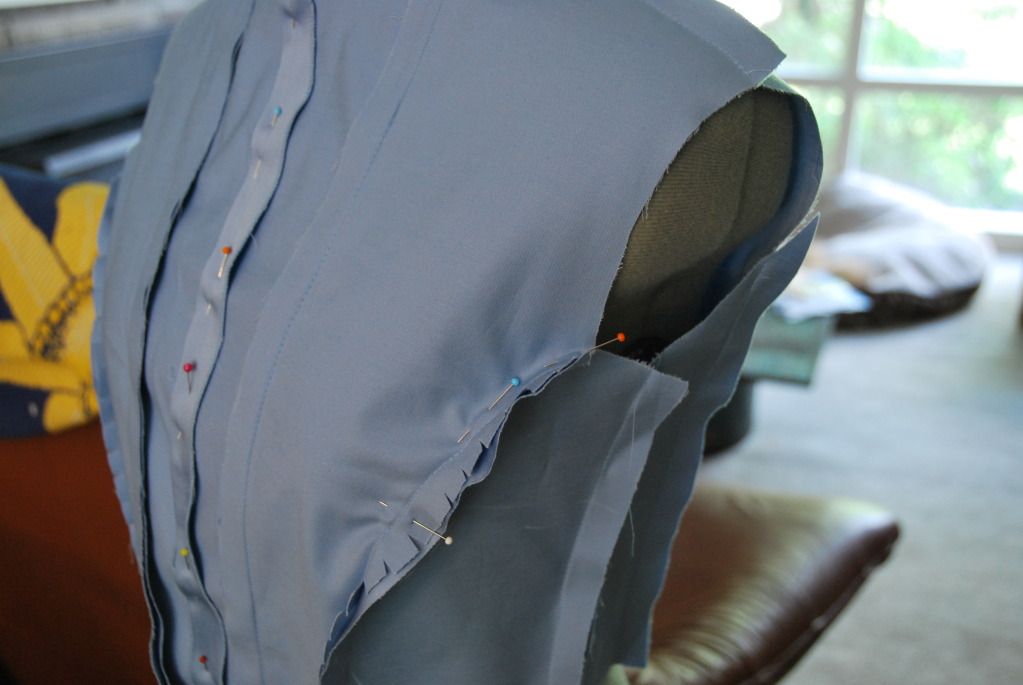
The sleeves were patterned and the sinched so that they would be pouffy. I attached them, and added a slit, which would be where the sleeve would close with a button. This slit was finished off with a bias tape made of my same fabric.

I then gathered the bottom of the sleeves and added the little cuffs. The button and loop were the finishing touches here.

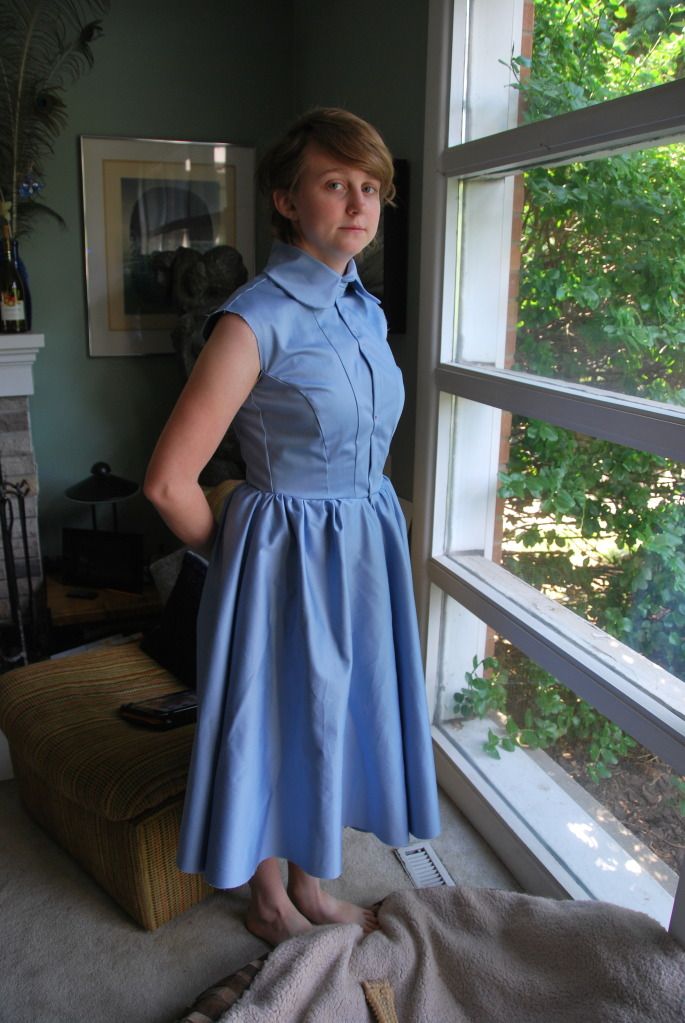
The last thing I did for this costume was to add the button holes to the placket and sew on the buttons.