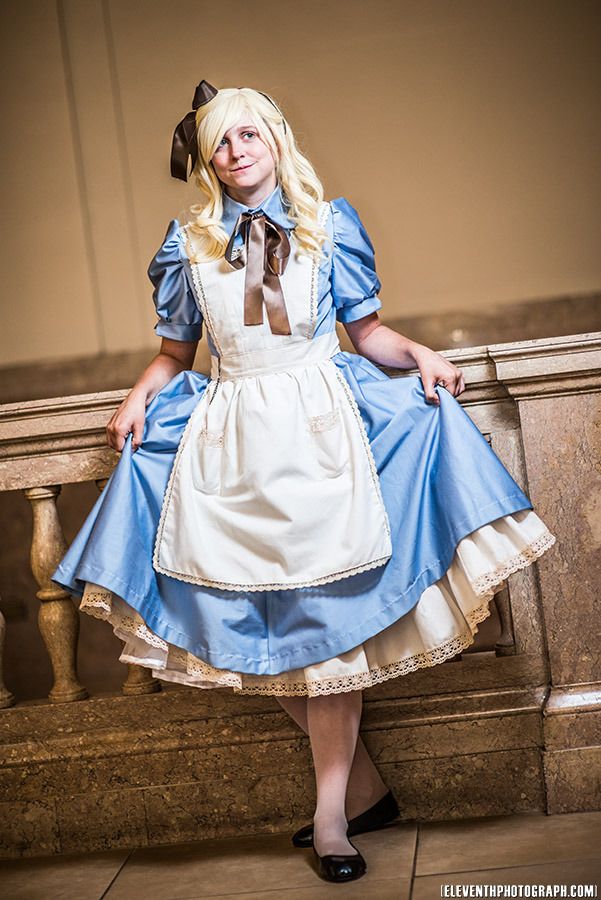
Here's a look at how I made my Alice in Wonderland dress. This costume debuted at Otakon back in July. I also wore it to Otakuthon and FanExpo this past month.
(My Alice posts will be divided into three parts: the dress, the petticoats and the apron. )
Special thanks to Mike of Eleventh Photograph for the awesome photoshoot!
Go here for the pictures!
This was a costume that I had wanted to make for a long time and I am really happy with the end result. This version is loosely based off of both the '60's Disney movie, the original illustrations from the book and my own designs. I wanted to go less cartoon-y and more historical.
I had a great difficulty deciding on my blue fabric. I didn't want
something excessively shiny, as I find that can look extremely tacky,
but I did want a fabric that had a bit of a sheen and some nice weight
to it. After much scouring I eventually found this fabric at a really
reasonable price and also somehow managed to miscalculate and buy almost
twice as much as I actually needed... whoops.

I started to pattern this by figuring out how wide I wanted the skirt to be at the bottom. I guesstimated the circumference and divided that number by 4. Then I calculated the length of the skirt, from where I wanted it to start to where I wanted it to fall. Keeping in mind that it would puff out in the end because of the petticoats. I drew this out on craft paper. I tapered it in at the waist, because although I wanted it to bunch and ruffle, I didn't need like 200 inches of fabric doing that at the waist...
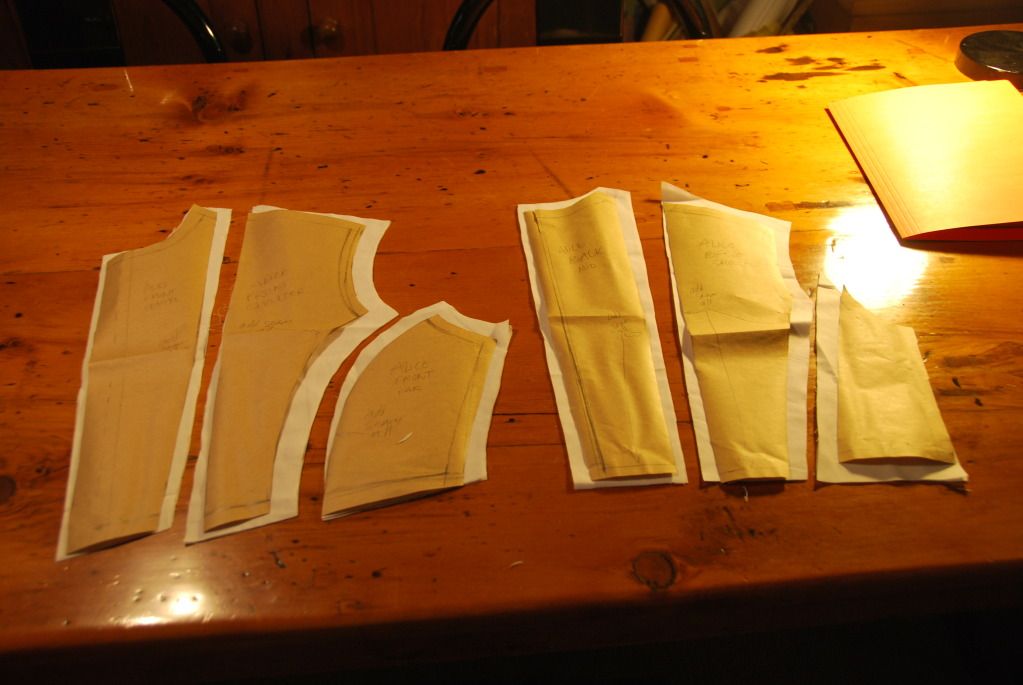
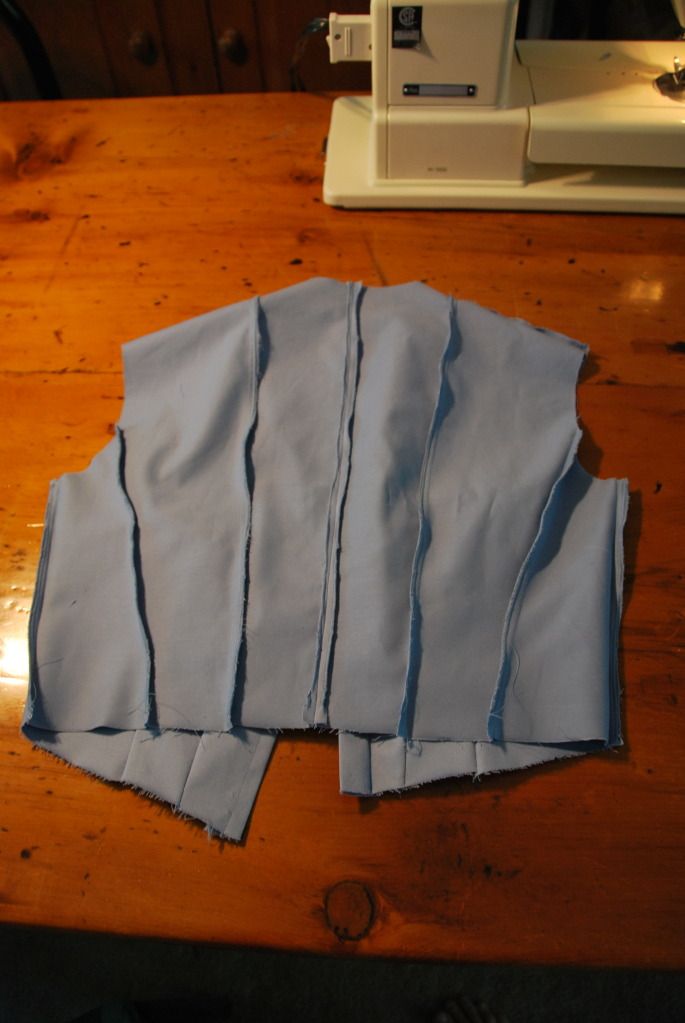
With great care and consideration, I patterned the bodice of this dress. Basing this off my measurements, a blouse pattern and my original design I created a bodice that was well fitting. I wanted to have a button up front, with 2 seams on each side making the dress taper in at the waist. The pattern I created consisted of 12 pieces that would form the bodice (+ the placket I would add later).
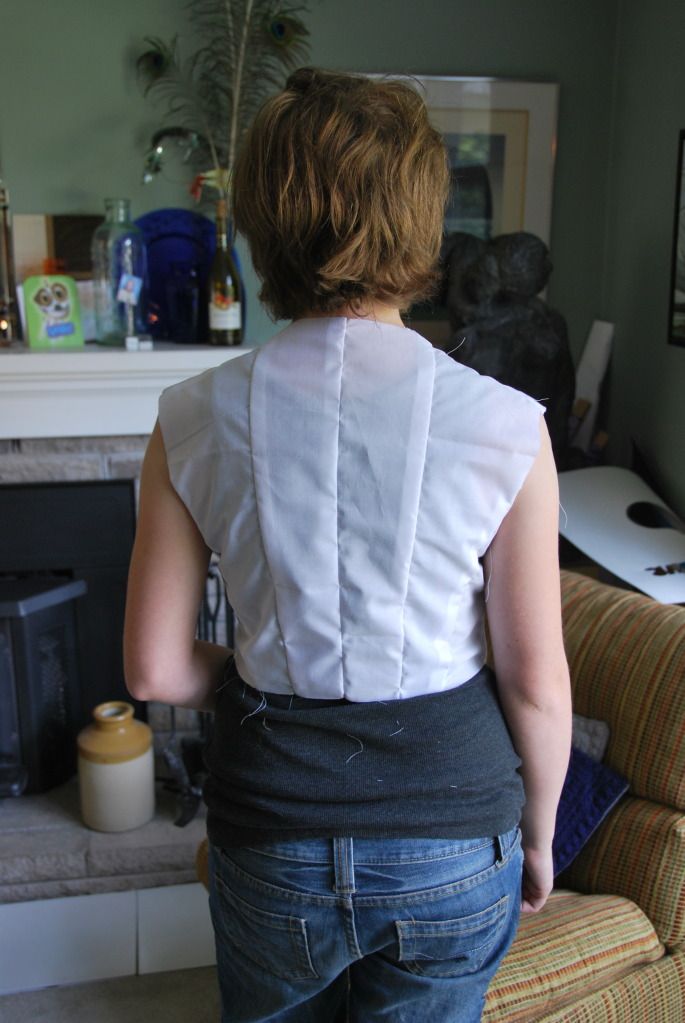
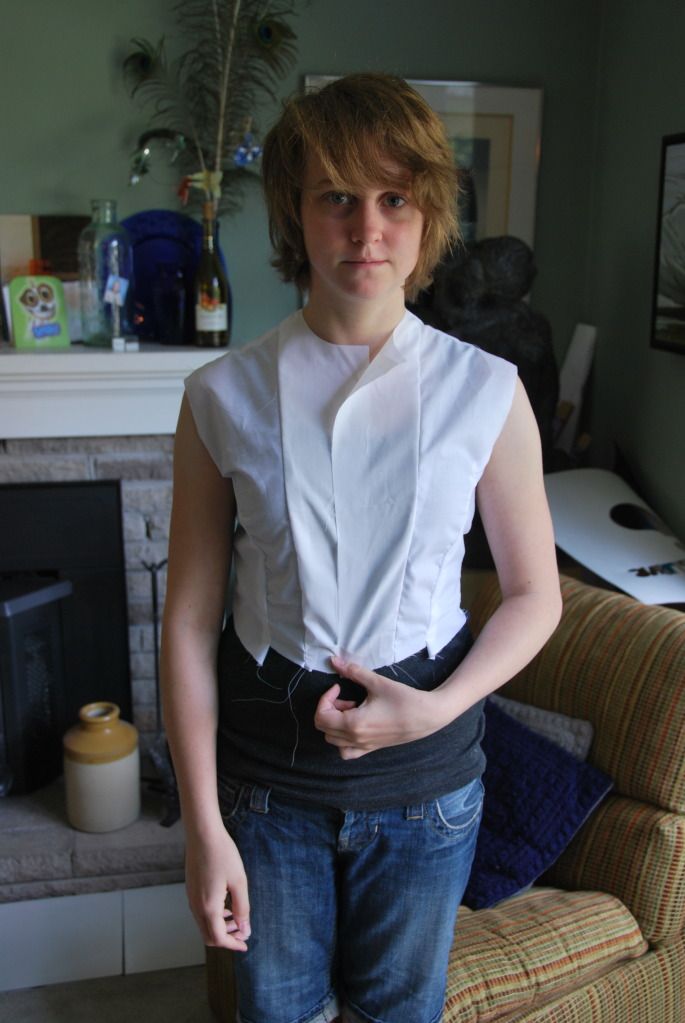
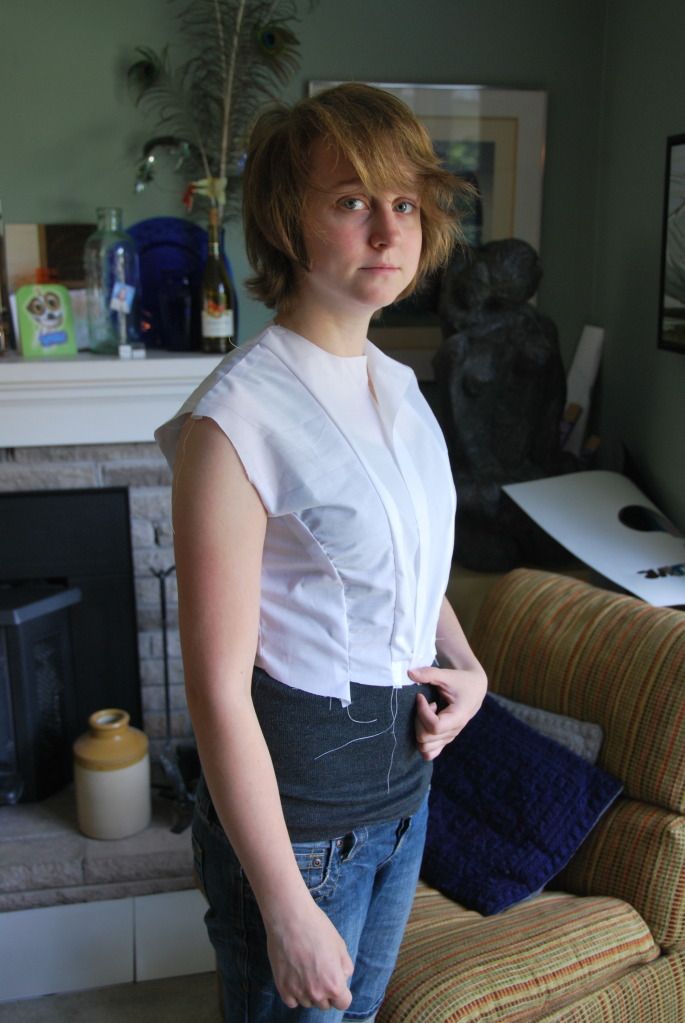
I first made a mock-up to determine if my pattern worked. Some adjustments were required--I ended up lengthening it by 1/2" and I took the shoulders in a bit--but overall the fit was good.

I then cut my pieces out of my good fabric, making sure to add the seam allowances.

I sewed the front panels and back panels together. I pressed the seams flat.
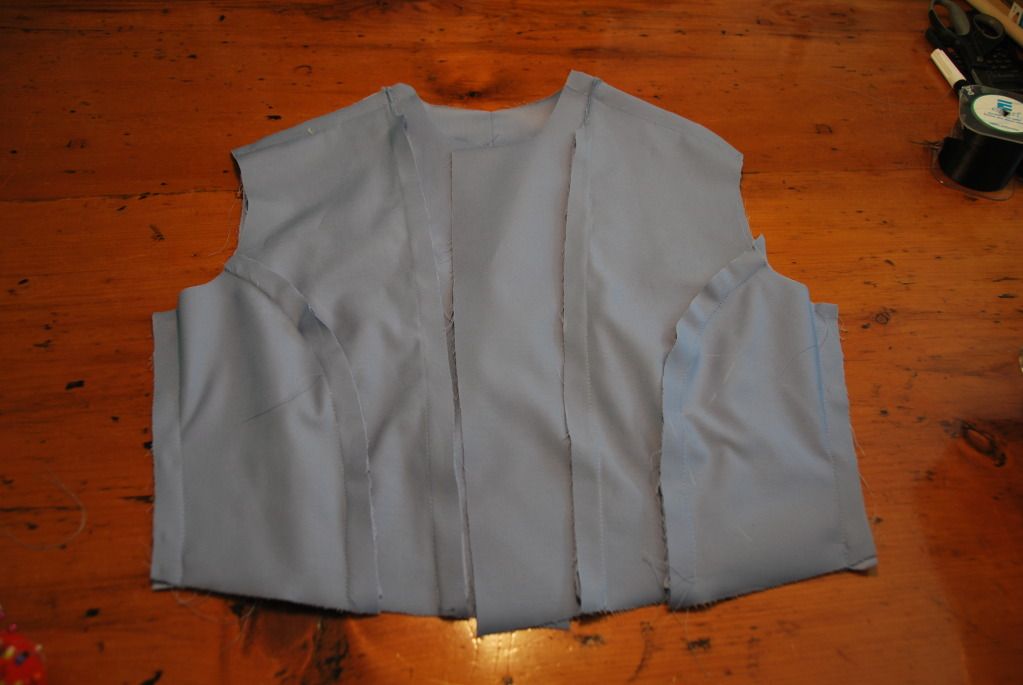
I clipped and finished the tops of the seams that would be sewn in the
shoulder seam. I left the rest of the seams in the bodice unfinished so I
could make adjustments, but I had to do up the sides and shoulders
first so I could determine the fit.
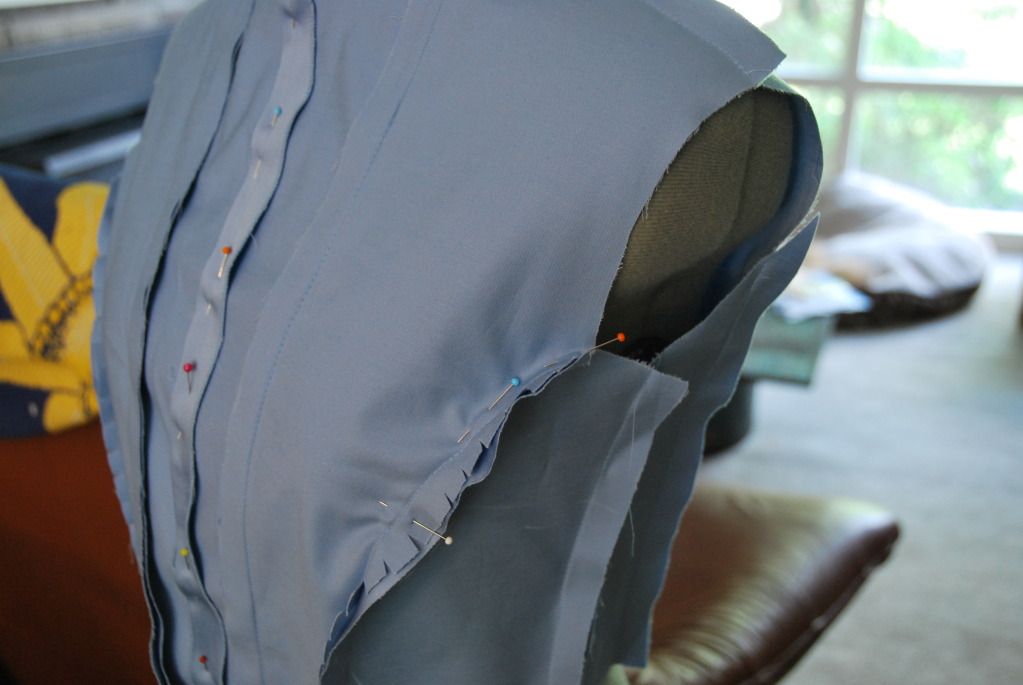
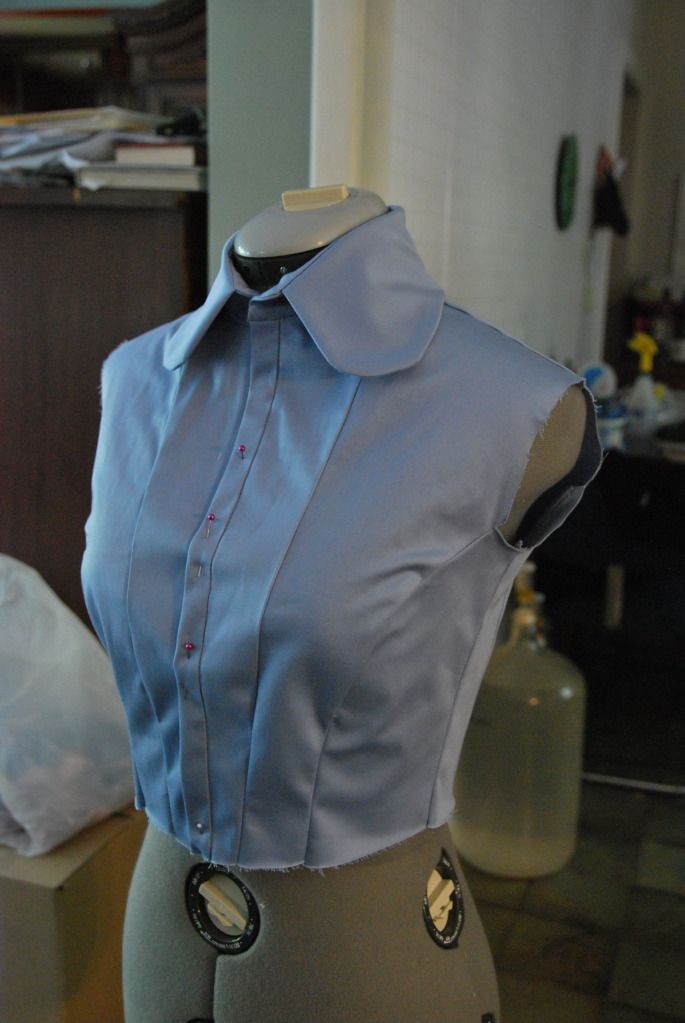
I then added the placket to the front where the button holes would go.

Once the placket was complete, I made a few more adjustments to the fit, particularly at the arms and shoulders. It is easiest to pin these adjustments when the garment is worn inside-out.
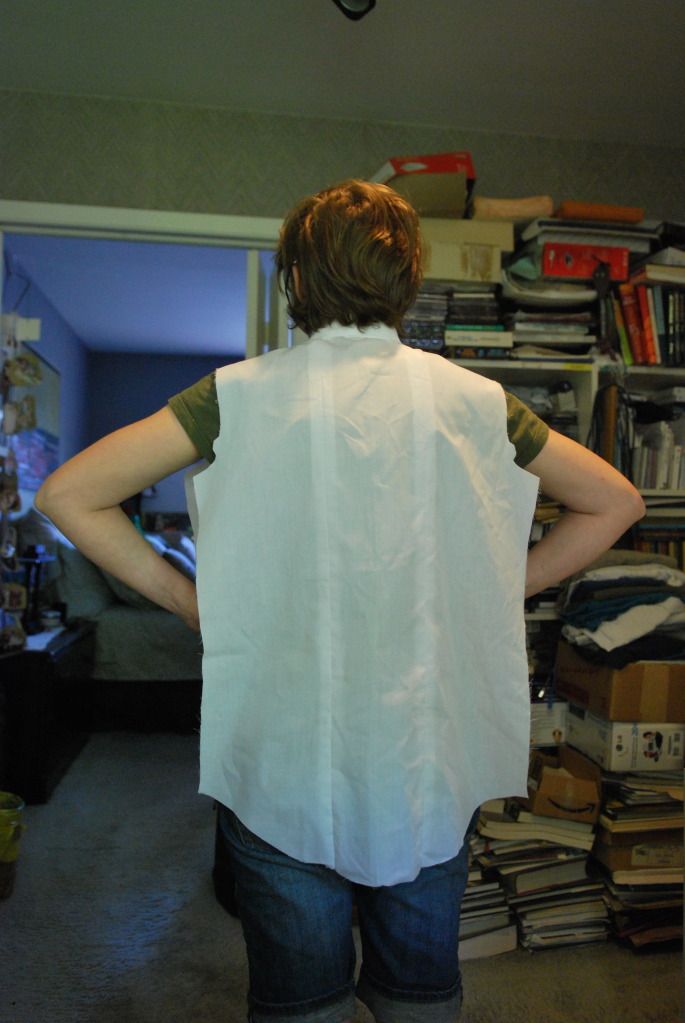
I tried it on and decided the fit was right,so I was ready to move on. (Please ignore the fact that my pants are kind of falling down even though I am totally wearing a belt...)
I then got to work on the collar. I based the pattern pieces off the blouse pattern I had from my
Doctor Who costume, but I changed the shape of the collar at the front to be rounded as opposed to pointy.

I sewed the outer part of the collar together, clipped it, turned it right way out and pressed it. Then I sewed it into the inner part of the collar. After clipping and pressing that, I was able to attach it to the bodice.

I finished the inner seams of the bodice, and then attached the collar. First on the outside and then using a ditch-stitch to finish the inside. Pretty! :D

I sewed my 4 panels for the skirt together and finished the inner seams. On on of the seams I left a 2.5" gap at the top that was un-stitched. This is where it would be attached to the front opening. By having this 'slit' I would be able to easily remove the dress when it was unbuttoned, but with the overlap it would be unnoticeable when buttoned up.
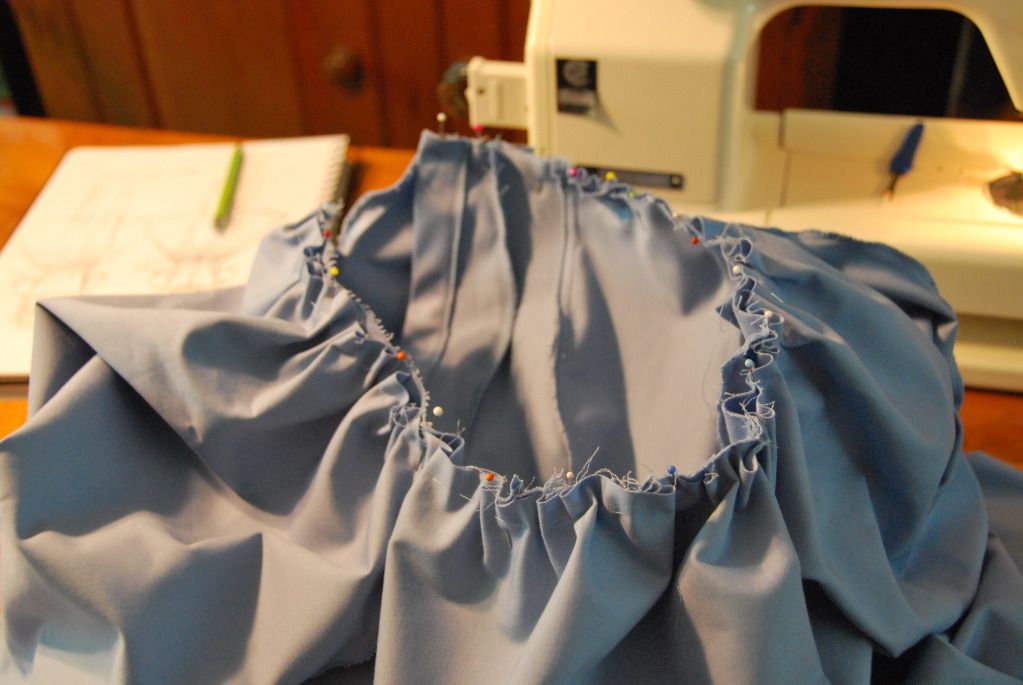
I then used a basting stitch and sinched up the skirt to the correct cicumference so it could be attached to the bodice. This was pinned in place and sewn on (right sides together).
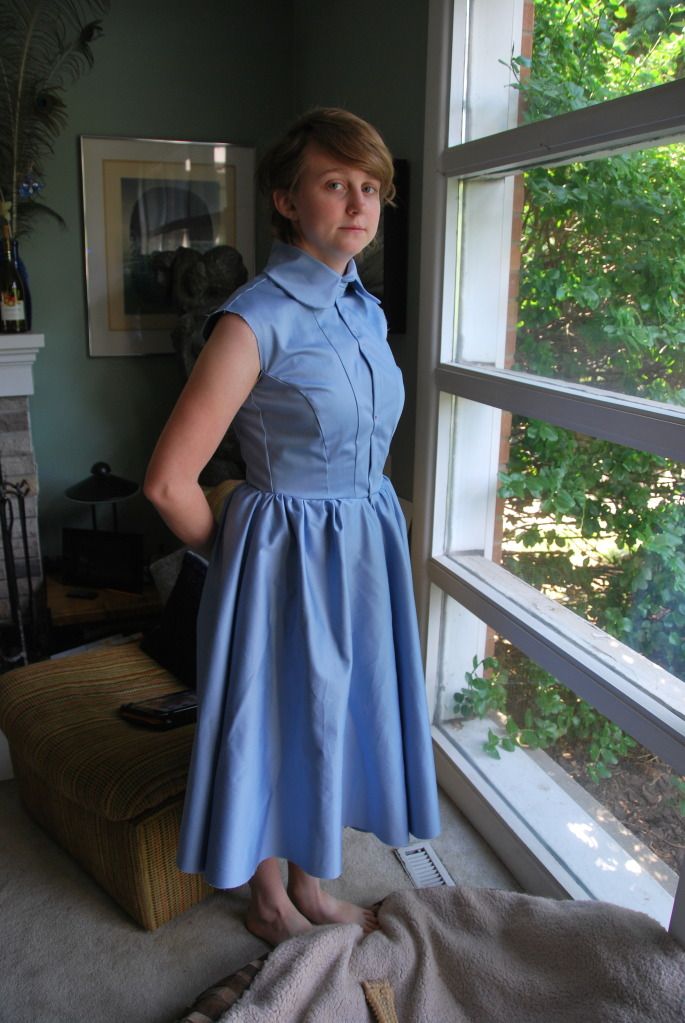
The dress so far. At this point I knew I needed to take in the shoulders even more, because even with a half inch seam allowance the sleeves would still sit too low.

I marked and pinned the dress for hemming. I had a sewing party with a friend and she hemmed the dress beautifully for me while I made gloves for another costume.

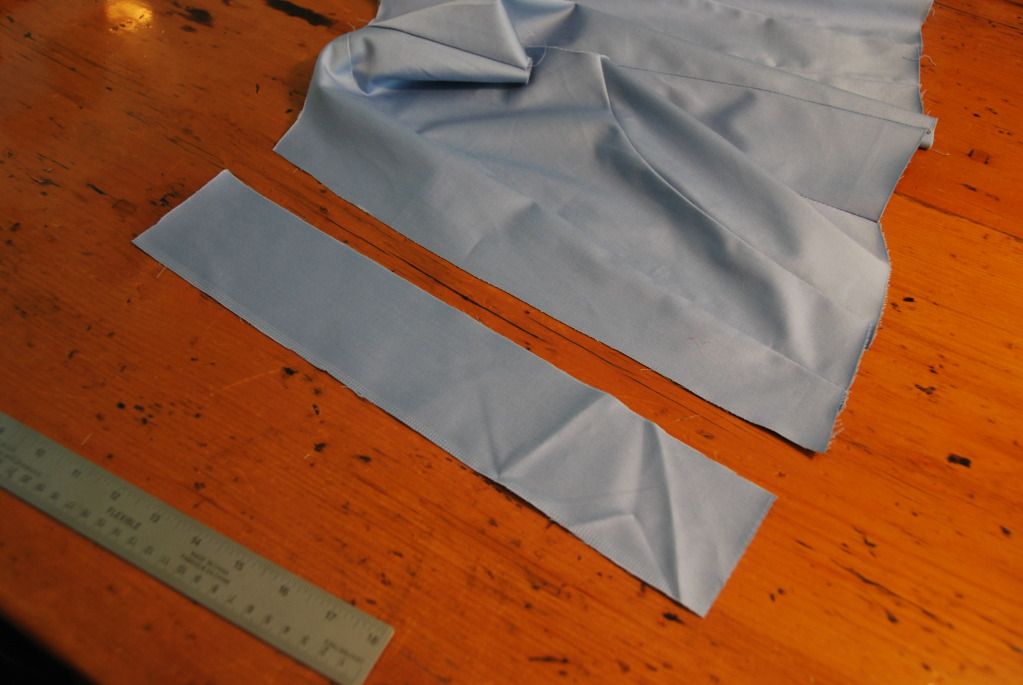
The sleeves were patterned and the sinched so that they would be pouffy. I attached them, and added a slit, which would be where the sleeve would close with a button. This slit was finished off with a bias tape made of my same fabric.
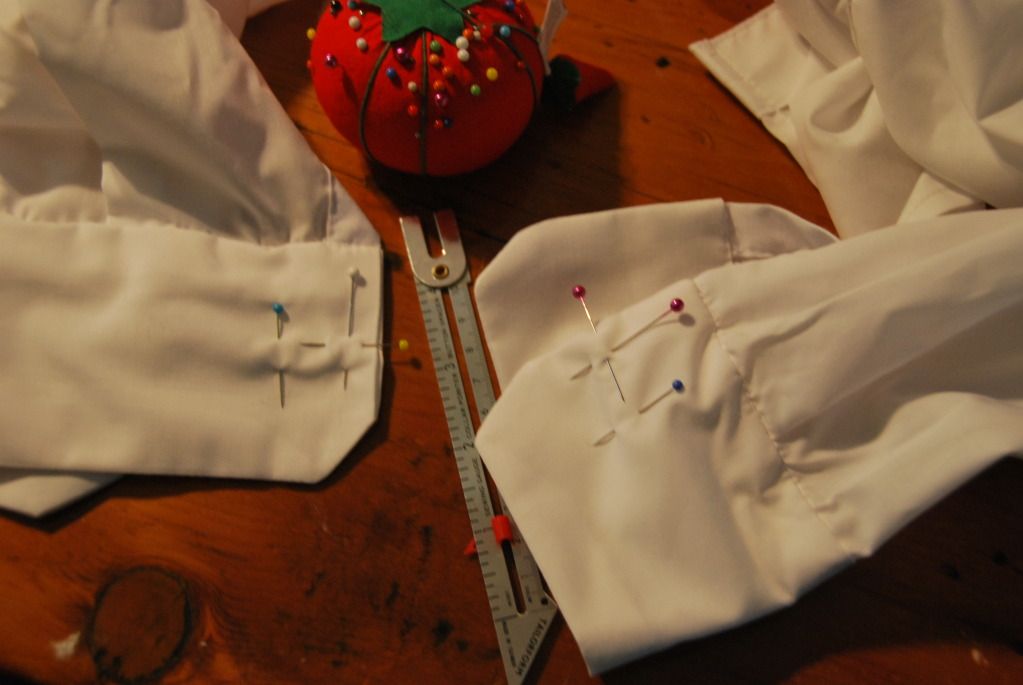
I then gathered the bottom of the sleeves and added the little cuffs. The button and loop were the finishing touches here.
The last thing I did for this costume was to add the button holes to the placket and sew on the buttons.

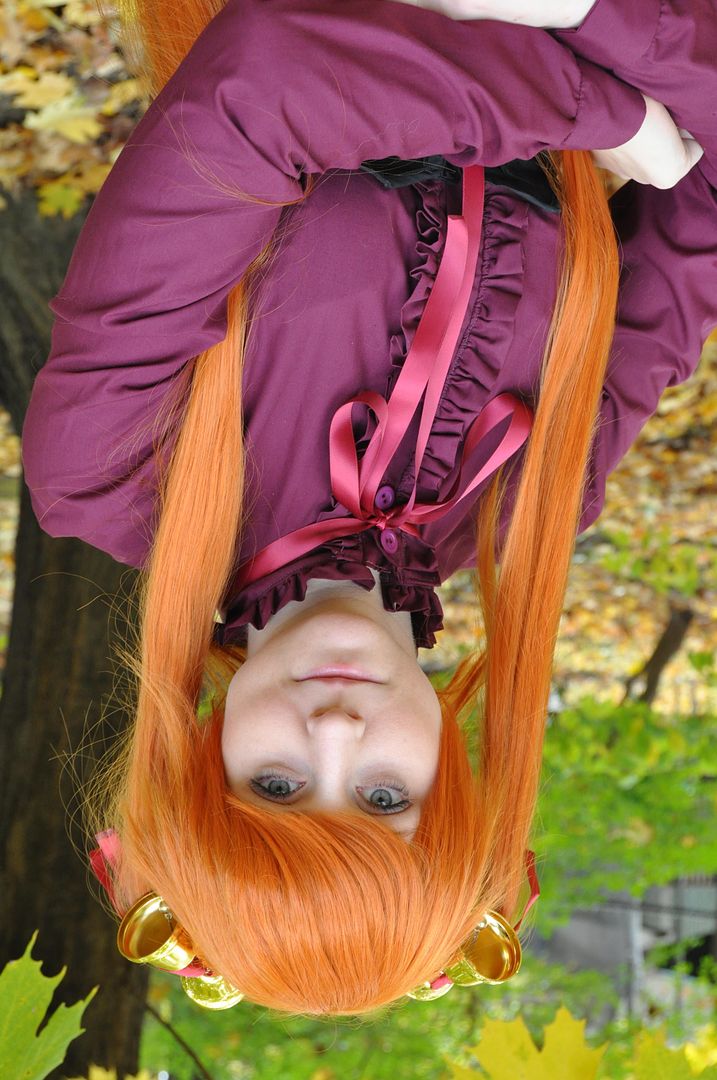
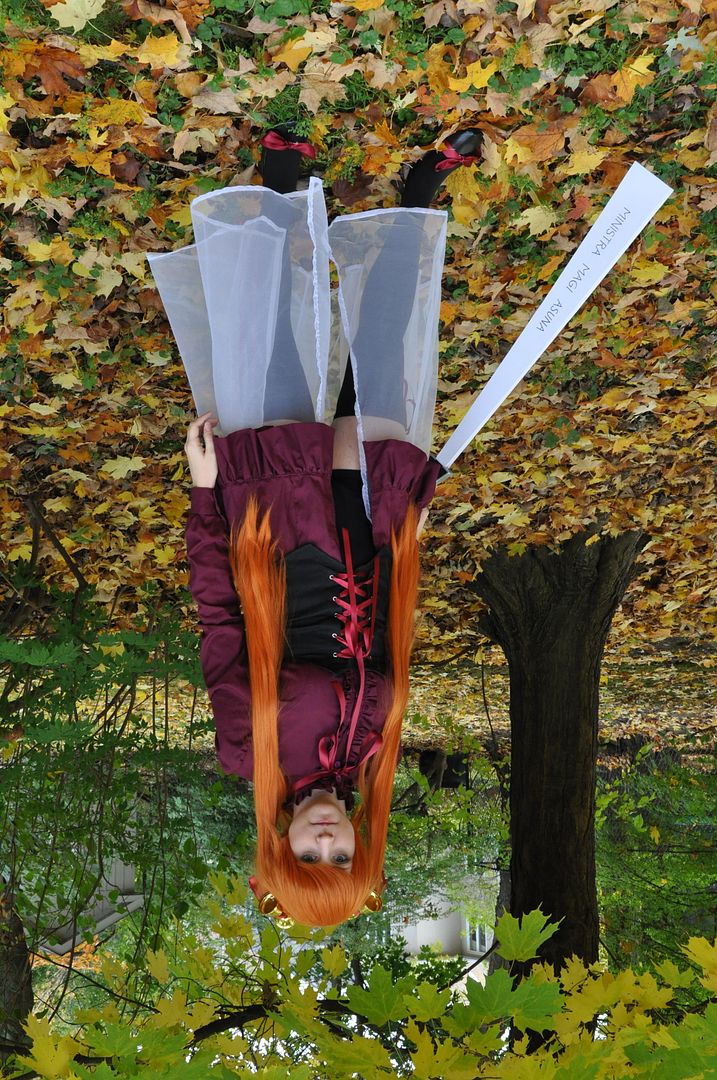
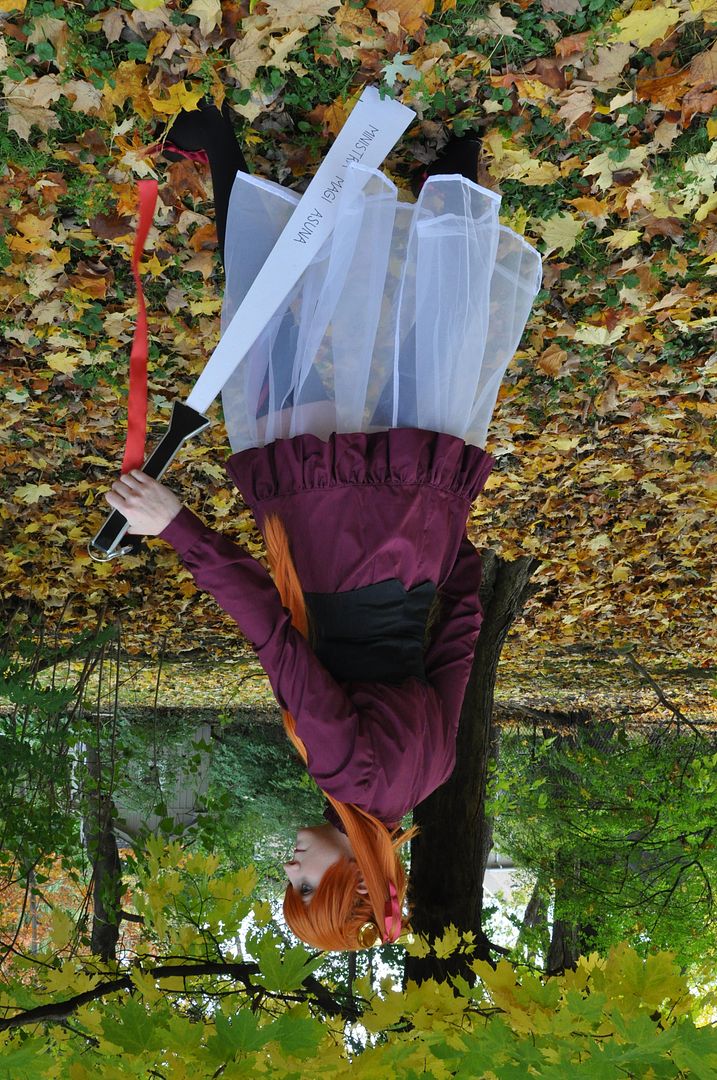
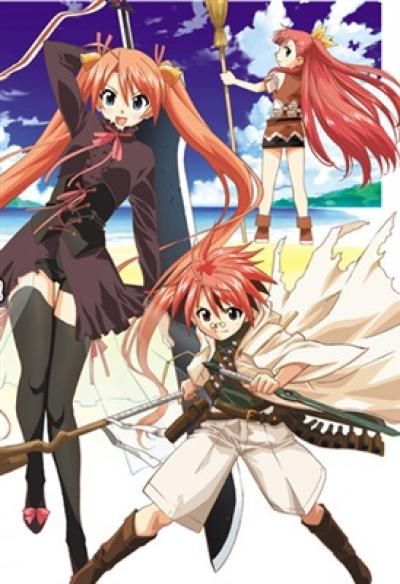 I picked this one (pictured left) particularly so I could re-purpose the sheer under skirt I had originally made for her other costume! This outfit is worn during the training arc prior to their trip to Mundus Magicus, for anyone who actually knows the series.
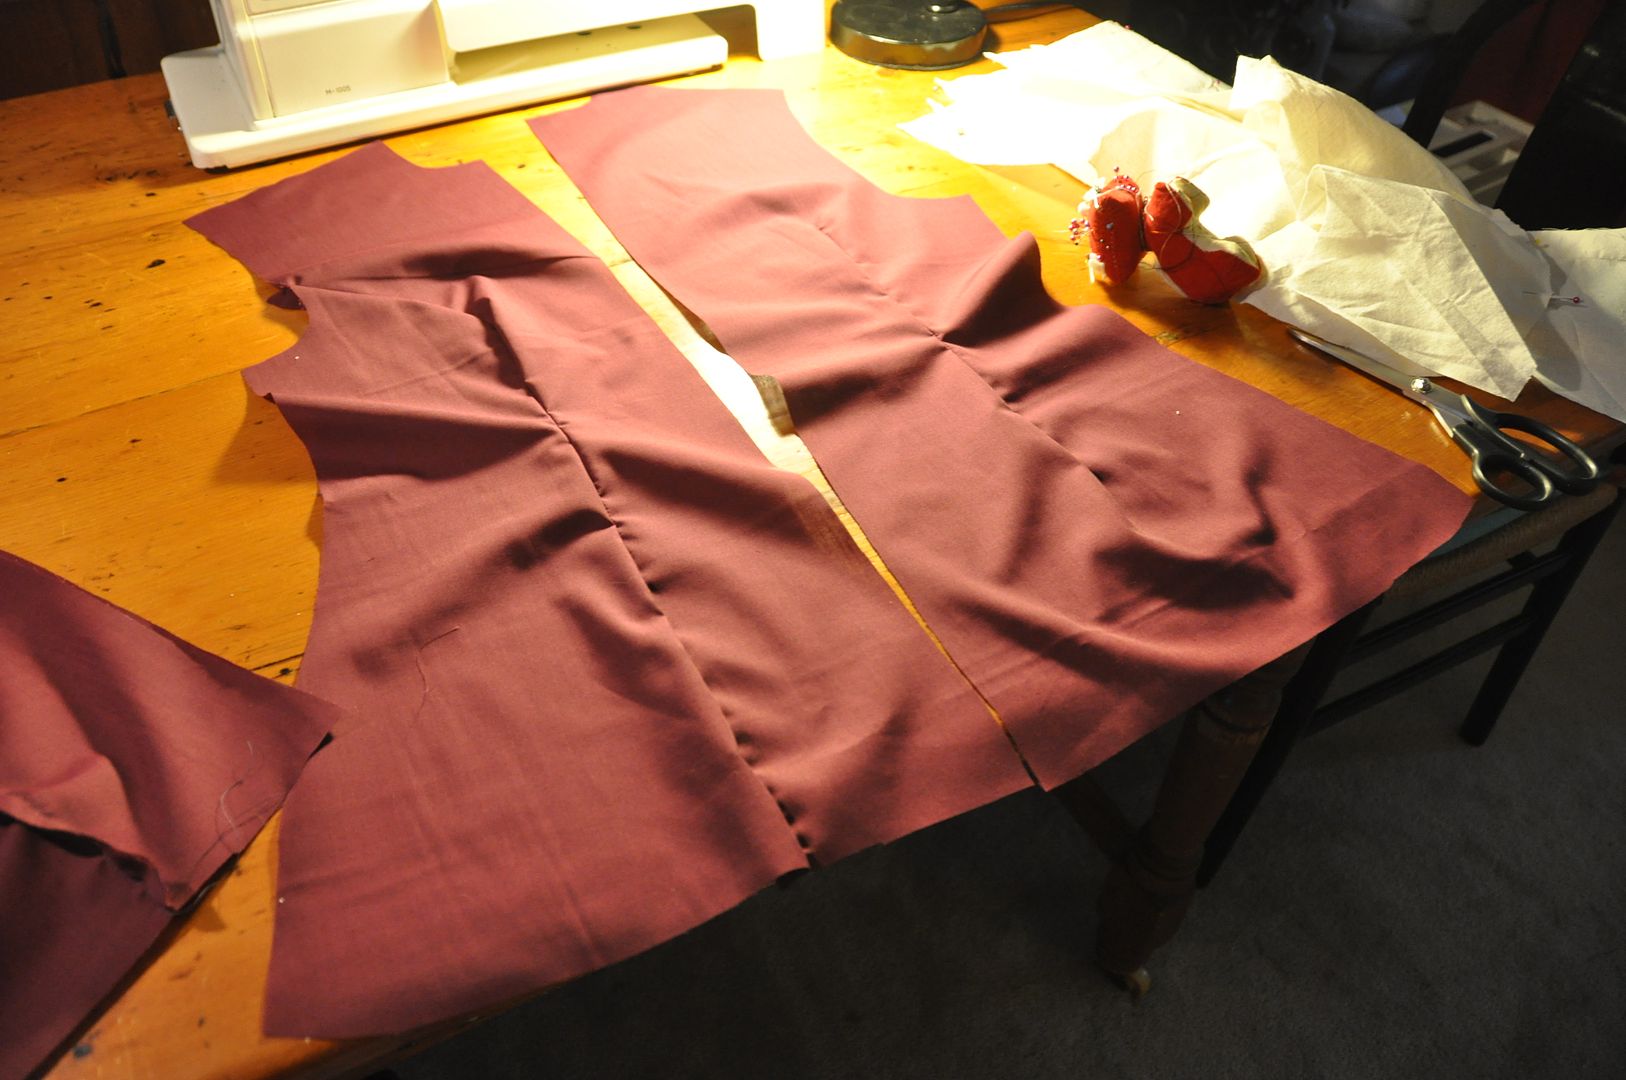 I drafted a basic block, with a princess seam that I extended to be longer and go outward in an a-line style at the sides.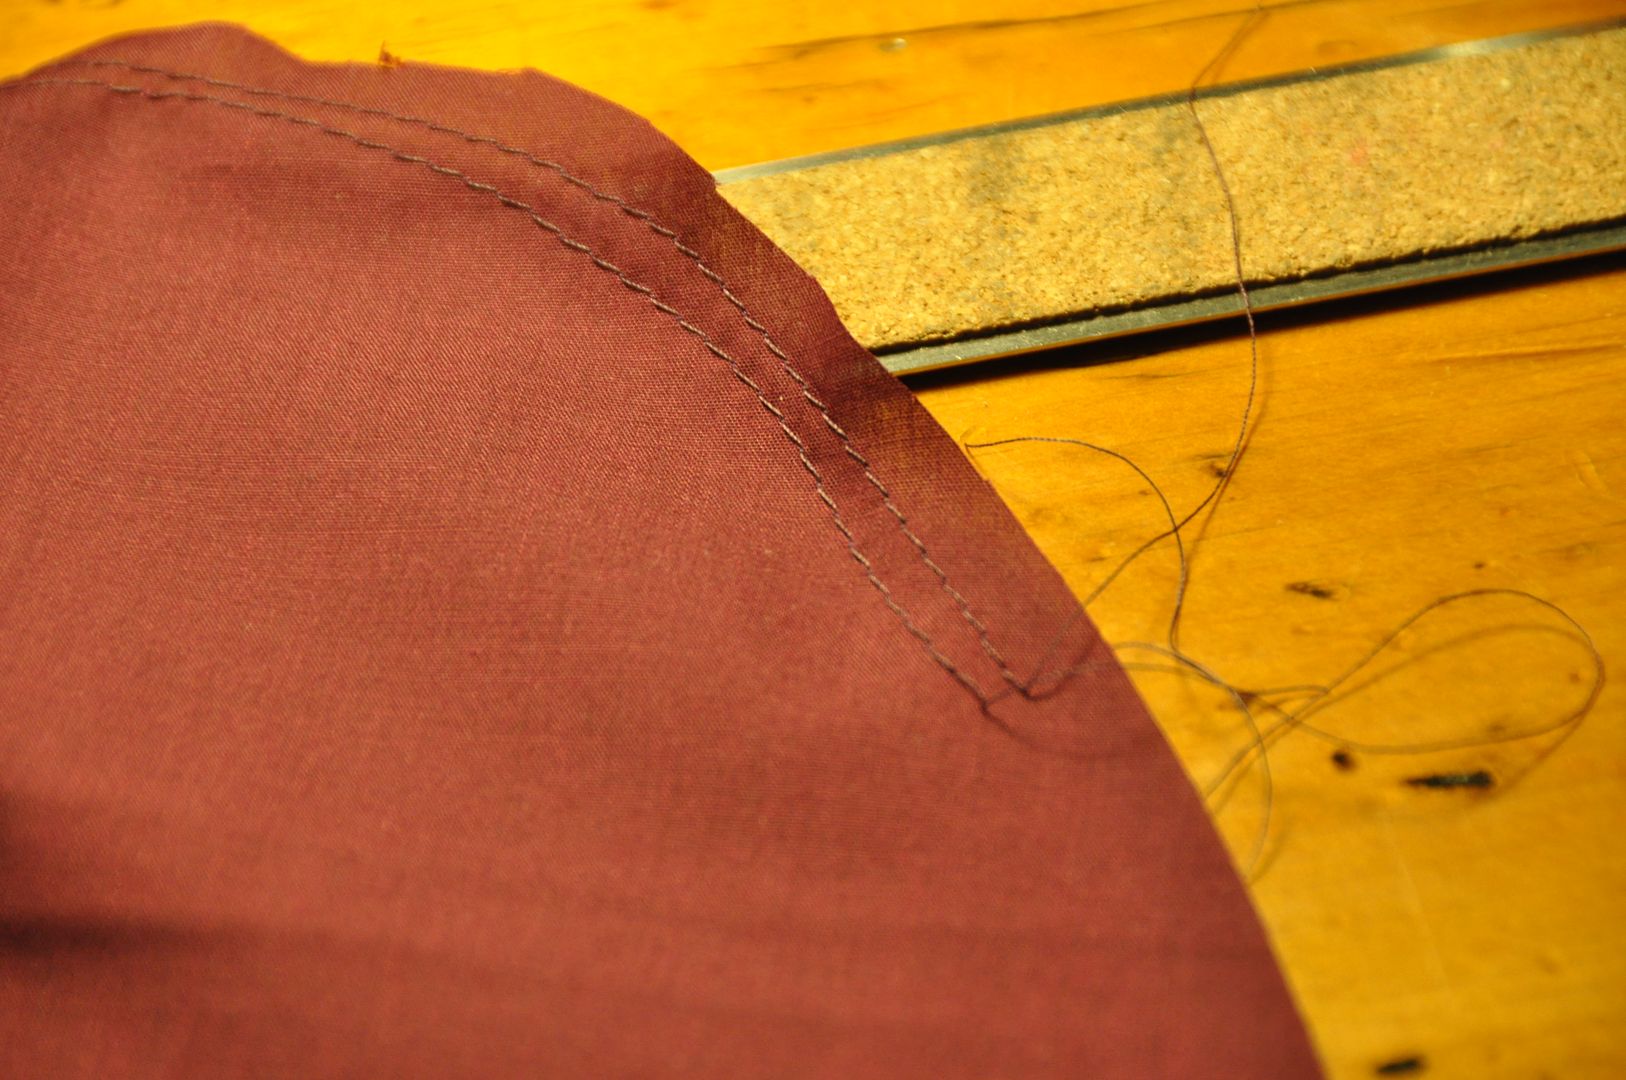
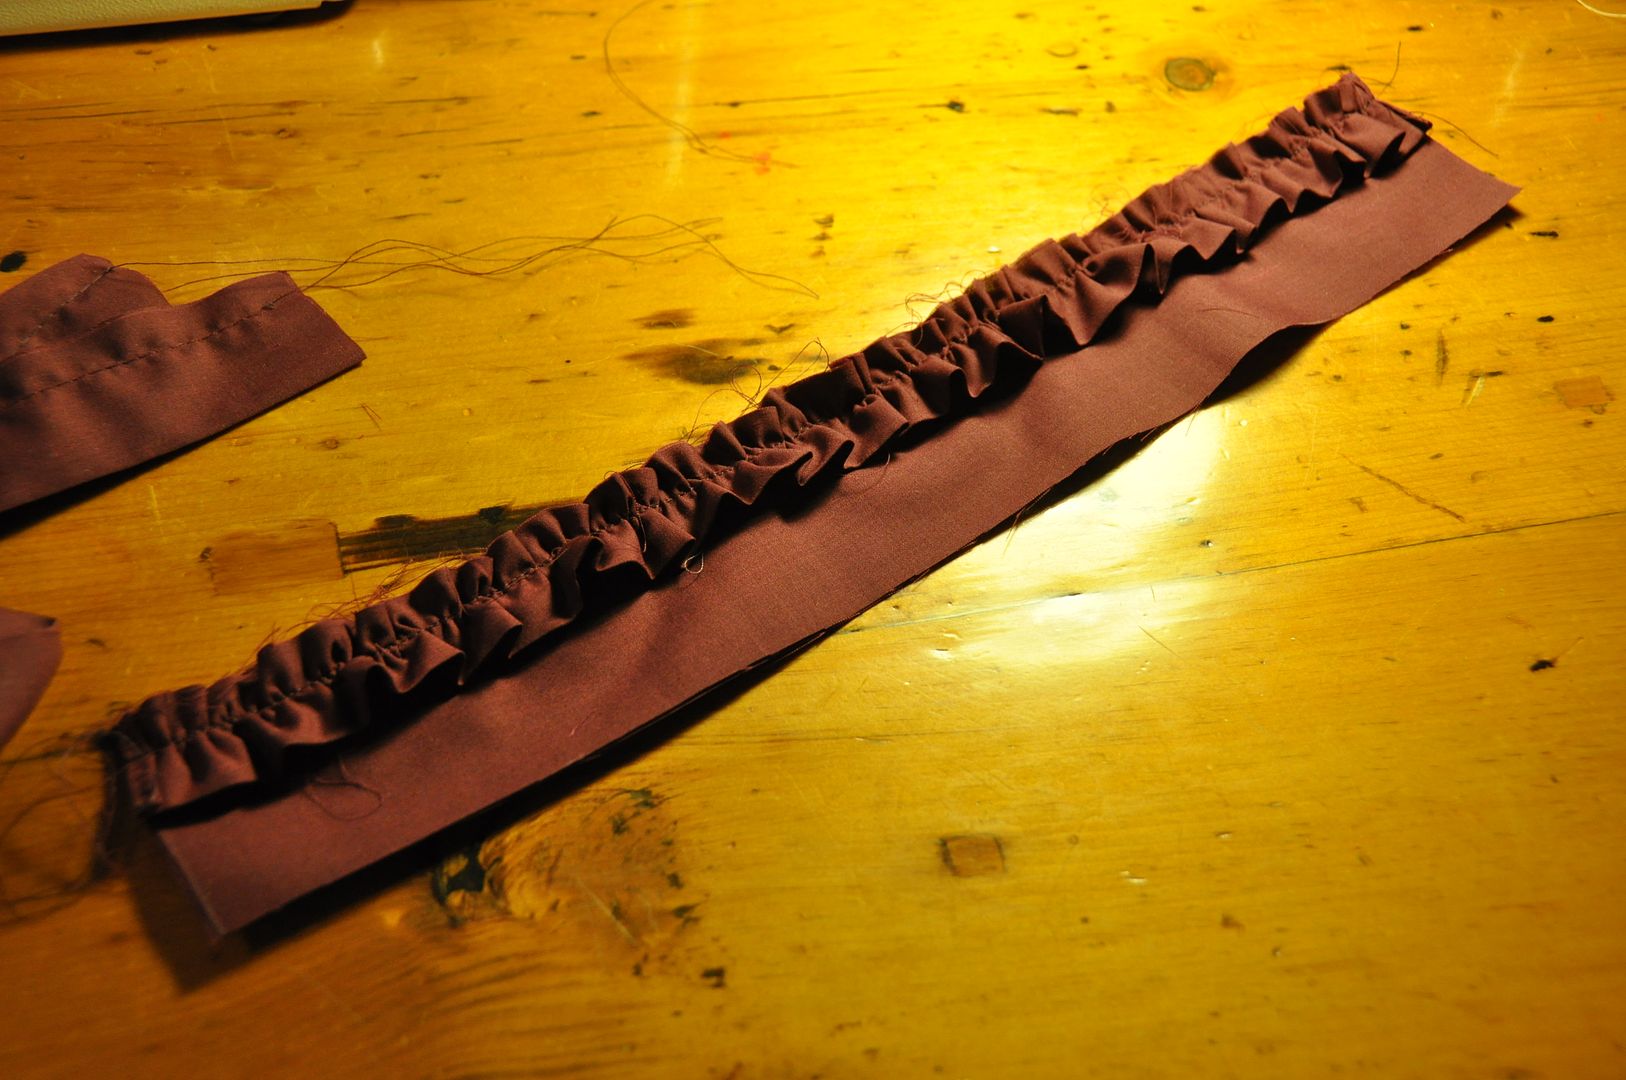 I drafted the sleeve to have a slight pouffe at the shoulder. I cinched the ruffle with a double row of basting stitches (leaving the thread ends long so I could pull on them).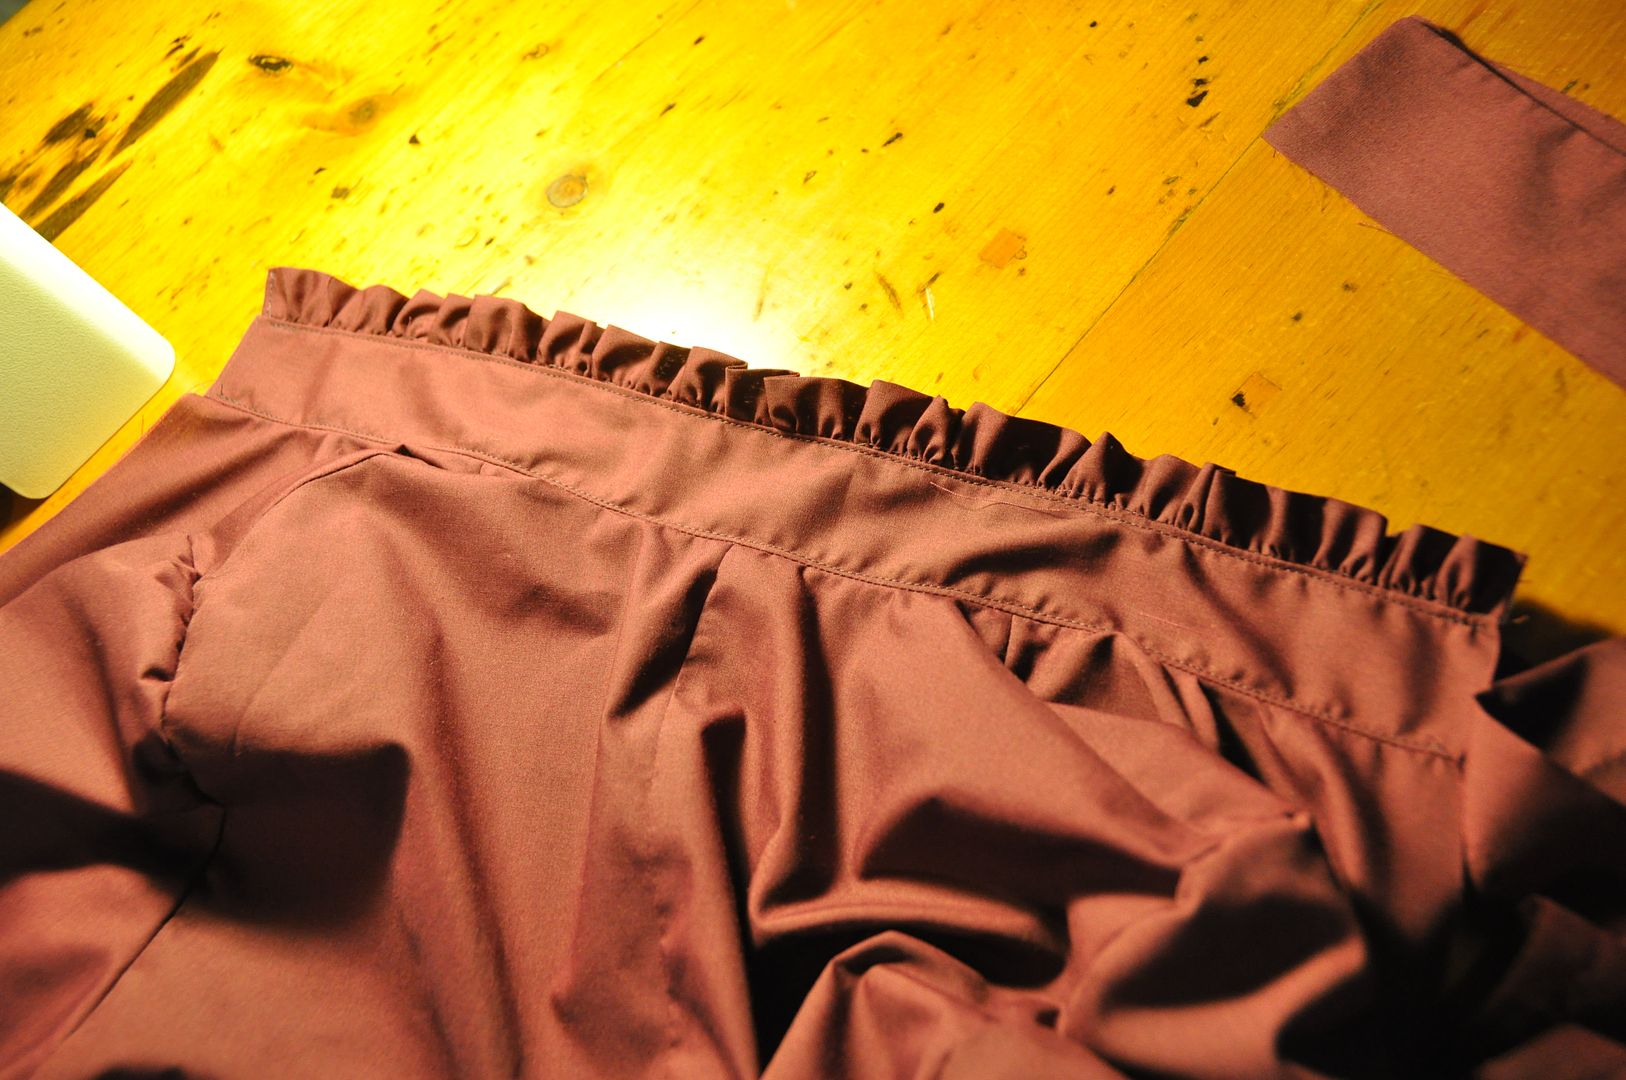

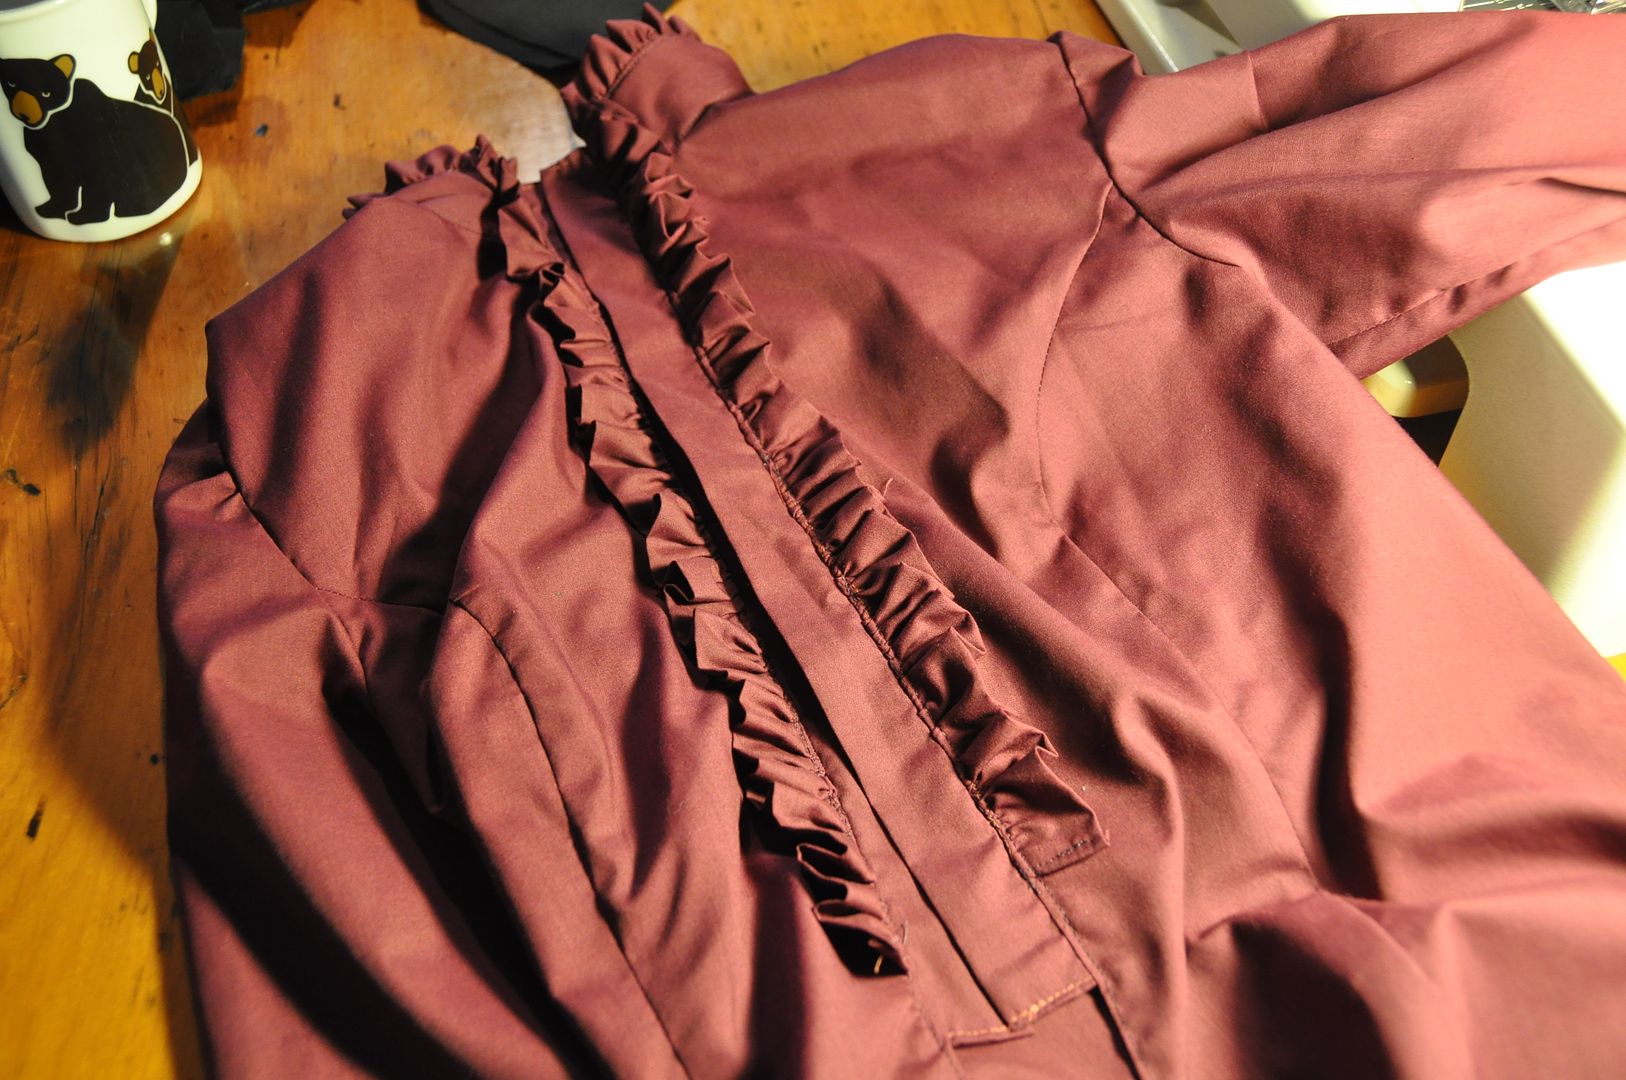
 Then I made a bias tape to finish off the sleeve slit, before I attached the cuffs. The sleeve pouffed just a touch at the cuffs as well.
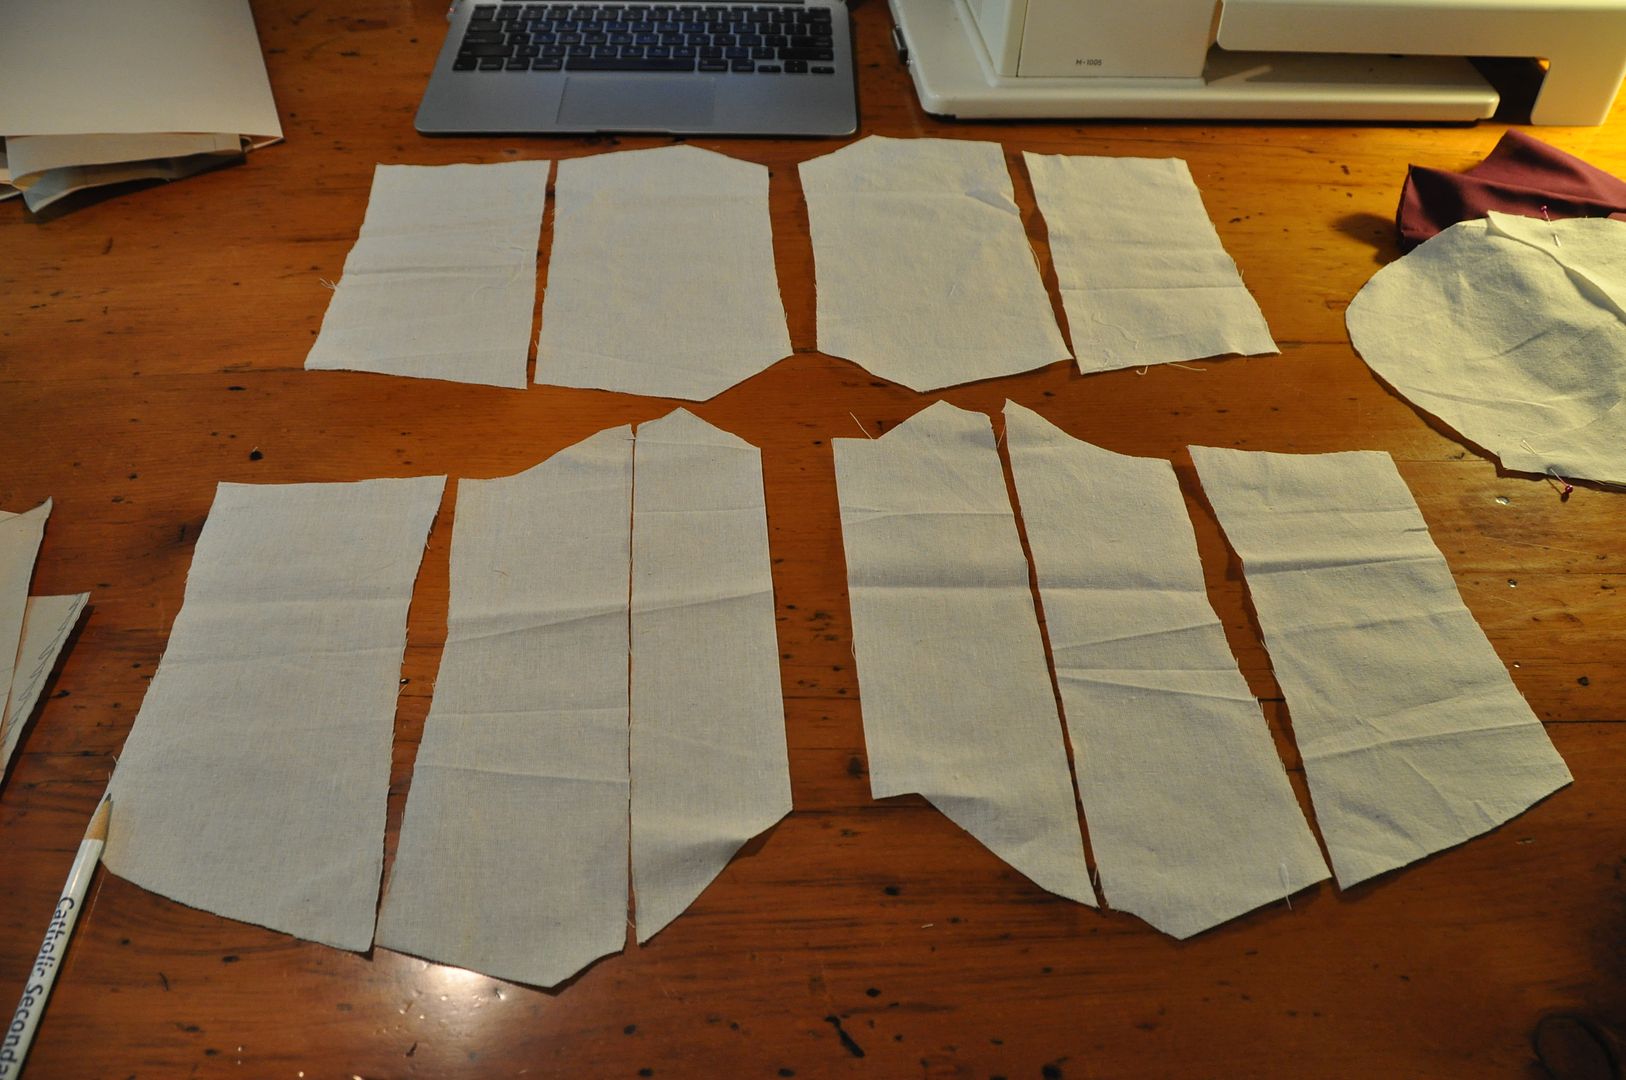 I figured out how long I wanted ti to be, my underbust measurement, my waist measurement and natural waist measurement (where a modern pair of pants would sit). From there I was able to pattern this. Using my widest measurement I could then divide and calculate my darts.
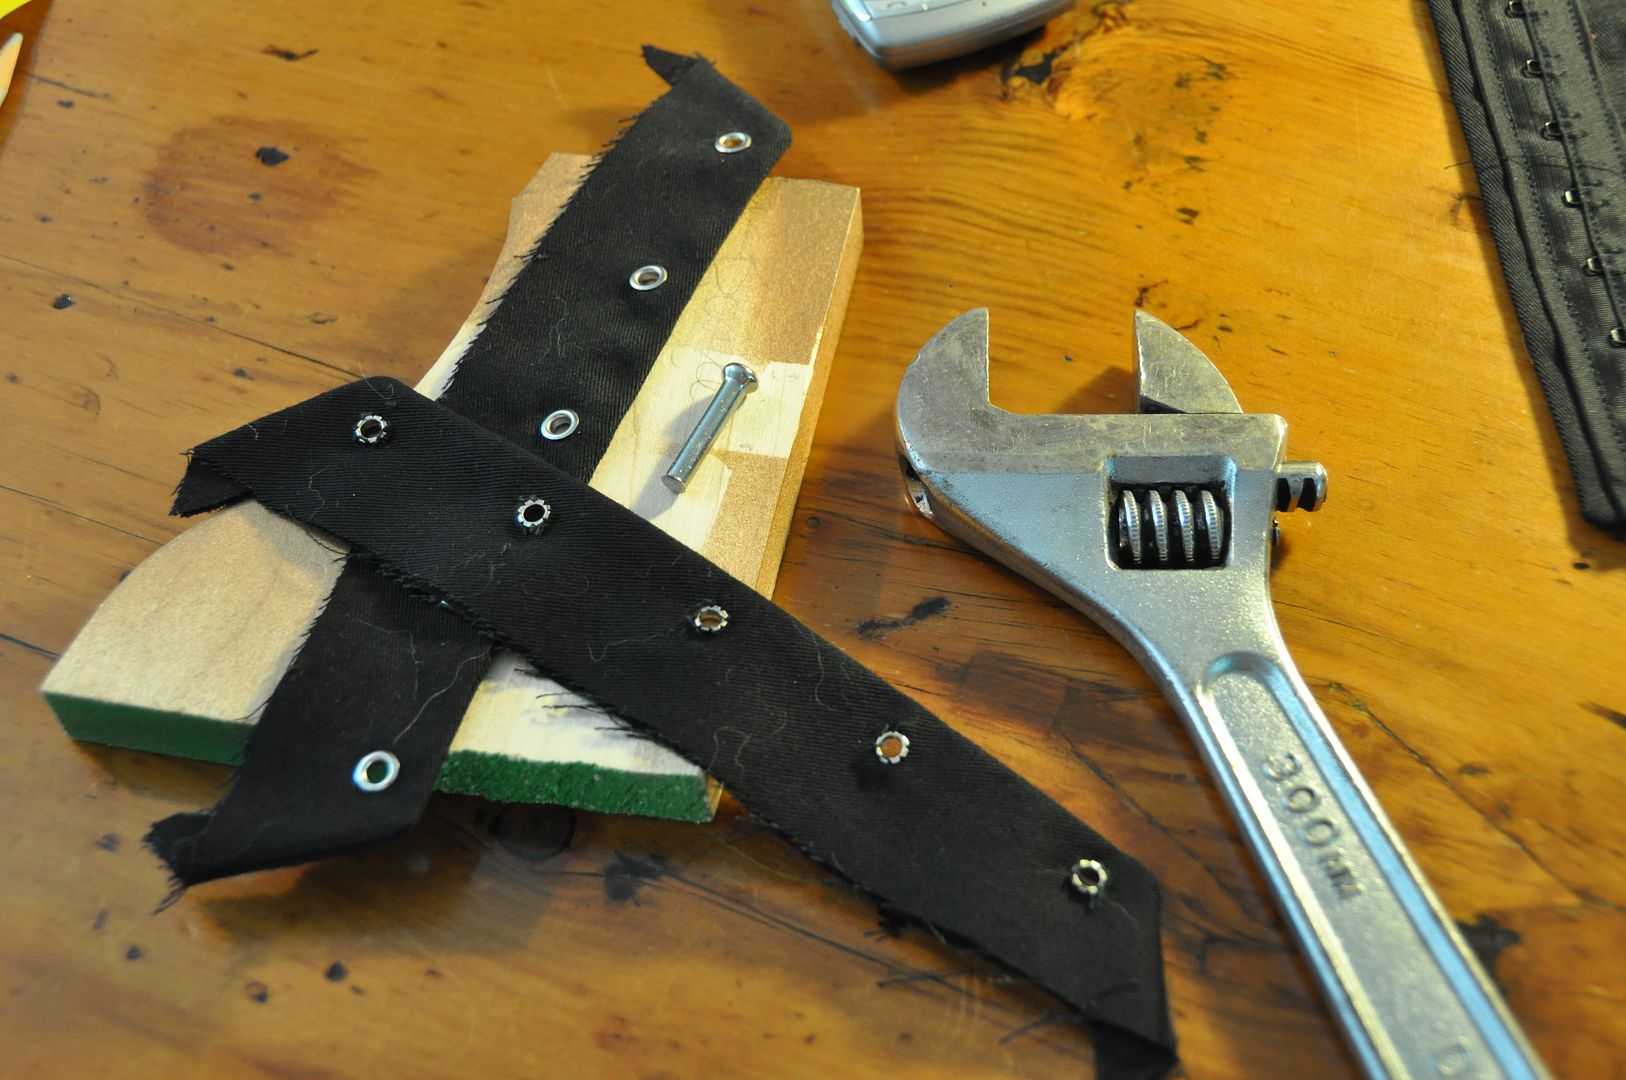 I made a mockup, then a good version.