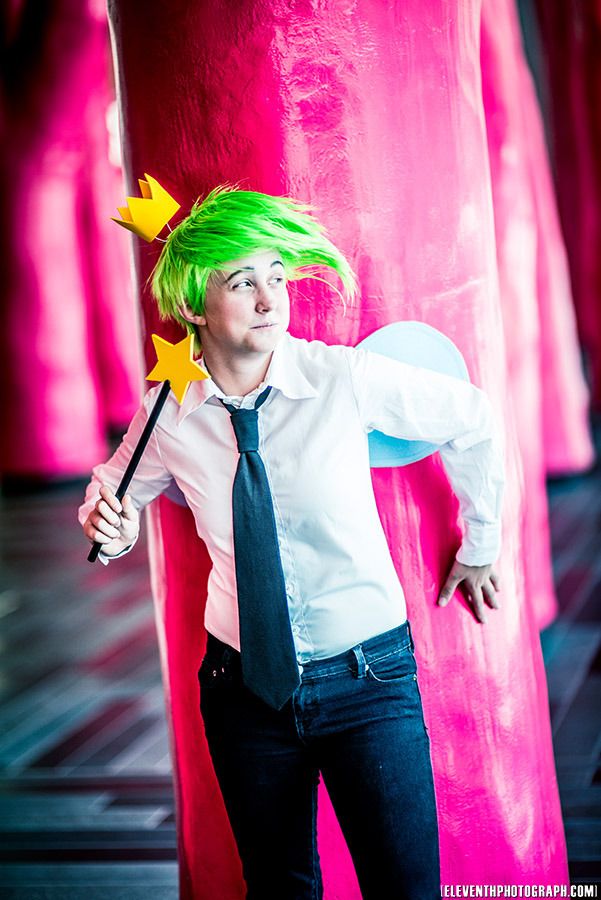
 Here's our first look at my Cosmo costume! This costume debuted at Otakuthon this past summer in Montreal. I also wore it to Fanexpo. :D
As a kid, I loved the show Fairly Odd Parents, and of course my favourite character was the ever wacky Cosmo. ;D Such a ridiculous character, it reminds me of the hunt! Haha!
I've seen this costume done before, but I've never seen it done well, so I made it my mission to do Cosmo justice.
Once again Mike did a fantastic photoshoot with me. This one was at the cool pink installation at the Palais du Congres. It's Wanda's colour. ;D Go here to check out the full photoshoot! I obviously take no credit for these fabulous pictures. :P
 I based this shirt off the blouse pattern I used for my 10th Doctor costume. (If you want a more detailed look at how to make a blouse, you should check that one out.) My main goal behind this part of the costume is that I wanted the wings to stick out of the shirt, not be worn on top of it, but still be removable so they could be washed.
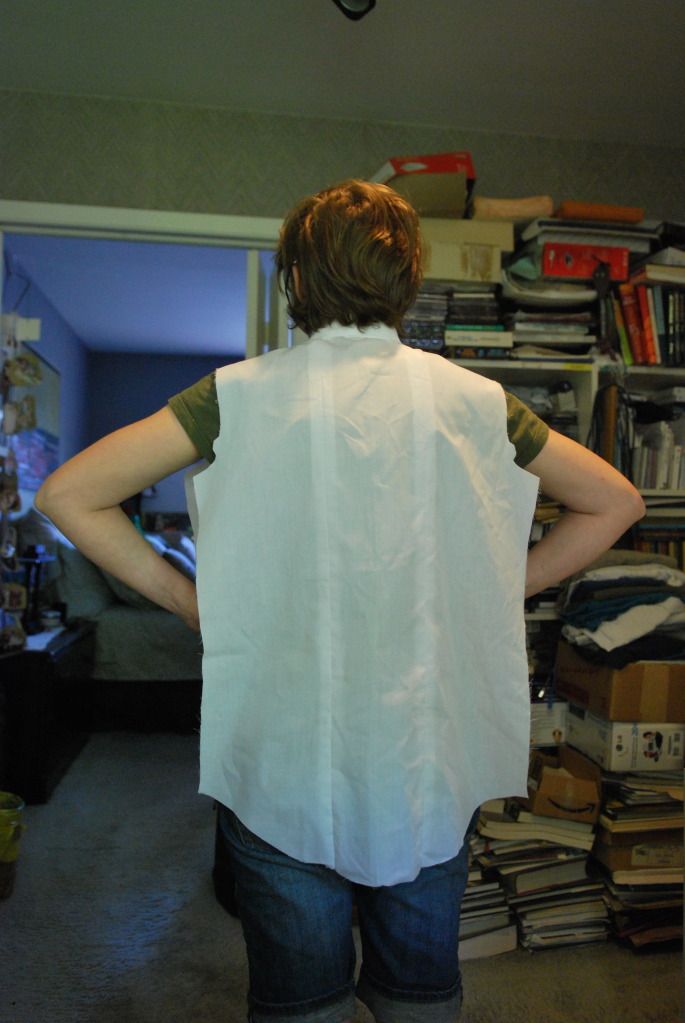
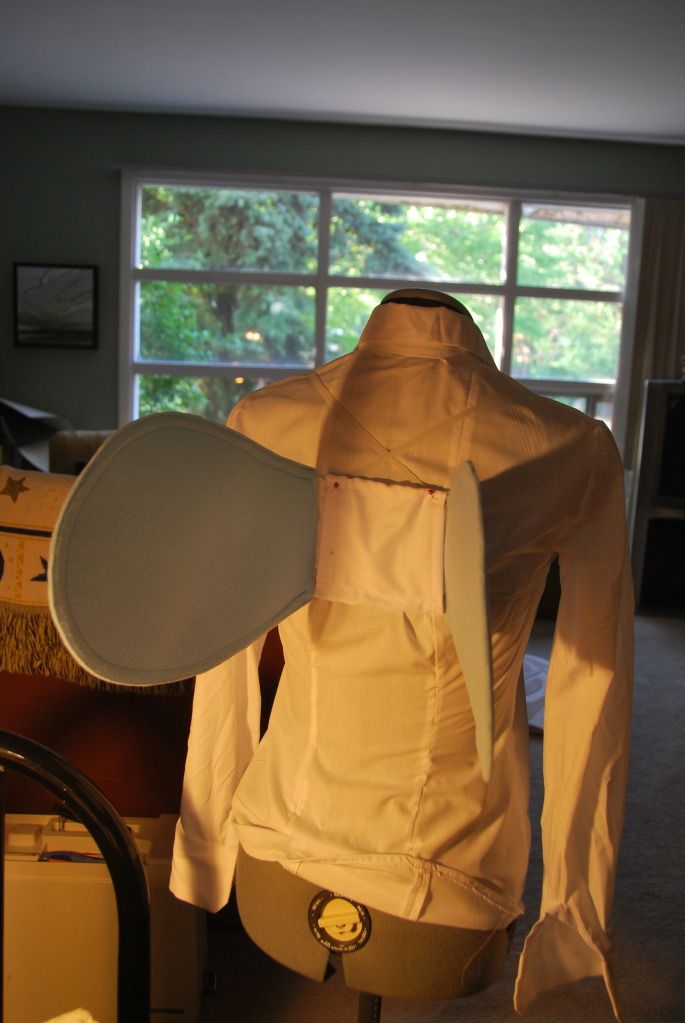
  My solution here was 2 slits in the back that the wings would stick through. I decided that the wings would be 4" apart. Then I modified the pattern so that the back of the shirt was made of three panels, one a rectangle that was 4" apart between the seams. With this in place, I could finish the shirt and re-open the seams later.
  I sewed up the shoulder seams, finished those, as well as a top of the two back-slit seams.
Then I attached the collar.
Beautiful! I almost considered leaving the shirt like that~!
Just kidding.
I sewed up the side seams, attached the sleeves and cuffs. Then I measured, put the button holes in, and sewed on the buttons.
At this point I also made some adjustments to the fit of the blouse at the back. Taking it in a bit at the back seams so it wasn't so wide at the lower back.
Then I started on the wing rig. I originally attempted to do wings made out of tights stretched over a wire frame, but the elasticity in the tights was too strong, and the wire was bending under the pressure.
Instead I decided to scrap that and make them out of felt. I cut 4 pieces of felt to the shape I wanted and then sewed the pairs together. I took a piece of wire that was still attached to the coil and stuck it in to the first wing, pushing it to the very outer edge. Then I sewed around the wire to keep it in place.
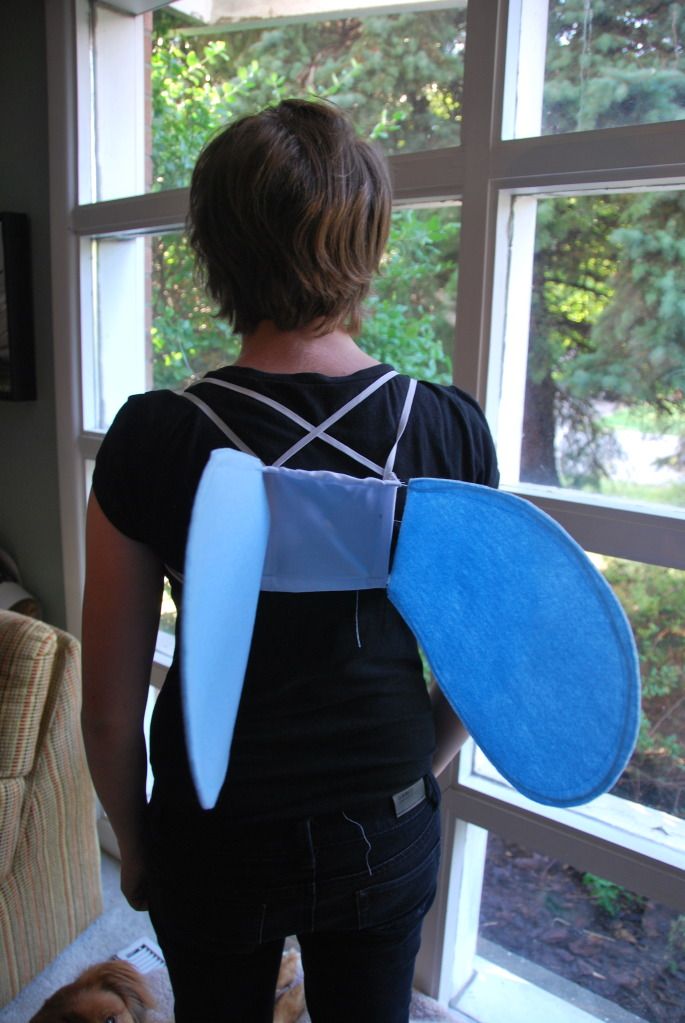
Then I measured and marked 4" from the base of the wing on the wire where the base of the second wing would be. (Making sure it was the right way up.) I repeated the process with the second wing. After clipping off the excess wire and joining the 2 loose ends together (making sure the wings sat 4" apart both at the top and bottom of the base) I sewed a rectangular cover over the wire frame where it would be touching my skin. This was to help keep the correct shape, have a surface to attach the straps to, and protect my back from the edges of the wires.
Using my dress form, I figured out where I wanted the wings on my back. Once I figured out the placement I made and attached the straps, which I made out of elastic. I made sure they were tight enough so the rig would sit as flush to my back as possible without cutting off the circulation to my arms.
I re-opened the back seams where I wanted the wings to be. Then I finished off the holes, making sure they were long enough to fit the wings through. I carefully stitched in some white hook & eye tape, making sure that the hooks would not bump into the wires where the wings poke out.
 The hook & eye tape closes up the gap under and around the wings.
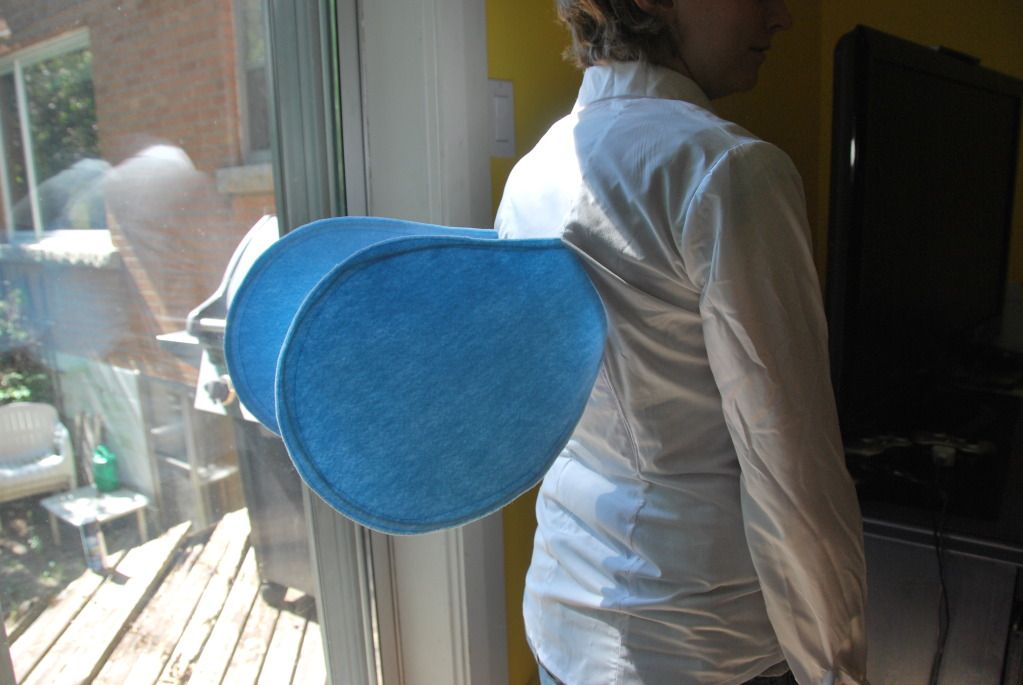 This is a clean way of having wings, without having the straps and rig fully visible over your costume.
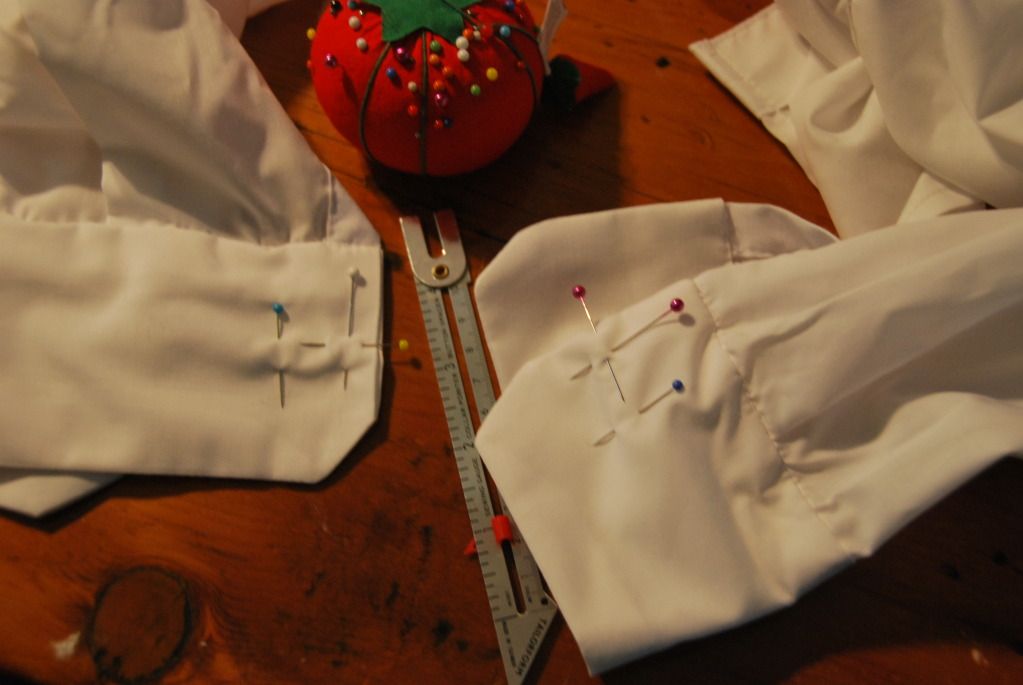 Lastly I finished the cuffs of the shirt by adding buttons. ;D And then it was done!
I think that making the wings both detachable and not over the costume was a small detail that made a big difference for this costume.






Where did you get the tie?
ReplyDeleteMy older sister actually made the tie for another costume at least 5 years ago. It's always great to re-use/recycle generic costume pieces. A black tie is always a good thing to have on hand. :)
DeleteCould I buy this from you?!
ReplyDeleteSorry, it's not for sale and I have no time for commissions.
Delete