Part 3 of Sakura (1st Opening outfit)--lets talk accessories! The details are really what make this costume. If you want to see how I made the wings, go here! If you want to see the rest of the outfit, go here!
I entered this costume in the Friday night Workmanship Competition at Anime North in 2014 and won an award for Best Accessories in my category. That was pretty cool. It was my first (and so far only) time entering in a competition without a stage presentation component.
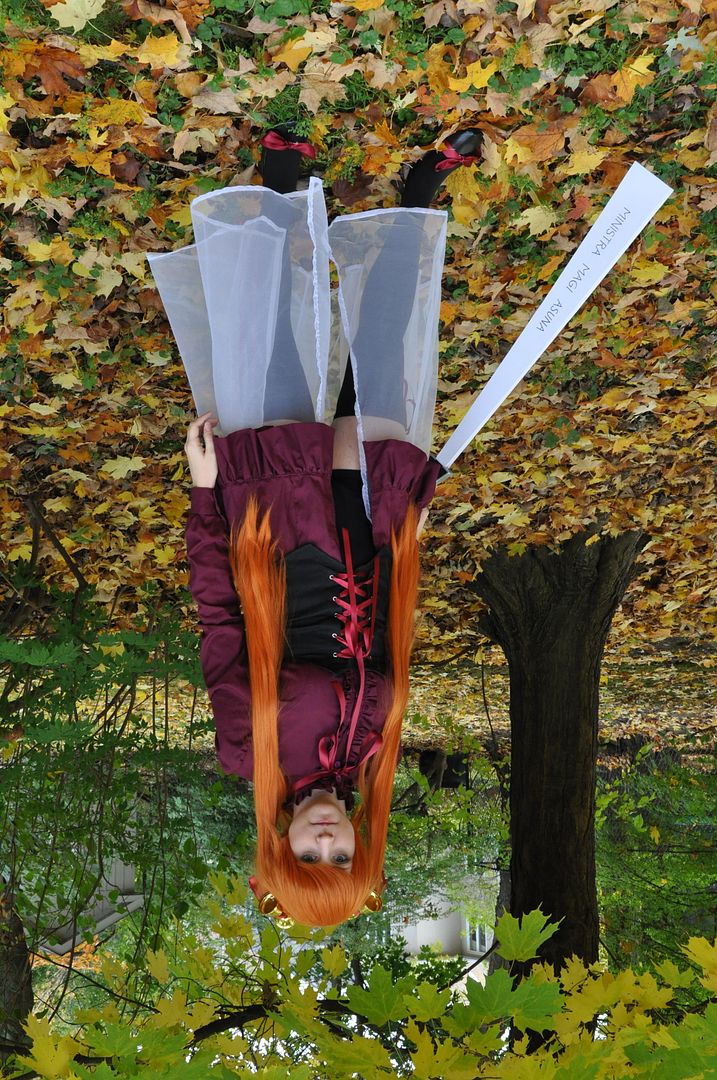
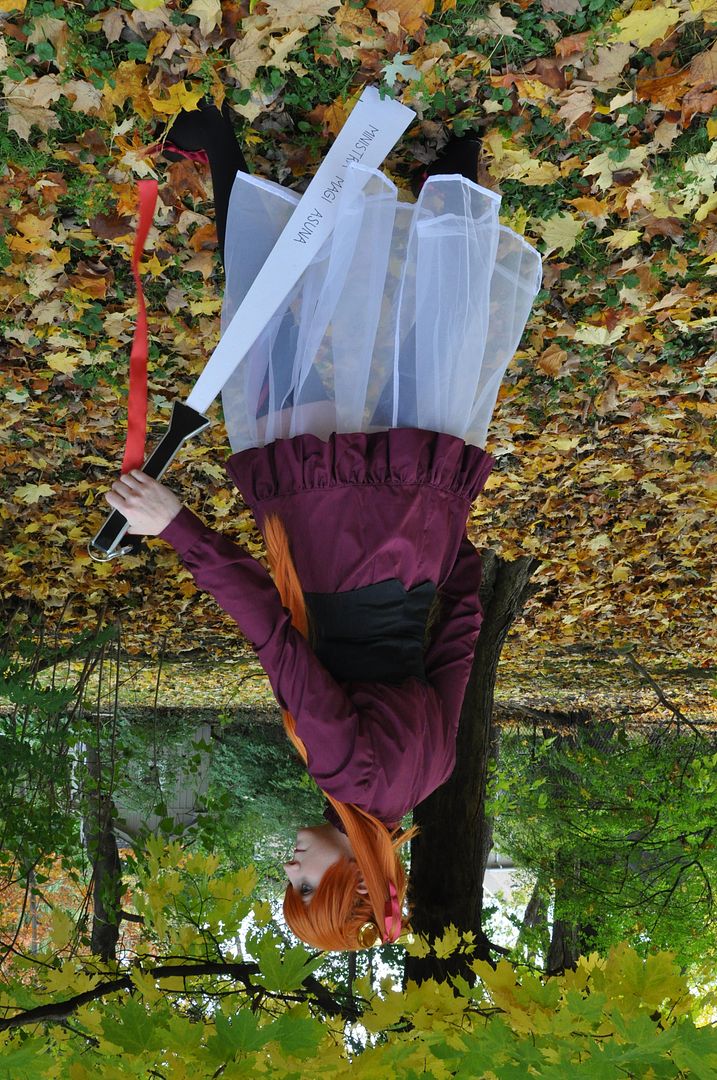
Once again, thanks to EleventhPhotograph for the photoshoot. I really love this black and white shot.
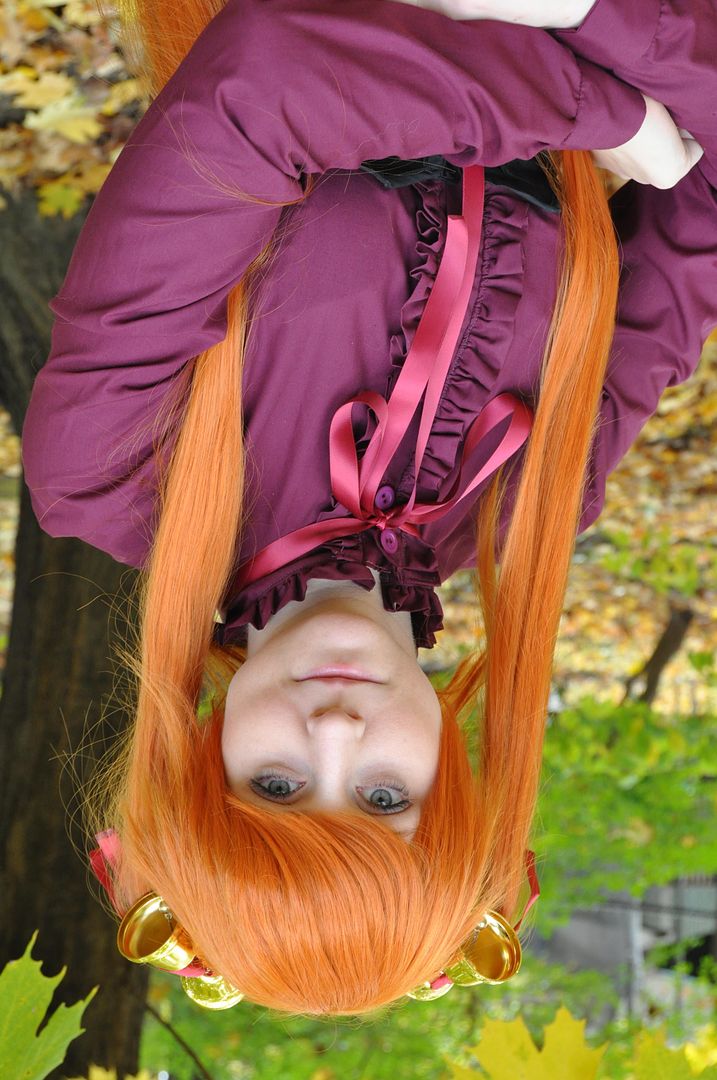
First we'll talk about the wig. I started with EpicCosplay's Aura in cocoa brown. I think this colour works really well for Sakura, it's not too brown or too blonde. It's almost a bit reddish. I think the colour works well on both my sister and myself.
 Since I was doing a costume of hers with a hat, I didn't bother to add her iconic pigtails that she normally wears, because they wouldn't be visible. This has influenced my costume choices for my subsequent Sakura costumes to only be ones where Sakura is wearing a hat. Because this means I don't have to go back and fix the wig. And also because her costumes with hats are ridiculously cute.
As you can see the wig was pretty long. I purposefully picked a longer wig because she has those two small sections of longer hair in front of her ears. It is much easier to cut a wig shorter than it is to add in longer wefts.


 I started by trimming the bangs. Using clips I separated off the different sections of the hair. The longer pieces were separated from the sides and the bangs. I left the long wisps at the original length, and simply thinned them out a bit. The sides were thinned and layered and trimmed to length. Then I trimmed the back of the wig.
The last step was to style the front of the wig to give the top that volume. I pulled sections of the hair up and hair sprayed them at the base. Then I used a blow dryer to set it. I made some shorter bits stick up while the rest parted and fell to each side. This created the look of her cute bob at the front.
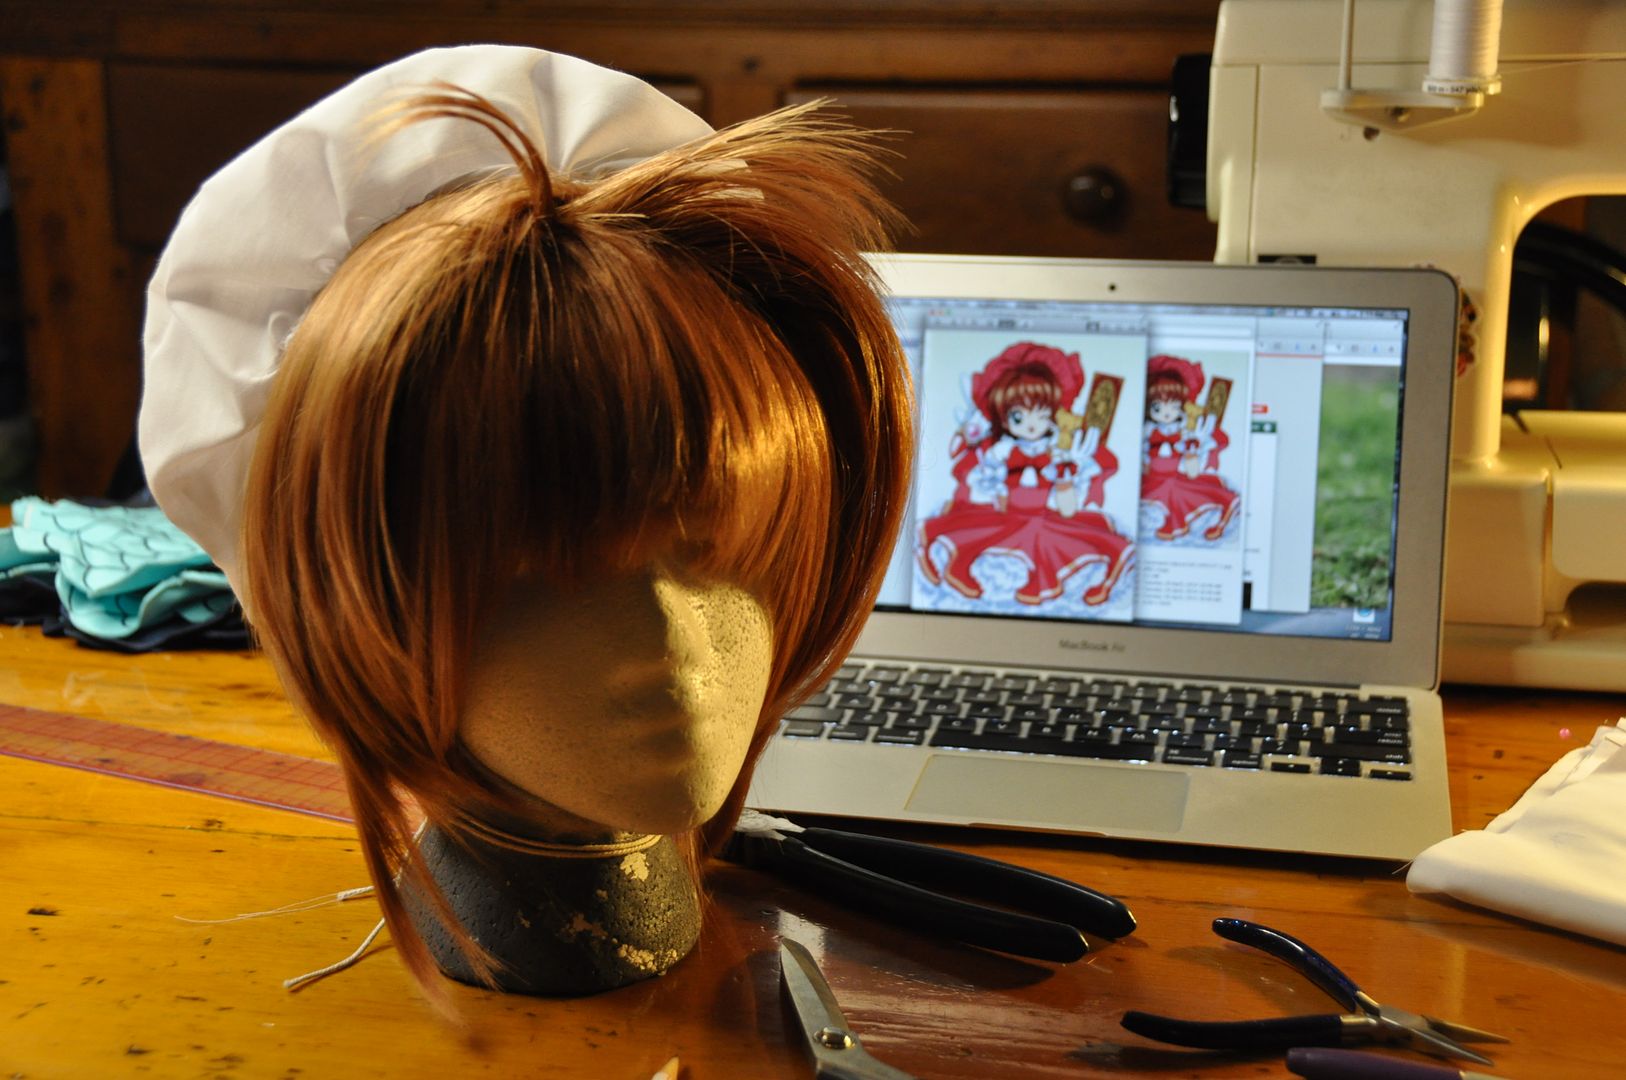


 The next step was to sew the rectangle to the top of the hat, right sides together. Then I sewed the two ends of the rectangle together and then top stitched the channel for the elastic. I left an opening in the channel so I could feed the elastic through. The elastic both gathered the hat and helped it to stay on. When I was satisfied with the fit, I sewed the elastic ends together and closed the channel opening.
Lastly the bow was attached to the hat. Credit for completing the finishing touches goes to my friend Alli who handcrafted all the bows and hand stitched them on.


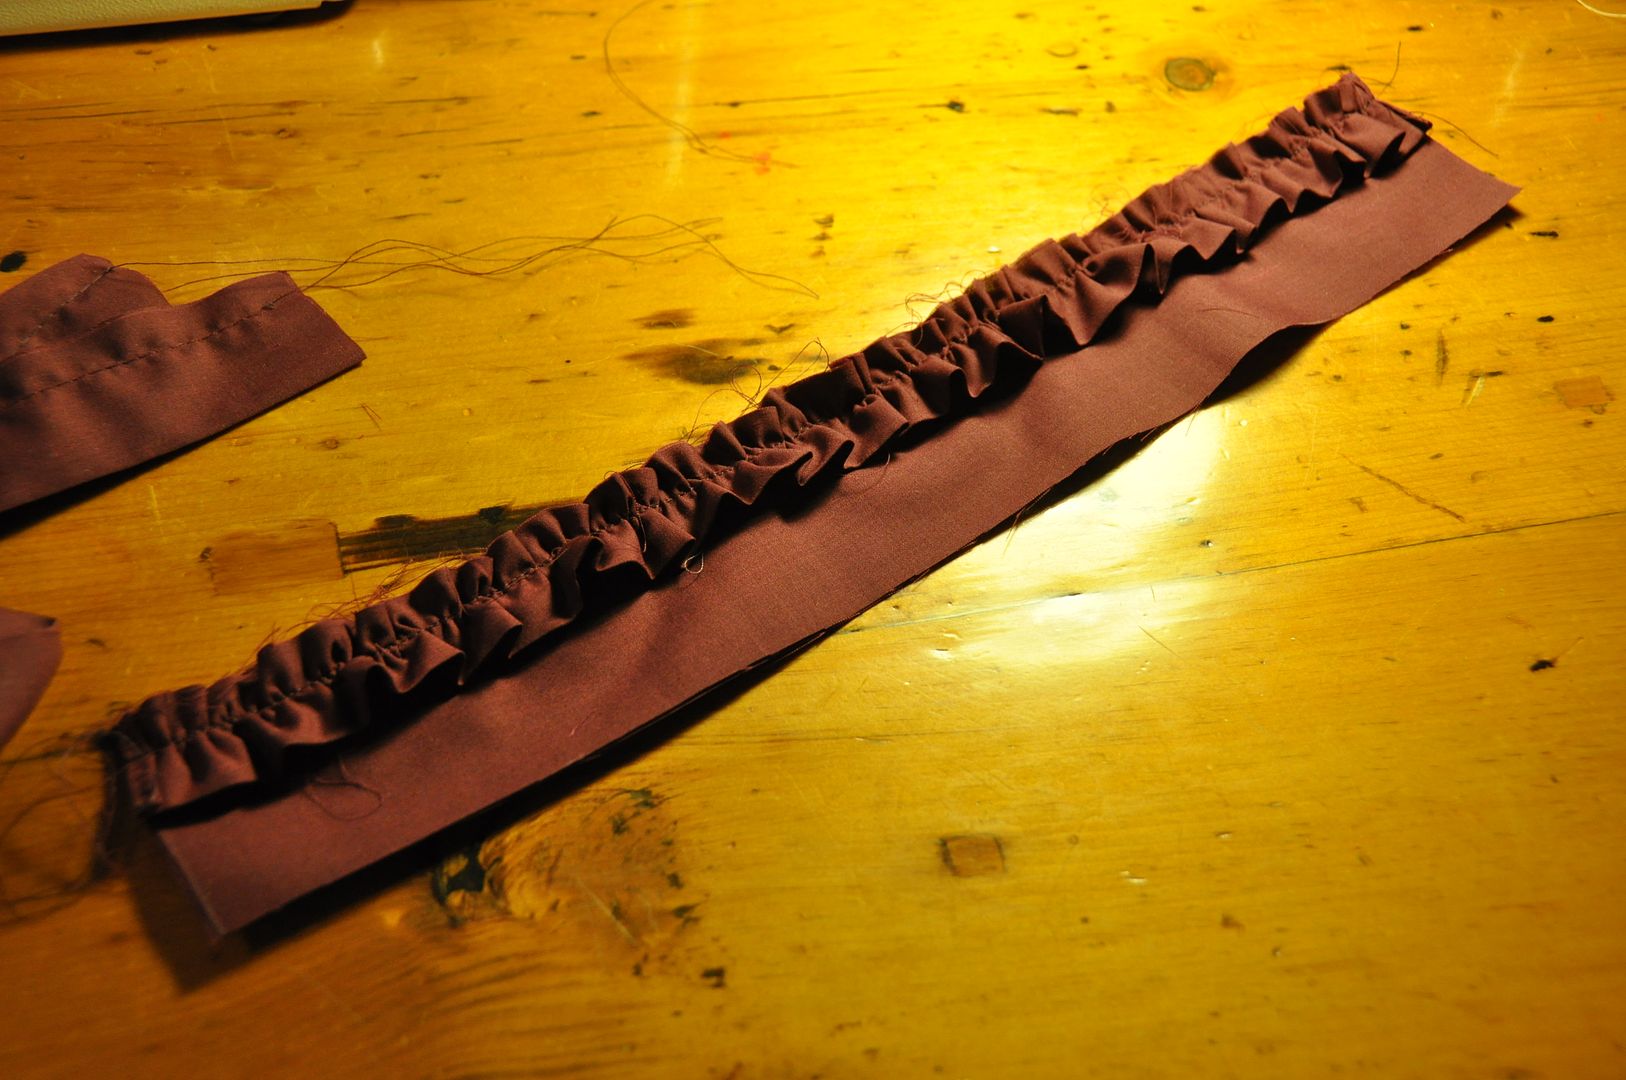
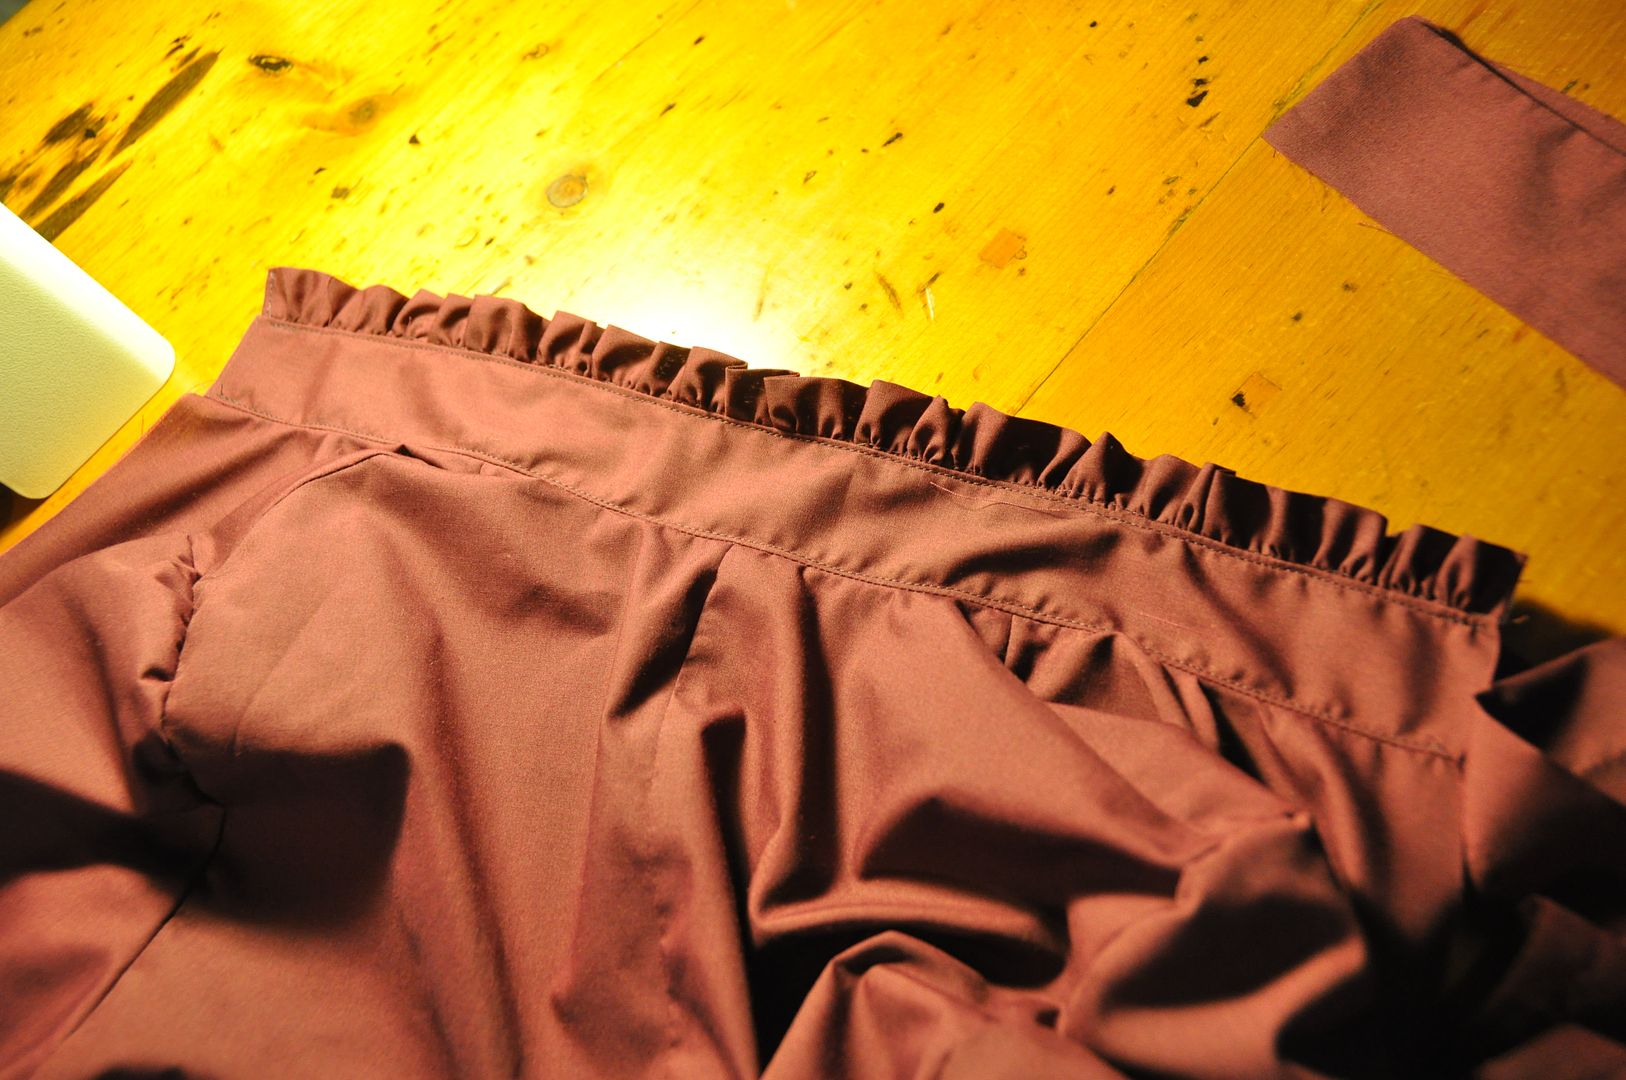
Like the hat band, the ruffles are simply rectangles with a channel on on side for an elastic, which cinches them to fit and gathers them into a ruffle. These were tacked on to the gloves and socks.
Little red bows were also added to the gloves.


I paid attention to the details so that everything would match perfectly. I wanted to do Sakura justice, and I think I achieved that. :)