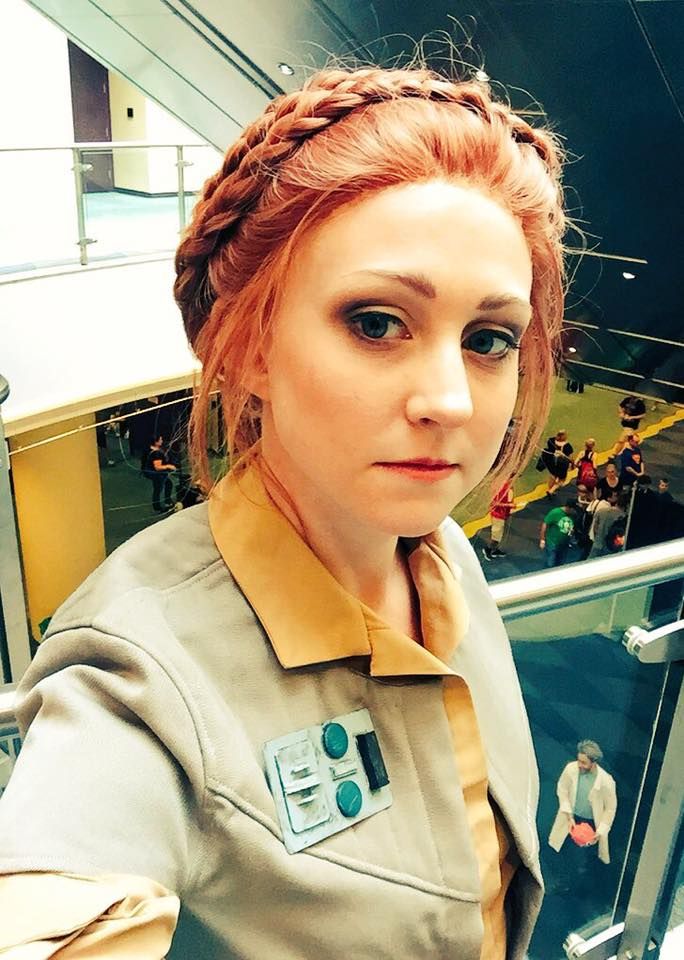
Hey guys! Lets take our first look at my Leia Rebel Scout costume! I won the "Best of Thursday" award at the FanExpo Cosplay Craftsmanship Contest 2016 with this costume.
I've wanted to do something Star Wars for a long time, but I was undecided what costume to do. I was interested in doing Leia, since I enjoy her character a lot (though not as much as my undying love for Han Solo). But as far as costumes go I thought her most iconic outfit is kind of bland and "slave Leia" is really
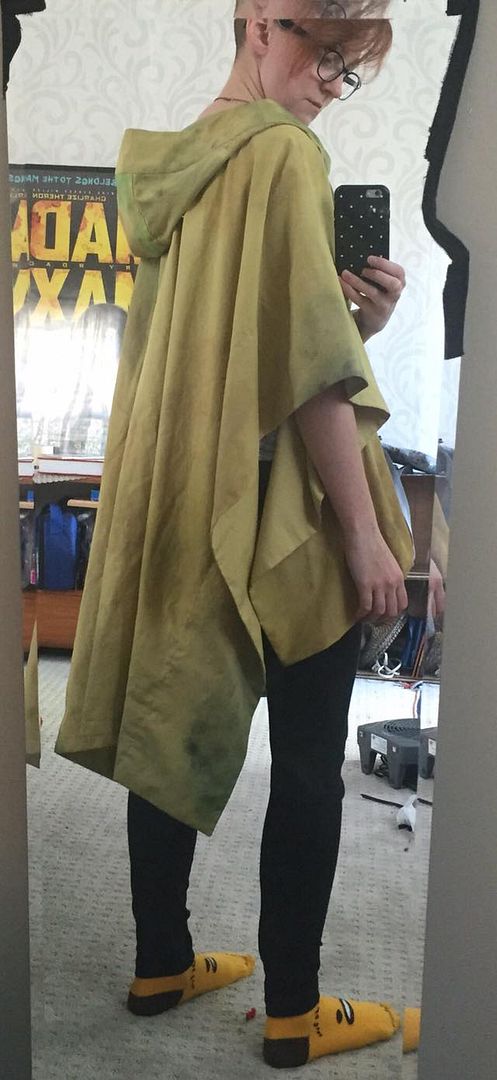
not my kind of costume. I did however find the rebel uniforms pretty neat and really loved those bizarre ponchos they wear in the forest on Endor, so I thought I would do the most un-cosplayed Leia costume there is. Enter, Leia Rebel Scout!

This wig was a bit a leap for me in terms of wig skills--I have never worked with a lace front before this. So I was worried it was going to turn out awfully. My fears were unfounded though! For my first lace-front I thought the application went pretty damn smoothly. Especially since my boyfriend Blayke was my assistant for the first trial run and we know how he likes to do cosplay (hint it involves using only staples).
But I got quite a few compliments on my wig! Most people were fooled into thinking it was my actual hair and praised my hair braiding wizard skills. If they were fooled, it must have worked? ;D
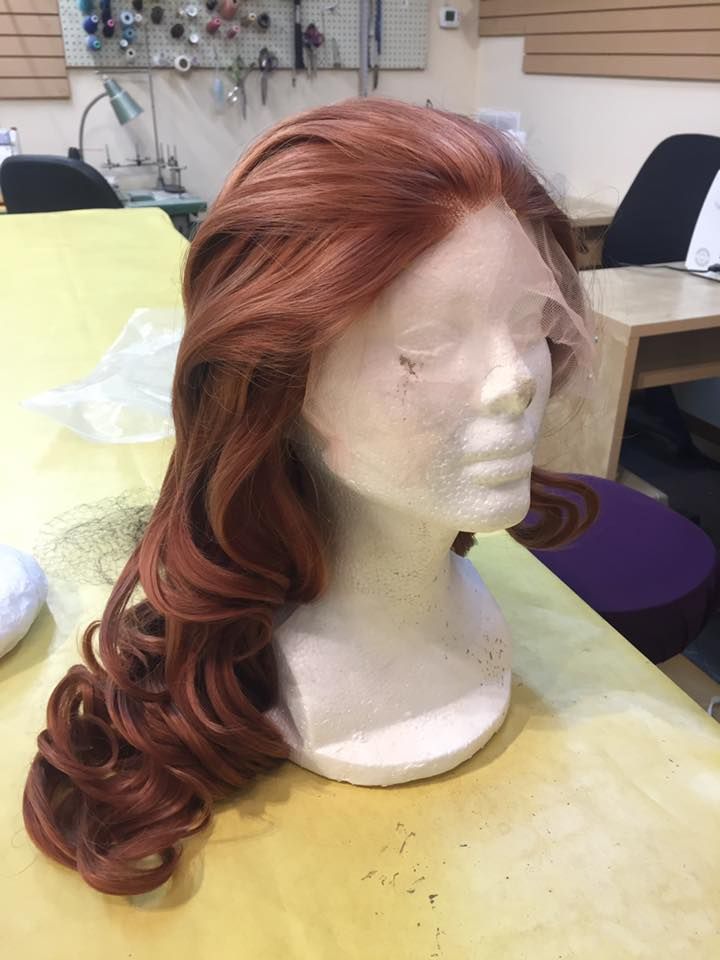
My base wig was from Arda Wigs--because they sell good quality lace-front wigs for cosplay. I got the
Matilda in warm light brown. I was a bit disappointed to discover that it looked more ginger than I wanted, so I actually toned down the colour with a brown sharpie before I started styling it. What this means is that I took individual fibers/small bundles and coloured them in, this gave it a more natural look of colour variation that helped to darken it a bit.
This style involved next to no cutting--it was primarily sectioning the hair and braiding it. I sheared off a few strands at the front to create the wisps of hair that hang down at the sides of her face and give a more worn look to the hairstyle--like she has in the Endor scenes.
This style involved next to no cutting--it was primarily sectioning the hair and braiding it. I sheared off a few strands at the front to create the wisps of hair that hang down at the sides of her face and give a more worn look to the hairstyle--like she has in the Endor scenes. I straightened these later because they were a little too curly.
The two braids that come up and over the head start one on each side. As they passed the halfway point hair from the front hairline was french braided in to extend the length. Then they were tucked in and pinned in place.
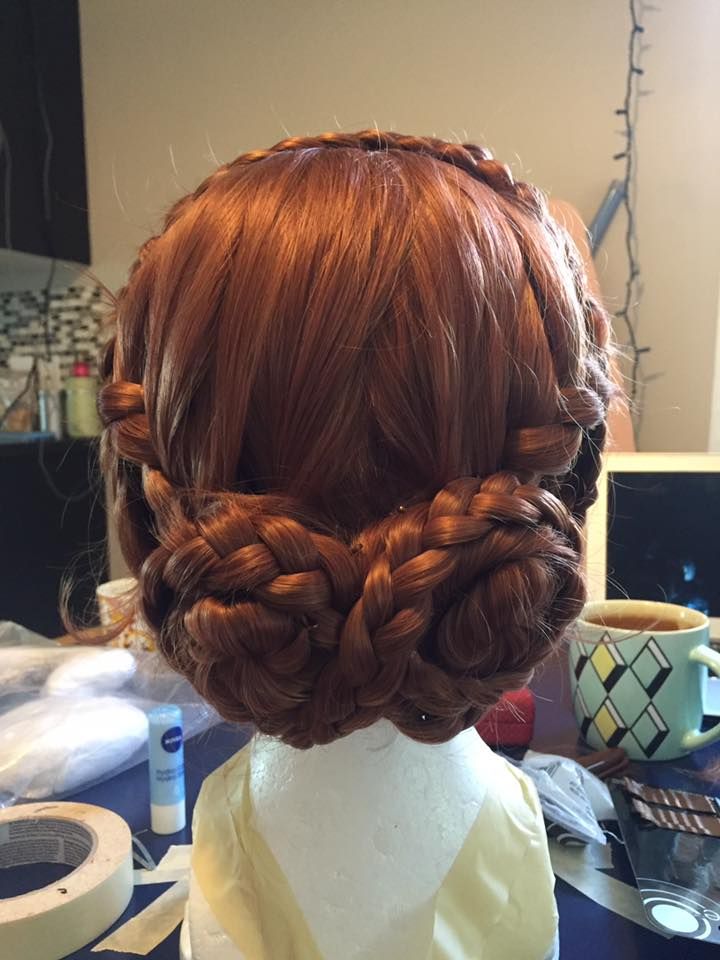
The bun at the back is made up of 6 sections. There are 2 braids that take most of the top section--these were held off to the side at first. I took the next two sections--which are fairly close together at the center back--and twisted them into two small buns. Then I took my next two smaller sections and braided them.
The first two braids were crossed below the buns and then coiled around the bases. They were pinned in place there. The smaller braids were then coiled around the two buns in a figure eight--turning the two separate buns into one larger bun.
I trimmed the excess lace at the front down to less than 1/4".
The application process went fairly smoothly but took a hell of a long time. The wig actually has a comb clip in the front, which I hooked onto my own hair (I french braid my bangs when I wear wigs) to keep it from sliding. This wig is fairly back heavy.
I started at the center of the hairline and made sure it was sitting in the correct place. Then I moved outwards from the center along the hairline down each side doing small sections and gluing them in place with spirit gum. I used a hairdryer to speed up the drying time (that was Blayke's job) while I held things in the correct place. Once it was done it looked pretty convincing!