Showing posts with label yellow. Show all posts

Tuesday, June 28, 2016

Make Up Cases


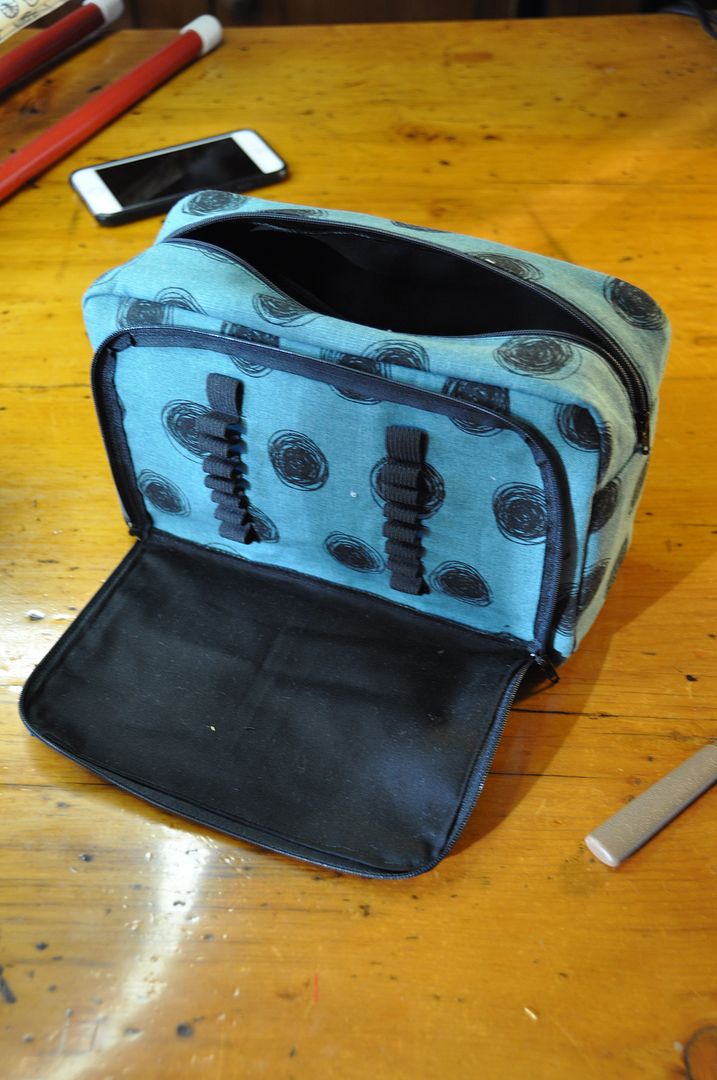
Just a quick post showcasing some custom make-up cases I made for my sisters this past Christmas.

Both have elastic loops to keep brushes/pencils organized. The front flap on the teal one was a little tricky, as I am not used to sewing zippers in on such a sharp curve.

I thought it was a pretty fun way to use some of the print fabrics my sister got me in Japan. :)

Tuesday, January 26, 2016

Vaporeon Gijinka - Wrap Skirt "Tail" - Pokémon


This is the third part of my Vaporeon Gijinka costume. If you want to see how I made the Bolero, go here! If you want to see how I made the under layers, go here!

Thanks to Elemental Photography for the great photoshoot! Credit for the original costume design goes to Cowslip!

One thing I loved about this design was the way that the tail was incorporated into this wrap skirt.

The "tail" was made from the same blue silk as the bolero jacket. It has a really nice shine to it--without being overly shiny. The fabric itself actually has a salmon-y pinkish colour woven in, which you can see in the shine. It helps to break up a bit of the blue overload.

This piece took a bit of adjustment before I was satisfied. It was first draped and pinned in muslin to create the pattern--a much less scientific method than I am used to.

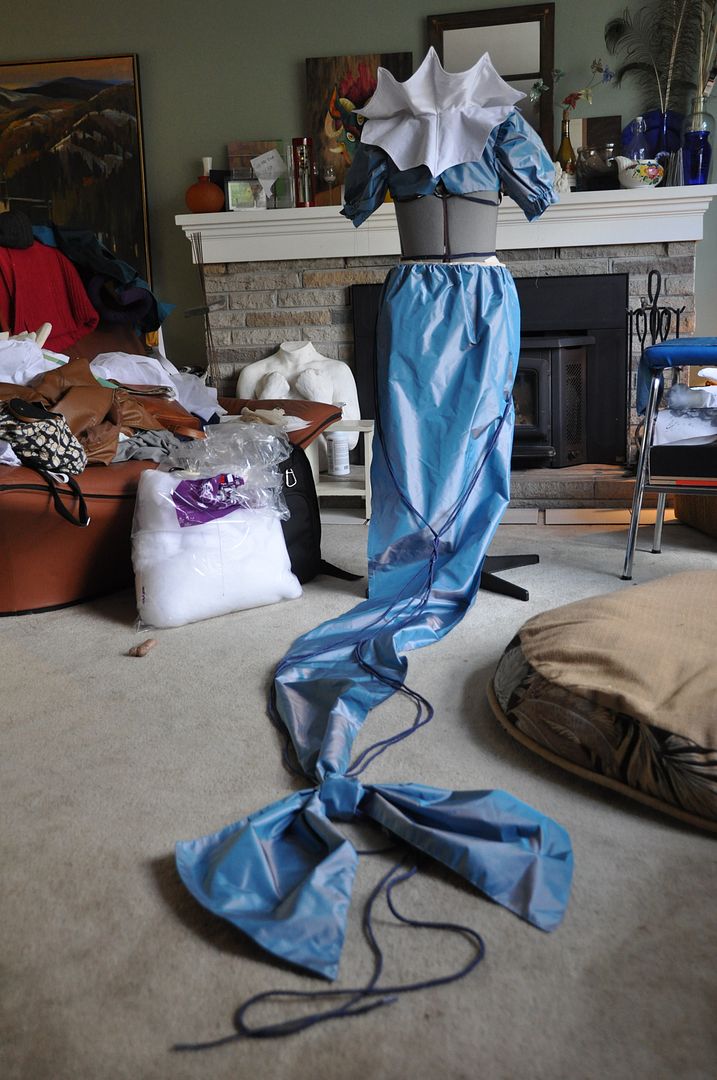
The tail itself ended up being over 5ft long. It was a bit cumbersome, so I pinned it up to walk about the con.
You can see how it tapers from the waistband down.

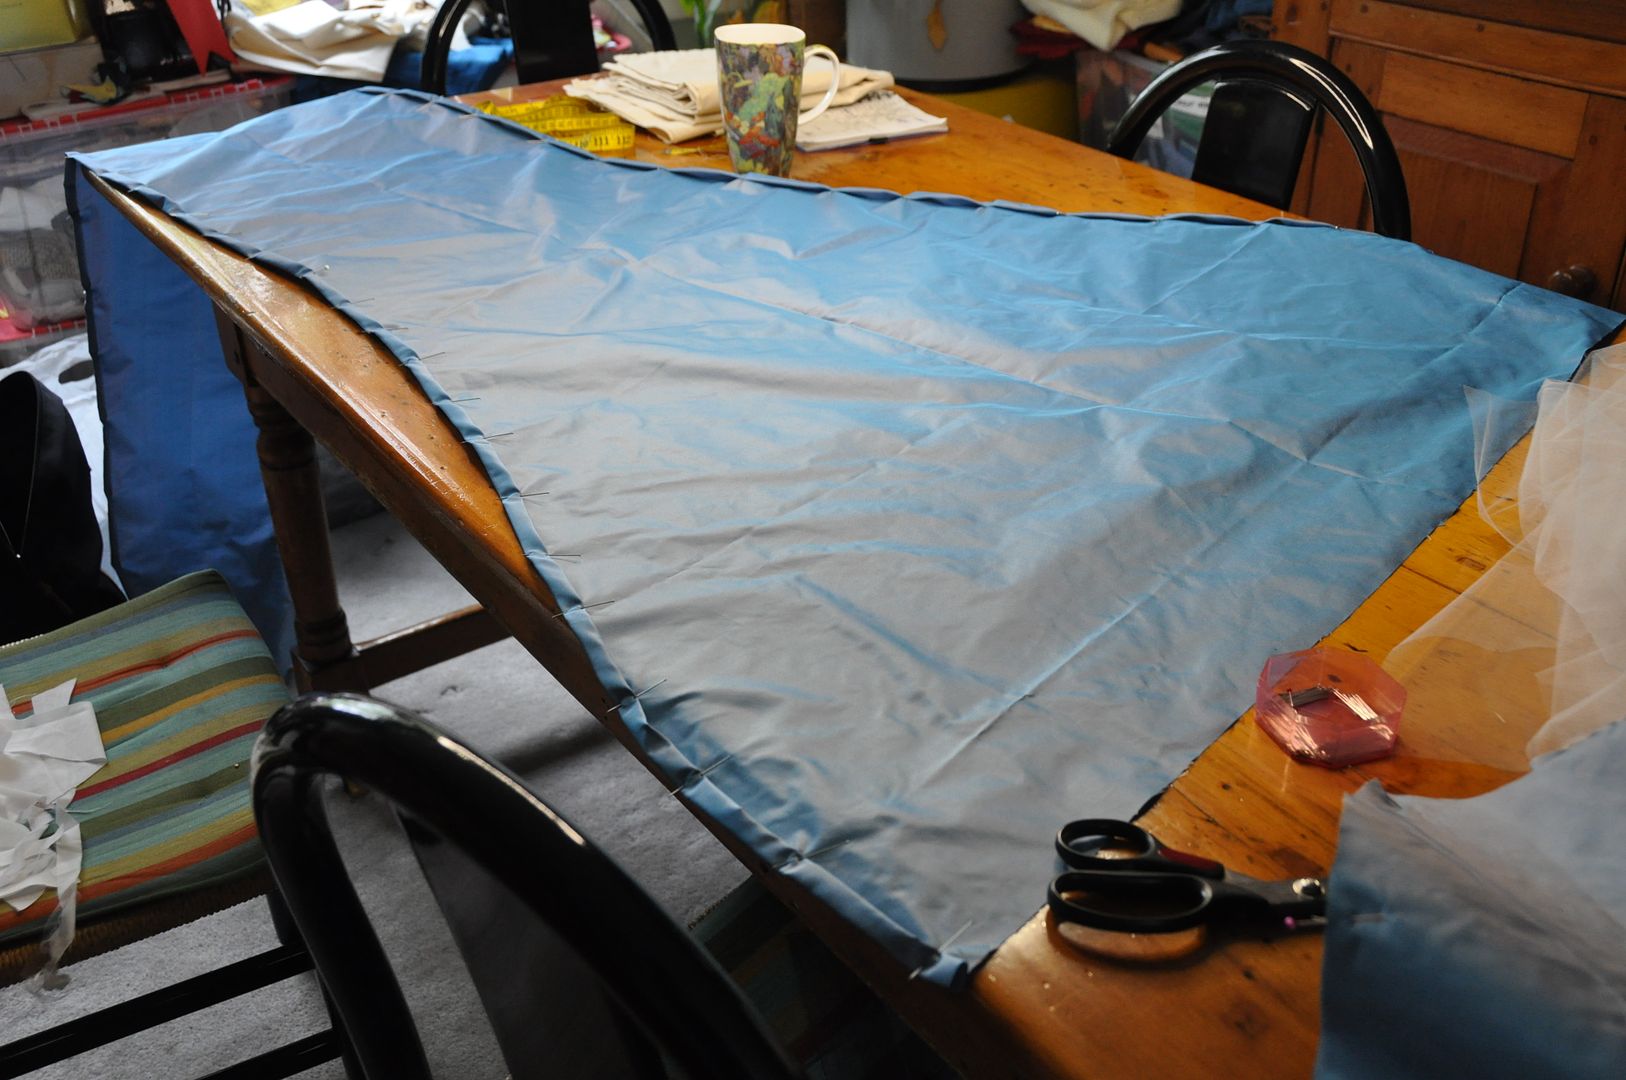
The next step was to finish off the edges. I neatly rolled them over and top stitched it. I wanted to make sure it looked neat from both sides, as the inside would be quite visible. Also, this fabric frayed like nobody's business. I wanted to make sure the edges wouldn't get destroyed.

I gathered it to the desired size and attached it to the waistband. The waistband was a simple rectangle of beige cotton that had a hook and eye closure. I would later reinforce the waistband with nylon webbing I had leftover from my Splatoon Inkling harness rig. This reinforcement was necessary, as later the leg wrapping rigging would be sewn into the waistband.

The tail fin pieces and decorative waistband ruffle were sewn right sides together, clipped, turned right way out and then top stitched to finished them off.

I used 4 long pieces of navy cording as my detailing on the train. I hand stitched them on at the top and tacked them at various points as they wrapped around the tail. There is easily over 12 yds of cording on this costume (including all the lacing on the bracers).

I pinned the tail fin to the end of the tail, arranging the ruffled look how I wanted it and then tacked it on with my most invisible hand-stitching. It's basically like a giant bow.

It was around this point that I realized I would not be meeting my original deadline (AN 2014) and gracefully admitted defeat. I took a year-long break from this costume.

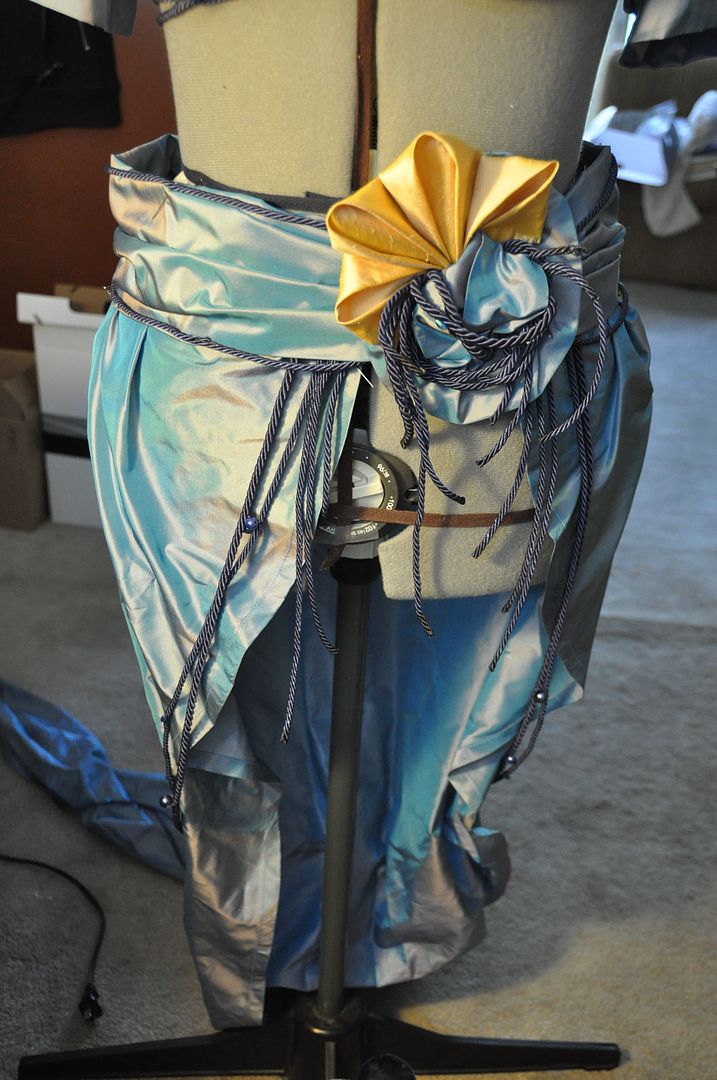
The next step was to attach the decorative waistband ruffle. I arranged it and pinned it in place until I was satisfied with the look then tacked it on with hand stitching.

Then I went about creating the brooch that attaches to the waistband, covering the clasp. It was all made of scrap materials--leftover cording, fabric, beads, etc. I used some of the yellow silk from the hairpiece flowers to create a matching kanzashi style detail for the petals (I will go into more detail on my wig and hairpiece post for this costume.). The entire thing was sewn to a felt backing that was glued to a brooch pin.

Extra cording was used to decorate the waistband and create more dangling bits near the opening at the front.

Then I had my friend Harriet (the official Bead-Dazzler) sew on tons of beads. Props to her for her hours of hard work (in exchange for food)--I certainly have the skills to sew beads myself, but I definitely lacked the time.

The detailing is what really makes the design. There is such richness and embellishments, and I had a lot of fun realizing those little details.

Next I had to create the leaf detail that sticks up from the waistband of the skirt. The problem was, it need to be rigid, but also sheer. The fabric I had was nice and sheer, but super flimsy. 

On the Splatoon project I was introduced to this magical stuff called "heat n bond".  I essentially used it to fuse my fabrics together around a central support structure made of leftover corset bones. I have to say--I had no idea if my crazy idea would work, but it did, so YAY! 

First I traced out the shape I wanted on the paper side of the heat n bond. I cut this out and then ironed it to my first layer of silk. Then I used fray check and applied it all around the outline of the leaf shape and let it dry before cutting it out--this way, when I cut it out it would not fray. 

Then I laid the leaf shape heat n bond side down on the second layer of silk. I carefully lined up my corset bones where I wanted them and pinned them in place. I carefully sewed around them using the machine's zipper foot. The bones were now sandwiched between the two layers of silk. 

Then I ironed the whole thing, fusing my layers together.  

The next step was to apply more fray check, around the edge of layer two, allow that to dry and then cut it out.

The finished leaf feels completely different than the fabric I started with.

To create the veins on the leaf I used a similar process. 

First I traced out the desired shape in heat n bond. I then cut that out and used an iron to apply it to the first layer.

Then I fused it to the second side. I fray checked the outline, allowed it to dry and then cut it out.
This was then tacked on the leaf by hand in a few key spots.

The leaf was simply tucked into the waistband when I wore the costume.


Wednesday, October 14, 2015

Sakura - Dress, Blouse & Petticoat - Cardcaptor Sakura

So guys, it finally happened: I finally got some finished shots of this costume. Special thanks to EleventhPhotograph for the amazing fall shoot! I loved the use of colour gels in the trees to pump up the colour even more!

You may have already guessed that I have a slight obsession with the 90s series CardCaptor Sakura. It was the first anime I ever watched in Japanese with subtitles. The numerous other CCS costumes should have clued you in to my obsession at this point.

I've already made Suppi & Kero, Sakura's sailor suit, and Tomoyo. Adding this one and the one I am currently working on, that brings my total up to 6 costumes from the same series. Which is kind of crazy. Although, not all of these costumes are for me. Suppi was for my older sister Alex, and this iconic Sakura outfit was made for my lovely sister Elanne.

It may not be totally apparent that my sister is actually 7 years younger than me (we have been told on numerous occasions that we look like twins...), but this means that she was not old enough/actually alive to watch the series with me in the 90s. She only watched it for the first time about 3 years ago when Alex and I were having a nostalgia trip. And she quickly became a fan. She hadn't cosplayed in a few years, but asked me if I would consider making something CCS for her. How could I refuse? And behold, the cutest Sakura I know!

So lets get started talking about how I made the dress, blouse and petticoat!

This is definitely one of the most iconic Sakura outfits, this one is featured in the season 1 opening theme. Fabric shopping proved a bit of a challenge for this costume, as I had difficulty finding the correct colour of pink. Because the dress is pink, not red, as some people make it--though that may be to better match one of the manga illustrations? I don't know. It's a reddish/salmon-y/flamingo-ish pink depending on which reference picture you look at. The fabric I found was a medium salmon-y pink colour. When compared to the red fabric I already had on hand for the bow details it had a nice contrast and the colours looked good together. Which is an important part of colour matching any costume.

The most difficult thing about CLAMP is that the way they draw their CCS designs is so simple. They look simple. But they aren't. My main issue is that they don't typically draw seams onto the clothes. This can make it extraordinarily difficult to determine how exactly the clothes should be constructed.

I started off by patterning a basic block, which I heavily modified to create the pattern for the bodice.

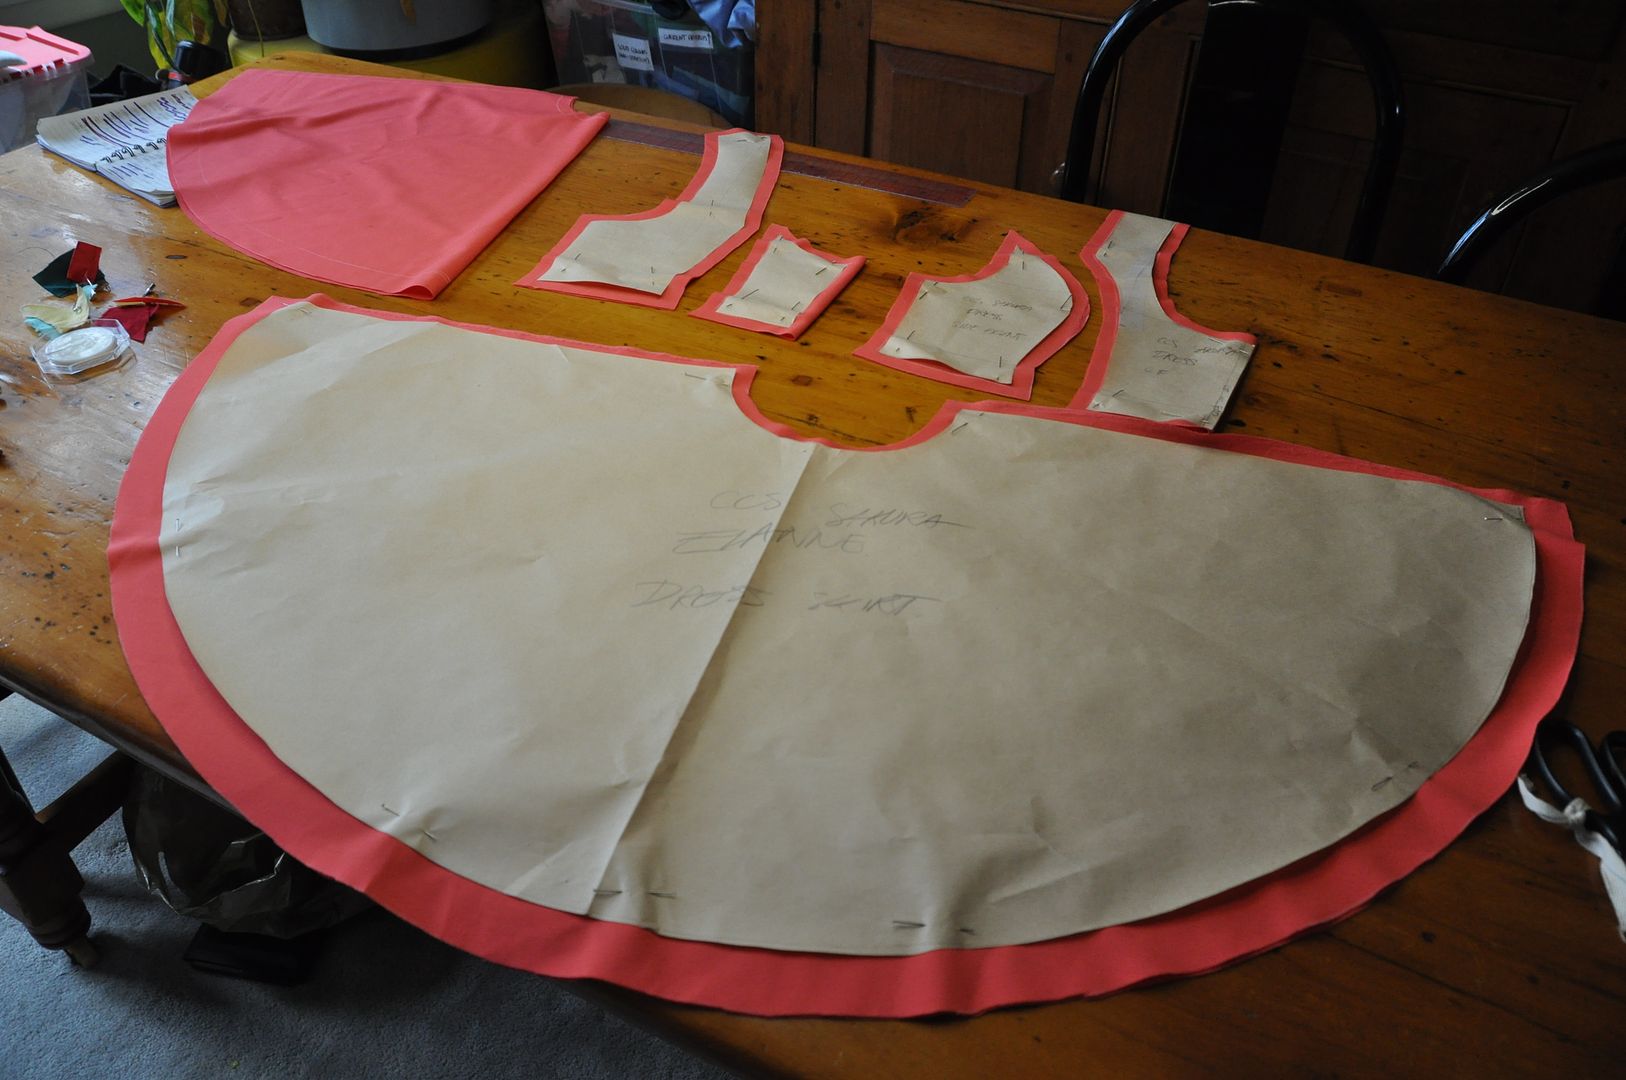
The skirt is a full circle and a half. It has been too long since for me to explain the mathematics of how I did that. It consists of 3 panels which are 1/2 of a circle each. This is so I can have a seam down the center back for the zipper, but not one down the center front (which I think looks bad).


I cut out my pieces and then began assembling it.

The bodice was designed not to be super fitted to her curves in spite of having a princess seam--Sakura is supposed to be like 10, so emphasizing curves does not really emulate the character accurately. But not having the seam would have made the bodice gape weirdly at the armholes. Also, it couldn't be too fitted, because there were several layers going underneath: the wing rig being the bulkiest, but also the blouse and the petticoat waistband. If it was super fitted she would look lumpy. Sakura is not lumpy.

I finished the seams on the inside.

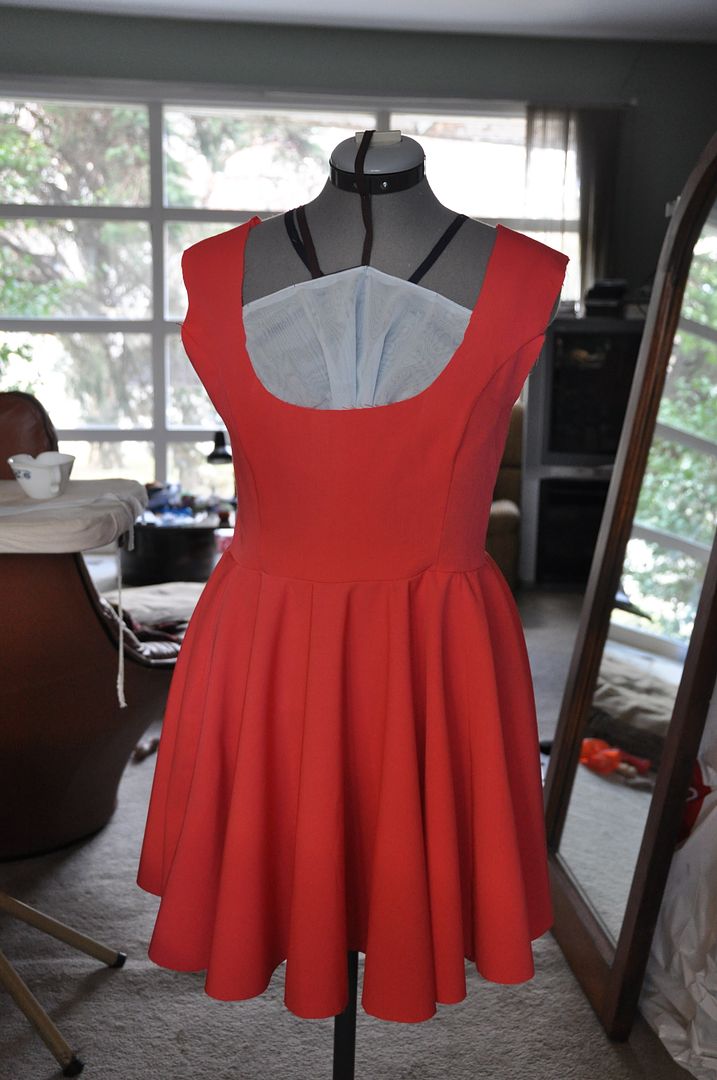
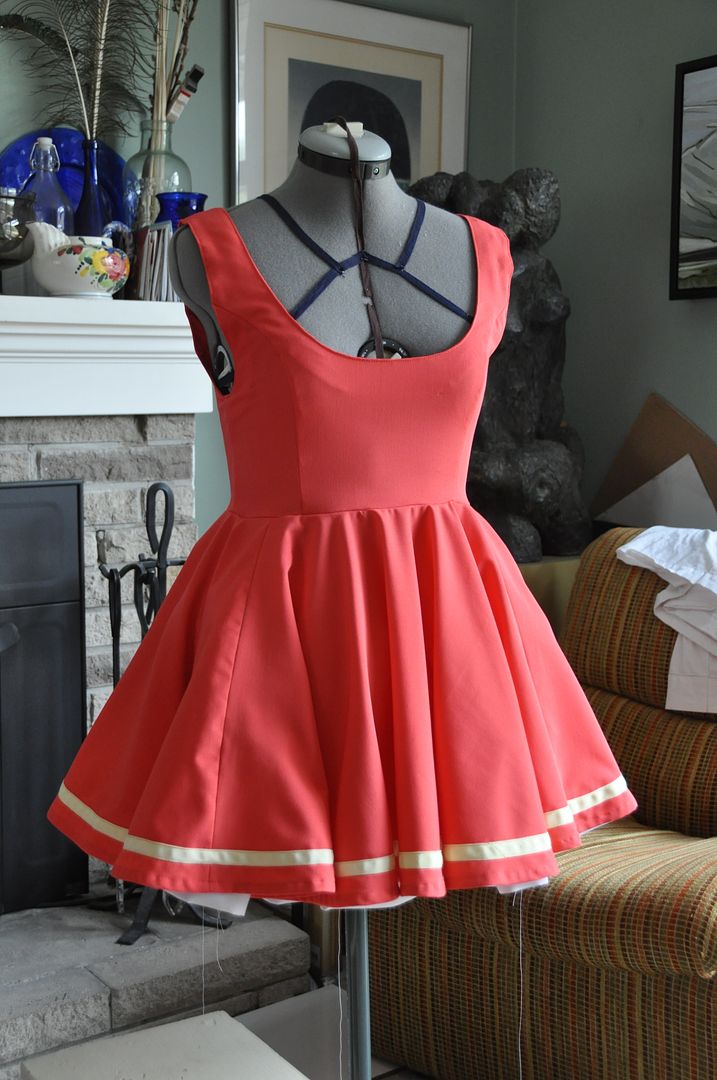
You can see how full the skirt is as it hangs. This is what the skirt looks like without the petticoat underneath. Pretty sad and not floofy. I always think it looks so sad when a character is supposed to have a giant floofy skirt and cosplayers aren't wearing a petticoat. :( Sometimes it's understructure that can make or break a costume.
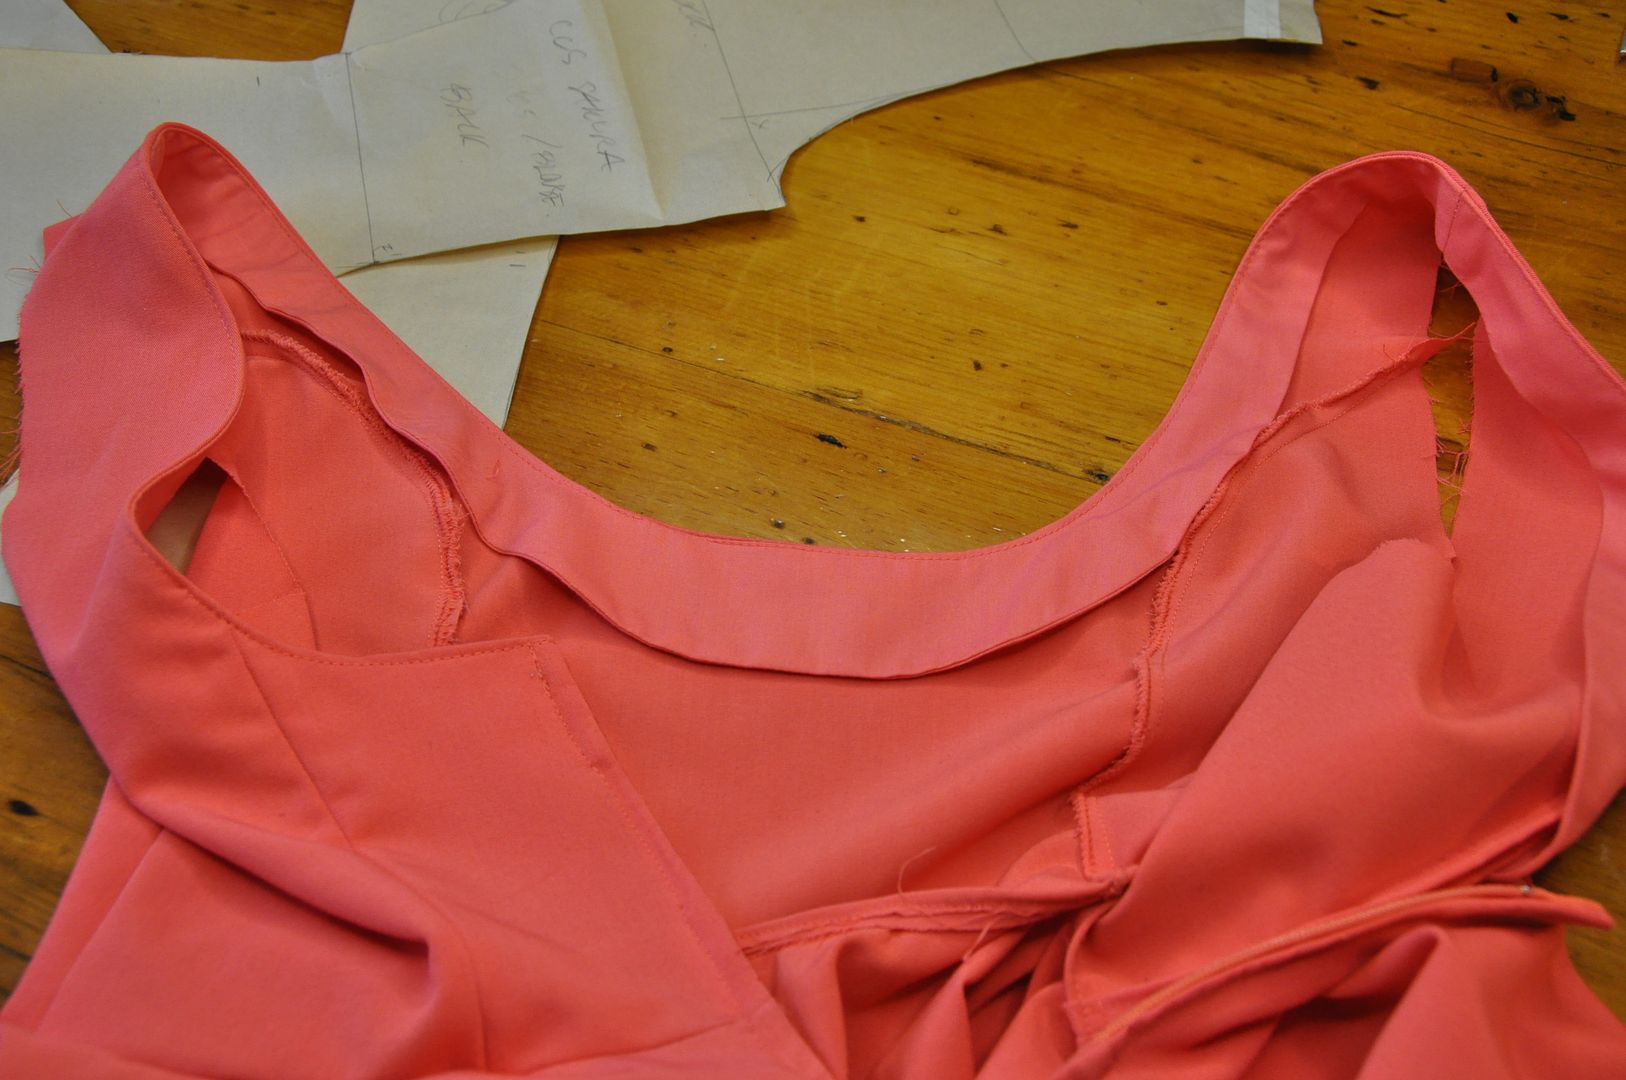
Next I added a zipper into the center back seam. Next I finished the edge of the neckline with a facing. This was tacked down on the inside to keep it from flapping about.


Next I made a facing for the armholes. This was also tacked to the inside.

Next the stripe was added to the bottom of the dress with a pale yellow bias tape, and the dress was hemmed.

Special thanks must go to my wardrobe gnome Alli, who helped me with finishing up this dress. She did 99% of the hand stitching on this costume. Which included hand basting the yellow bias tape stripe along the bottom edge and the hem (as well as making and attaching all of the bows!). This was so I could machine stitch it with absolute precision (and no wrinkles later. Hand basting is one of those tasks I loathe doing, even though it can be super helpful.

Here you can see I have tested out the dress with 1 layer of the petticoat. Even then I decided I would need almost 3 times as much floof. And even still, I feel I could have done 1 more layer.

Simultaneously I was making the blouse. It started off as the same basic block, but the similarities end there. For the top front portion of the blouse (that would be revealed by the neckline of the pink dress) I created a panel that was wider than the center front piece below by about 2 inches. I gathered  this panel along the bottom edge and neckline so that it would appear ruffled along the center front. The rest of the blouse was fitted, so there wouldn't be too much added bulk under the dress.

The collar is simply a long rectangle of fabric folded in half lengthwise. It was made long and gathered to fit the neck hole. Again, this costume is nothing but ruffles, ruffles, and more ruffles.

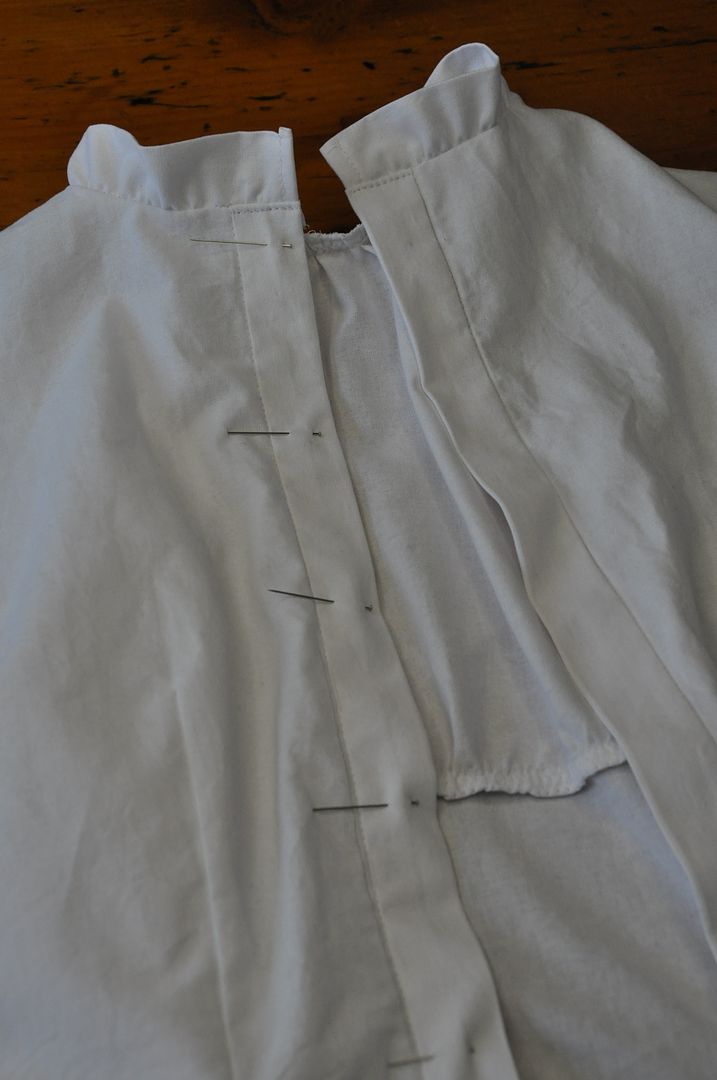
For the back closure I decided to make it button up, because it looked adorable. Although it was a bit of a challenge for her to take on and off, she managed!

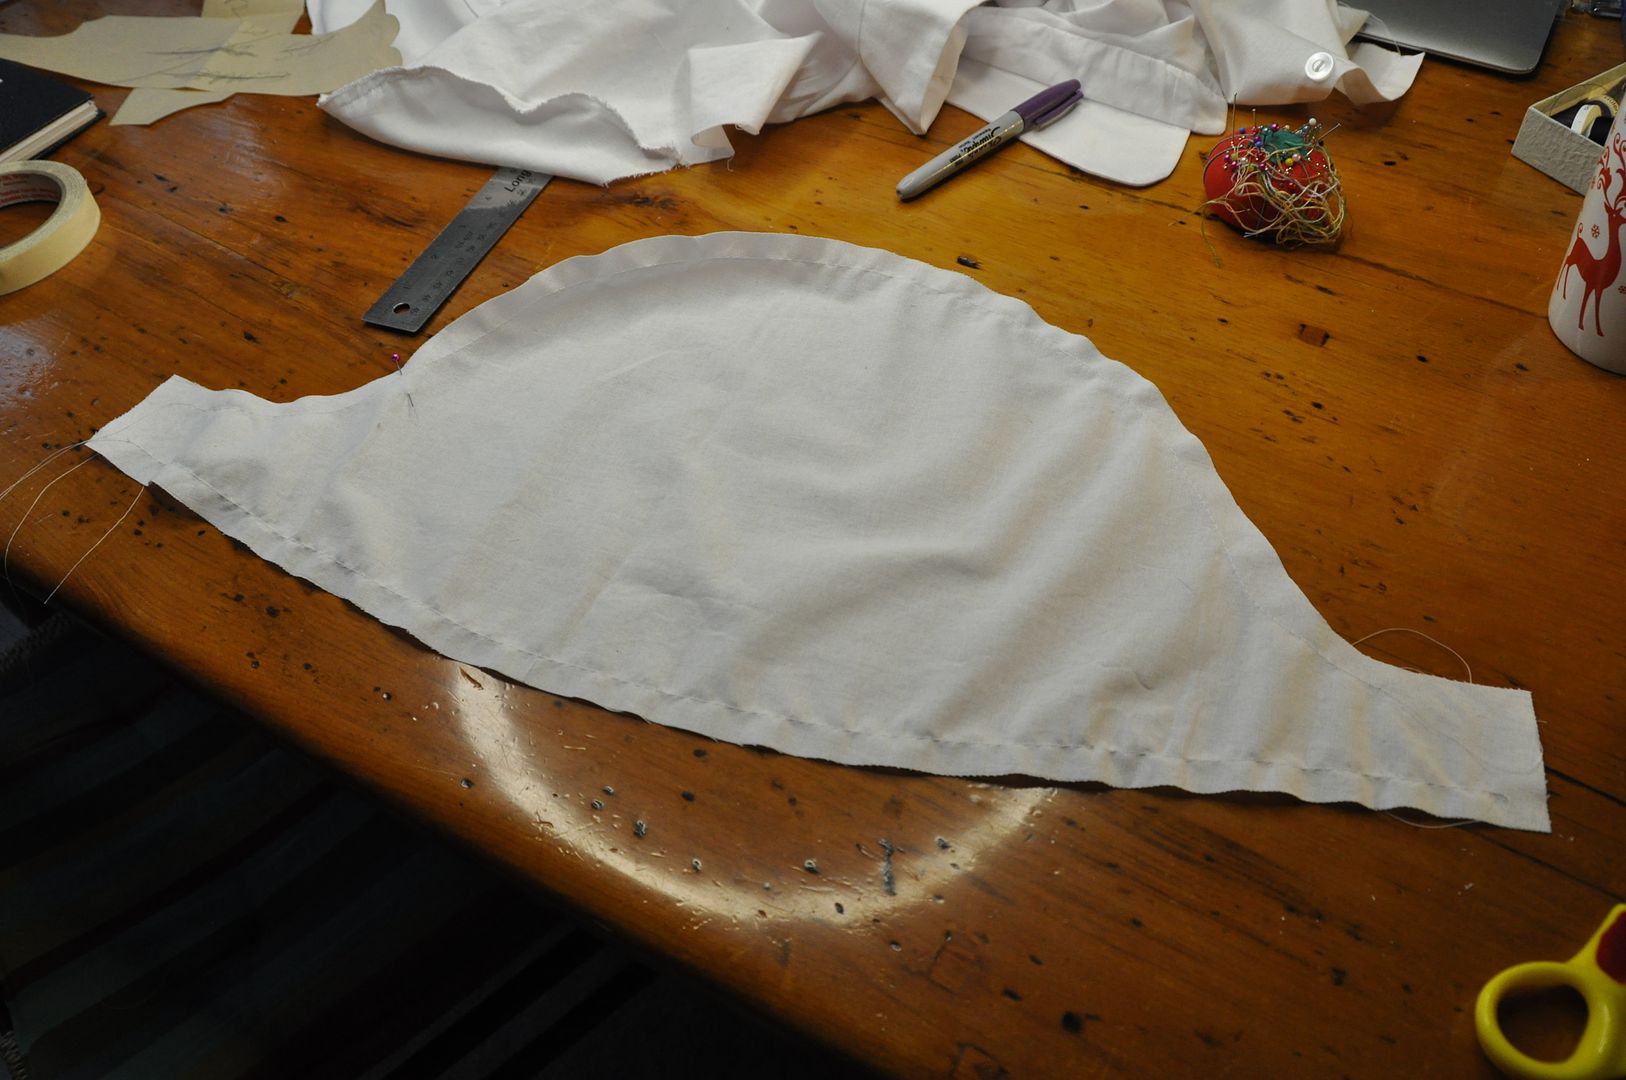
The sleeve took a few tries to get the correct proportion of poof. They are larger than the sleeve hole and gathered to fit.

The sleeve cuffs were done in the same way as the collar.
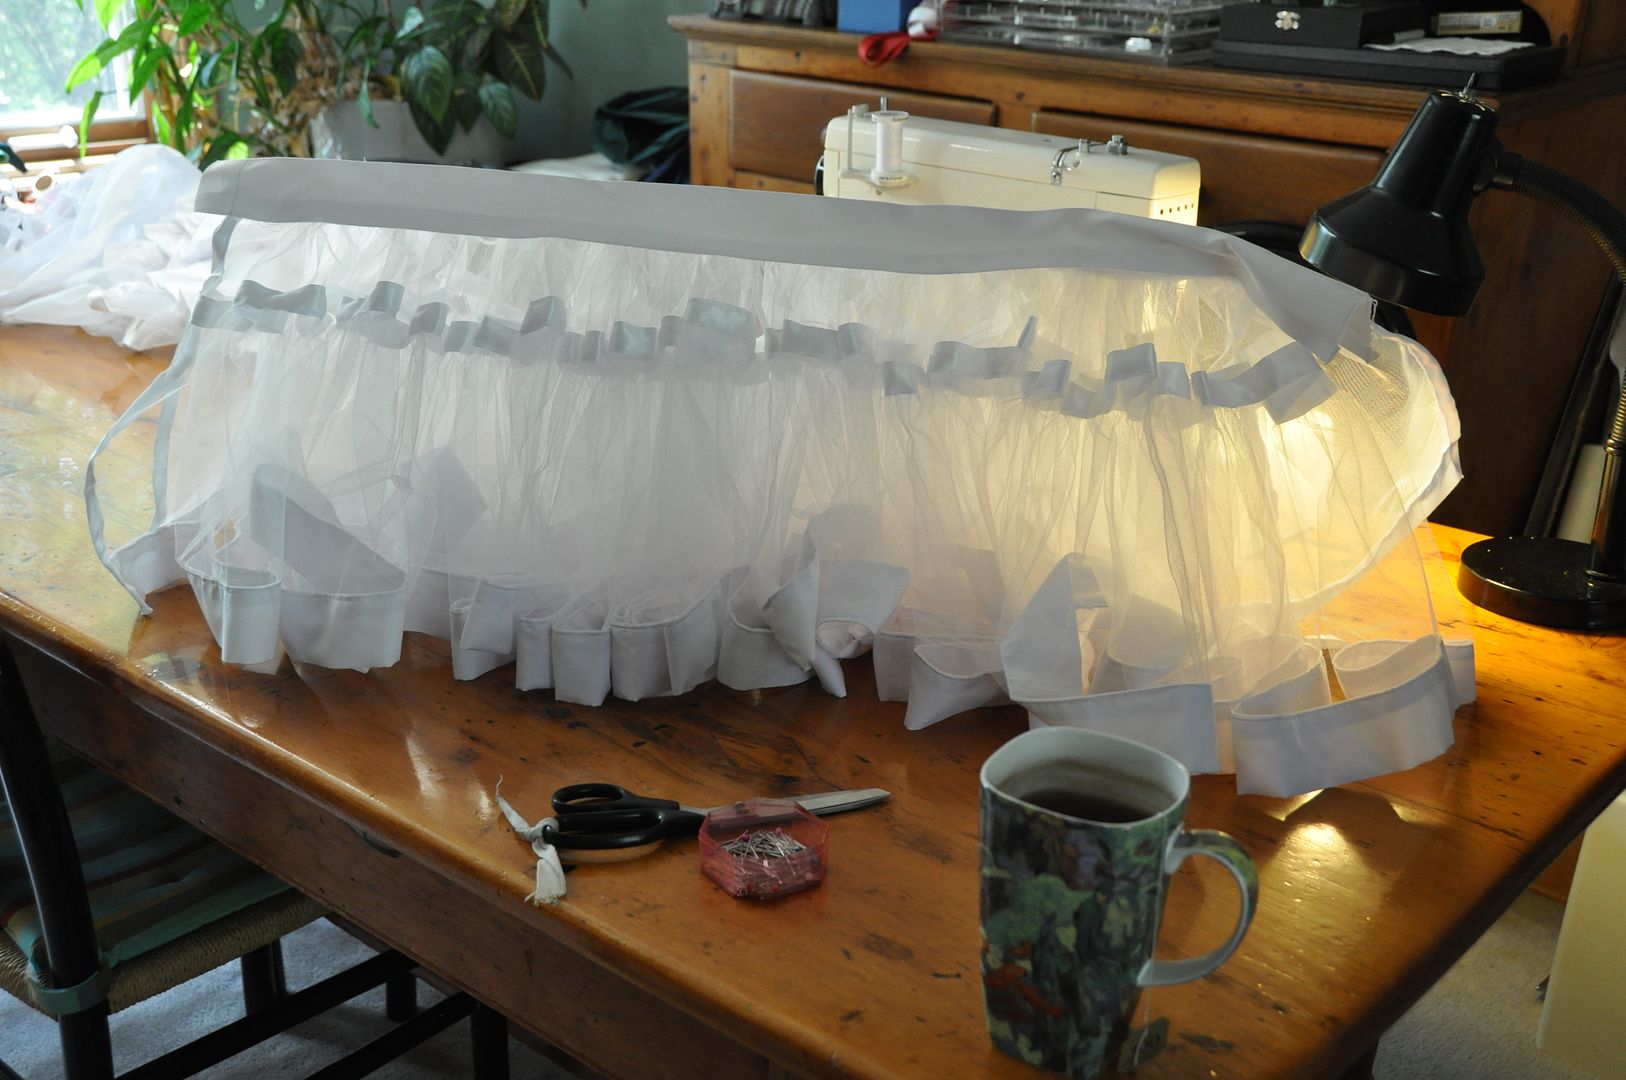
The last step in the project was the petticoat. It is surprisingly labour intensive to make one. With this I used up all the crinoline I had left from when I bought it for my Alice petticoat.

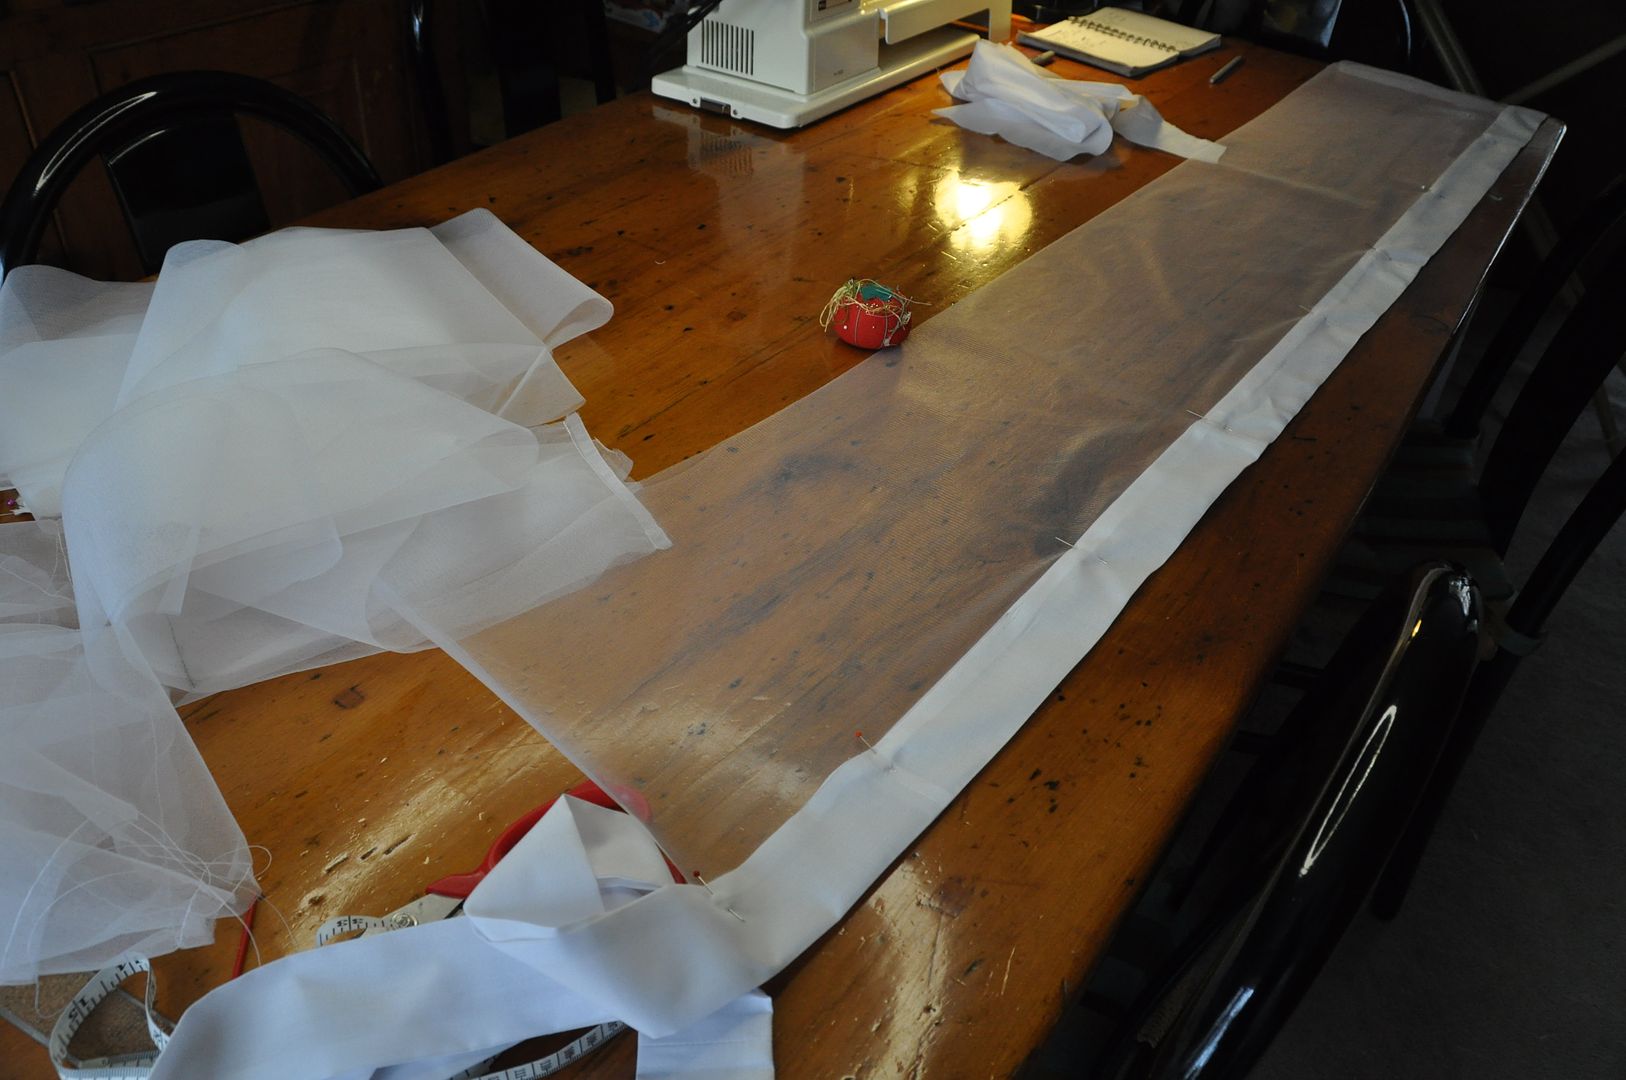
After determining how long I wanted it to be, I cut as many strips as I could of crinoline in each width I needed. I sewed these together, with french seams.

Much like layer cakes, petticoats are easiest to construct from the bottom up. You make the bottom tier first--finish the hem, ruffle it along the top edge--then attach it to the tier above and repeat until you get to the waistband. You make each layer separately.

You can see that each layer in this petticoat has 2 tiers of crinoline--a small one at the waistband. This was to cut down on the already substantial bulk that would have to be sewn into the waistband.

To finish the bottom hem, I created a strip of broadcloth to fold over the bottom edge. This created the look I wanted for the bottom visible edge. While still having the structure that crinoline provided. Making the petticoat entirely out of broadcloth would have been far too flimsy.

To give you an idea of just how much fabric this is: the petticoat can stand on its own. This is only 2 layers, this is before I decided to make a third.


After making layer number 3, I also made a simple white circle skirt (1 full circle) to go over top of it. Like the blouse I made a ruffle to add along the bottom edge. This was long enough so it would be visible below the edge of the skirt.
To give you some perspective, this is how much petticoat I put into this costume. And I could have done more. I would probably have used a stiffer crinoline layer.

This one is 3 layers of crinoline, plus a white circle skirt with a ruffle along the edge over top.


The completed dress looked pretty good!

Wednesday, August 26, 2015

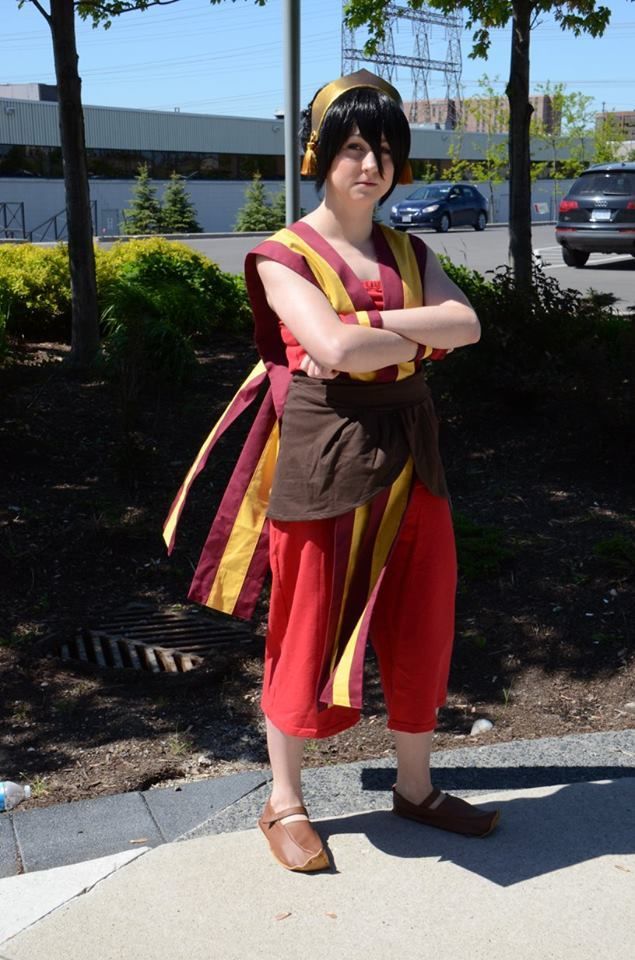
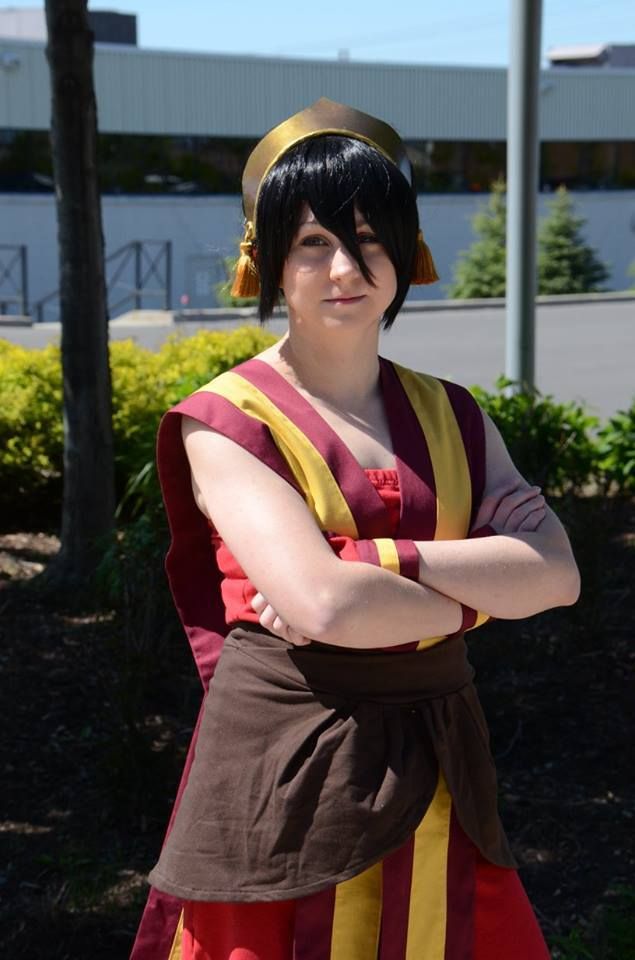
Toph (Fire Nation Disguise) - Outfit - Avatar: The Last Airbender

The second installment in my series of posts on my Toph costume. If you want to see how I created the wig, go here!

Toph Beifong is one of my favourite characters from The Last Airbender. She is so very sarcastic and a genuine tough-guy. A welcome addition to the group dynamic in season 2. I've always wanted to do a costume from this series, but I had never made time for it. I really love the Fire Nation outifts the best aesthetically, though I've always had my eye on doing either one of the Kiyoshi warriors or Ba Sing Se costumes... So many good choices. Perhaps someday...

As I said in my previous post, I actually started this costume last summer, but after many difficulties with the wig I didn't finish it. This is the part of the costume that I constructed and finished last year for Otakon.

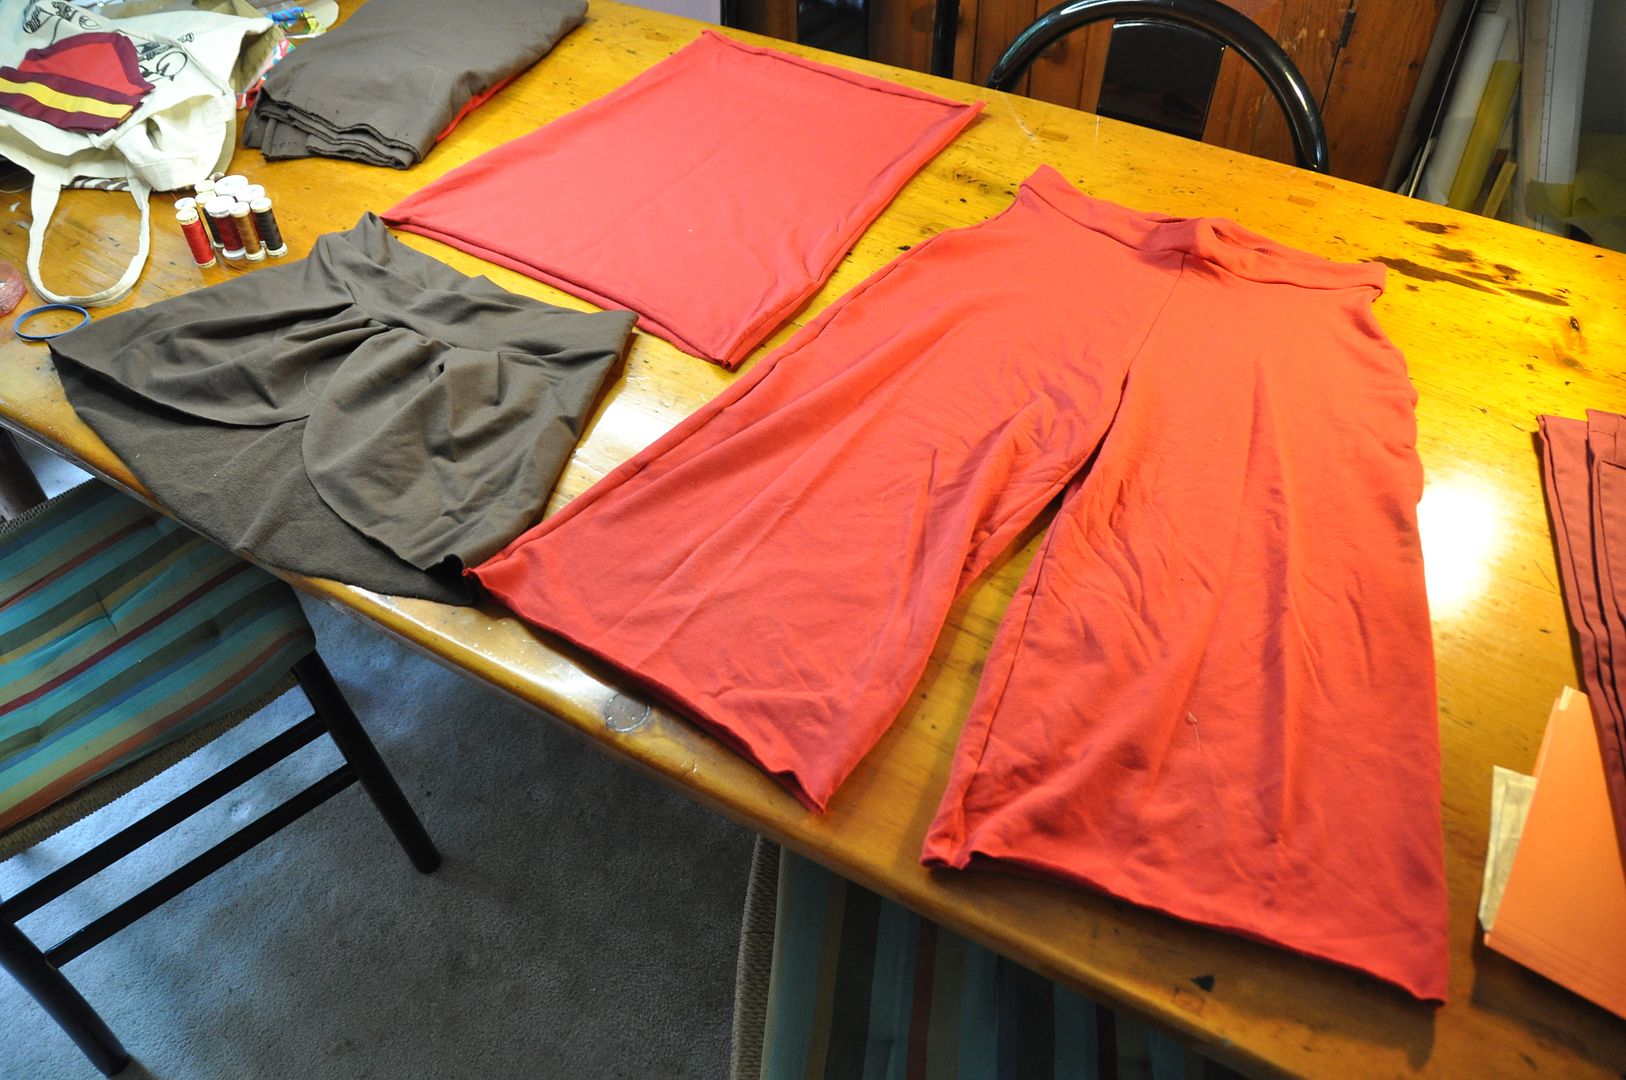
Aside from the extremely heavy wig, the rest of this costume is super comfy. I decided to make it primarily out of stretch fabrics.
The pattern for the pants is based off of a pair of old yoga pants I have. I traced that onto a piece of paper and used it as my pattern. They only needed some slight adjustments to account for the difference in fabric.

The tube top was made from two pieces--a front and back--that were narrower at the waist.

The waist wrap I draped to created the pattern. I pleated the fabric along the front overlap. The waistband for it was folded in half and tapered to a point at each end.

Because I lack a serger, after cutting out all my pieces I went to visit my friends Jen and Amanda--AKA Mai Sheri and Elemental--who were kind enough to let me use theirs! (I paid them in homemade cookies.) I assembled the pants, and tube top with relative ease. Pinning the waistband to the wrap this was serged together in a circle on the inside. Then using a zig-zag stitch I hemmed all the garments.

I inserted an elastic in the waistband of the pants and the top of the tube top. All of these pieces stretch to fit and have no closures.

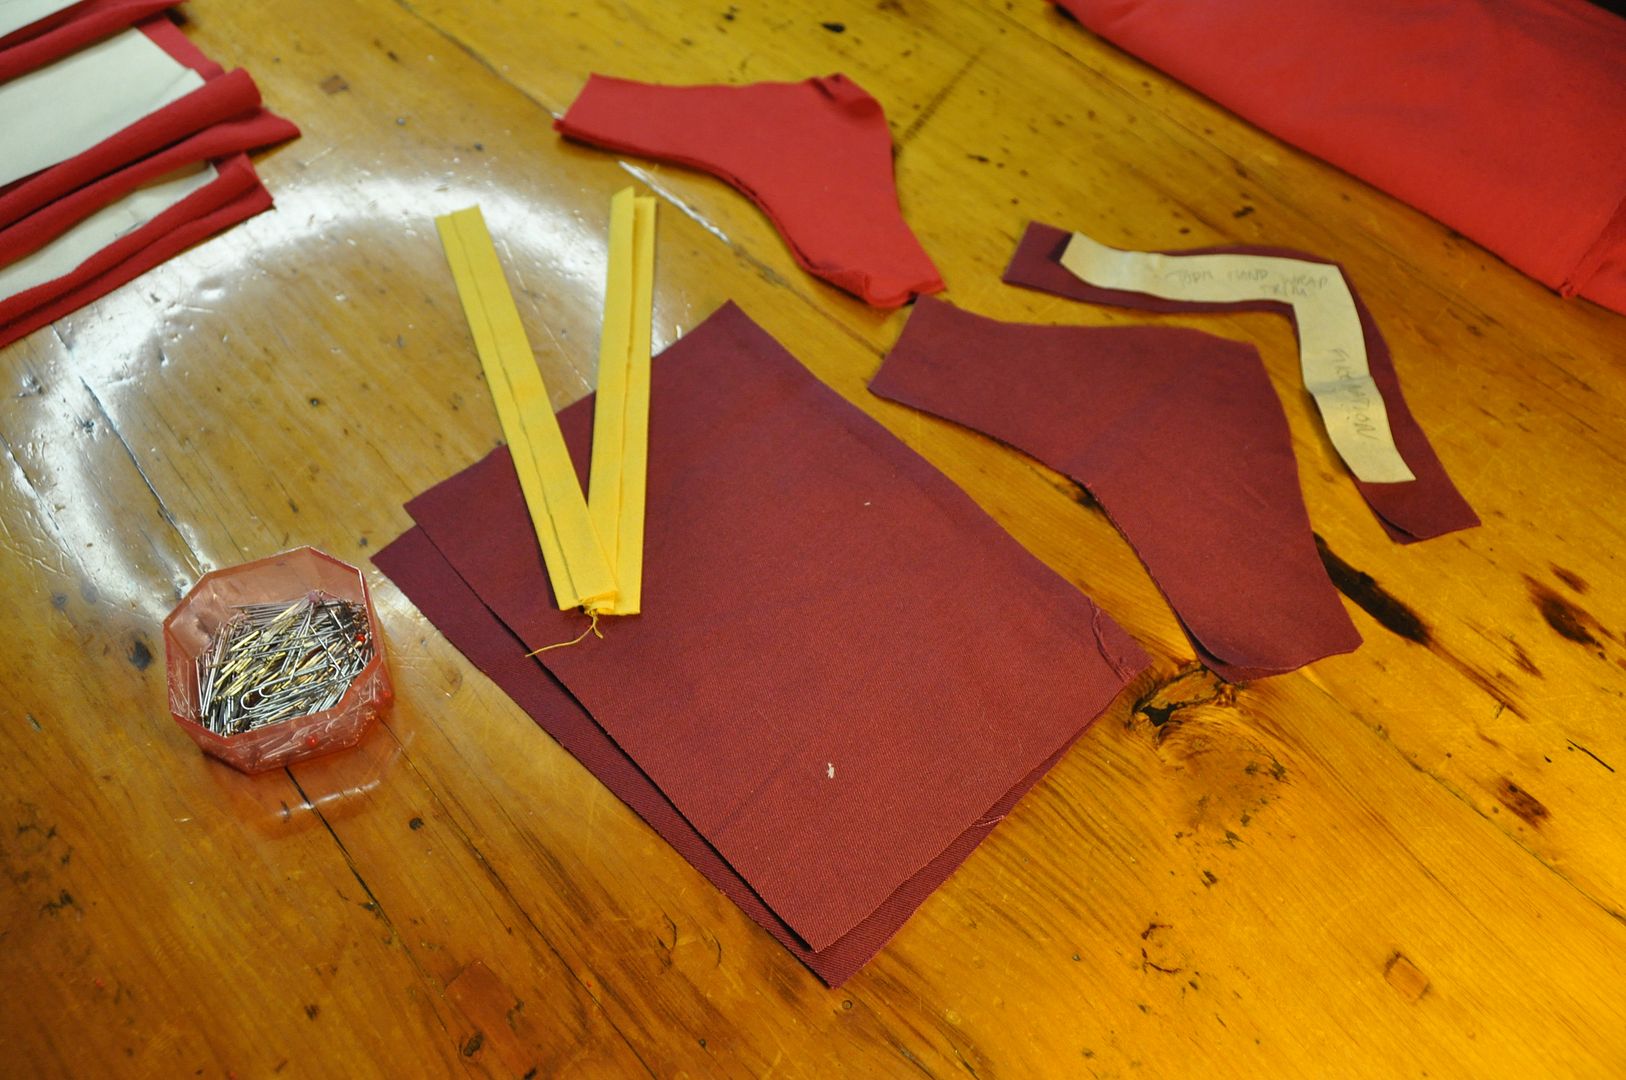
For the striped pieces draped over the shoulders, they are simply long rectangles. I was using up leftover fabric from another project. The yellow stripe was aligned with the center of one half, then top stitched down. Then I folded them right sides together and sewed along the open edge. Then I flipped them right way out and finished the ends. I tacked them together at the front and back where they overlap so they would stay in place. 

The last piece to create was the cuffs. I used paper to mock up a pattern. Then cut out pieces in the various colours.
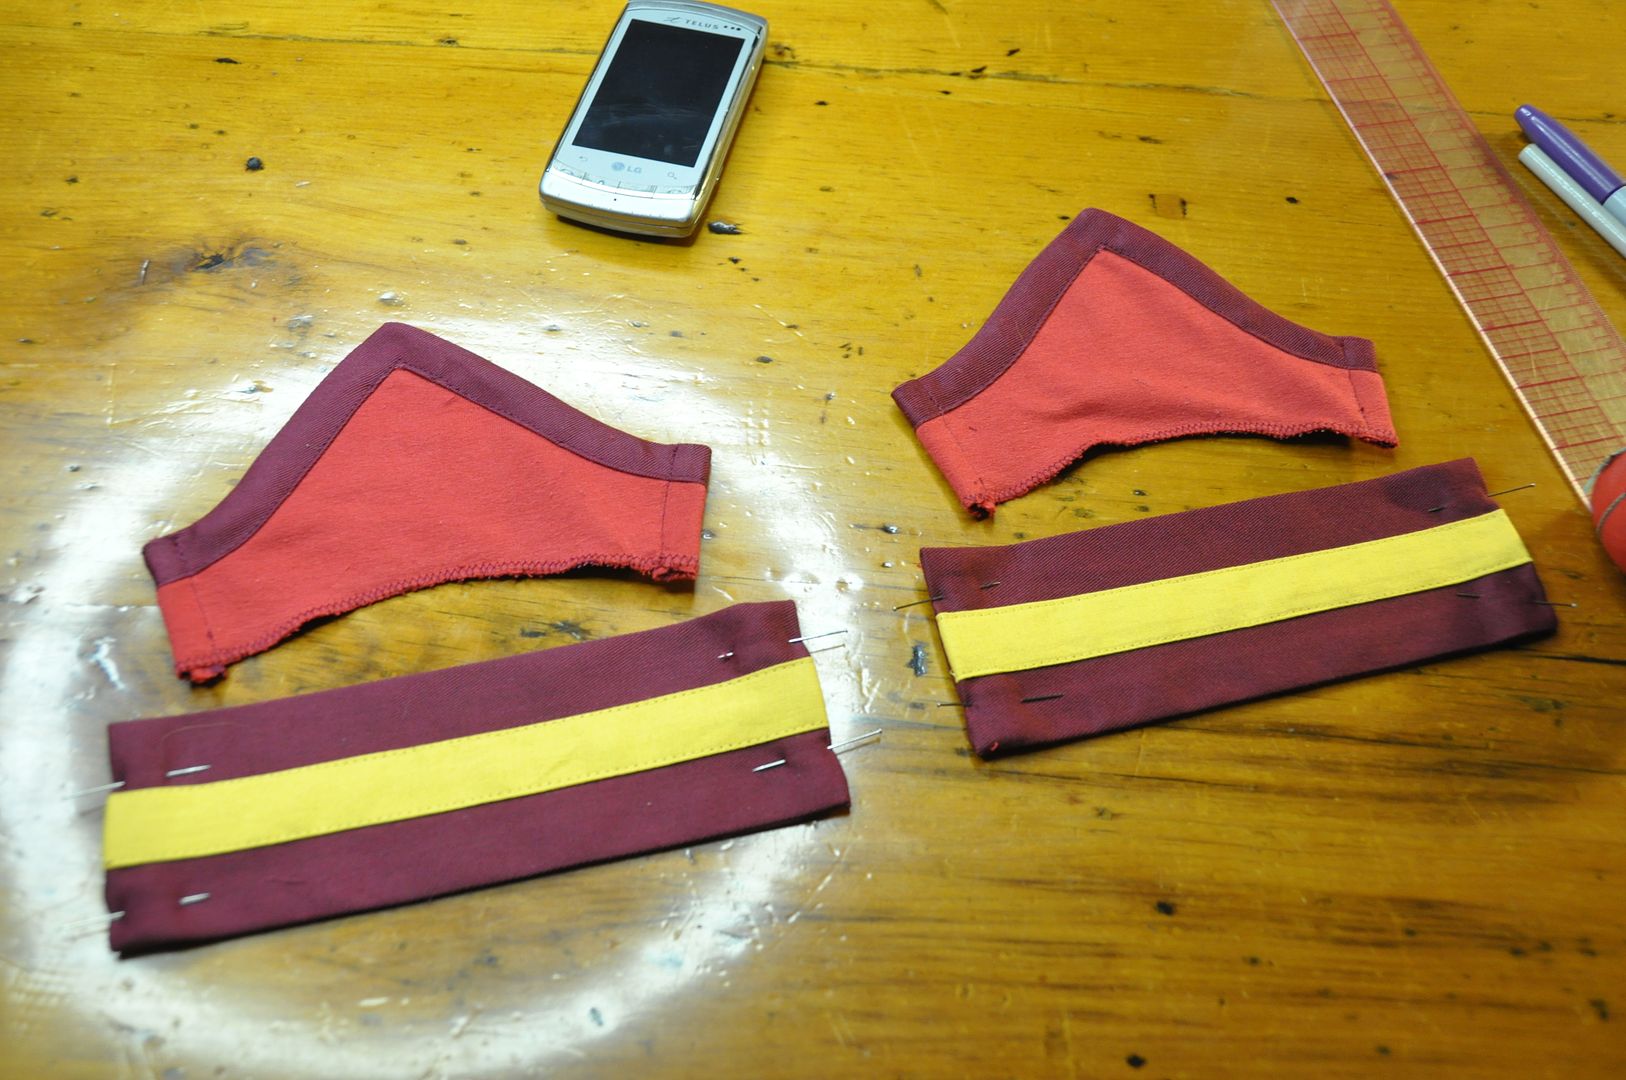
I sewed the yellow stripes to the wristbands in the exact same way as I did the draped pieces--just on a smaller scale.

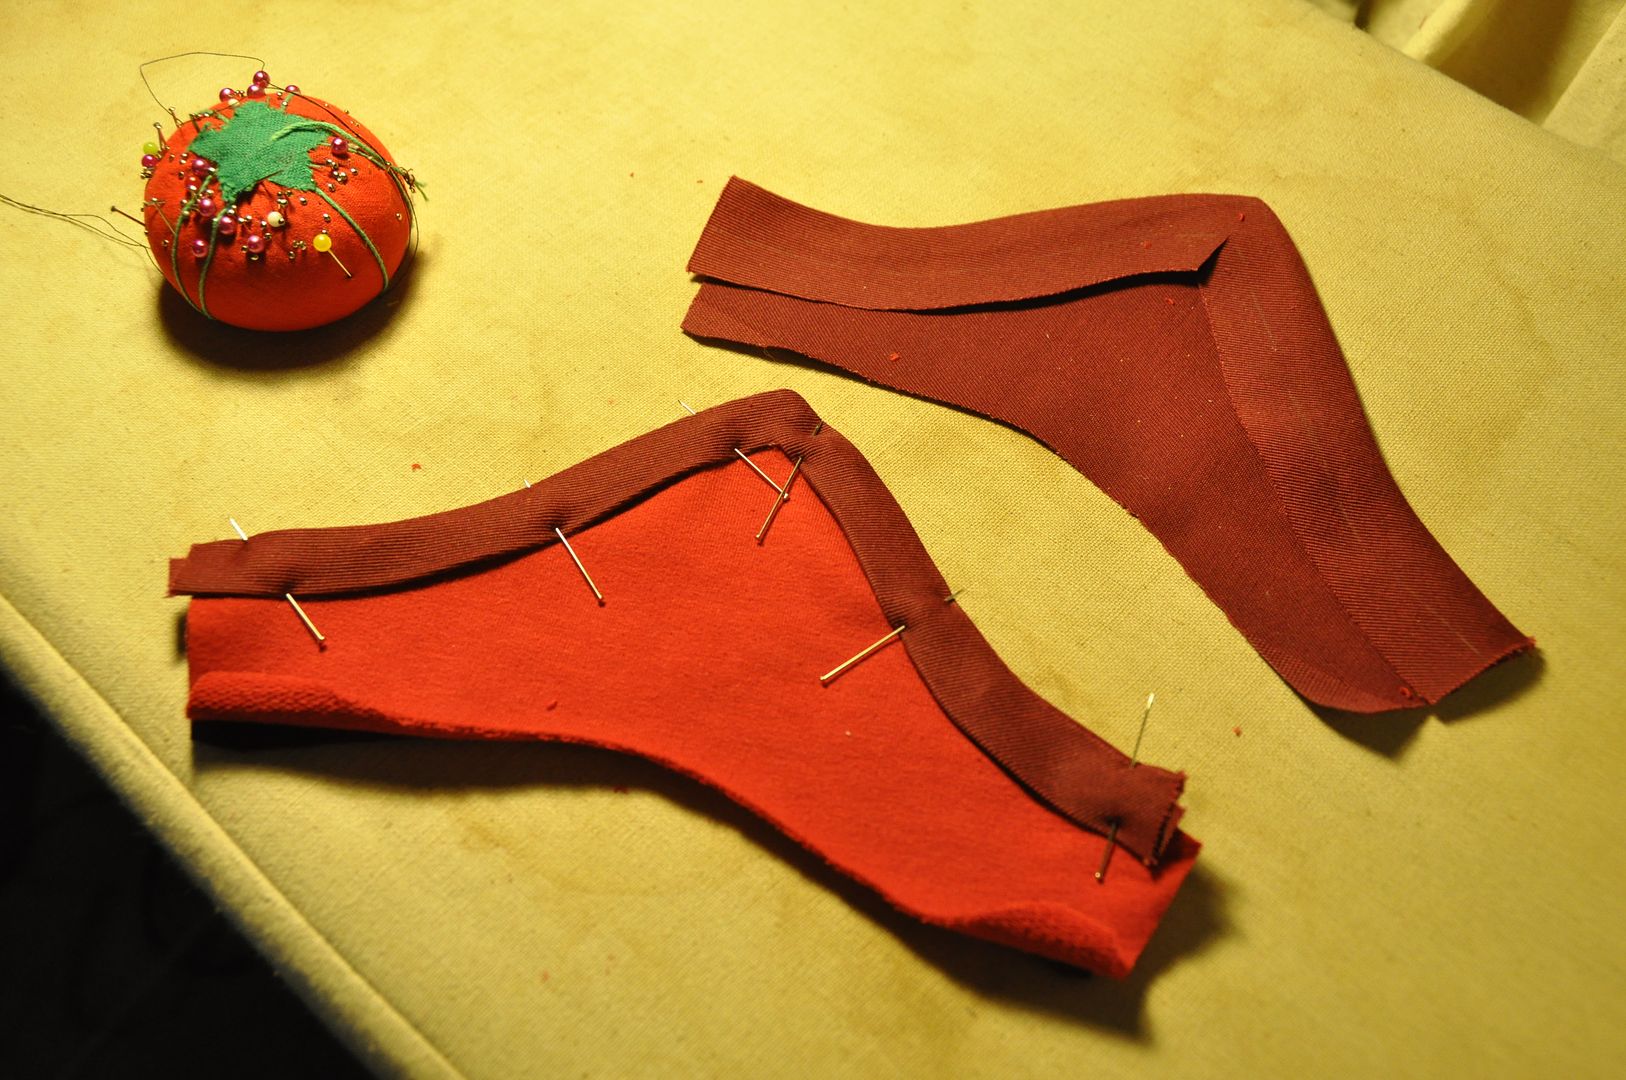
For the pointed piece I sewed the backing and the top edge piece right sides together.

The next step was to clip the excess seam allowance and flip the top edge piece to the front. I ironed it flat. Then I inlaid the red piece, tucking the raw edges of the burgundy piece underneath the trim and top stitching it in place.


After finishing the edges I sewed the pointed piece to the wristband. Then I added some hooks and bars as closures.

Stay tuned for part 3!

Thursday, October 9, 2014

Sakura - Sailor Suit - CardCaptor Sakura

First let's take a look at my more casual Sakura outfit: her school uniform (spring/summer version). I've been cosplaying for over 10 years and this is my first school uniform/sailorsuit outfit I've ever made! Crazy huh? This cosplay was especially picked for Otakon because it packs into a suitcase really easily, I already had the wig, and it has very few layers which makes it great for insanely hot weather.

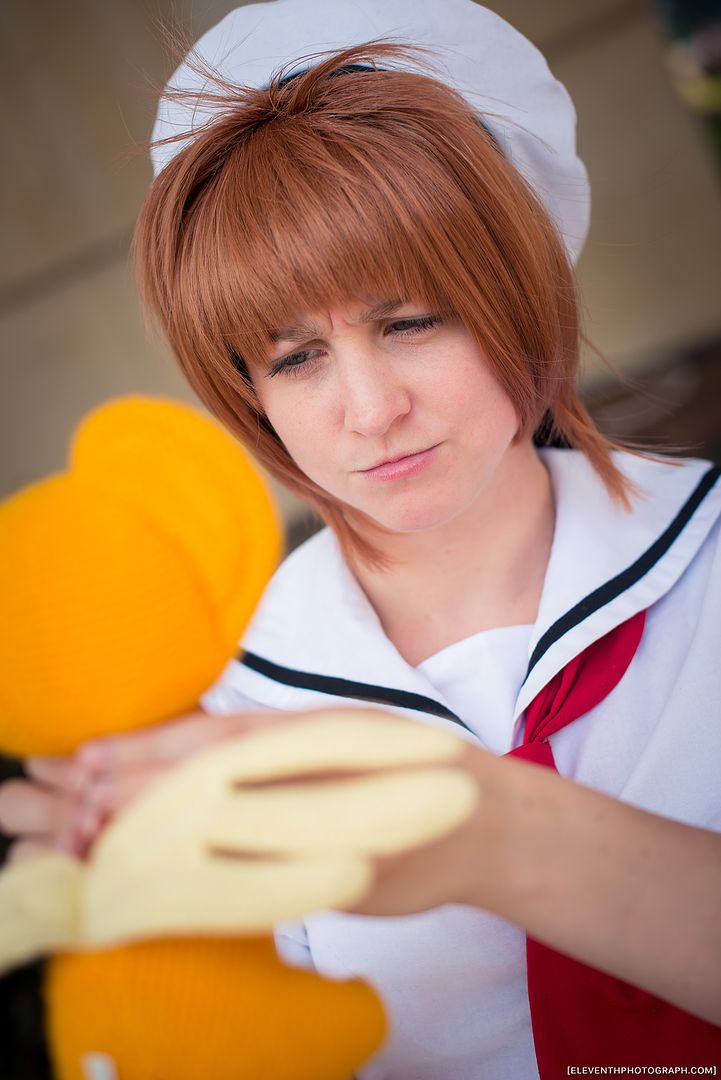
I got a couple cute pics with EleventhPhotograph at Otakon this summer! Many thanks! Also thanks to my sister Alex for lending me her adorable Kero plushie while she is away in Japan!

One thing I made sure of when I bought my fabrics for this costume was that none of my fabrics were shiny. I've seen many school uniform costumes done with shiny fabrics and I always think it looks cheap... Lets be honest, I've never seen a real school uniform that is shiny/satiny. It's also not coloured to look shiny in the show either.
To start I patterned a basic block for the shirt, ignoring the usual front and back darts in favour of only having a small dart come in from the armhole at the bust. I curved in the sides a bit at the waist, but did not make the shirt tight fitting. This was to ensure that a) I could slip it on over my head even though it is not made of stretch fabrics, and b) so I looked younger. Sakura is supposed to be a between grades 4-6, meaning she is a child, so I wanted to make sure that I didn't look too old for the character. In spite of the fact that I am not particularly well-endowed, a fitted blouse would still reveal curves that a child would not have, so hence a more loose fitting shirt was in order.

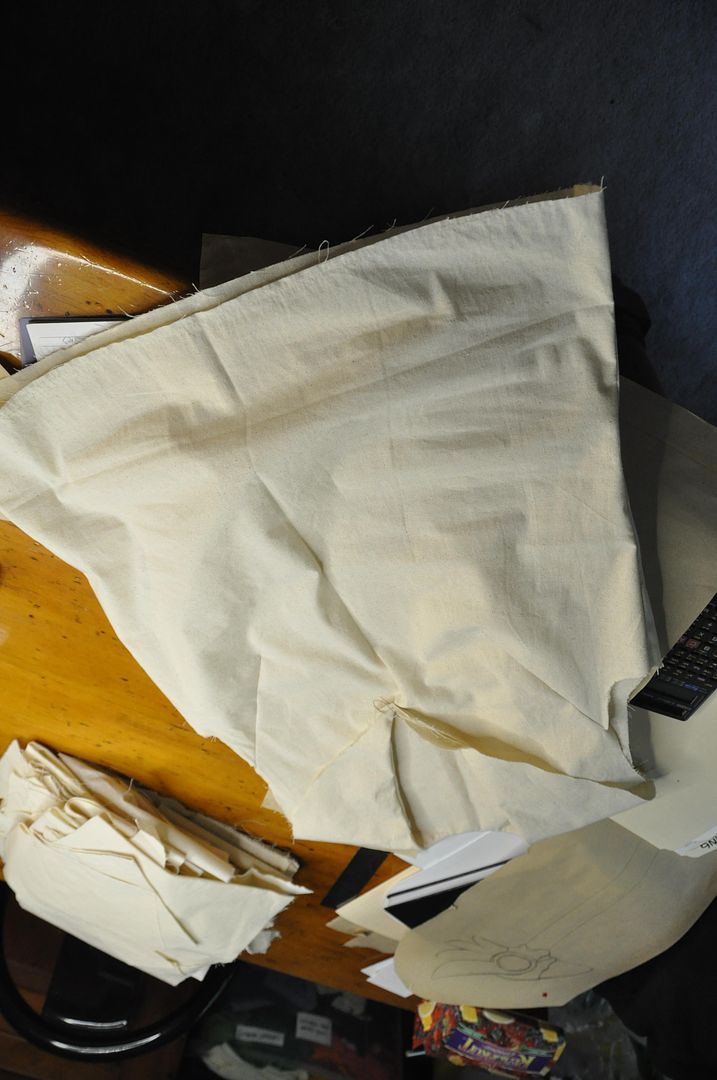
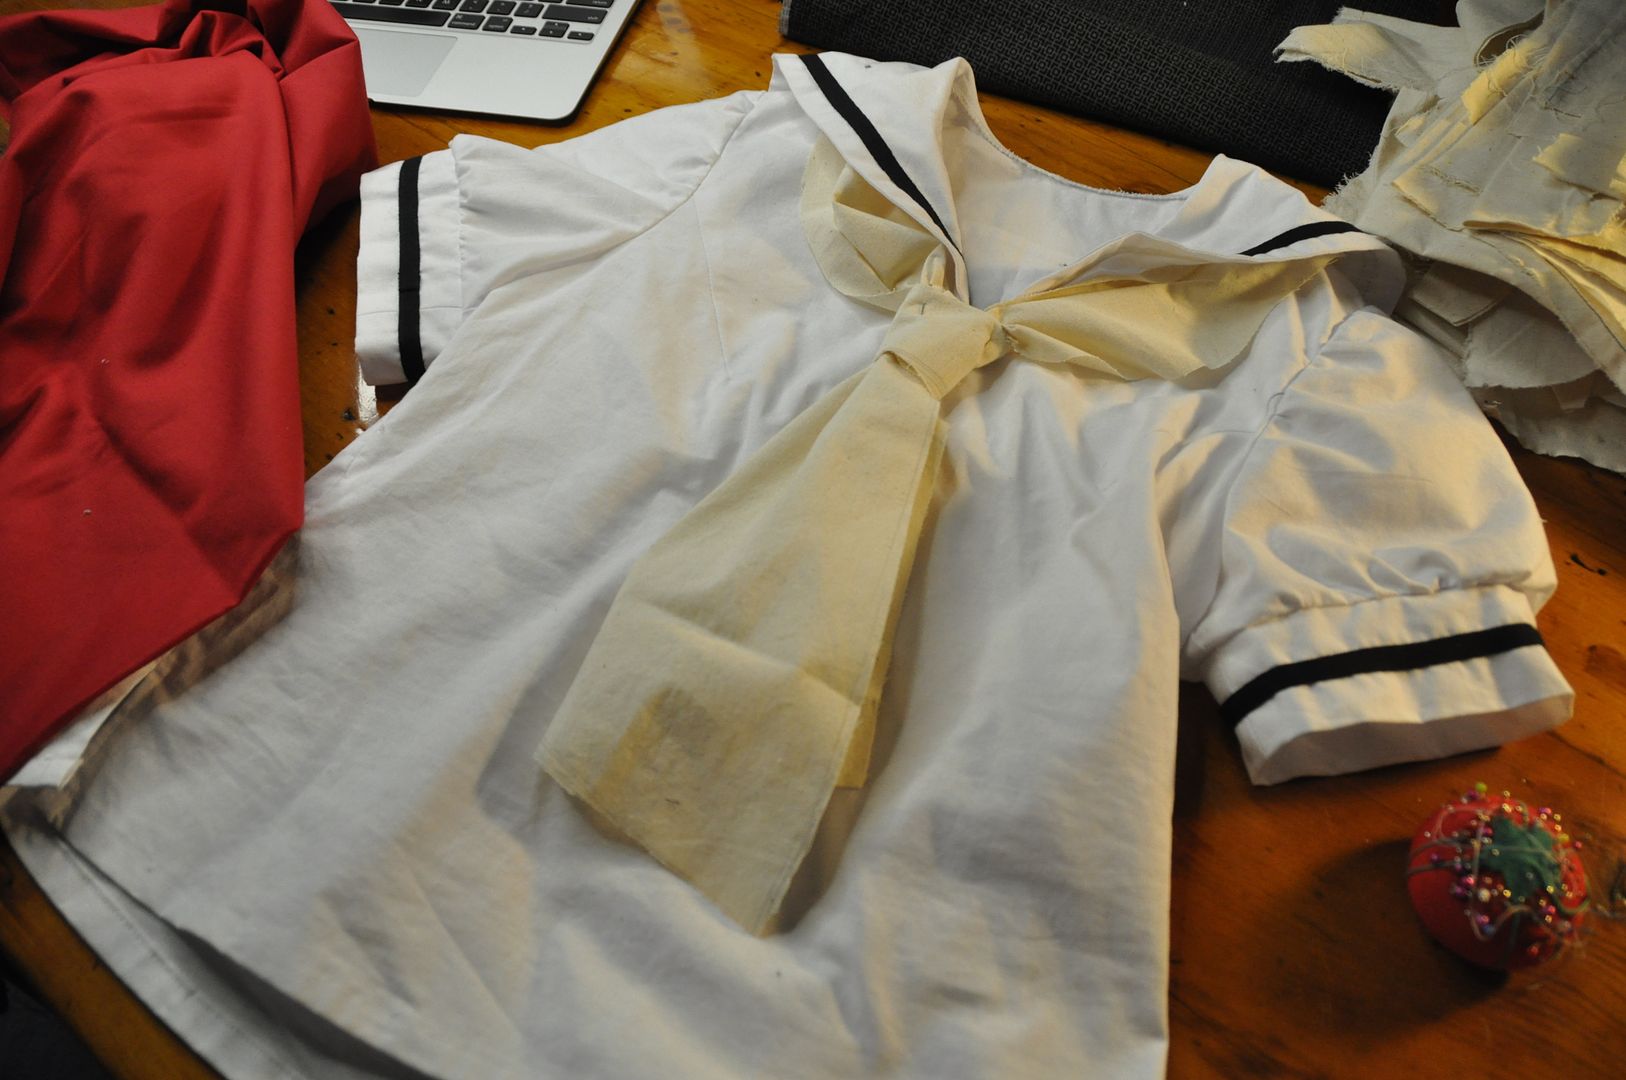
I patterned the neckline and sailor collar by creating a mockup of the shirt and then draping the collar on Molly (my Judy) with muslin. This way I was able to easily figure out the proportions.

Once that was done I laid out my fabric and cut out my pieces.

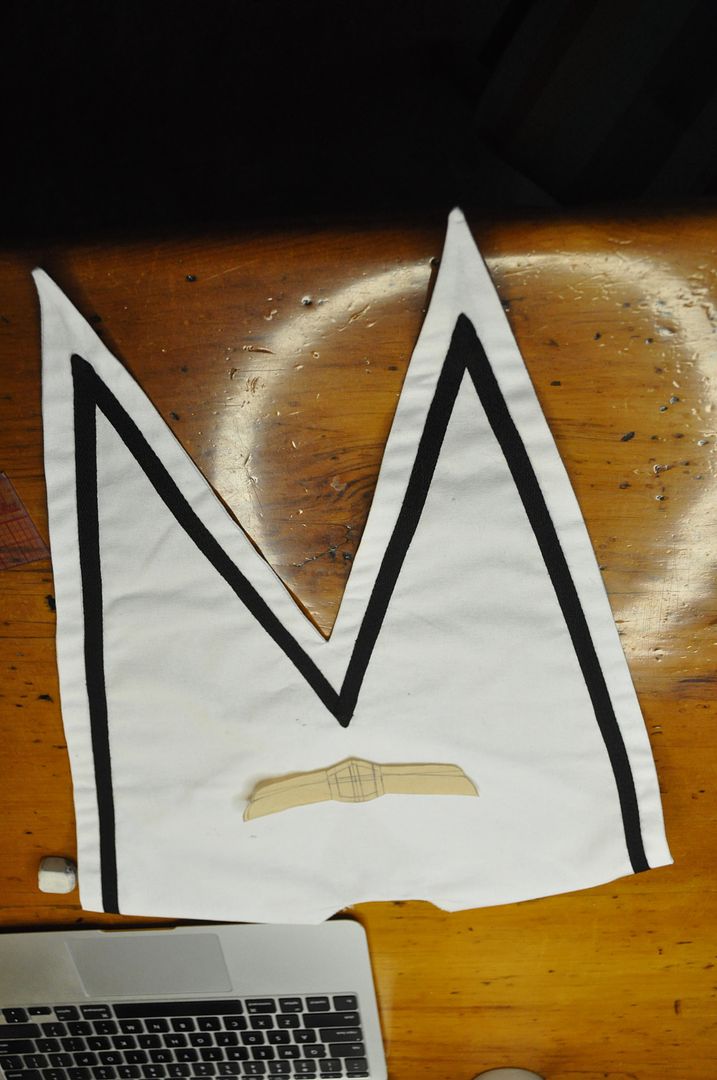
The collar was first sewn right sides together, excess fabric clipped and then flipped right way out and ironed.


I then top-stitched on 1/4" black twill tape to make the edge detail. I made sure my bobbin thread was white (as opposed to black to match my top thread) so my stitching would be virtually unnoticeable from the other side.

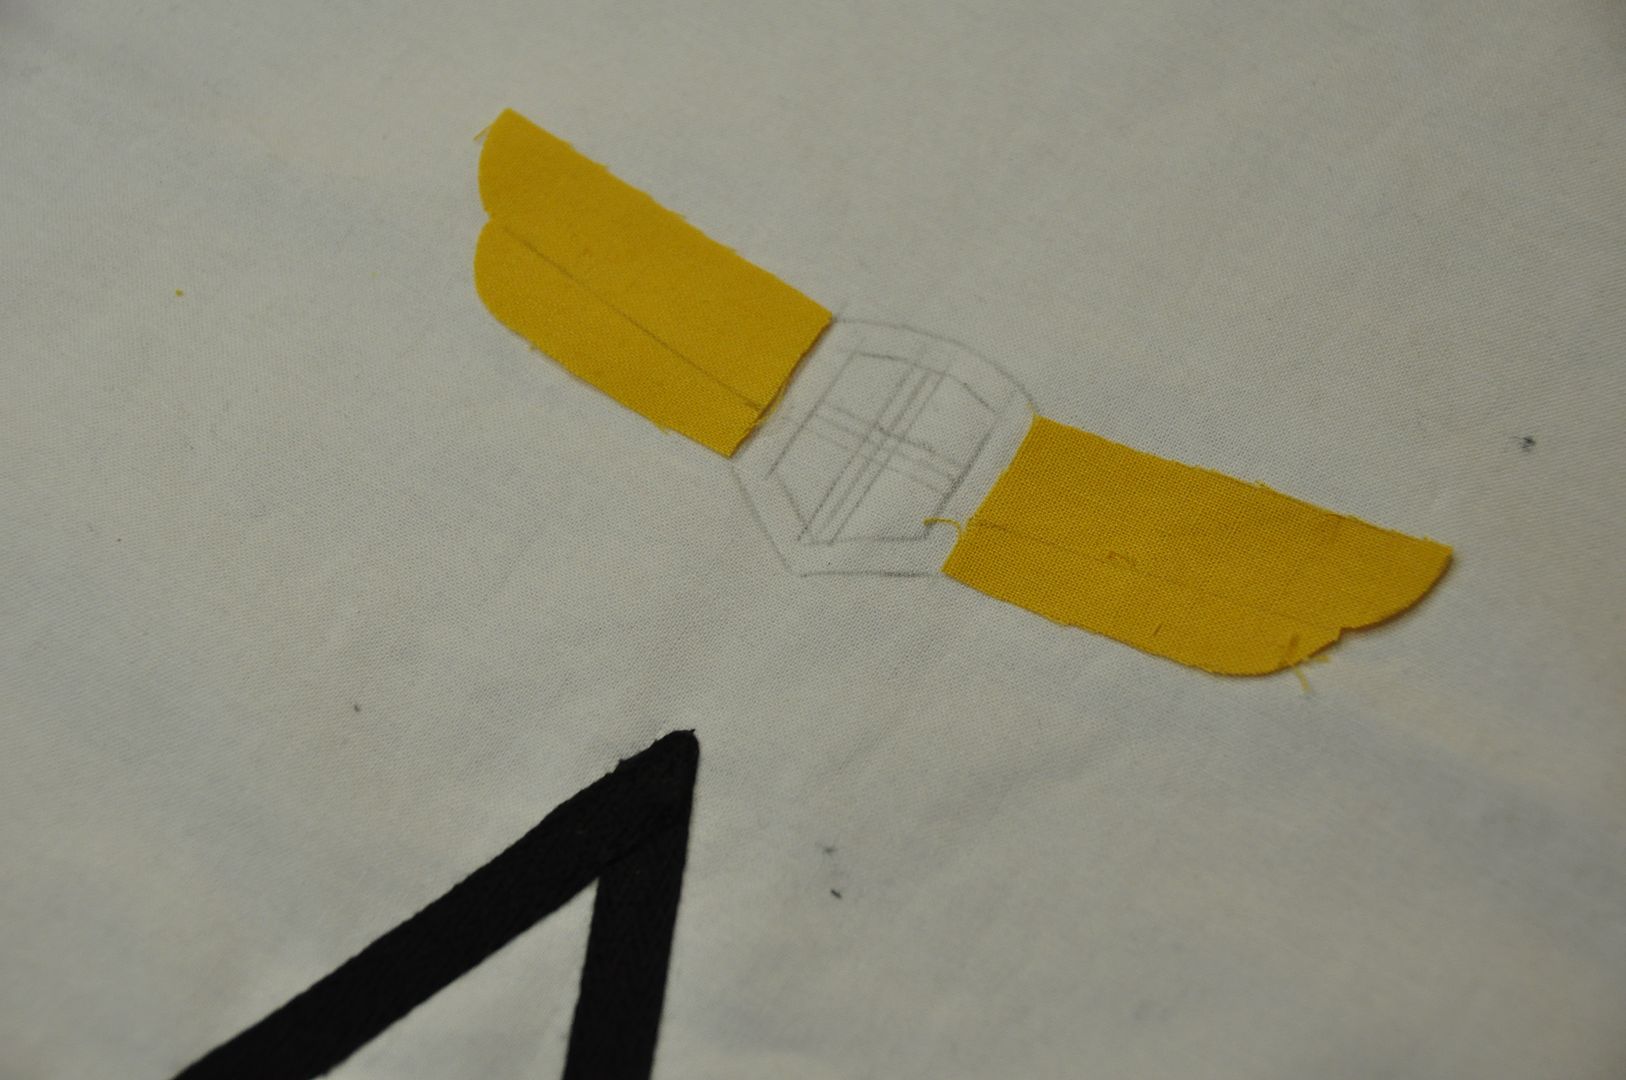
Then I sketched out the crest for the back detail.
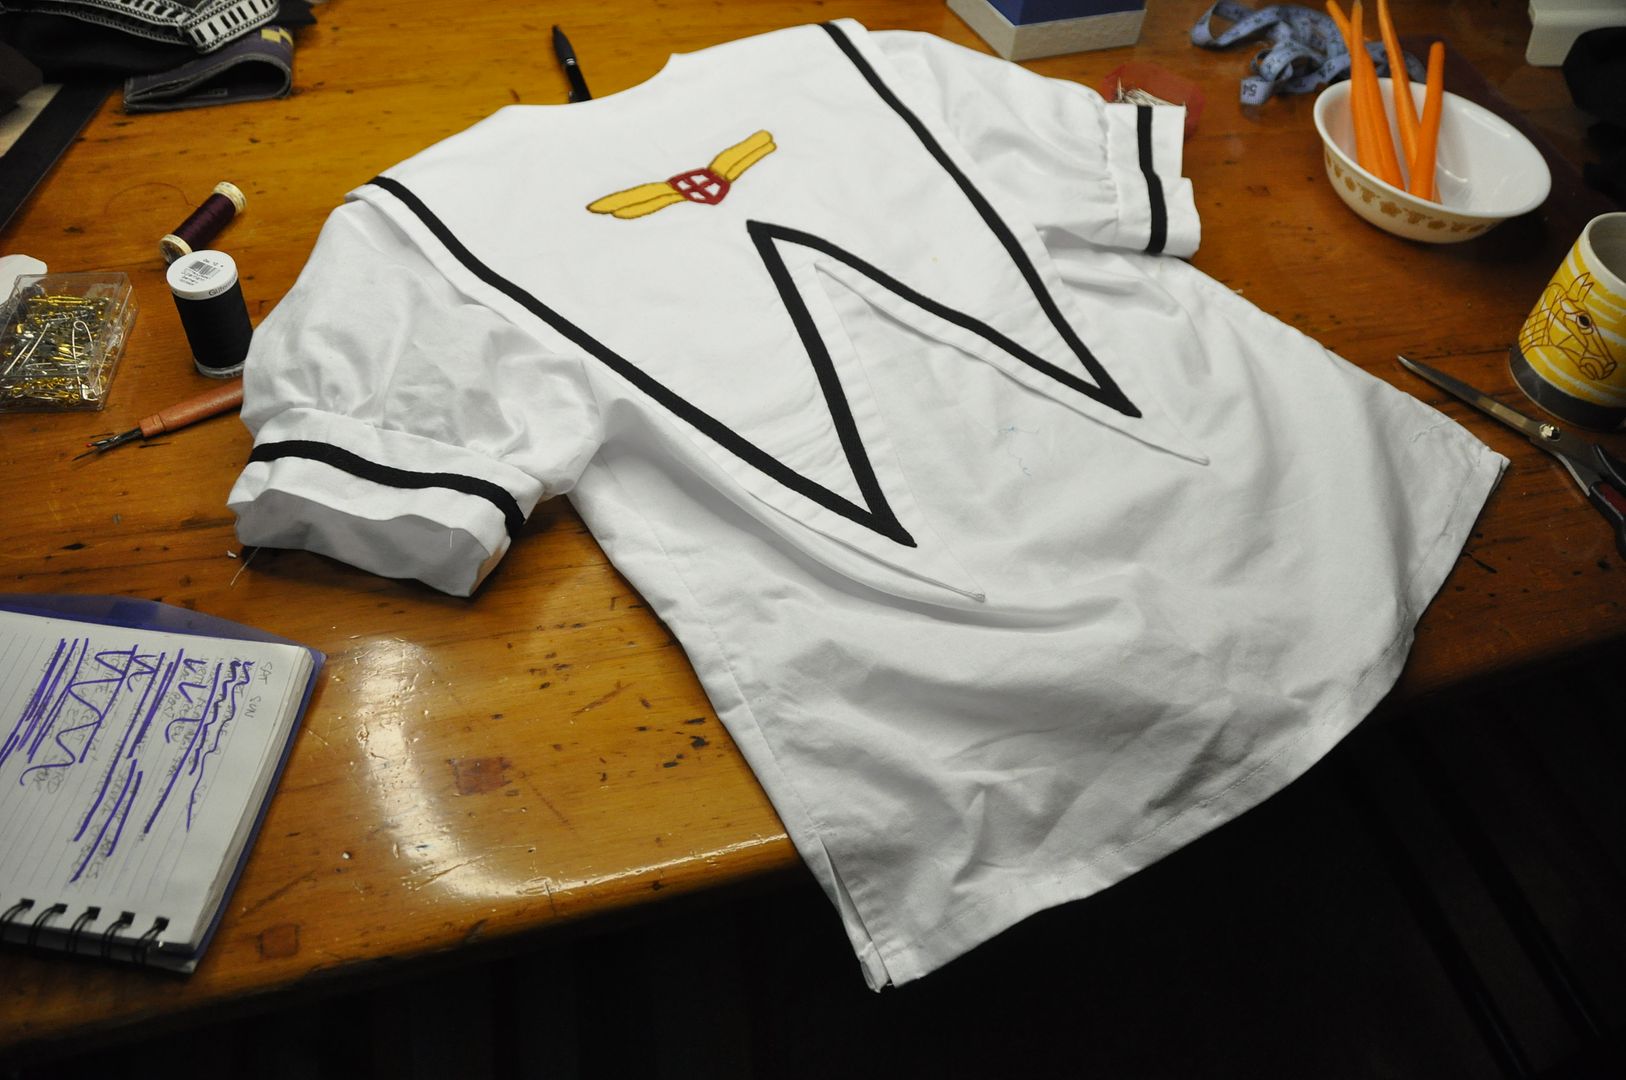
Next step was the appliqué and embroidery of the crest on the back. Using yellow fabric leftover from Kero, I blocked out the areas for the 'wing' part of the crest. This saved me from having to fill that area with an embroidery stitch. Instead I merely sewed around the edges. Next I did the red shield-shaped piece in the center.
After finishing all the seams inside the shirt,  I made some puffy sleeves. I made sure they weren't too puffy, so they were only slightly larger than the armhole. I used a basting stitch along the sleeve cap and bottom and cinched them to the right diameters before sewing them to the armhole and cuffs respectively. The cuffs are just rectangles sewn into a loop and folded in half lengthwise that I have sewn another stripe of black twill tape on.

I hemmed the bottom of the shirt with a simple rollover, but went back and changed the side seams to have a 2" slit up each side.

Then I attached the collar to the outside ans zigzagged the raw edge. I flipped it to the inside, pressed it, then top stitched it down. I took extra care to reinforce the point of the v-neckline.
The last step for the shirt was to create a little triangle  to sit under the v-shaped neckline. It was secured with dome fasteners so it could be removed so I could take the shirt on and off. 

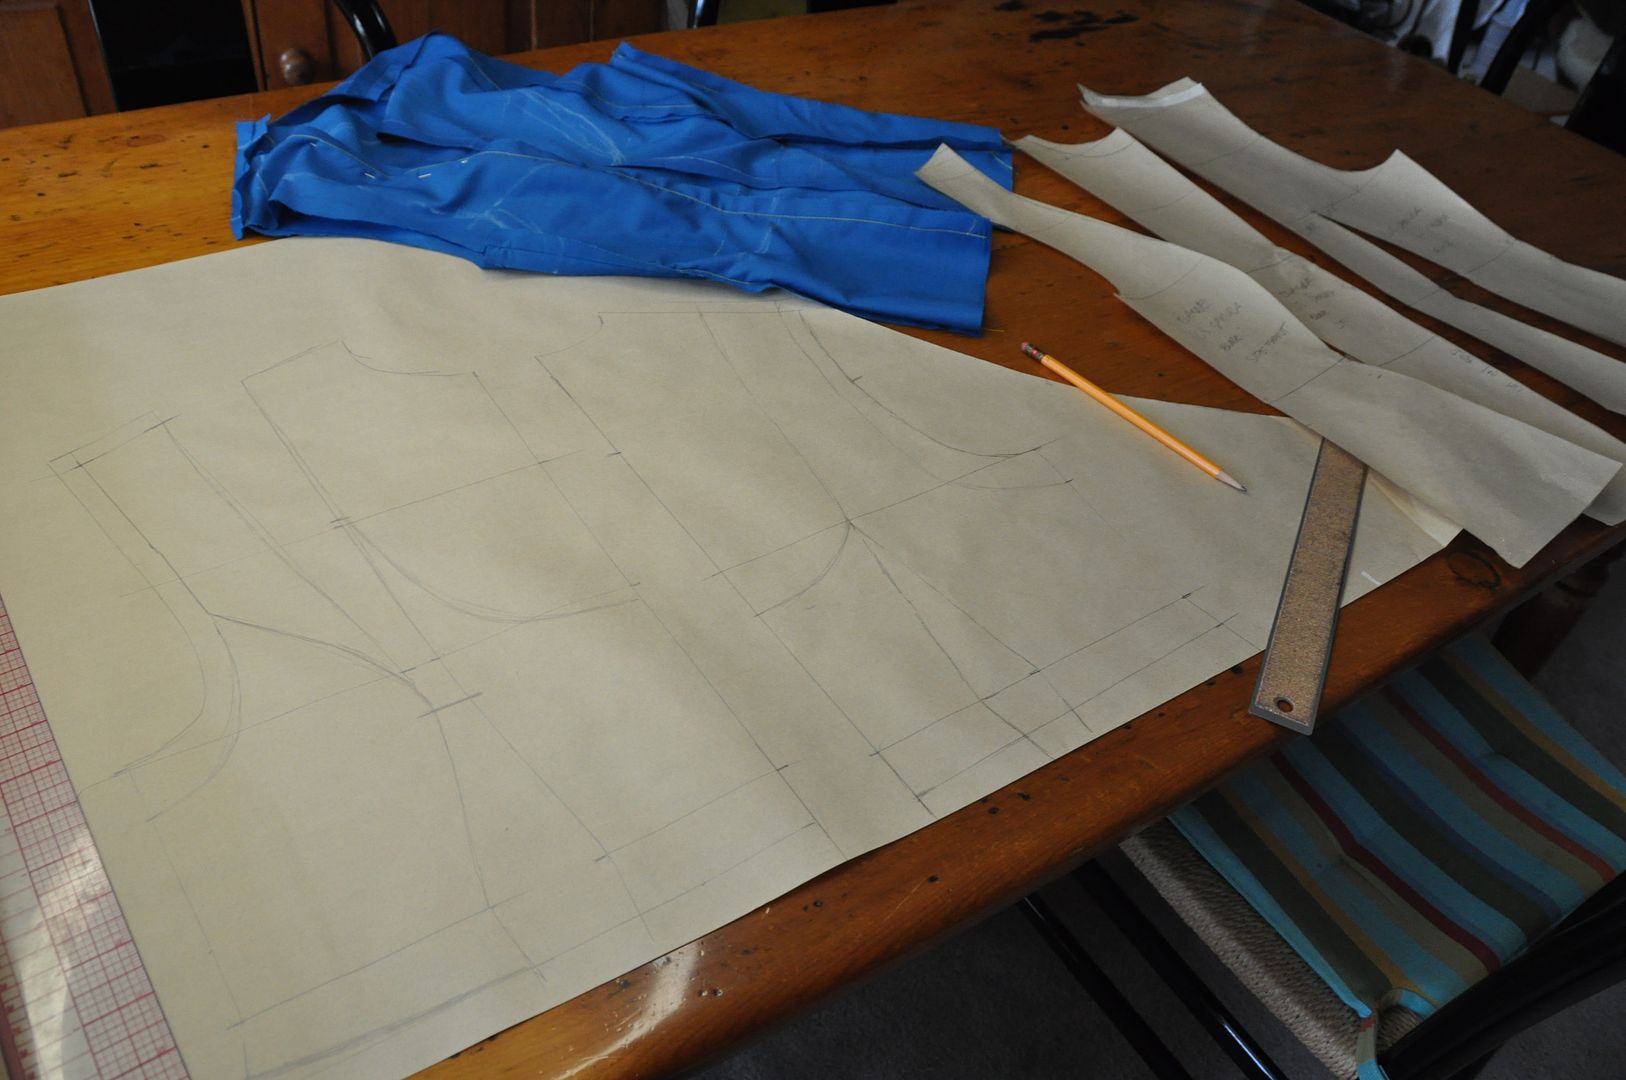
Now lets talk about the skirt. Creating a pleated garment is all about math, unfortunately. The garment has 10 pleats. In order to make it fit snugly at both waistband an over hips I had to take 2 measurements, one at waist, and on 4" down from waist. Then I divided those numbers into 10 equal parts and carefully drew out a pattern piece. Left you can see one of my side panels. The thin trapezoids are the parts that would be visible, the wide ones would be hidden in the folds. 

The hardest part of patterning this was making it so the side seams would be inside a pleat and therefore virtually invisible. 

The size of the skirt at the bottom was arbitrarily decided, but I knew I wanted it to be pretty full, because it's CardCaptor Sakura guys.
Each of my three skirt pieces I sewed the center pleats into before sewing the pieces together. I sewed the center back together and added in the zipper before finishing the pleats directly beside it.
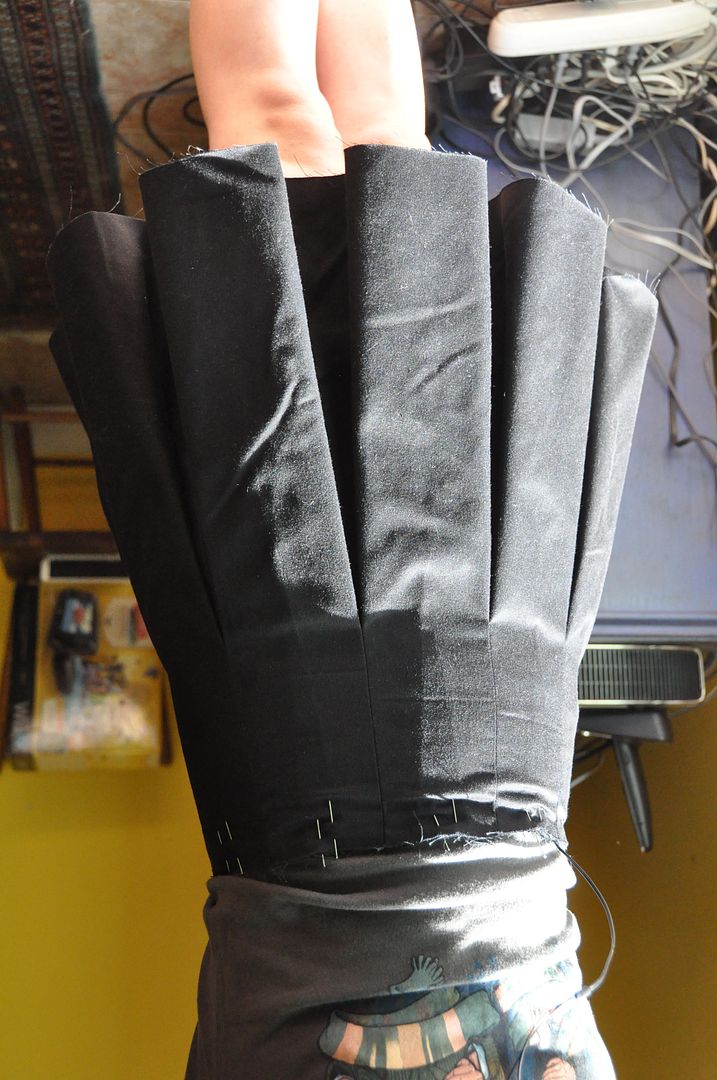
I ironed the pleats centered, rather than off to one side (because that's how it looks in all the reference photos). I didn't press the pleats all the way to the hem either, because I wanted them to still have that soft, rounded look. For your own reference look at my Long Pleated Skirt to see what pleats look like when pressed to one side, all the way to the hem. Very different, right?

Once the pleating and waistband were finished I hemmed the skirt.
The saddest part is I couldn't figure out how to work pockets into the skirt, so this costume has no pockets. Oh well.

Above you can also see my mockup for the hat. Surprisingly this is the item I was most excited to make. I've always loved the hats that Clamp designs, particularly these adorable sailor hats. I love that they magically perch on the back of the head.

When making hat, always take the band measurement while wearing the wig you will be wearing under it, otherwise you run the risk of making it too small!

Below you can see the pattern pieces for this--the pieces on the right are both folded in half.

First I assembled the band, with is a long rectangle, sewn into a loop and then folded in half lengthwise. For the cap first I sewed the c-shaped piece into a circle, then sewed it right sides together with the top of the cap.
I finished the inner seams, then pressed it right way out. Next I attached the band, leaving a gap at center back to attach the black tails. The tails were sewn right sides together, clipped, flipped and pressed. These were then inserted into the gap at the back, splayed at a slight angle, and stitched in place. I then finished the inner seams of the hat.
Last piece to make was the under skirt. Above you can see the pattern, which is completely different from the pleated over skirt which is made of rectangles. This is because a) pleating is time consuming, b) all you see is the edge and c) I didn't want all that bulk under the already considerable bulk of those pleats.

Using the 2 measurements I took earlier to create my pleats, I made the top piece of the underskirt. Then I made a circle skirt piece to attach to that (of which I cut 3, making the bottom 1.5 circles). This ensured that all the flare of the underskirt would be below the stitch line of the pleats, reducing bulk.

I attached a lace trim to the bottom edge as an extra cute detail.
At the center back at the waist of the underskirt, it was finished to remain open. The underskirt was attached to the overskirt by buttons (holes on the underskirt, buttons on the inside of the overskirt). This way it was removable and could be washed separately.

Lastly I made a tie. I mocked it up with leftover muslin scraps, and then made a nice one out of red twill.

Each of the individual pieces were stitched right sides together then flipped right way out and pressed. I top stitched more black twill tape along the bottom of the tie edge. before hand stitching the pieces together. The last thing I did was make a velcro closure at the back.  Because I have no idea how to tie a real sailor tie.