Showing posts with label glue gun. Show all posts

Monday, September 19, 2016

Presea - Boots, Gloves & Armour - Tales of Symphonia

Salutations! After years on the shelf, I would like to continue to take a look at how I made my Presea costume! Look here for a blast from the past: how I made the Dress and Wig! Seriously, I was posting about this in 2013 what-the-heckaroonie.

Getting this costume photoshoot worthy and documented is one of my 2016 goals and I'm pleased to say that with the costume and photoshoot done I can now finish documenting how I made it. From the depths of my computer hard-drive I have salvaged ye ancient progress photos.

Possibly the most challenging part of this costume and the main reason I put this costume on hiatus for a whole year (the other reason being my dog ate the tip off my battleaxe). This was my first time making boots, gloves and armour, and to be honest I had no idea what I was doing! I didn't get very far before I gave up. When I came back to this project a year later it was after I had done the armour for my Asuna costume and had much more sewing/patterning experience.

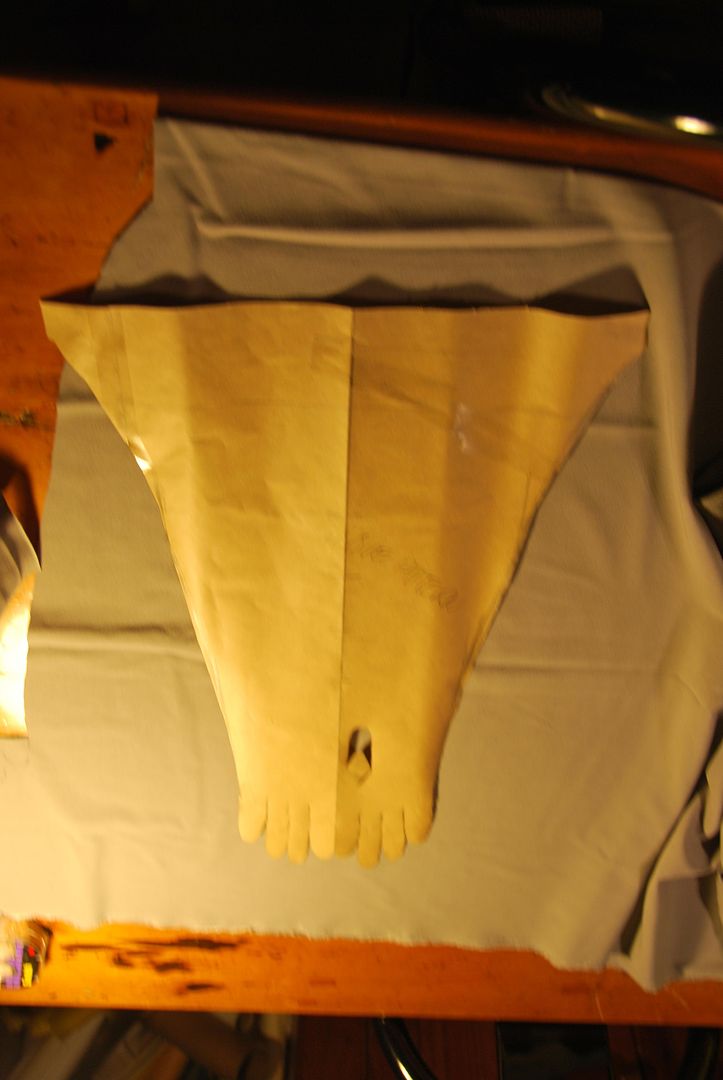
I started by buying and deconstructing a pair of well fitting costume gloves, from this I was able to make my own glove pattern. I made it go extra wide further up the arm so that it would be loose at the cuff.

My main problem was that the character's gloves are above the elbow, but loose fitting, meaning they essentially float there defying the laws of physics. My trouble was making them stay up without any seriously visible rigging...

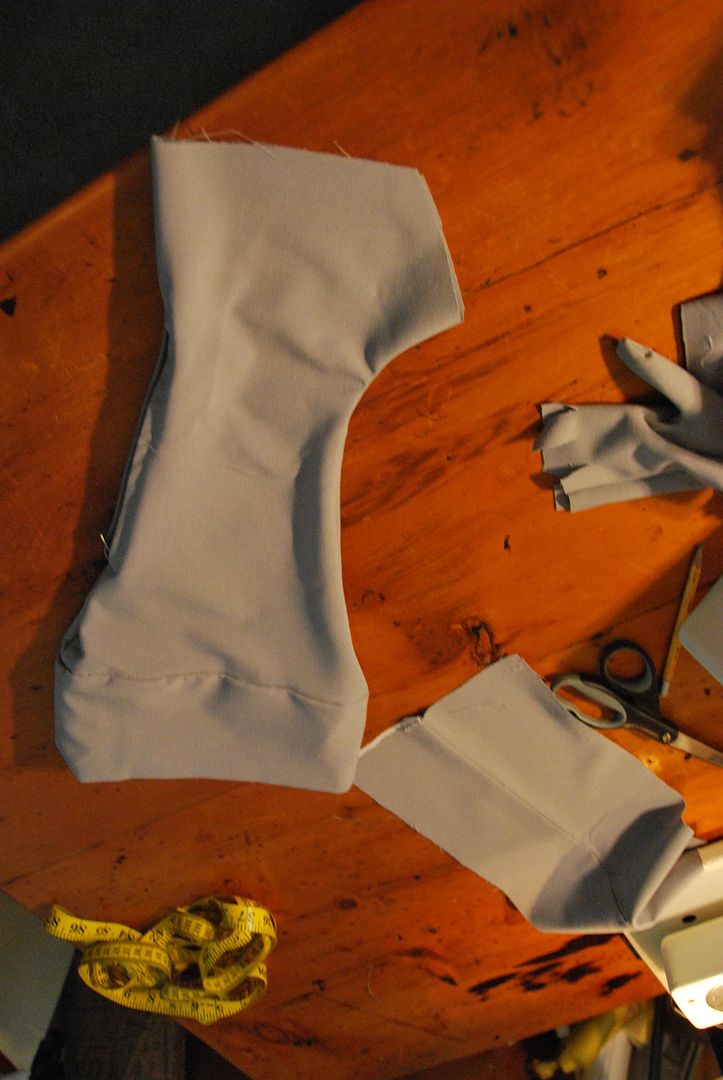


It took hours of hand stitching to assemble those gloves. Above is the separate thumb piece which was slotted into the glove.

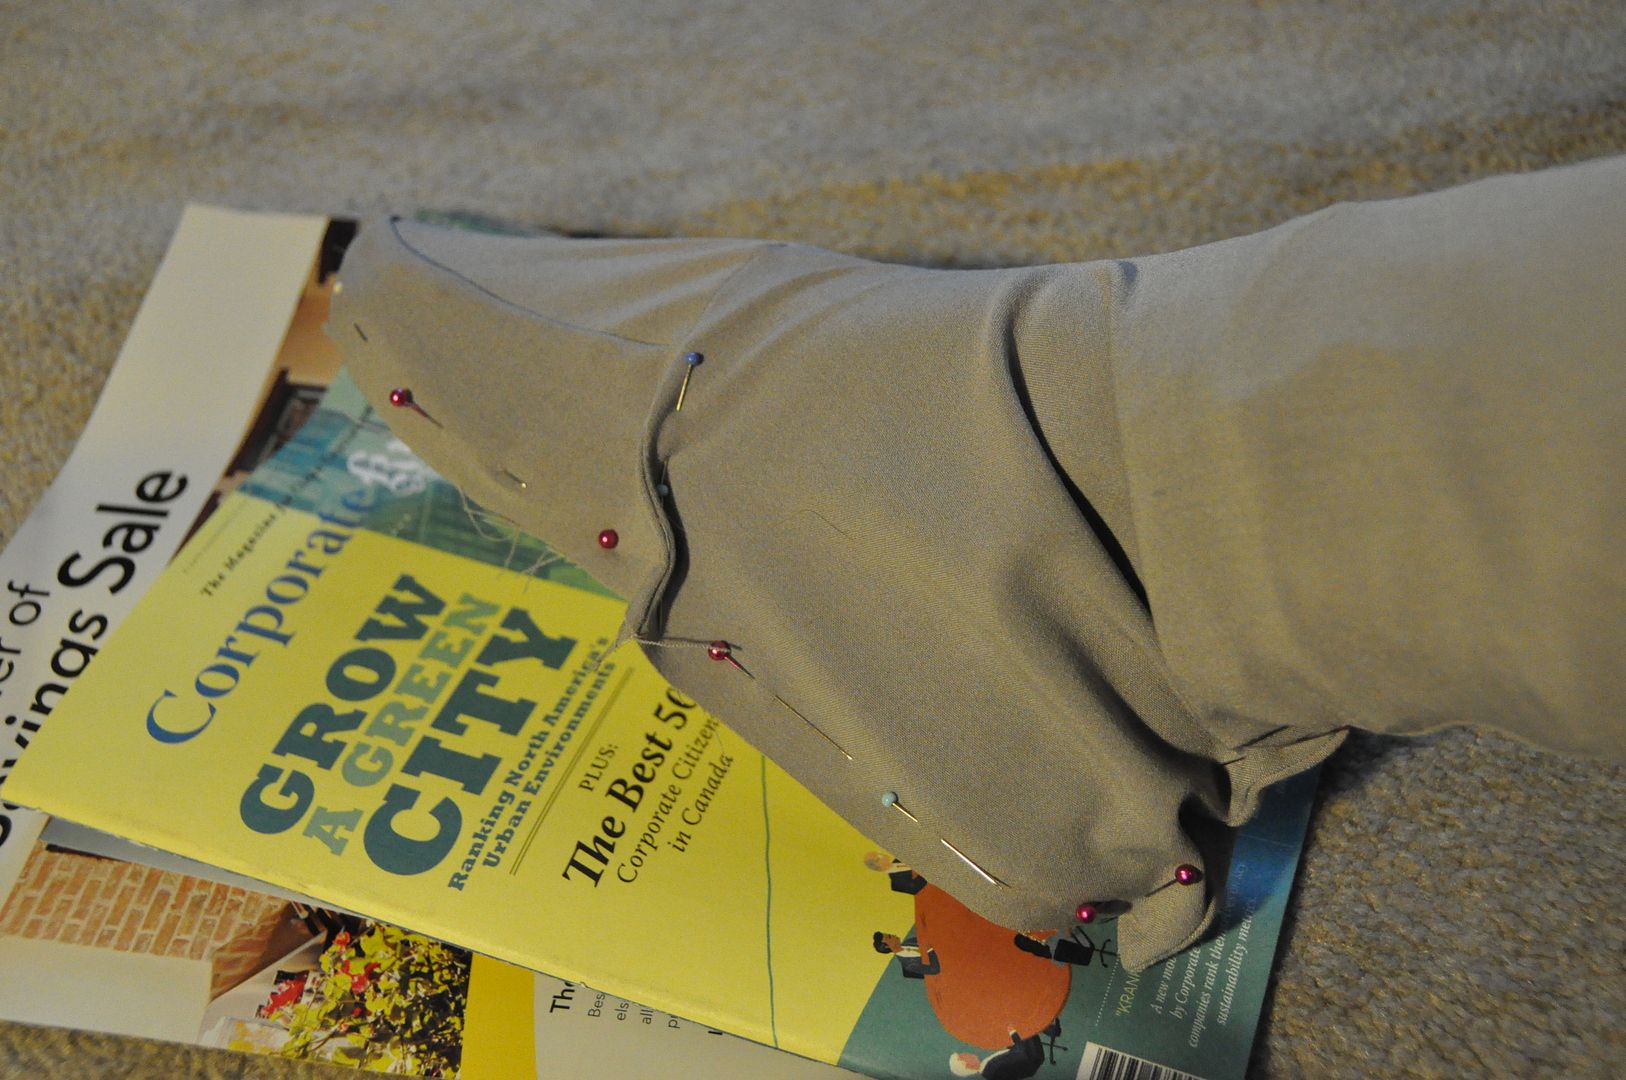
Left is my first attempt at making the boot covers, as you can see the cuff looks kind of wonky... Partially due to my inexperience working with stretch fabrics. This is where I stopped working on them for a year.
I patterned my boots to cover a cheap pair of canvas shoes I picked up at Ardenes. Above is the toe cover, left is the 2nd attempt at the boot cover. (from the inside)

I opted this time to do a fold-over cuff, which looked much cleaner, even though it isn't as accurate to the original design.
I replicated the cuffs on the gloves.

I marked where the shoe cover would be sewn to the shoes, then I hand stitched the two together. It took a while, but the result was a nice clean finished edge.
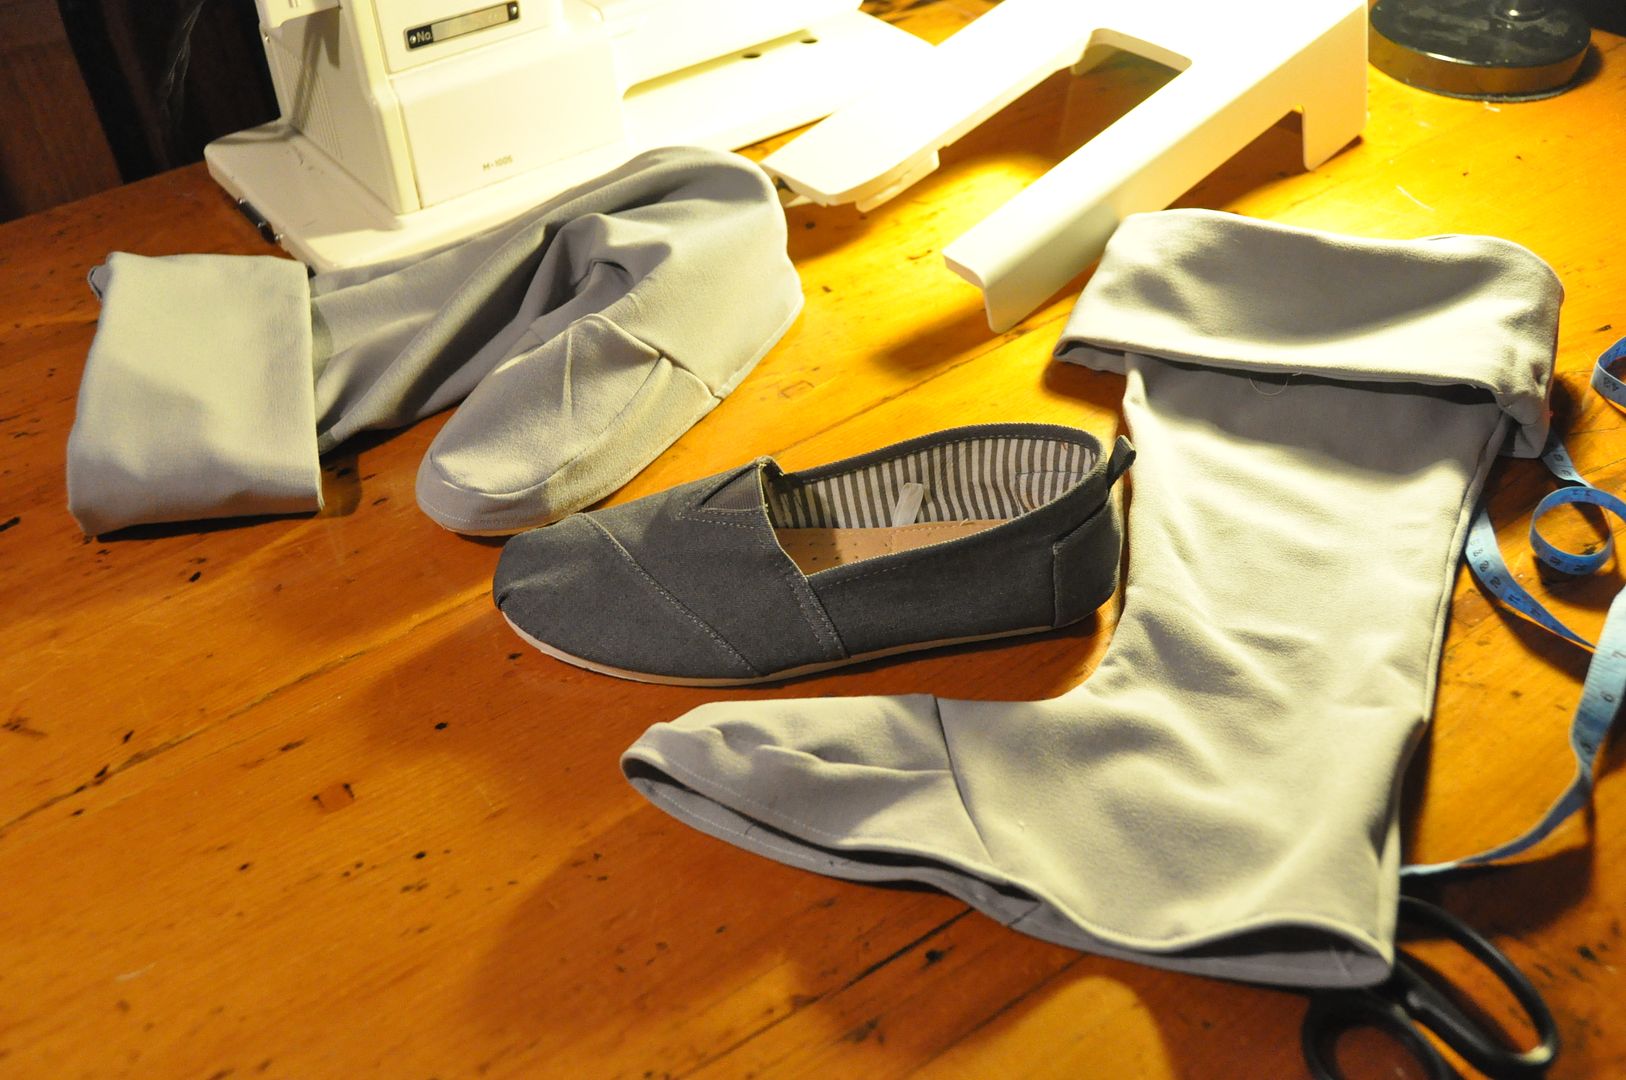
Then I sewed elastics to the inside so that the loose gloves and boots would stay up. These had to be far enough away from the edge so that they would be hidden inside. How I made the cuffs stay up was I sewed some short pieces of wire into the boot cover where it attached to the cuff.

At one point I had attempted to wire the whole boot, but I found it a) really uncomfortable, b) hard to keep it secure and c) it would be harder to pack into a suitcase, because the boots would have to remain upright. That and every time the wire got dented they were even more uncomfortable to wear... With the short wires only at the cuffs with fabric casings they were easy to fold up, and didn't cause any discomfort.
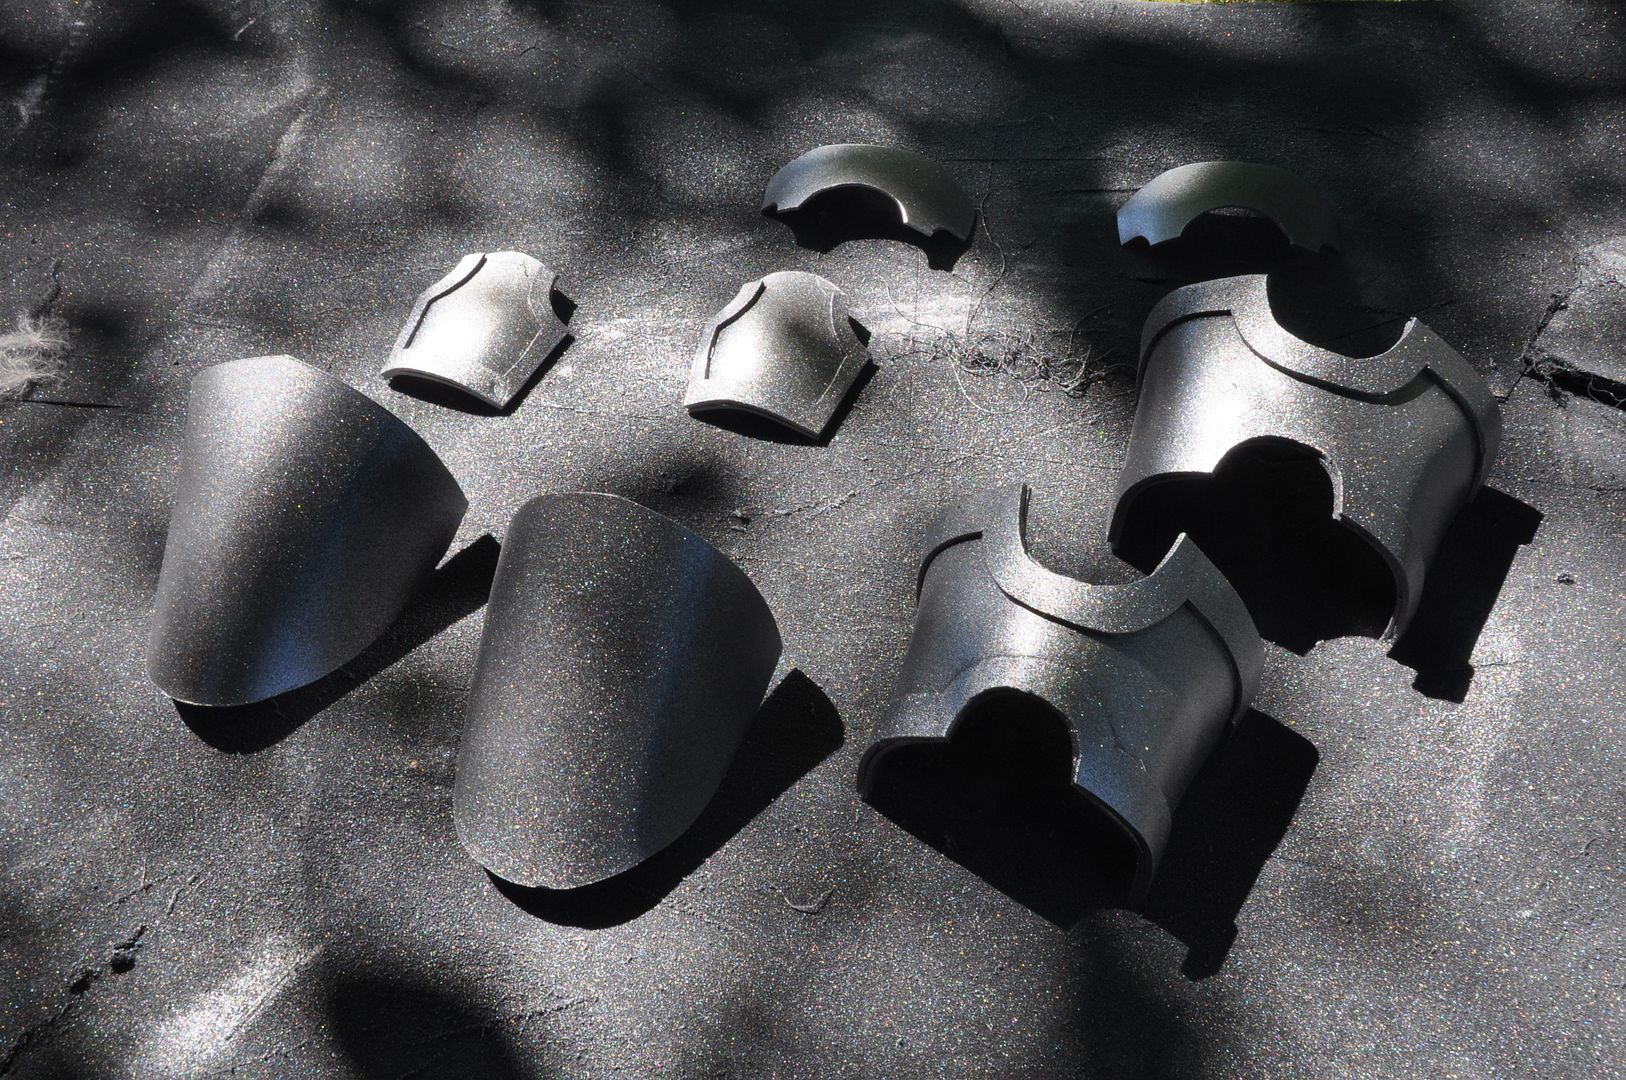
Next I got to work on the small bits of armour, following the same method as I did for Asuna. I used the leftover styrene from that costume to construct the toe and hand guards.

First I made paper patterns of the shapes I wanted, then traced them and cut them out. There were 8 pieces total. Compared to Asuna's this armour was total cakewalk.
I then made the raised bits out of craft foam, and hot glued them on.

I used the same spray paint treatment as Asuna's: primer, matte black, then silver.

I weathered with sandpaper, glued all the pieces together, then aged them with black dry-brushing.
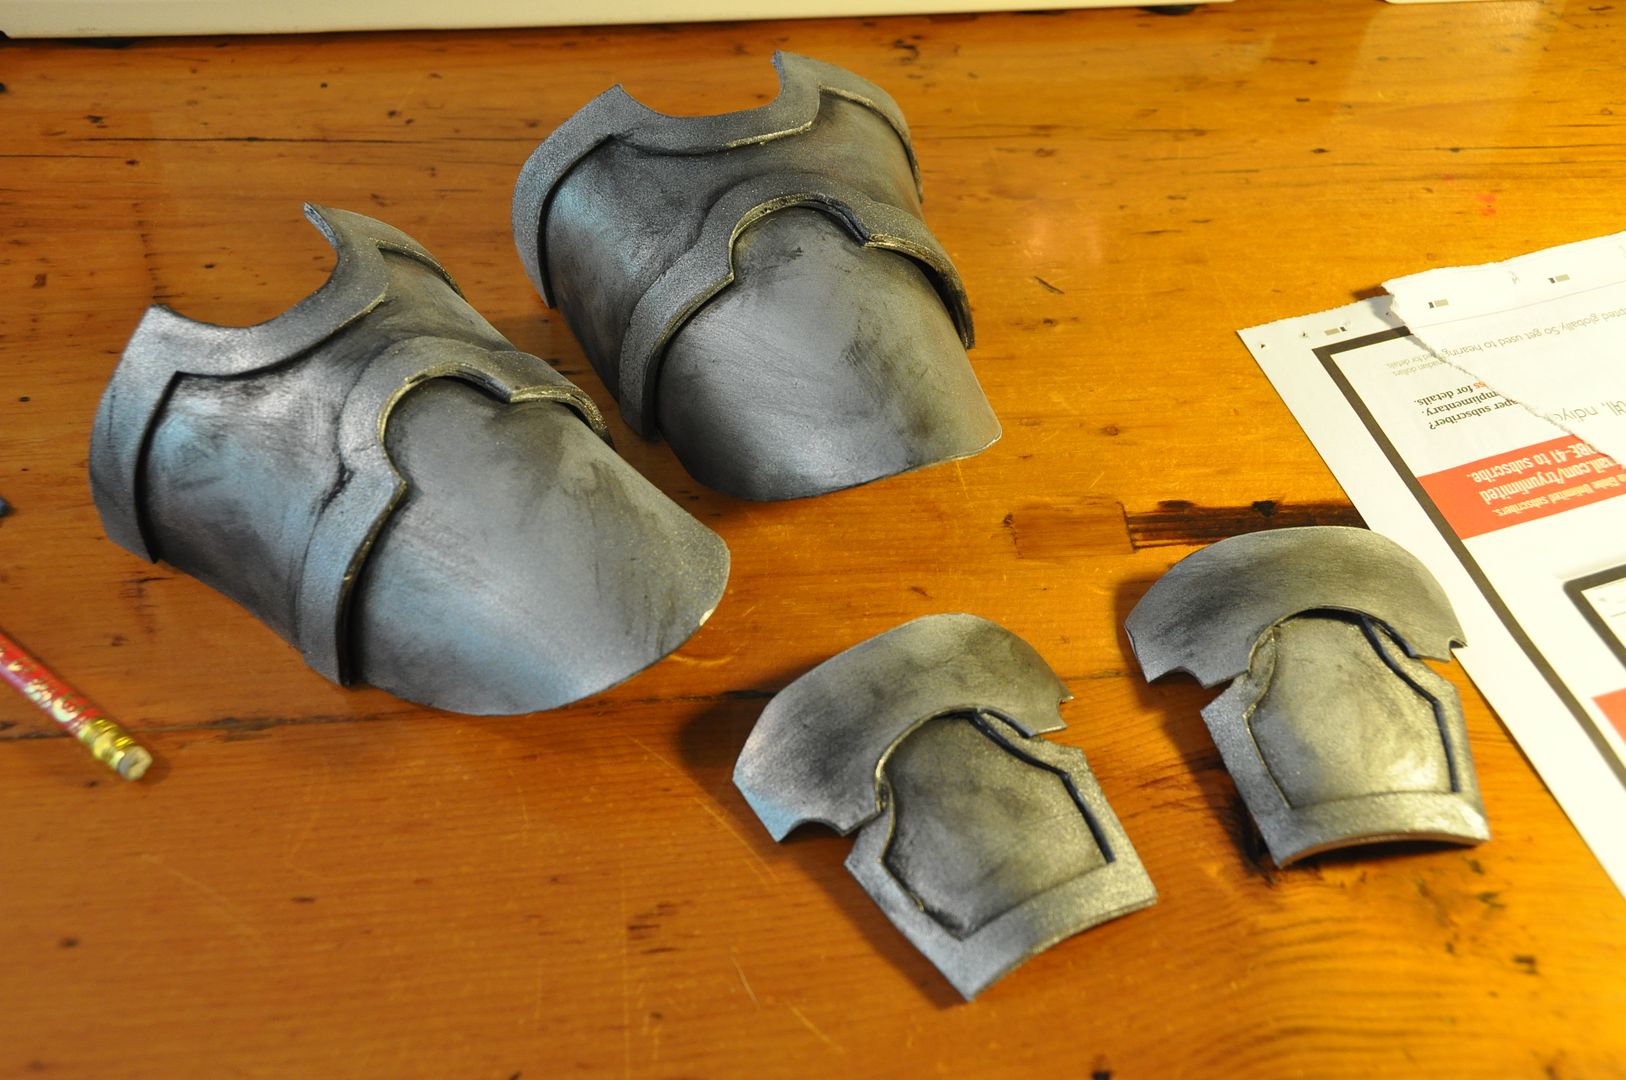
Lastly, the shoe armour was hot glued to the boots (while I was wearing them, so the armour placement would be correct). Then I rigged the hand guards with some elastic so they would be easy to take on and off. I painted the elastic grey so it would match the gloves.

Overall this project really benefitted from me not rushing to finish it the first year and instead applying another years' worth of experience to finish the job.

Thursday, December 3, 2015

Sakura - Clow Wand - Cardcaptor Sakura

I'm back from hiatus guys, so let's look at the final part of my Sakura costume series--lets talk about the Clow Wand!

The wand was the only part of the costume that I did not have time to build for the original debut of the Sakura 1st Opening costume at AN 2013. Instead it was built for the Sailor Suit version for Otakon later that summer.

Once again shout-out to EleventhPhotograph for doing both the quick pics at Otakon and the awesome shoot this fall.

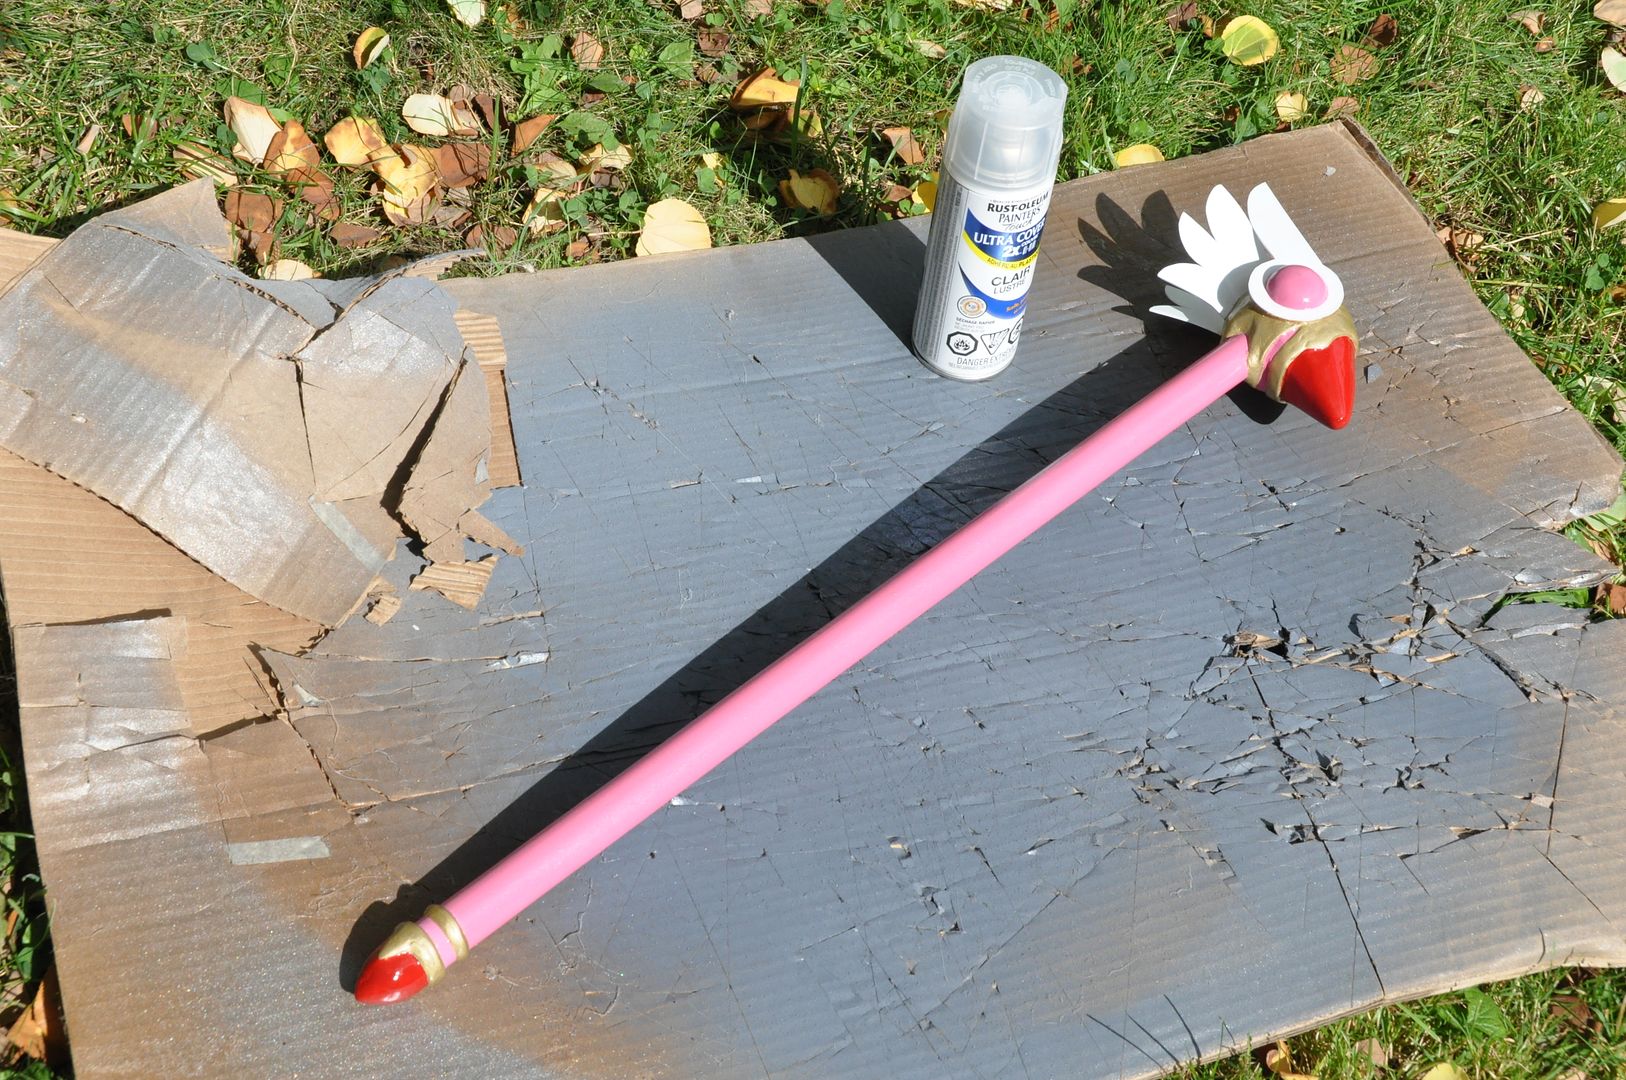
You may notice a slight difference between the photos from the school uniform shoot and the 1st opening outfit shoot I did over a year later--I redid the paint-job on the wand. Because the wand was originally painted in the hotel room the night before the con with acrylic paint and no reference picture. And I got the colours (based on the anime and not the manga illustrations) wrong! Yes, this does happen. (The eyes are pink like the handle and not red like the beak--whoops!) So, for subsequent events I had it repainted with spraypaints and finished it with a nice gloss coat to give it some extra shine. The gloss coat looks much better than the flat colours alone.

Also, at AN this past year I dropped the wand and broke it, chipping the beak. After fixing that I had to repaint it a third time.

I haven't built as many prop-heavy costumes in recent times (Splatoon doesn't count because I didn't build the props!). Props is where I started, and I would really like to get back into making more props. But I am always drawn in by more fabric construction heavy costumes I suppose?

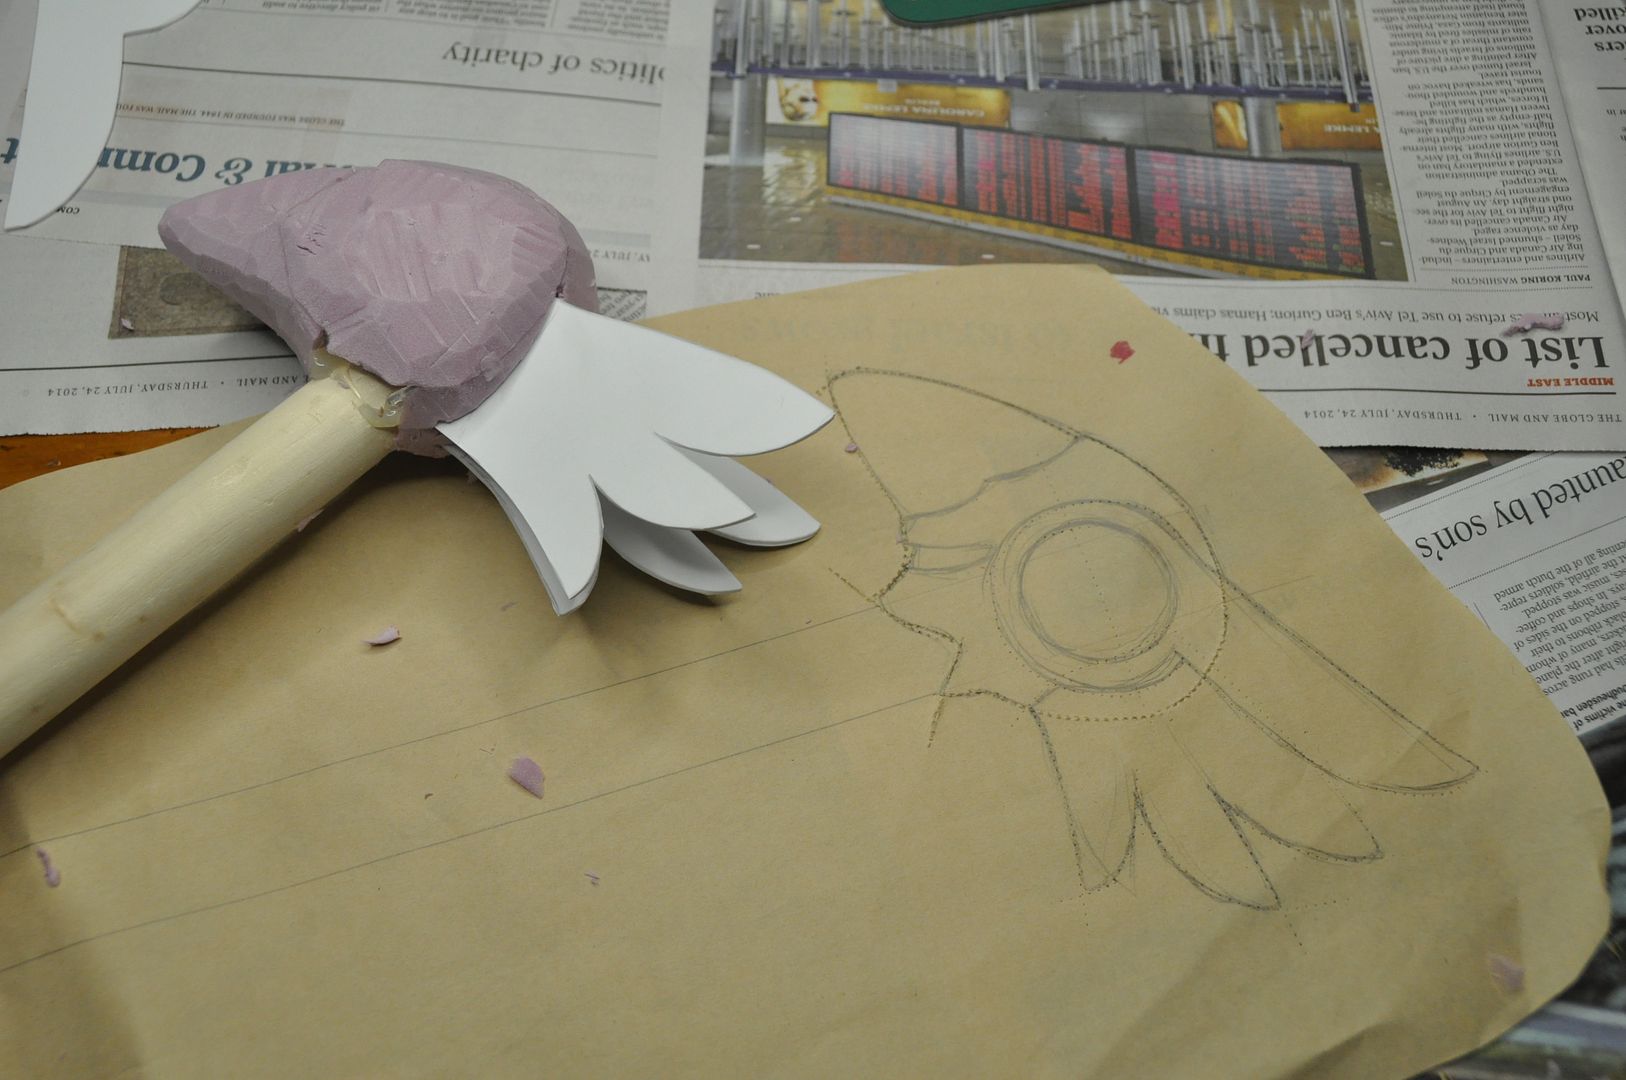
Without further ado, lets get started talking about the build. I began by sketching out the wand at full scale based on the reference photos. Once I was satisfied I used my sketch as a template to make the 4 wing pieces out of styrene. Did I mention I am still working on leftover materials from the Asuna armour? Because I am.

I also used this to cut out the basic shape of the bird head in insulation foam. I cut out a place to stick the rod up the center.
I used a dowel for the rod. I suppose the wand could have been lighter if I had used a pvc pipe instead of a dowel, but I totally didn't think about that until way later and by that point it was too late to swap it out without restarting.

I cut 2 more copies of the insulation foam bird head shape and glued these to both sides. Then I started carving.

Then I cut two angled slits in the back to stick the first two wings. These were glued in place.

Then I used apoxie sculpt to add the raised details. I also used apoxie sculpt to make the detail on the bottom end of the rod. I had to do that in 2 stages though because the sculpting material tends to not want to stick to what I want it to. So I made a base layer in the approximate shape and then built up a smooth layer over top.


Once I was satisfied with the sculpt I sanded it down a bit. Then I glued the top wing on and built up the eye detail with more apoxie sculpt.

Then I sanded down the beak and painted over a few layers of gesso.

From this point onwards Clow Wand version 1.0 was finished in poor lighting in a hotel room using acrylic paints. The picture at the top of the article was the resulting paint job. Not terrible, but I was not satisfied.
I sanded off the majority of the original paint job so I could start with a more or less smooth surface. I decided to completely redo the paint job to better match the original Sakura costume.

I carefully used some leftover Shell Shock to paint a thin coat over the unprotected foam beak surface (this is what chipped off when I dropped it a year or so later).
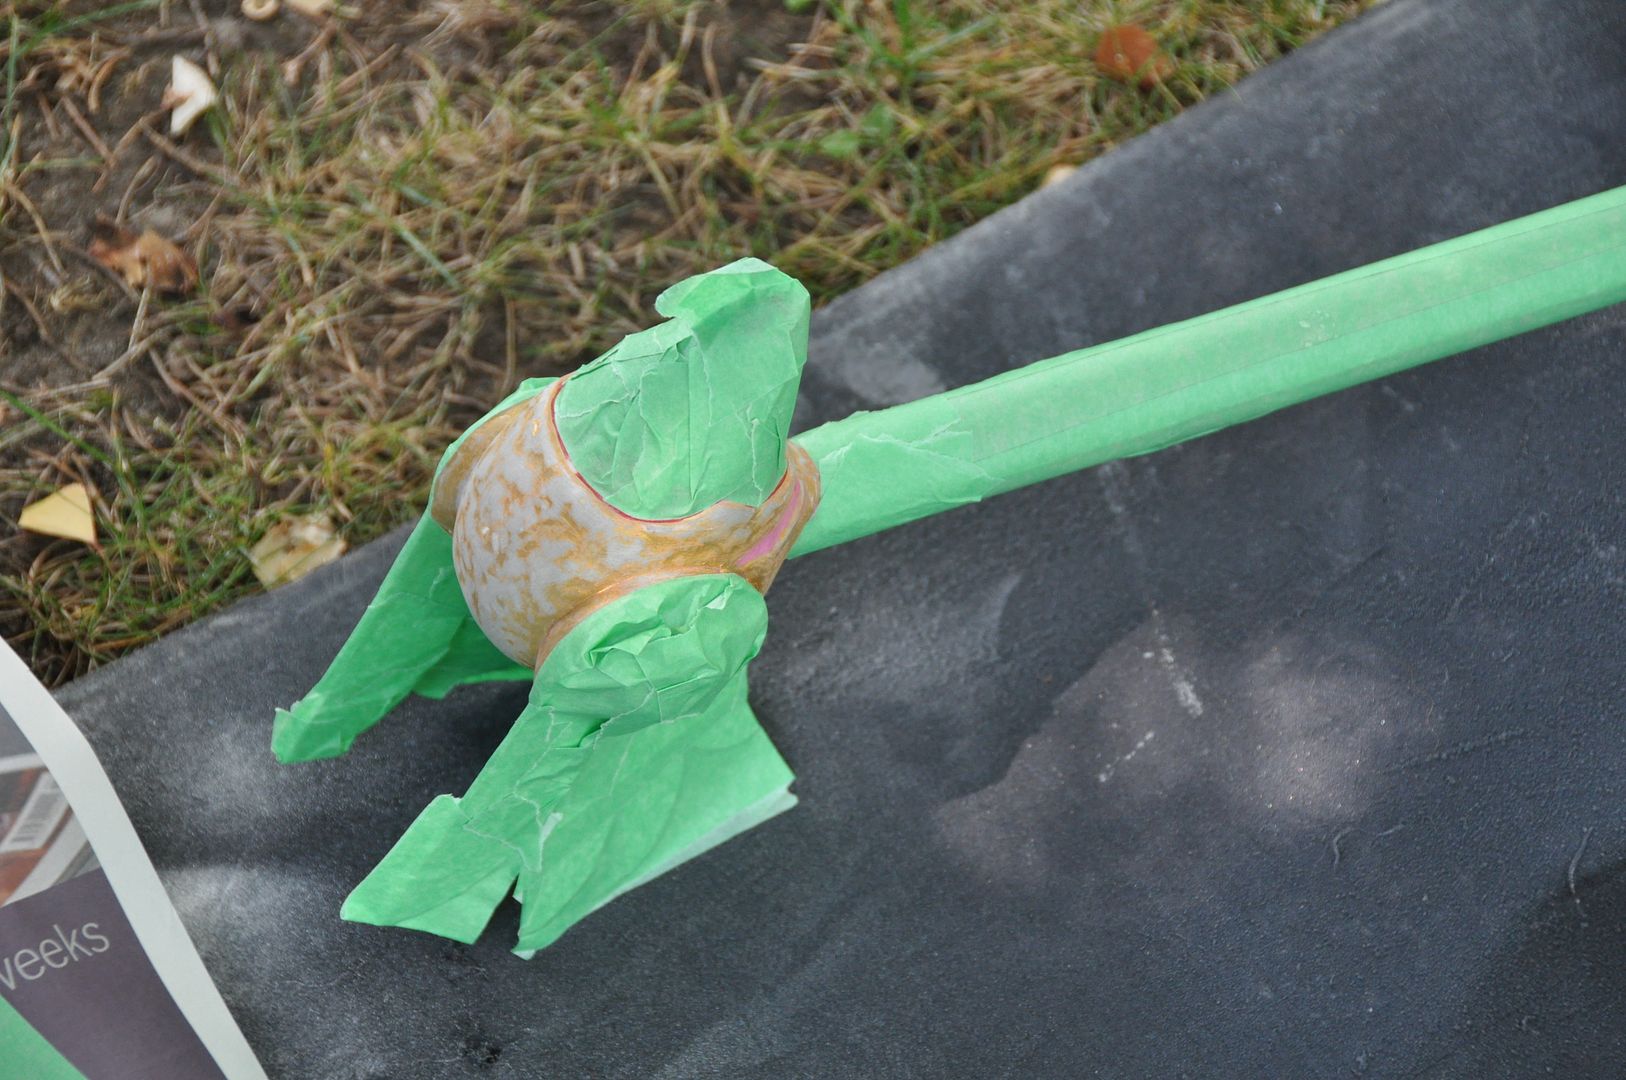
Using copious amounts of painters' tape to mask other areas, I began the paint process first with the gold. Then I hand painted the pink areas with acrylic, before re-masking and moving on the the red areas.

I finished the whole piece with nearly an entire can of gloss coat applied in many thin layers. 

This prop was pretty easy to make, it just took a bit of time with dry times, cure times, and sculpting times. 

And that's it folks! After years of waiting, I finally finished documenting my Sakura costume! Haha

Stay tuned: Vaporeon is coming up next!

Friday, October 30, 2015

Sakura - Wig, Hat & Accessories - Cardcaptor Sakura

Part 3 of Sakura (1st Opening outfit)--lets talk accessories! The details are really what make this costume. If you want to see how I made the wings, go here! If you want to see the rest of the outfit, go here!

I entered this costume in the Friday night Workmanship Competition at Anime North in 2014 and won an award for Best Accessories in my category. That was pretty cool. It was my first (and so far only) time entering in a competition without a stage presentation component.

Once again, thanks to EleventhPhotograph for the photoshoot. I really love this black and white shot.

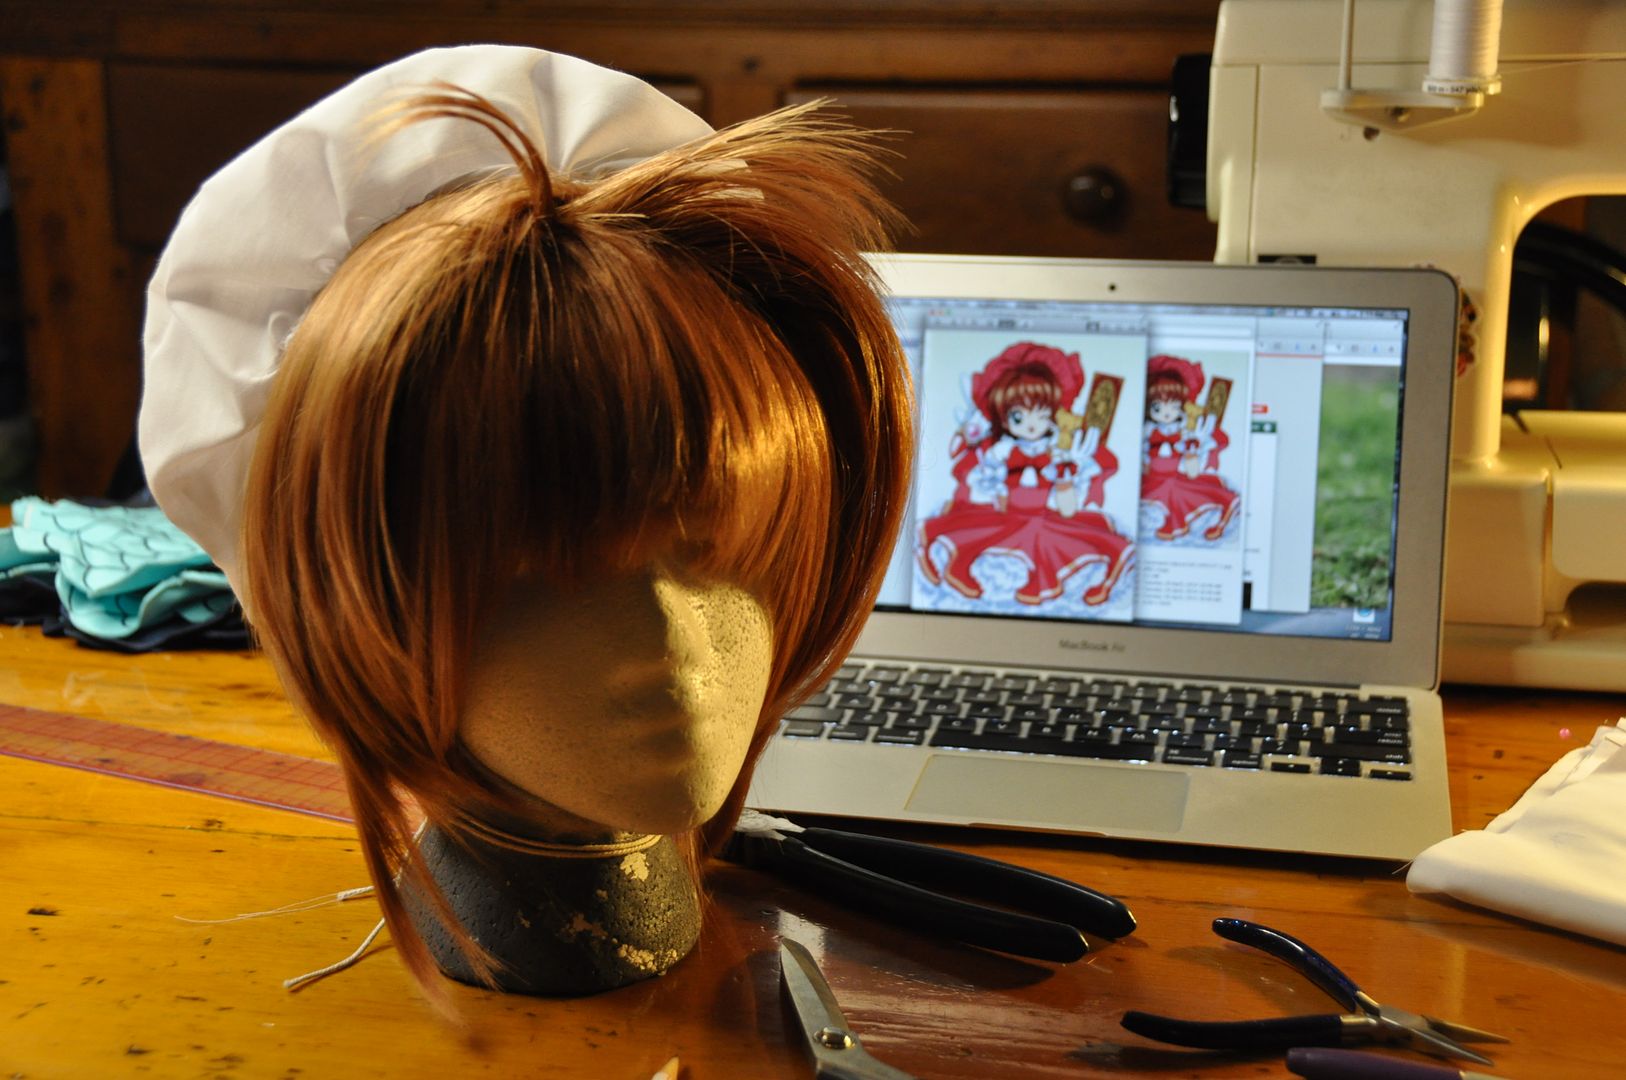
First we'll talk about the wig. I started with EpicCosplay's Aura in cocoa brown. I think this colour works really well for Sakura, it's not too brown or too blonde. It's almost a bit reddish. I think the colour works well on both my sister and myself.

Since I was doing a costume of hers with a hat, I didn't bother to add her iconic pigtails that she normally wears, because they wouldn't be visible. This has influenced my costume choices for my subsequent Sakura costumes to only be ones where Sakura is wearing a hat. Because this means I don't have to go back and fix the wig. And also because her costumes with hats are ridiculously cute.

As you can see the wig was pretty long. I purposefully picked a longer wig because she has those two small sections of longer hair in front of her ears. It is much easier to cut a wig shorter than it is to add in longer wefts.


I started by trimming the bangs. Using clips I separated off the different sections of the hair. The longer pieces were separated from the sides and the bangs. I left the long wisps at the original length, and simply thinned them out a bit. The sides were thinned and layered and trimmed to length. Then I trimmed the back of the wig.

The last step was to style the front of the wig to give the top that volume. I pulled sections of the hair up and hair sprayed them at the base. Then I used a blow dryer to set it. I made some shorter bits stick up while the rest parted and fell to each side. This created the look of her cute bob at the front.

Next I started work on the hat. Since I had very limited pink fabric left, I made a mockup. The hat's construction was pretty simple. The pattern consisted of a circle and a rectangle. The rectangle was the length of the circle's circumference.

First I rolled over the channel where the elastic would go later and ironed that. I didn't stitch it down yet, but pre-ironing saved me a ton of headaches later.

The next step was to sew the rectangle to the top of the hat, right sides together. Then I sewed the two ends of the rectangle together and then top stitched the channel for the elastic. I left an opening in the channel so I could feed the elastic through. The elastic both gathered the hat and helped it to stay on. When I was satisfied with the fit, I sewed the elastic ends together and closed the channel opening.

Lastly the bow was attached to the hat. Credit for completing the finishing touches goes to my friend Alli who handcrafted all the bows and hand stitched them on.

Instead of constructing socks and gloves I bought them, and made ruffles to add to them to help them match the rest of the costume.

Like the hat band, the ruffles are simply rectangles with a channel on on side for an elastic, which cinches them to fit and gathers them into a ruffle. These were tacked on to the gloves and socks.

Little red bows were also added to the gloves.

The shoes were an extremely lucky find. I managed to find flats at Ardene's in the perfect shade of red. They matched my red fabric perfectly. I added the bows to the toe. This is not 100% accurate to the design, but I didn't feel like adding straps to the shoe--I was worried it would make them uncomfortable. The bows were hot glued on.

I paid attention to the details so that everything would match perfectly. I wanted to do Sakura justice, and I think I achieved that. :)

Thursday, October 22, 2015

Sakura - Wings - CardCaptor Sakura


Part 2 of my Sakura (1st Opening outfit) posts: lets talk about wings! If you want to see how I made the outfit, go here!

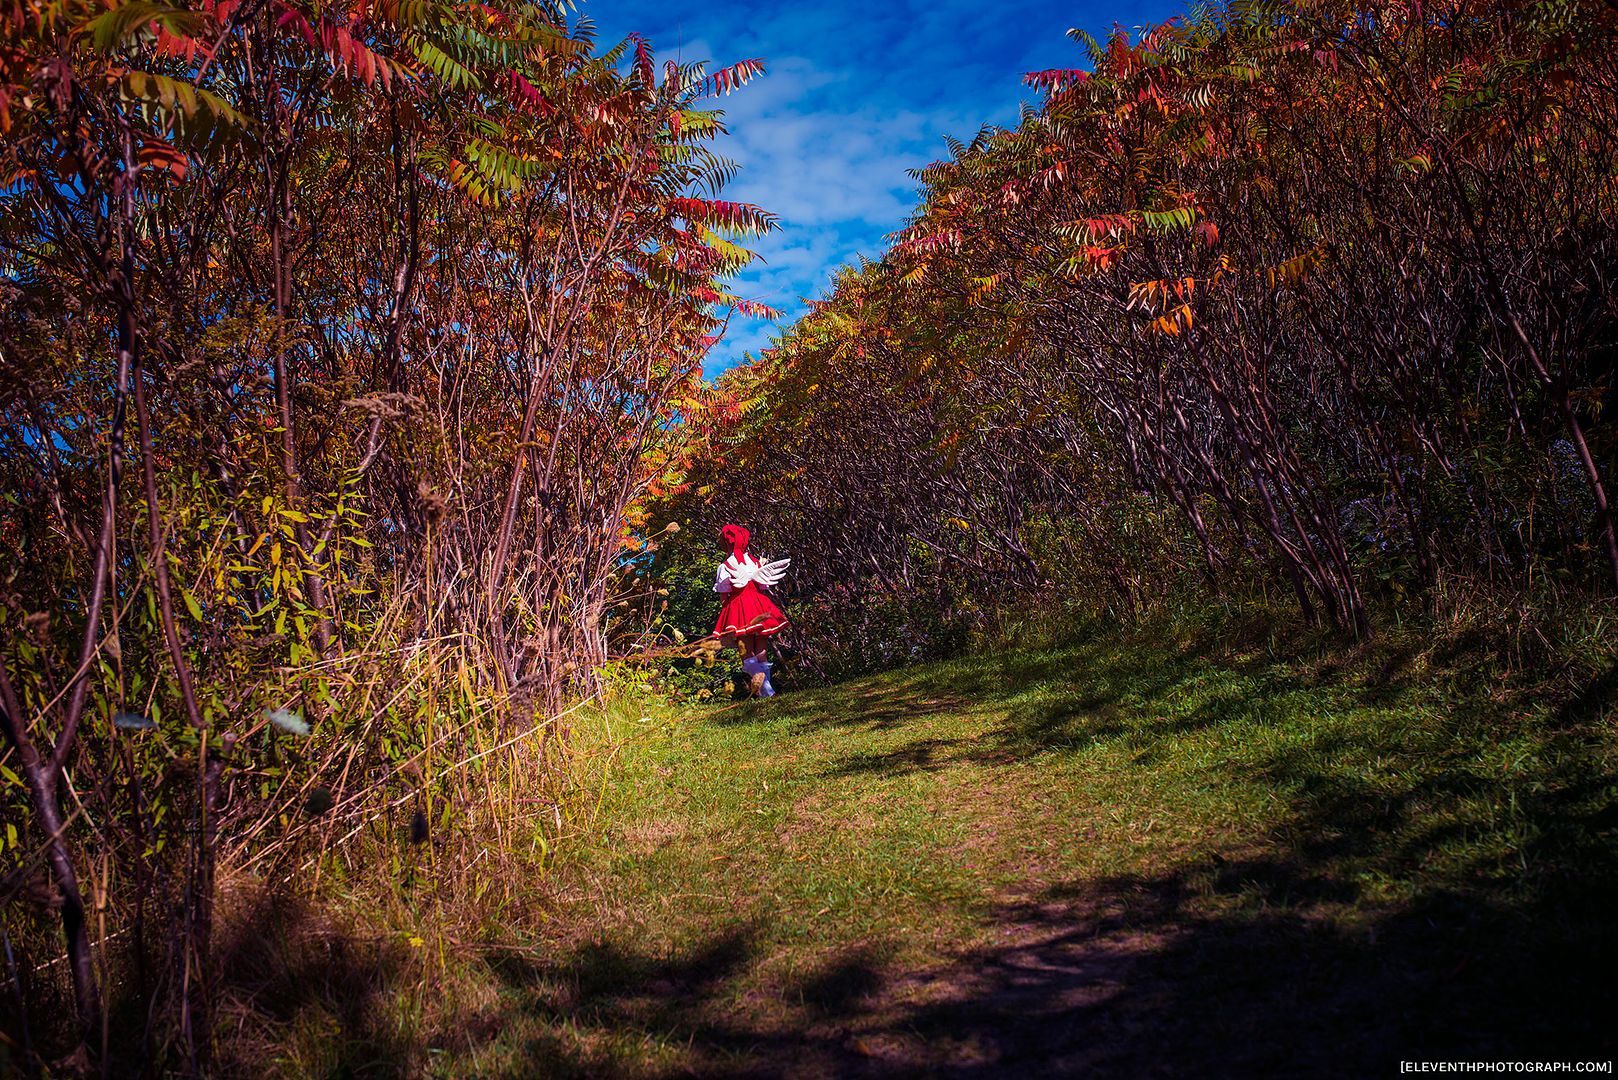
Once again thanks to EleventhPhotograph for the photoshoot. I really love the above shot! It reminds me of Alice in Wonderland.

This was an exercise in perfecting the foam wing style I had used for the Kero and Suppi gijinka costumes. Since I already knew what I was doing, this time around involved a lot less trial and error.

I like making foam wings this way because they are sturdy, and they aren't likely to get too damaged in crowded convention spaces. They are also fairly light and not horribly uncomfortable. I like the cartoon-y style of them as well. 

I traced out 4 wing shapes on the foam--2 for each wing. I cut these out with a pair of scissors.

Pairing them up I cut off the corners so they would be more rounded along the edges. This will help them fit into the cases better.

Using the same pattern as the wings I cut out my four pieces of white fabric. I made these about 1/4" bigger all around (+ seam allowance) to account for the depth of the foam.

I sewed the wing cases right sides together, trimmed the excess seam allowance and then flipped them right way out. I left a large gap along the base that extended up along the top edge--this is so I could get the foam wing inside the casing. Because of the friction, the foam really doesn't like to go into the case easily, so it takes a lot of patience and just a touch of brute force.

Using a heavy gauge wire, I created a wire base for each. You can see each wing has a wire base that is made of one continuous piece. The two "antennas" support the wing, the u-shape at the bottom is where the wing is attached to the base. Note how I bent the cut ends of the wire into little loops--this is so it wouldn't stab through the foam or fabric.

After taking some measurements and figuring out the spacing I began to pattern the harness. This was a bit tricky, because it had to fit under the pink dress, but sit high enough on the back so that the wings would sit above the dress' neckline. It also had to be tight fitting so that the wings wouldn't be droopy (a problem I encountered with Kero).

I cut a base plate out of styrene plastic. It was simply a rectangle with rounded corners--again so it wouldn't stab through the fabric cover later. The wires were attached to the base plate with copious amounts of hot glue. The nice thing about styrene is that hot glue bonds really well to it.

On the fabric covering I carefully measured and marked where the holes needed to be for the wires. Before sewing anything together I used the buttonhole function on my sewing machine to create small openings with finished edges for the wires to stick through. Then I sewed the styrene base plate into the fabric covering.

Once the back plate was finished I added a waistband and shoulder straps. I fit it on her so the shoulder straps would be tight, and allow the back plate to sit at the proper height. The straps were made to be a fixed length. The closure was a set of bra hooks on the front of the waistband, so it is easy to remove the wings for important daily tasks--like sitting.

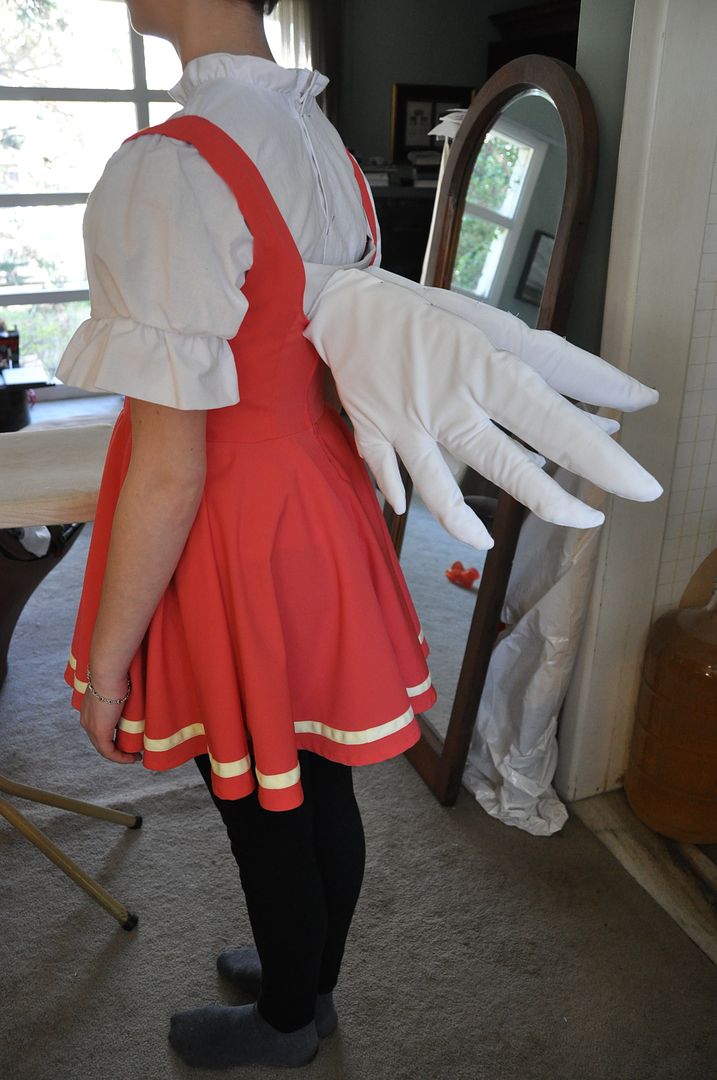
We tested the wings with the dress. You can see here they are really droopy. Once I was satisfied with the fit I used hot glue to attach the foam wings to the wires on the inside.

Once the wings were actually attached to the base I could adjust the height that the wings sat by bending the wire at the base. Because the wings have weight that is sticking out from the body, even though they are really light science & gravity mean that they will be heavier the further distance the weight is from the base. As such, when you put them on, gravity causes them to pull and tilt the base plate slightly, which makes them look droopy and sad. You can see in the picture on the right how the base plate is pulling away from the back ever so slightly, but it is more than enough to make the wings droop.

While this problem is partially solved by making a tight fitting harness (minimizing the amount the base plate will tilt), to counteract this you simply have to overcompensate and position the wings pointing extra up to counteract the downward pull of gravity. This is so that when they fall to the position they want to sit at, it will be the position you want. Note the difference between the pictures above and below--in the second picture I have glued them internally and positioned the wings to point extra up. Now they don't look so sad.
The reason why I love making wings like this is because they are adjustable. You can bend the wires to suit your needs--whether that means you want to make the wings more open or closed, up or down.

My friend Alli (who helped me on my Asuna costume the previous year) helped to finish them off by neatly hand stitching the casings closed.

And then they were done! >:D