Showing posts with label craft foam. Show all posts

Monday, September 19, 2016

Presea - Boots, Gloves & Armour - Tales of Symphonia

Salutations! After years on the shelf, I would like to continue to take a look at how I made my Presea costume! Look here for a blast from the past: how I made the Dress and Wig! Seriously, I was posting about this in 2013 what-the-heckaroonie.

Getting this costume photoshoot worthy and documented is one of my 2016 goals and I'm pleased to say that with the costume and photoshoot done I can now finish documenting how I made it. From the depths of my computer hard-drive I have salvaged ye ancient progress photos.

Possibly the most challenging part of this costume and the main reason I put this costume on hiatus for a whole year (the other reason being my dog ate the tip off my battleaxe). This was my first time making boots, gloves and armour, and to be honest I had no idea what I was doing! I didn't get very far before I gave up. When I came back to this project a year later it was after I had done the armour for my Asuna costume and had much more sewing/patterning experience.

I started by buying and deconstructing a pair of well fitting costume gloves, from this I was able to make my own glove pattern. I made it go extra wide further up the arm so that it would be loose at the cuff.

My main problem was that the character's gloves are above the elbow, but loose fitting, meaning they essentially float there defying the laws of physics. My trouble was making them stay up without any seriously visible rigging...


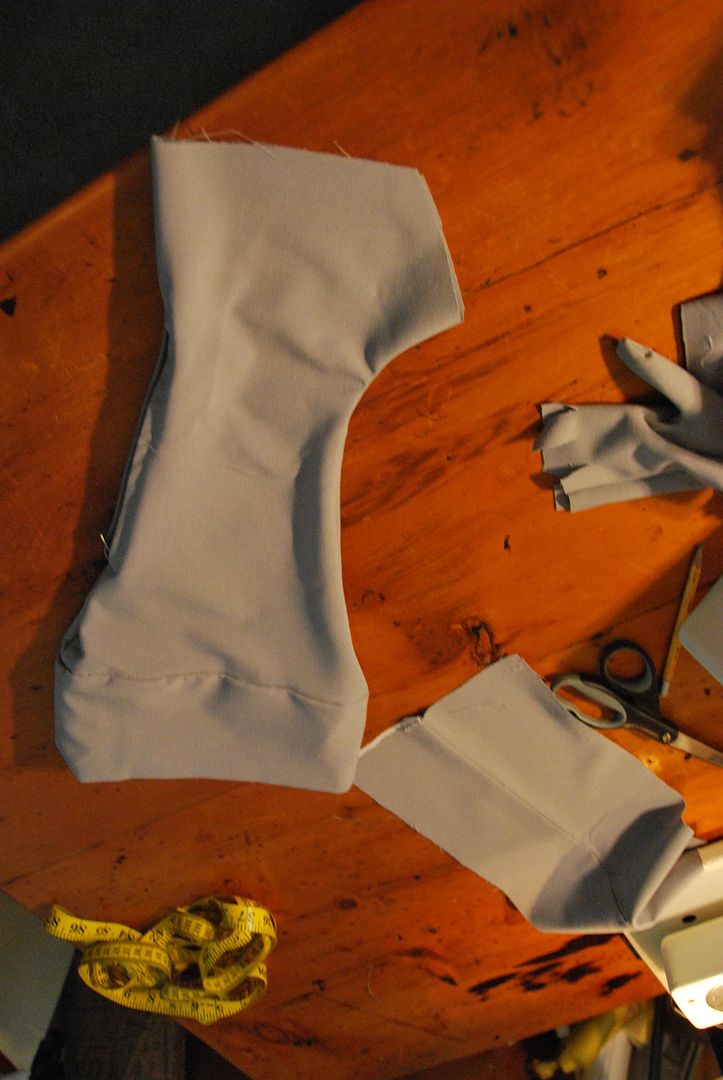
It took hours of hand stitching to assemble those gloves. Above is the separate thumb piece which was slotted into the glove.

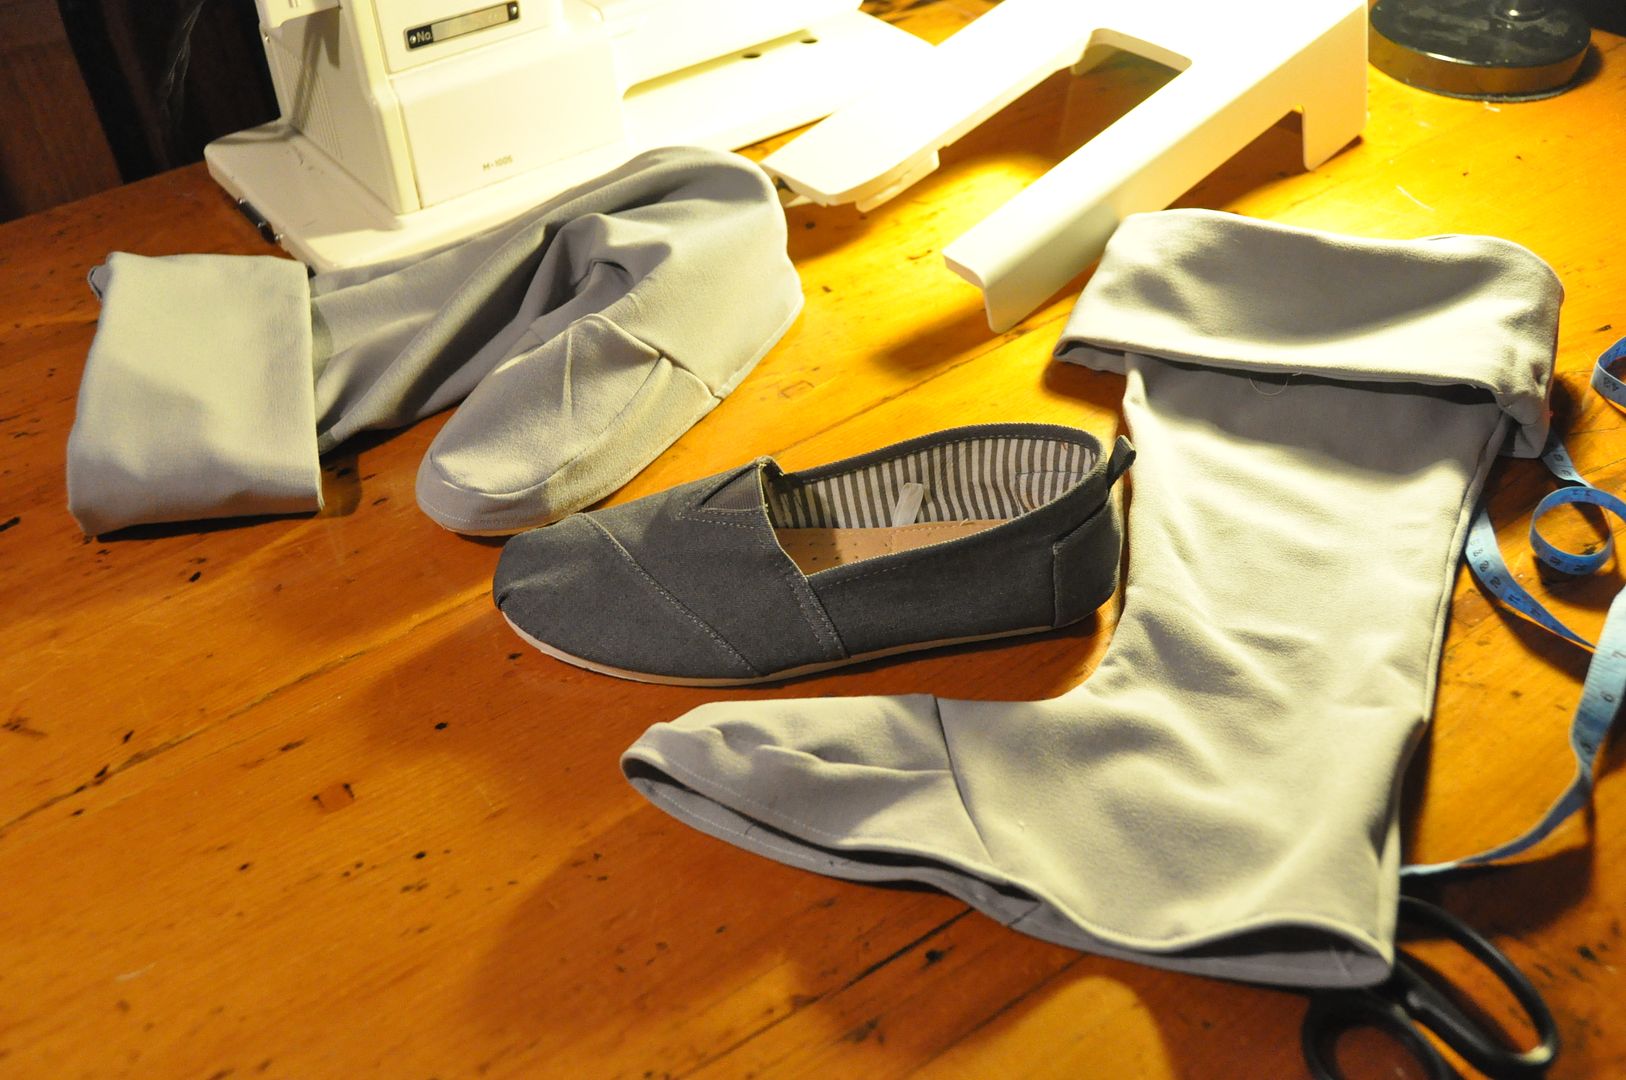
Left is my first attempt at making the boot covers, as you can see the cuff looks kind of wonky... Partially due to my inexperience working with stretch fabrics. This is where I stopped working on them for a year.
I patterned my boots to cover a cheap pair of canvas shoes I picked up at Ardenes. Above is the toe cover, left is the 2nd attempt at the boot cover. (from the inside)

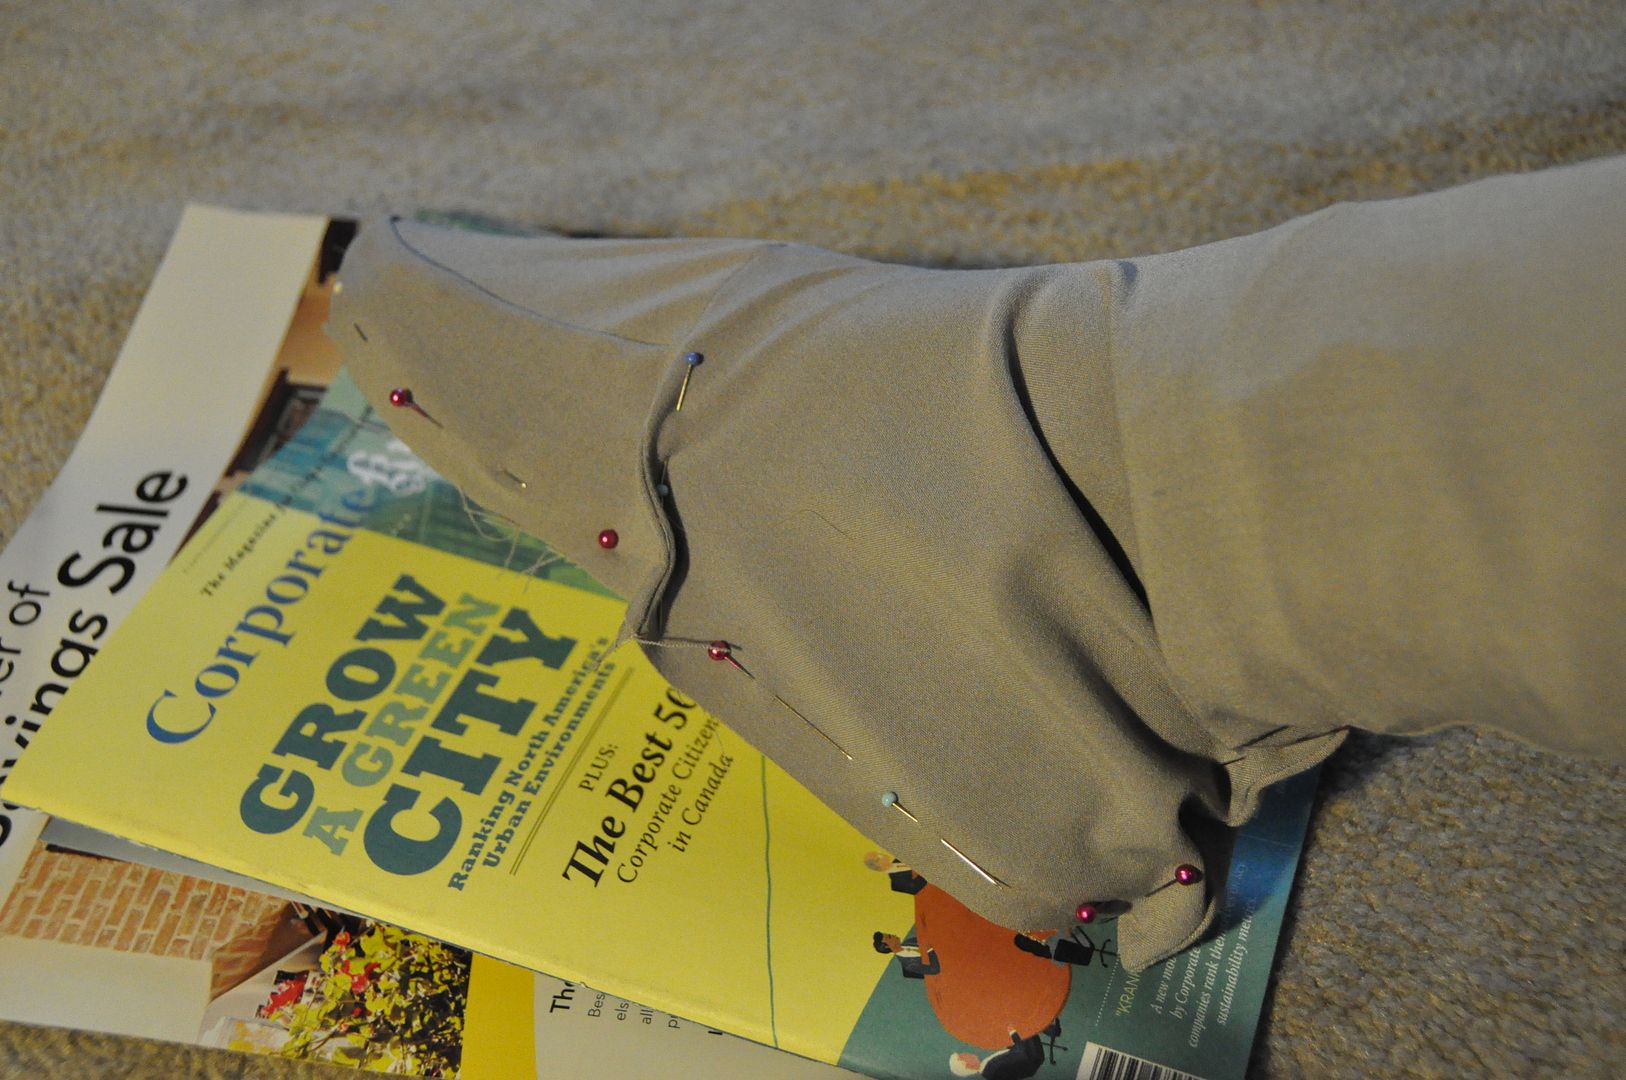
I opted this time to do a fold-over cuff, which looked much cleaner, even though it isn't as accurate to the original design.
I replicated the cuffs on the gloves.

I marked where the shoe cover would be sewn to the shoes, then I hand stitched the two together. It took a while, but the result was a nice clean finished edge.
Then I sewed elastics to the inside so that the loose gloves and boots would stay up. These had to be far enough away from the edge so that they would be hidden inside. How I made the cuffs stay up was I sewed some short pieces of wire into the boot cover where it attached to the cuff.

At one point I had attempted to wire the whole boot, but I found it a) really uncomfortable, b) hard to keep it secure and c) it would be harder to pack into a suitcase, because the boots would have to remain upright. That and every time the wire got dented they were even more uncomfortable to wear... With the short wires only at the cuffs with fabric casings they were easy to fold up, and didn't cause any discomfort.
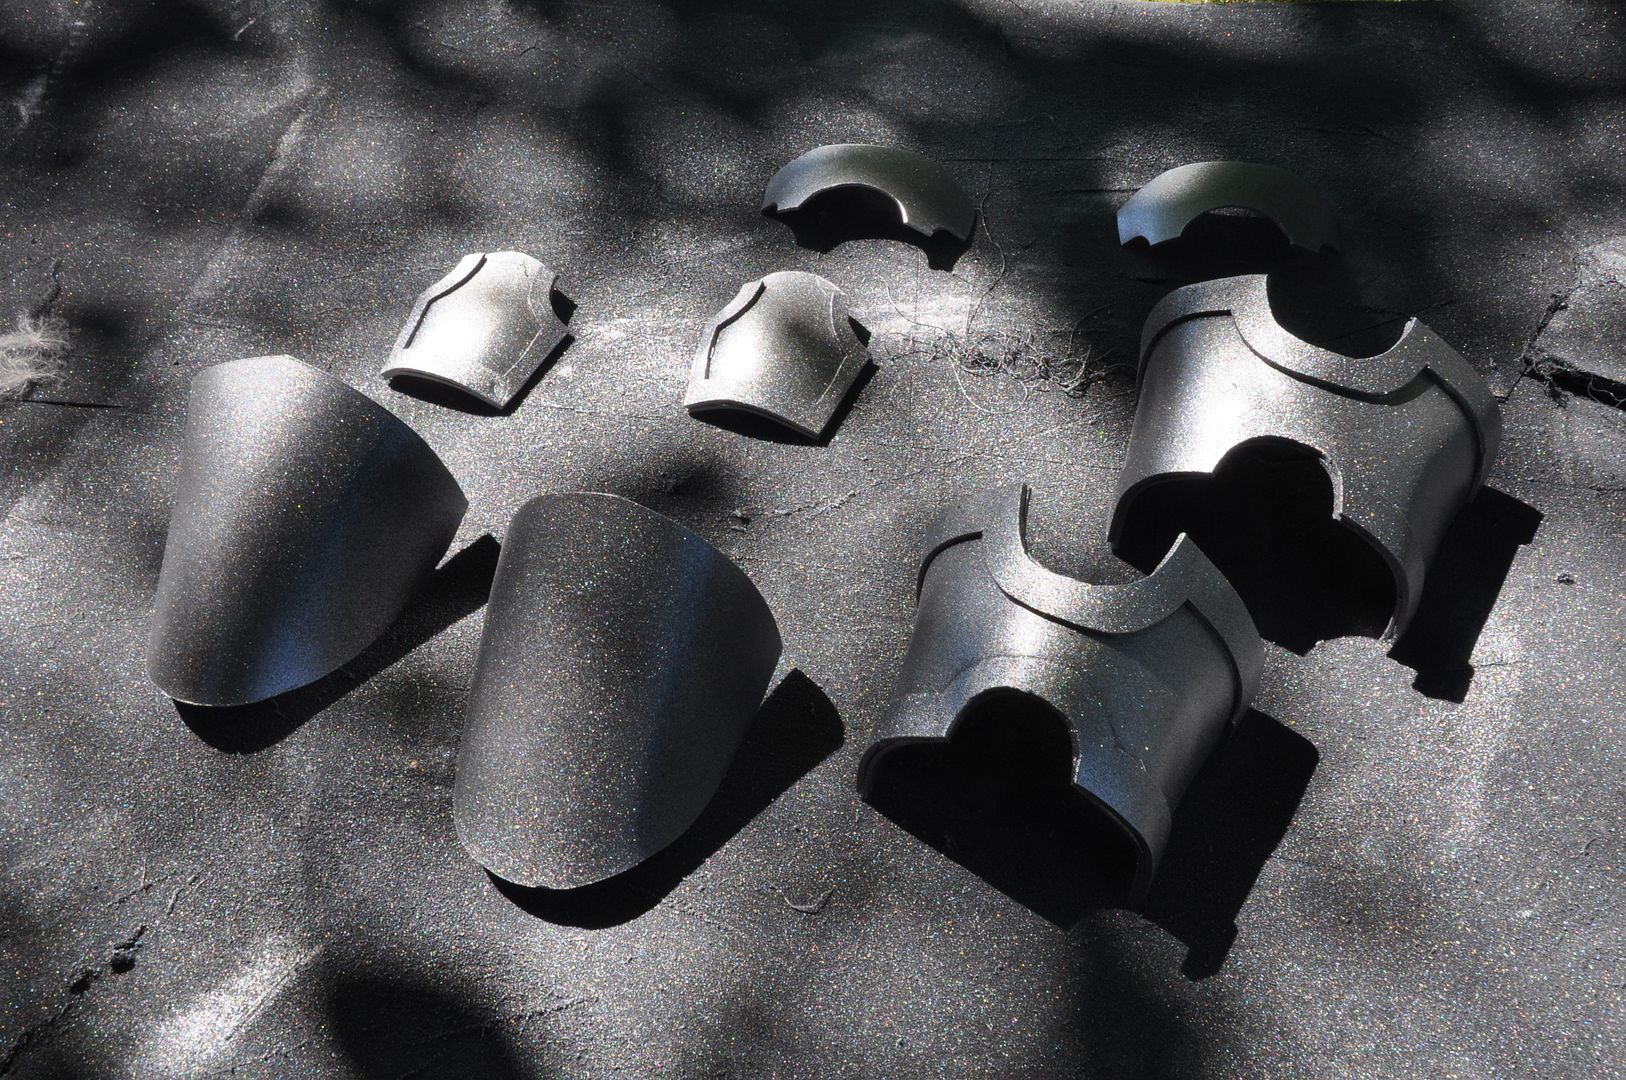
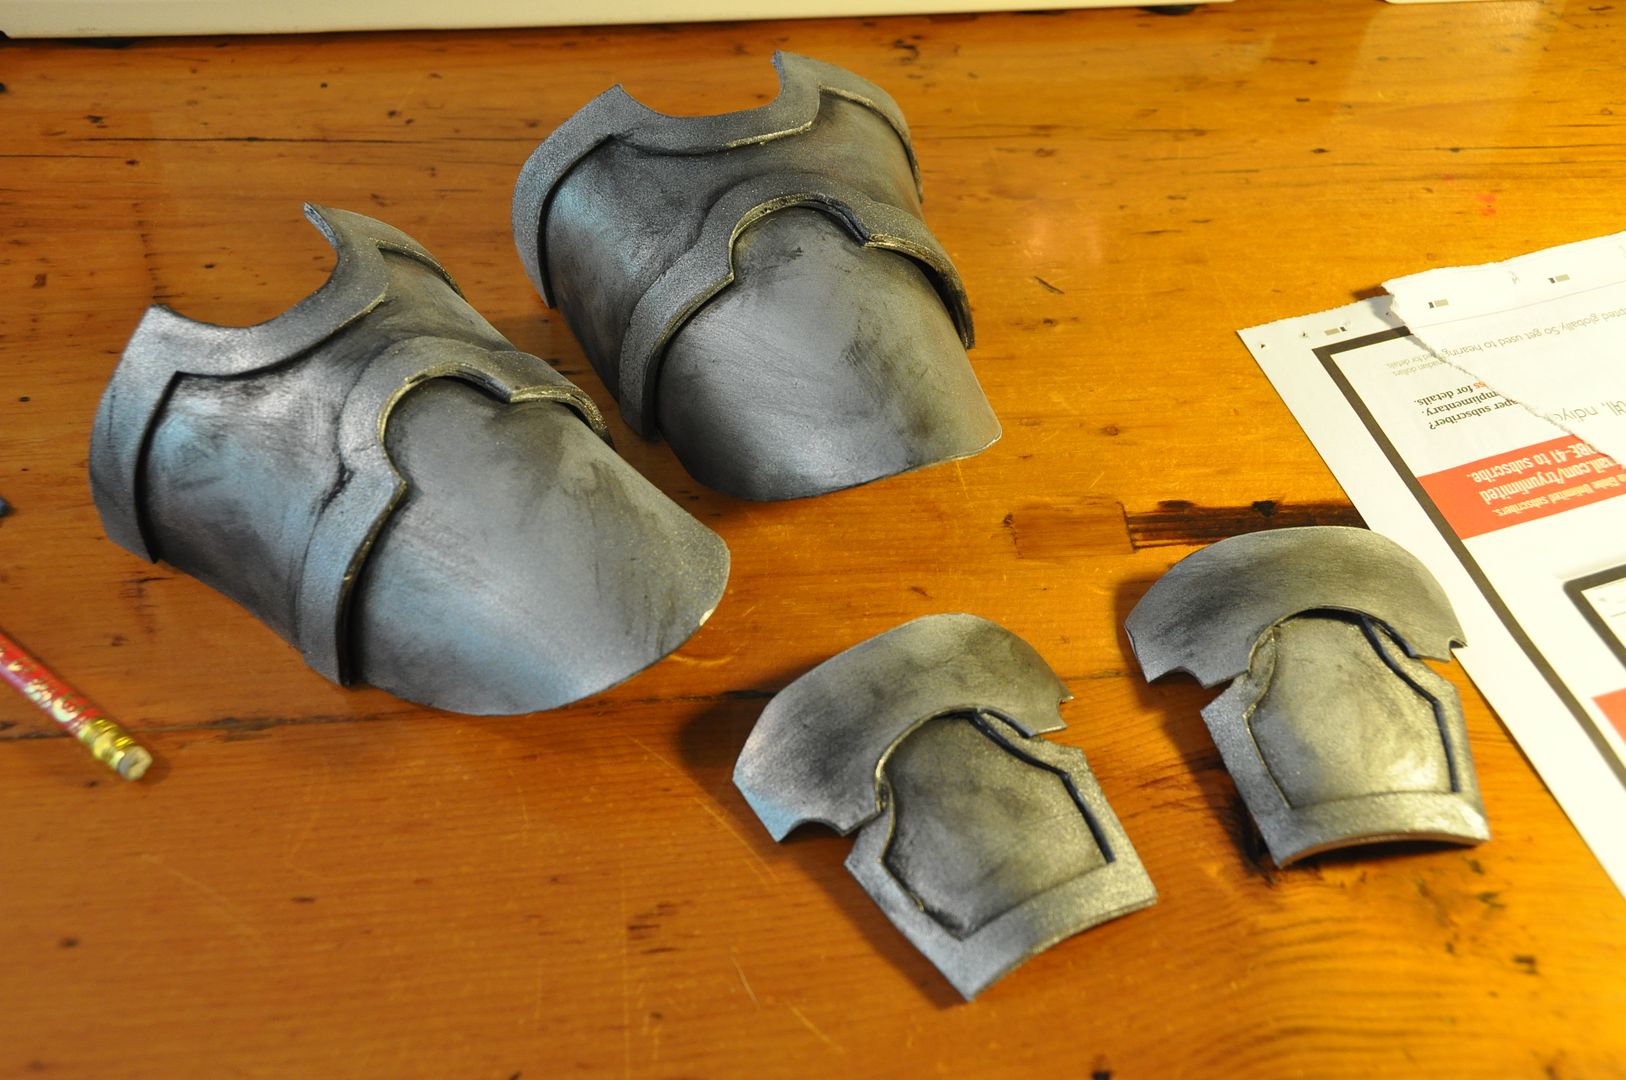
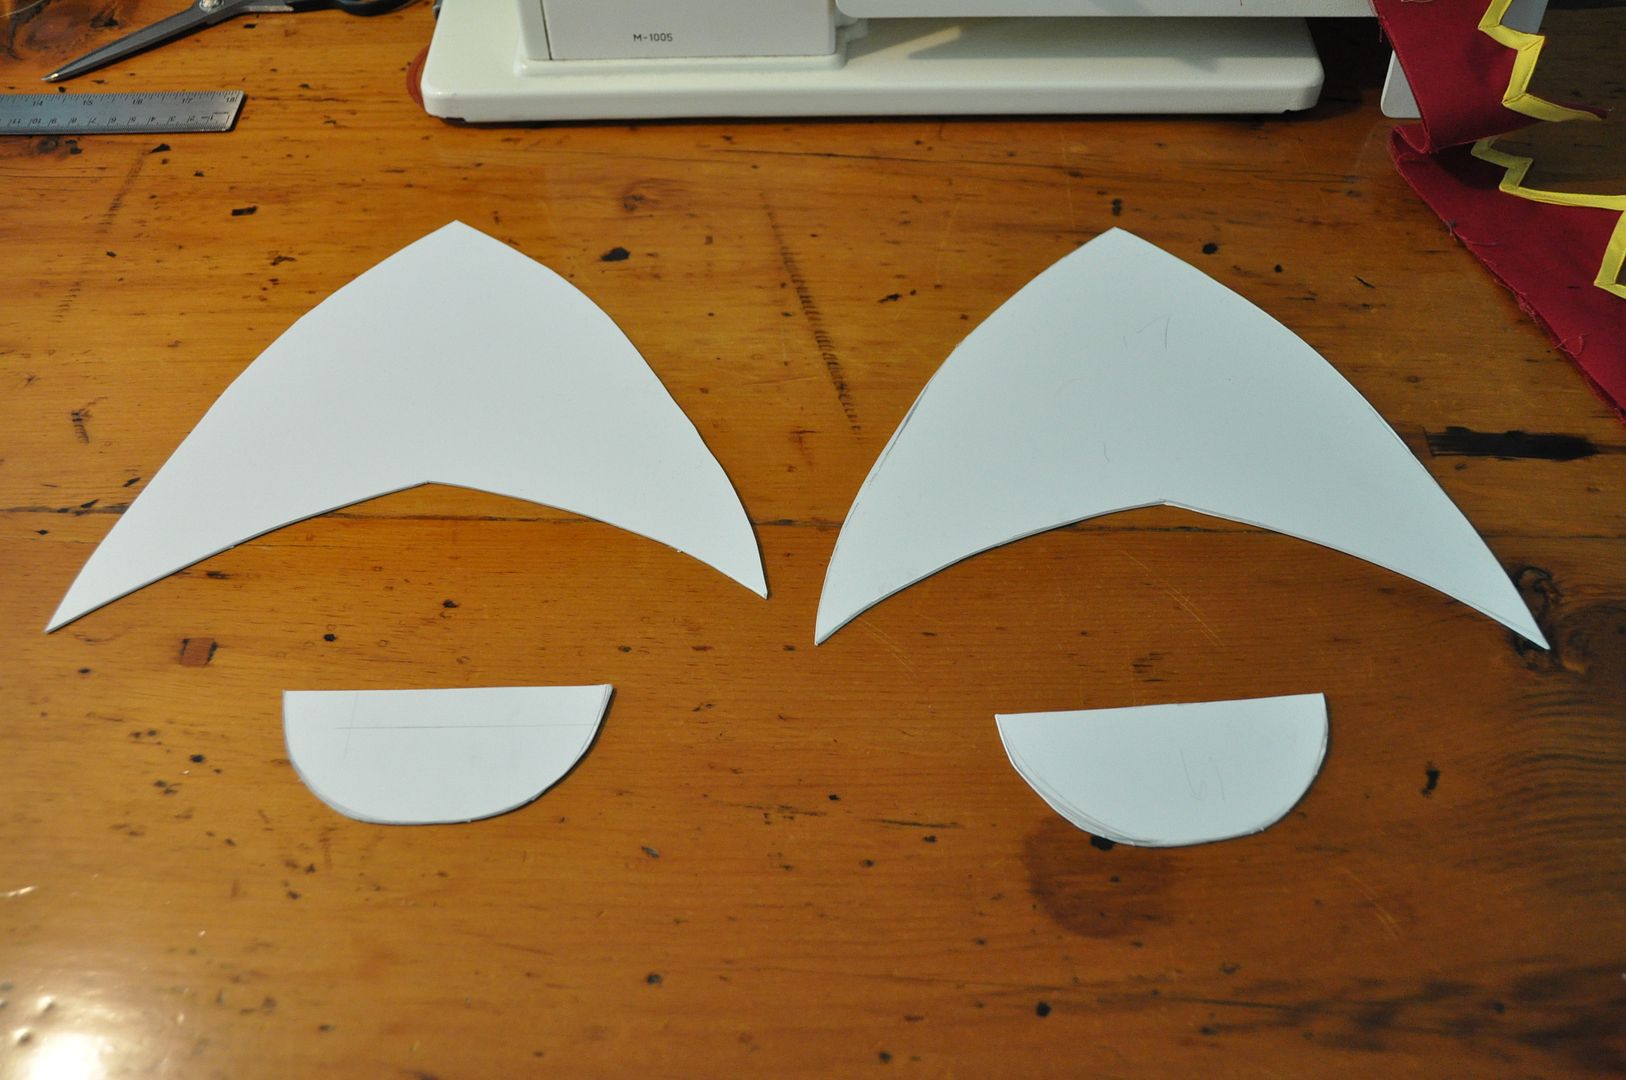
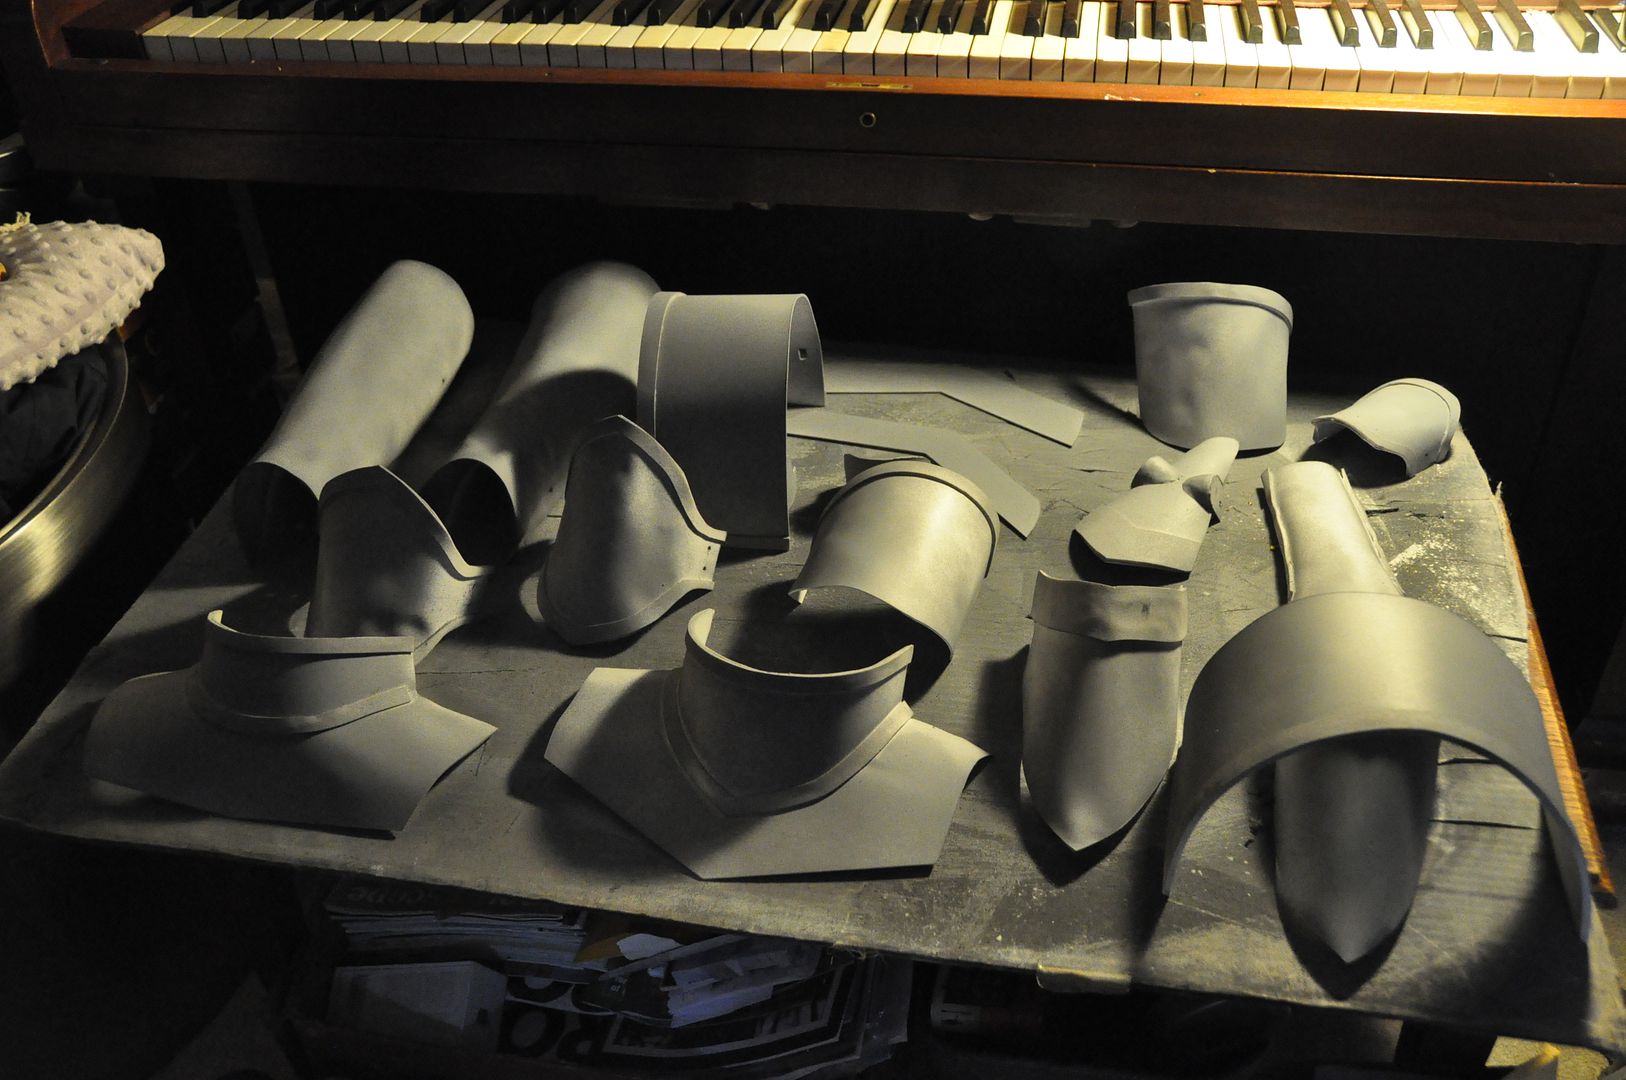
Next I got to work on the small bits of armour, following the same method as I did for Asuna. I used the leftover styrene from that costume to construct the toe and hand guards.

First I made paper patterns of the shapes I wanted, then traced them and cut them out. There were 8 pieces total. Compared to Asuna's this armour was total cakewalk.
I then made the raised bits out of craft foam, and hot glued them on.

I used the same spray paint treatment as Asuna's: primer, matte black, then silver.

I weathered with sandpaper, glued all the pieces together, then aged them with black dry-brushing.
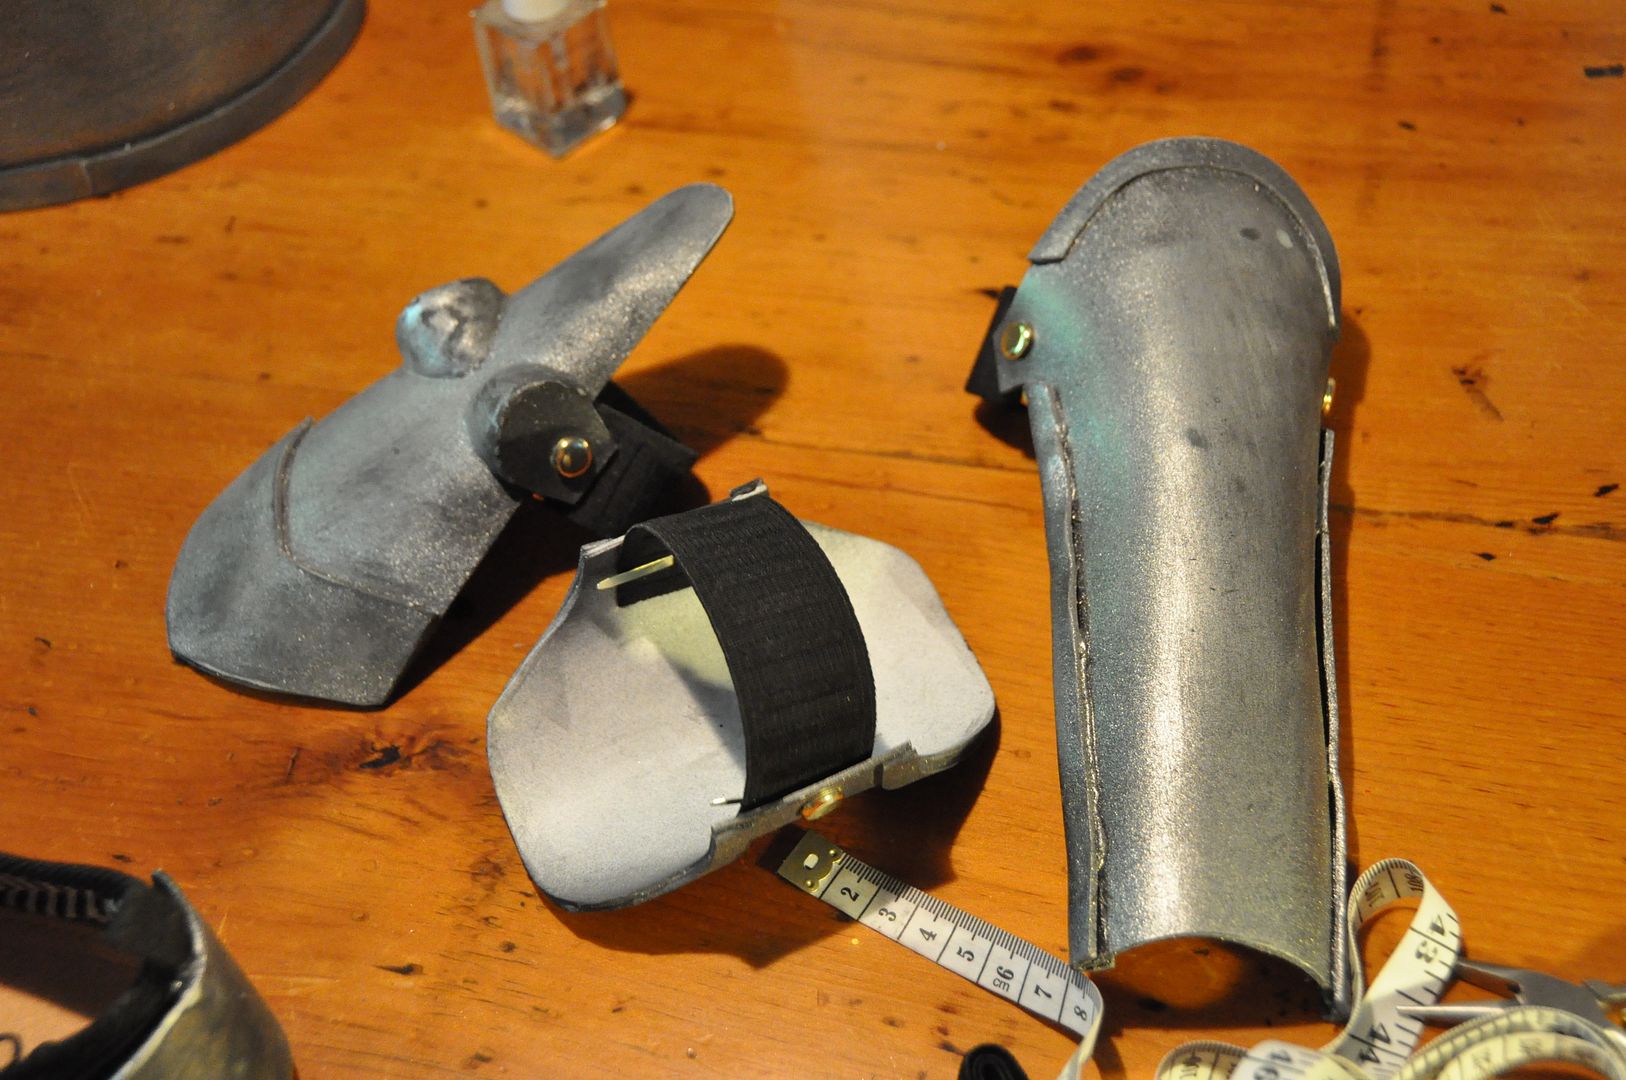
Lastly, the shoe armour was hot glued to the boots (while I was wearing them, so the armour placement would be correct). Then I rigged the hand guards with some elastic so they would be easy to take on and off. I painted the elastic grey so it would match the gloves.

Overall this project really benefitted from me not rushing to finish it the first year and instead applying another years' worth of experience to finish the job.

Tuesday, February 23, 2016

Vaporeon Gijinka - Wraps, Bracers & Gloves - Pokémon


Part 5 of the Vaporeon saga! Let's talk about wraps, bracers and gloves! This was probably the most time consuming and difficult part of the entire costume to construct. Lots of hand painting and hand stitching was involved. The end result ended up looking even better than I had envisioned! >:D

Links to Part 1: BoleroPart 2: Under LayersPart 3: Wrap Skirt Tail, and Part 4: Wig and Hairpieces!

Thanks to Elemental Photography for the wonderful photoshoot! Credit for the original costume design goes to Cowslip!

The way I started drafting the pattern for these was super scientific! Not really. I literally traced my leg onto paper. This is so I could figure out the relational distance between my ankle, knee and thigh. This was purely to use to get the proportional heights of the bracers and wraps correct.

From there I was able to mark how tall I wanted the bracers and wraps to be. Then I drafted the pattern for the wraps and bracers separately. I also drafted the arm wraps and bracers at this time.
I'll start with the bracers first, since I finished the construction on those first.

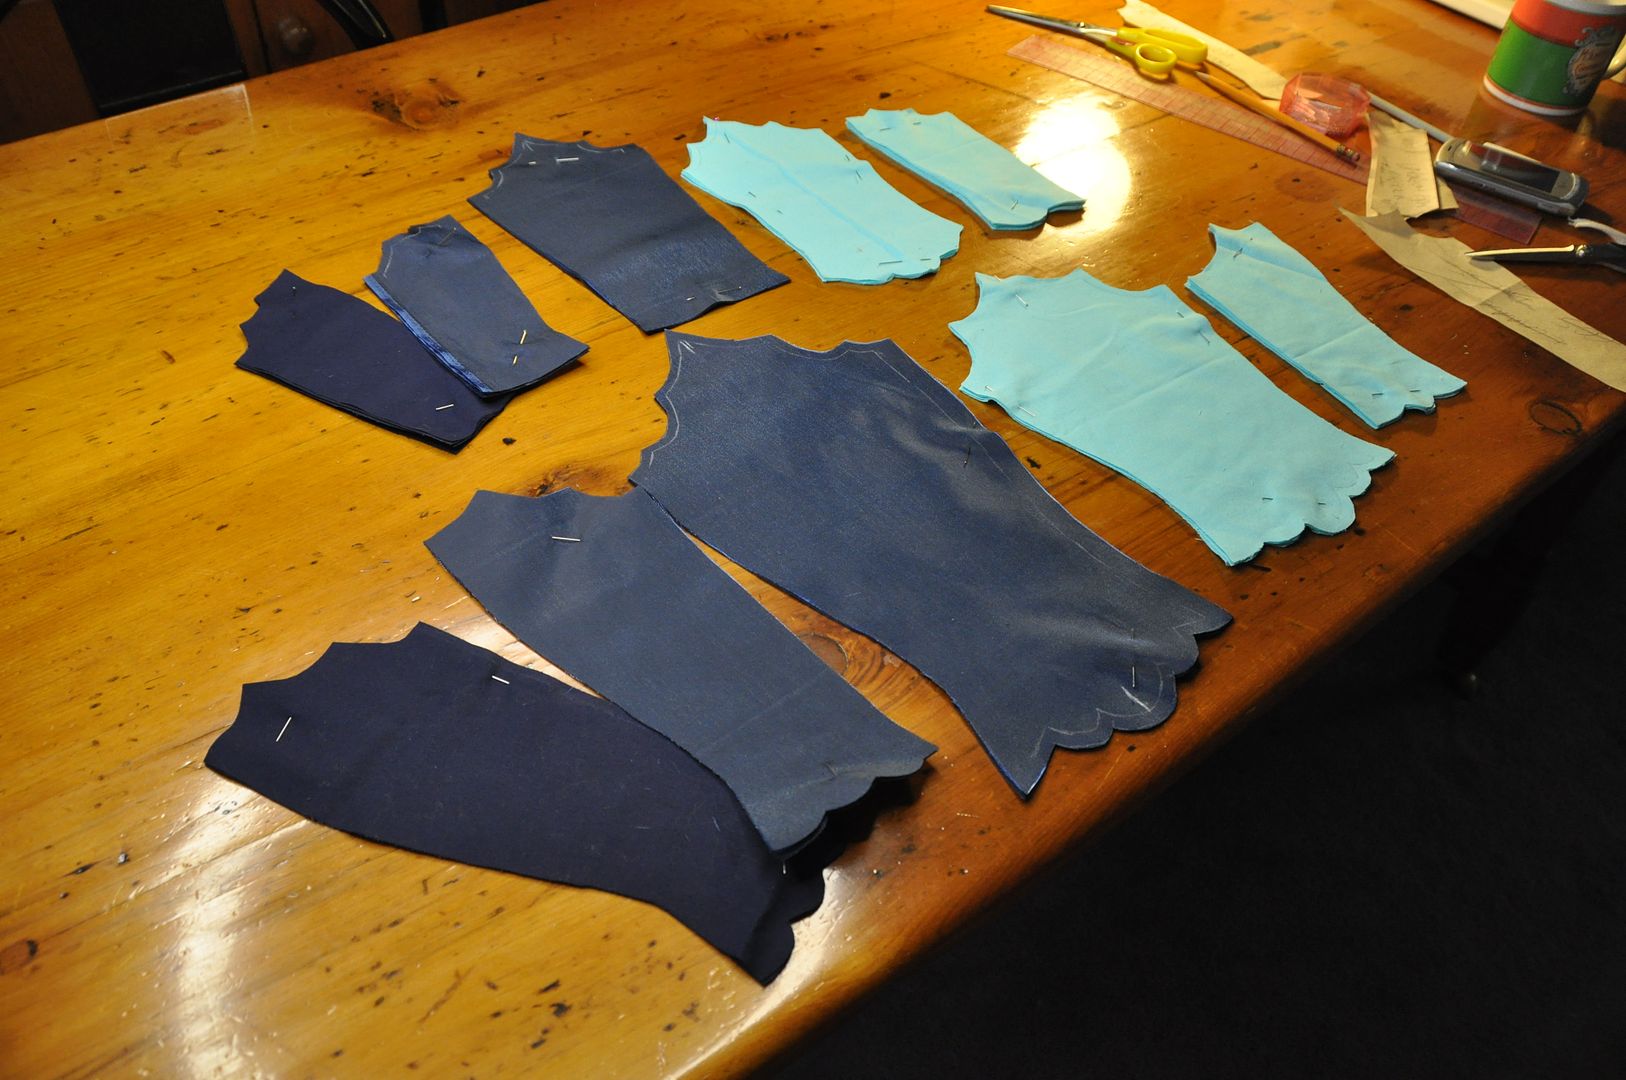
I cut out my pieces in the various fabrics. I had an under layer in a shiny synthetic navy blue fabric and an over layer in a light aqua cotton (which was leftover from the Suppi costume).

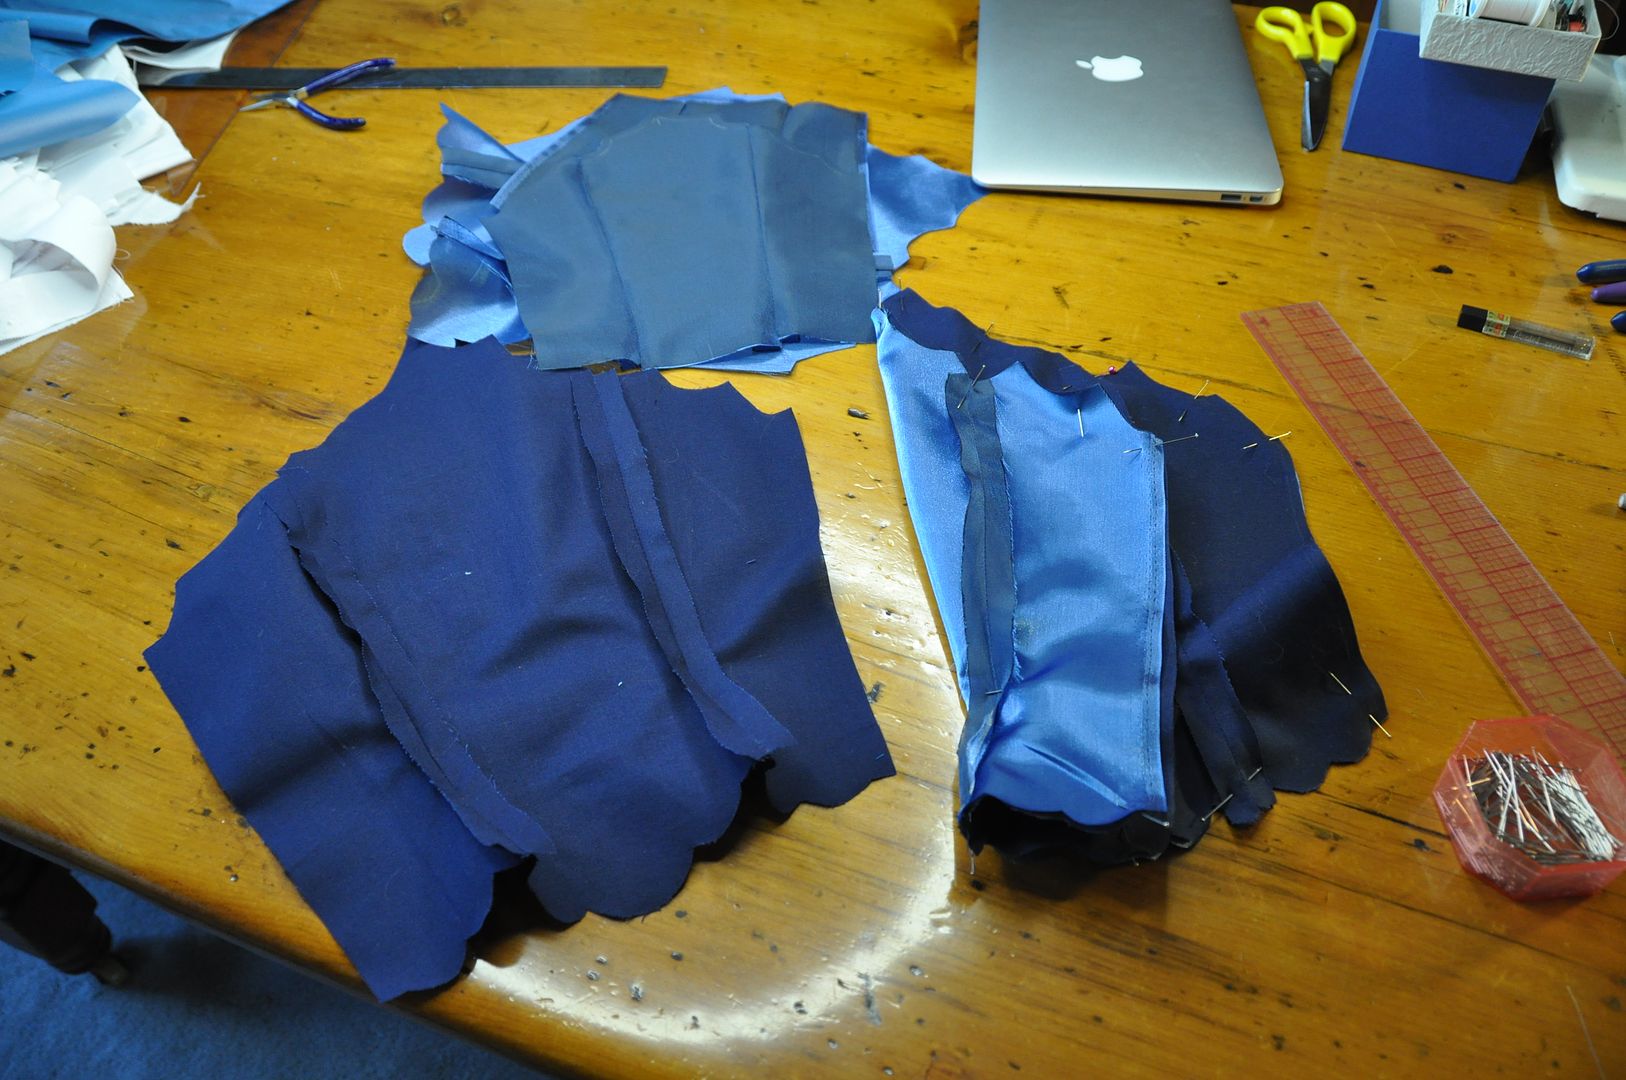
I nearly cut out the wrong amount of pieces when I was laying out my pattern. Every piece has a backing because I needed that to properly finish the scalloped edges on the top and bottom. This meant every piece was doubled. The navy under layer was backed with the same navy cotton as the bolero lining because I ran out of my other navy fabric.

I assembled each of the fronts and backings separately, sewing them along the side seams. I ironed the seams open flat.

At this point I took the front over layer pieces of the bracers and painted on my scale pattern. I lightly drew this out in pencil and then traced over my lines with navy blue fabric paint. It sounds simple, but it took a really long time. I ironed them to set the paint before moving on.

Next I pinned each piece to its backing right sides together. I sewed them together along the top and bottom edges, leaving both sides open to turn them right way out. Before turning them out, I trimmed the excess seam allowance on the inside. I top stitched along the edges to neatly finish them.

I also added in my top stitching detail on the tops of the under layer at this time.

I aligned my side edges, zig zagged stitched over the raw edge of the fabric and then turned that to the inside and top stitched it down.

Then I used a punch to punch out the holes to put the grommets in for the laces. At this point I still had access to the grommet press at school, which I made good use of.

This was the point where I laid the project to rest for a year, because one of the main hurdles was the leg wraps, which I was positively stumped on. I didn't know how to rig them, I didn't know how to do the detailing and I didn't want to rush them and do a crappy job of it.

When I returned to the project, along with replacing the wig to fix the colour matching issue I also found another thing that was bothering me. The bracers were too teal for the rest of the costume, especially now that I had replaced the wig.

After re-evaluating, I decided to upgrade the paint job on the bracers, and in the process change the colour of them to be bluer. I added in depth to the scales, but also dry brushed over the whole thing to tint it. You can really see the difference it made in this progress shot.

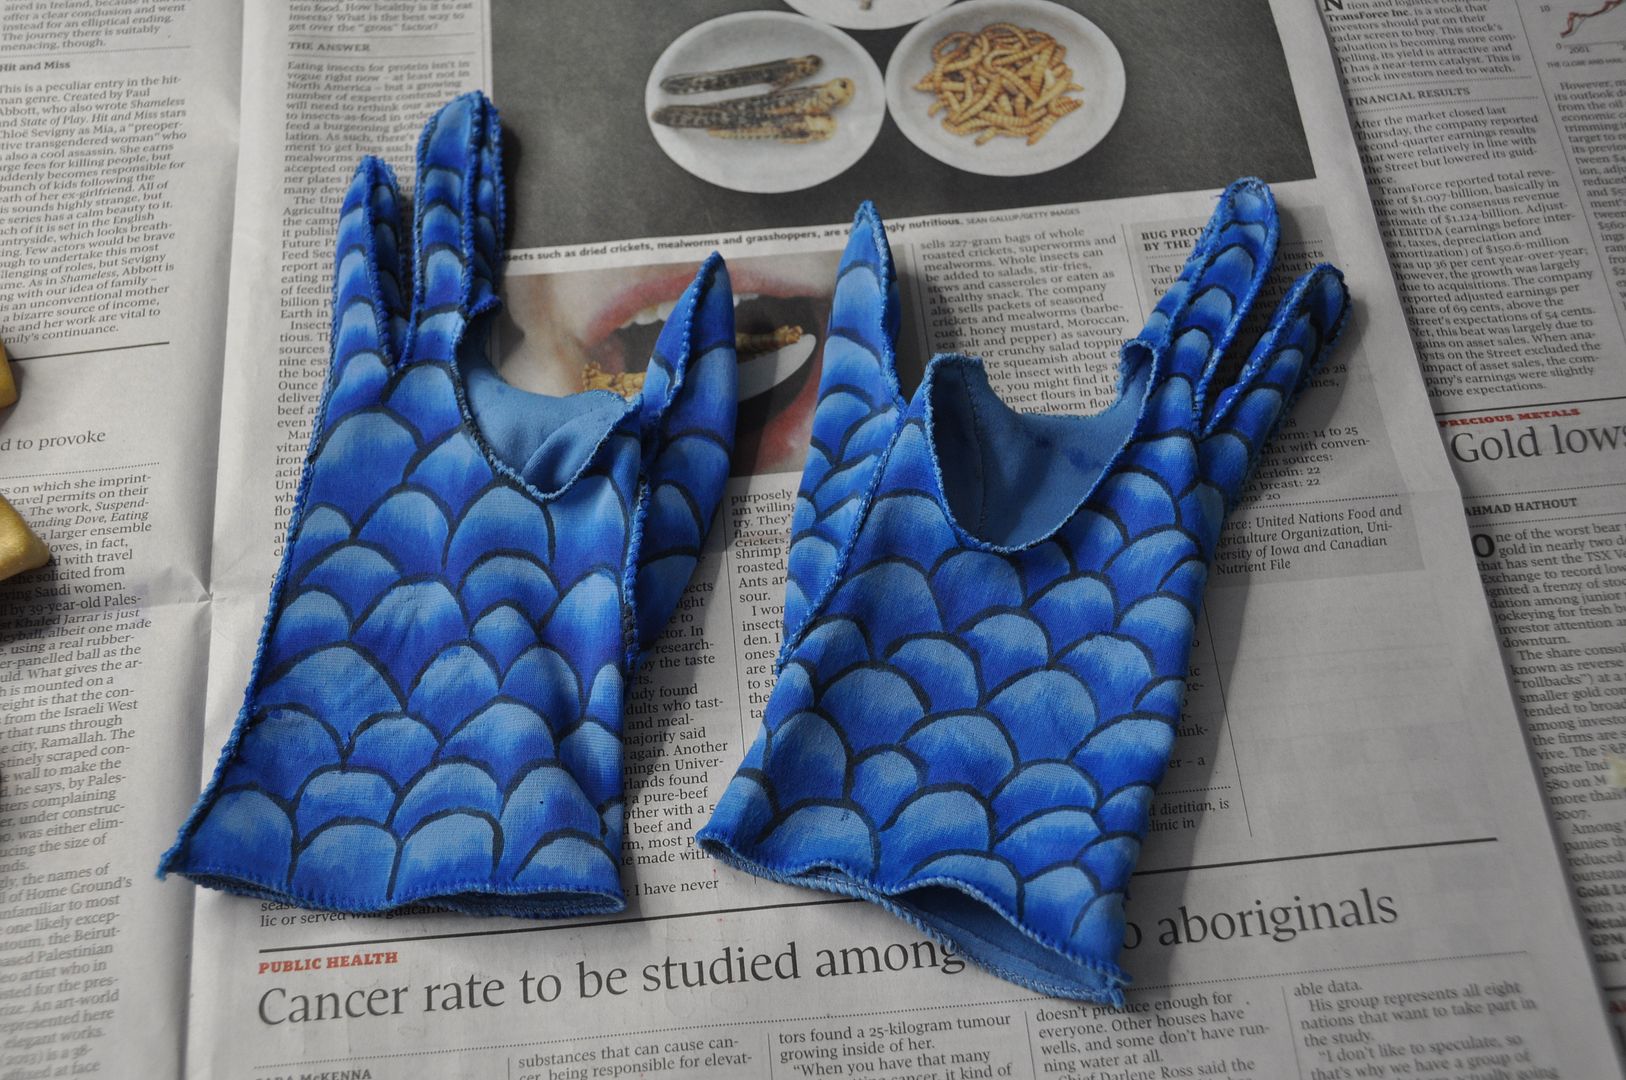
The gloves I bought in Kensington market. I made gloves for an earlier project and decided it was by far the most horribly tedious thing to do ever. So I decided to buy and alter a pair. I cut out the hole that encompassed the index and middle finger on each glove, then zig zagged stitched the edges to finish them so they wouldn't fray all over the place.

The gloves were painted in the same style, except instead of laying them flat, I had to wear them each on my left hand in turn to paint them.

By doing the scale pattern and adding the depth to both the gloves and bracers it helped to meld them together visually and also give the false impression that they are even remotely the same shade of blue. Because they really weren't.

Now let's travel back to the beginning of the project when I traced my leg and started patterning. For the wraps I was venturing into an area I didn't have much experience with at the time--stretch fabric. In this project I can freely admit that I had no idea what I was doing and problems I encountered in the construction of these wraps are one of the main reasons I stopped working on the project for a while.

I will start with my first mistake: I bought fabric that was one-way stretch. Somehow it was more unpredictable than stretch fabric. I don't know, I just didn't like working with it.

I patterned out my pieces, figuring out the overlap at the top. In this picture you can see the two pieces for a leg wrap on the left and the two pieces for an arm wrap on the right.

I took them to school to assemble them with the serger, because this fabric frayed like crazy. I ended up making them slightly uncomfortably snug, but since I had serged off the seam allowance I couldn't let them out, and I used up all my fabric so I couldn't remake them.

I used the silver silk bias tape I had made for the bolero to finish the top edges.

At this point, I had no idea how to rig them. They were super snug, but not enough to stay up without slipping. This is when I threw in the towel on the project.

Zoom forward to one year. I am one year wiser. And I have ideas about how to finish this project.

First I decided to actually add the floral pattern to the fabric, which I had originally decided to not bother with (because of time constraints).

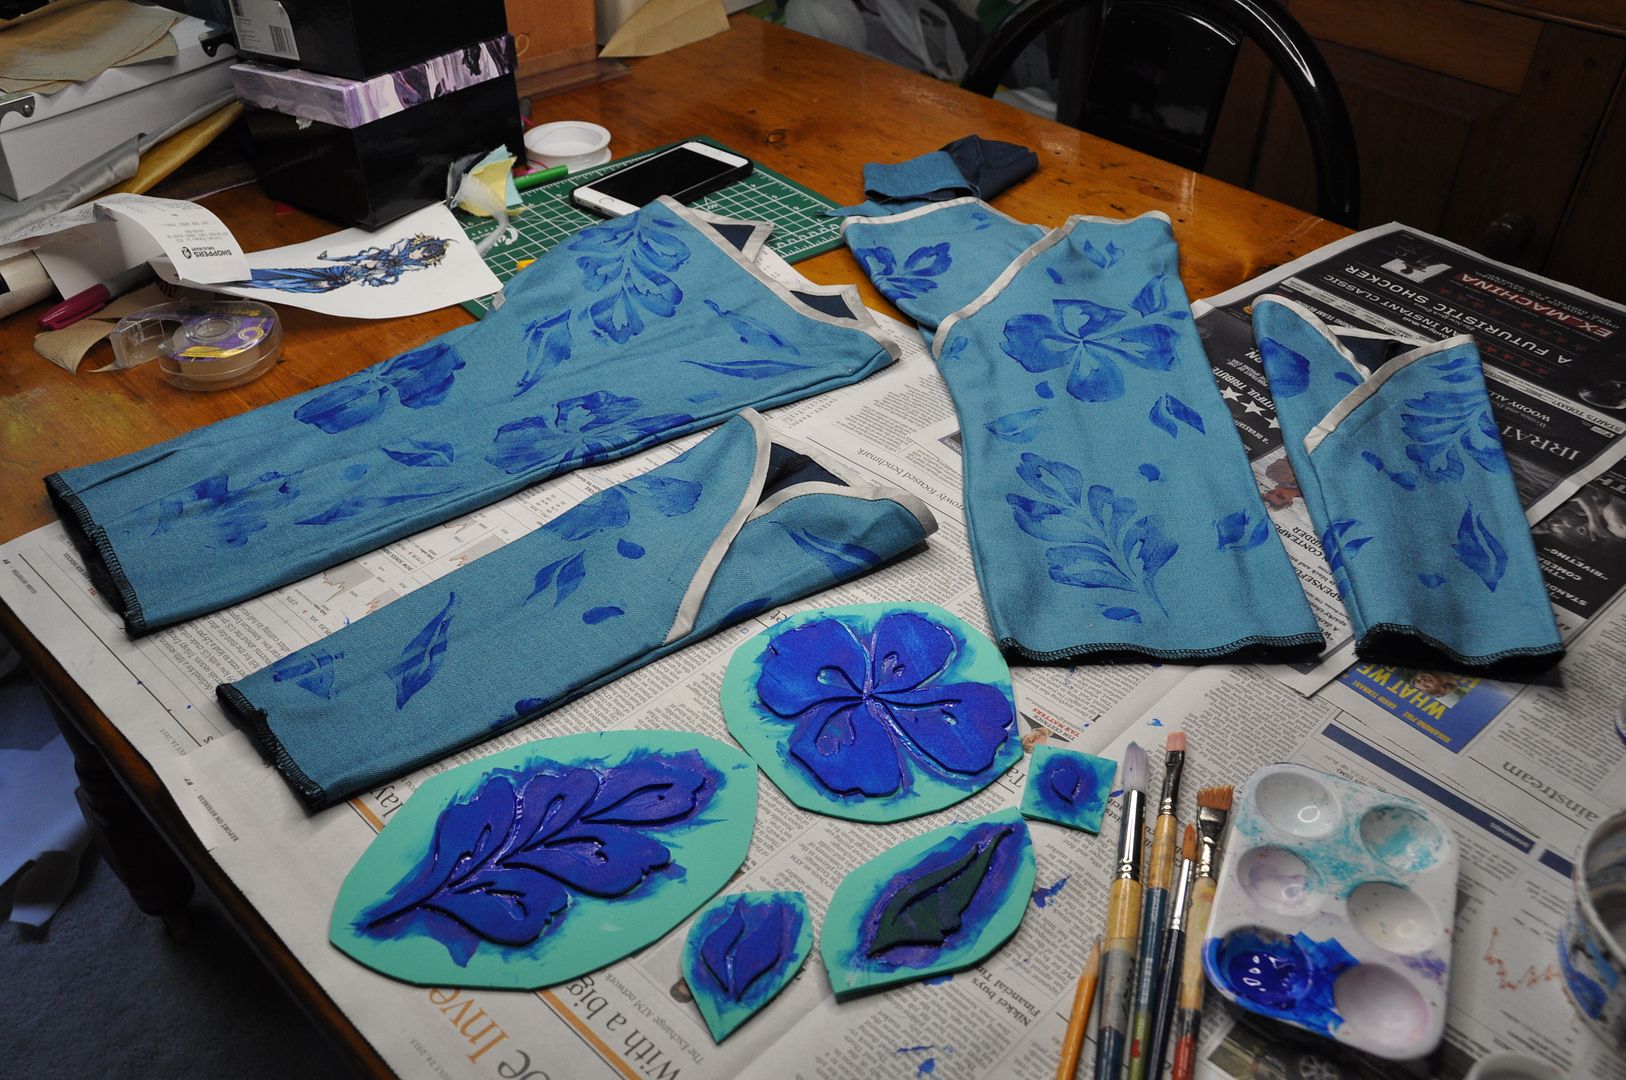
I decided to make stamps to create my design, rather than hand painting on the floral design. This is much quicker and easier if you are making repeating patterns/patterns with repeating elements. Based on the barely visible details in the reference image I sketched out some suitable flower and leaf designs, then traced those onto craft foam and cut them out. I glued the pieces onto a foam backing creating my stamps.

I laid out my wraps and began stamping. Using a blue fabric paint, I used a brush to apply the paint to the stamps and then pressed the stamp into a spot of my choosing on the wraps. I made the paint application purposely patchy. I didn't want the flowers to be solid. 

I wanted the flowers to be random and sporadic. There is no science to the design. I just made sure not to have too many of the same stamp to close to each other. 

I had to wait for them to dry before flipping them over and doing the sides and back. When everything was painted and dry I heat set the paint with an iron.

Next I decided to finish the overlaps differently. My original plan was to make the overlaps a functional closure. But it wasn't working--it pulled the fabric on a weird diagonal, and looked super bad. So I decided to sew it shut and just fake it. I sewed the frogs on top as decoration.

Next I used bias tape and hand stitched on all the fancy loops and detailing on each of the wraps. This took forever.

Lastly I had to rig them so they would stay up. As I mentioned in my wrap skirt section, the rigging for the wraps was attached to the inside of the skirt's waistband. At the back there is an elastic strap that attaches to each wrap using garter hooks. They are stretched to be pretty tight, but not so much that I can't bend or sit. Then I have a second backup strap made of webbing that doesn't put as much tension on it. This is for the sake of redundancy--if the first strap fails, the second will keep it up. You can see a bit of the rigging system in the picture below. I tried to keep it as invisible as possible.

The arm wraps are attached to the bolero with simple buttons and loops. Unfortunately they tend to pull the bolero sleeves down oddly. I plan to remedy this in the near future by stuffing the bolero sleeves.


Thursday, August 8, 2013

Asuna Kagurazaka (Knight) - Armour (Heat Molded) - Negima

Hey all! Welcome to part 5 of my Asuna posts. This time we are going to look at the armour, specifically the heat molded pieces!

I had a ton of help on this armour, as a lot of the heat molding was just not possible with only 2 hands. So my friend Alli deserves a huge thank you on making this happen!

Go here for the Sword, Wig, Bodice, and Skirt. Go here for my fabulous photoshoot with EleventhPhotograph!


This part of the costume was referred to as the sexy battle armour, the leg pieces specifically were called my sexy battle shorts. Haha

All of the pieces are made out of styrene plastic which I bought at Plastic World in North York. A great place to find plastic sheet materials (like plexi/acryllic).

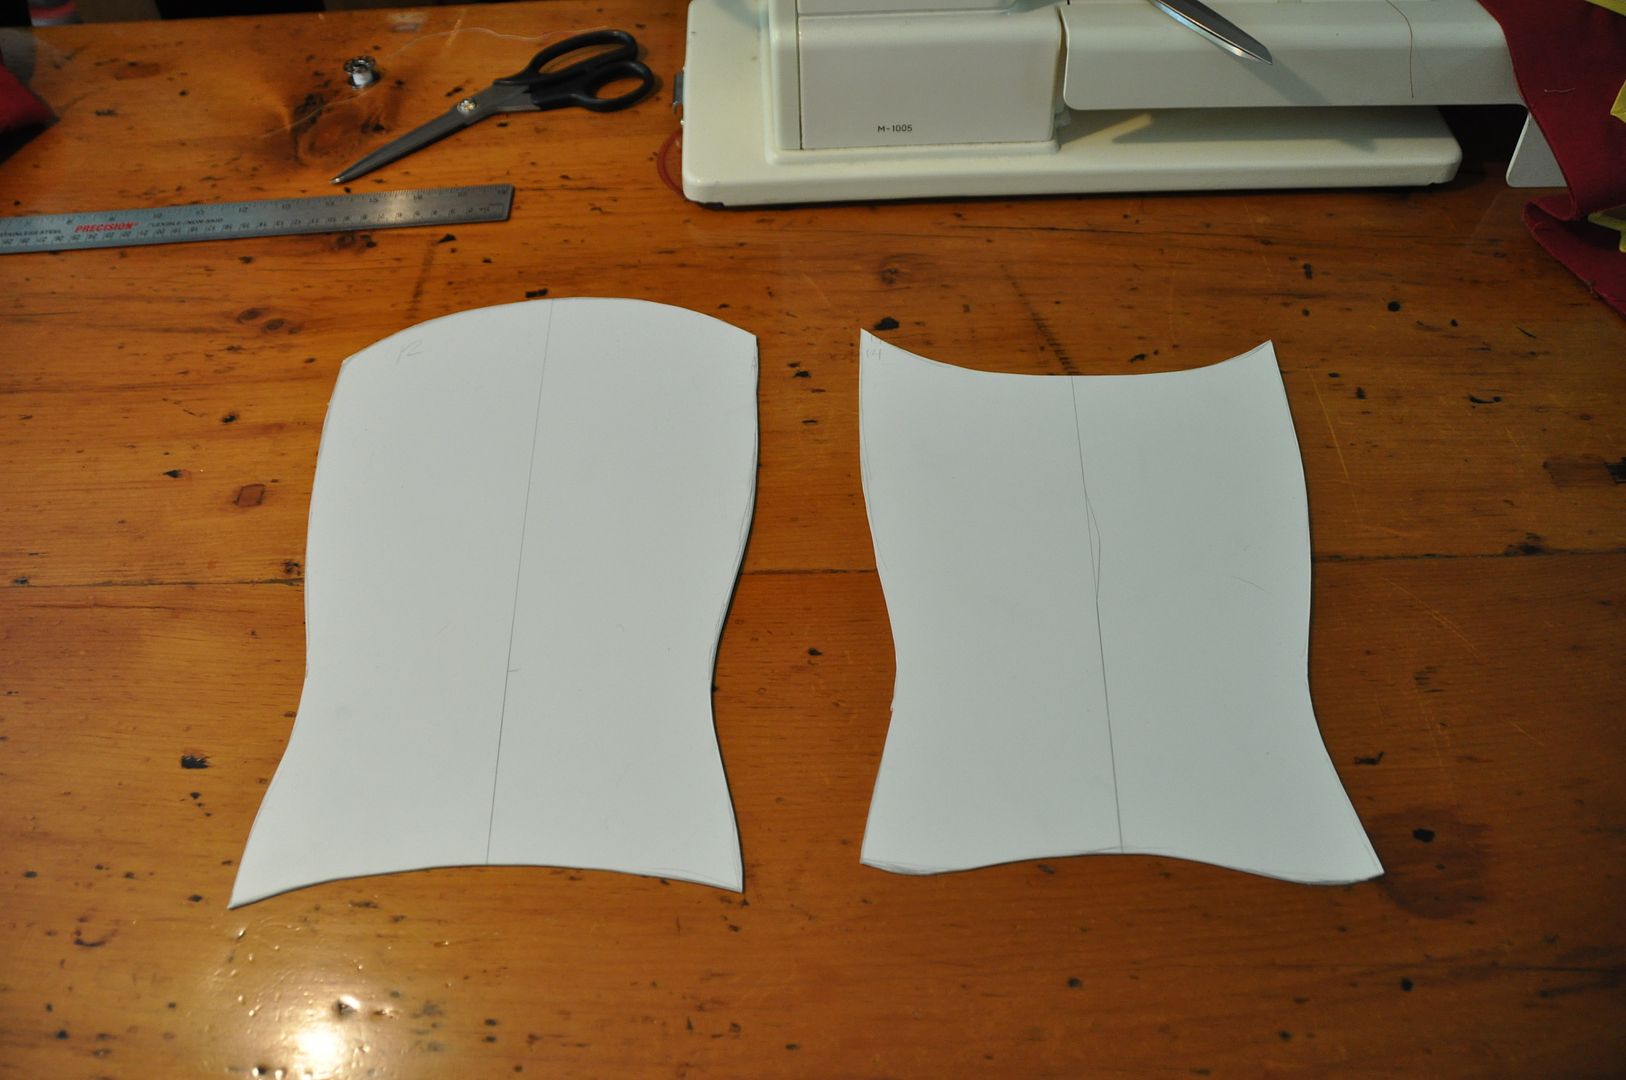
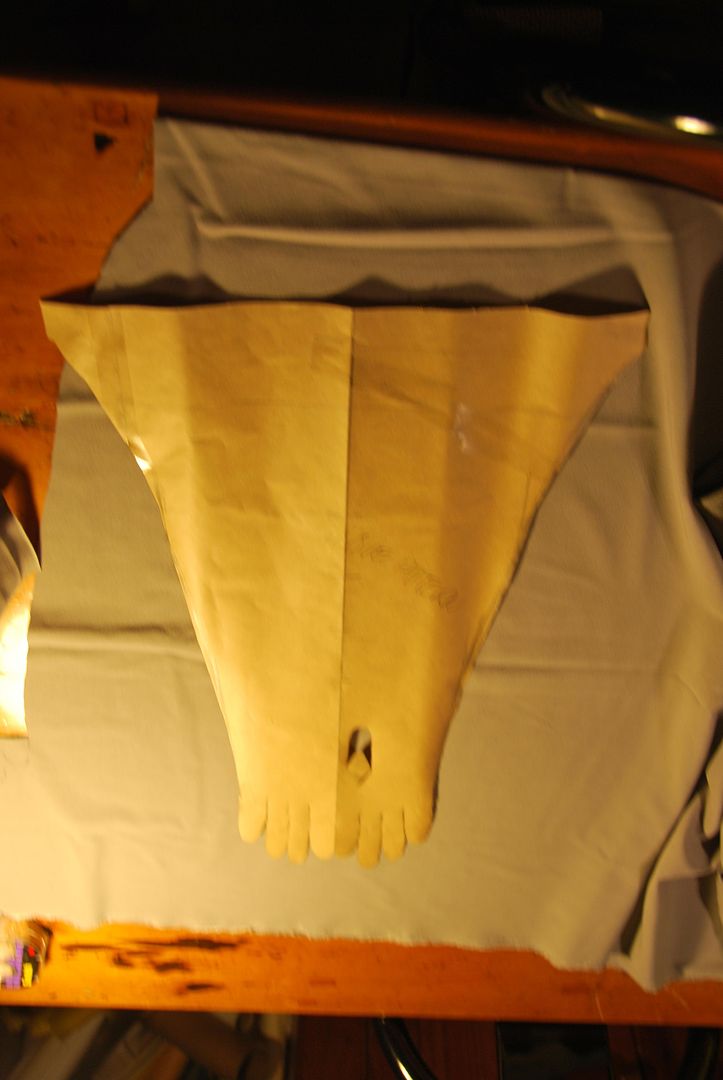
I started by cutting out various shapes from my material. These were all measured beforehand so they would be the right size. (Above is the toe & heel pieces, left is the calf.) I cut pieces for the back of my calves, but didn't end up using them, because the material was not working exactly how I wanted.


The raised details would be added on later. (Above is the knee & thigh pieces, left is the arm pieces)
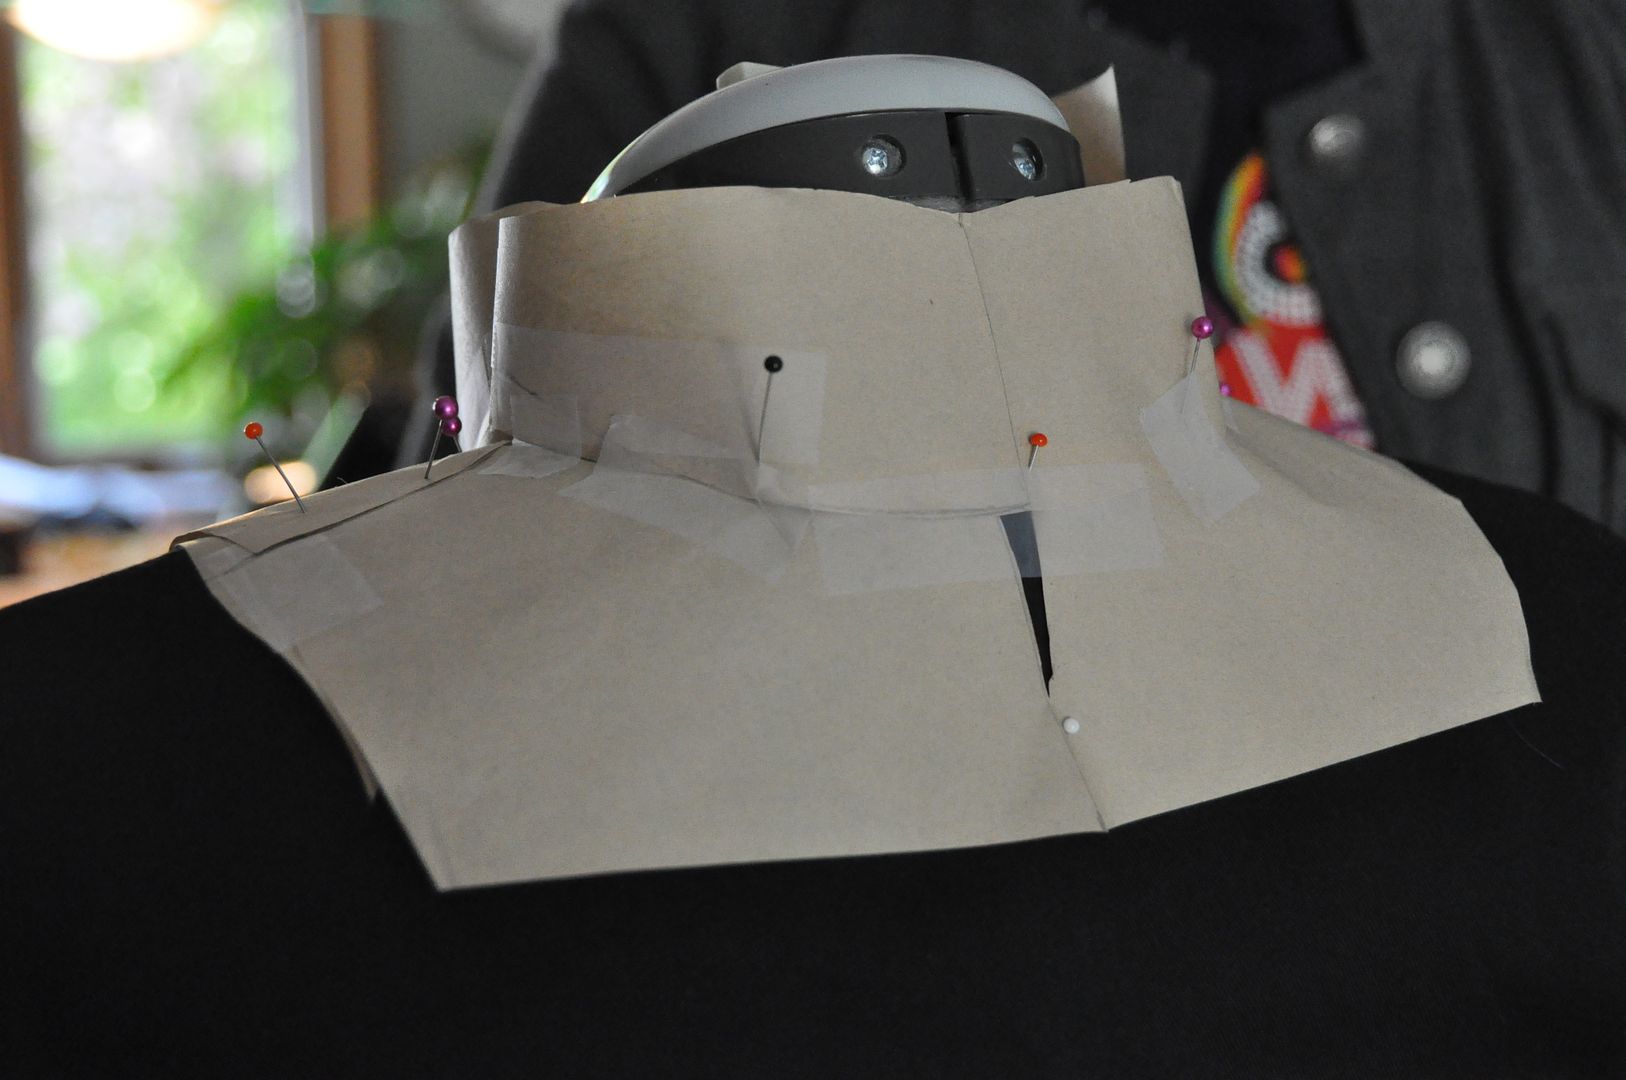
For the neck piece I carefully mocked it up using paper, before going to the good copy. It took a lot of tweaks to get it right.

I found paper made a good representation of the plastic, because although the plastic would bend and curve, it didn't stretch or pull very well... Meaning there were some shapes that it wouldn't do for me. As it was my first time using the material I was unsure of its limitations.

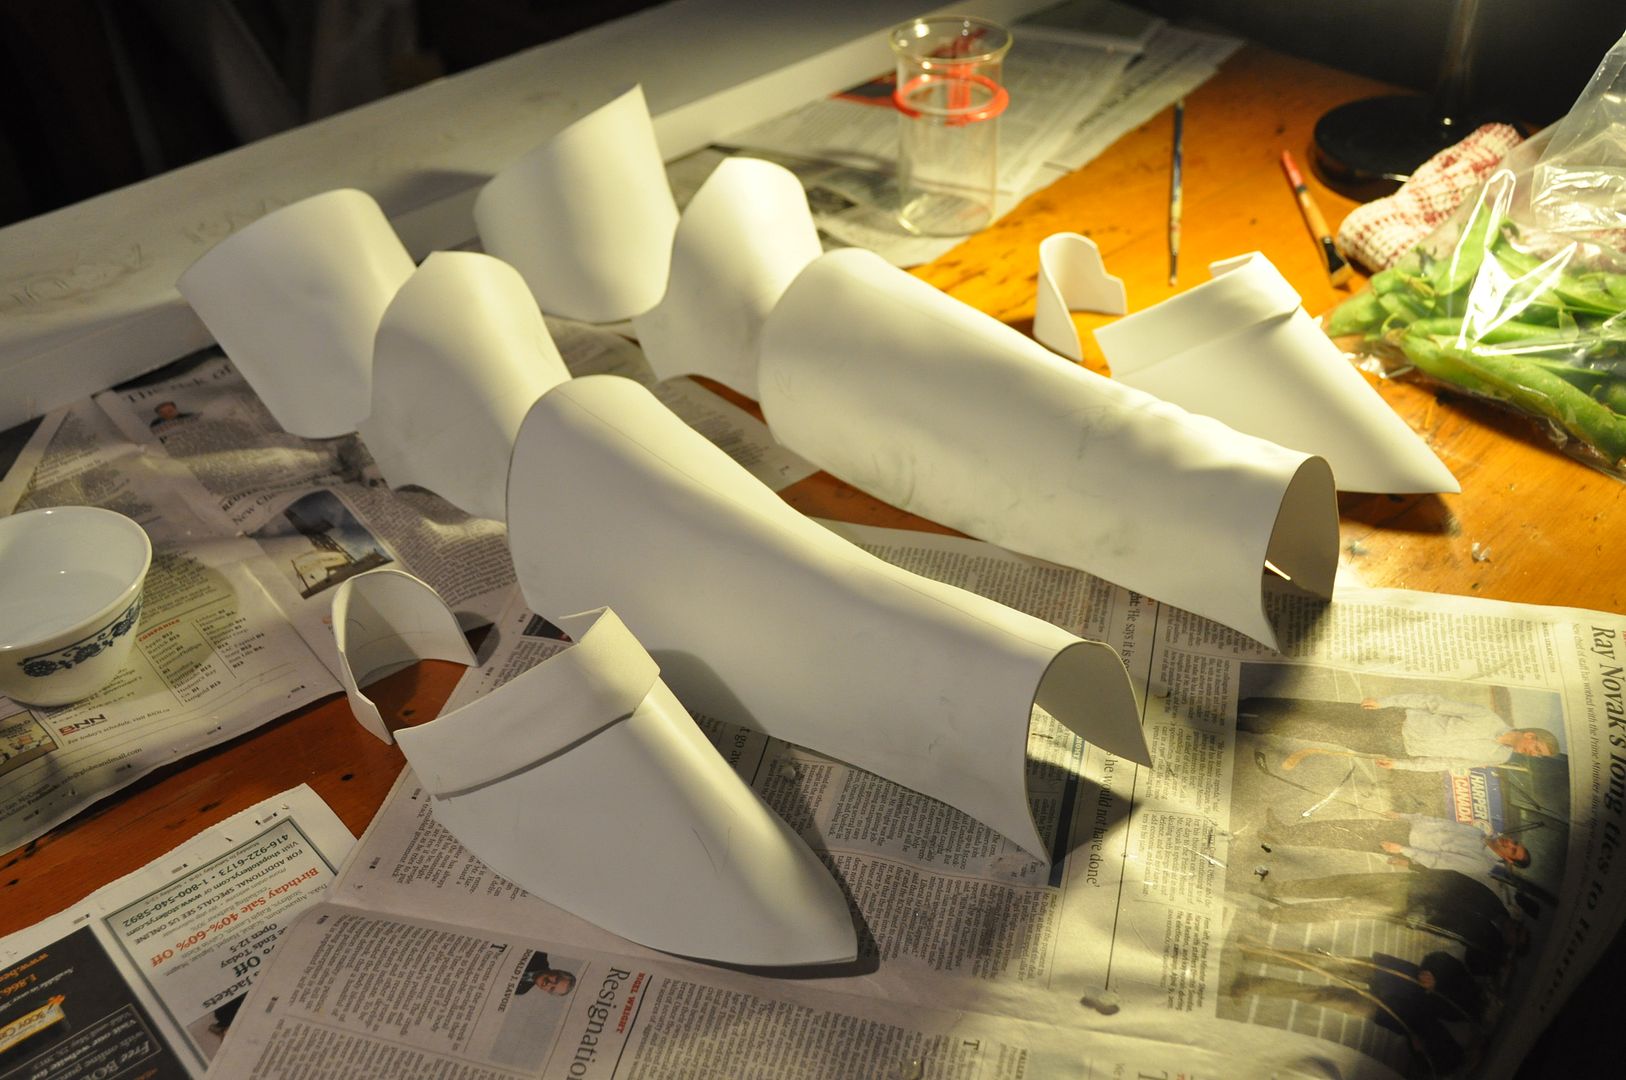
The actual molding process itself was quite easy, but it was time consuming and required a second set of hands for some pieces. I bought a heat gun for about 27$ at Sculpture Supply Canada, which is pretty reasonable, particularly if you plan on making armour using this method a lot.
Using bbq tongs I would bend the pieces against a concrete floor while heating them up, then allow them to cool in that position. For the more complex curves and fine tuning I would heat up the piece and then shape it using my hands, wearing some decent heat resistant gloves. I found this method much easier, but I highly recommend wearing a pair of gloves regardless while doing this.

To check the pieces I would wait for the plastic to cool, then try them on.

The neck piece was made from 4 pieces. The front and back were designed to nest and separate for easy removal.
The raised detailing was added with strips of craft foam, which I hot glued on. Be warned: once glued you cannot undo! These materials bond ridiculously well, which is great, unless you make an error...

After doing several gesso layers to protect the craft foam from the spray paint I was ready to start painting! (I did a test with the styrene plastic and it did not melt from the spray paint, meaning I did not have to coat those surfaces.)

The paint was applied in several stages and many layers over a few days. First I did a primer grey, then a few coats of black as my under tone, then a few coats of a metallic silver.
All the armour ( both cast and heat molded pieces) was given the same paint treatment so it would all look the same. 

The next step was weathering. In case you haven't noticed, a flat coat of metallic spray paint can look kind of cheap, by weathering the armour, it looks more realistic.

First I started by carefully sandpapering the surfaces. My goal here was to slightly expose hints of the black layer underneath. This was done mostly on the bare surfaces, not in the corners. Then using black acryllic paint I dry brushed the crevices to make it look dirty and older. (I simply used a very small amount of paint and pushed it into the corners, using papertowel to wipe at it.)
Then I had to rig the pieces. For this I was struck by a brainwave. I used those small gold paper fasteners that I used to use in crafts as a kid. (Gold dome top with the two metal prongs sticking out the bottom that you bend to fasten in place.) I bought a pack of 100 at Staples. Using my dremel with the drill bit I drilled the correct size holes in the armour pieces. The prongs were used to secure the elastics in place so that they would easily slip on and off. Unfortunately, the metal on these things is kind of cheap, and so they would need replacing a lot.

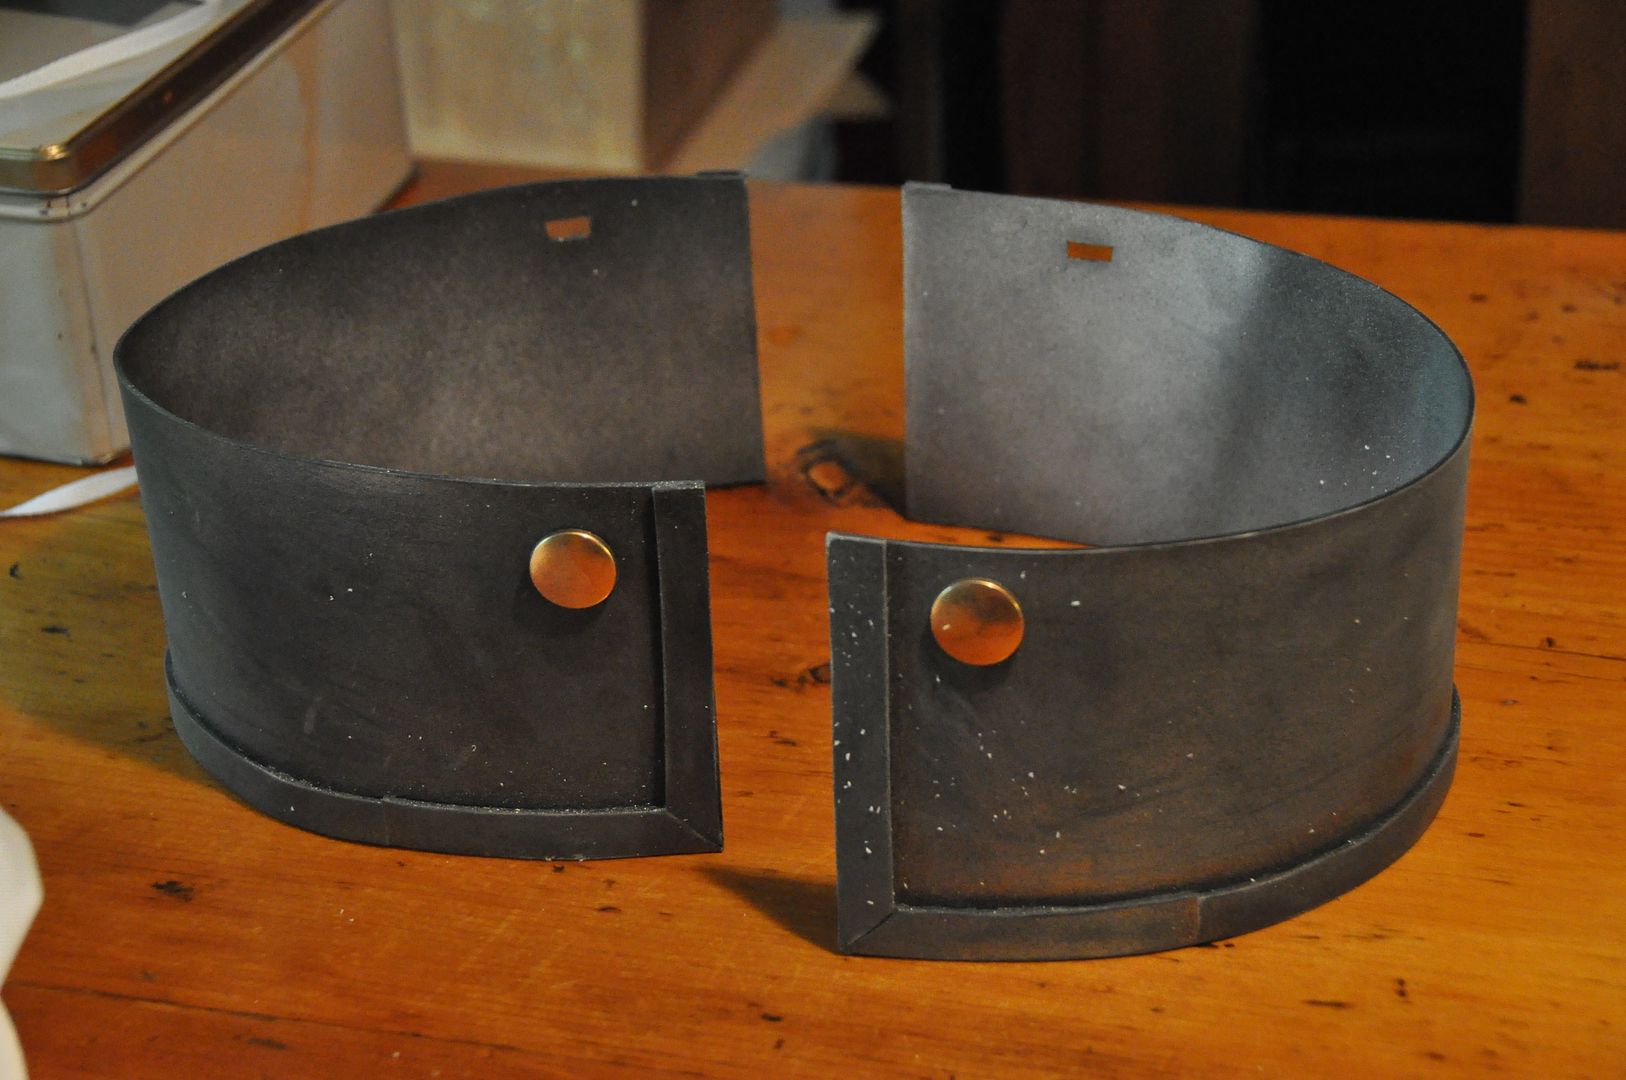
For the hip pieces I used two gold buttons, some cord and a few hooks to hold them in place to the shirt.

After many hours of work, my armour was ready to wear!


Tuesday, October 9, 2012

Cosmo - Wig & Crown - Fairly Odd Parents


Let's take a look at how I constructed my Cosmo wig!

To see how I made the wings and blouse, go here!

For the photoshoot, go here!

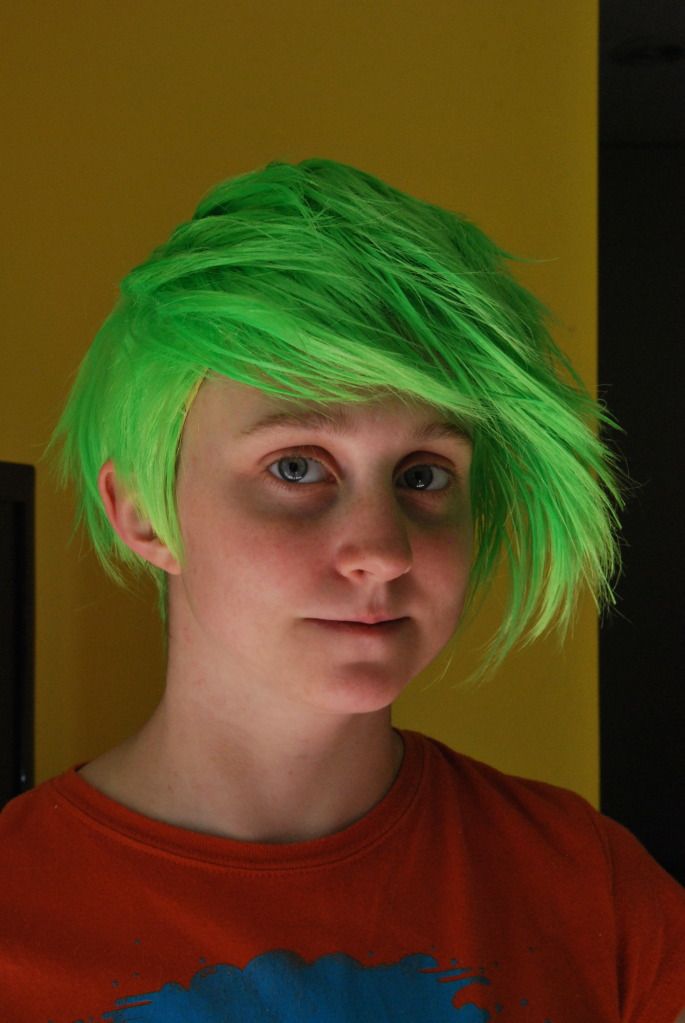
Cosmo's wig is probably one of the most difficult I have attempted in quite a long time, but I think it is one of my best works. I am very satisfied with this wig.

In this process I learned how to make wefts, spikes, and how to wash a wig.  
The problem with Cosmo's hair is that it only ever shown at 3/4 view, and that whenever he turns his head his hair flops. In short, Cosmo is a 2-dimensional figure, so how does one translate that into 3D?

My logical decision was to make the hair flop to one side. I picked the right side arbitrarily. One problem with this is that it doesn't look good from every angle, but it is the only way to really achieve this look.


I got the wig off of e-bay. I figured that this would be a good length to style from, as I needed the length in the front for the hair-flop. I did not take into account the fact that the hair flop starts at the back of the top of the head...

On this wig--like most wigs of this style and quality--the hair fibers start from a central spot on the top of the wig, with rings of wefts surrounding that spot spreading out from the center.  If you pull the wefts up, you expose the the netting of the wig, which looks awful, but in order to achieve the look I wanted I needed to pull hair from the very back of the top into the hair-flop...

I realized that in order to do this I needed to create extra wefts to sew in and cover the gap that would be created. But on such a short wig, the problem was where to pull the hair from.


Under circumstances that aren't limited by money or time, perhaps I could have bought a second wig that I could have butchered for the extra wefts. However, I had neither luxury. This would also leave me with a lot of leftover hair in a colour I was not likely to re-use. Additionally, I had not realized this beforehand and was unsure if I would even be able to find my exact ebay seller to acquire another bright green wig... I had a difficult enough time finding this wig in the first place.

My solution was to save all the hair as I trimmed the back, so I could accumulate enough to make the wefts. This meant that I had to be careful when making my cuts at the back, because the clumps I took out needed to have enough length and substance to for wefts, while still trying to not destroy the back of the wig with a terrible haircut.
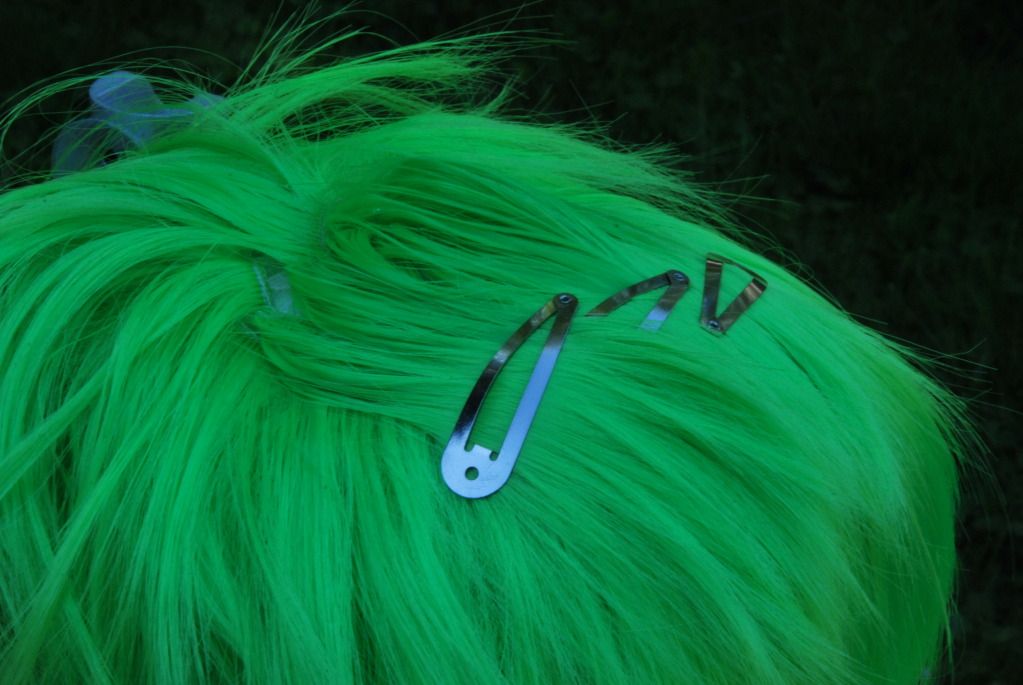
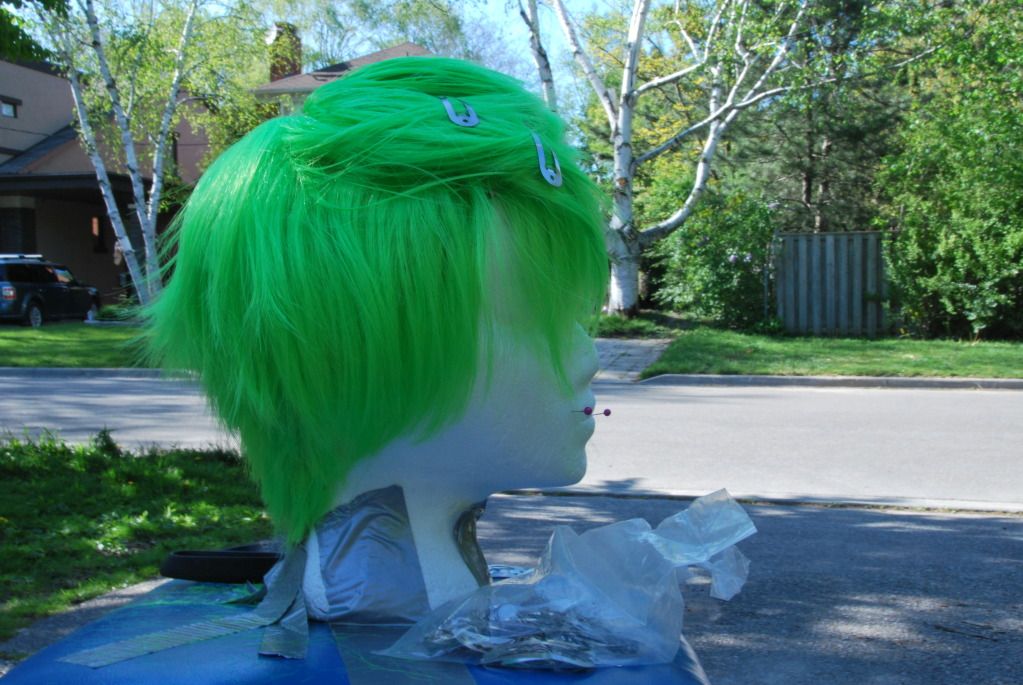
I take the section I wanted to incorporate to the hair-flop (which was being very uncooperative) and clipped it into place, spraying it a bit to help it stay.

I had to buy a new bottle of my Got 2B Glued, as we had run out of our last bottle which had lasted quite a few wig stylings.
While the top was drying, I evened out the back and started to work on trimming the sides. I wanted it to be close cut to the ears.
I began to work on making the sweep for the bangs. I worked on cutting the lefts side and worked my way over to the right. All the while spraying the hair into place.
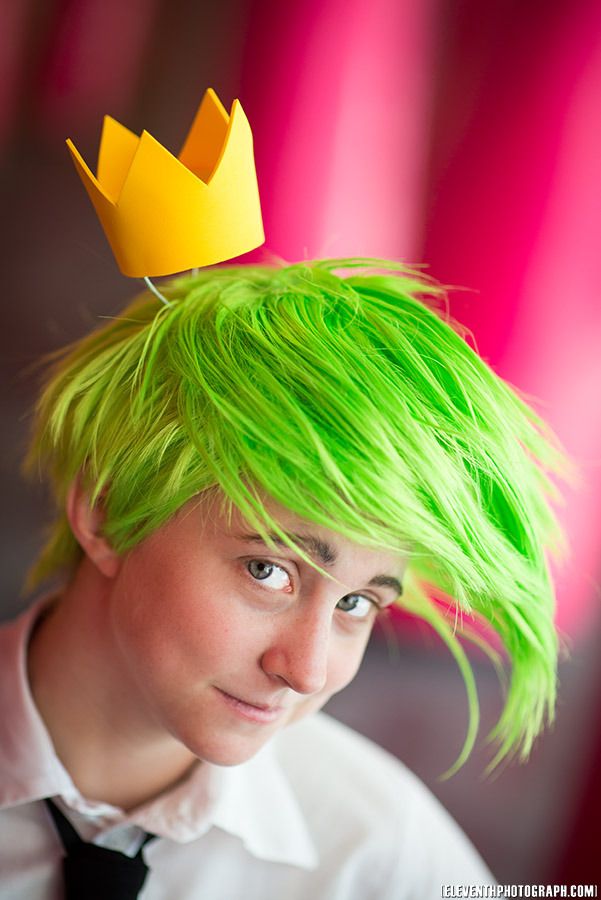
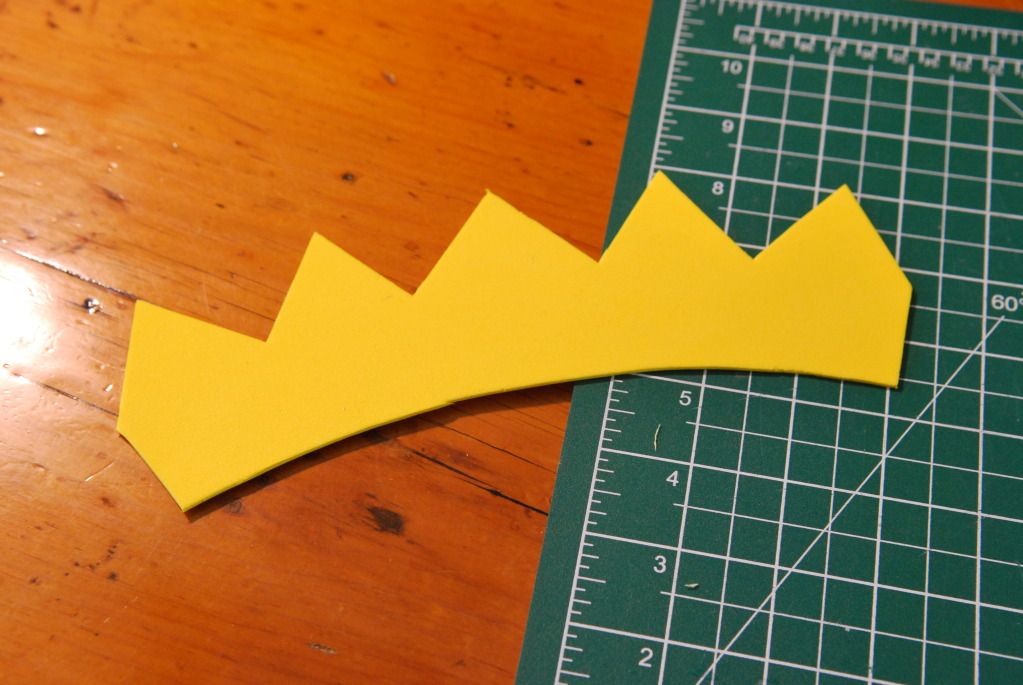
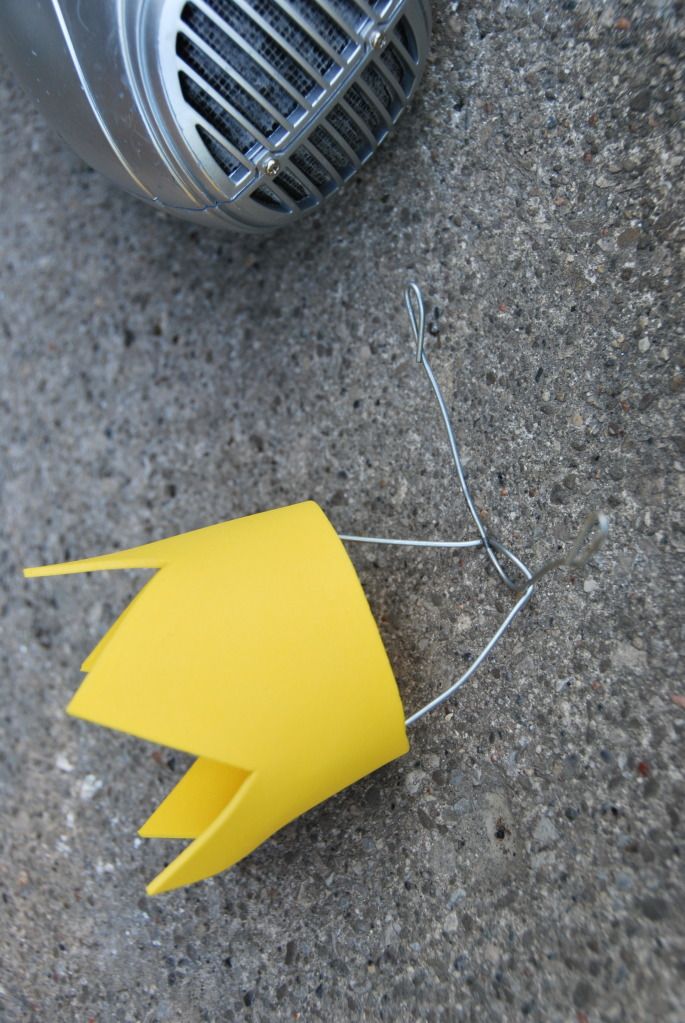
I made the crown out of craft foam! I used weldbond to glue it into a circle, using tape to hold it in shape while it dried.

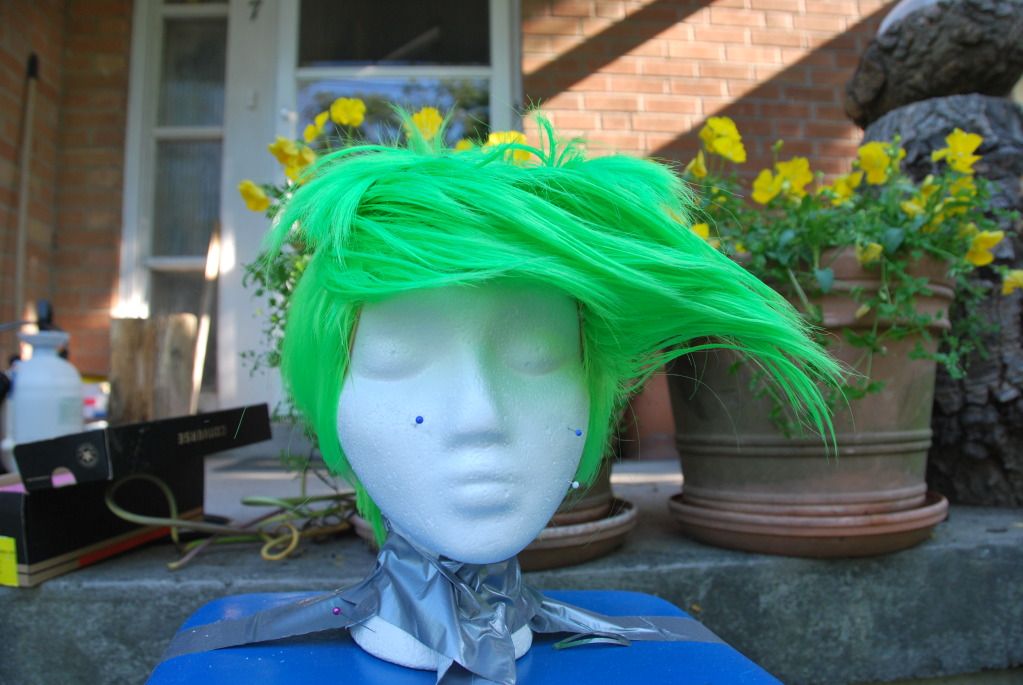
That was the end result of my first attempt at cutting and styling this wig. I wasn't completely satisfied at this point, but I knew that it was going to get messed up when I sewed in the wefts anyway.

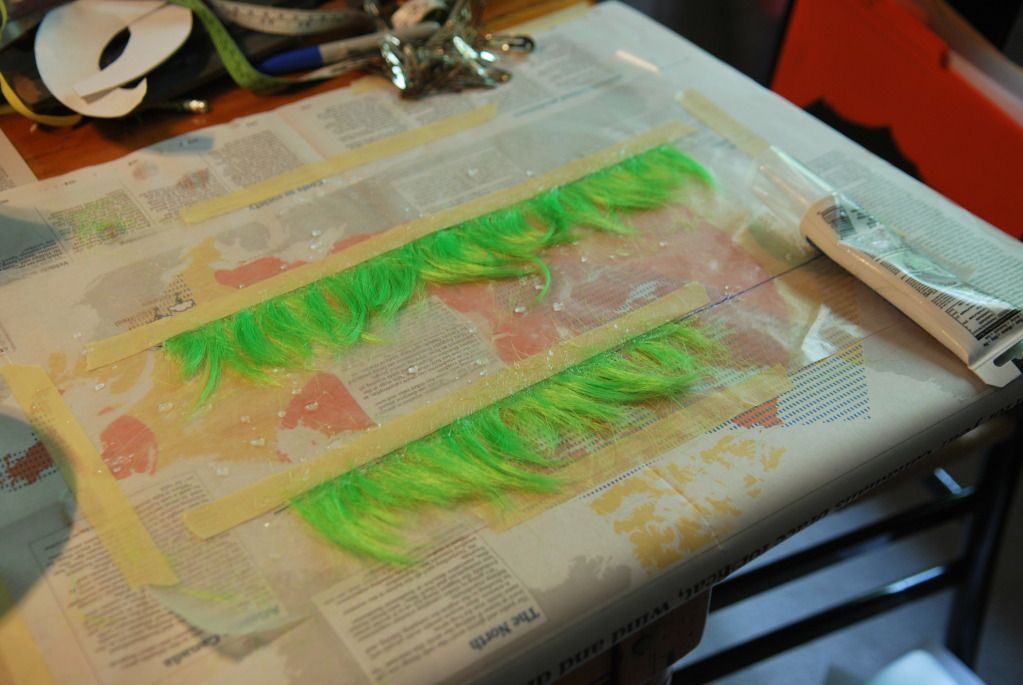
I looked up this tutorial online on how to make wefts. The easy way.

What you do is take a piece of wax paper and tape it down as your work surface. Then you draw a straight line and spread out your loose hair, lining up all the ends with the straight line you drew. Then tape them down with some masking tape. Then you take clear caulking  and spread it out along the taped edge. Mash it in with your finger. It will be sticky, so have some water handy to keep your fingers wet--it will help lessen the sticky. Leave that to dry. Once it is dry, flip it over and mash in some caulking on the other side. When that is dry you can remove the tape and presto! Wefts!
I cut open the netting where I wanted to insert the wefts and painstakingly hand-stitched them in. Then I clipped back the new hair and hand-stitched the hole closed.
At this point the styling had been messed up quite a bit by the man-handling while I did the hand-stitching, and it hadn't been the best spiking job in the first place, so I decided to wash out my original styling job and do it again.

I filled the sink with water and added a bit of shampoo. I put the wig in and left it to soak for about 20 min. Using my fingers I gently worked apart the spikes. I rinsed it out to remove all the hairspray.
I patted the wig dry with a towel and the hung it to dry.
Once it was dry I pinned it back to the wig head and set up for styling again. One thing that I didn't have for the first attempt was a hairdryer, and I can tell you that it makes a huge difference!!!

I split the hair evenly where I inserted the wefts and sprayed the hair into position.

Then I began taking sections of hair and spraying them, making sure the hairspray really penetrates the base of the spike so it has a good foundation.

I kept adding more and more sections, using the hair dryer to set the spikes.
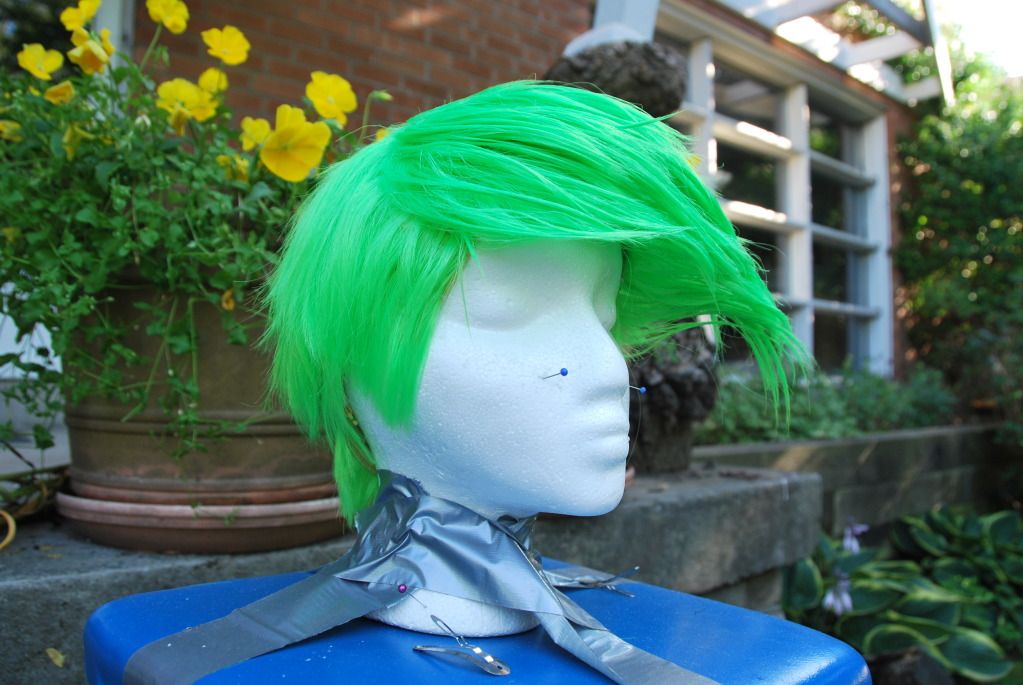
Then the styling was done!

So fabulous!
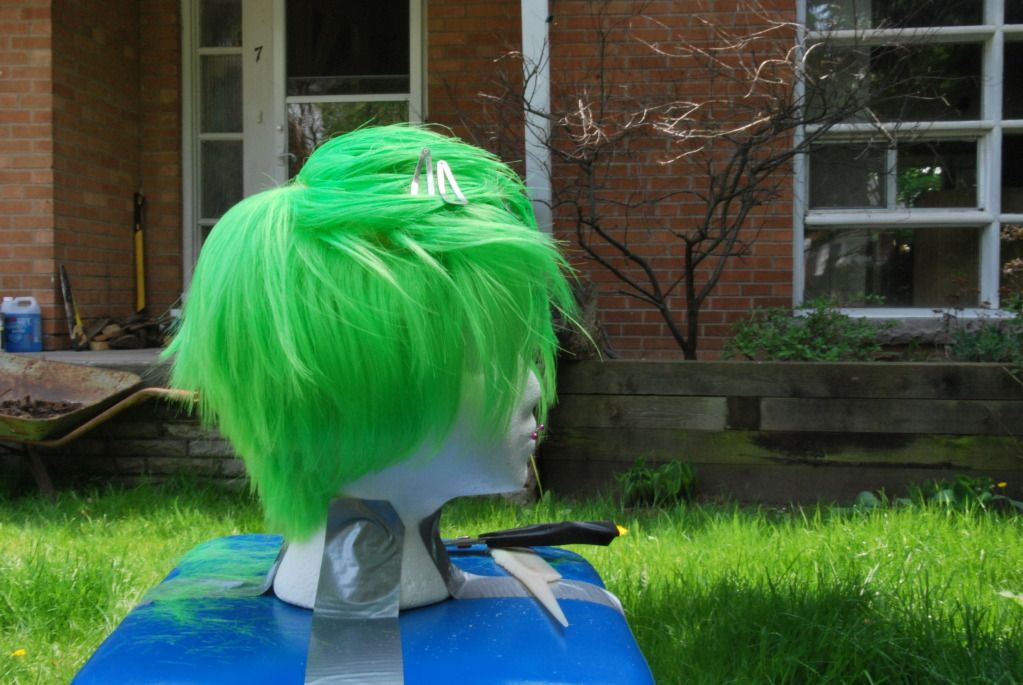
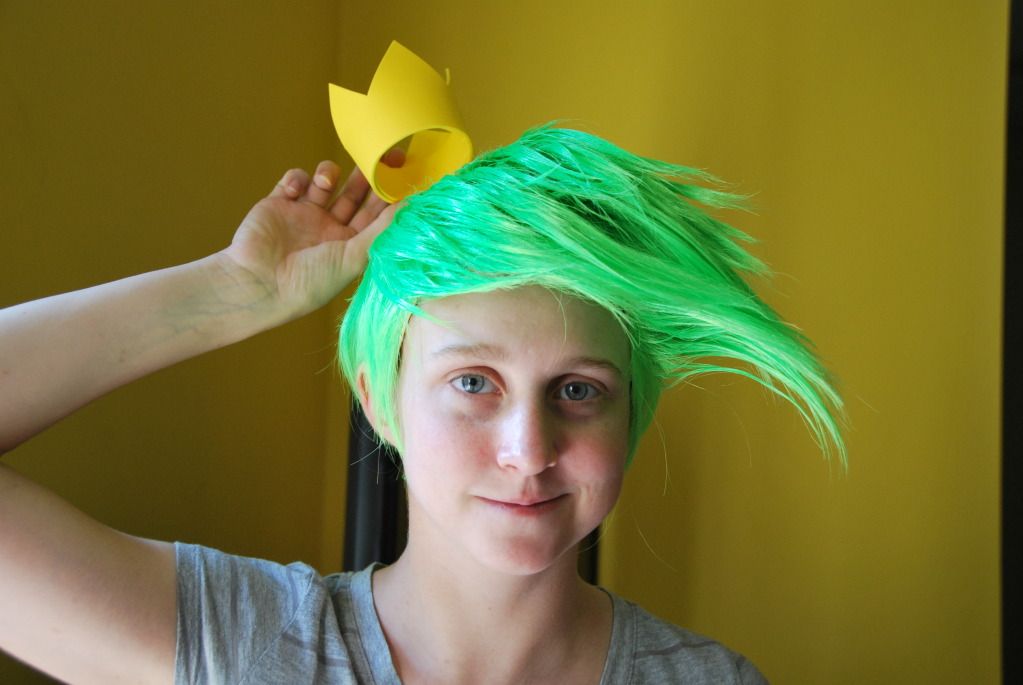
Then I attached my floating crown. The wire was shaped into an X, with the wires bent over at the middle. I bent over the ends so they wouldn't scratch my scalp. Two of the tines were bent upwards, then the X was inserted into the wig. The two tines were stuck out between the wefts, making sure a weft covered the middle of the X. The tines inside the wig were given a slight curve so that they would fit to my head snugly.

An inner ring of craft foam was attached to the crown to hide where the tines attach to the inside. The crown was simply friction fit on.

The way this is attached, the snugness of the wig is what holds it in place, and it is so comfortable I don't even notice it's there. ;D

With that, the crown is done, and so is the wig! :D