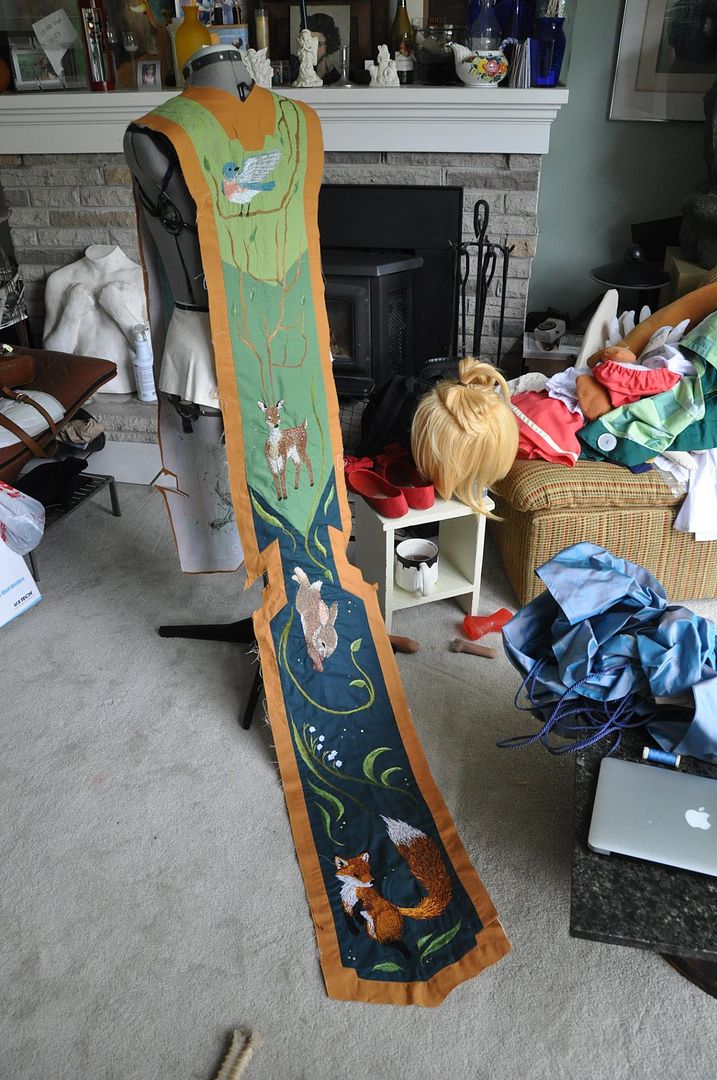
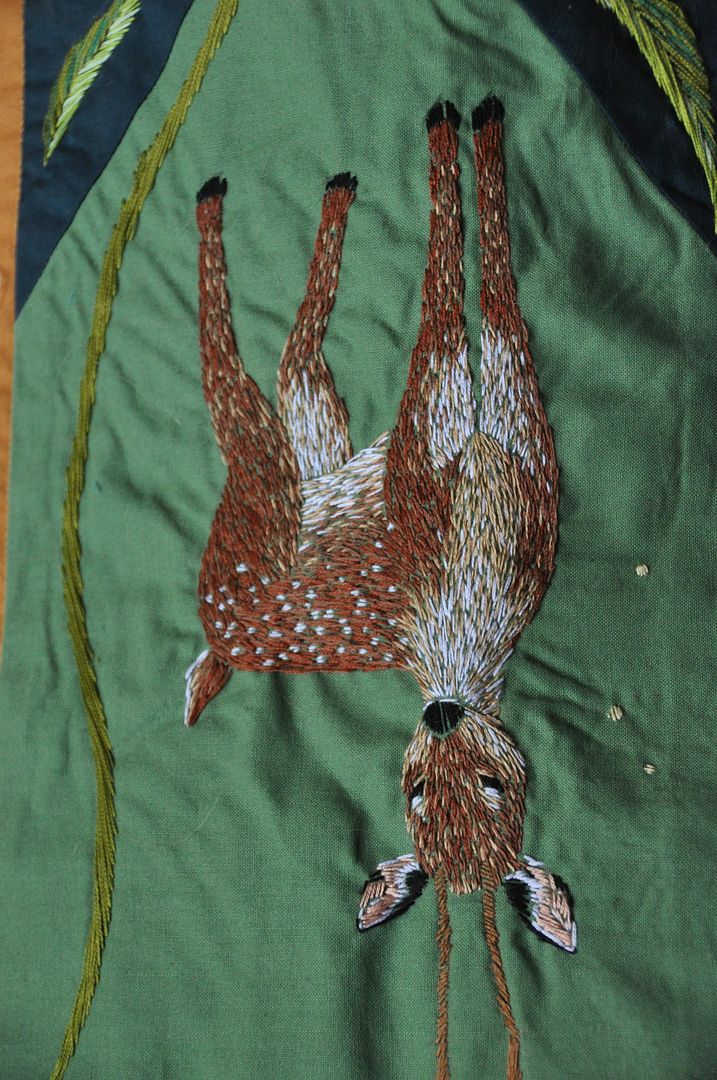
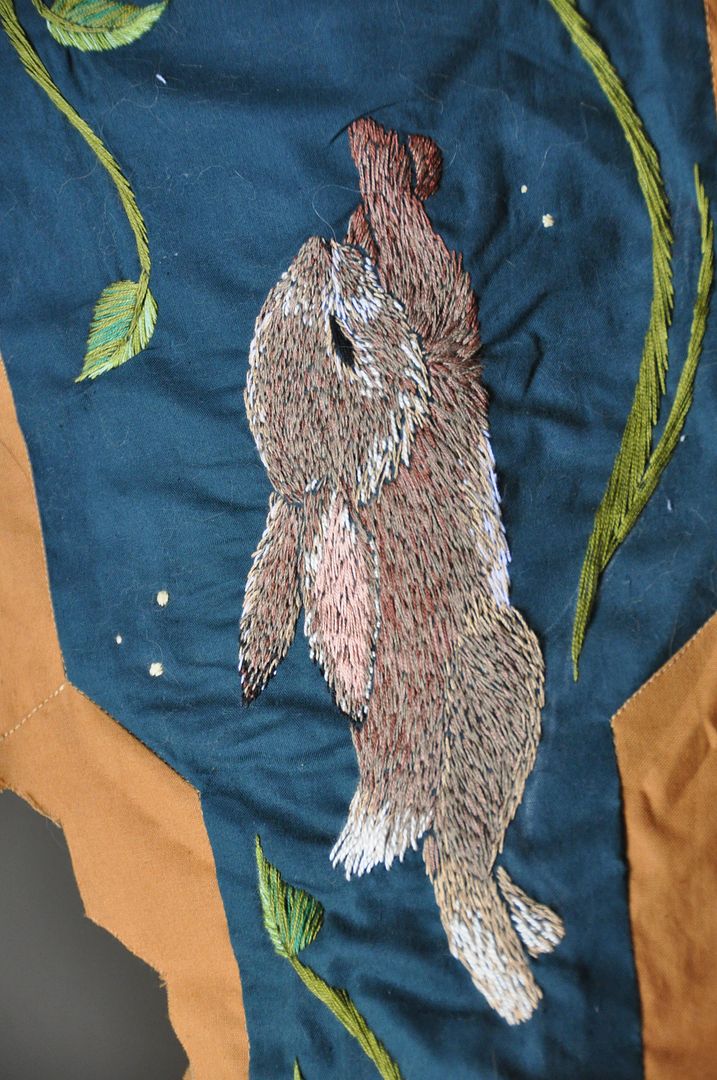
Everyone I apologize this post is late, I had a small accident yesterday and was unable to finish typing up this post. I will explain in more detail at the end of this post! Meanwhile, without further ado I present Forest Guardian, Part 3! Let's take a look at the embroidered panel, since I know that's what everyone has been dying to see! XD
For part 1 go here! For Part 2 go here!
[New snowy photos were taken by EleventhPhotograph in Feb 2015! Thanks Mike! They look fab!]
Let
me just preface this by saying this was my first time embroidering
ever. I learned a lot doing this project. I have a new-found mad respect
for the woman who does
the embroidery on the Game of Thrones costumes. I highly suggest you take a look at that! It's crazy awesome!
So now let's talk embroidery! The project (just the embroidery, not even the rest of the costume) took me about a month and a half--give or take. Some of those days were 14 hours, some I only worked on it for 2. I constructed the panel itself on my Christmas holidays, but didn't start embroidering until April. I knew this piece would be time consuming, but I didn't quite realized
how time consuming. This piece is the reason I didn't compete this costume at CostumeCon 32 as intended: this was just not done. There were still 2' left of embroidery to complete on the back side, this included the rabbit and most of the vines between the deer and fox. Knowing my pace, 2 days was simply not going to work for the amount I had left, so I wore the otherwise completed costume to the convention, without the main piece.

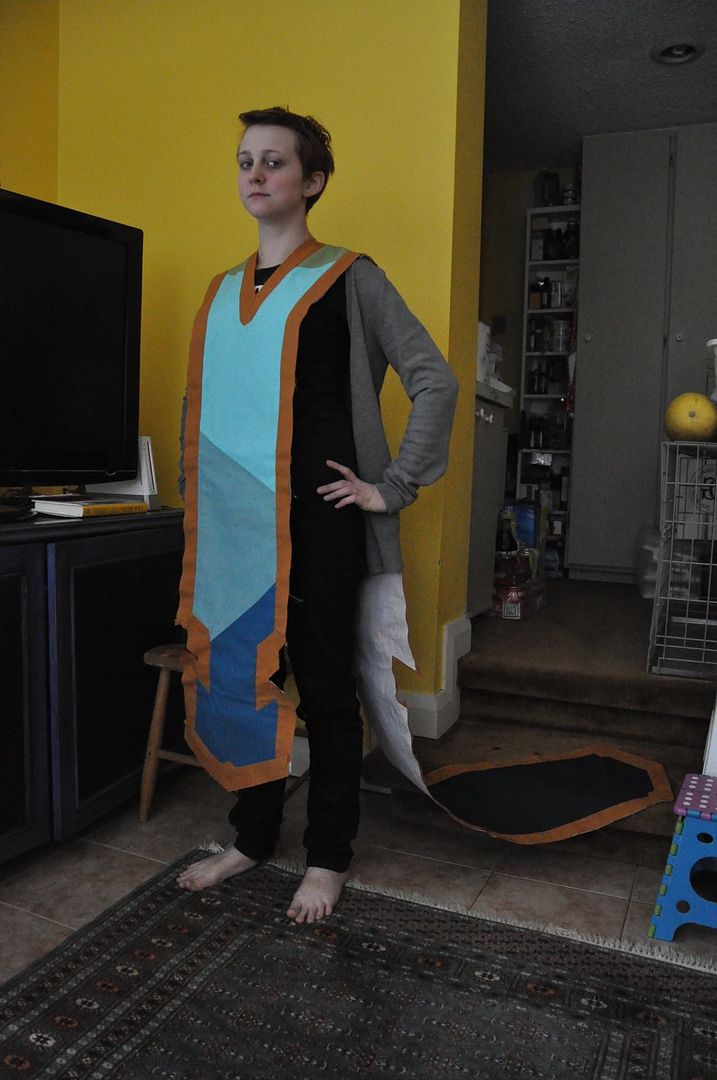
First I had to make the panel. I drafted it out in paper, putting it over my shoulders so I could decide the finished length. Then I finalized my design and drew it out full scale on the paper. I cut out the different sections and cut those pieces out of the corresponding fabrics.
I sewed those together so it was all in one long piece.
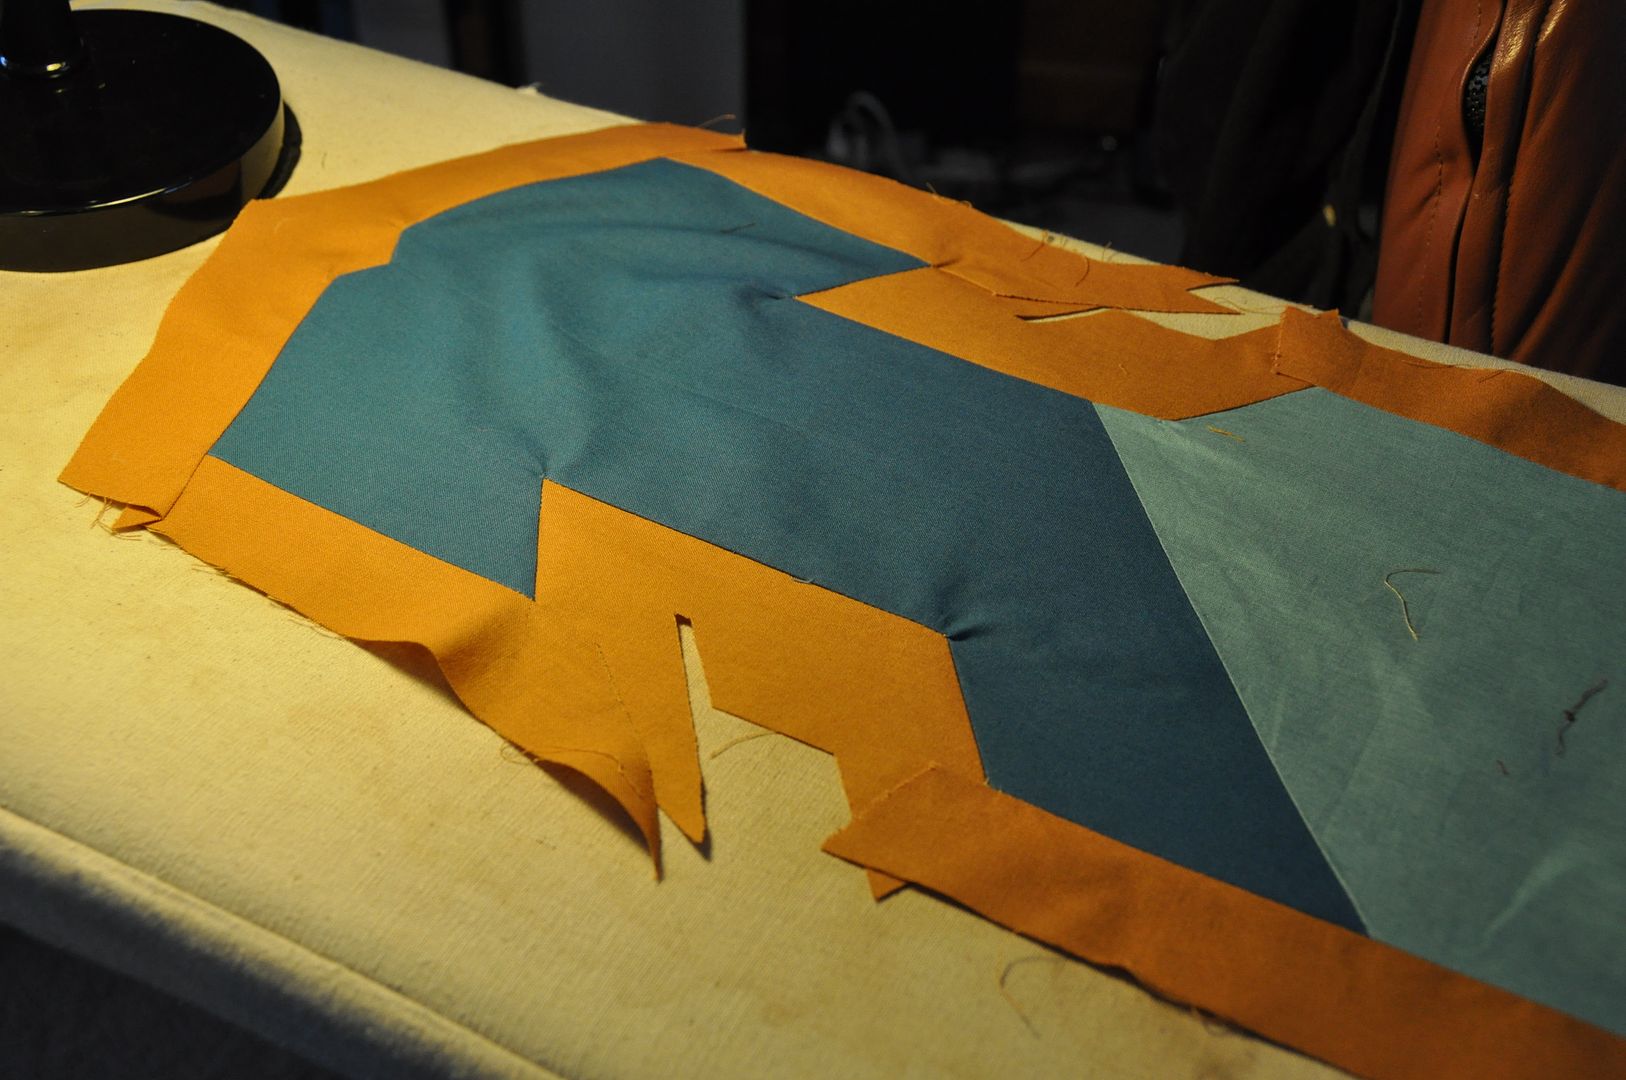
Then I used the rest of my pattern pieces to construct the gold/yellow border around the edges.
I pressed all the seams flat, and top stitched down the corners.
Then I attached a white interfacing backing to the entire piece. This would make it easier to embroider as the cottons I used for the coloured panel were nice and light.
Above is what it looked like pre-embroidery. In the lead-up to actually starting this project I streamlined my embroidery design, re-drew some of the animals and cleaned up some of the messier areas. Some people have asked me where I got my embroidery pattern: there wasn't one. I designed it myself to suit the piece and to suit the character. When I was completely satisfied with the design I transferred the main shapes to the fabric. This was done using a combination of a spiky tracing wheel, pencil and grey pencil crayon.
I had to look at a lot of reference pictures to ensure my animals had the colours in the right place, and the most importantly
the limbs bending in the right directions!
I can't stress enough the importance of actually looking at animals
when undertaking a project like this. You may think you know what a fox
looks like. Your memory may not be so reliable! Mine wasn't! If you are trying to maintain some degree of realism, reference is key.
I didn't attack this in any particularly logical order, I mostly embroidered whatever I felt like doing next. I actually started with the fish on the front, then moved to the fox, then the birds, deer and lastly the rabbit. In between the major pieces I tackled the various branches and greenery.
Mostly I created the different looks through experimentation: since I
wanted to maintain some realism, even if the animals were stylized. The
challenge was to create the different textures. Long haired animals had
to be obviously different than short haired animals, while feathers
again had to appear different than fur or scales. I would describe the process as a combination of painting and
pointillism with thread.
In terms of process I don't think there is any real right or wrong way of doing this.
On any given animal I typically started with the detail bits first
(eyes, nose, beak, hooves, spots, fins, etc), these usually had stark
contrast and so placement was important. The more stitches you get in
there the harder it is to see the lines, so I would like to get those
done first.
Next I would start in one of my main colours and go around the outside
of a section, to ensure that I didn't go outside my lines. I typically started at the head and would work my way towards the tail.
On the fox for example I started by doing the eyes, nose and black parts
on the ears. Then I outlined and began to fill the white section in my
main colour. Next I outlined and filled the light orange sections of the
face, then did the same with the dark orange. Lastly I speckled in my
secondary colours to breakup the transitions and give variation and
texture. To continue with my fox example I speckled cream and light
brown into the white sections, light brown into the orange sections, and
orange and brown into the dark orange sections. This is because fur isn't just all one colour.

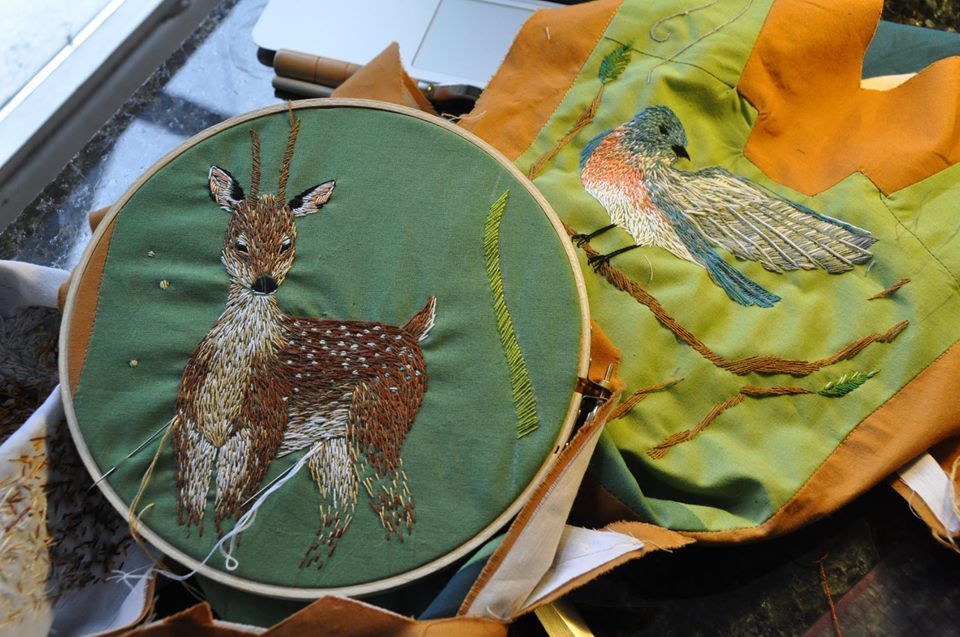
For the birds I modeled them after blue-birds. I went with a slightly pinker colour for the breast than they actually do because I preferred that with my colour scheme. I started with the details, then simultaneously worked on the head and breast leaving the wings to last. For the head and tail I used a medium blue as my main with a blue-grey and warm grey as secondary, while for the breast I used a salmon-y pink as my main, with a peach and white as my secondary.
The deer were done much in the same way as the fox; details, light/dark main sections, then colour breakup. It was a bit different because I had to work around the spots, and also because I had to make my stitches smaller and more controlled to denote short fur.
For the branches they were just done haphazardly. On the original design I drew out exactly how the branches would look, but when I transferred the pattern I just drew out a single meandering line to follow for each branch, that way the path was the same, but the width and stitch direction was freer.
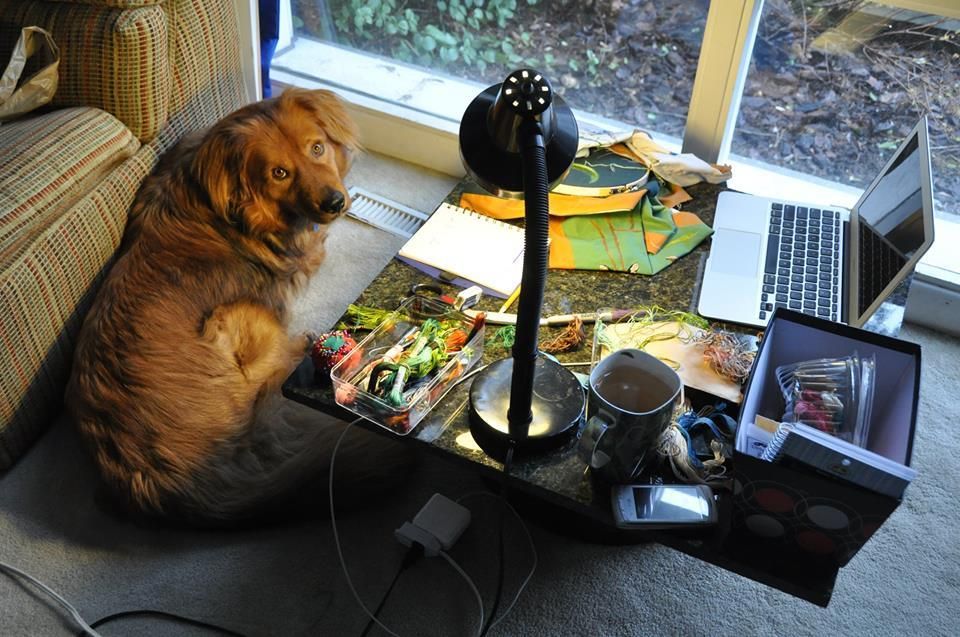
Jelly was not impressed that I took over his favourite spot for a month.
The rabbit was very similar to the rest, but a little more troublesome because rabbits don't have as much colour variation as other animals do. That actually made it more of a challenge than some of the others.
The greenery I had down to a science. It was very controlled and directional, with specific colours for all the parts. Every leaf was divided in half--it would have a dark half and a lighter half. I would go in with my 2 main greens and then add in a couple highlights with my secondary greens. All leaves were done with the strokes extending outward from the stem diagonally toward the tip.
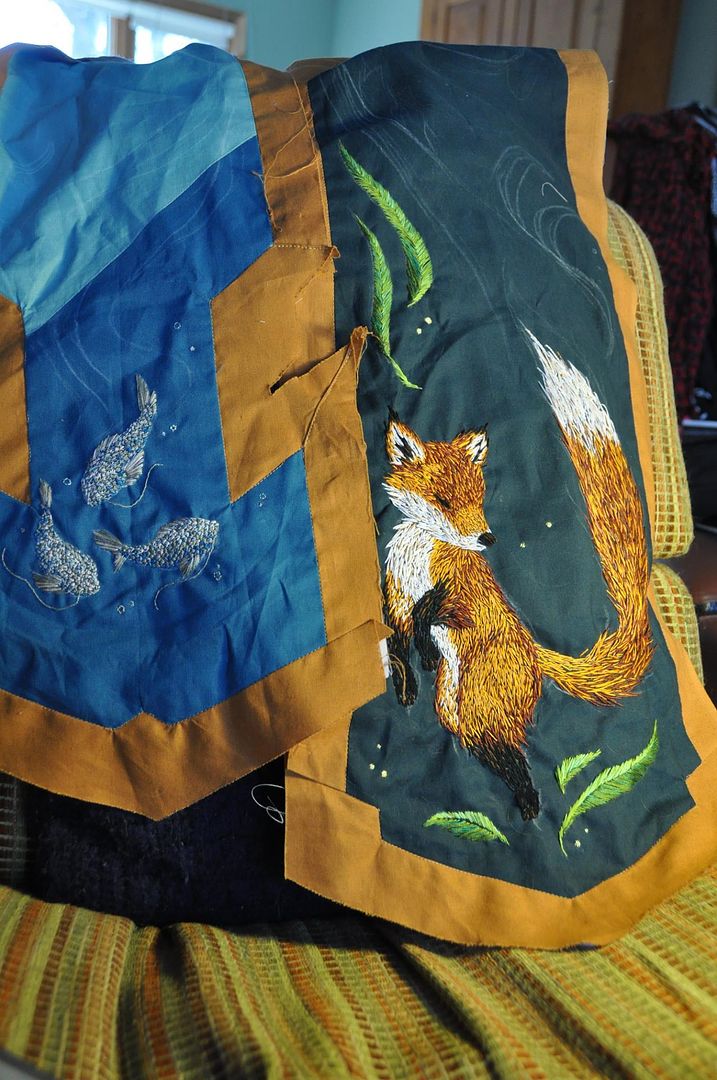
Here is what it looked like with the finished embroidery! You can see that it doesn't stop at the places that are hidden under the belt.
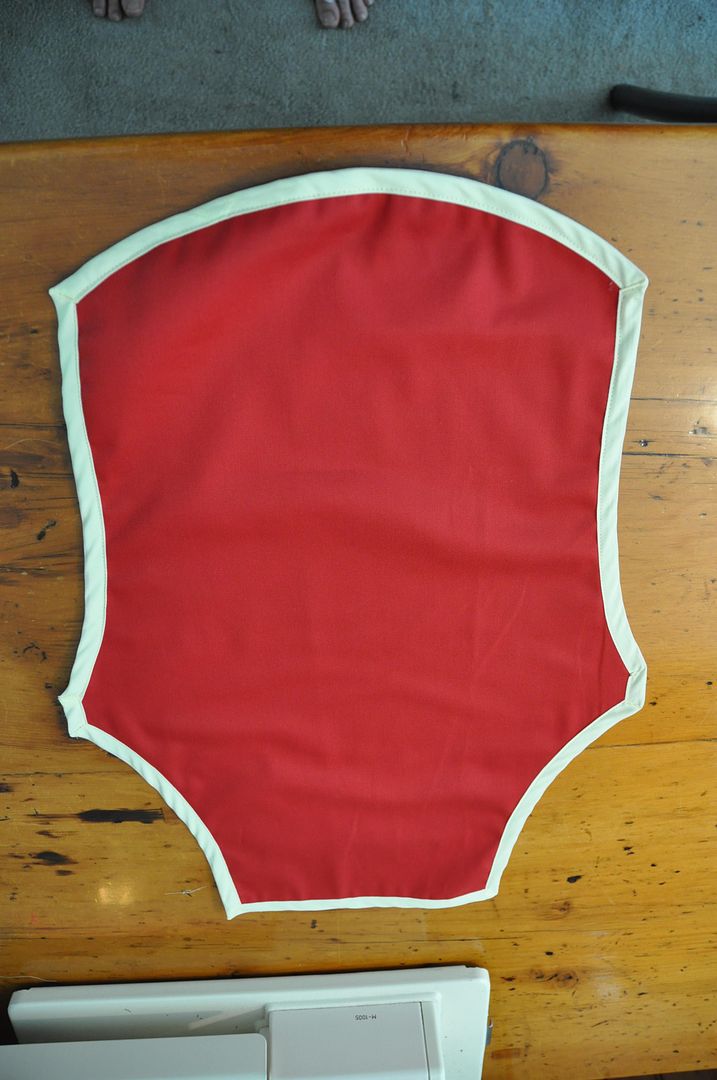
Once that was done all that was left was to add the backing to the panel so you couldn't see all the threads. This was done in 2 pieces, which were bagged out, then carefully pinned and hand-stitched at the neck and shoulders.

Here are some close-ups of the finished embroidery.
In regards to the fish, I did the scales each stitching in a tiny radial pattern extending from a central point. My colour variation was don so that the lighter colours were concentrated on top, while the darker colours covered the bottom.
I had a lot of trouble trying to figure out how to do the extended wing on this bird, but it turned out alright in the end!

The fox is still perhaps my favourite, but I am most certainly proud of the piece as a whole. I will probably do another embroidery piece in the future, as I really enjoyed this project, but I think it is safe to say I am pretty burnt out on embroidery for a while.
More to come on this costume set!
In terms of why this post is late, I injured myself at work yesterday and had to go to the hospital. An embroidery machine needle pierced through the top of my finger nail, went all the way through and broke off inside. I am fine, bandages come off tomorrow, but my hand was frozen last night, making it difficult to operate a keyboard and finish typing this post. For the record, it was entirely my own damn fault. :P


 First I sewed the collar pieces together at the shoulder seams. Then I sewed the inner collar to the outer collar along the outer edge, right sides together--this way the outer edge was finished nicely. I clipped the curves and flipped it right way out, then ironed it flat.
 I made my inner collar accent piece the same way as the outer collar. The inner collar is about 3/8" wider so it is visible in behind. The inner collar is made out of leftover fabric from my Suppi costume!