Here's a short tutorial on how to make from scratch and apply your own piping trim. This kind of trim makes a really nice, clean finish on a garment. This is a particularly good way to finish the edge of a corset.
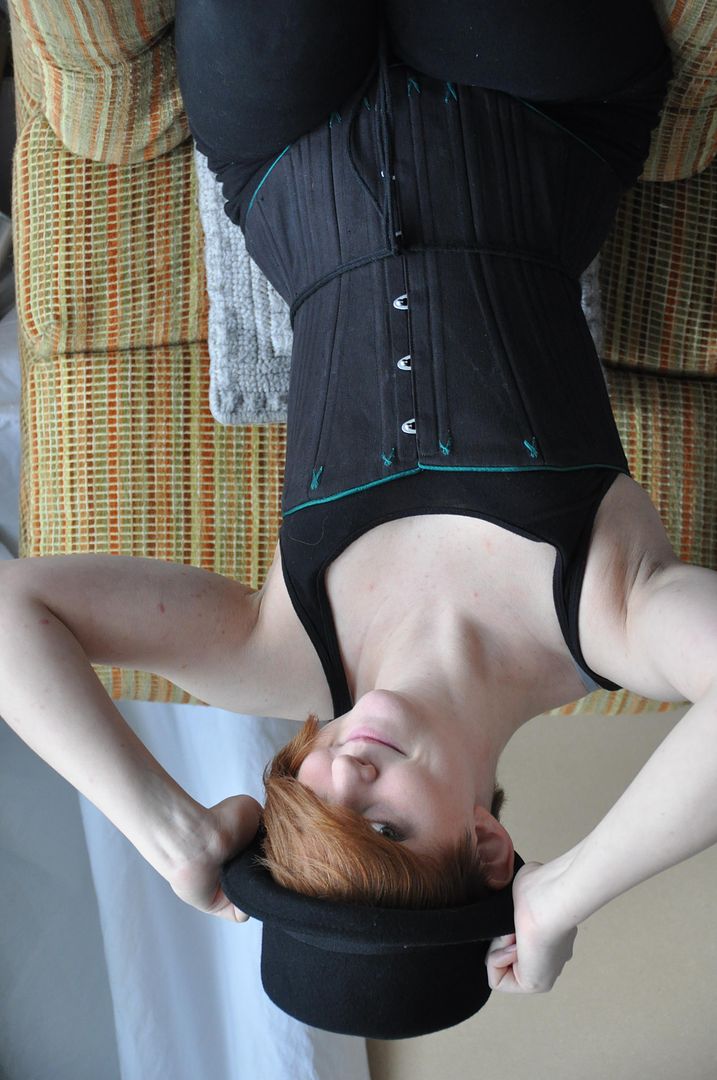
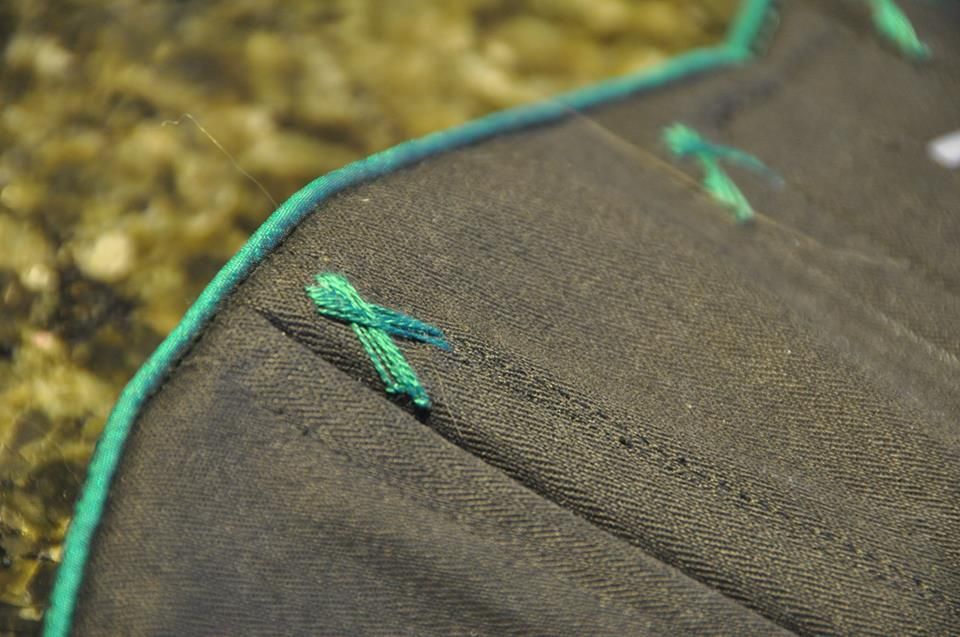
This is the trim I made for my first corset, for my corsetry class this semester. It's now finished, but I will be posting some finished pictures once I get it back from my prof. ;D
I really love the beetle green colour of this silk fabric I chose. :) As far as fabric choice goes, I highly recommend using a thin, but strong fabric. Make sure it is not sheer or really stretchy as this will be way harder.

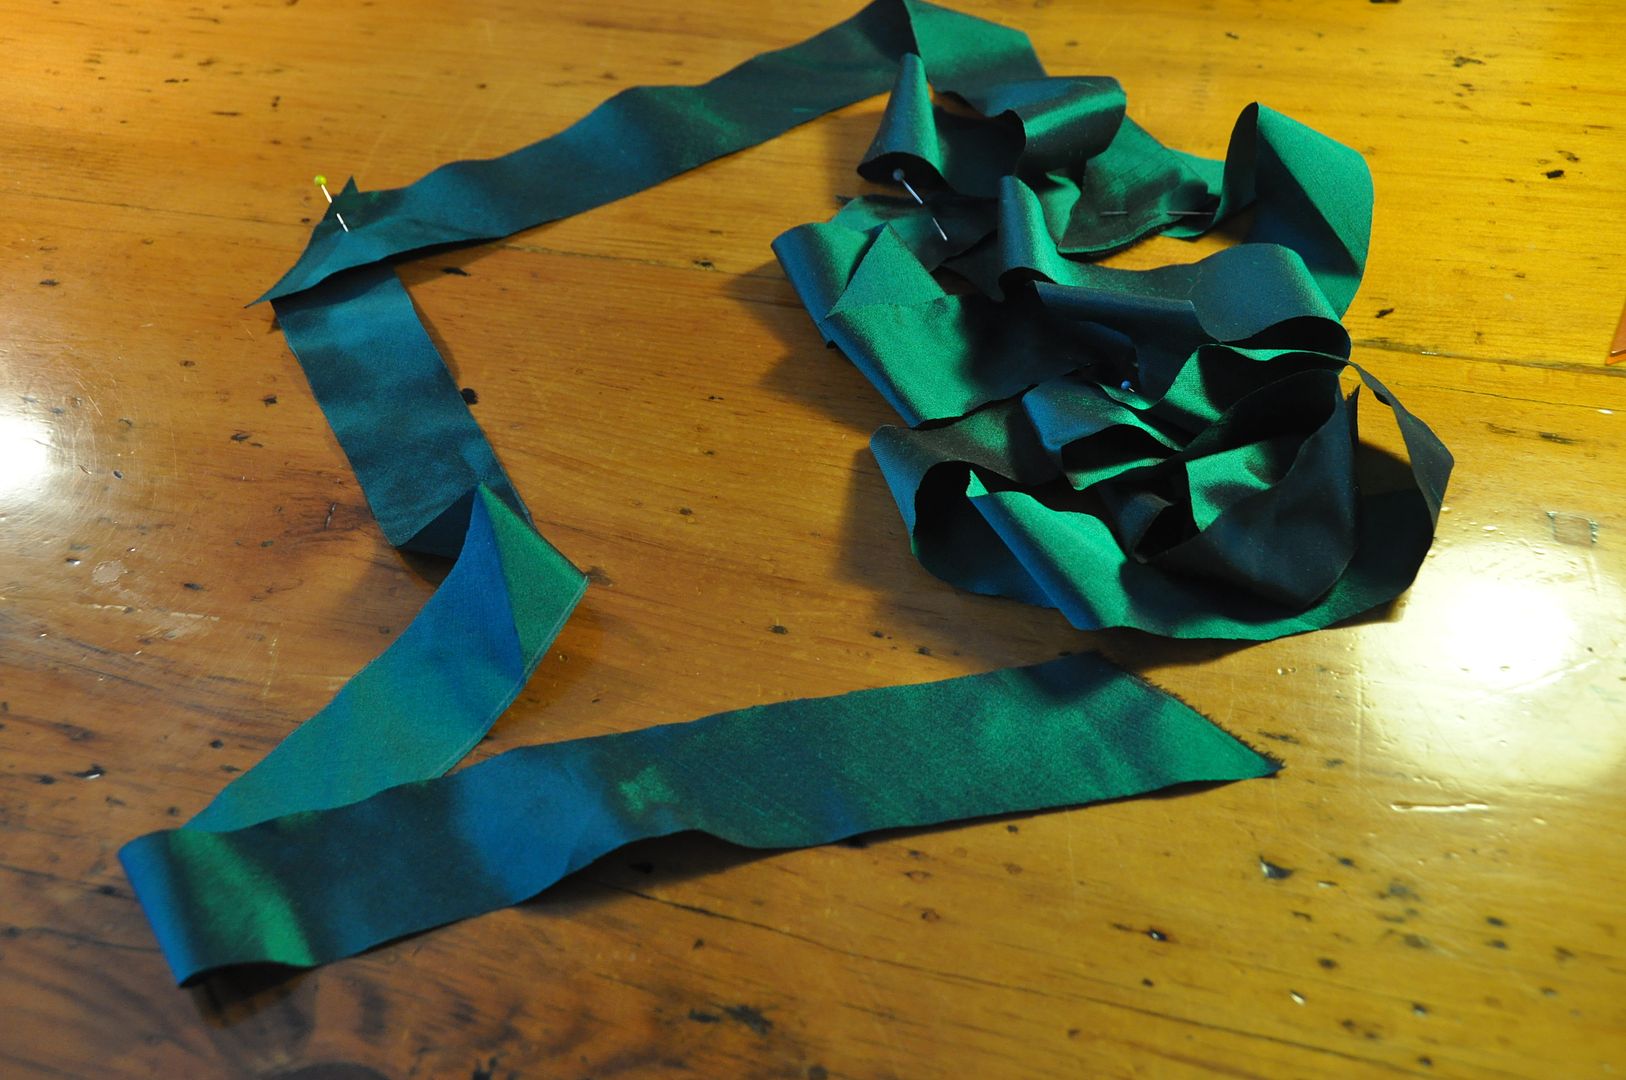
First you cut bias strips 1 1/2" wide. These should be cut on a 45 degrees angle from the selvedge. This will allow the tape to easily stretch along any curves you need to apply it to.
It's easiest to mass produce piping in one long strip and then cut as needed instead of making pieces to fit. Make sure you have enough cord to go along all the edges you are applying it to, and that you cut enough length to cover the cord. (Keep in mind if you are attaching pieces that seam allowance between pieces will make it shorter.)
To attach strips, sew them together as pictured on the left, forming a 90 degree corner, then press flat. The strip will have a 45 degree seam running across it, which makes much less bulk than joining the pieces straight across.
Fold over one edge 1/4" in and stitch 1/8" in from the edge. Make extra sure not to pull on the strip as you fold and stitch, because it will stretch and get thinner, which is not what you want. This creates a nice finished edge for the inside of the garment.
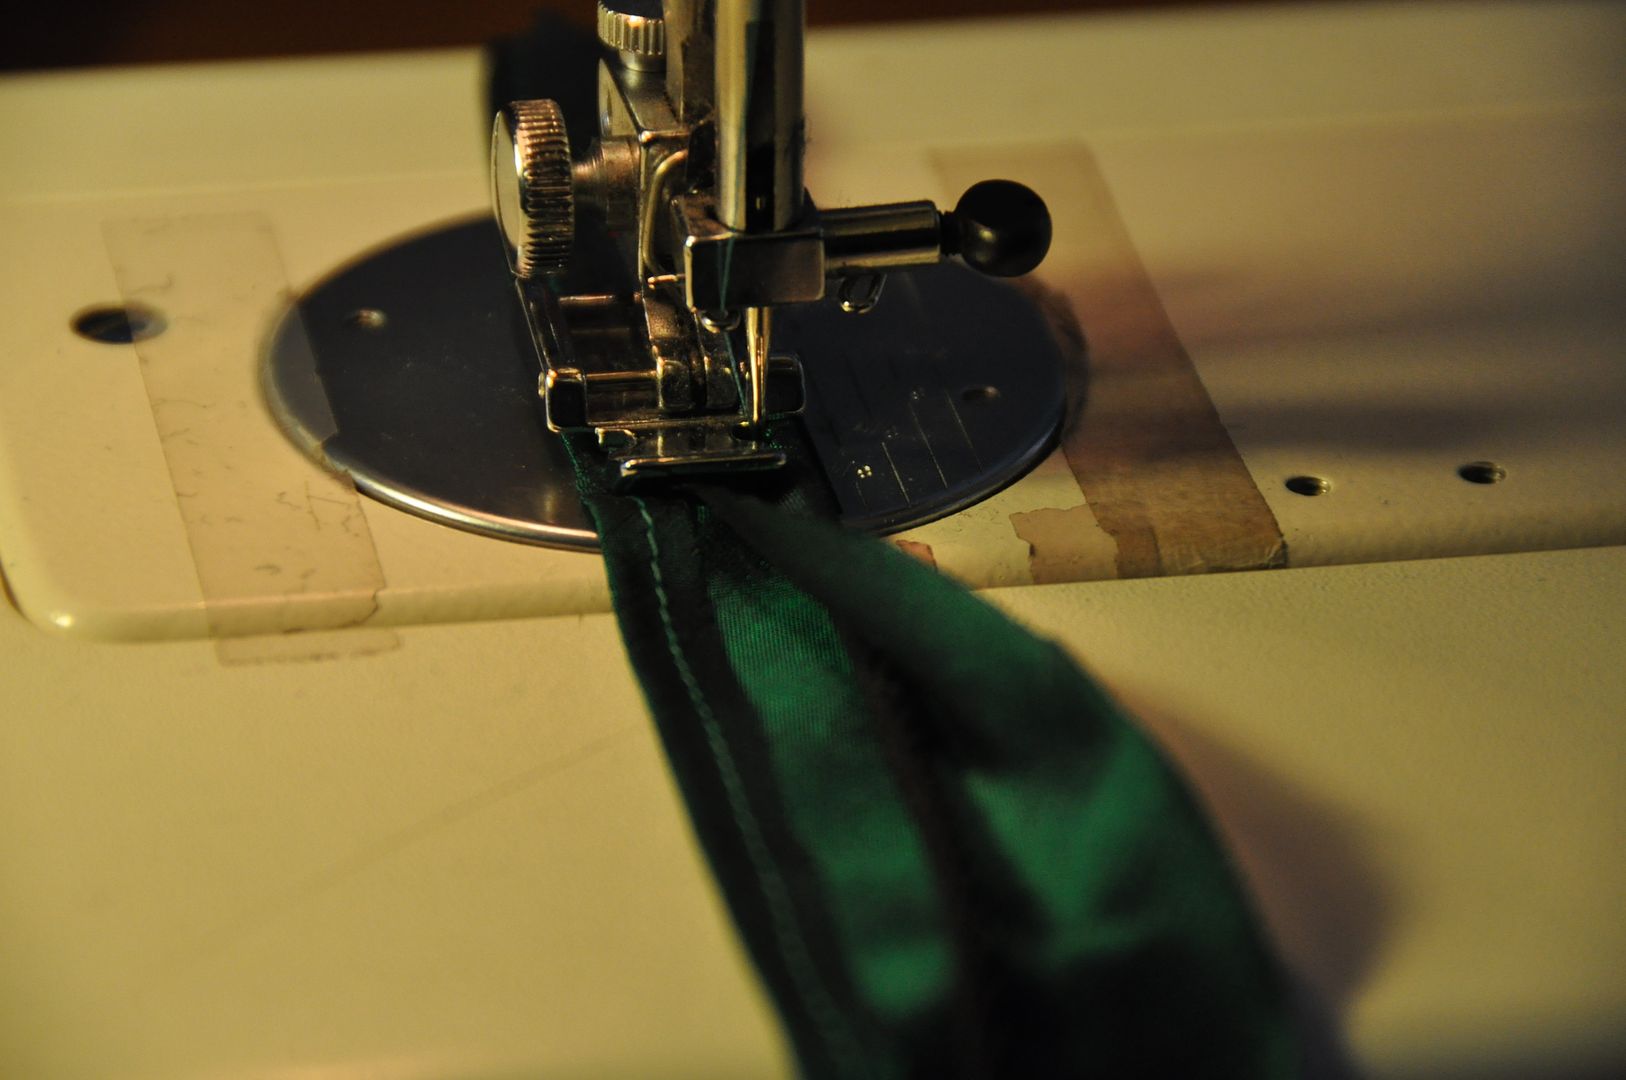
Fold the unfinished edge over the cording and line it up with the stitching on the inside of the tape. Use a zipper foot on the machine to snug your stitch line up against the cording. Again, don't stretch it when sewing. I find it easiest to not pin it and fold it over as you go.

^ The finished product should look like this, the 2 raw edges meeting on one side, and the other showing a nice finished edge.
To apply it is pretty easy. On the outside of the garment line up the stitch line of the piping with where you want your finished edge. The trim should be nice/finished side up, the folded edge on top of the garment's seam allowance. Pin in place. You should leave about 3/4" hanging off the ends so you can fold it in and finish it nicely afterwards.
You can use this opportunity to further snug the cord inside it's casing by stitching a little closer to the cord than on your previous stitch line.
Fold the finished edge to the inside and carefully hand stitch it down so the stitching is not visible from the outside. If you are having trouble, put in a basting stitch to hold it in place first, you can take that out after. If you have excess seam allowance trim it off first.
The loose ends should be folded up under and neatly hand stitched in place.
Do not iron your trim, otherwise it will flatten it out which kind of defeats the purpose. :P