
It is more a prototype, than anything else. My original plan was to use it for a costume, but I am unhappy with the end result for this design. As it is my first time using power tools, I felt that it's ok that it's not perfect.
So lets get cracking. :D
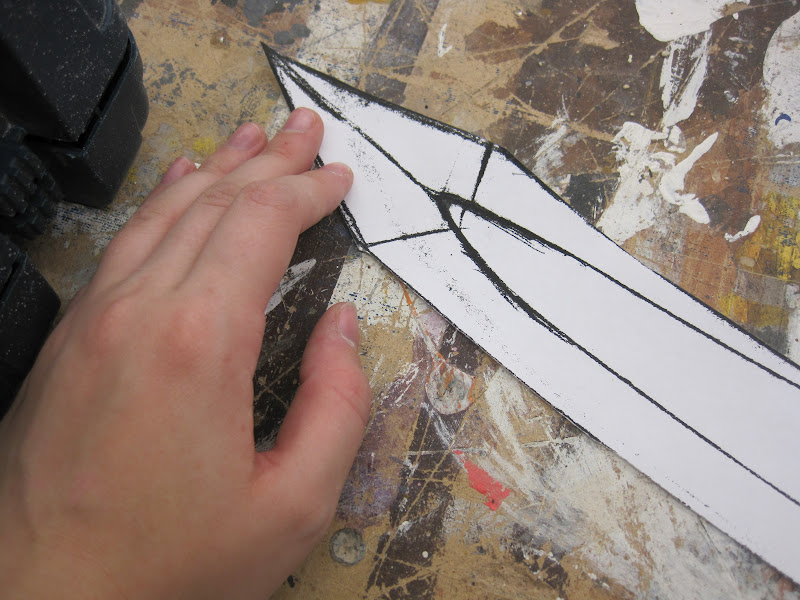
I decided to draft this out at half scale and blow up the drawing to fullsize, so I could trace out the design onto the wood. This made it much easier to get the proportions to a place where I was satisfied with them. For some reason I decided to put WAY more of a curve into the blade than my original intention, to the point where it's not functional as a normal sword. My advice to all of you: When you have too many people you don't know giving you different advice, chances are you will be most satisfied if you don't follow anyone you don't trust completely. That's where you go wrong before you even leave the design phase. >:/


 Once I finished that, I began shaping the blade using sanders. Then I added the edge. :D

 I cut out the other side of the crossguard and used epoxy to glue it all together. Then I sanded down the edges to smooth it out.
  I then measured how much aircraft cable I would need for the 'basket'. I had a friend drill a hole in the handle for the cable to go into.
 Masking and painting came next. :)


(And special thanks to Emily for all the pictures she took for me when I misplaced my camera.)