Here's a look at how I made my Echino Dress. 'Echino' is the name of one of the lines of fabrics on
Super Buzzy, which is where this fabulous print comes from. Super Buzzy is a Japanese fabric and crafts site. They have some really nice prints. Although they can be on the expensive side... This particular fabric was given to me by my sister
Alex for my birthday, and I finally got around to using it!
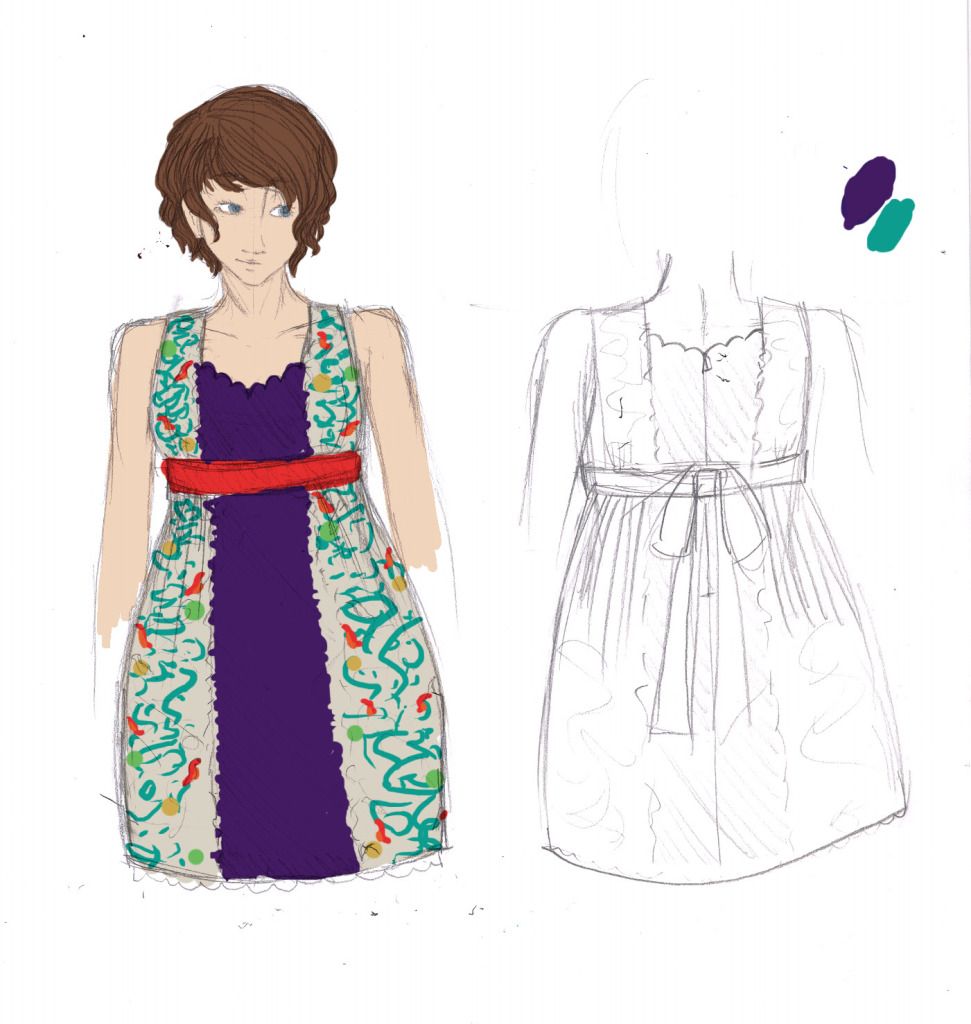
This is an original design that I made just for this fabric. Here is my design sketch, with the colour mock-up.
This dress was designed and made to wear to my cousin's wedding. Pictures of that should be up on Photo Escapes soon...
I started by taking my measurements, and then I constructed pattern pieces based on that and my design. (+ seam allowance)
I made a broadcloth mock-up of the top before I went to the good fabric.
I cut 2 pieces of the front and 4 of the back piece. Each pair was sewn to itself at the neck and armholes, then turned inside out. This finished the neck and armholes nicely.
I finished the mock-up, made note of the adjustments on the pattern pieces and went to work making the good version.
This dress was designed with the pattern in specific places, so I had to be careful when I was cutting that the patterns were in the correct places. This makes fabric conservation a tad more difficult...
I cut 1 front piece and 2 back pieces in my nice fabric and the same quantities for my lining.
I sewed the pairs to themselves. (Right sides together.)
The tricky part was the scalloped detail on the neckline. This had to be drawn out on the fabric and then traced with the stitch.
Then I carefully clipped the excess and turned it right way out.
I stitched my seams together at the shoulders and the sides. Then I tried it on Molly.
There was a bit of a gape at the armhole, so I solved it by putting in darts. Darts were put in the front and back. They had to be done carefully so I didn't decapitate any birds... Hahaha
Having then measured under my bust, I gathered the fabric to that measurement and sewed on a band.
Then I made a tube of my accent fabric, that would be flattened and later be sewn onto the band as a tie at the back.
I cut my pieces for the skirt, and sinched them up with a basting stitch, making sure the patterns would line up.
This was then sewn to the band.
Then I finished the inner seams and closed up my back seam, so I could put in the zipper.
Zipper in!
The next step was to attach the tie to the band. It was made so it would be tied over the zipper.
After hemming the dress was done!
The back is a little off, and I am not 100% satisfied with the fall of
the skirt, but it was an excellent exercise in dress-making!
Here is the little photoshoot my mum and I did at the wedding. :D


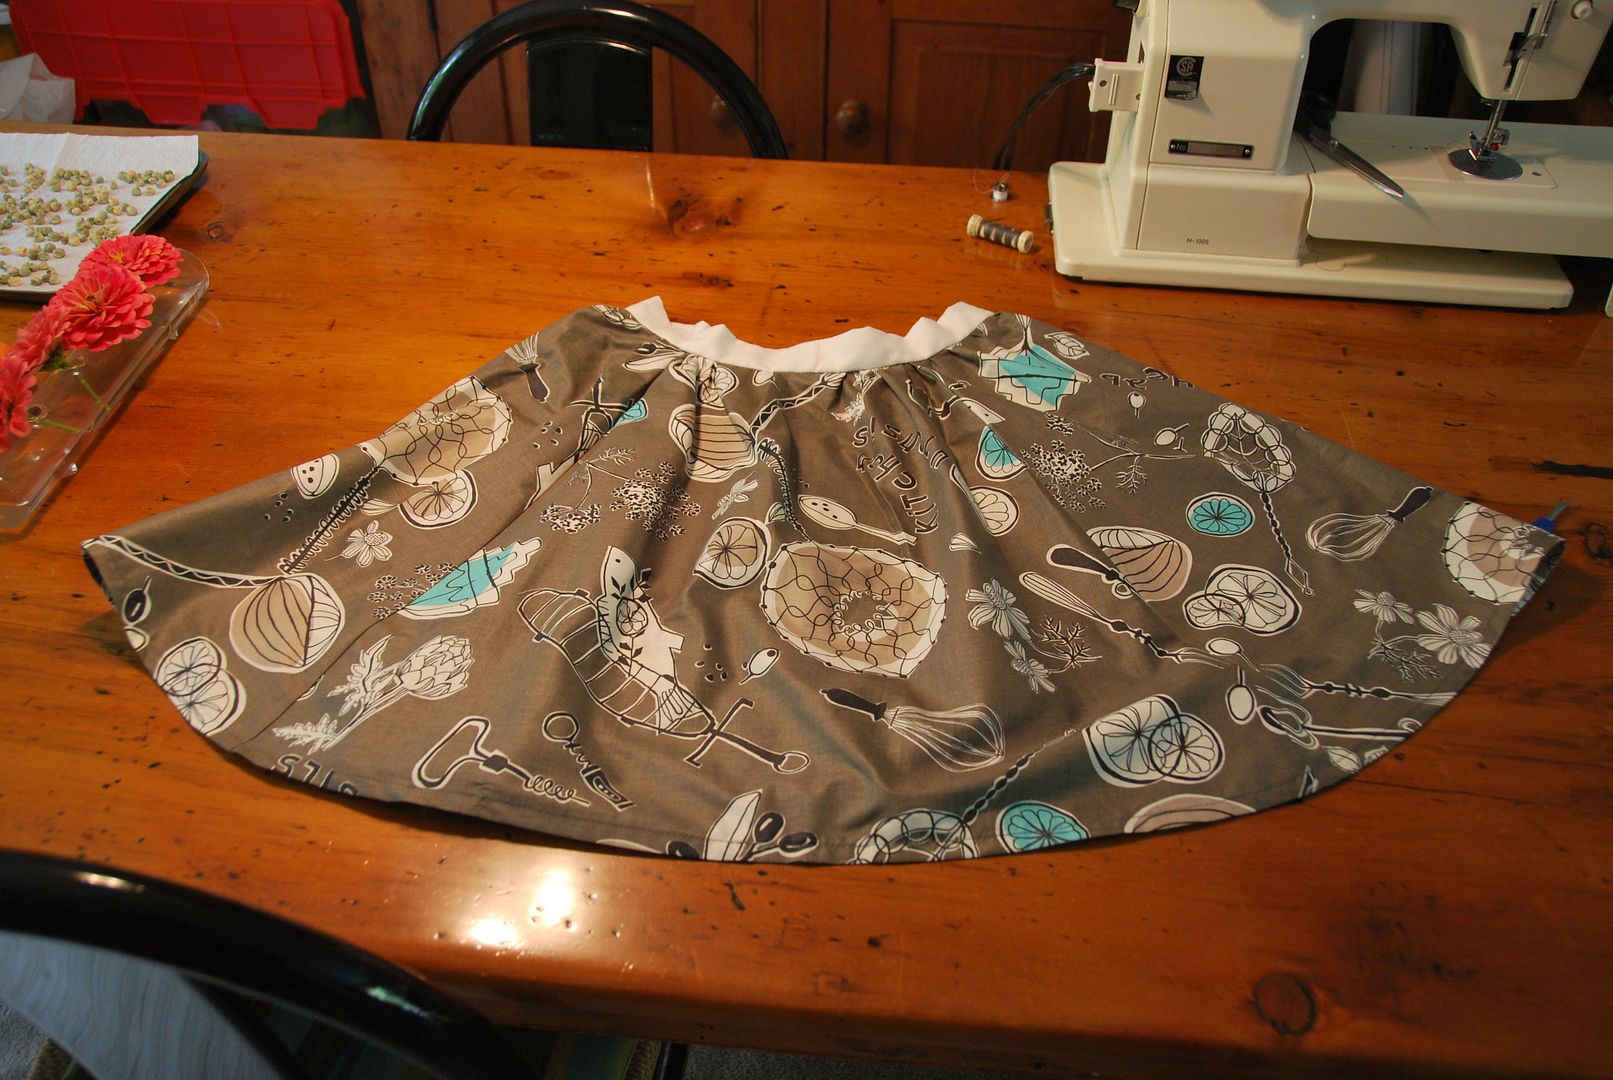
 I started by cutting 4 panels out of my fabric like this. The total inches at the top of the panels was made much larger than my actual waist size which would leave me fabric with which to do the gather. THe bottom was flared out and curved up at each side so the skirt length would be the same all the way around the skirt.
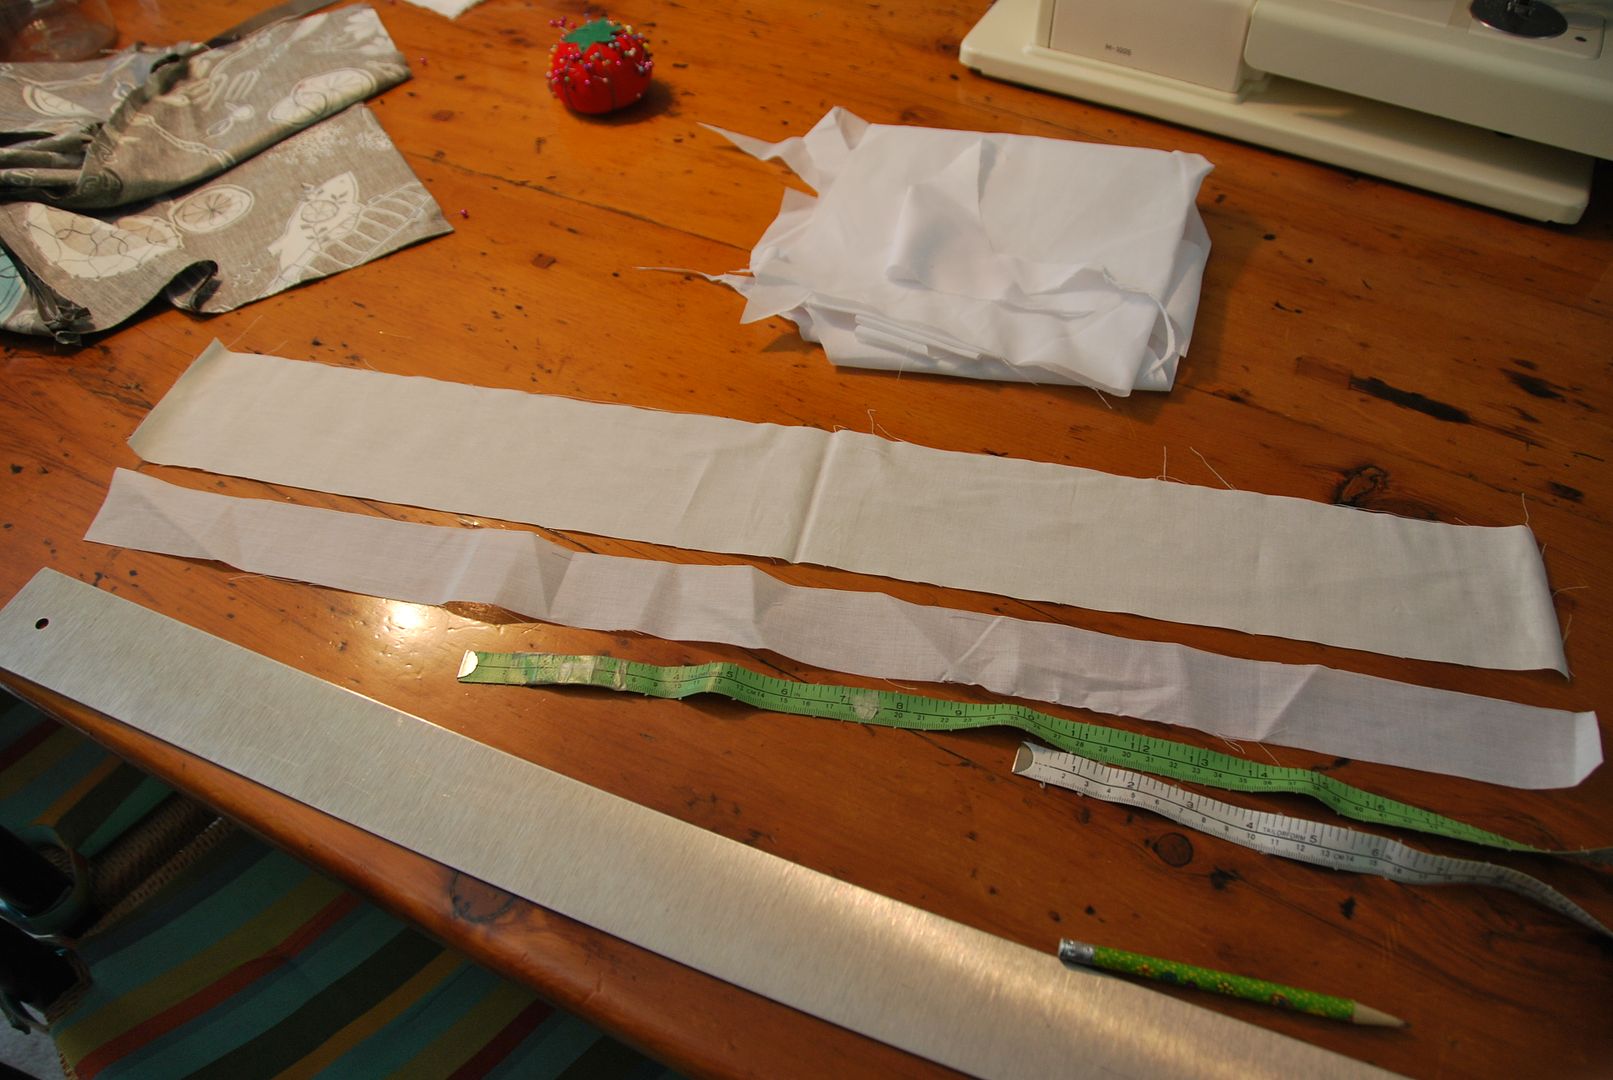 I stitched the panels together leaving the center back open then pressed the seams flat and finished them off.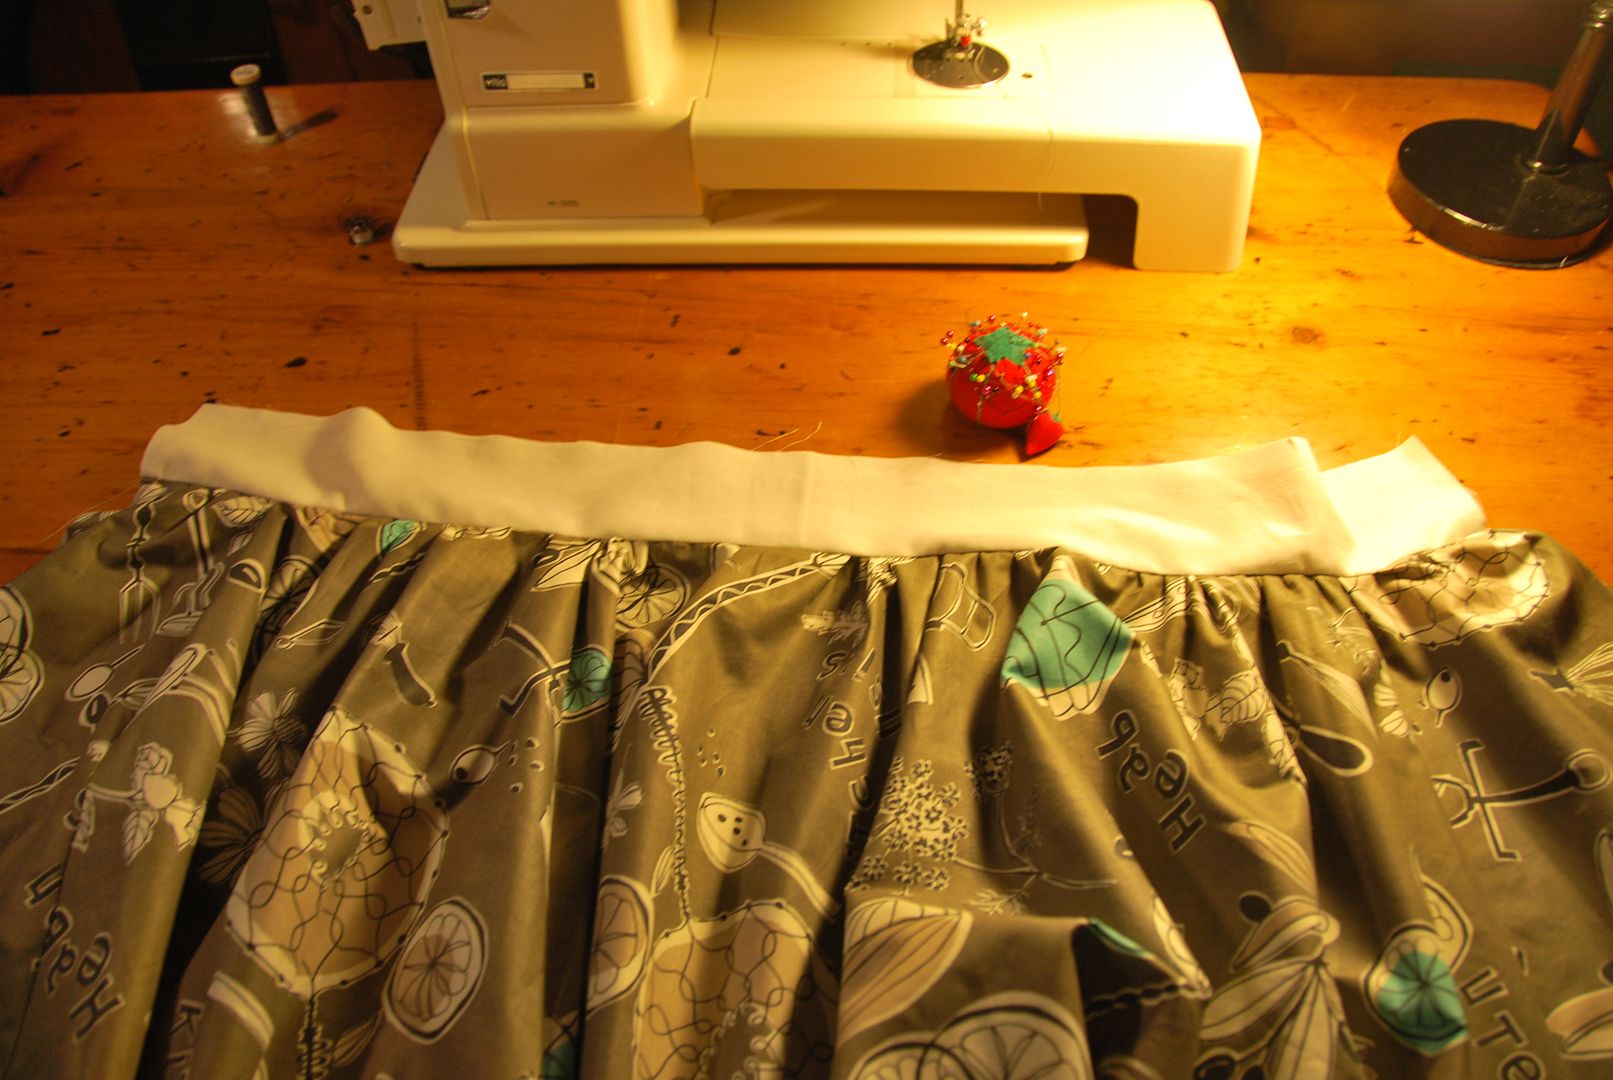
 I used a basting stitch to gather up the skirt to the waistband. Once that was done I pinned and stitched the waistband to the front of the skirt (right sides together).
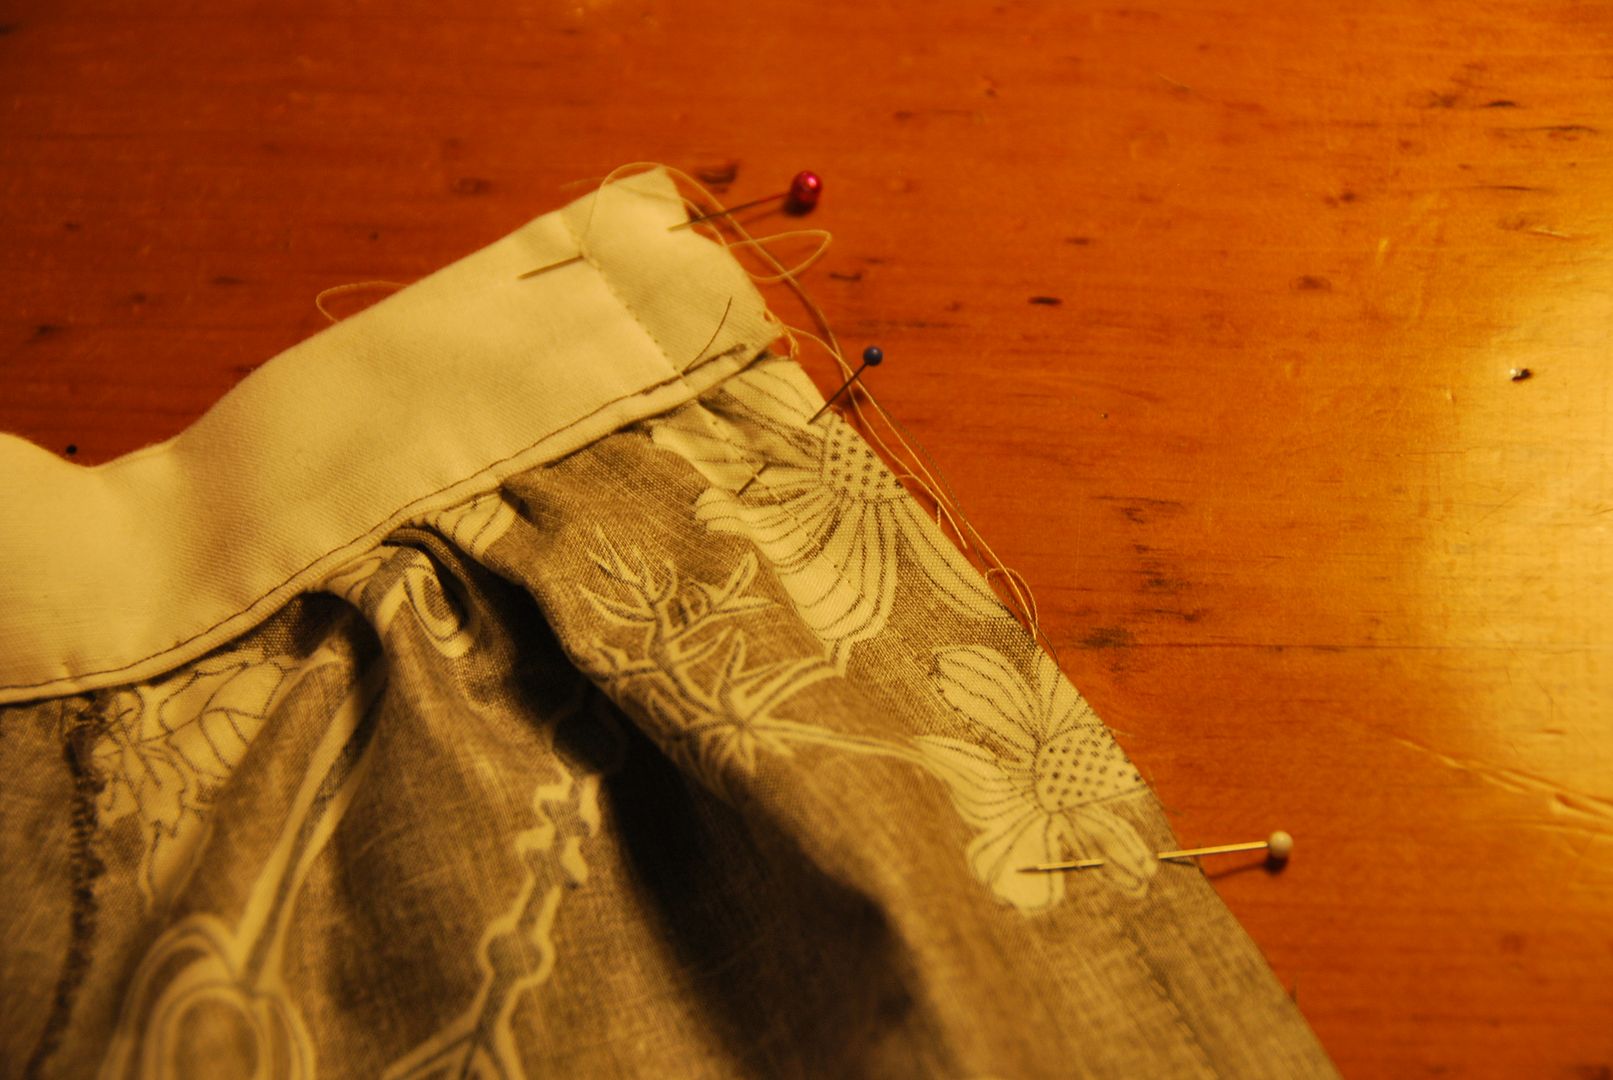 Then I basted up the back seam. I pressed it flat and hand basted in the zipper. Then I machine stitched it in securely and opened up the seam, removing all the basting stitches.
 Then I hemmed the skirt and added a bow detail at the waistband.