Showing posts with label shirt. Show all posts

Wednesday, October 14, 2015

Sakura - Dress, Blouse & Petticoat - Cardcaptor Sakura

So guys, it finally happened: I finally got some finished shots of this costume. Special thanks to EleventhPhotograph for the amazing fall shoot! I loved the use of colour gels in the trees to pump up the colour even more!

You may have already guessed that I have a slight obsession with the 90s series CardCaptor Sakura. It was the first anime I ever watched in Japanese with subtitles. The numerous other CCS costumes should have clued you in to my obsession at this point.

I've already made Suppi & Kero, Sakura's sailor suit, and Tomoyo. Adding this one and the one I am currently working on, that brings my total up to 6 costumes from the same series. Which is kind of crazy. Although, not all of these costumes are for me. Suppi was for my older sister Alex, and this iconic Sakura outfit was made for my lovely sister Elanne.

It may not be totally apparent that my sister is actually 7 years younger than me (we have been told on numerous occasions that we look like twins...), but this means that she was not old enough/actually alive to watch the series with me in the 90s. She only watched it for the first time about 3 years ago when Alex and I were having a nostalgia trip. And she quickly became a fan. She hadn't cosplayed in a few years, but asked me if I would consider making something CCS for her. How could I refuse? And behold, the cutest Sakura I know!

So lets get started talking about how I made the dress, blouse and petticoat!

This is definitely one of the most iconic Sakura outfits, this one is featured in the season 1 opening theme. Fabric shopping proved a bit of a challenge for this costume, as I had difficulty finding the correct colour of pink. Because the dress is pink, not red, as some people make it--though that may be to better match one of the manga illustrations? I don't know. It's a reddish/salmon-y/flamingo-ish pink depending on which reference picture you look at. The fabric I found was a medium salmon-y pink colour. When compared to the red fabric I already had on hand for the bow details it had a nice contrast and the colours looked good together. Which is an important part of colour matching any costume.

The most difficult thing about CLAMP is that the way they draw their CCS designs is so simple. They look simple. But they aren't. My main issue is that they don't typically draw seams onto the clothes. This can make it extraordinarily difficult to determine how exactly the clothes should be constructed.
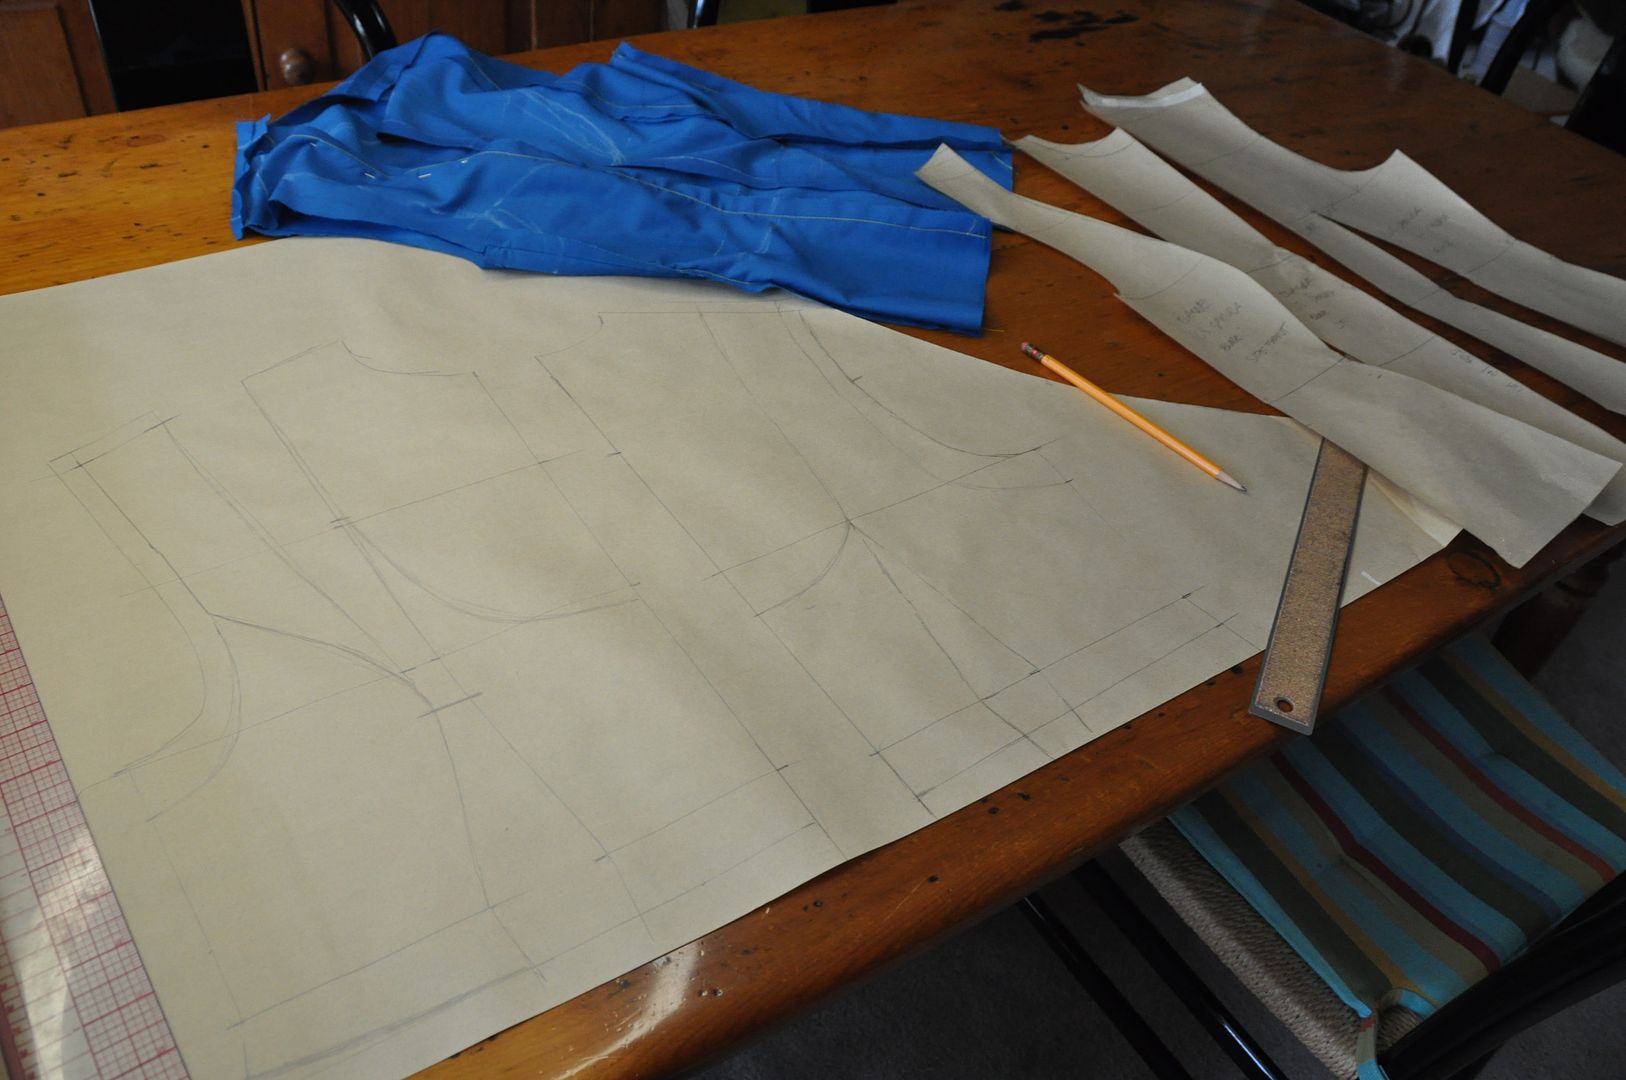
I started off by patterning a basic block, which I heavily modified to create the pattern for the bodice.

The skirt is a full circle and a half. It has been too long since for me to explain the mathematics of how I did that. It consists of 3 panels which are 1/2 of a circle each. This is so I can have a seam down the center back for the zipper, but not one down the center front (which I think looks bad).
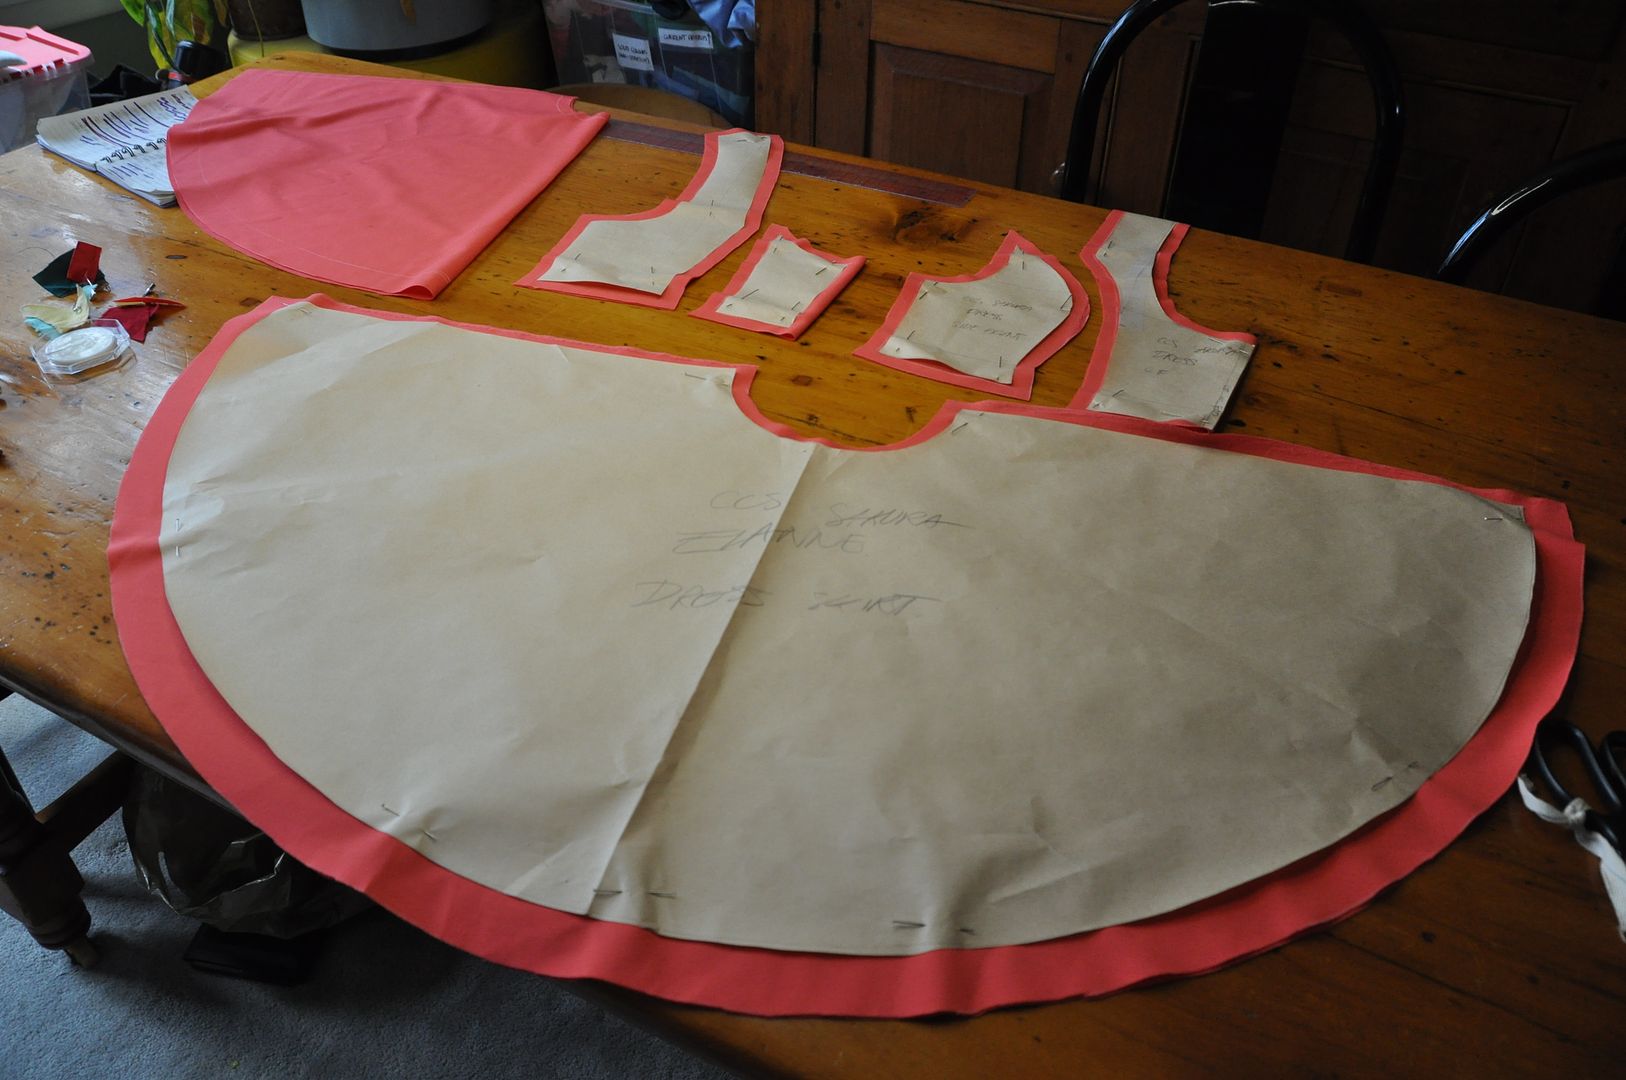


I cut out my pieces and then began assembling it.

The bodice was designed not to be super fitted to her curves in spite of having a princess seam--Sakura is supposed to be like 10, so emphasizing curves does not really emulate the character accurately. But not having the seam would have made the bodice gape weirdly at the armholes. Also, it couldn't be too fitted, because there were several layers going underneath: the wing rig being the bulkiest, but also the blouse and the petticoat waistband. If it was super fitted she would look lumpy. Sakura is not lumpy.
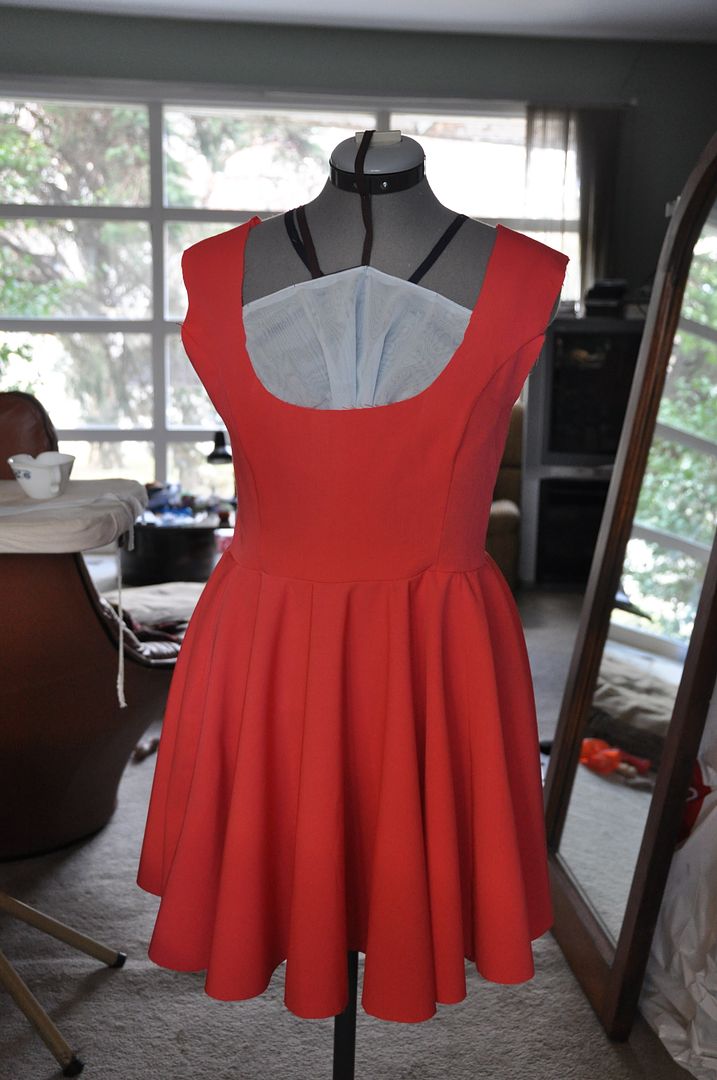
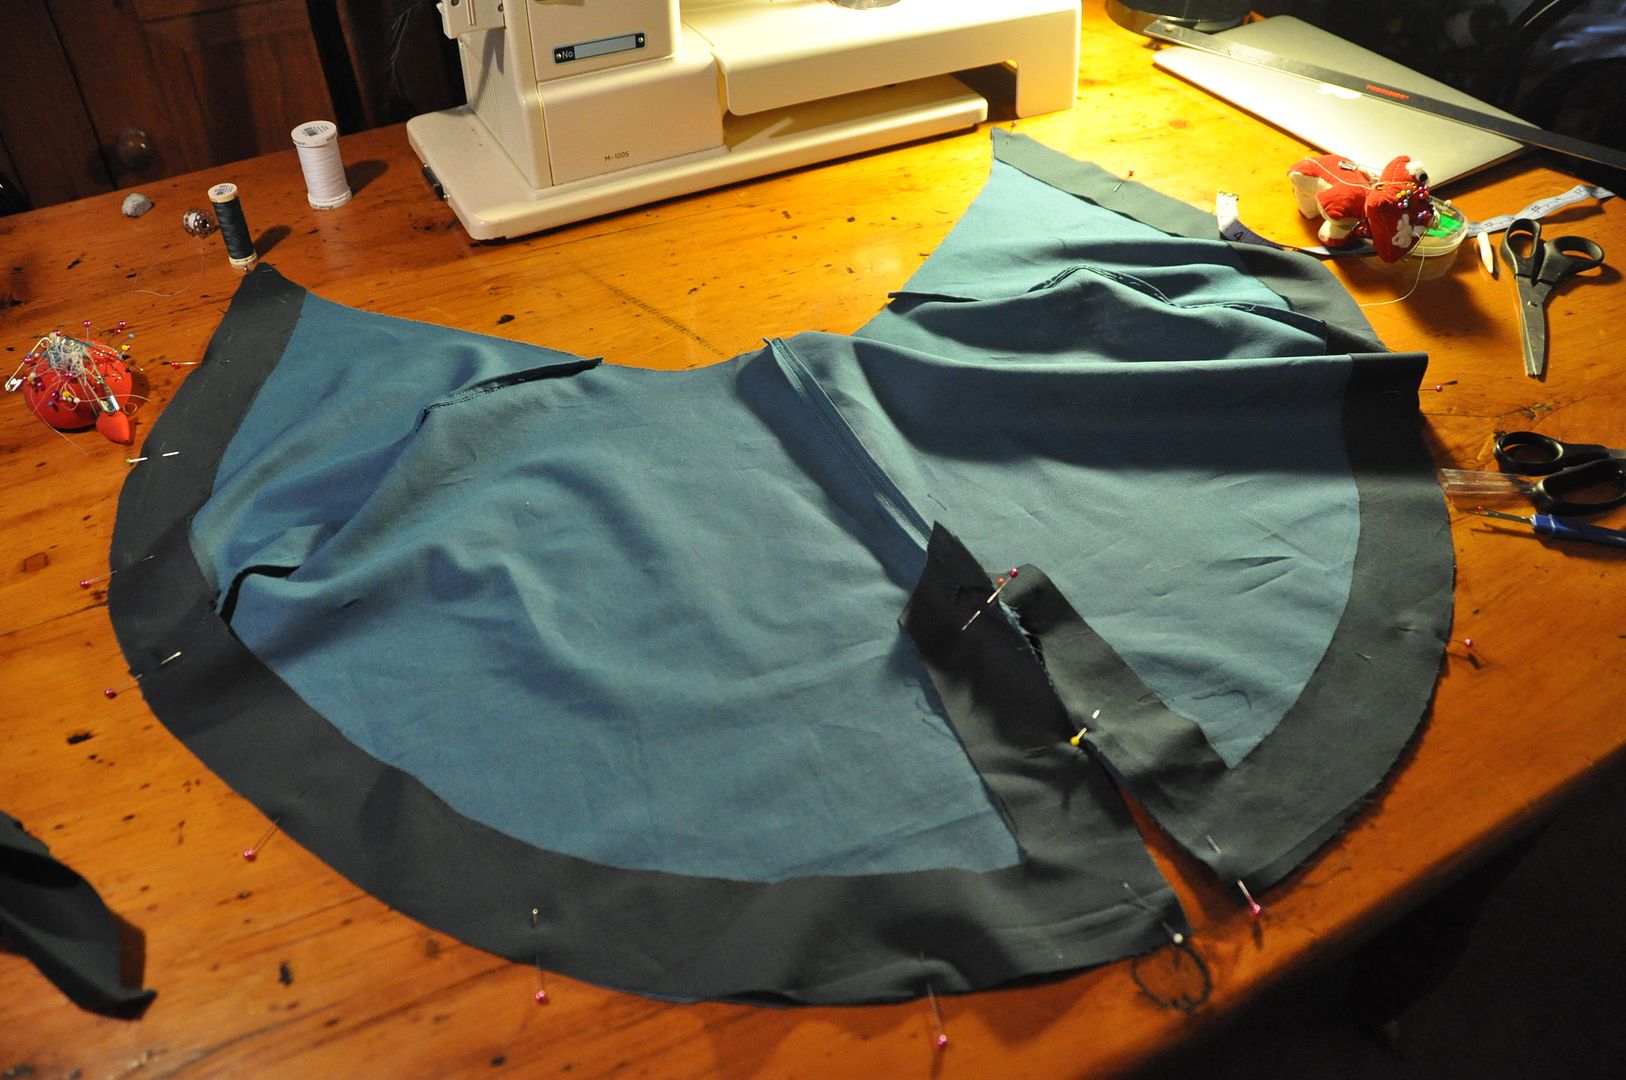
I finished the seams on the inside.

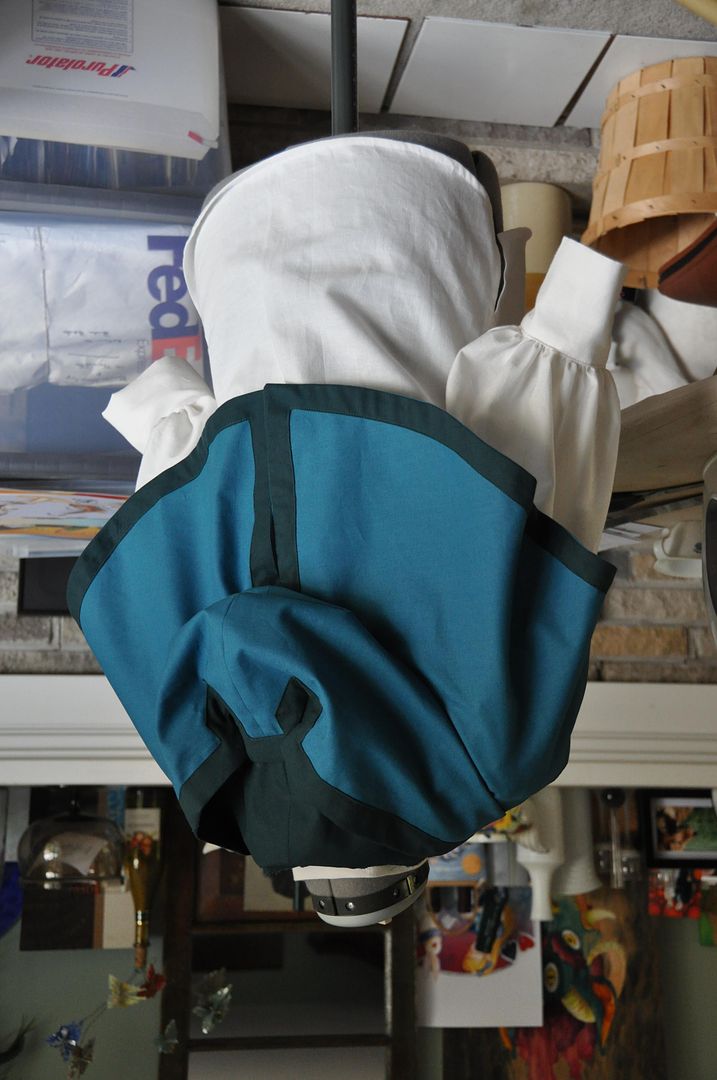
You can see how full the skirt is as it hangs. This is what the skirt looks like without the petticoat underneath. Pretty sad and not floofy. I always think it looks so sad when a character is supposed to have a giant floofy skirt and cosplayers aren't wearing a petticoat. :( Sometimes it's understructure that can make or break a costume.
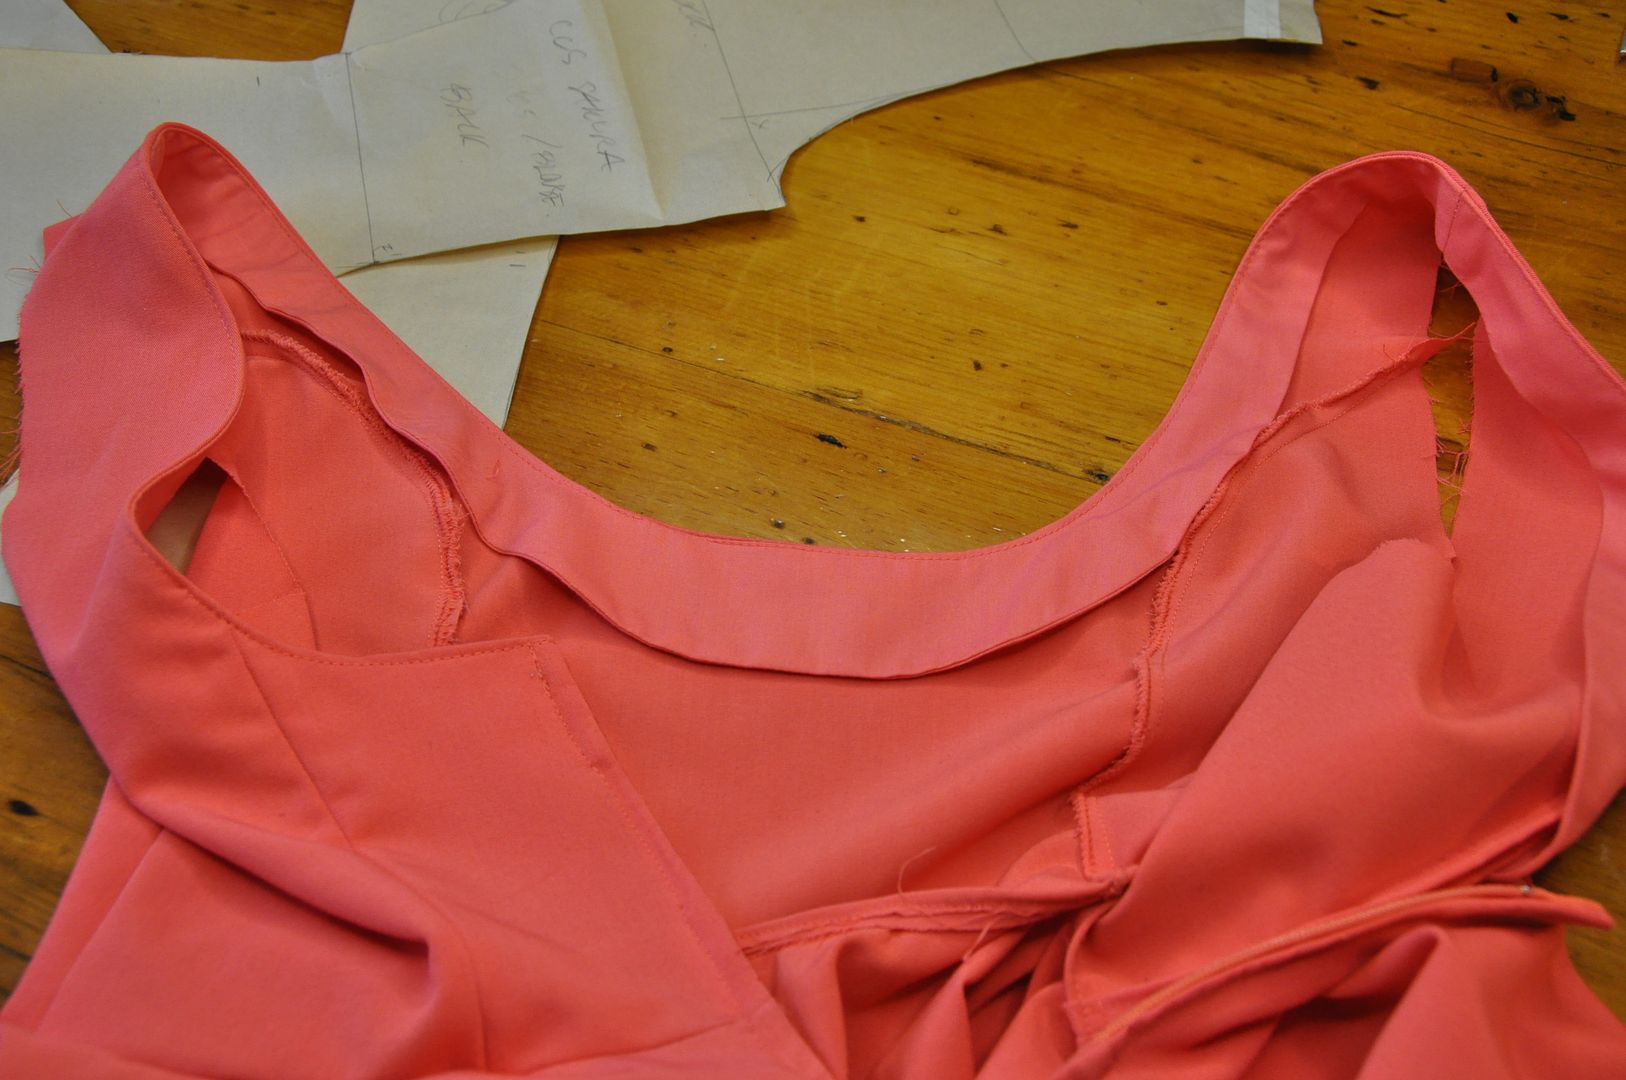
Next I added a zipper into the center back seam. Next I finished the edge of the neckline with a facing. This was tacked down on the inside to keep it from flapping about.


Next I made a facing for the armholes. This was also tacked to the inside.

Next the stripe was added to the bottom of the dress with a pale yellow bias tape, and the dress was hemmed.
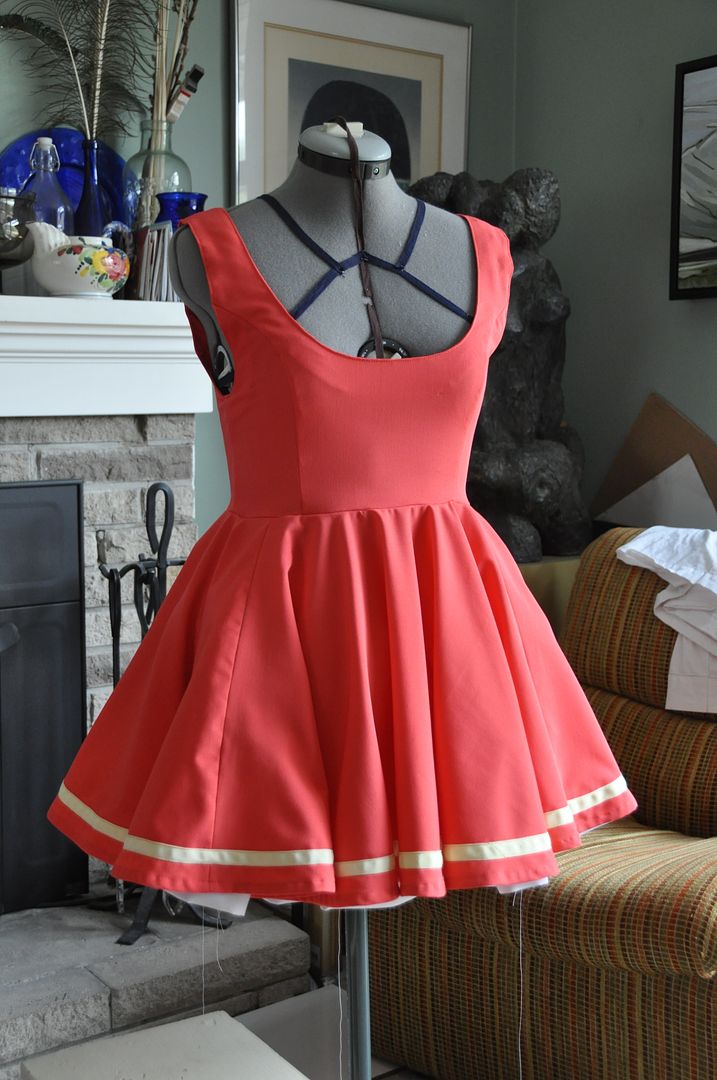
Special thanks must go to my wardrobe gnome Alli, who helped me with finishing up this dress. She did 99% of the hand stitching on this costume. Which included hand basting the yellow bias tape stripe along the bottom edge and the hem (as well as making and attaching all of the bows!). This was so I could machine stitch it with absolute precision (and no wrinkles later. Hand basting is one of those tasks I loathe doing, even though it can be super helpful.

Here you can see I have tested out the dress with 1 layer of the petticoat. Even then I decided I would need almost 3 times as much floof. And even still, I feel I could have done 1 more layer.

Simultaneously I was making the blouse. It started off as the same basic block, but the similarities end there. For the top front portion of the blouse (that would be revealed by the neckline of the pink dress) I created a panel that was wider than the center front piece below by about 2 inches. I gathered  this panel along the bottom edge and neckline so that it would appear ruffled along the center front. The rest of the blouse was fitted, so there wouldn't be too much added bulk under the dress.

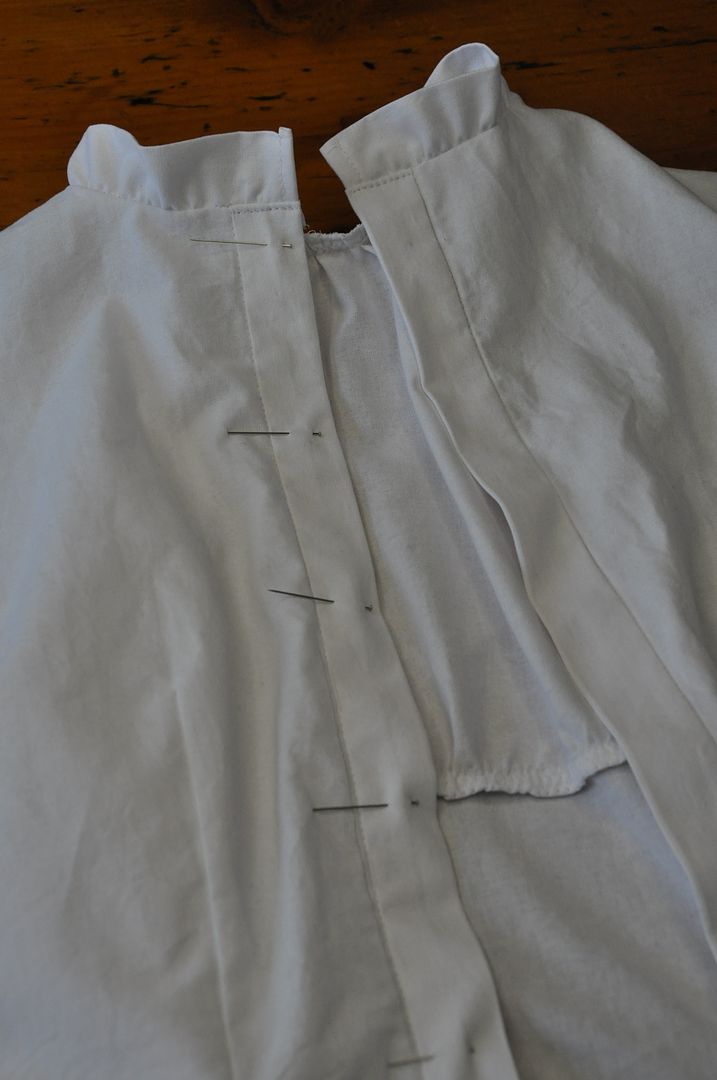
The collar is simply a long rectangle of fabric folded in half lengthwise. It was made long and gathered to fit the neck hole. Again, this costume is nothing but ruffles, ruffles, and more ruffles.

For the back closure I decided to make it button up, because it looked adorable. Although it was a bit of a challenge for her to take on and off, she managed!
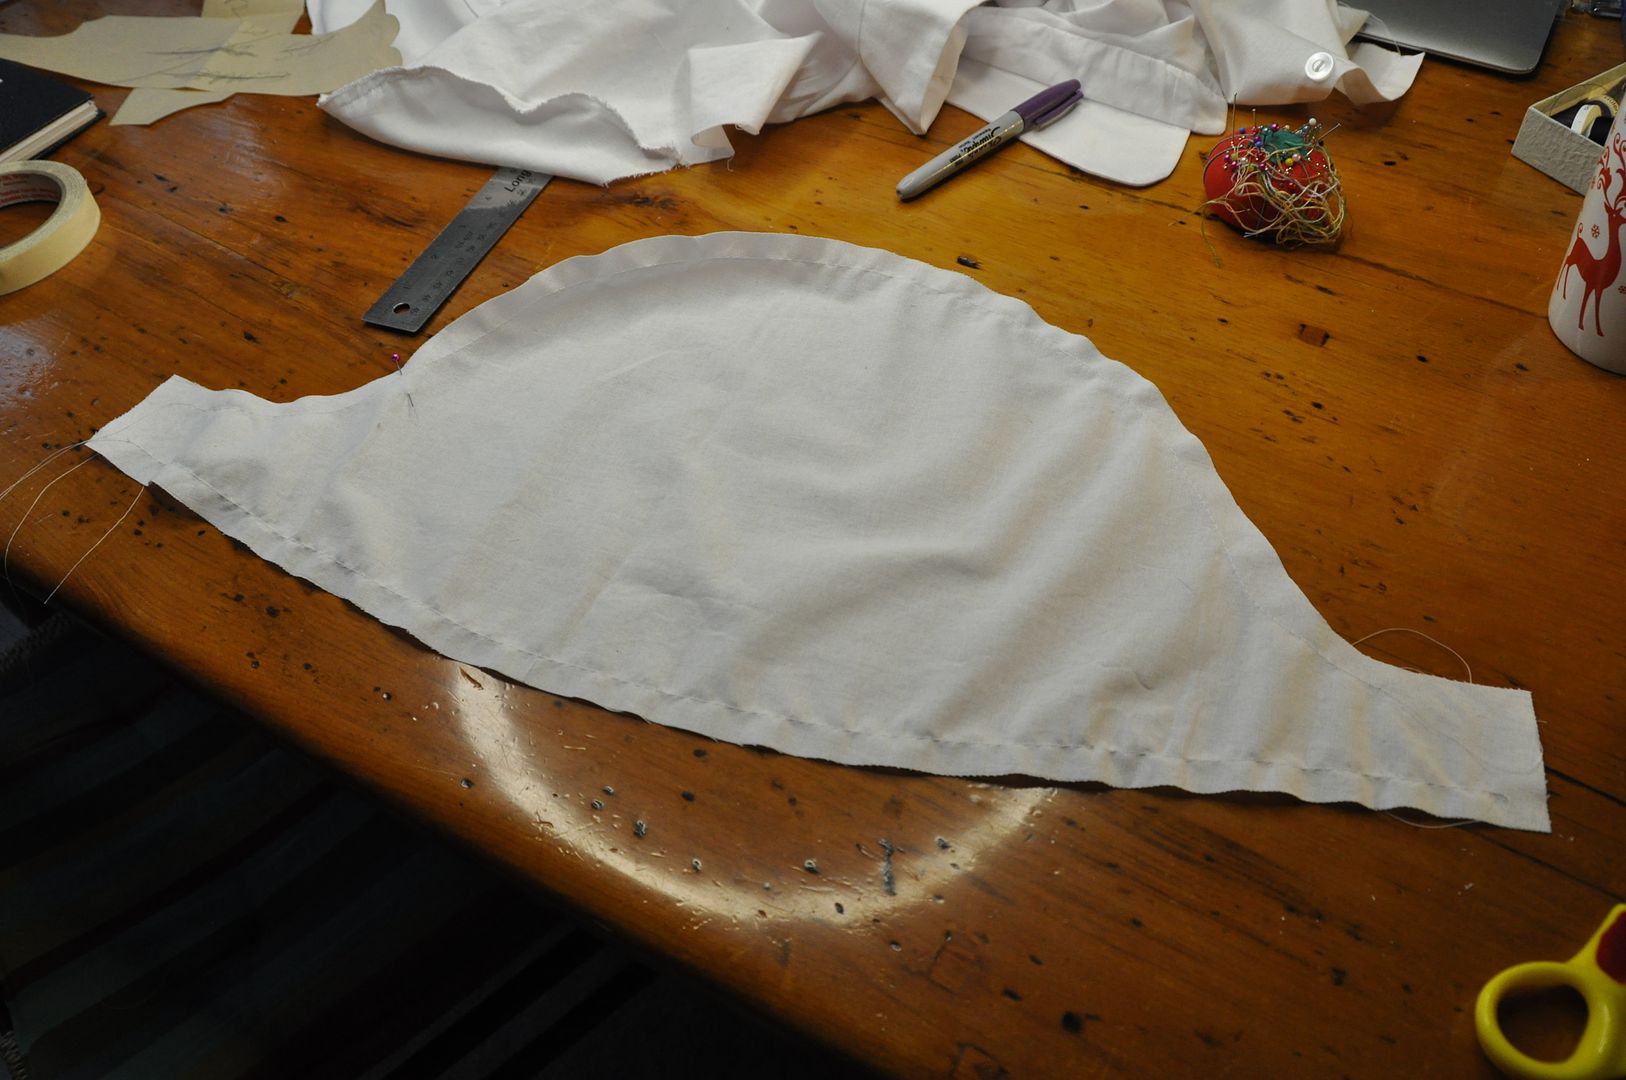
The sleeve took a few tries to get the correct proportion of poof. They are larger than the sleeve hole and gathered to fit.

The sleeve cuffs were done in the same way as the collar.
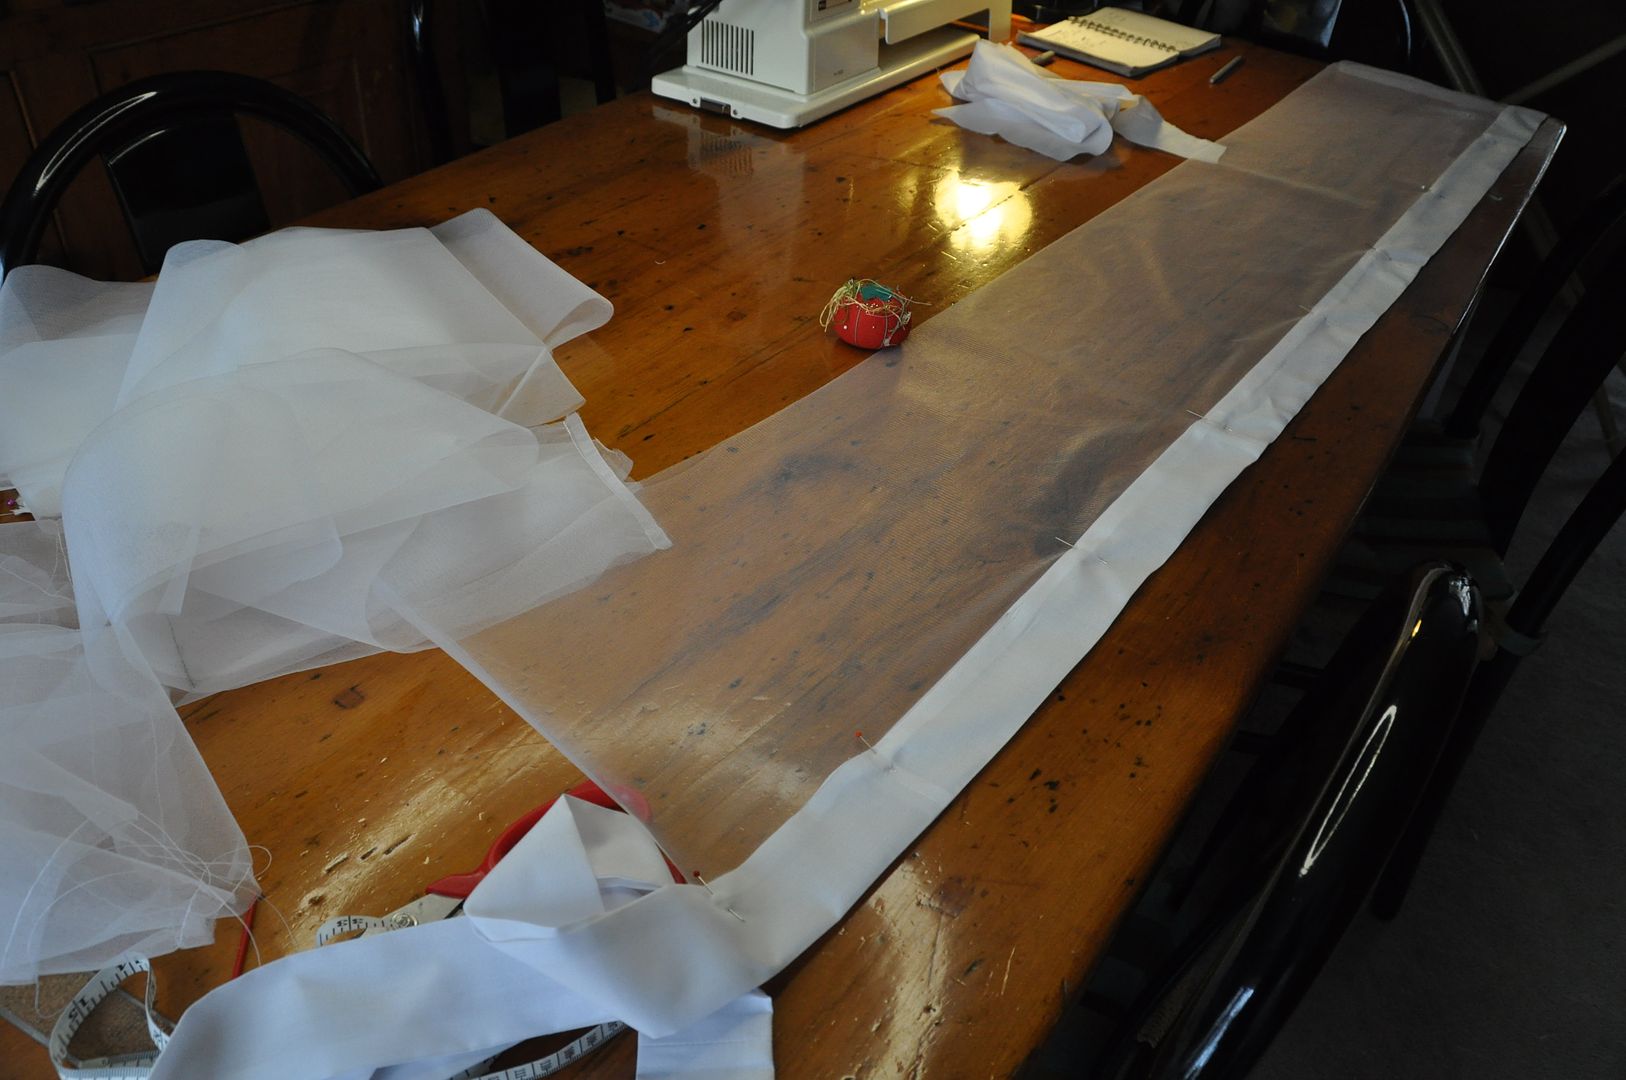
The last step in the project was the petticoat. It is surprisingly labour intensive to make one. With this I used up all the crinoline I had left from when I bought it for my Alice petticoat.

After determining how long I wanted it to be, I cut as many strips as I could of crinoline in each width I needed. I sewed these together, with french seams.

Much like layer cakes, petticoats are easiest to construct from the bottom up. You make the bottom tier first--finish the hem, ruffle it along the top edge--then attach it to the tier above and repeat until you get to the waistband. You make each layer separately.

You can see that each layer in this petticoat has 2 tiers of crinoline--a small one at the waistband. This was to cut down on the already substantial bulk that would have to be sewn into the waistband.

To finish the bottom hem, I created a strip of broadcloth to fold over the bottom edge. This created the look I wanted for the bottom visible edge. While still having the structure that crinoline provided. Making the petticoat entirely out of broadcloth would have been far too flimsy.
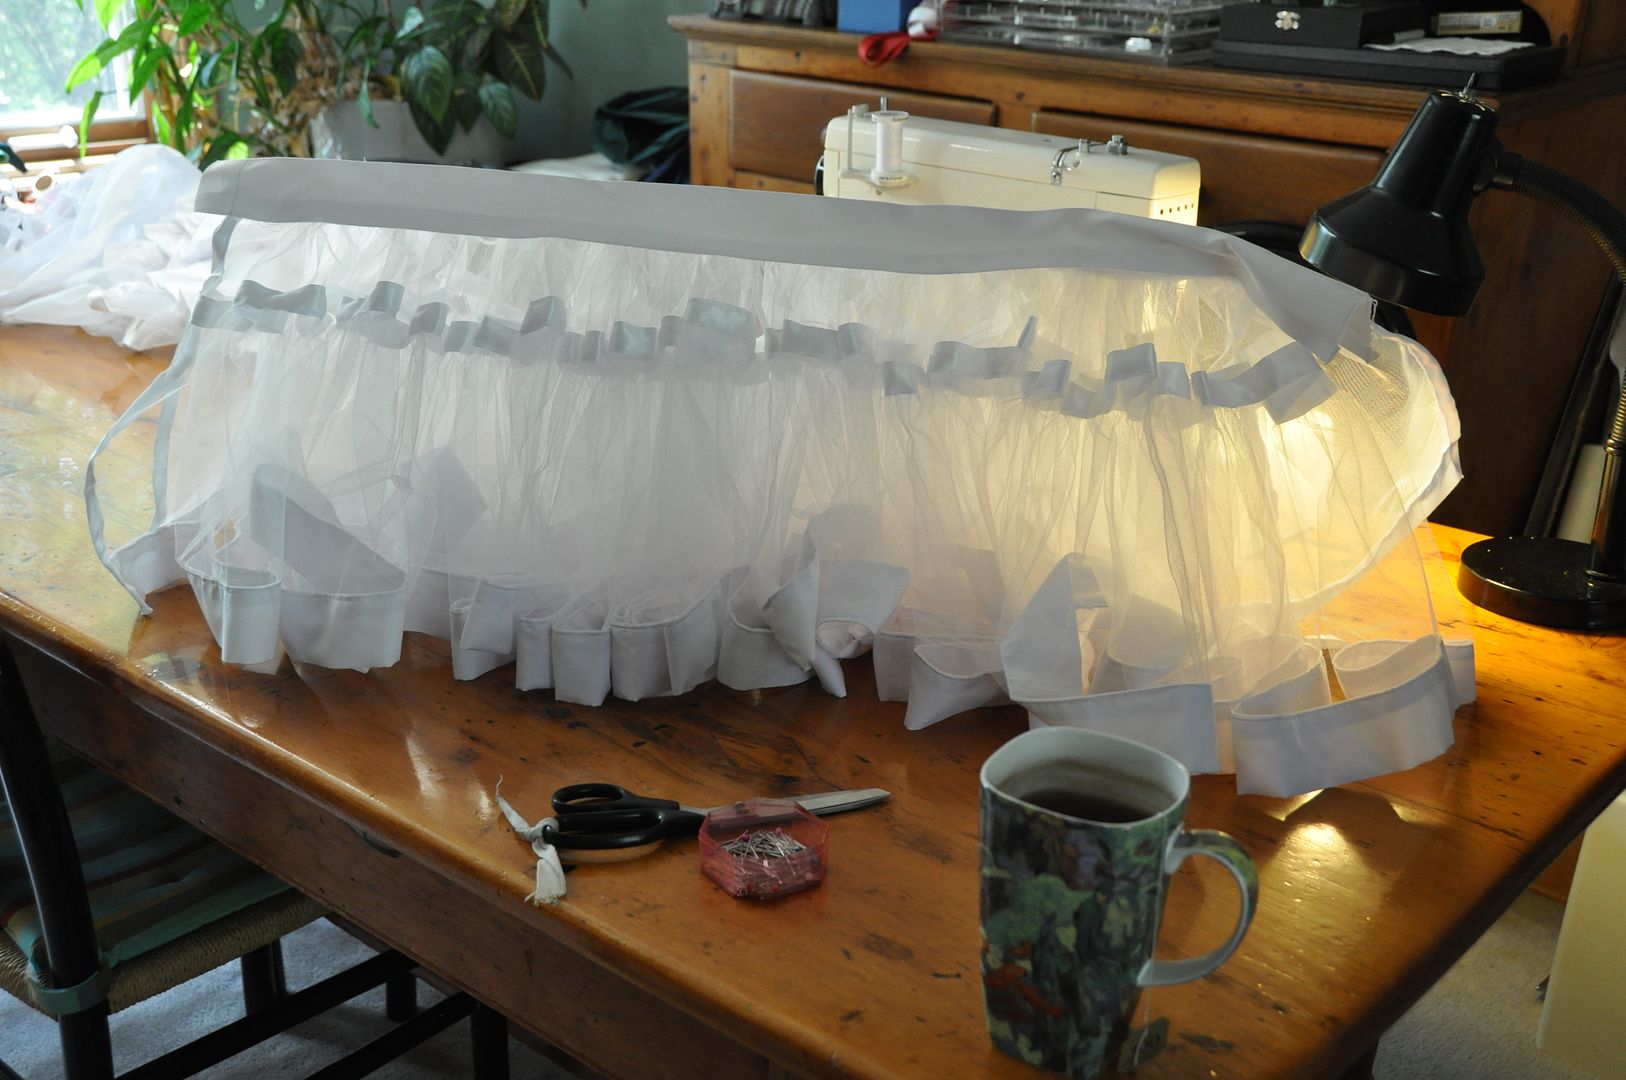
To give you an idea of just how much fabric this is: the petticoat can stand on its own. This is only 2 layers, this is before I decided to make a third.


After making layer number 3, I also made a simple white circle skirt (1 full circle) to go over top of it. Like the blouse I made a ruffle to add along the bottom edge. This was long enough so it would be visible below the edge of the skirt.
To give you some perspective, this is how much petticoat I put into this costume. And I could have done more. I would probably have used a stiffer crinoline layer.

This one is 3 layers of crinoline, plus a white circle skirt with a ruffle along the edge over top.


The completed dress looked pretty good!

Wednesday, August 26, 2015

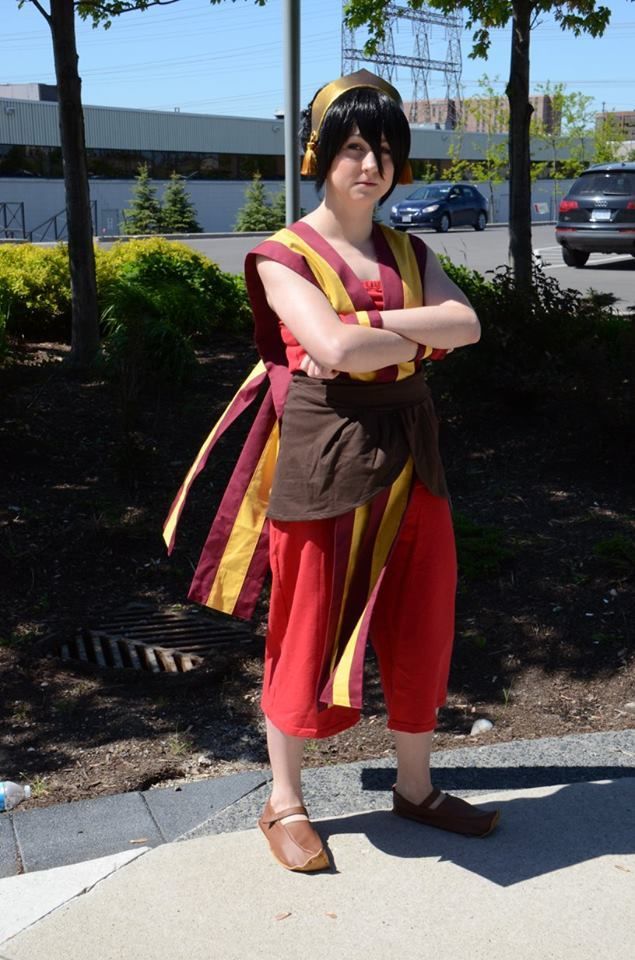
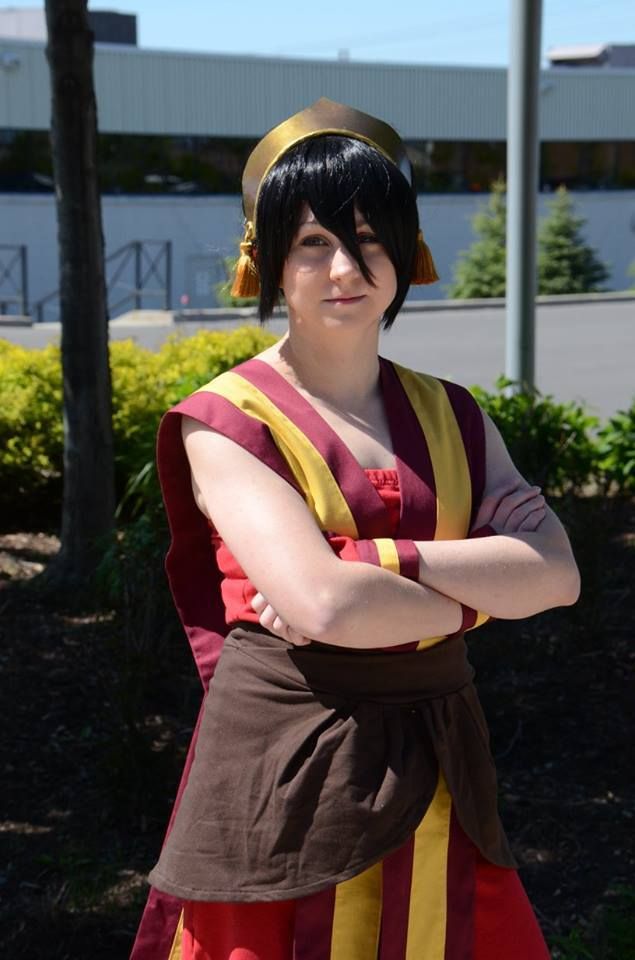
Toph (Fire Nation Disguise) - Outfit - Avatar: The Last Airbender

The second installment in my series of posts on my Toph costume. If you want to see how I created the wig, go here!

Toph Beifong is one of my favourite characters from The Last Airbender. She is so very sarcastic and a genuine tough-guy. A welcome addition to the group dynamic in season 2. I've always wanted to do a costume from this series, but I had never made time for it. I really love the Fire Nation outifts the best aesthetically, though I've always had my eye on doing either one of the Kiyoshi warriors or Ba Sing Se costumes... So many good choices. Perhaps someday...

As I said in my previous post, I actually started this costume last summer, but after many difficulties with the wig I didn't finish it. This is the part of the costume that I constructed and finished last year for Otakon.

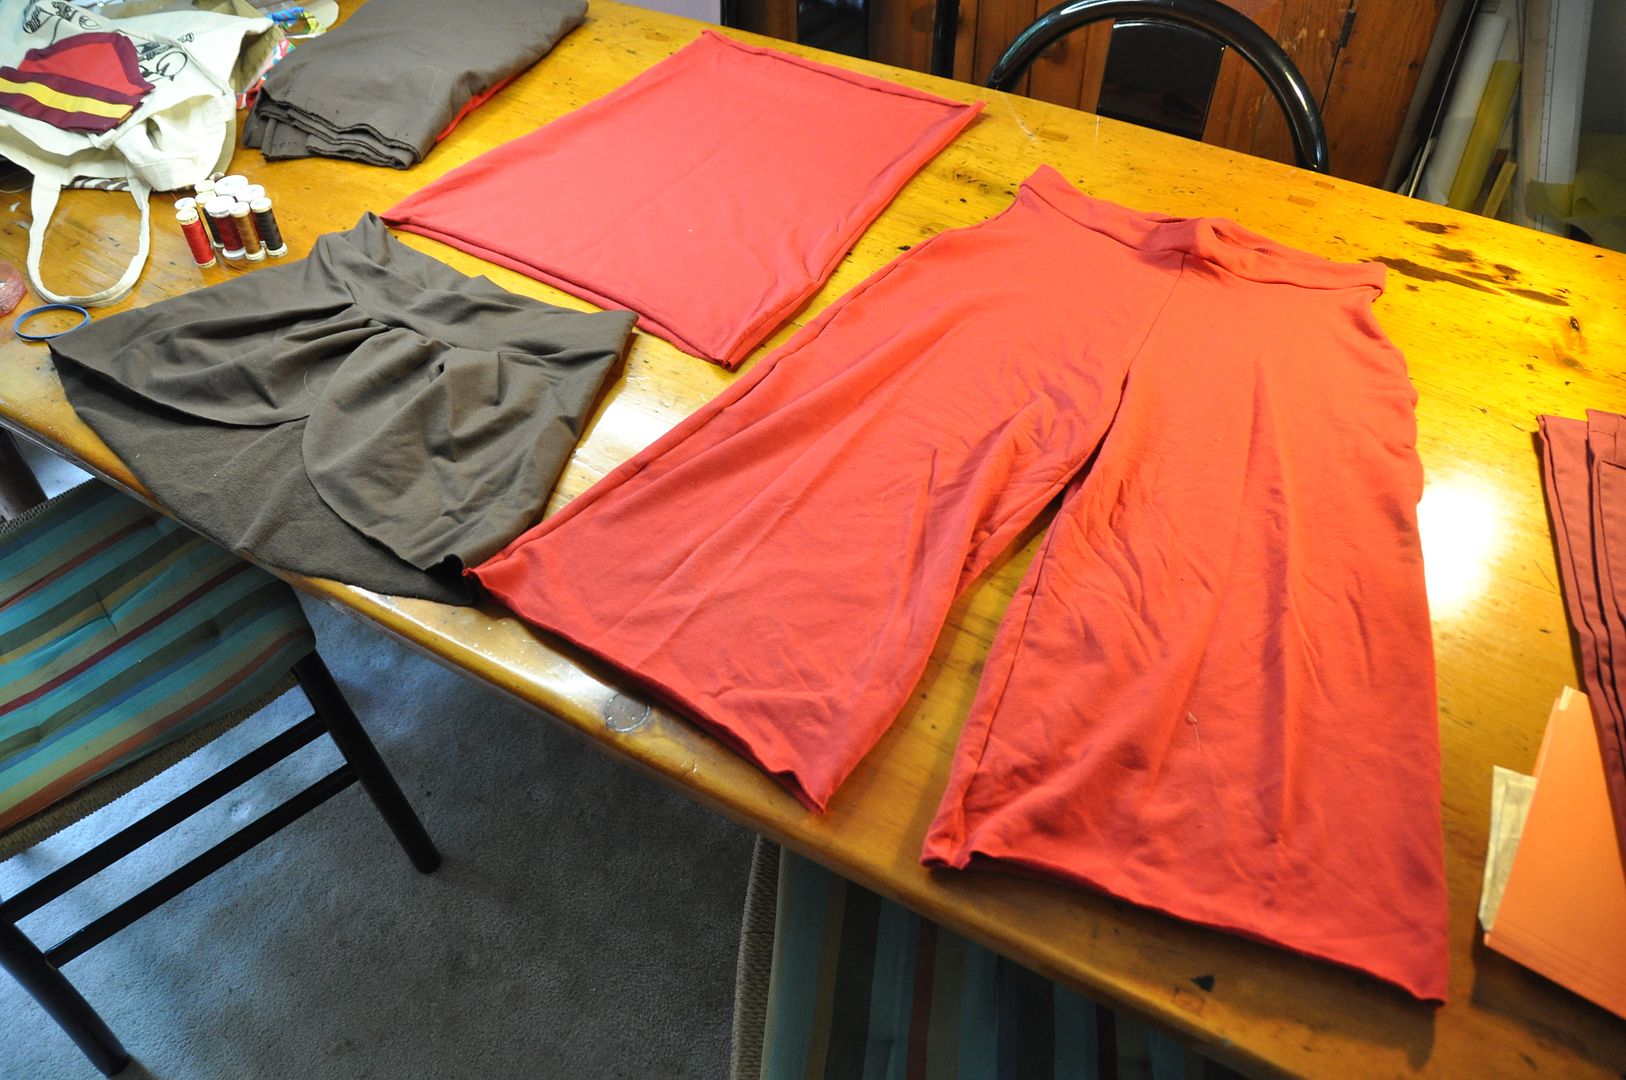
Aside from the extremely heavy wig, the rest of this costume is super comfy. I decided to make it primarily out of stretch fabrics.
The pattern for the pants is based off of a pair of old yoga pants I have. I traced that onto a piece of paper and used it as my pattern. They only needed some slight adjustments to account for the difference in fabric.

The tube top was made from two pieces--a front and back--that were narrower at the waist.

The waist wrap I draped to created the pattern. I pleated the fabric along the front overlap. The waistband for it was folded in half and tapered to a point at each end.

Because I lack a serger, after cutting out all my pieces I went to visit my friends Jen and Amanda--AKA Mai Sheri and Elemental--who were kind enough to let me use theirs! (I paid them in homemade cookies.) I assembled the pants, and tube top with relative ease. Pinning the waistband to the wrap this was serged together in a circle on the inside. Then using a zig-zag stitch I hemmed all the garments.

I inserted an elastic in the waistband of the pants and the top of the tube top. All of these pieces stretch to fit and have no closures.

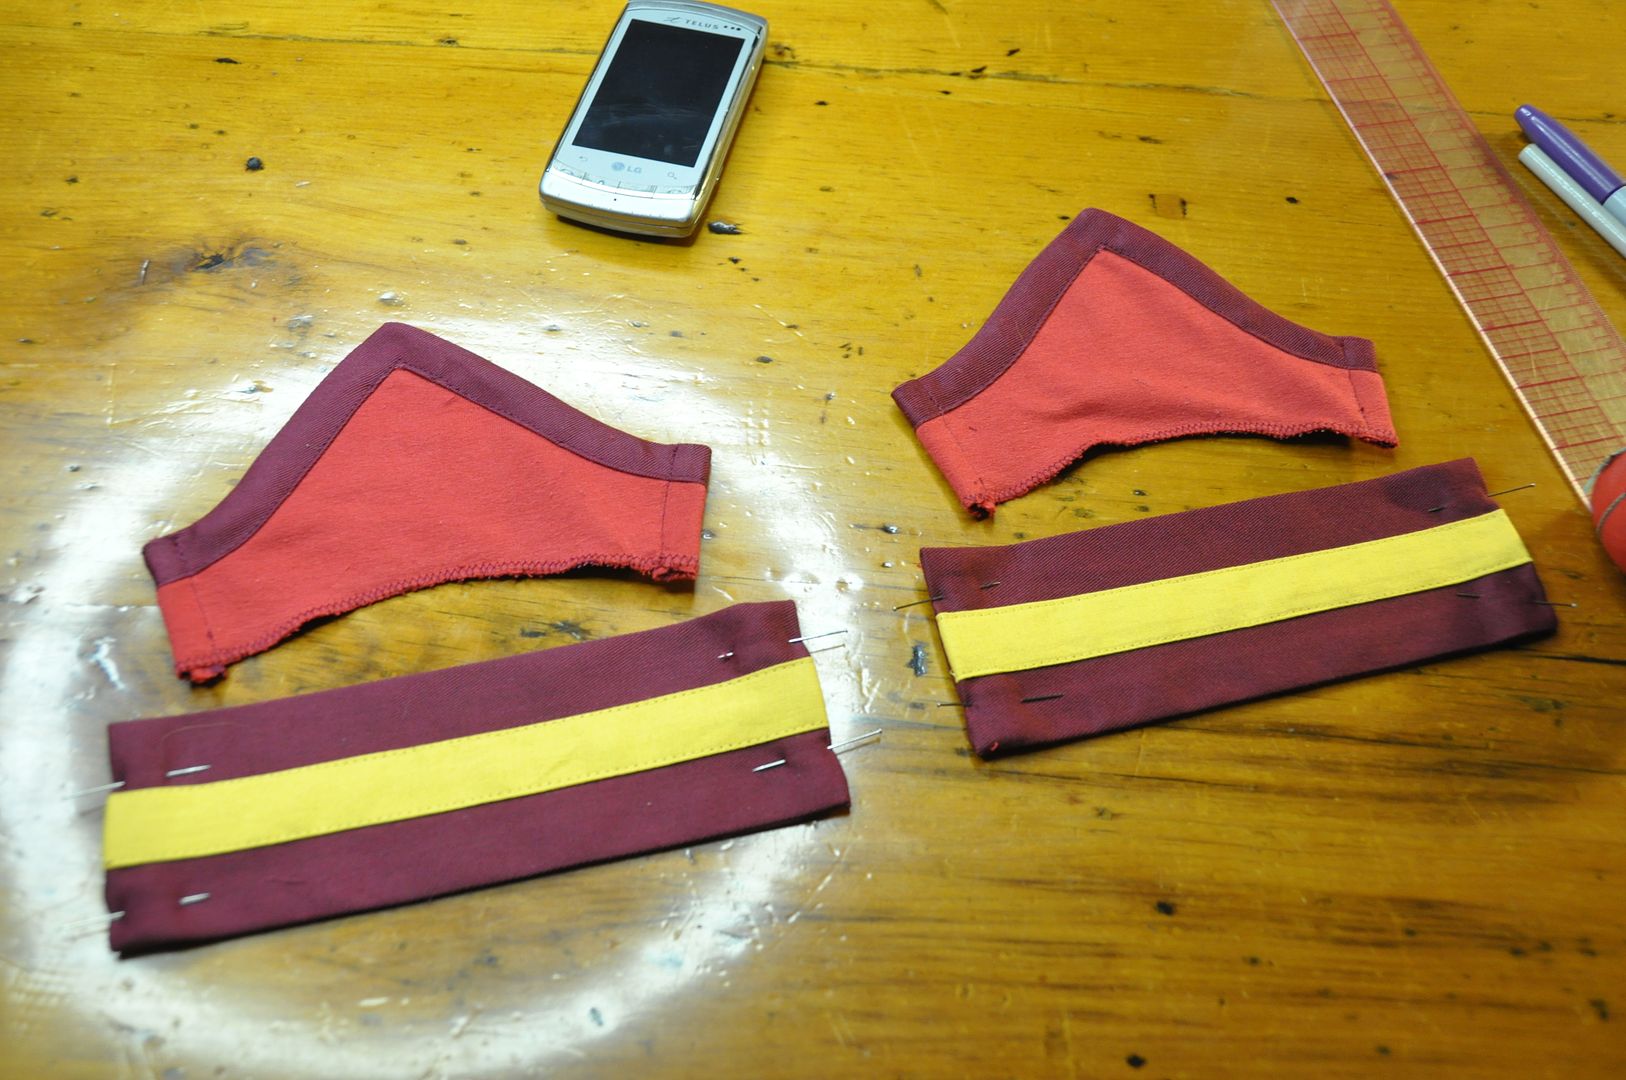
For the striped pieces draped over the shoulders, they are simply long rectangles. I was using up leftover fabric from another project. The yellow stripe was aligned with the center of one half, then top stitched down. Then I folded them right sides together and sewed along the open edge. Then I flipped them right way out and finished the ends. I tacked them together at the front and back where they overlap so they would stay in place. 

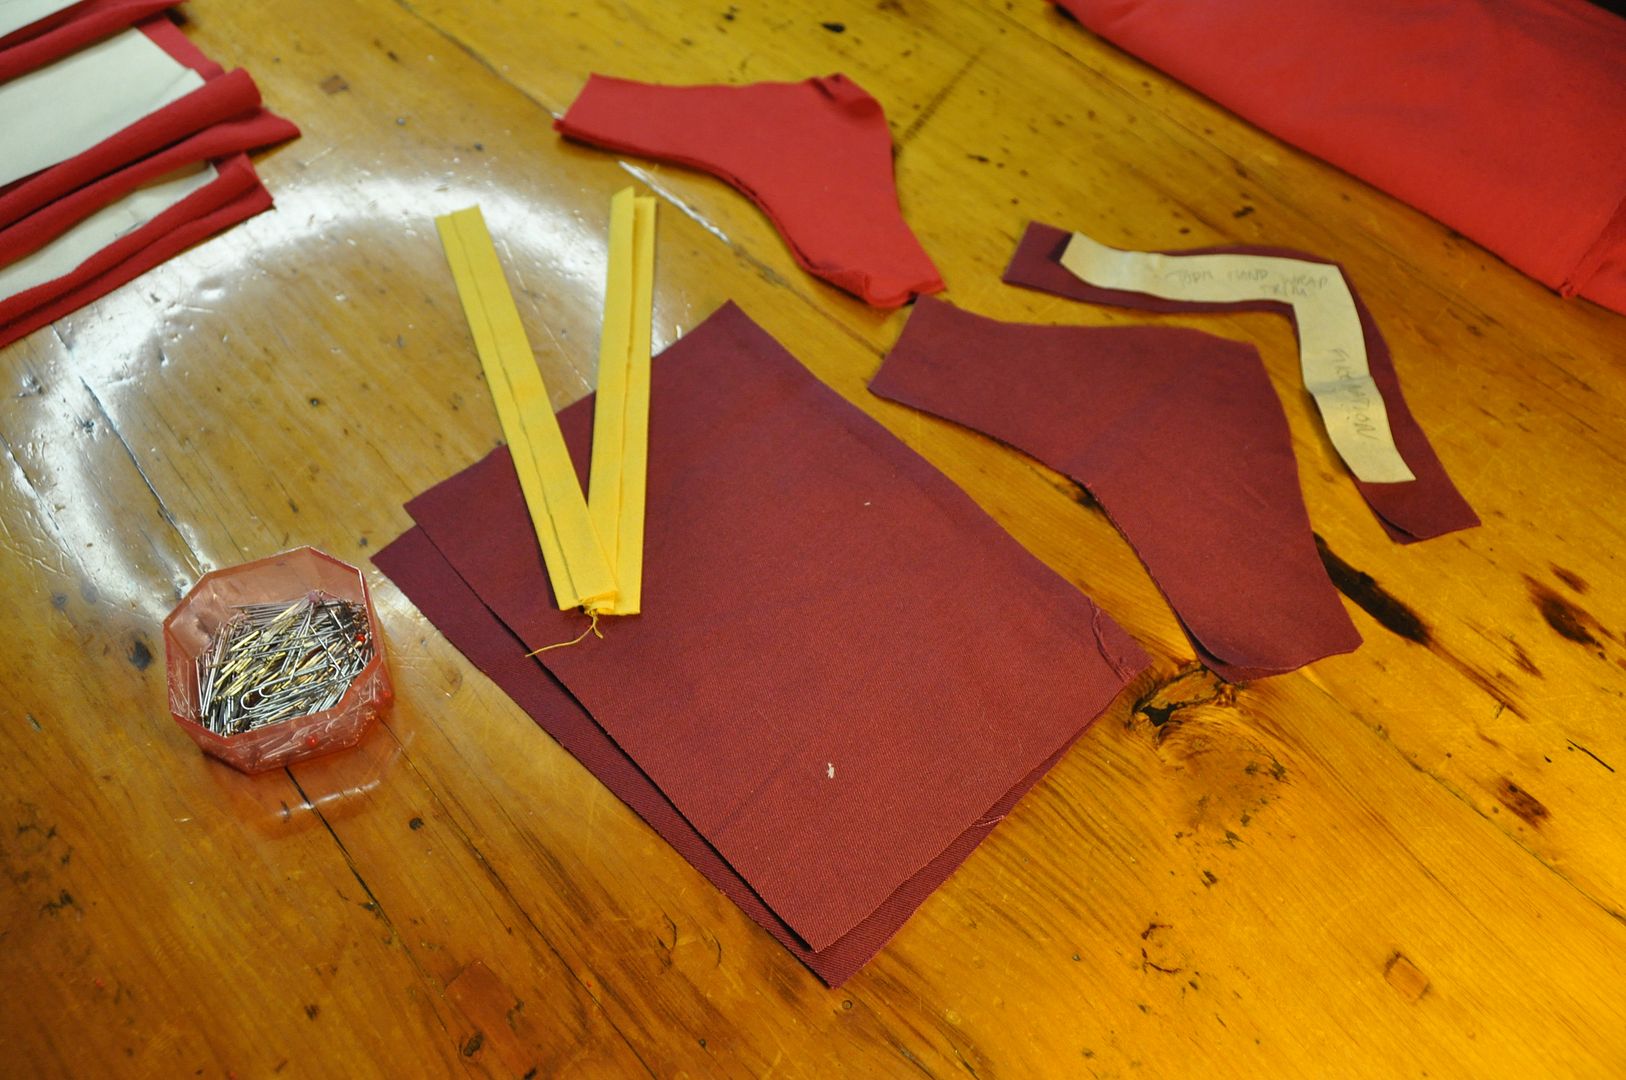
The last piece to create was the cuffs. I used paper to mock up a pattern. Then cut out pieces in the various colours.
I sewed the yellow stripes to the wristbands in the exact same way as I did the draped pieces--just on a smaller scale.

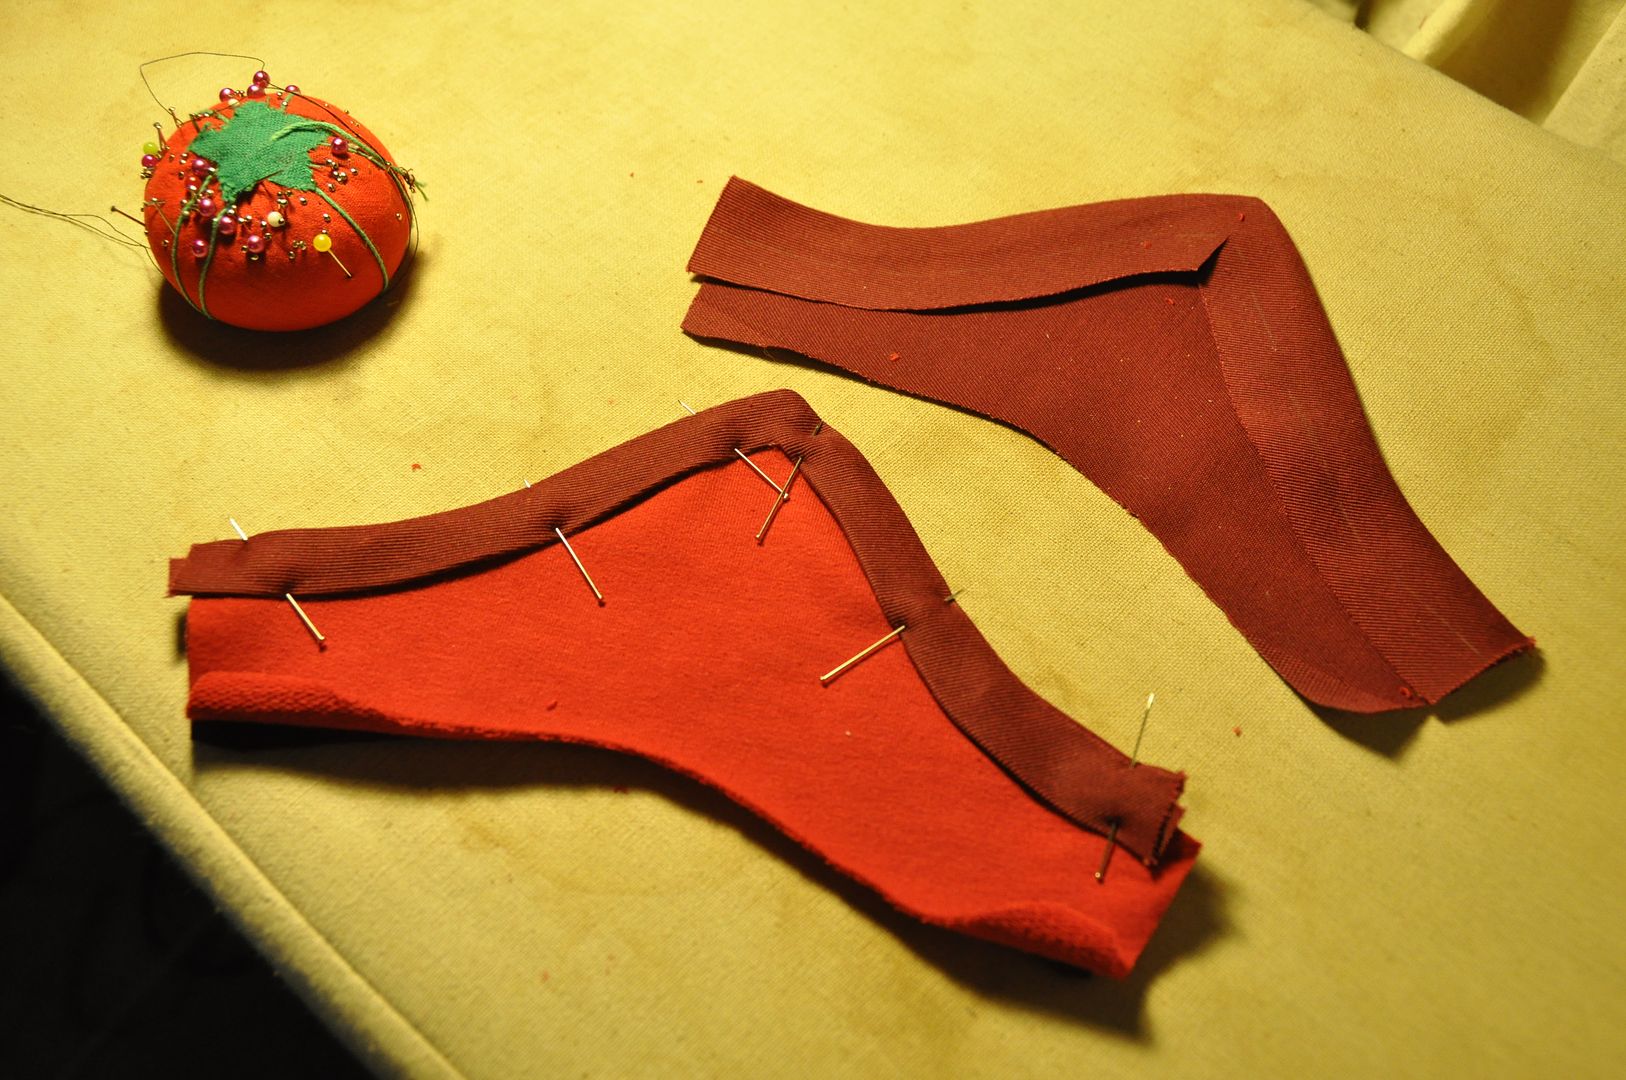
For the pointed piece I sewed the backing and the top edge piece right sides together.

The next step was to clip the excess seam allowance and flip the top edge piece to the front. I ironed it flat. Then I inlaid the red piece, tucking the raw edges of the burgundy piece underneath the trim and top stitching it in place.


After finishing the edges I sewed the pointed piece to the wristband. Then I added some hooks and bars as closures.

Stay tuned for part 3!

Thursday, September 25, 2014

Kimono Style Sleeveless Shirt

 This is an original design I made using fabric I got from my sister for Christmas. Woo! I decided this fabric would make a good kimono top, but I didn't have enough of it to do a full kimono top. Since I wanted something I could wear with normal clothes I decided to make it into a cool tank top with a kimono style closure instead. :)
I started off with a mockup. The pattern I drafted myself, modified from a basic block. It was a bit of a challenge to get the princess seams to work.

Once I was happy with my pattern I cut it out of my cool fabric. It's asymmetrical so I only cut 1 of each different front piece, making sure that I was cutting a right and left side (not 2 rights or two lefts by mistake!).
Above you can see the different pieces all laid out together!

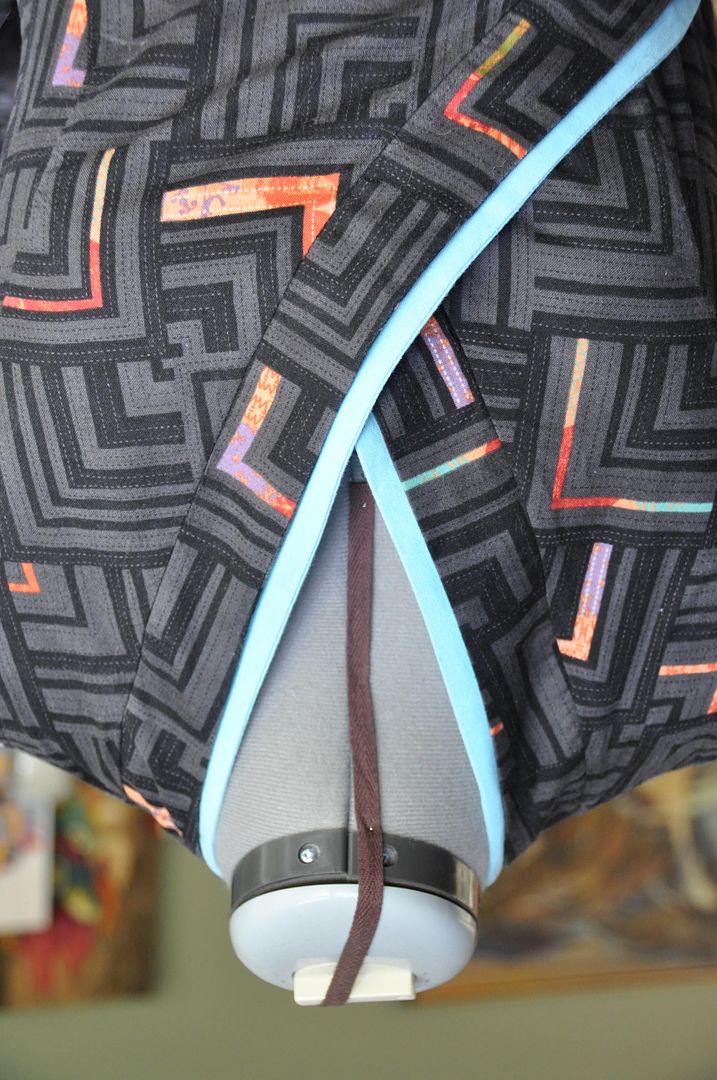
First I sewed the collar pieces together at the shoulder seams. Then I sewed the inner collar to the outer collar along the outer edge, right sides together--this way the outer edge was finished nicely. I clipped the curves and flipped it right way out, then ironed it flat.

I sewed my front pieces together along the princess seam and sewed the darts in the back. Then I attached my front and back pieces at the side seams and shoulders. I then finished all inner seams.
I made my inner collar accent piece the same way as the outer collar. The inner collar is about 3/8" wider so it is visible in behind. The inner collar is made out of leftover fabric from my Suppi costume!


I attached the collar along the front edge and back up around the neck. The outer collar is layered underneath. This was then flipped right way out, the seam was finished, ironed to one side and then topstitched neatly in place.

Then I hemmed the bottom edge. I finished the sleeve holes which was flipped to the inside and top stitched in place.

Lastly I stitched on the ties. The inner ties were made of a twill tape to hold the under flap closed, the eternal tie was stitched between the two collar layers, and into the side seam (I had to unpick it to do this). This was done with leftover fabric from my Forest Guardian costume!

This shirt is nice and comfortable. The cotton breathes well in summer!

Saturday, July 5, 2014

Forest Guardian - Pants, Shirt & Cape

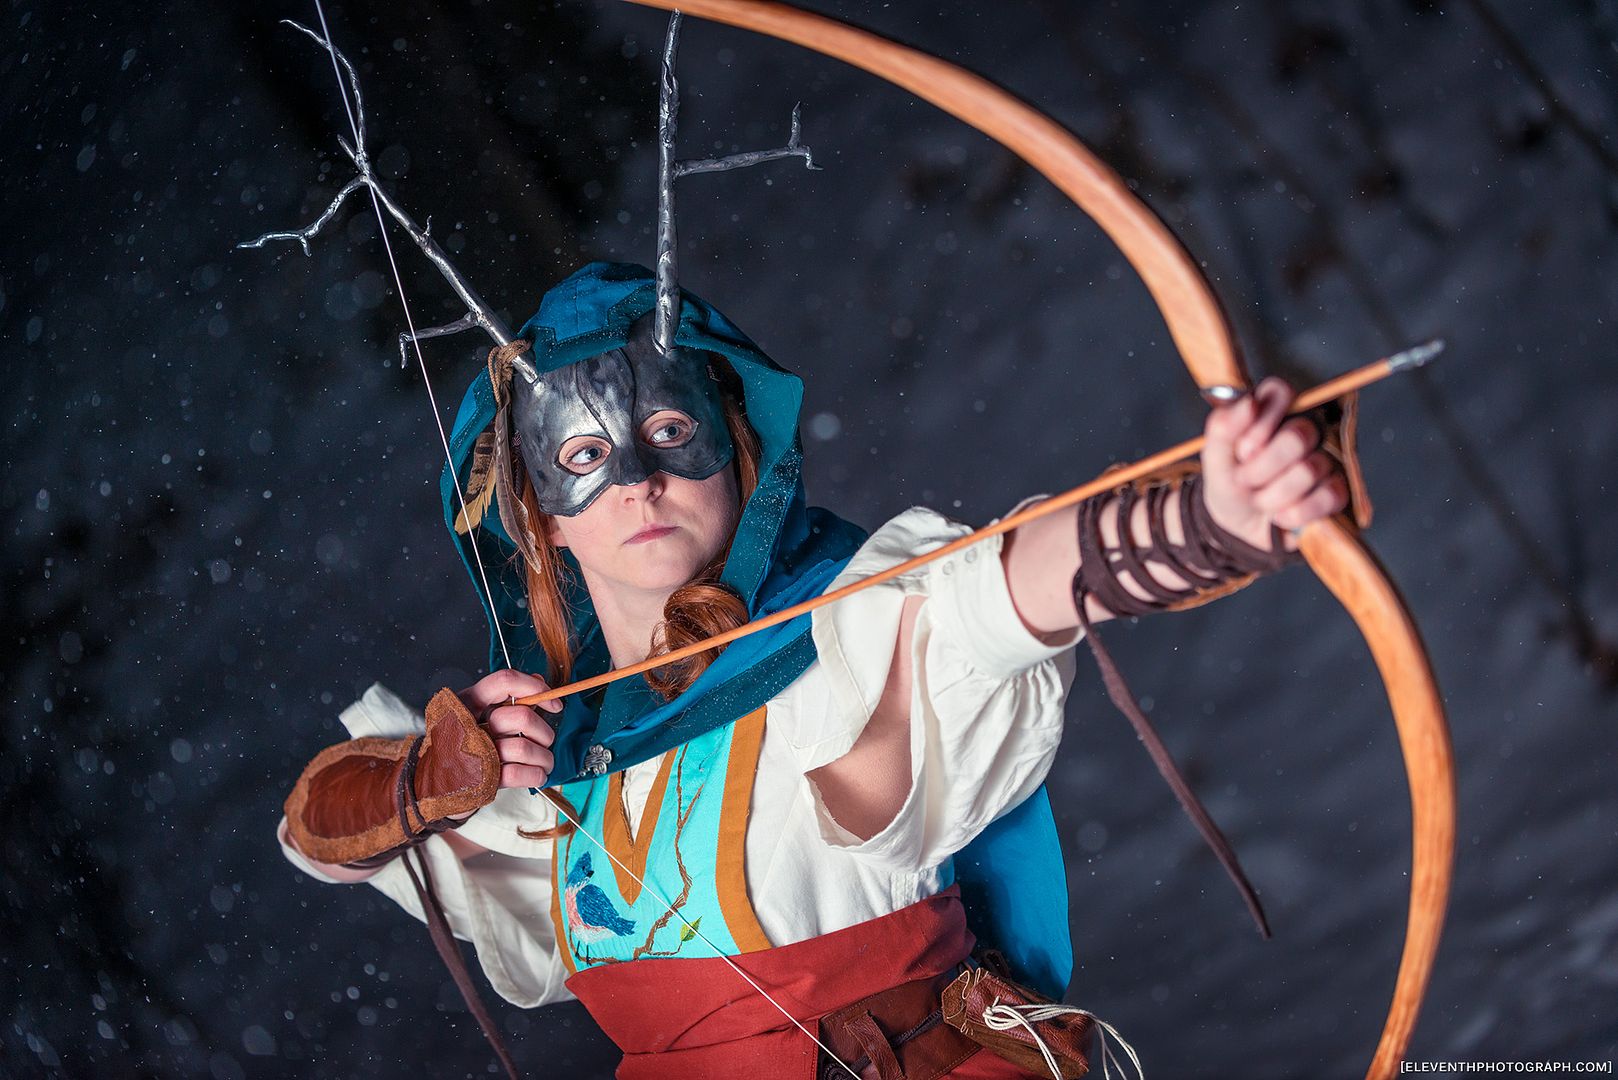
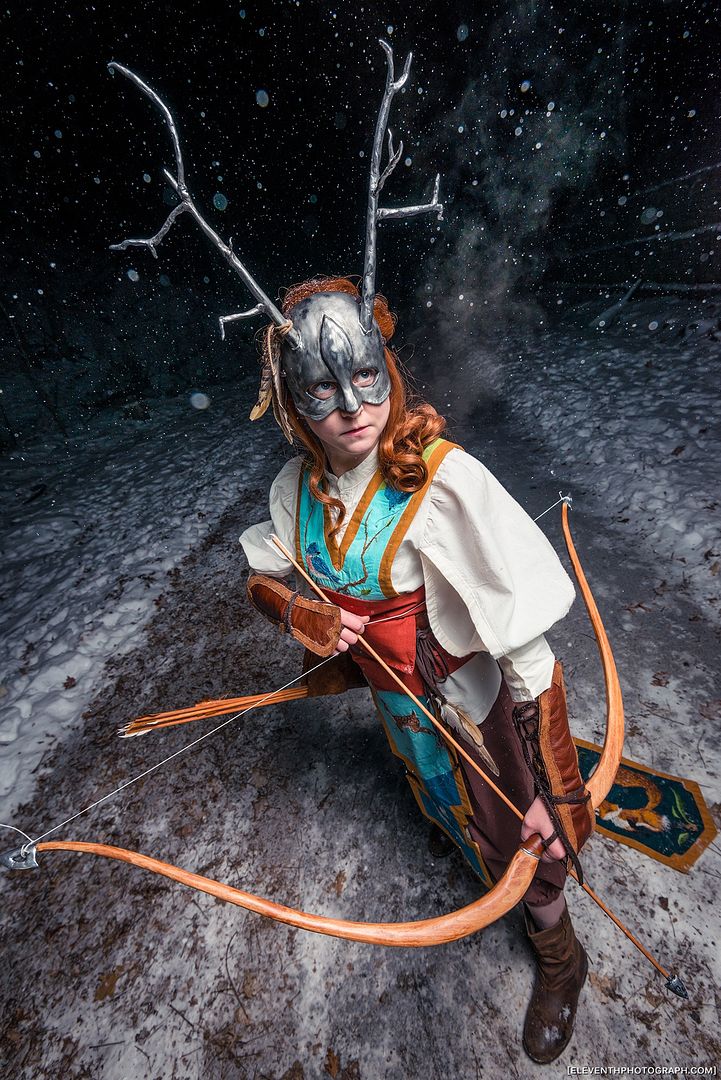
[Edit: New photos added from Feb 2015 shoot with EleventhPhotograph!]

Welcome to my first look at the Forest Guardian! I thought we should start with the pants, shirt and cape because in terms of the actual build of the costume that's where I started. I think at this point it has been a full year since I started the concept sketches for this costume, wow! This is my first real original design costume and I'm pretty proud of it. 
I wore most of the costume to CostumeCon 32, excluding the embroidered panel, which I was sadly unable to finish in time. The costume was completed for Anime North, and I competed it in the Masquerade. I won an award for my embroidery in the Master Division, which I am super proud of! This was my entry.

I still need to do a photoshoot of this costume, hopefully that will happen sometime in the near future. I have been location scouting in the forest behind my house. :P 

I started the design concept of this last summer. I had bought my badge for CostumeCon 32 at Anime North last year, so I knew I wanted to make something original. There were several different designs leading up to this one, several different versions before I arrived at this one. I developed the design over the course of the summer and got started on the project after returning from Otakon. 

 The hardest part once I had the shapes down was colourizing everything. I knew I wanted the character to have auburn hair and that the shirt was going to be off-white but other than that I wasn't sure. I didn't even know if I wanted to make the mask look like metal or clay & bone. There were several different coloured versions before I settled on this one (there was even one where the animals on the embroidered panel were to be done as silver silhouettes). It ended up being quite colourful in the end, I was sort of going for ceremonial garb when I first started drawing it and ultimately I think the colour suits the design. Even then there have been several changes that developed over the course of the build since I did this "final" sketch. I purposefully designed the under clothing for this costume to be quite simple, as I wanted the focus to be on the embroidered panel and accessories. 

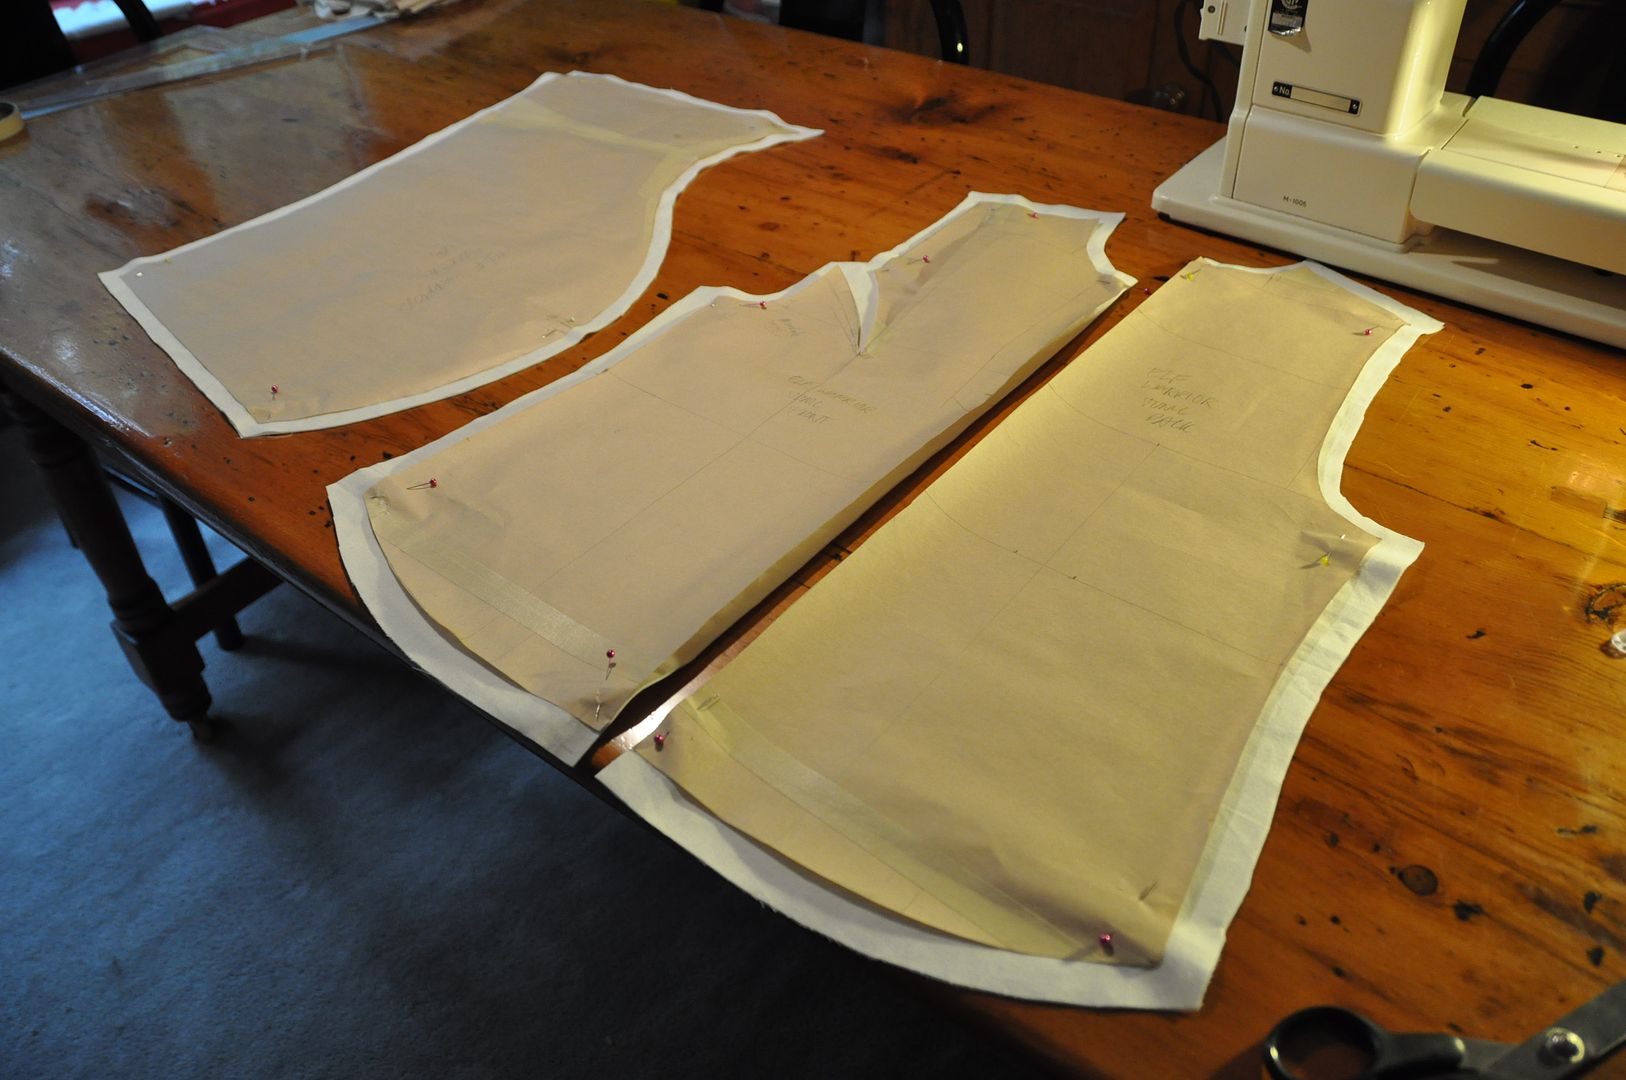
 I started by patterning and mocking up the shirt. The shirt was designed to be a looser fit, with flowy sleeves that would allow easy/unrestricted movement. The shirt itself only has 2 darts at the armhole to the bust, the waist get cinched in by the belt. The sleeve pattern had required some adjustments initially because unlike a regular sleeve this had a slit in the front. So I had to move the seam from the bottom to the front.
 
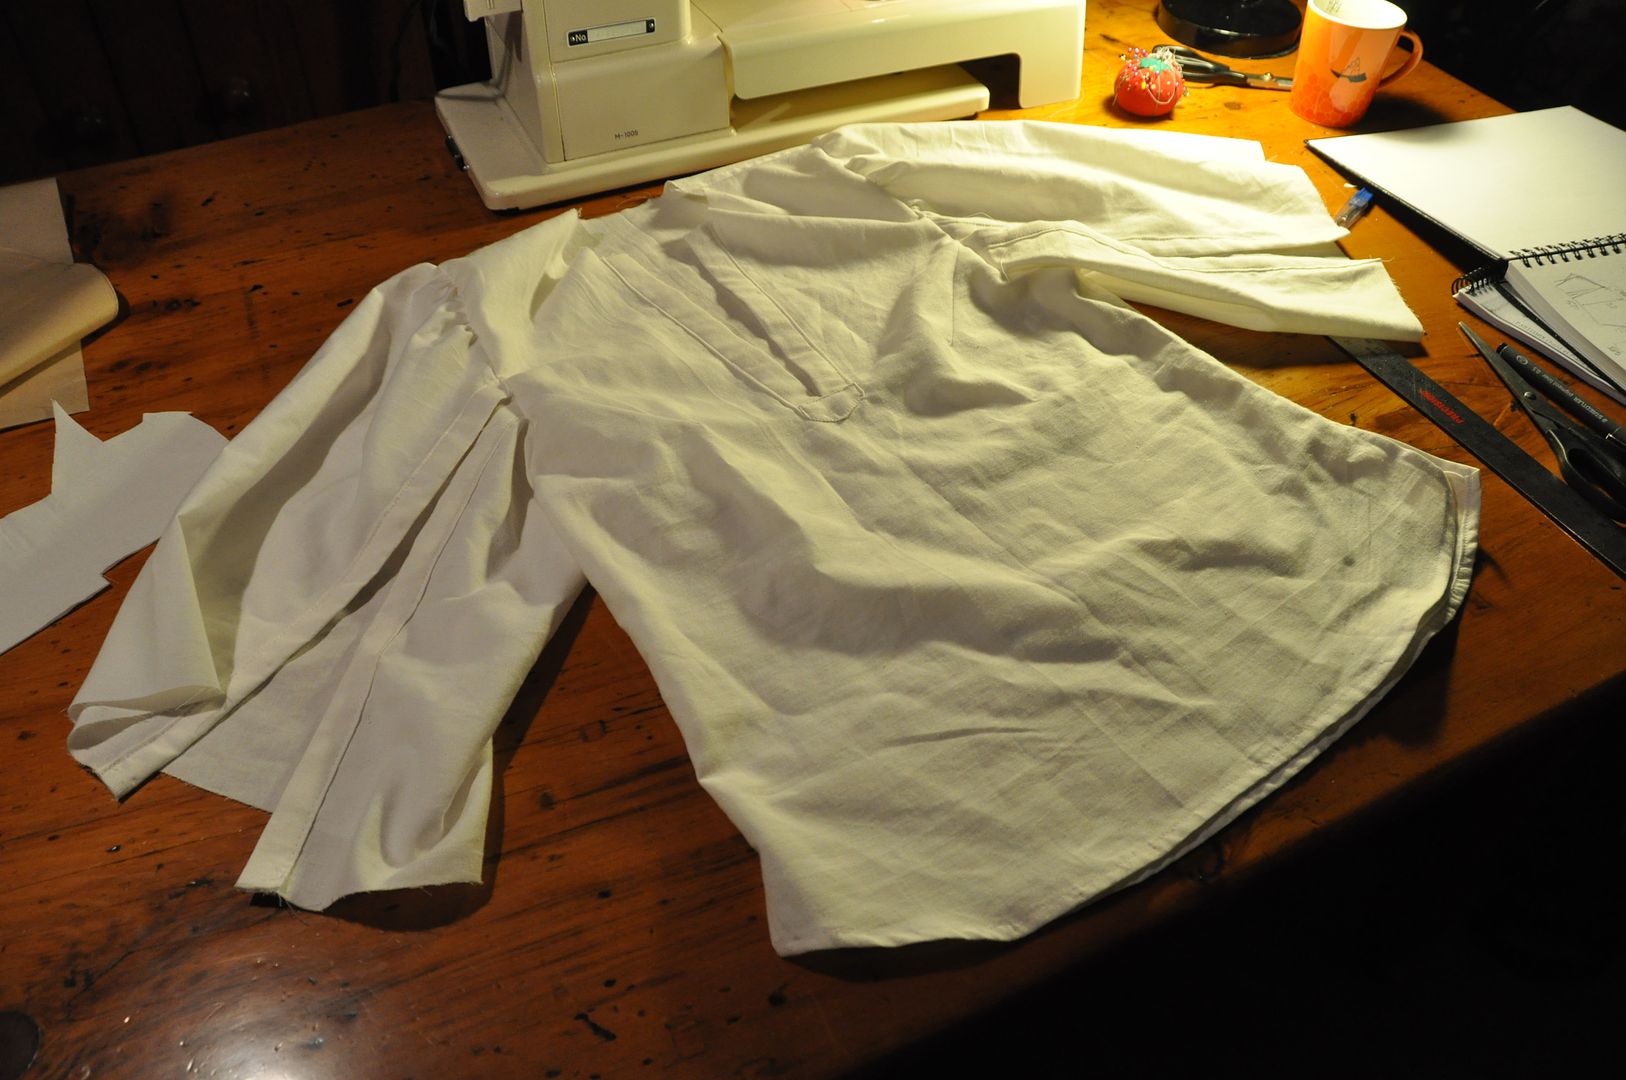
After doing a mockup, I cut and sewed the pieces. I closed the darts and then sewed the front and back pieces together, leaving a little slit open at the bottom of each side seam. I cut the slit open at the front and finished off the edges with a strip I made out of the same fabric. This would reinforce the fabric when I added the laces later.
I then sewed on the collar and gathered the sleeves. Then I finished/reinforced the edges of the sleeve opening. Originally I had intended for the sleeves to be laced shut, but I decided I really liked the look of them open and left them that way.

 I hemmed the bottom of the shirt.
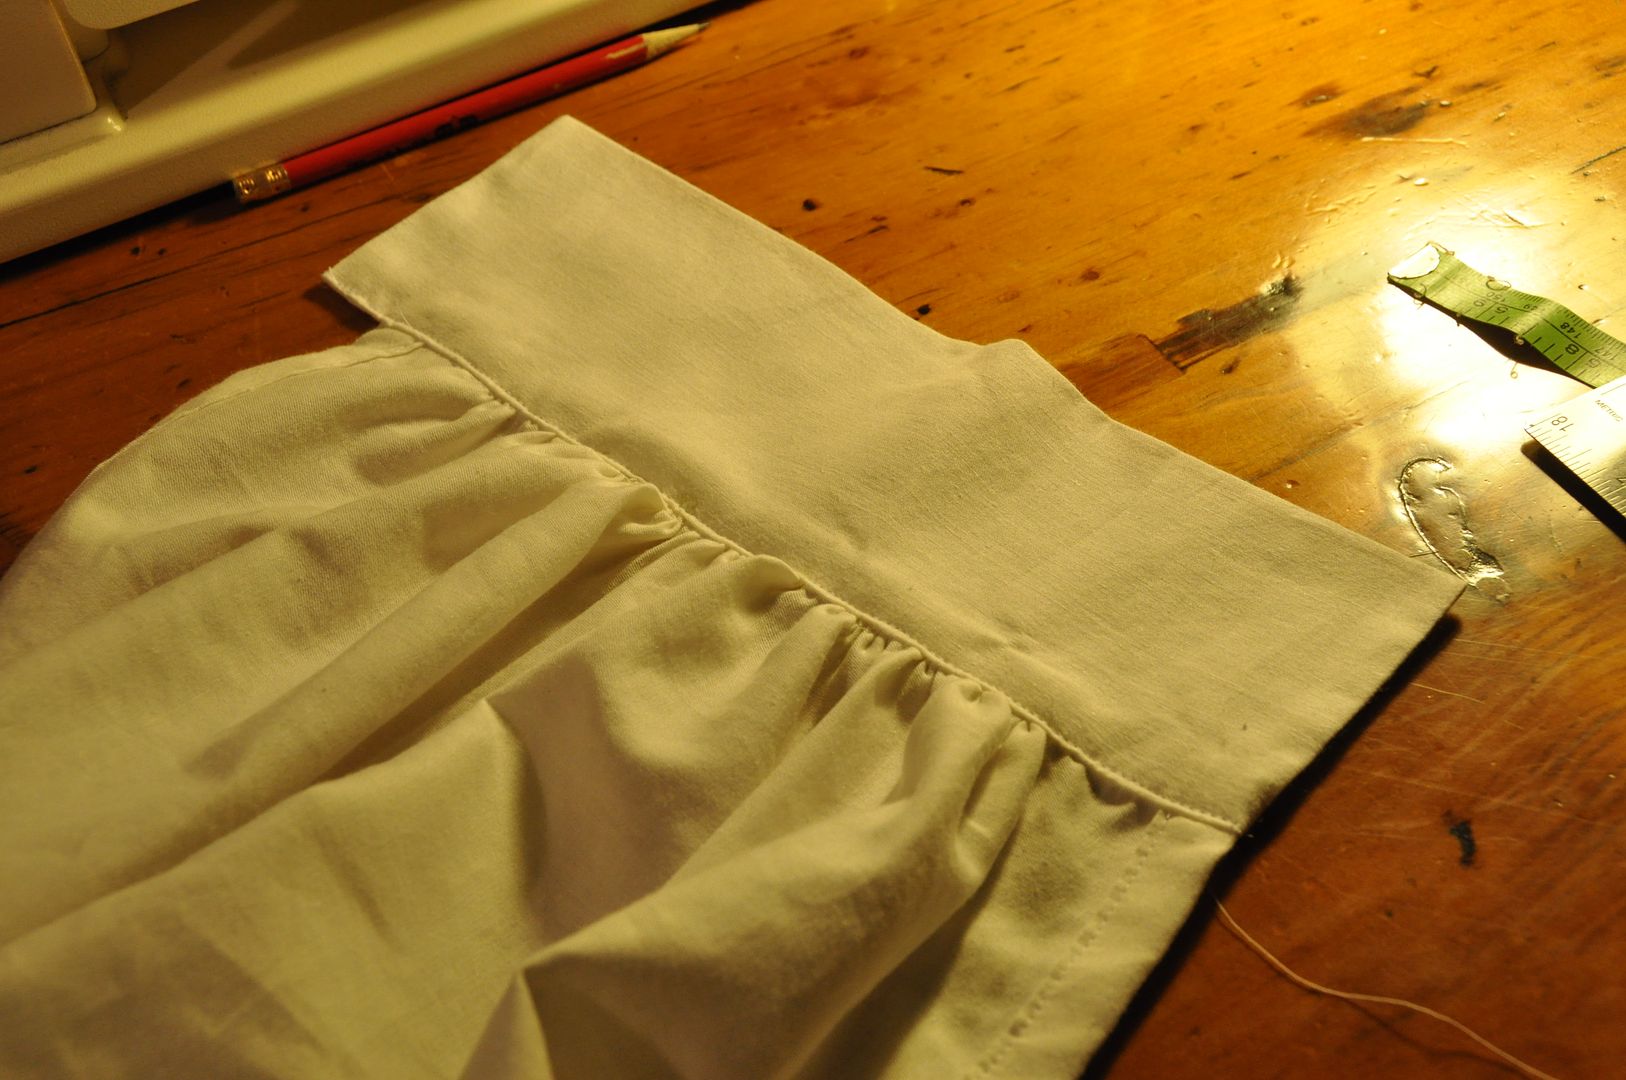
Then I gathered the edge of the sleeve and added the cuffs to the sleeve. Later I put 3 buttons & buttonholes on each to close them.I also added in the holes on the front closure for the laces. These were done in the same way as the button holes rather than with grommets.
 Once the shirt was done I began work on the cape.


The cape itself had originally been designed to be longer, but after much consideration I felt it would detract from the embroidered panel so I made it a short cape, but still kept the large hood. I am pretty inexperienced patterning hoods, and this was my first cape. It took a few tries to get it to look how I wanted it. The only advice I can give is make a mockup!
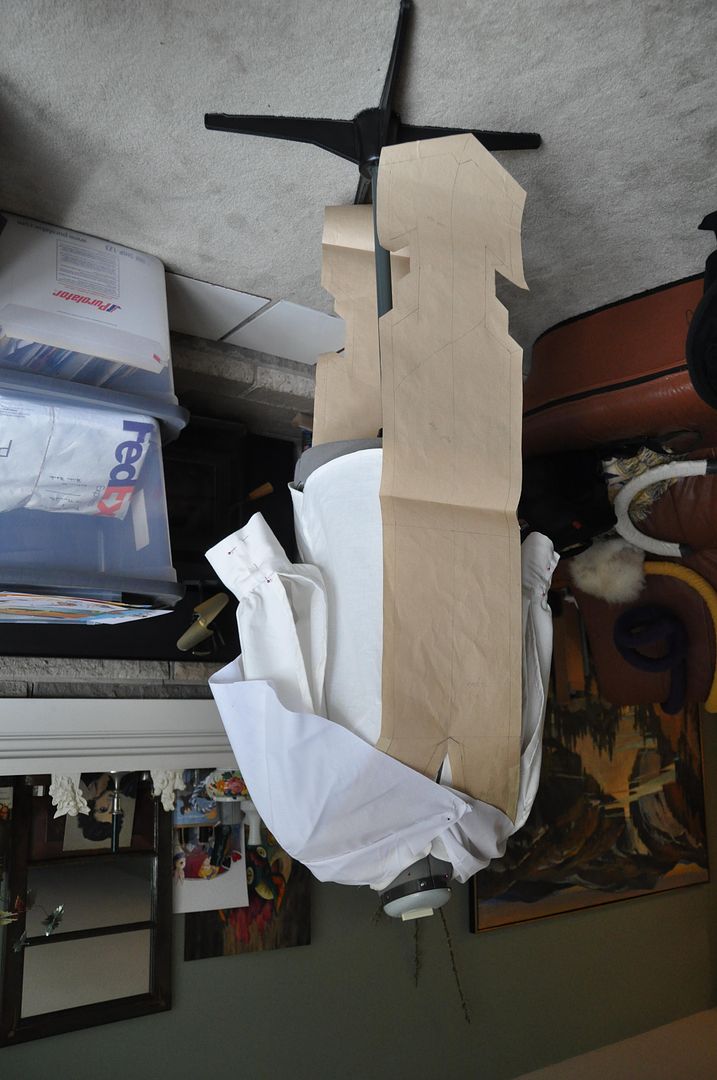
The pattern pieces for this look pretty odd!

My main design feature on the hood was the two slots for the antlers to stick through. It was one of the design elements from the initial concept sketch that came all the way through to the end. I had to make a reinforced edge piece that went all the way around the edge of the hood and the hem of the cape. It had to conform to all the odd angles and contours. It is made of the same fabric as the hood lining.

I started by sewing the sides and center seams on the hood, hood-lining and cape pieces. For the hood I attached the trim piece to the lining and bagged it out. Then I slotted the outer fabric under the trim and pinned it in place. I carefully measured and folded under the raw edges then top stitched the trim in place.


For the main part of the cape I bagged out the trim, having stitched it directly to the inside of the outer fabric. I folded it to the outside and finished the raw edges in the same way, top stitching it all in place. This way the raw edges are all hidden inside the trim, leaving for a clean look on the inside and outside!

You can see how the hood collapses in on itself. Which was frustrating as even when worn over the mask the edges of the antler slots just drooped. I later re-opened the seam and added in a wire to the hood, which kept it rigid and held the desired shape perfectly!

The red wrap around the stomach is simply a long strip of fabric that is wider at the ends (narrower in the middle) bagged out to finish the edges. It has velcro to close it, which is hidden by the belt. (The belt pictured here is actually from my Presea costume, which I was using when trying things on until I made the actual one.)

The pants are actually based on a pattern I had modified for a costume I started but never finished. (Jack Frost) I modified my modified pattern to get the pants I made for this costume. Haha

To make the leg wider I opened up the front of each pant leg and added in a pleat on each. I flared each pant leg out more as well. This way, it still fit nicely at the butt, but the legs would pouffe out a bit.

When I was satisfied with the changes to the pattern I cut and sewed the pieces.  I started with the pleats on the front, then the side seams. Then I partially closed the crotch seam and finished the inner seams.
Next I added my waistband. The pants front closure was a bit tricky. I decided I wanted laces rather than doing a fly-front... even though it isn't even visible, I wanted authenticity. hahaha I had to reinforce the edges where I put the holes, and add a modestly panel so you can't see my underwear through the gaps in the lacing. But in the end it worked well.

Lastly I finished the cuffs by cinching them and then adding on a strip of fabric that I had closed to be a circle.
I can definitely say that the base outfit for this costume is very comfortable.