Showing posts with label bag. Show all posts

Tuesday, June 28, 2016

Make Up Cases


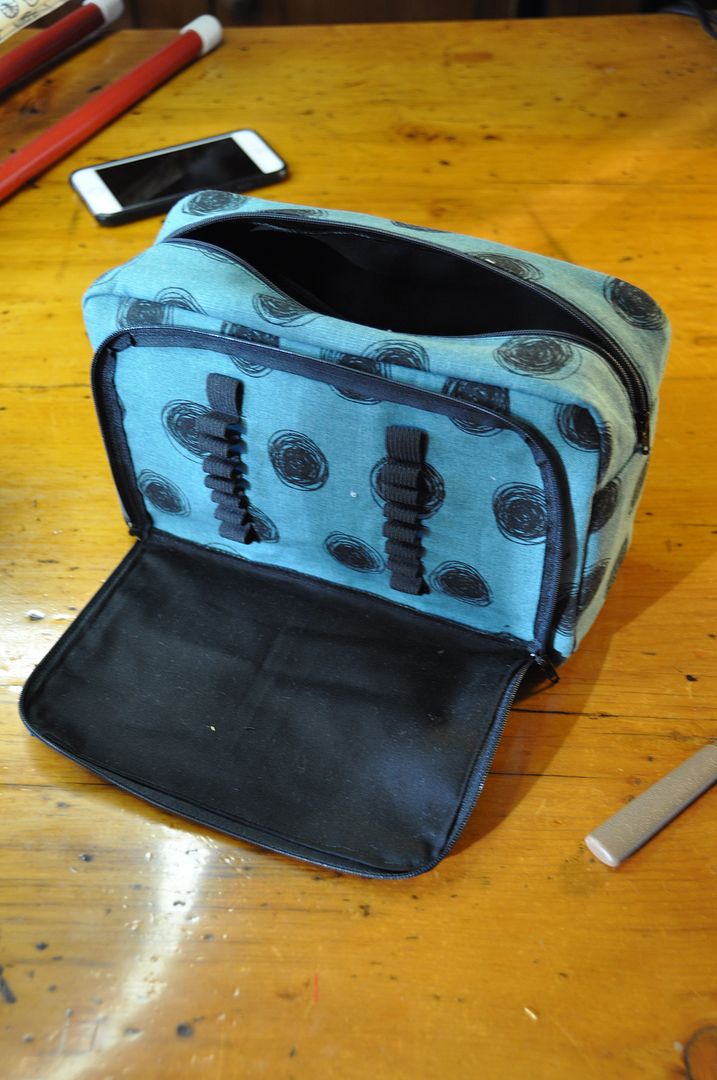
Just a quick post showcasing some custom make-up cases I made for my sisters this past Christmas.

Both have elastic loops to keep brushes/pencils organized. The front flap on the teal one was a little tricky, as I am not used to sewing zippers in on such a sharp curve.

I thought it was a pretty fun way to use some of the print fabrics my sister got me in Japan. :)

Thursday, October 2, 2014

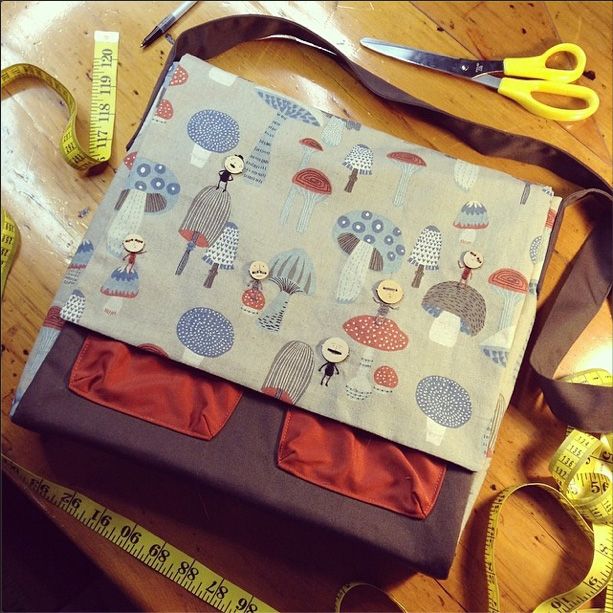
Mushroom Print Messenger Bag

This was a fun project creating a new messenger bag for myself. I wanted to incorporate this small piece of mushroom print fabric my sister picked up for me on her trip to Japan last winter.

The accent fabrics I used are all leftover from my Forest Guardian costume.

I measured out the dimensions I wanted and cut out the pattern pieces from the fabrics I wanted.


I used a non-fusible heavy interfacing fabric. I cut a long rectangle that would be the front, back and bottom sides of the bag. It had an extra rectangle sewn to it to just add extra thickness to the bottom side.
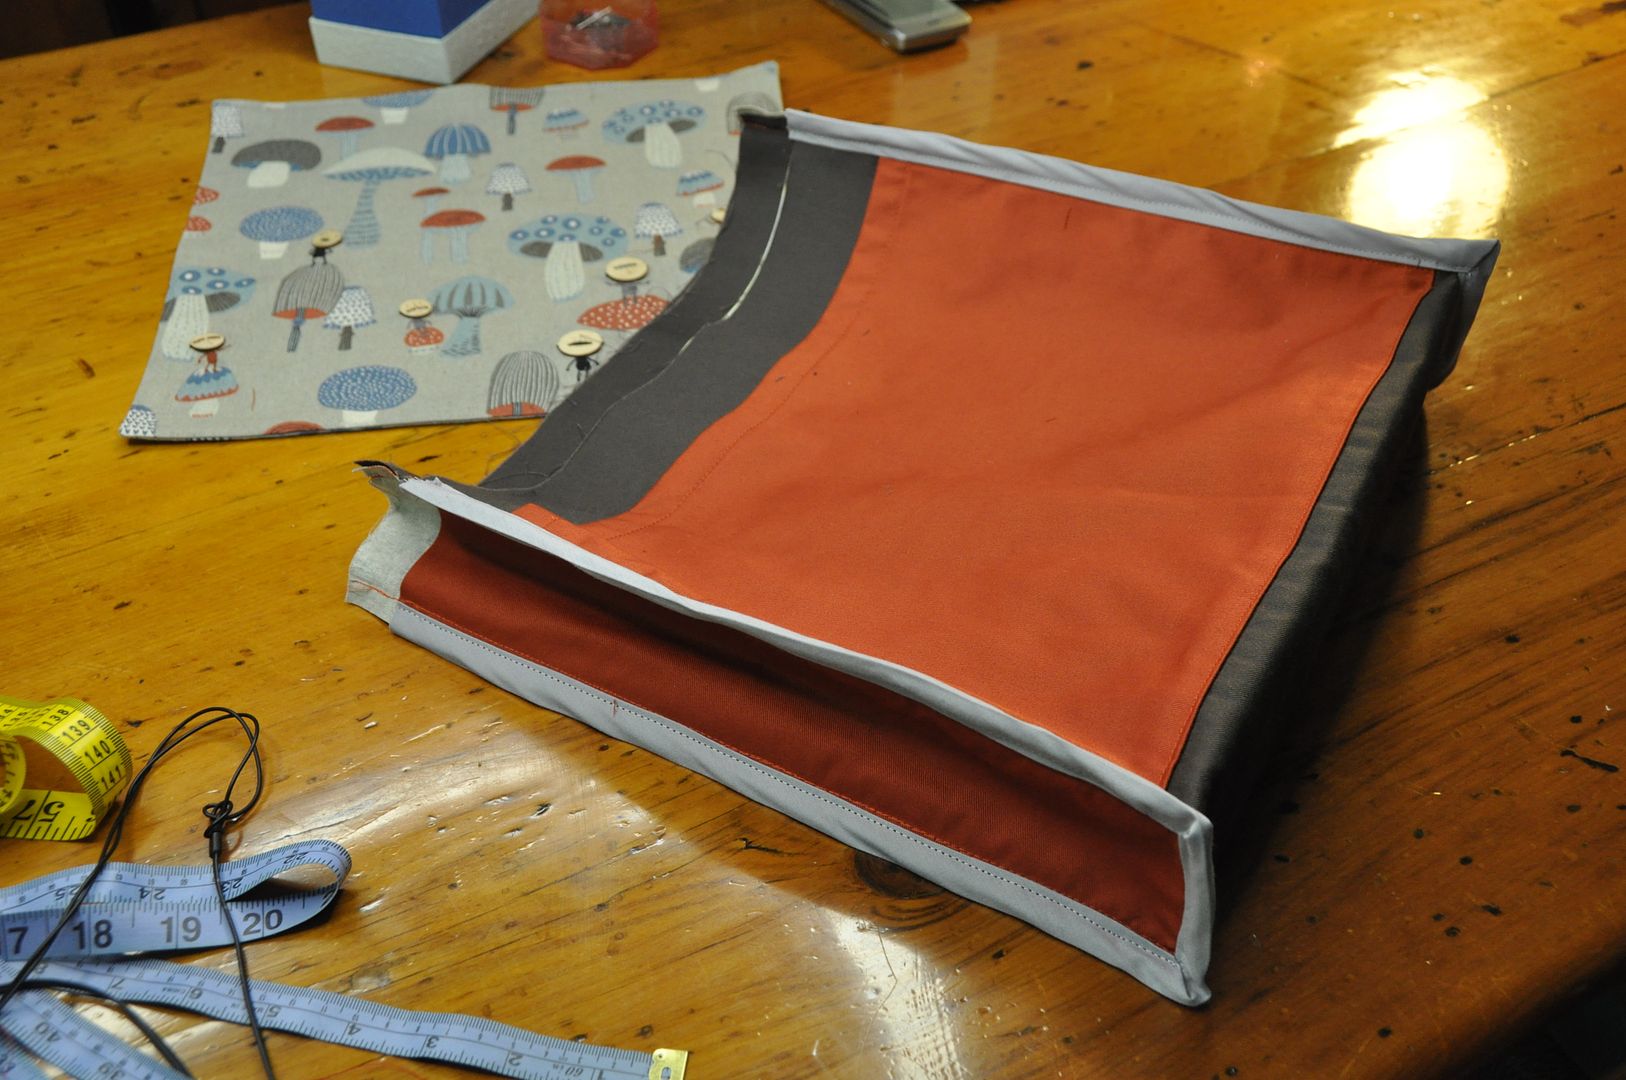
I wanted to ensure that the front pockets had a bit more room in them than a flat pocket. So I made them 1" wider than the finished pocket and sewed a dart into the bottom 2 corners at a 45 degree angle.


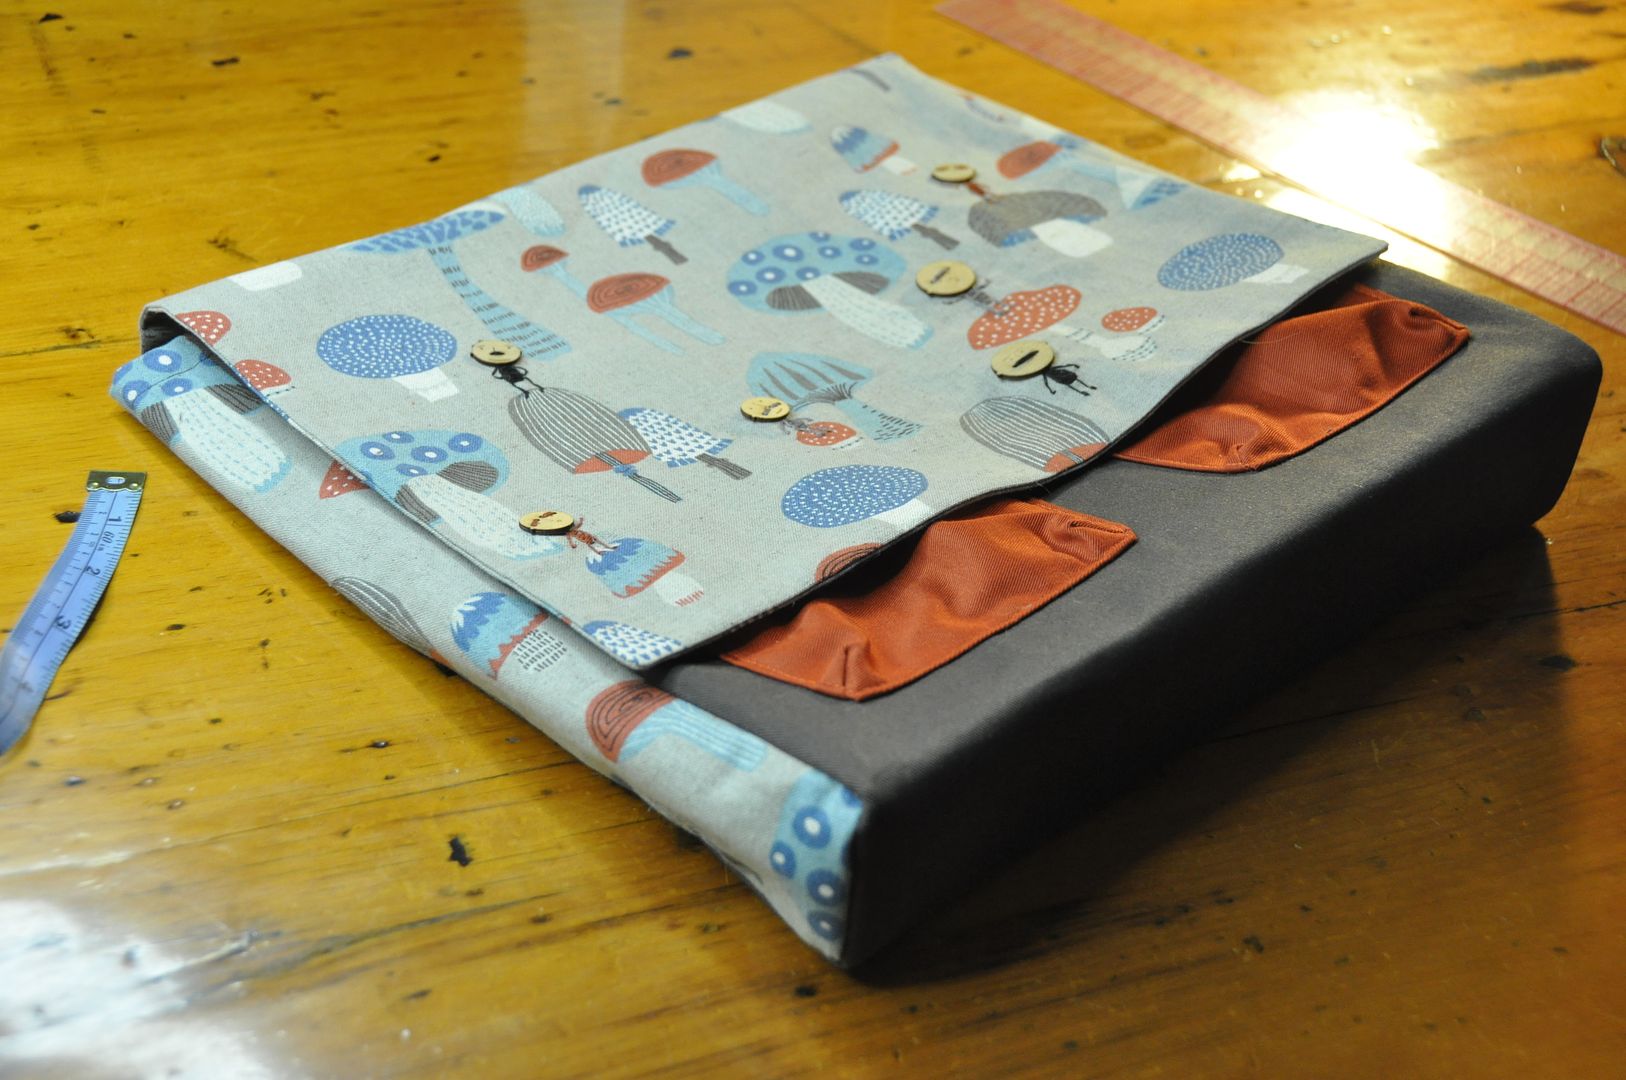
I designed and embroidered on the little figures by hand. The faces are all buttons.
These fun buttons my sister picked up for me quite a while back, but I hadn't found a project I wanted to incorporate them into. I decided to create some cute little people to put into the mushroom forest scene.

She bought them online, but the online seller no longer makes them.
These were all embroidered on in matching accent colours. This one is Charlie Chaplin! XD

I rolled over and stitched the upper and lower edges of the inner pocket, then stitched that to the inner bag lining. I also basted the interfacing piece to the out bag piece. It is a bit shorter than the outer and inner bag pieces so it didn't have the extra bulk in the roll over finish at the bag opening later.

I basted the inner pieces and interfacing to the bag side pieces as well.  I finished the top edge of the pockets with a rollover hem, then I zig-zagged the edges. Then I folded under the edges and top stitched the pockets onto the outside piece.

Then I basted the inner bag lining to the outer bag lining.

Once I had finished embroidering the flap, I sewed it right sides together with it's backing, then turned it right way out and pressed it flat.
I sewed the bag pieces together--the sides to the main piece. Then I finished the raw edges with a bias tape.
I ironed the side seams, and then I finished the top of the bag with a rollover hem.


I sewed the flap piece to the back.

Then I top-stitched the strap on and added a zipper closure to the opening.

Presto! One unique messenger bag!


Wednesday, February 20, 2013

Simple Pencil Case

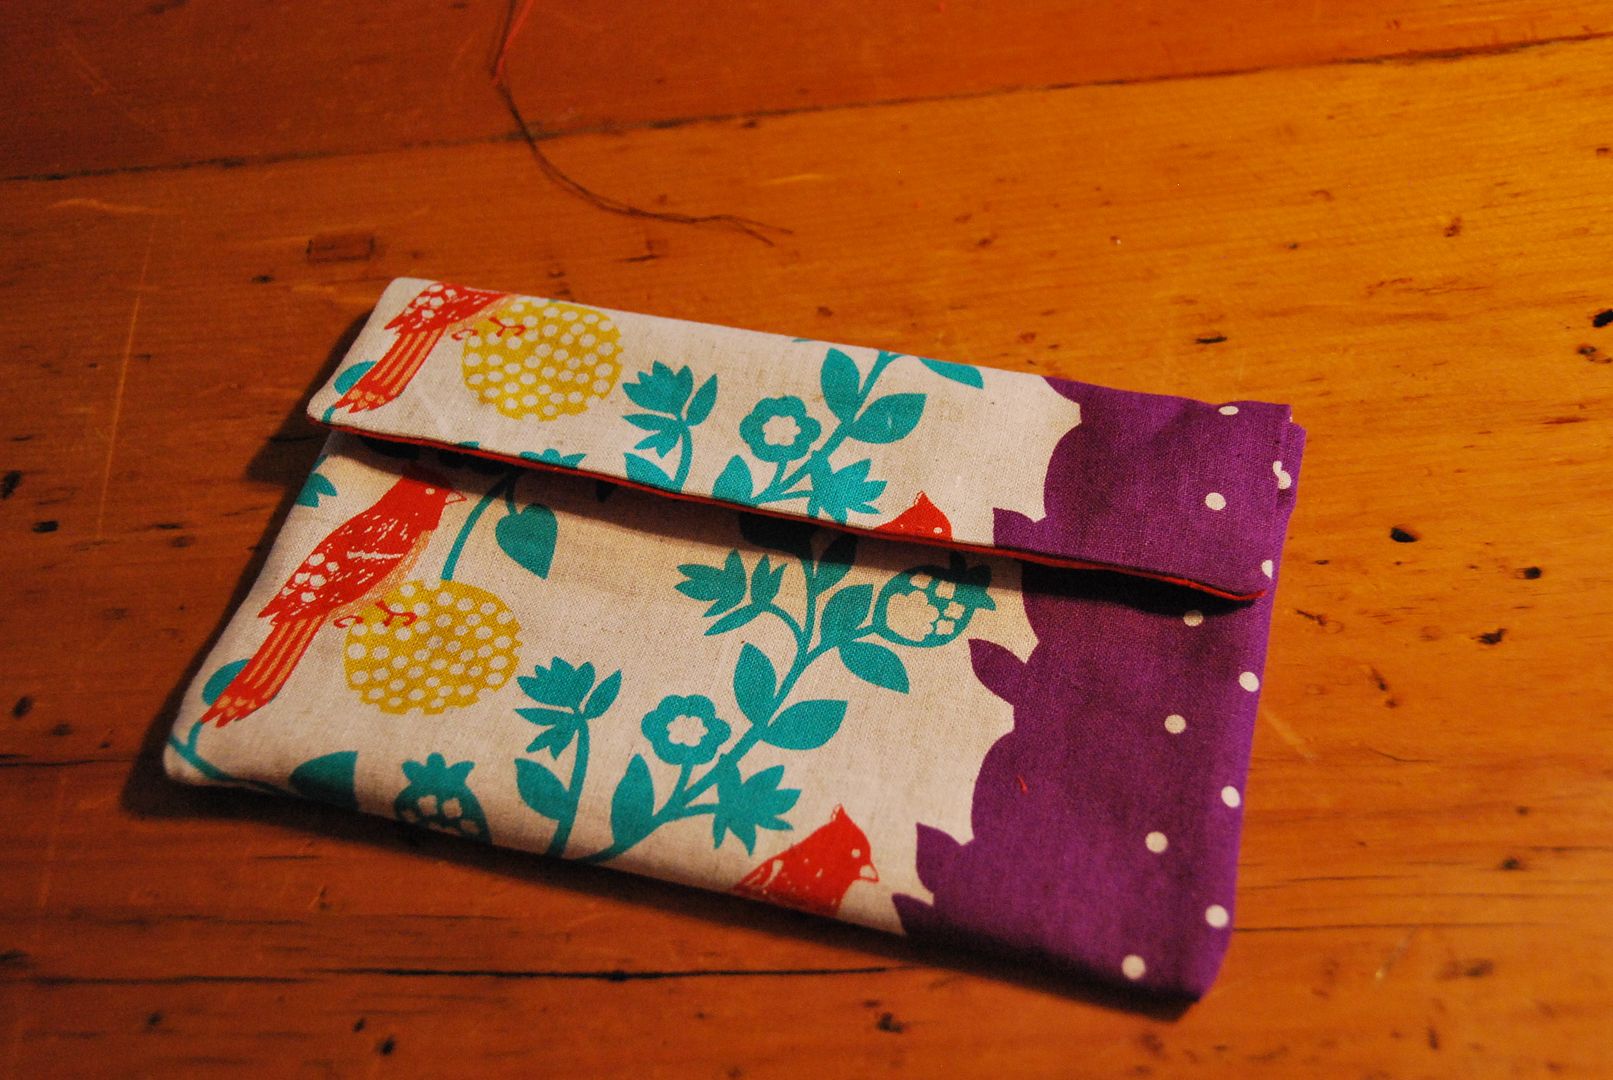
So here's a quick tutorial of how to make a simple pencil case! I made this for a friend for Christmas, for our Secret Santa gift exchange. I used some of the leftover fabric from my Echino Dress.

To start, cut 2 rectangles of fabric that are the same size. One will be the outside, the other will be the lining. You can line it with the same fabric as the outside if you want, I simply chose a contrasting colour for style points. ;D Remember to choose a heavier weight fabric for this project, as it will need to stand up to everyday wear and tear.

The size of the rectangle pattern should be as follows: 1/2" wider than your longest pencil and 2.5 times your desired finished height (this will wrap around to be the front, back and flap). To each of those numbers add 1", which will translate to a 1/2" seam allowance on all sides.  So for example if your finished width is 8 and your finished height is 5" (x2.5 which will be then 12 1/2"), cut a rectangle that is 9"x13 1/2".


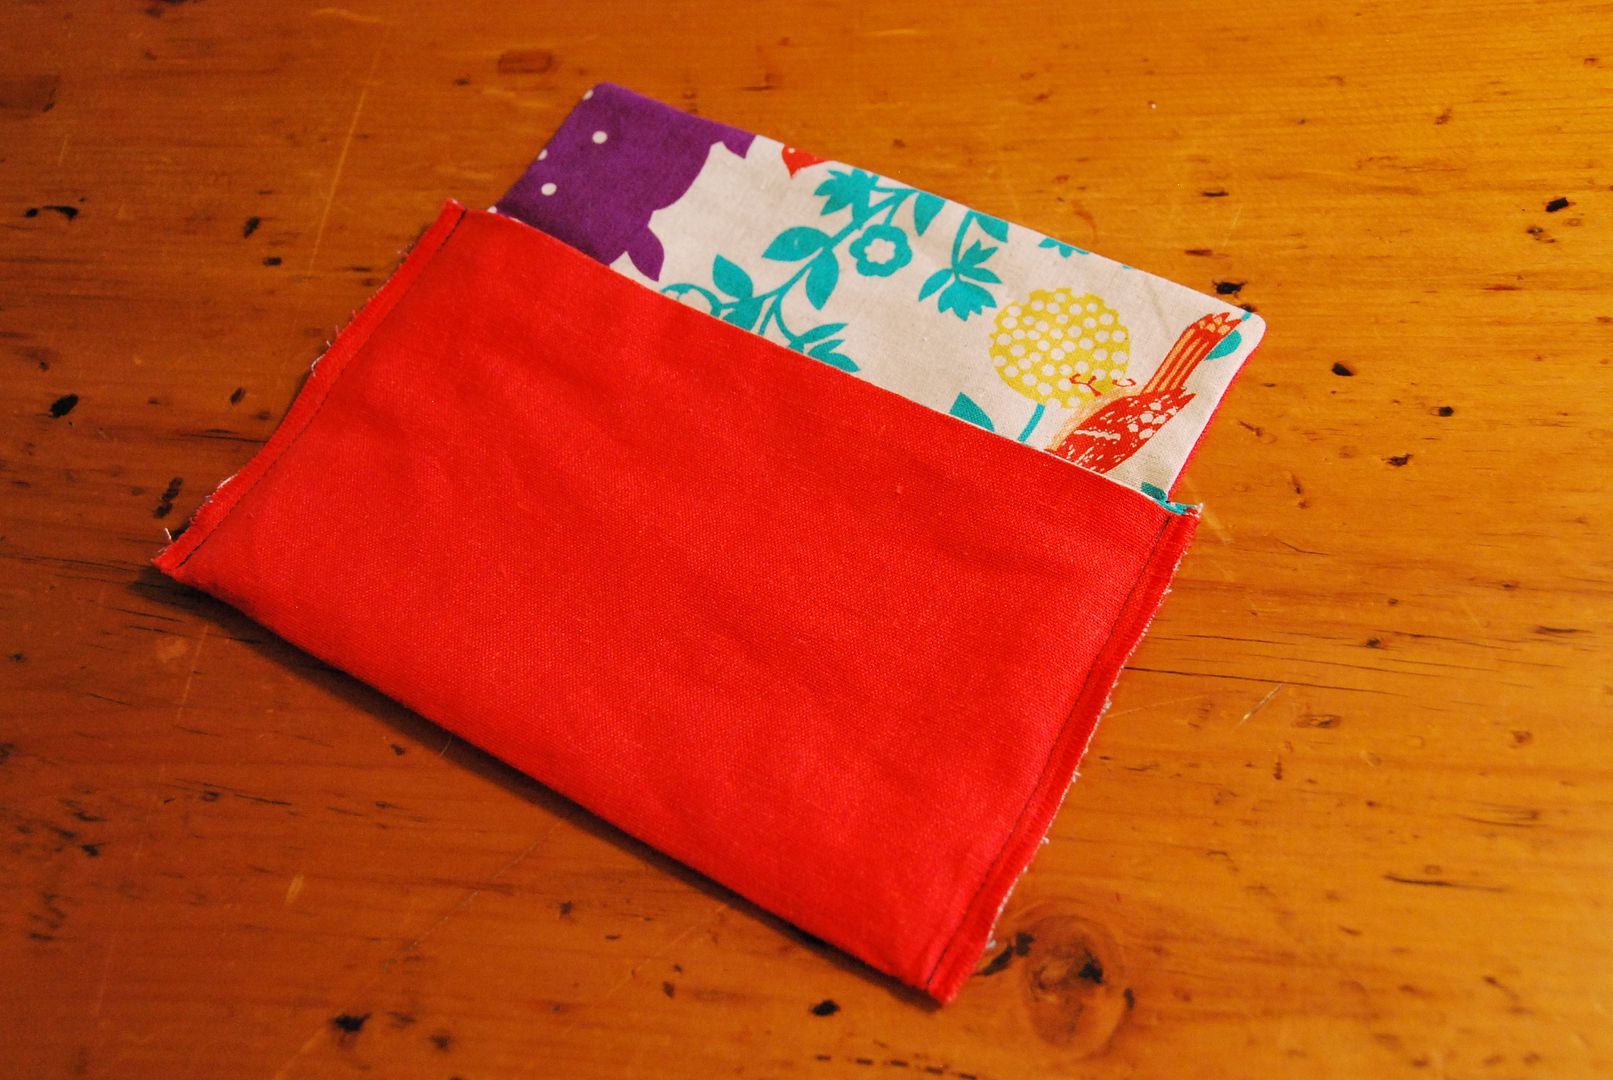
Then with the fabric right sides together sew along the bottom edge and the top part that will become the flap. You can see in my picture above the faint stitch line. Then clip the top corners and turn it right way out. Press flat.

Then face the outsides together and align the finished edge with the base of the flap. Sew up the 2 side seams and finish the raw edge with a zig-zag stitch (or your own preferred method of finishing stitches). Turn it right way out and iron it again.

Mark and add in some dome fasteners, or velcro.

And voila! ;D

This pattern is easy to modify to fit your needs, you can make it as big or small as you want. You can also change it around to have the flap on the short end rather than the wide side simply change around the measurements accordingly!

If anyone uses this tutorial, be sure to send me a finished pic! ;D

Tuesday, September 25, 2012

Jean Bag

Let's travel in a time machine back to the first semester of 1st year university! Yaaaay!

Ok, so there's no time machine actually required, but let's take a look at one of my projects from way back then.

THE DENIM PROJECT: take a pair of jeans and hem, mend, or turn them into something else. I chose the last option. RECYCLING! ;D

  I picked a pair of black jeans (they were super faded and no longer look black) that I had worn a hole in the inner thigh that was going to be a pain to fix, (This ALWAYS happens to all my jeans.) and I got paint on them too.


I ripped out the side seams and inner leg seams instead of cutting them so I could salvage as much fabric as possible.

Realizing that pants are made so there is more fabric on your butt to account for the curve in your body this meant that my front panel on my bag (the front of the pants) was going to be too low and not have the depth I wanted for this bag. So I sewed two pieces of fabric together to create an inner pocket that adjusted for this difference in height. 

I took these 2 pieces and surged them together. Because I had access to the school's serger. Sooo nice. I want one...

There is a bit of a gap in documentation here, as I forgot my camera, and then I lost my camera. So yeah.... There aren't any pictures of how this went together until after I finished the project... hahaha

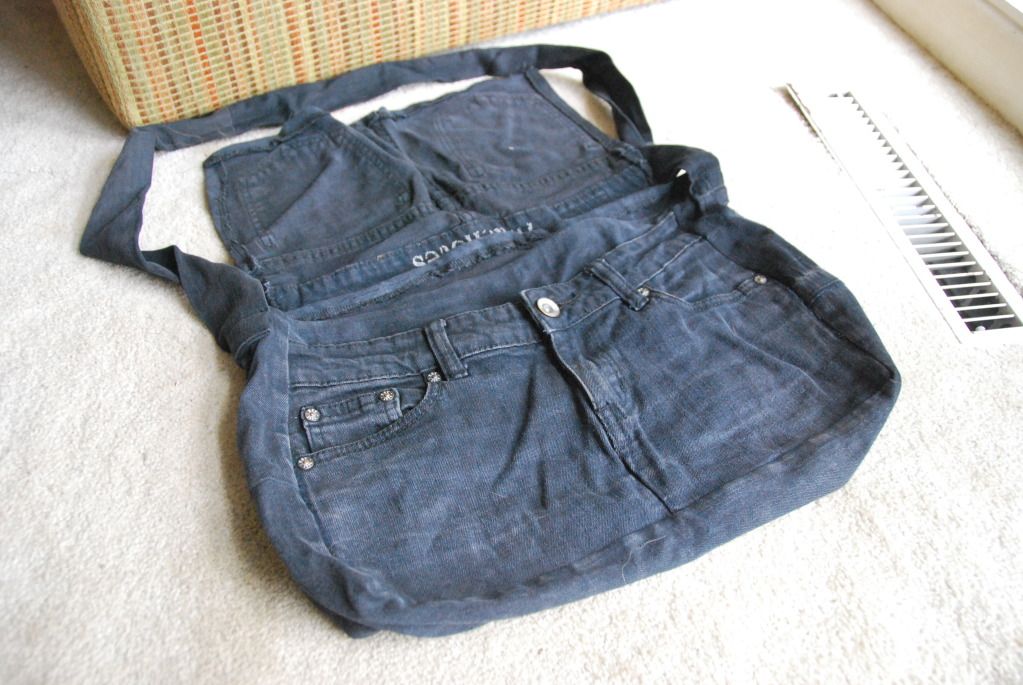
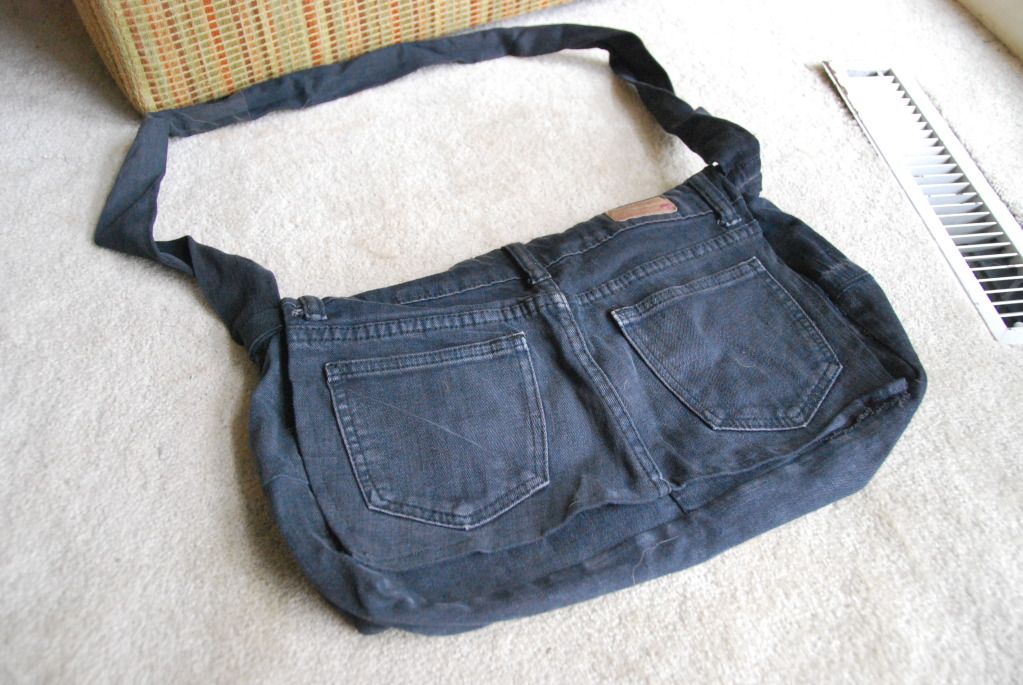
What I did next: I created the back panel of the bag using 2 rectangles of fabric from the legs, Then I attached the butt-pocket rectangle for the flap. Then I added another long rectangle for a side/bottom piece. Unfortunately I ran out of fabric at this point and had to find another pair of trashed jeans the same colour to make the handle. :P

 Here's the finished pics! 1 year later! Yay!

My fabulous messenger bag. :D

Sunday, January 15, 2012

Panda Bag


So here's a look at how I made this adorable panda bag. It is based on a doodle I drew in class. :)

I redrew the pattern at full size, and cut the pattern pieces out. Keeping in mind that the pieces that will get applied to the front don't need seam allowance.


I cut out the ears next, and made sure to cut out a layer of interfacing too.

Next I cut out 2 pieces for the top panel (same length as the zipper), sewing them together in preparation for adding in the zipper. 

I also cut out some fabric for the lining, and interfacing. 


I pinned it in place, then basted the zipper in place. And then I sewed the zipper in for real.

I appliqued the face on to the front of the back. 

I added in the nose details.

Then I sewed the ears together, clipped, and turned them inside out.

Next I measured for the inner pocket. 
I finished off the edge for the pocket.

I measured the rest of the perimeter of the bag and cut out the remaining bottom piece in my black fabric, interfacing, and lining.

Then I sewed the bottom piece to the top on one end, forming a long strip of fabric.

I also sewed the inner pocket to the back piece. 

I clipped the ears to allow them to stretch and be sewn in on a curve. 

I also stitched the lining to the front piece, keeping the ears out of the way while I did so.

I finished off the first inner seam with bias tape. 

I then sewed the side strip to the front piece. Then I closed the strip into a loop.

Then I pinned and stitched it to the back piece. 

Beautiful! And then I had trouble getting the zipper open from the inside... XD

I then finished all the inner seams with bias tape. 
Gorgeous! Then I made the strap.
Next time I would use more interfacing in the ears, and main pieces so that it doesn't fold in on itself as much when there is nothing inside.

Next up: Mum's jumper! ;D