
To start, cut 2 rectangles of fabric that are the same size. One will be the outside, the other will be the lining. You can line it with the same fabric as the outside if you want, I simply chose a contrasting colour for style points. ;D Remember to choose a heavier weight fabric for this project, as it will need to stand up to everyday wear and tear.
The size of the rectangle pattern should be as follows: 1/2" wider than your longest pencil and 2.5 times your desired finished height (this will wrap around to be the front, back and flap). To each of those numbers add 1", which will translate to a 1/2" seam allowance on all sides. So for example if your finished width is 8 and your finished height is 5" (x2.5 which will be then 12 1/2"), cut a rectangle that is 9"x13 1/2".


Then with the fabric right sides together sew along the bottom edge and the top part that will become the flap. You can see in my picture above the faint stitch line. Then clip the top corners and turn it right way out. Press flat.
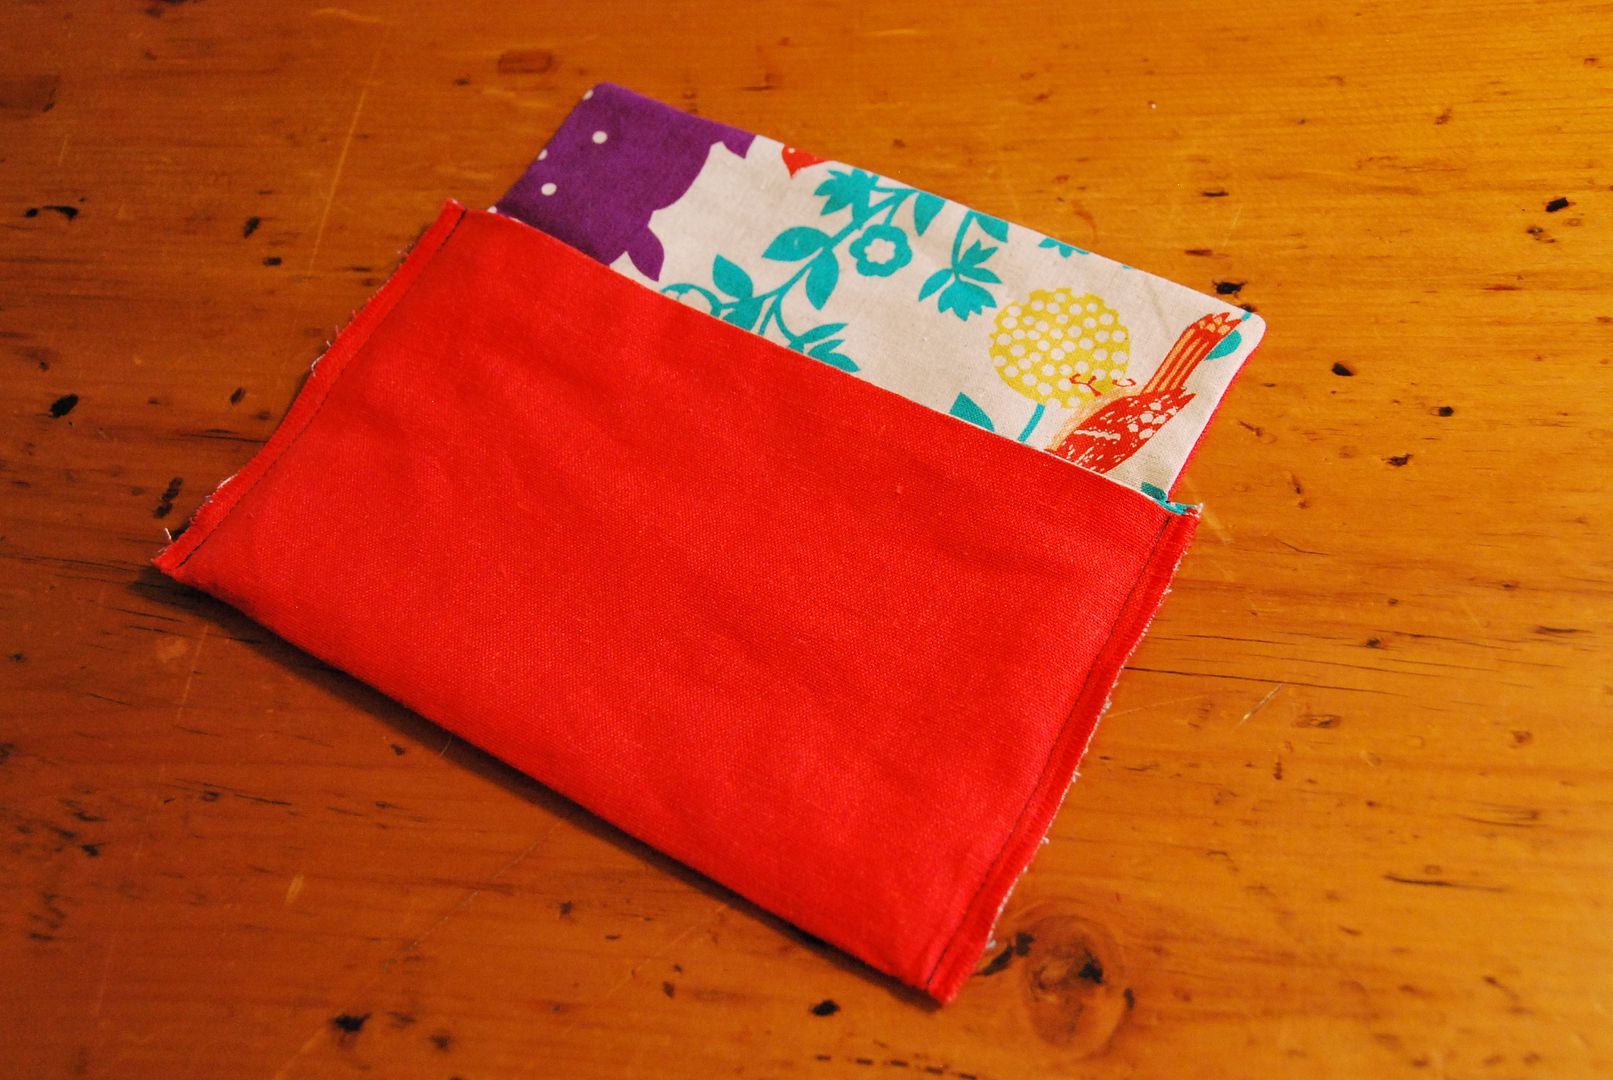 Then face the outsides together and align the finished edge with the base of the flap. Sew up the 2 side seams and finish the raw edge with a zig-zag stitch (or your own preferred method of finishing stitches). Turn it right way out and iron it again.
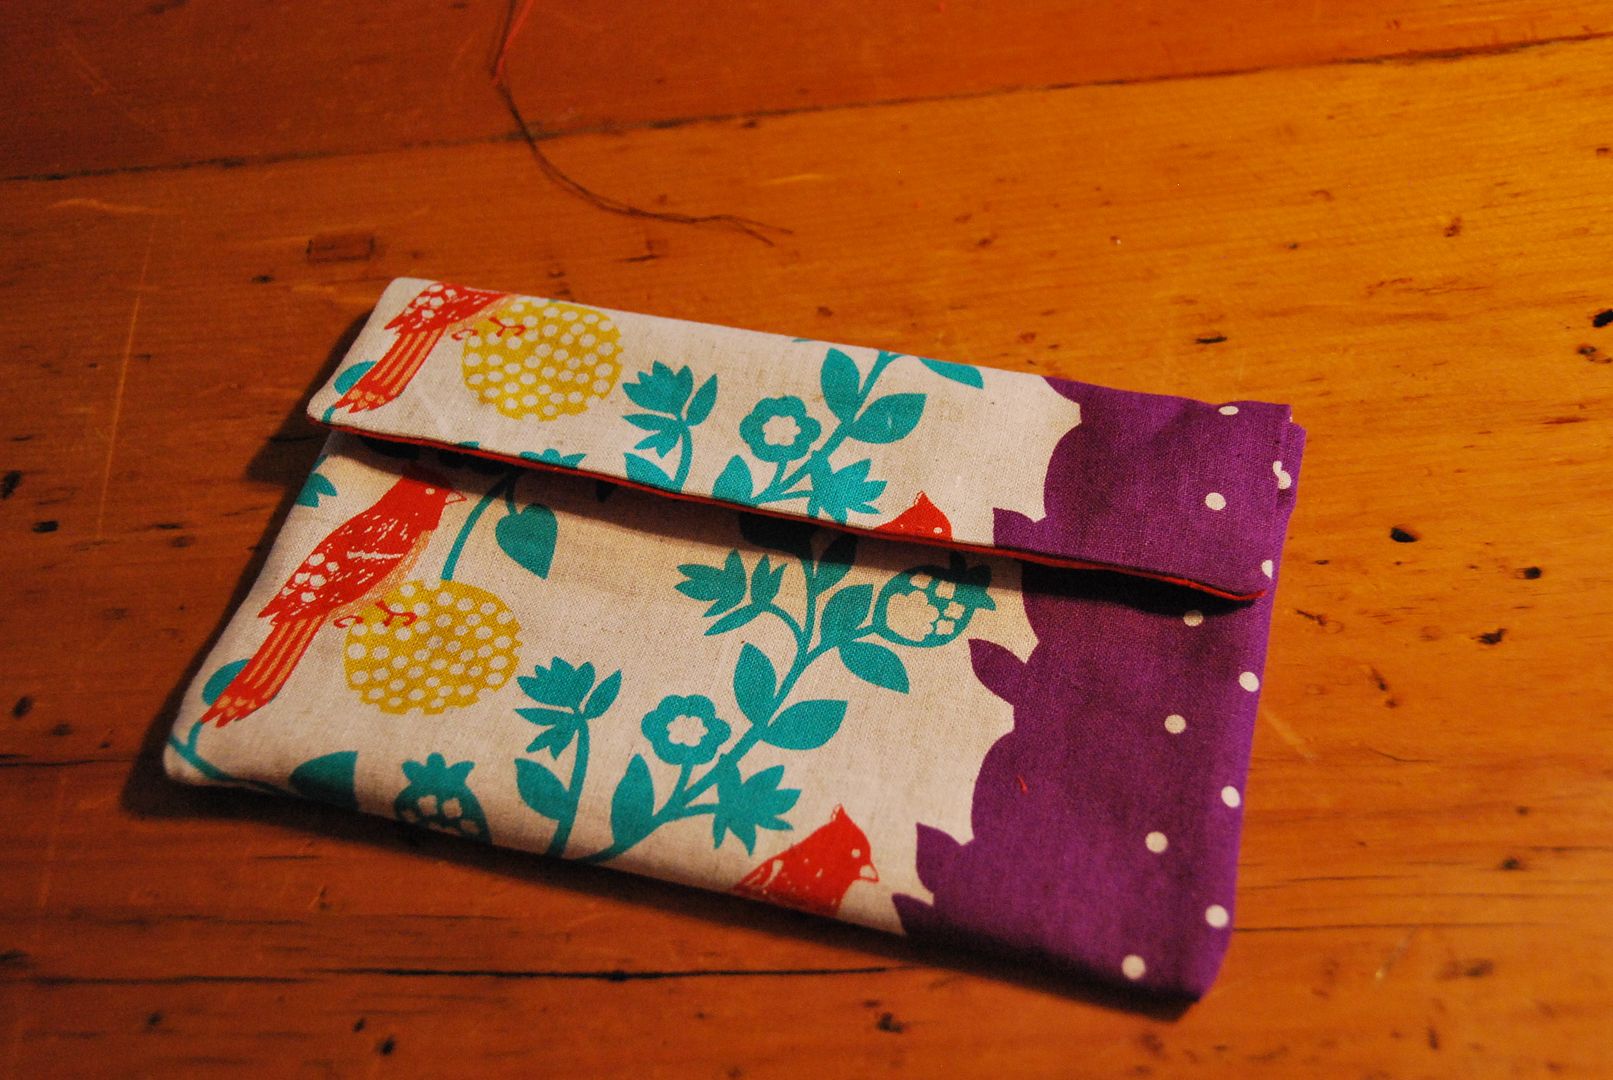
Mark and add in some dome fasteners, or velcro.
And voila! ;D
This pattern is easy to modify to fit your needs, you can make it as big or small as you want. You can also change it around to have the flap on the short end rather than the wide side simply change around the measurements accordingly!
If anyone uses this tutorial, be sure to send me a finished pic! ;D
No comments:
Post a Comment