[Sometimes life gets in the way of fun, most notably when writing a final essay for school takes several days longer than expected... Finally posting last Thursday's blog post. :P I will be carrying on as normal from here on out!]
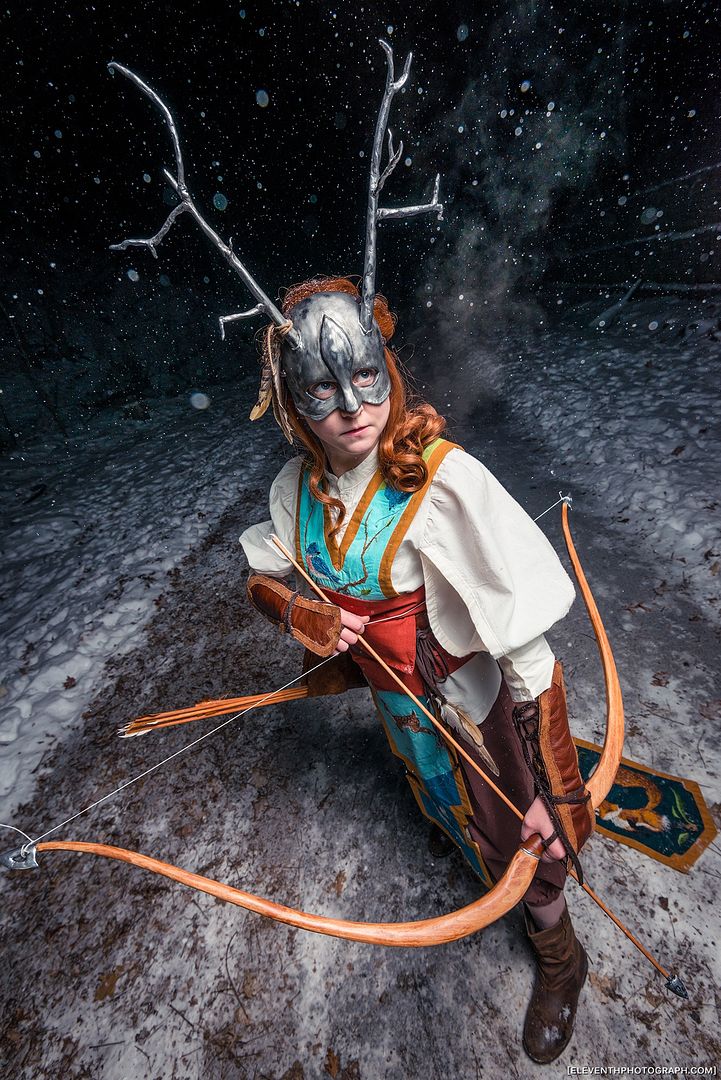
Now, on to the fourth and final part of my Forest Guardian costume: Wig, Mask, Bow & Arrows. (Not necessarily in that order.) If you are interested in the other sections, including my design process, accessories, and embroidery, check out parts
one,
two and
three respectively!
The mask was actually the first piece I started on. I began this part of the project almost a year ago now (after I returned from Otakon 2013!). I knew I wanted to make it close fitting to the face, like I had designed it, meaning I knew I wanted to cast the piece from the very beginning.
I started by getting a friend of mine to do a life cast of my face. (Ian, who has helped me out on many other projects before, most notably:
Nickel and
Asuna's cast armour pieces). I didn't do this myself because a) it is
impossible to cast your own face, and b) I didn't know how to do it last year. (But now I am wiser!) I will not go into explaining the details of life casting in this post, and will simply skip ahead to when I actually began on the mask itself.
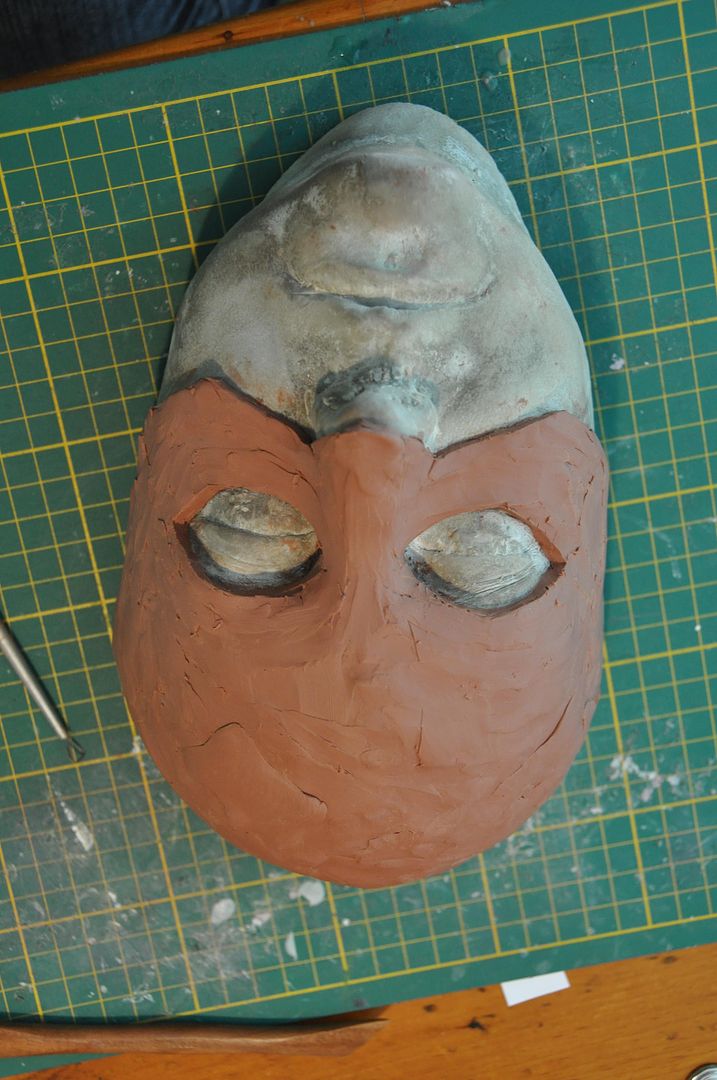
After I was handed a concrete replica of my head, I began sculpting my mask piece. I started by marking out the outline of the mask itself in pencil, ensuring I had the eyeholes and bottom edge looking more or less symmetrical. Then I laid down a layer of clay about 1/4" thick over the marked area. Note: If you are casting, always make sure you are using a sulfur-free clay!!!
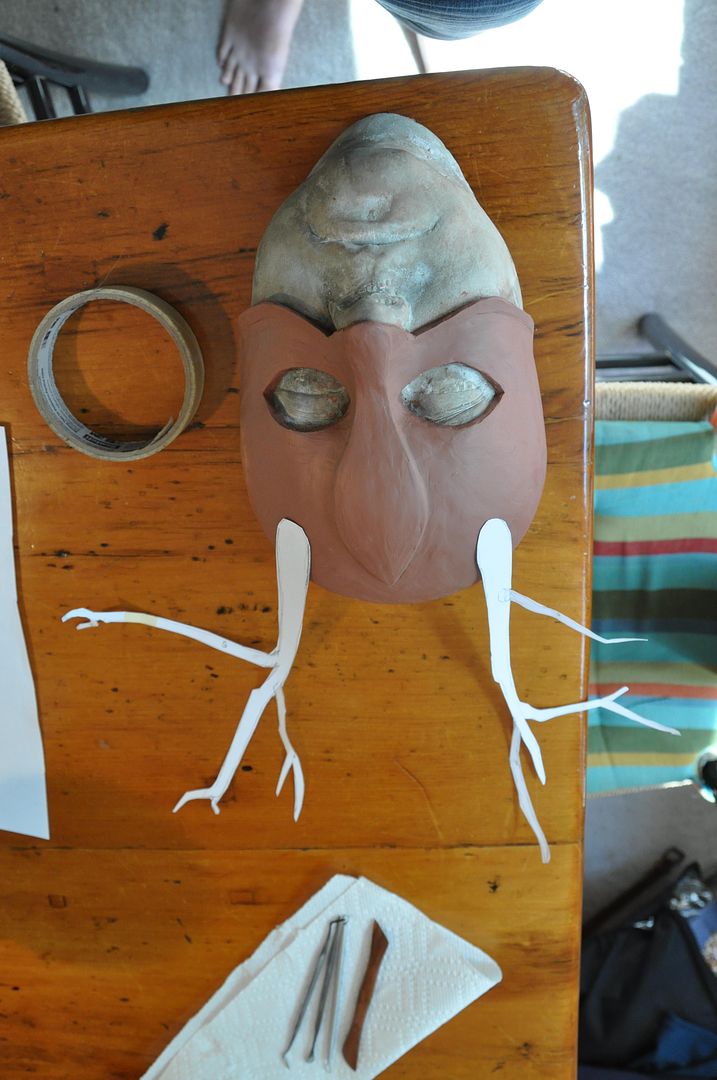
Then I began to smooth out the clay and add in the raised details. The smoothing was aided by 99% alcohol, which worked pretty well.
Then I drew an approximation of what I wanted for the antlers. Using these as a guide I sculpted my antlers out of a hardening clay (called apoxie sculpt) over a wire frame for stability.
The antlers were sculpted separately from the mask piece because casting the mask and antlers as a singular entity would be next to impossible.
Most of the materials used here were left over from my Asuna costume, which I had purchased with this project also in mind.
Once the antlers had cured completely, I sculpted 2 sockets which they would slot into on the mask itself. This would ensure they would bond well with the mask and not be at risk of falling off later under their own weight.
Then I created the negative mold for my mask. I used a product called "Rebound 25" which is a silicone rubber. I mixed the 2 parts together according to the box instructions and slathered it over my mask piece. It took about 2 layers. Once that cured, I made a plaster bandage 'mother shell' for support. Then I de-molded it.

Next, I made the final pull of my cast out of a product called "Shell Shock", which is a plastic. Instead of using the life cast of my face as the 2nd part of the mold, I chose to instead 'slosh cast' the piece. Since my product had a short work/cure time, this was acceptable choice. I painted in my splash coat (first layer) carefully, making sure it went into all the nooks and crannies, and making double sure there were no air bubbles. Then I added a second and third layer as necessary.
I used paperclips to hold the mold and shell together at the edges. Admittedly, I made a bit of an undercut when I made the mother shell and had to break the edges to get it off the initial sculpt. It still worked for this cast, but in future I will try
not to do that...
Pictured below are the three parts: the sculpt, the negative mold with mother shell and the positive cast.
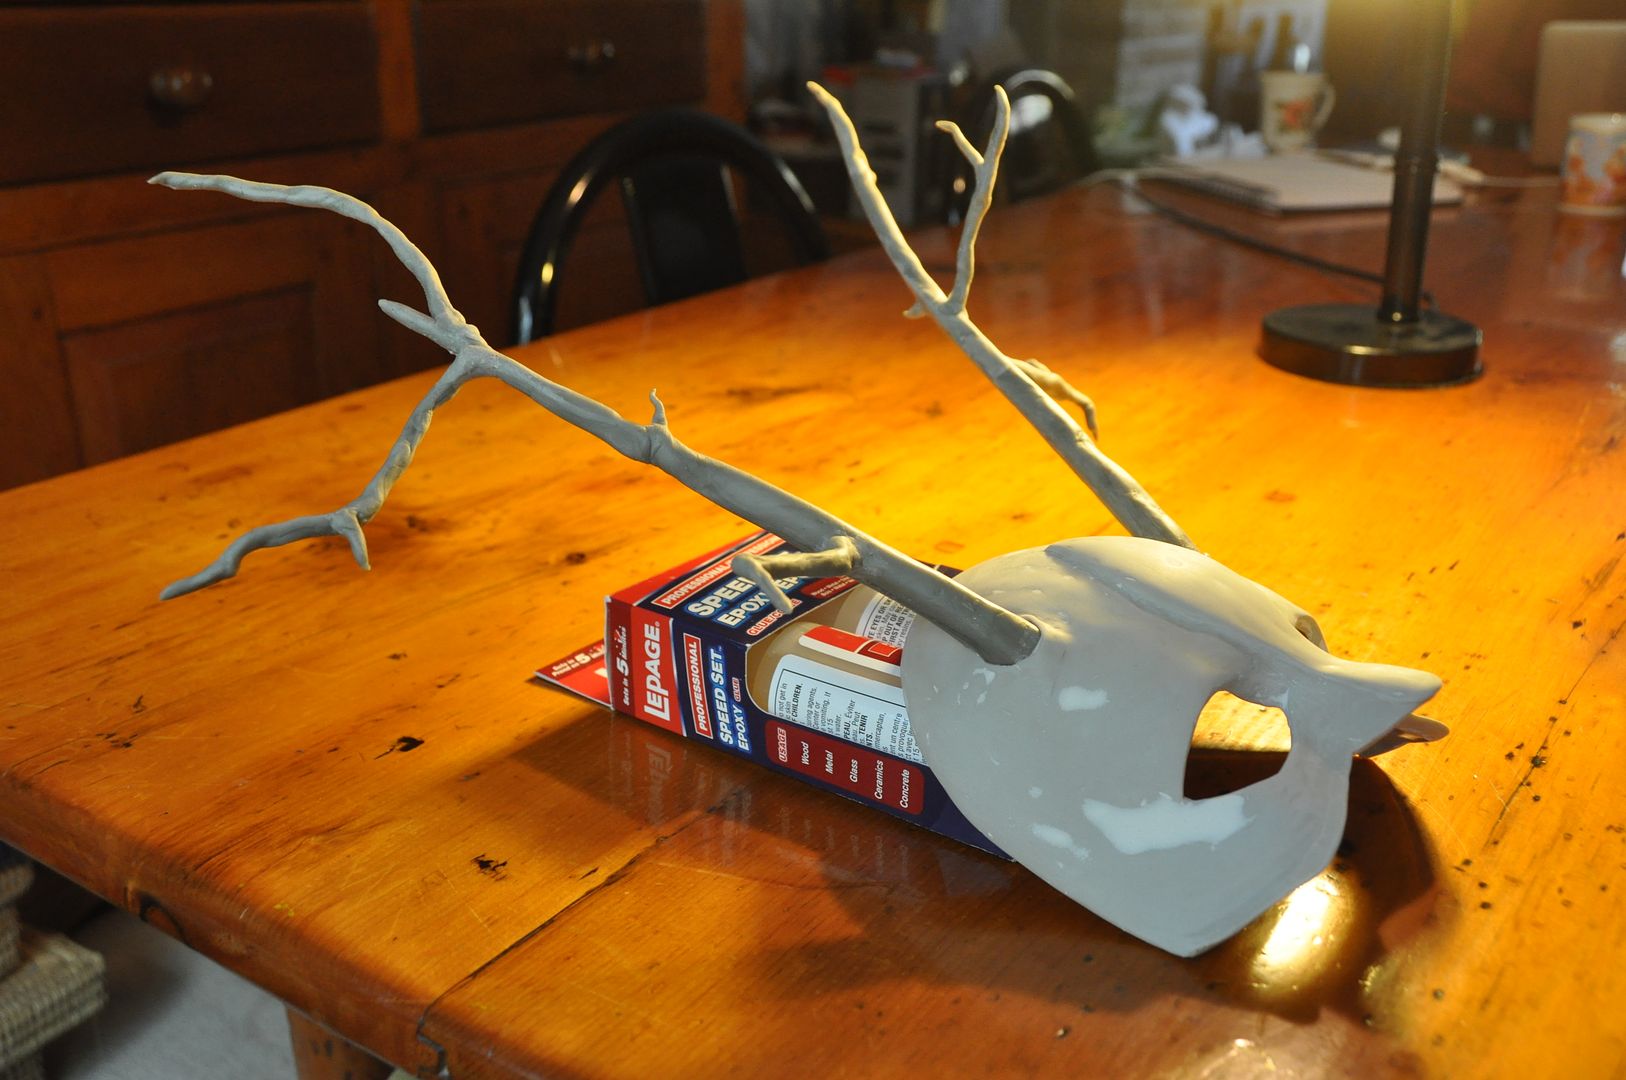
Then I cleaned up the cast using a dremmel. I had to round out all the edges, making sure there were no sharp points against my face--particularly in the eyeholes. I also had to thin down the forehead area in the back of the mask, as it was a bit thicker than the rest of the mask, making it not sit snugly on my face.
I filled any air bubbles and sanded the whole piece to be even smoother. Using a really strong epoxy I glued the antlers into the sockets. I later drilled 4 holes in the mask to add on the ties.
Fast forward several months to the next piece of this project, the bow and arrows. When I started this part of the project this past March I knew there was going to be a slight problem: I knew approximately how I wanted to make this piece, but I didn't have the proper tools to do it at home.
I was taking a scenic carpentry course at the time and brought the draft of my bow to my prof, asking his opinion on how best to make it, while also requesting to use the shop outside of class for this personal project. Since a) I was well ahead of the class on my
furniture project, and b) we are such bros, he let me use both the tools I needed and found me a piece of hardwood to make it out of! :D

The bow itself is constructed from 3 pieces: 2 arcs made of poplar and a dowel for the center hand grip. t was important that I make the pieces out of hardwood, because although
the bow itself would not be under tension, a softwood would splinter when being cut/sanded or would
break very easily later. I didn't want this piece to be too fragile!
Using my full scale draft, I traced the 2 arcs onto the wood. These were carefully cut out using the bandsaw. Then using a spin sander I rounded out the corners and tapered the bow into the final shape. This took quite a bit of time, but I am very happy with the result! To get it extra smooth, I used a fine grit sandpaper and finished the job by hand.
To attach these pieces at the center, I drilled a pair of holes into each of the joining surfaces and placed dowels into them. Using epoxy, I glued the whole thing together. The dowels in the joint would strengthen it much more than gluing 2 flat surfaces together would. Also by having 2 dowels in each join this meant I wouldn't have the pieces rotating in place.
Next I used apoxie sculpt to make the detailed bits on the end of the bow.
For the arrowheads I was initially going to sculpt them out of apoxie sculpt too, but it wasn't achieving the desired look so I switched to clay. Then I molded the arrowhead and cast 7 arrows. (I was too lazy to make more.) I feel I need to improve my arrowhead casting method, as they didn't turn out as clean as desired. (For those who know casting: it was a 1 part box mold with a slit in it.)

Next I started the paint job. The mask, arrows and bow were done all at the same time. Any areas I didn't want silver were covered in painters' tape. I primered black, then sprayed silver in several coats, then sanded the pieces to age them.
The wooden part of the bow and arrows was then stained with a "cherry" colour and finished with a clear coat. I sanded and coated it a second time to make it extra smooth.
Then I hand stitched a piece of leather over the hand grip to match the rest of the costume.
The last detail was to add feathers to match the rest of the costume. The ones on the mask were tied on, the ones on the arrows were glued into slits that I had carefully cut with an exacto knife.
I measured and added the ties to the mask, finishing off the ends with clear nail polish so they wouldn't fray.
Now lets talk wigs! The wig was actually an "
Amy Pond"
wig I ordered off of Five Wits. (As a side note, I love the names these
guys give their wigs!) I picked it because it didn't have bangs, which
would get in the way of the mask. It had arrived before Costume Con, but
I had no time to style it, so I didn't end up wearing it to that event.
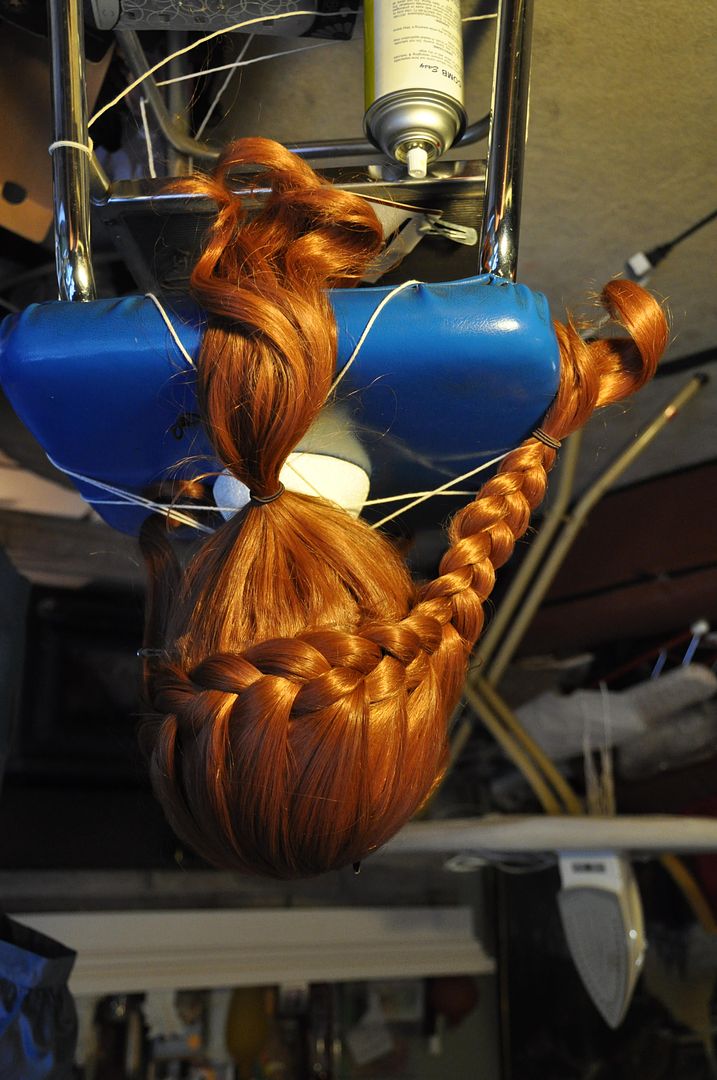
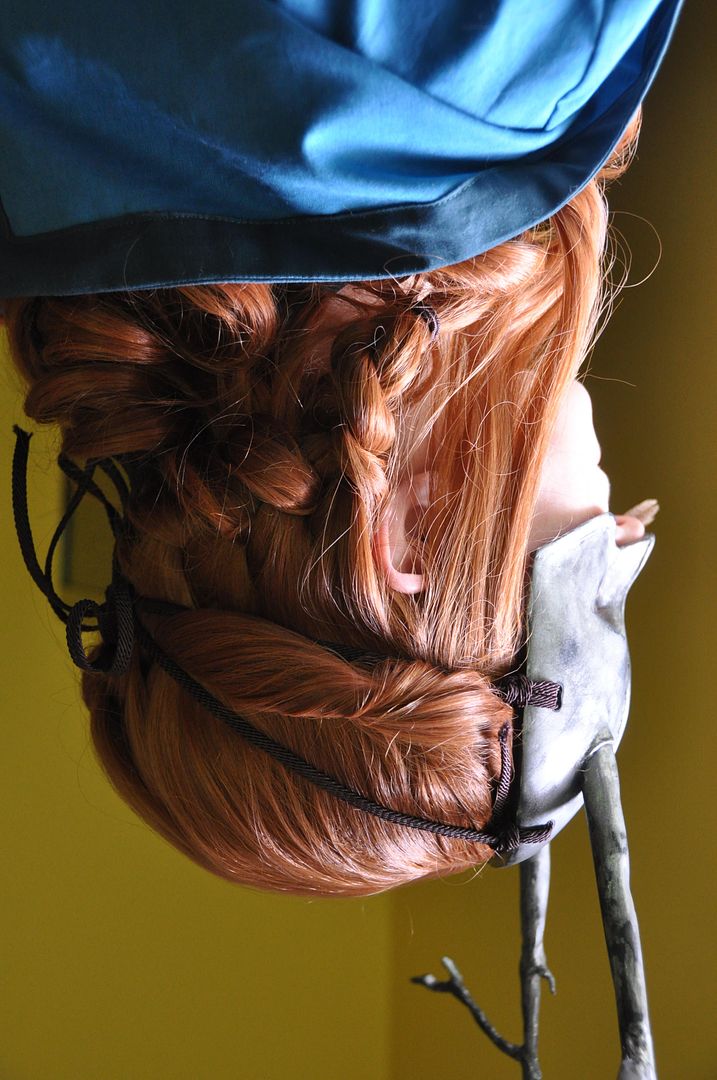
The style I eventually decided upon was relatively simple. I french braided horizontally across the back of the wig, only taking hair from the top. I left the 'sideburn' sections to hang freely at the front, but the rest of the hair was pulled away from the face to reduce bulk under the mask. From the opposite side of where I started my braid I created a twist with the front bunch of hair, which was pinned and threaded through the braid at the center back. I stuck a feather in the end of the braid for good measure.
This style worked well because it helped both keep the hair away from the face and also provided an 'anchor to tie the mask to at the back. Having the 4 ties meet at the center back under the braid kept the mask from sliding down my face as much as it did without the wig.
Overall I really love the finished look with the wig.
I hope to do a full photoshoot of this costume in the forest sometime soon, just need to find time (that also coincides with good weather and a photographer)... Also my bow will be making the trip to Otakuthon without me! I am lending it to a friend for his costume, which is some kind of mouse archer from a game I am not familiar with.
[Edit: The new snowy photos are from my winter photoshoot I did with EleventhPhotograph! Many thanks!]

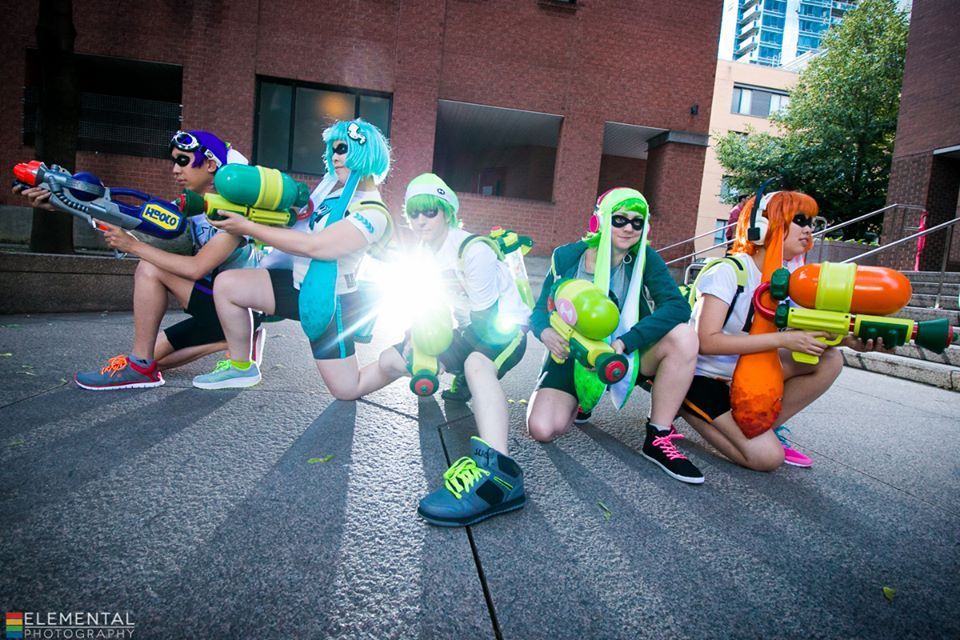
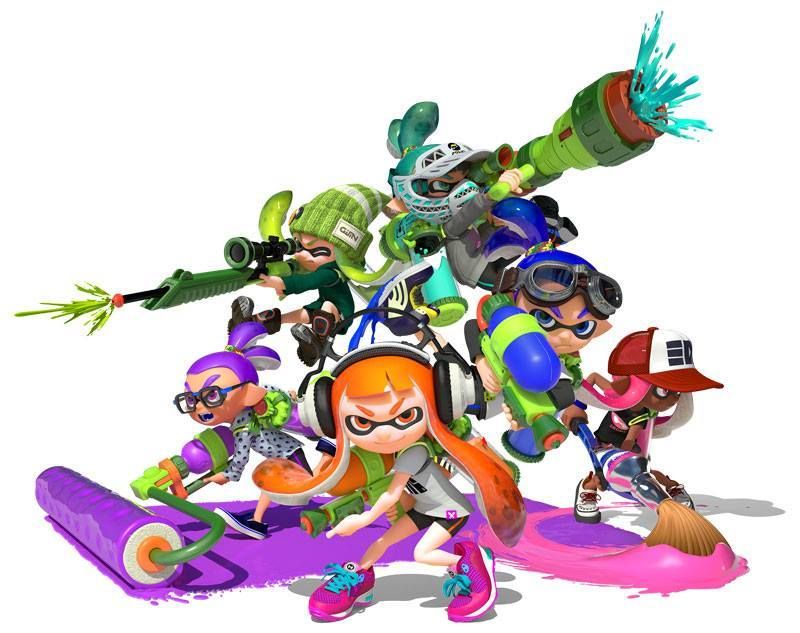

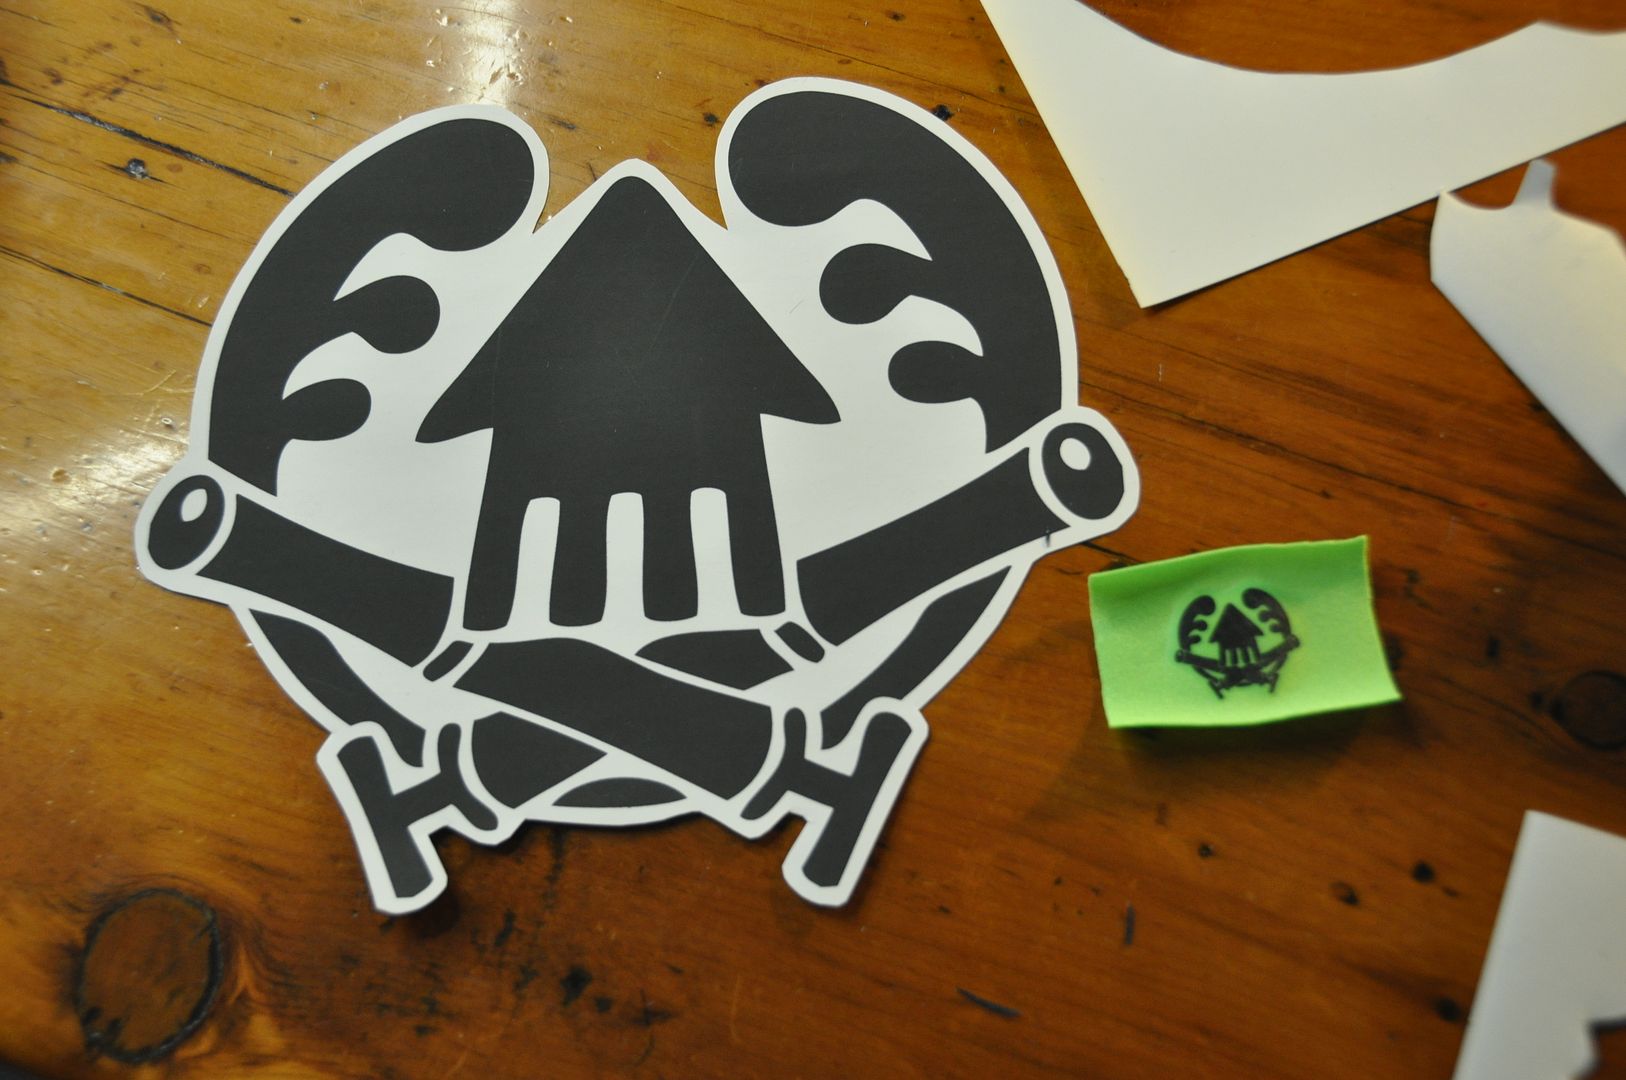
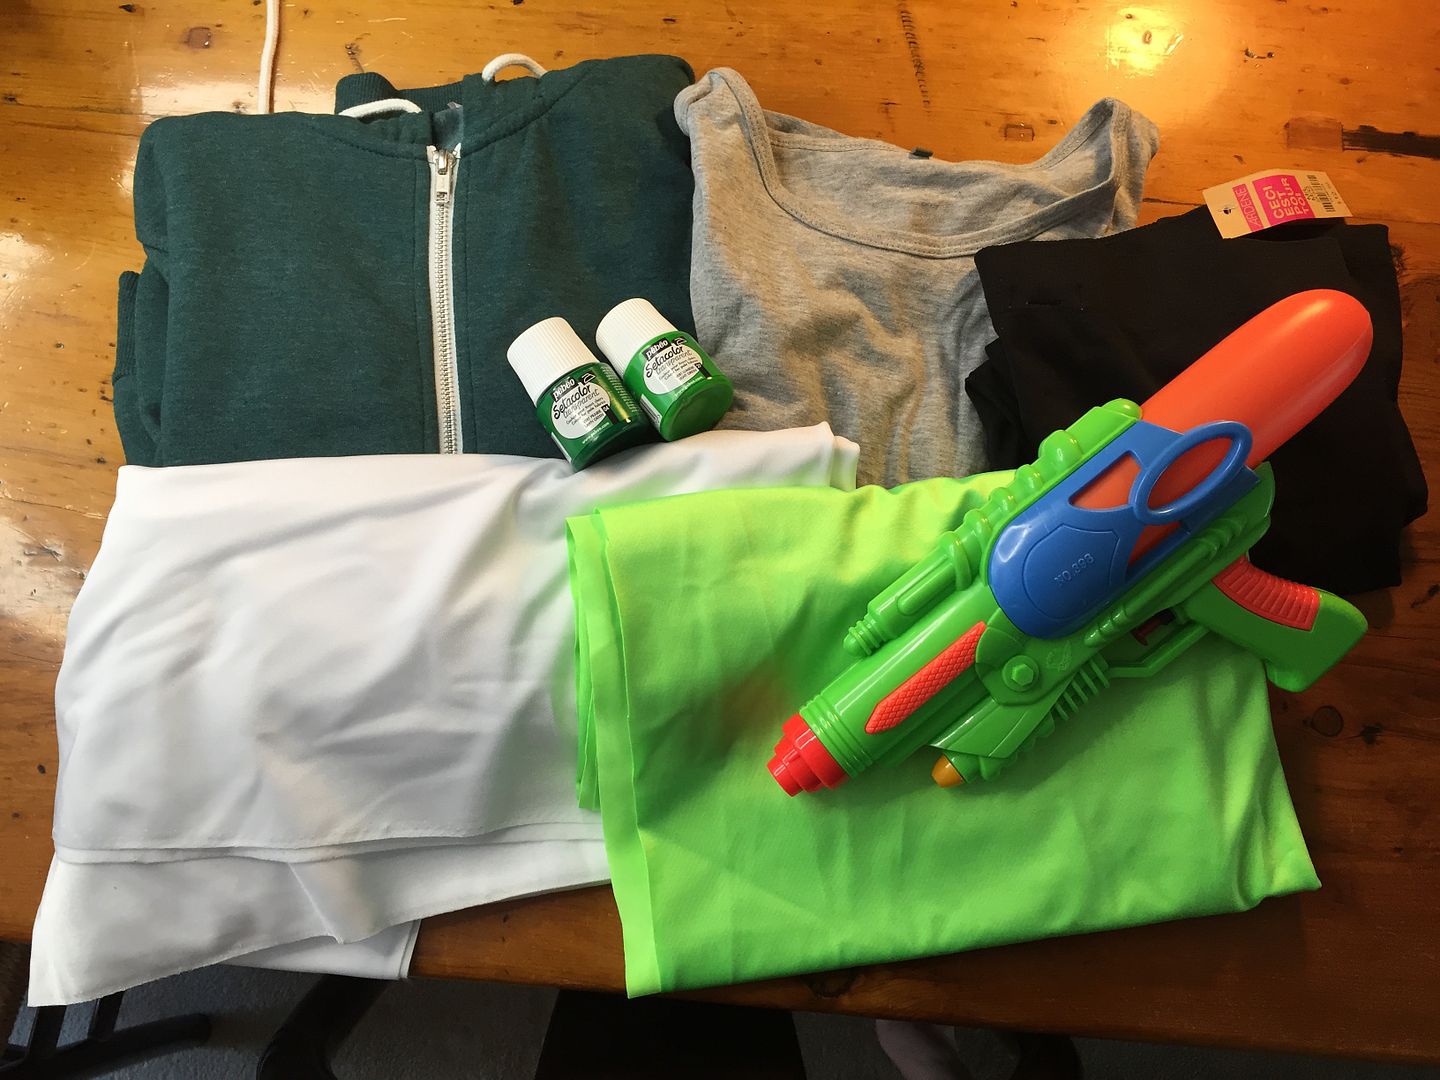
 For the clothes we all set about creating our own outfits. I tried to keep the base items I bought on the cheap side.



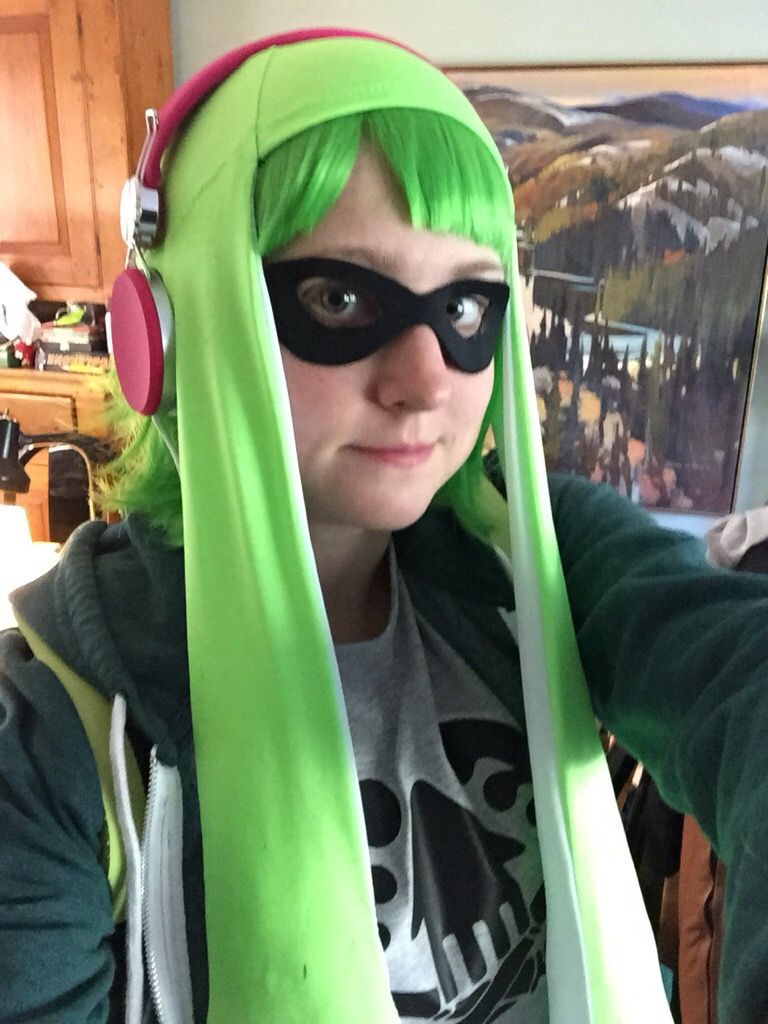 I picked up a pair of bright pink headphones in chinatown for about $20. So I wouldn't have to worry about making any pointed ears for the costume, which we made a group decision later to forgo anyway. I wish the headphones I bought were a little bigger, but I wasn't willing to spend any more on them. I may mod them at some point. Perhaps for Squids 2.0?