Tuesday, September 24, 2013

Kero & Suppi - Bows, Gems, Giant Candy - Cardcaptor Sakura

This is the fourth post for Kero and Suppi! This is just a quick look at all the props and accessories for these costumes. :) I always feel that props and accessories just make a costume that much more interesting!

For the rest of these fabulous costumes see the Shirts & Shorts, Ears & Wigs, and Aprons & Wings. For more pictures of Kero and Suppi see Eleventh Photograph's Otakon gallery!

First let's talk about those delicious candies! They were actually made by my sister. It was really nice to have a super light prop to carry around for the day.

My mint is made of 2 layers of insulation foam hot glued together. The edges were sanded down to be round. She then painted it white, then added the red swirls using acrylic paint. Alex's gumballs were simply coloured balls she got at the dollar store. Both candies were wrapped in cellophane.

Alex also made our cool gems. For the gems we used a gedeo clear resin we bought at Curry's. Following the instructions she mixed the 2 parts accordingly and used a new paint tray as a circular mold. Then they were left to cure. We only needed 2, but she made 6. This was lucky because for whatever reason 50% of the gems didn't cure.

Then she painted them using nail polish. She backed them with a polish of each chosen colour (red and teal), then in order to bring out the shine she coated the top of the gem in a clear coat of nail polish. Trust me when I say that the clear coat is what turns them from looking "meh" into looking gorgeous.

The next accessory was a set of 3 bows for each of us. Each bowtie was made of 4 pieces plus a neck band. All the rectangular pieces excluding the center were given stripes to match the aprons. The bows were hand stitched together, then the gems were hot glued onto the center. Finally to the neck bows I added a neck band, with a velcro closure. My sister's I made longer because she wanted to have her collar unbuttoned.

The shoe bows were simply attached to our own shoe laces with safety pins!

Wednesday, September 18, 2013

Kero & Suppi - Wings & Aprons - Cardcaptor Sakura

This is part 3 of Kero & Suppi's posts: lets have a look at the wings and aprons. On this costume the wing rigs are built into the aprons. (As opposed to on my Cosmo costume, where the rig was hidden under the costume, this rig is incorporated directly into the apron.)

The apron part was really easy, figuring out the wing rig was a little more tricky.

Check out Eleventh Photograph's Otakon gallery for more pictures of Kero and Suppi (and other awesome cosplayers!)

For more Kero and Suppi, see our Wigs & Ears and Shirts & Shorts!
I started by making a paper tracer for each apron. I held it up to myself until I was satisfied with the shape, then cut out 2. The 2 layers were just for extra sturdiness.

I applied my contrasting bias tape trim around the edge of each apron.

This red is the leftover fabric from my red panda bag. :)  (Which is still for sale, if anyone is interested.)

I then made two strips for the tie at the back. (I should have made mine a little longer.) These were narrower at the base where they attached to the apron and then widened partway. On these I marked 2 stripes going down the center. Along my marking lines I used my sewing machine to embroider a tight wide zig-zag stitch. This was much cleaner than attempting to paint the stripes on.

I made the 2 shoulder straps, marking where they needed to attach at the back and how long they needed to be. They needed to be fairly tight so the wings wouldn't droop, so I ended up having to tighten them later...

Then I cut out the pieces for the applique design. Suppi's symbol is based on the one from his "big form", Kero's is a simplified version of his sun symbol. (Meaning no wavy lines, as they would be impossible to do at this scale...)
Using a tight zig zag stich, I carefully followed the edges of my cut outs. For Kero's I did the pale star points, the inner lines and then the yellow star outline. For Suppi's I started with the inner circle, then the butterfly and lastly the antennae.
Once the apron bases were done, I started on the wings. Like many parts of this project I started with a paper tracer which I sized up to the actual person before cutting anything out.

I then cut out the foam bits (double thickness for all wings), followed by the cover pieces. For the covers I made them slightly larger (by about 1/4"), as they had to go over an object with thickness.
I sewed the covers right sides together, leaving myself a large gap at the base through which I could stuff my foam cutouts.

On Kero's wing cut outs rounded out the edges, so they would fit the case better and look less blocky. Even then it was a struggle to get the wings in.

Then I started to work on the rigging. Kero's wings were sort of the trial and error run, before I figured it out and streamlined the process for Suppi's. I started with a piece of wire (1 for each wing) that I bent like in the picture above left.  These would slide through the opening in the base, up in between the 2 layers of 1/2" foam where they would be secured later.
I then cutout a back panel, using the fabric matching the shirts. The whole back piece would be made of styrene panels secured inside  a fabric casing.

I slid the wires inside the wings and placed them on the back panel to see how they would sit together. I marked where I needed to put the holes for the wire to stick out of the back panel. These holes I did in the same style as normal button holes. These were only on one side of the fabric cover.
Keeping the wires the same distance apart as on the panel, I marked and hot glued the wires down to my base pieces, made of rectangles of styrene.

Unbending the ends of the wires for the time being (they were bent over so they won't poke holes in the foam wings), I slid them between the 2 layers of fabric and out through the holes in the back panel. When in place I stitched a line  along the bottom and top edge of the panel to keep them from sliding around.

At this point I re-bent the ends of the wires. Then I carefully marked and hot glued the wings to the wires.
Then I had my friend Alli assist me by tucking all the covers underneath and hand stitching them together to finish them at the bases.

Lastly I made the 2 swirls for Kero's wings. This was simply 2 ovals of foam that I made cases for. When they were together I stitched the swirls directly onto them, through the foam layer, giving them the plush look.
These were a lot of fun to wear, though mine kept sliding down at the back. This could have been fixed by making my back panel bigger, as my sister did not have this problem at all.

Tuesday, September 10, 2013

Kero & Suppi - Wigs & Ears - Cardcaptor Sakura

Lets talk wigs and ears! So for these costumes I actually had to start by ordering the wigs. Because these gijinka costumes are so colour specific,  I had to ensure I had the right colour wig and then buy my fabric to match that colour. I got both wigs from Epic Cosplay. This was my wig for Kero, and this was my wig for Suppi. It was difficult for us to decide on a colour for Suppi, as he is one of those characters that is a different colour in every reference picture; sometimes he's grey, navy, black or purple. We decided to go with purple as it complimented Kero's yellow nicely.

Once again, thanks to Eleventh Photograph for our mini photoshoot! Go here for the Shirts & Shorts
I started by cutting bangs into both Kero and Suppi's wigs. I was careful to feather/layer the hair so it wouldn't look straight cut.

On Kero's wig I shortened the back a bit. I like this wig style for Kero as the kick at the back give him a little more attitude. I also added a cowlick (or ahoge) because he is a bit of an idiot and I think it suits him. :P

On Suppi's wig I left the back long, which was later tied into a cute ponytail. :D
I then made a paper cutout of the shape I wanted for the ear to help me determine sizing. I cut out a foam piece using my paper as a tracer. Then I cut a c-shape to fill the outer rims of each ear. These border pieces were hot glued in place. I bevelled all the edges of the foam pieces so they weren't so square. They would look less blocky in the cases that way.
 I cut 4 pieces that would be the ear covers. Then I made the inner ear accent pieces. These were sewn right sides together and flipped inside out so they could be neatly top-stitched onto the ear. With one piece of the cover pinned carefully in place underneath, the inner ear accent pieces were top-stitched directly to the foam insert.
Then the cover pieces were sewn right sides together, then flipped right way out to cover the foam inserts. Then I added an extra layer of foam into the back of each ear.

The raw edges were then folded inside neatly and the bottom of the ear was stitched closed.

I carefully marked where I wanted the ears place on the wig using hair clips, parted the hair and stitched the ears to the wefts and undernetting of the wig.

For Suppi's ears the process was a little different. I made a paper cutout that I curved and mocked up on the wig. When I was satisfied with the shape and size I cut 2 ears out of foam. I cut out a small dent at the base where I wanted the ear to bend the most.

The covers were much easier than Kero's. Each ear cover was simply made from 2 pieces of fabric (one side teal, one side purple), slightly larger than the foam insert. These were sewn right sides together then turned right way out and pressed.
The foam was then slipped (more like shoved) inside the cover, and the bottom stitched closed with the raw edge folded inside neatly.

Like I did for mine, I tried the wig on my sister and used hair clips to mark the placement. (This is particularly important if you have a large head, as placement will look different on the wig head than on your actual head.) Then I put the wig on a foam head and re-marked where the ear would go using sewing pins. Then I clipped the loose hair back, away from the area and stitched the ears on by hand.

I liked having the ears attached to the wig as opposed to clipped on. It's nice to wear the wig and not have to worry about the ears slipping/becoming lop-sided, though it does make the wigs a tad more difficult to store. The foam ears were really light and easily stood up on their own, without needing any wires (though I imagine larger ears would require some infrastructure).

Overall these wigs were great to wear, and fun to make. My cowlick sustained some damage during the trip down (which was not unexpected as the car was pretty packed with stuff), so it needed some TLC at the con, but it held up well when I wore it.

Wednesday, September 4, 2013

Kero & Suppi - Shirts & Shorts - Cardcaptor Sakura

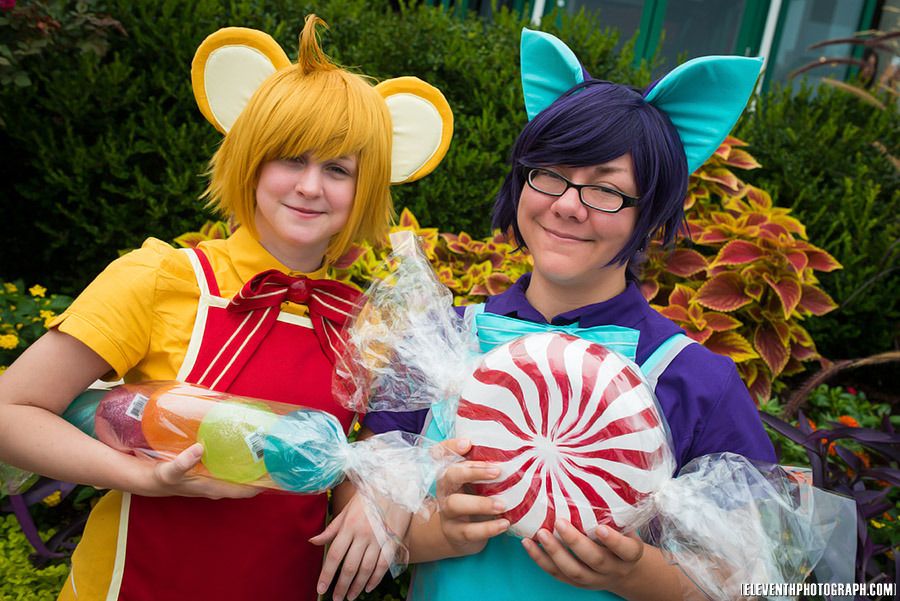
This is the first part of my documentation for our Kero and Suppi gijinka costumes! (Or Keroberos and Spinel Sun if you want to get technical...) These are characters from my one of my favourite animes CardCaptor Sakura! This was the first anime I watched in Japanese with subtitles, and one of the first boxsets we bought. :D

This is my second time wearing a gijinka costume, but my first one making one myself! I had a lot of fun making these, particularly working with such bright contrasting colours. I got to try some new things on this project--namely tails and ears.

I got some nice photos thanks to Mike from EleventhPhotograph. We took a couple pics in the big candy store on the harbour!

For those of you unfamiliar with the term, a "gijinka" costume is essentially a humanization of an animal character.

This project is a collaboration with my sister Alex, of Alex Boake Illustration who did the very cute design. It's sort of inspired by the outfits in the 3rd ending song "Fruits Candy". Lots of fun working on these!

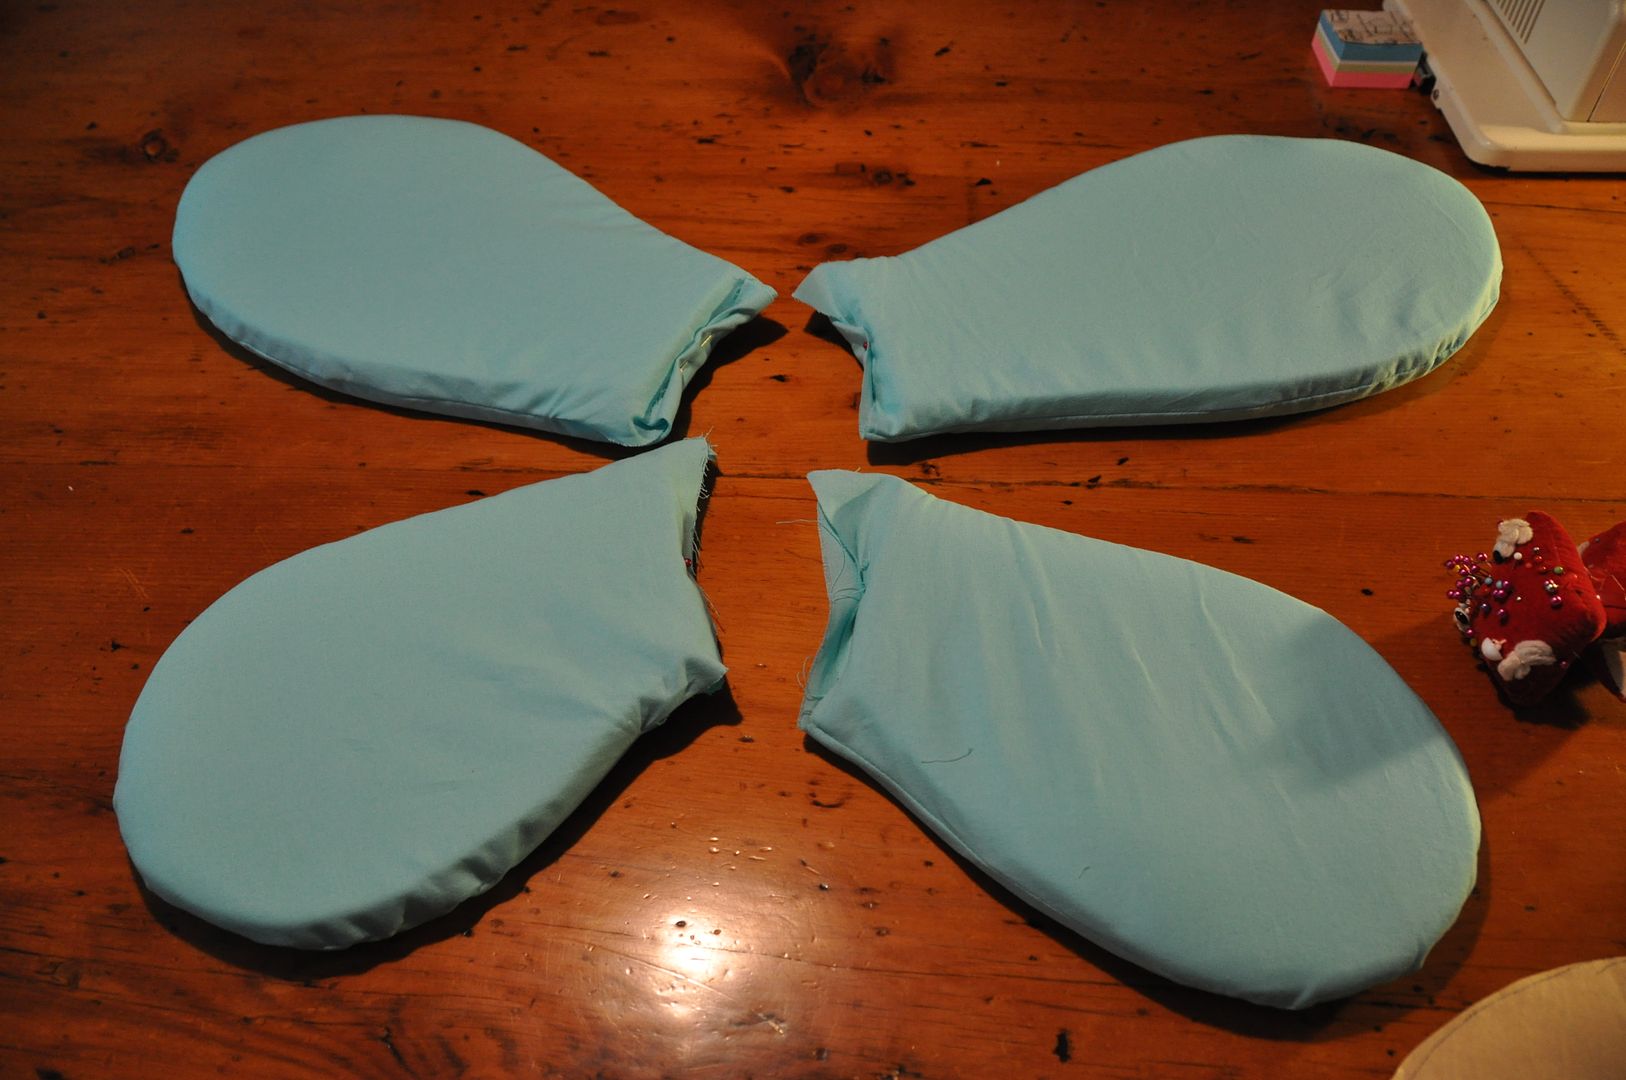
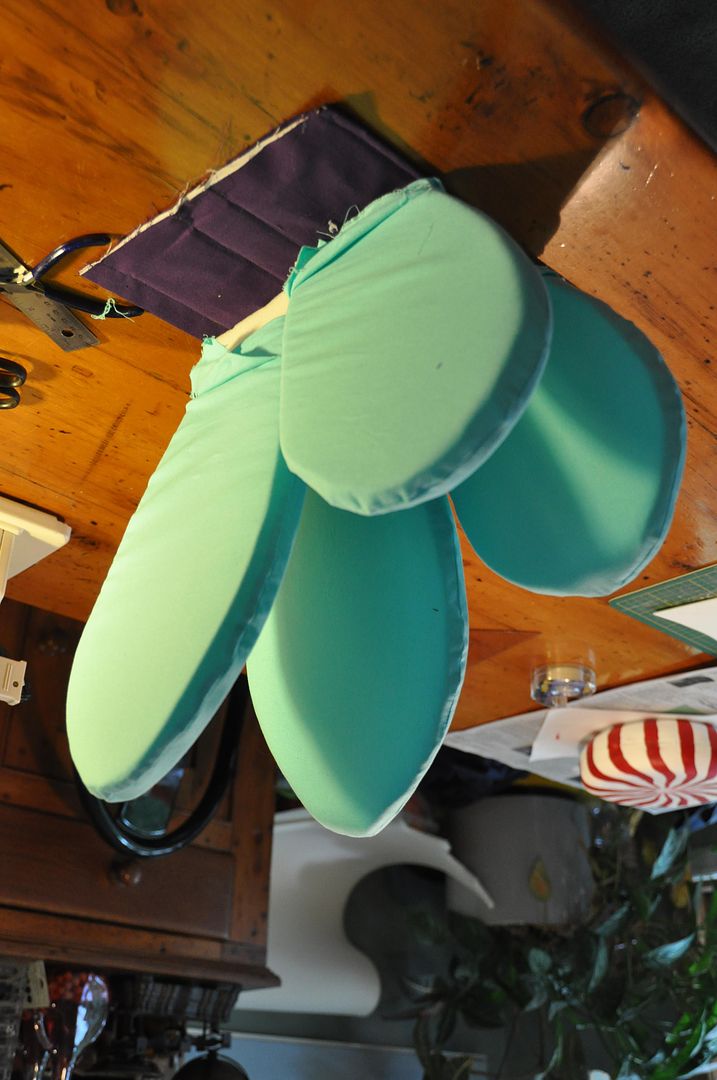
These gijinka costumes were based on the characters' "little" forms. FYI I love this gif... It reminds me of how I felt stuffing the foam into those wings...

But without further ado, let's get started!

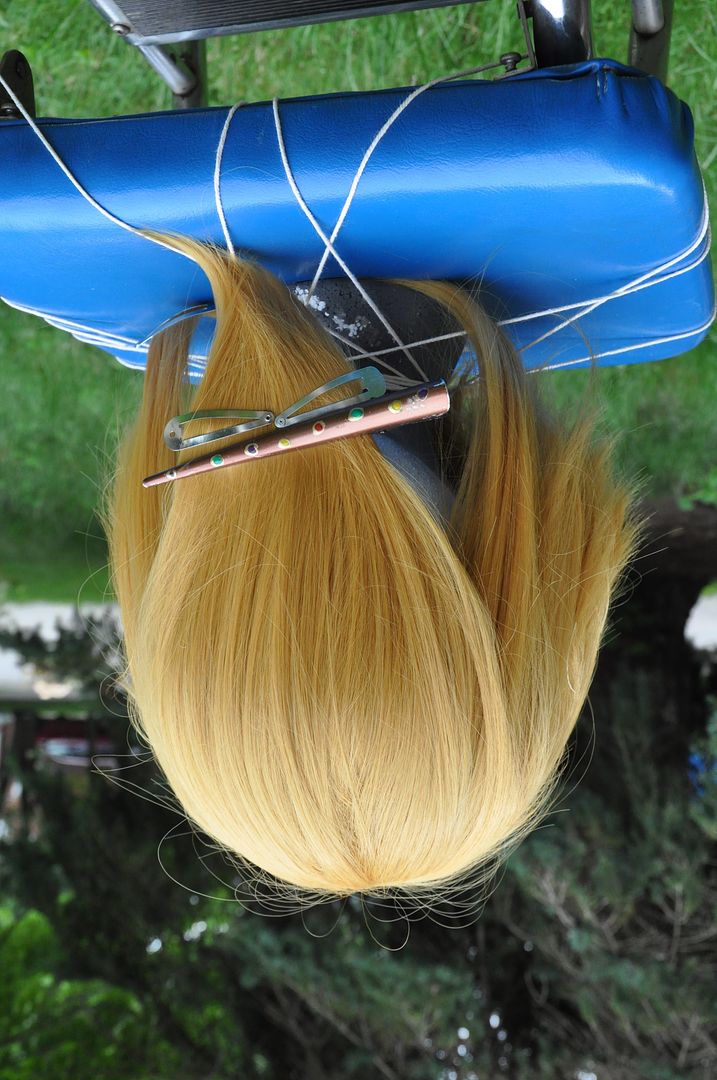
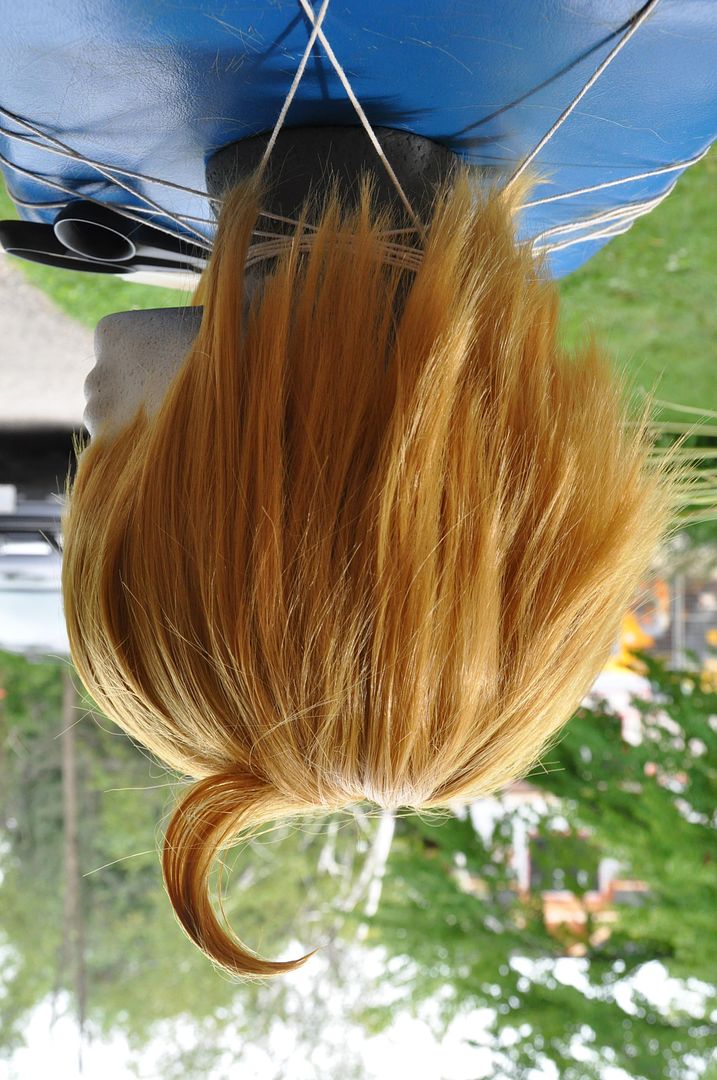
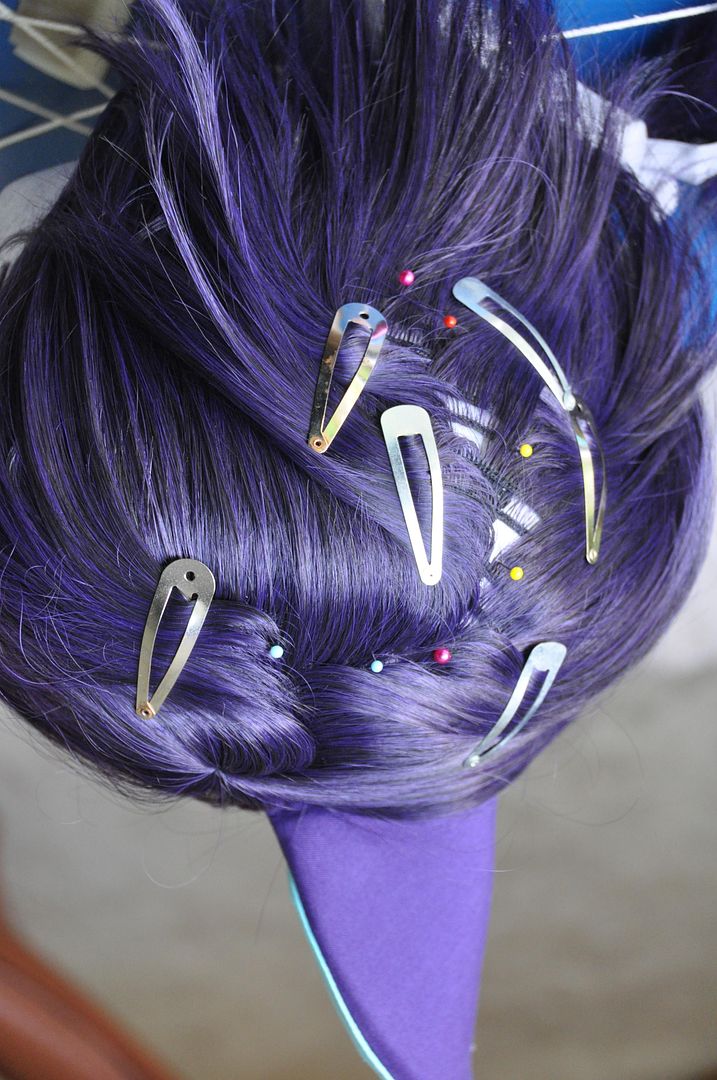
I started first by washing all the fabrics, these costumes would be worn in a very hot place, so I thought it best that all clothing be washable. And since fabrics tend to shrink when you wash them (particularly cotton), it is always a good idea to pre-shrink your fabric before you cut anything. We opted to go a little more expensive with the fabric and bought quilting cotton, because it breathes really nicely. (Also it came in all the right colours, so that kind of sealed the deal.) The yellow and purple fabric were picked to match the wigs.
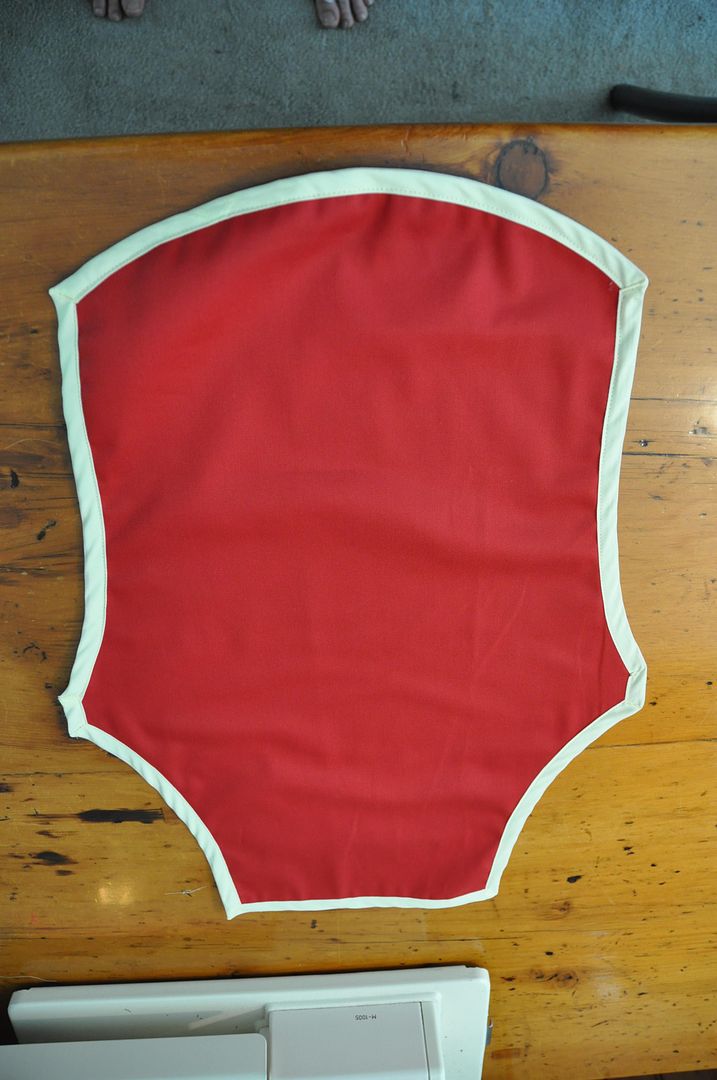
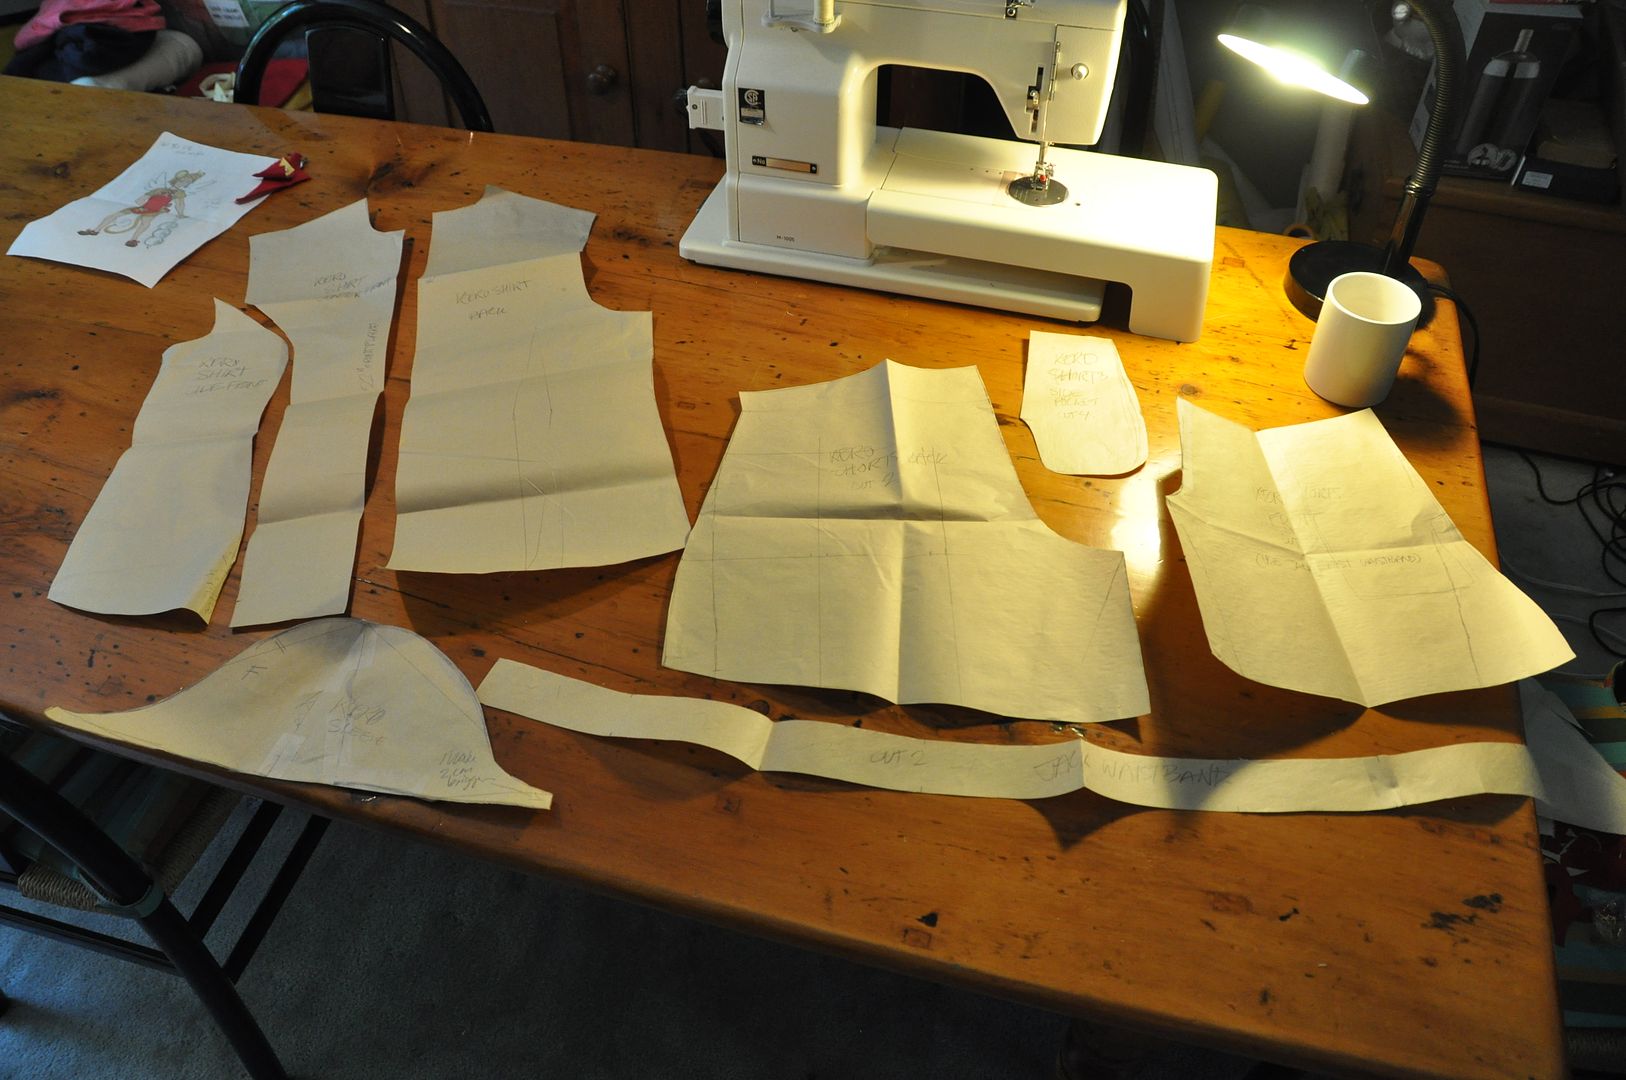
So I started by patterning the shirts and shorts. For the shirts I modified a basic block with a princess seam, widened the armholes a bit.

First I sewed up the back darts. Then I sewed the side seams, shoulders and front darts together.
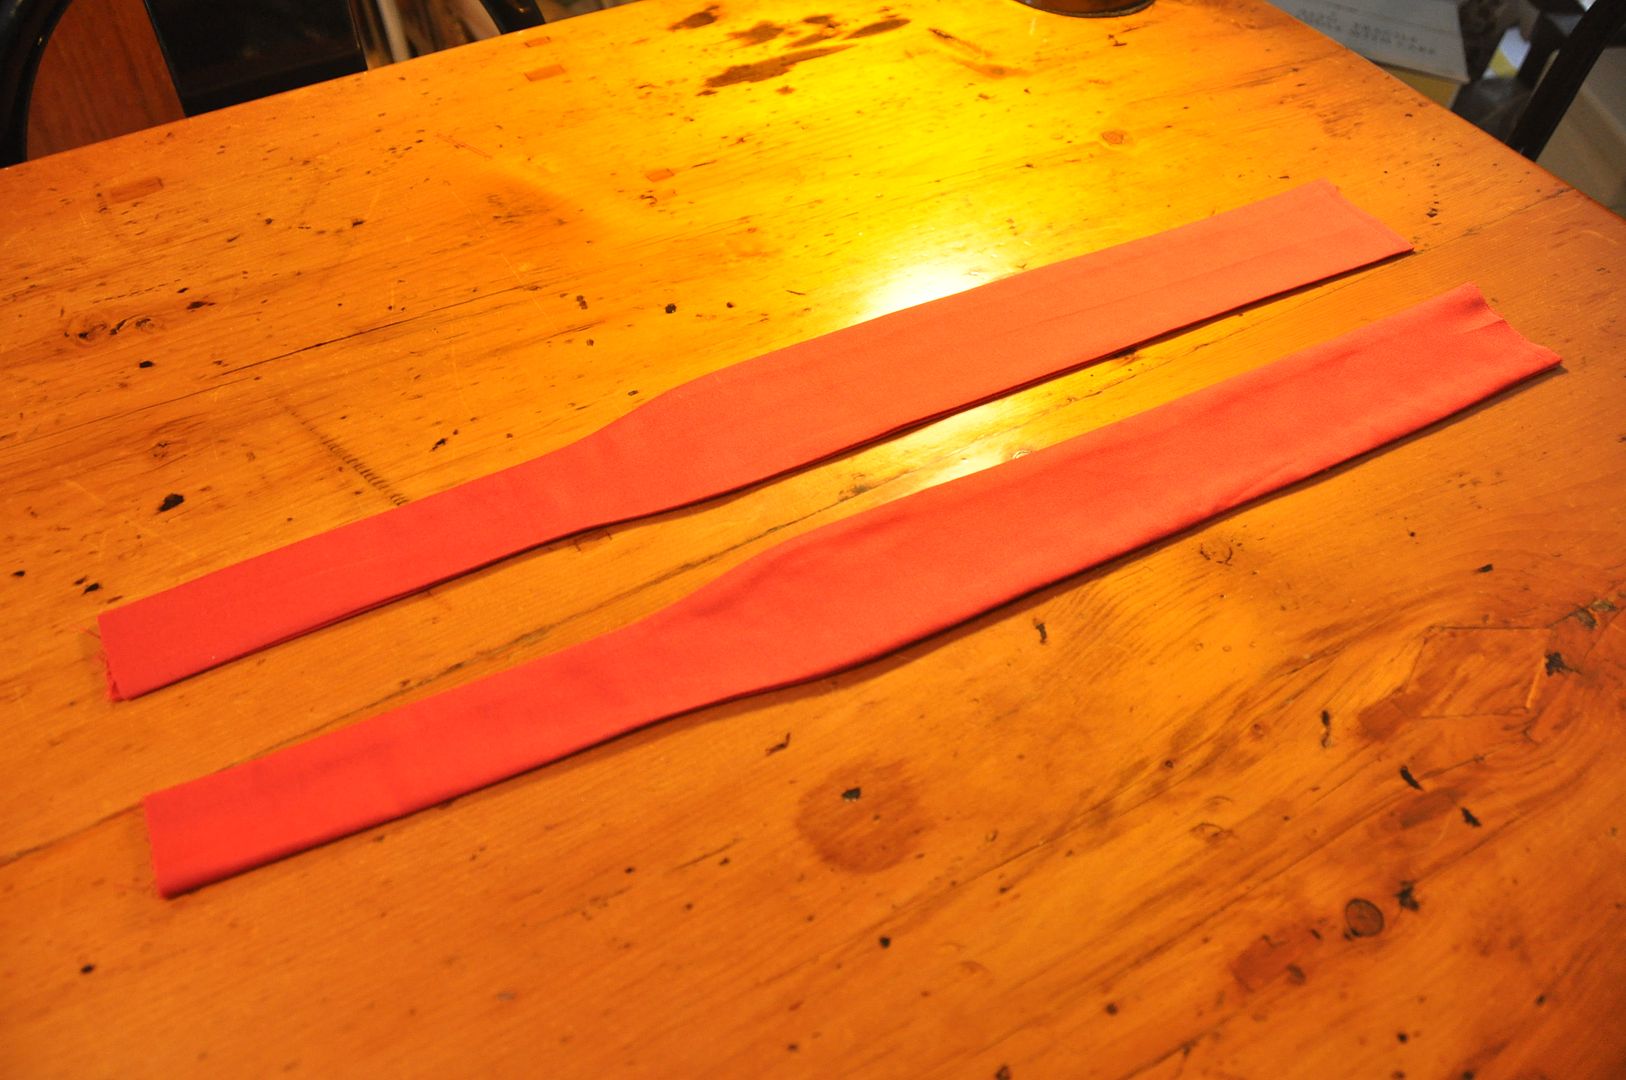
At this time I also sewed a placket to one side of the front overlap (this is where the button holes would go). It was a long strip with a fold ironed down the center. On one side of the fold it was attached right sides together with the left side of the shirt opening. Then I ironed the seam flat, and pinned the the other half of the strip to the inside, tucking the raw edge under (making sure it overlapped the seam). This was ditch-stitched in place from the front.

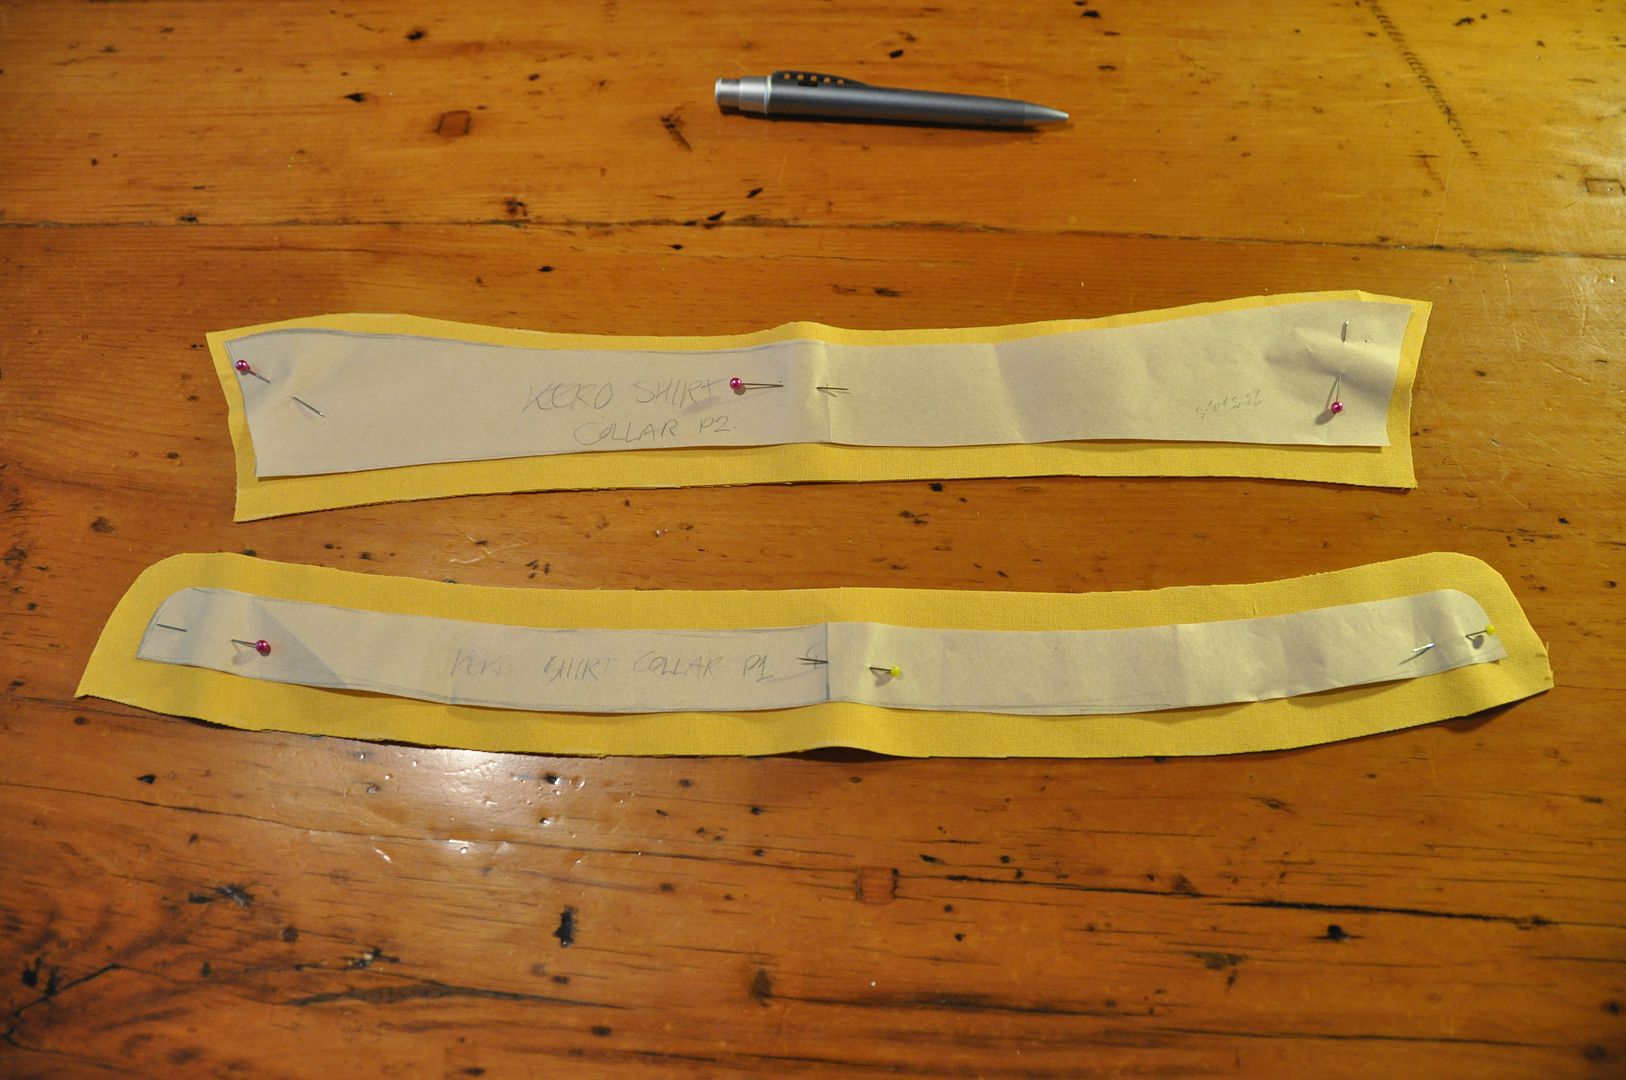
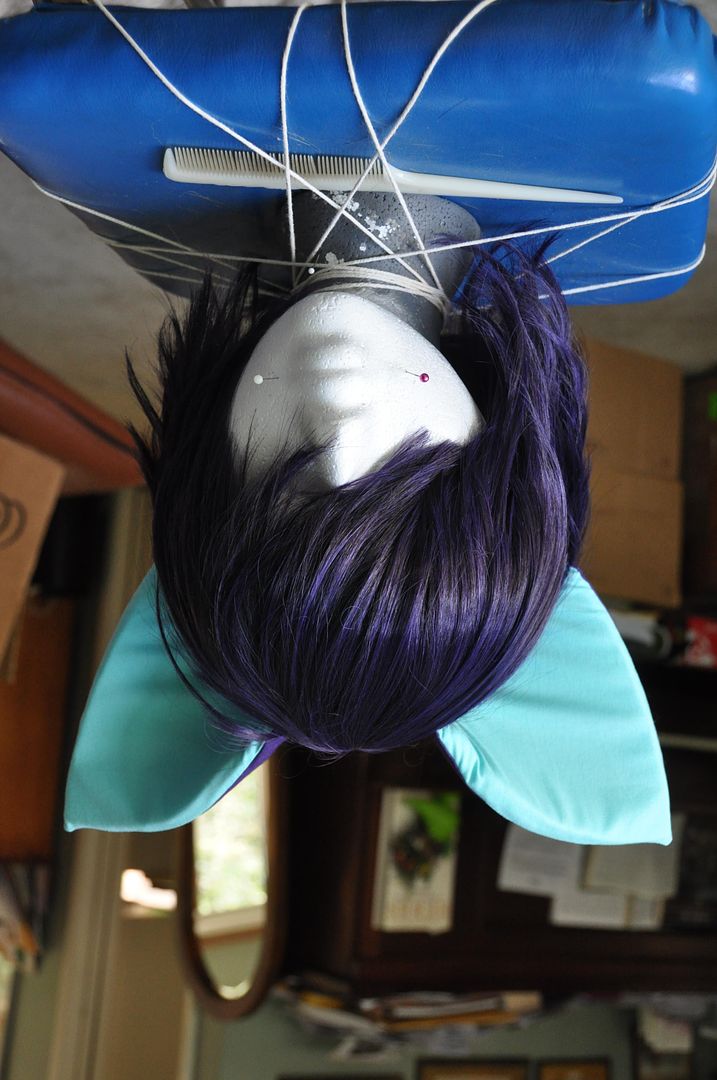
Then I patterned the collar. First the outer collar was sewn right sides together then clipped and flipped right way out. Then this piece was placed in between the 2 layers of the inner collar and it too was stitched together and flipped right way out.

One side of the open edge was sewn to the shirt, then the other edge was folded inside the collar and ditch-stitched in place. This left a clean finished collar.

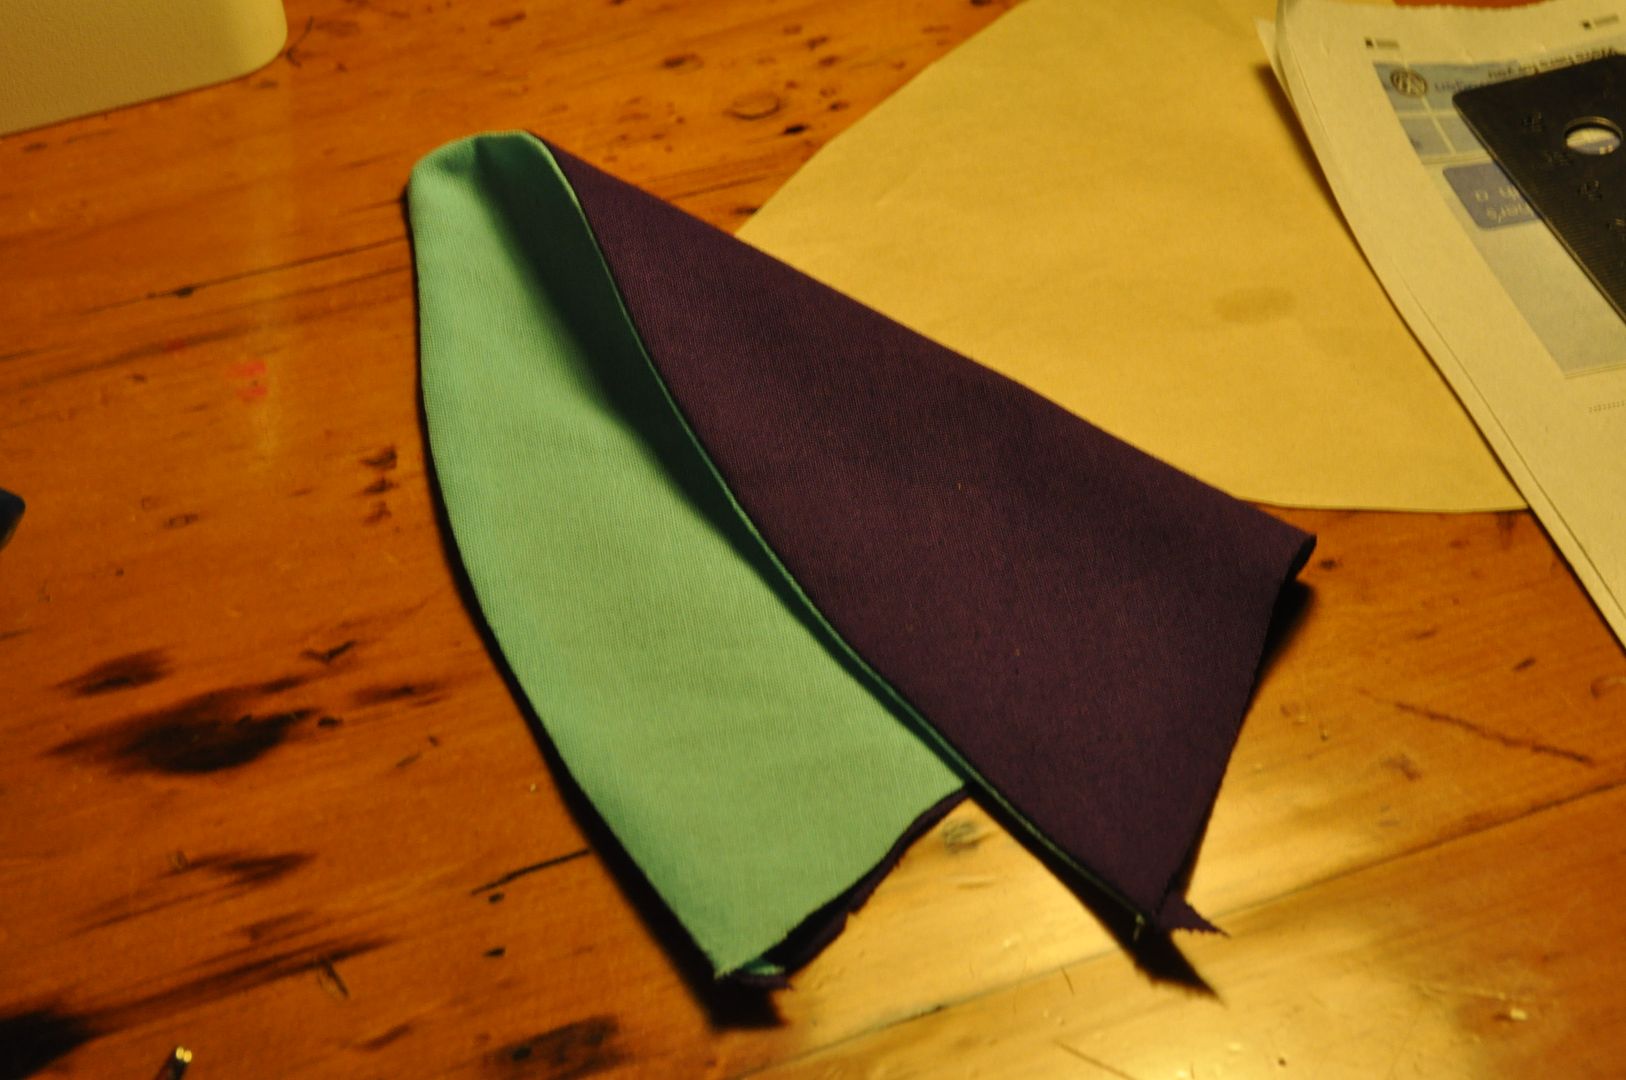
Next I patterned the sleeves, I started with a normal sleeve pattern, which I then sliced up the middle and added a few inches of flair. To the edge of the sleeves I added a cute trim with a split near the front. This detail made the shirts a little more interesting.

The last thing was putting on the buttons and adding in the button holes.

----------------------------------------------------------

Now let's talk about the shorts. I decided that I should start making a habit of putting pockets in my costumes, because it seems like a logical thing to do! So Suppi and Kero both have pockets in their shorts. When making pockets just make sure that they are big enough to hold your average size cell phone (not those monster ones) and that the opening is large enough to slip your hand in. (Otherwise your pockets will be a tad useless...)

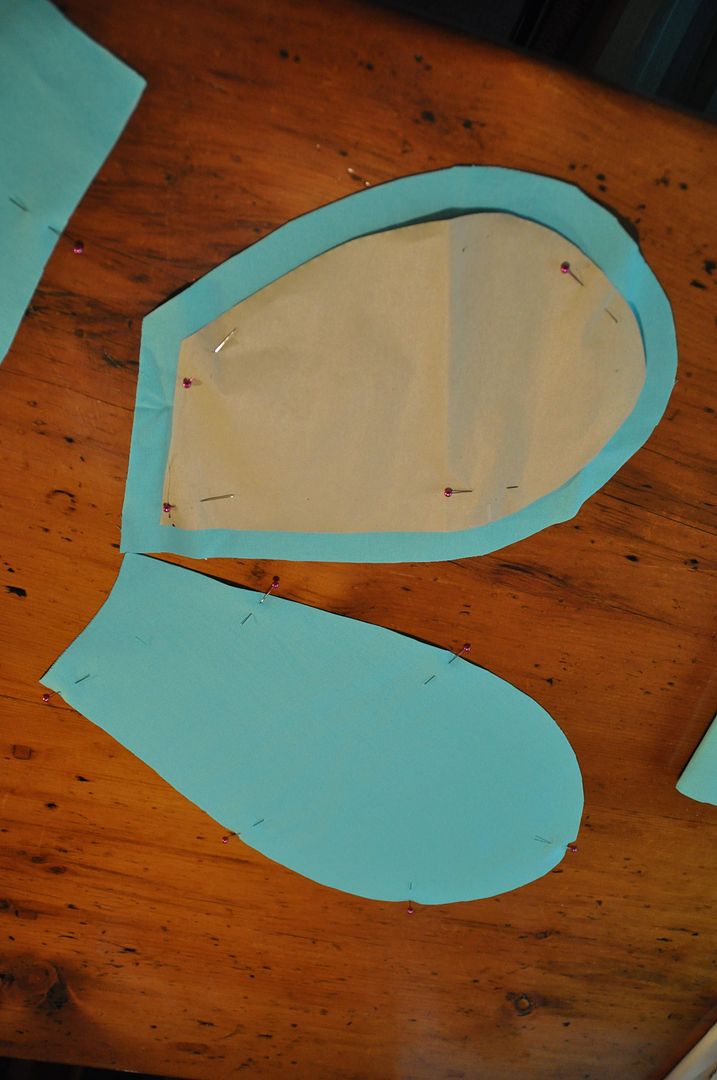
Since I don't really know how to properly pattern pants from scratch yet, I traced each of my pants patterns from existing pairs. I picked a pair of pants that fit me well at the butt and waist. This pattern I then modified to give the flair necessary to form the little bit of pouffe at the cuffs. I mocked these up in muslin first before I cut the good fabric.

The process is essentially the same as the pockets on my 
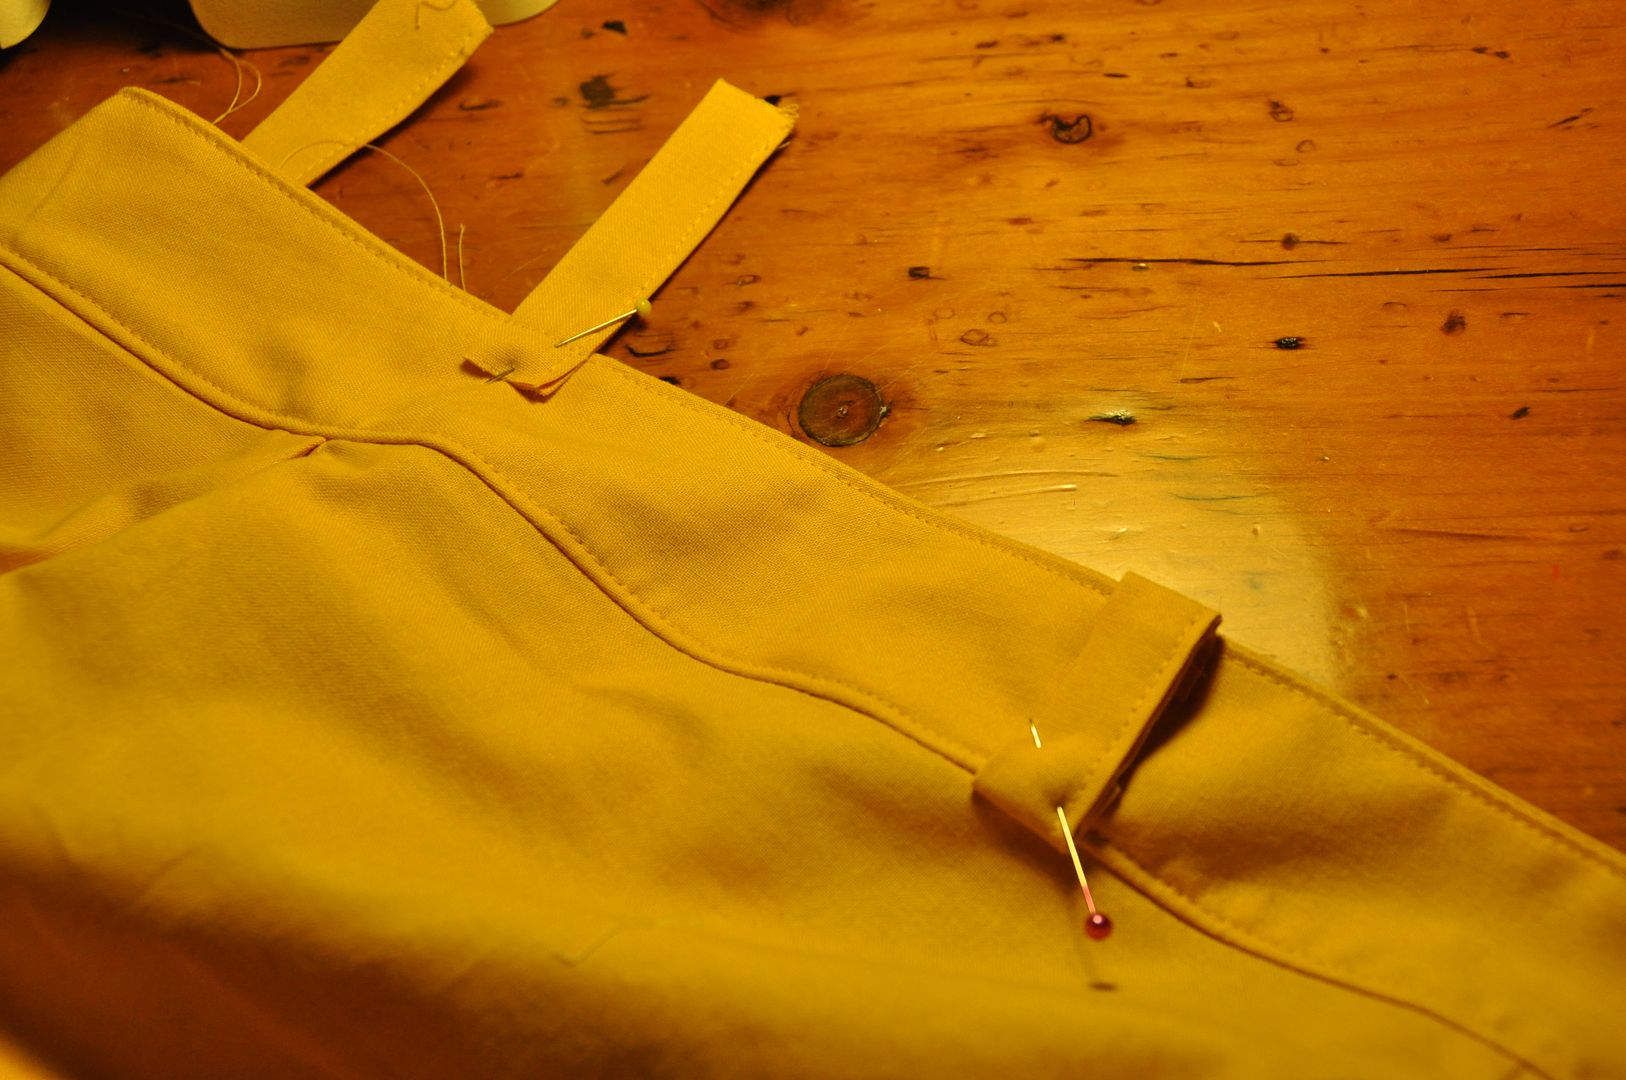
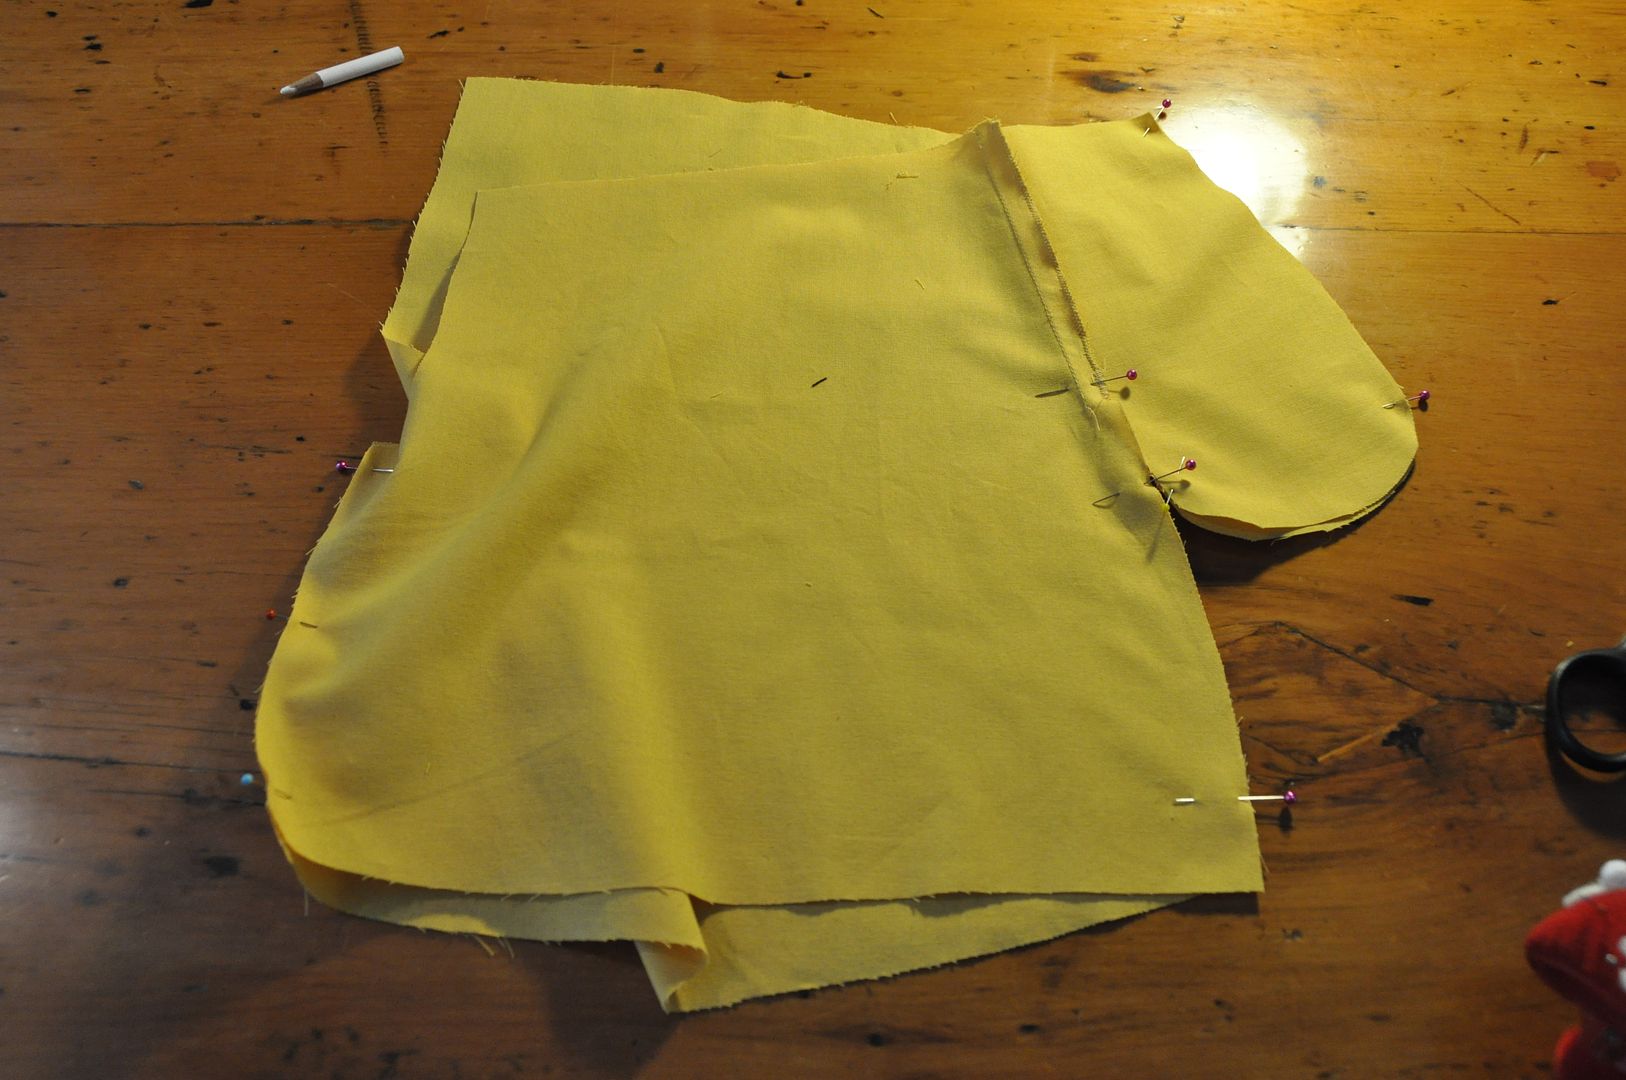
Simple Gathered Skirt. I started by stitching each of the pocket pieces to the side seams. Making sure these were done to the correct sides so I would end up with a right and left pant leg, instead of 2 rights or 2 lefts. (If confused lay it out like I have in the picture above.) Then I pressed the pockets to the outside. (Before continuing it is best to finished the seam where you sewed the pocket to the pant panel, otherwise it will be difficult to do later.)


The next step is to stitch each side seam and pocket together. Go around the edge of the pocket, then turn and follow the side seam down. Then stitch together the inner leg seams. When you flip the pant leg right way out, the pockets will now be on the inside (like the picture below).
Then I sewed up the crotch seam, leaving the fly open. Then I made any adjustments necessary and finished off all the inside seams.
Then I made 2 pieces for the fly overlap. These were sewn to the outside. One would be flipped completely inside and tacked down, the other would be pressed flat so it would underlap the fly seam (if you are confused by this description, look at the fly on your nearest pair of jeans).

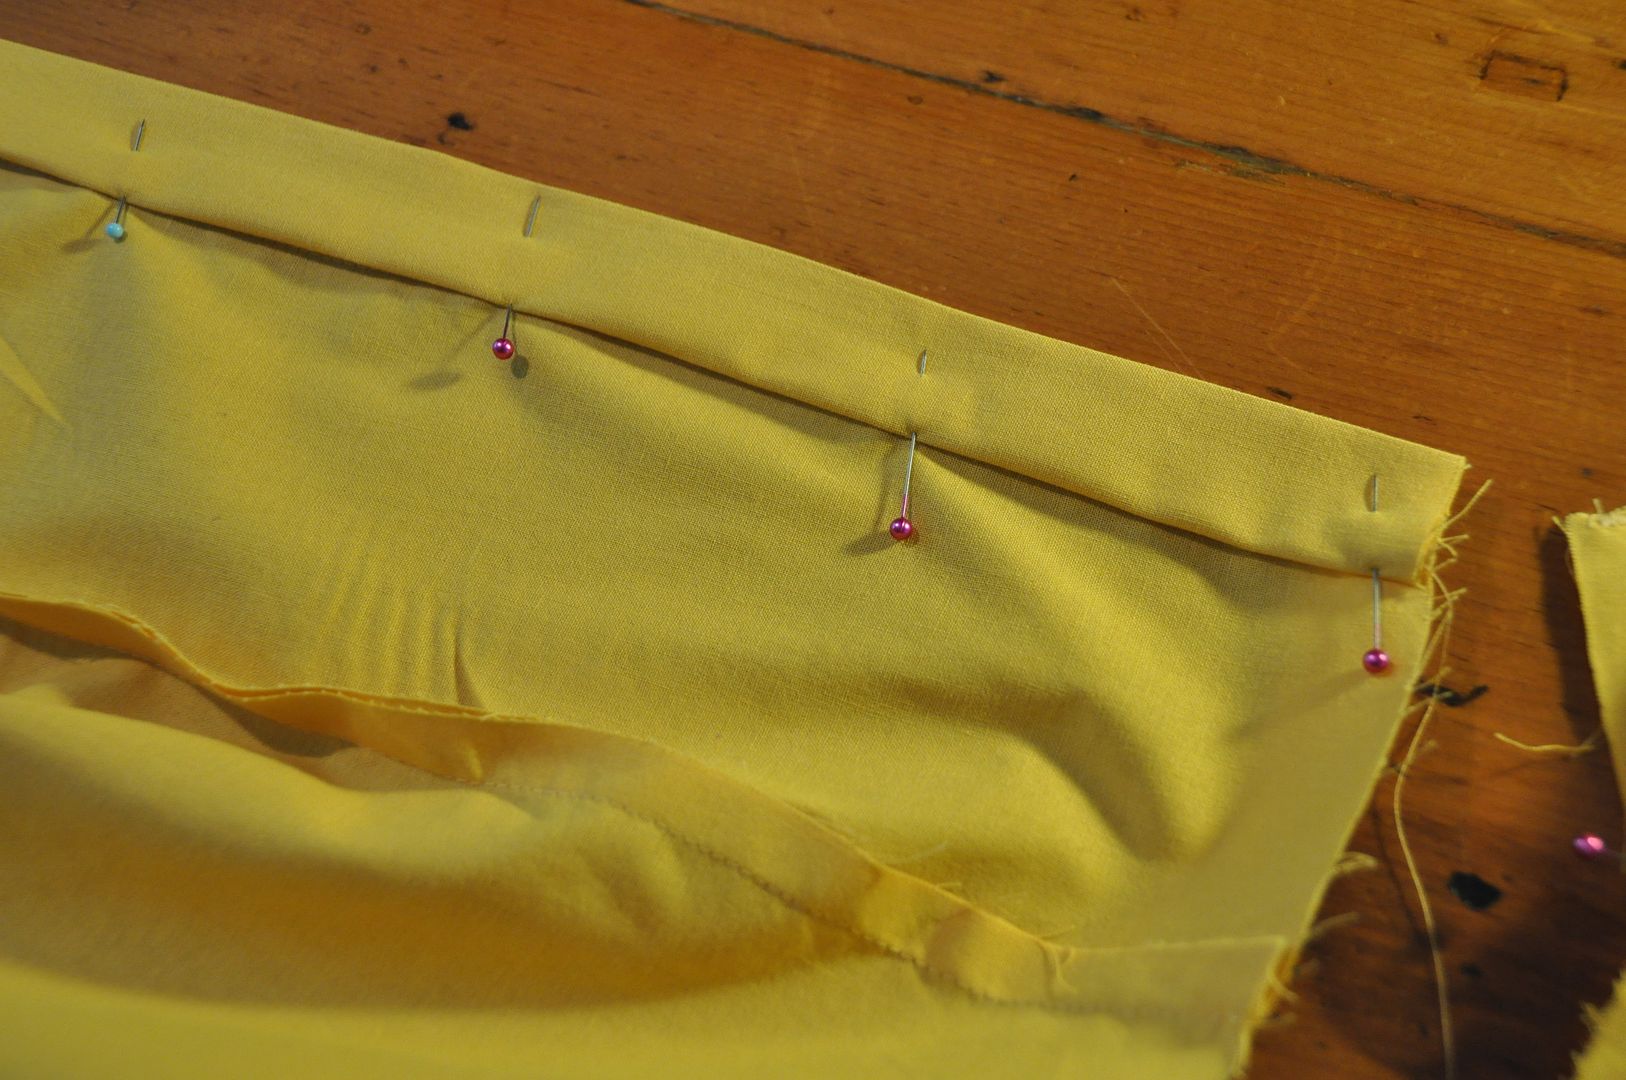
Then I made a slightly curved waistband. This was sewn right sides together along the top edge, then flipped right way out. Then it was sewn to the pants, the raw edge finished with a zigzag stitch then tacked down. I folded and finished the ends of the waistband.

For the pouffe I did a long basting stitch around the bottom edge of the pants (without backtack). Leaving the ends of the threads long I was able to grab hold of the bobbin thread and gently slide the ruffles on. I did my best to make the gathers even. The cuffs were simply rectangles made about 2" larger than the circumference of my thigh (so they wouldn't be constricting), folded over and sewn into a loop. I adjusted the size of the pouffy pant leg to fit the loop and sewed them together. This was don on the outside, then flipped down so the seam allowance would be on the inside of the pant leg. This was finished with a zigzag stitch.
The fly was finished with Then I added belt loops. When spacing them, I had to make sure the back two were far enough apart for the base of the tail (about 6").
These clothes were very simple, and very comfortable to wear. I liked this costume a great deal for that. :D

Though this is more yellow than I ever wear in real life, because I don't look very healthy in the colour yellow unless I have a tan, which is only at the end of summer. Hahaha
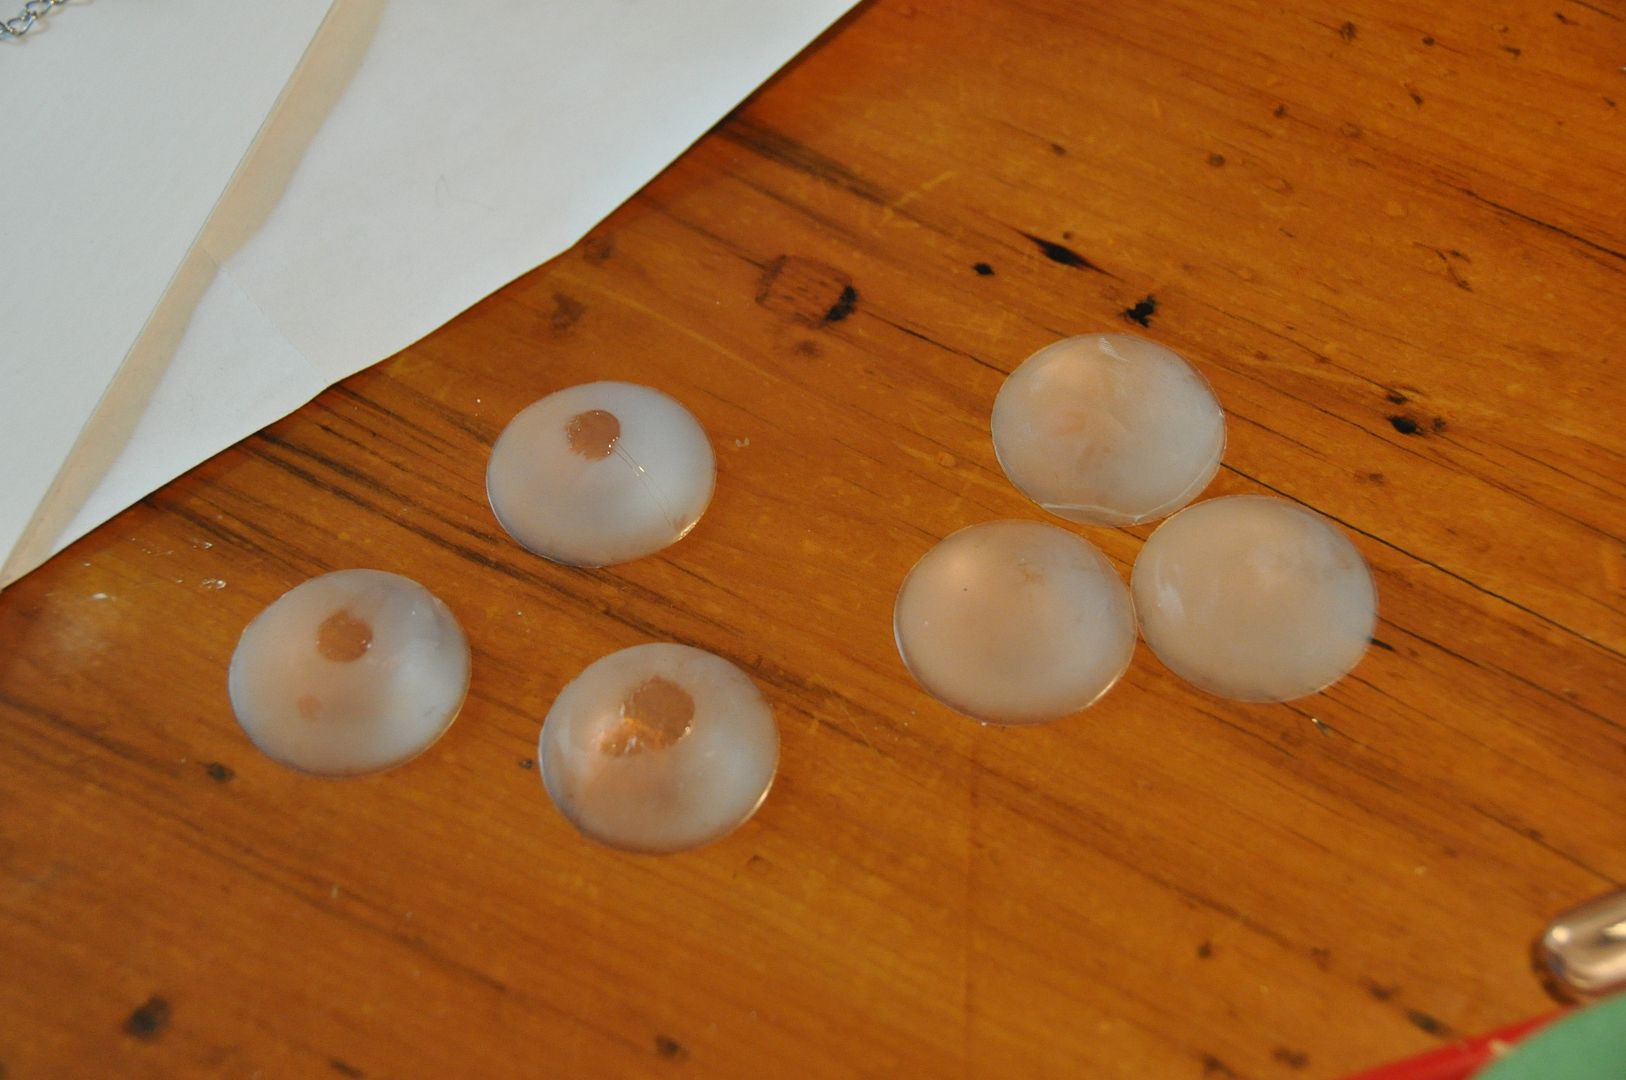