Showing posts with label grey. Show all posts

Monday, September 19, 2016

Presea - Boots, Gloves & Armour - Tales of Symphonia

Salutations! After years on the shelf, I would like to continue to take a look at how I made my Presea costume! Look here for a blast from the past: how I made the Dress and Wig! Seriously, I was posting about this in 2013 what-the-heckaroonie.

Getting this costume photoshoot worthy and documented is one of my 2016 goals and I'm pleased to say that with the costume and photoshoot done I can now finish documenting how I made it. From the depths of my computer hard-drive I have salvaged ye ancient progress photos.

Possibly the most challenging part of this costume and the main reason I put this costume on hiatus for a whole year (the other reason being my dog ate the tip off my battleaxe). This was my first time making boots, gloves and armour, and to be honest I had no idea what I was doing! I didn't get very far before I gave up. When I came back to this project a year later it was after I had done the armour for my Asuna costume and had much more sewing/patterning experience.

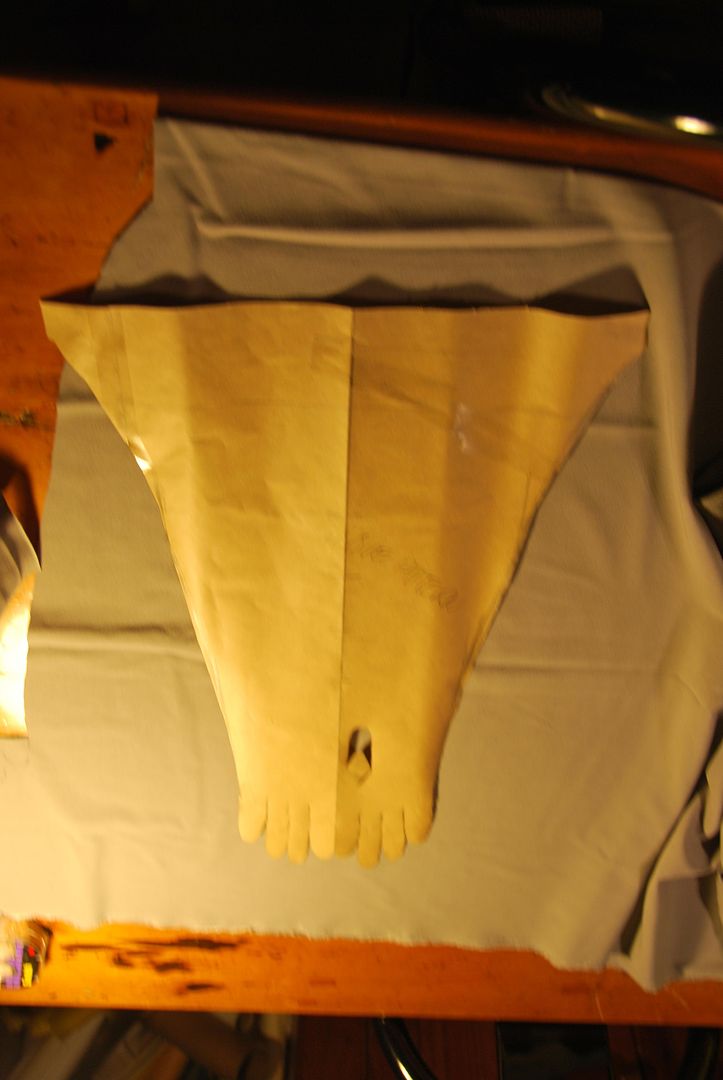
I started by buying and deconstructing a pair of well fitting costume gloves, from this I was able to make my own glove pattern. I made it go extra wide further up the arm so that it would be loose at the cuff.

My main problem was that the character's gloves are above the elbow, but loose fitting, meaning they essentially float there defying the laws of physics. My trouble was making them stay up without any seriously visible rigging...

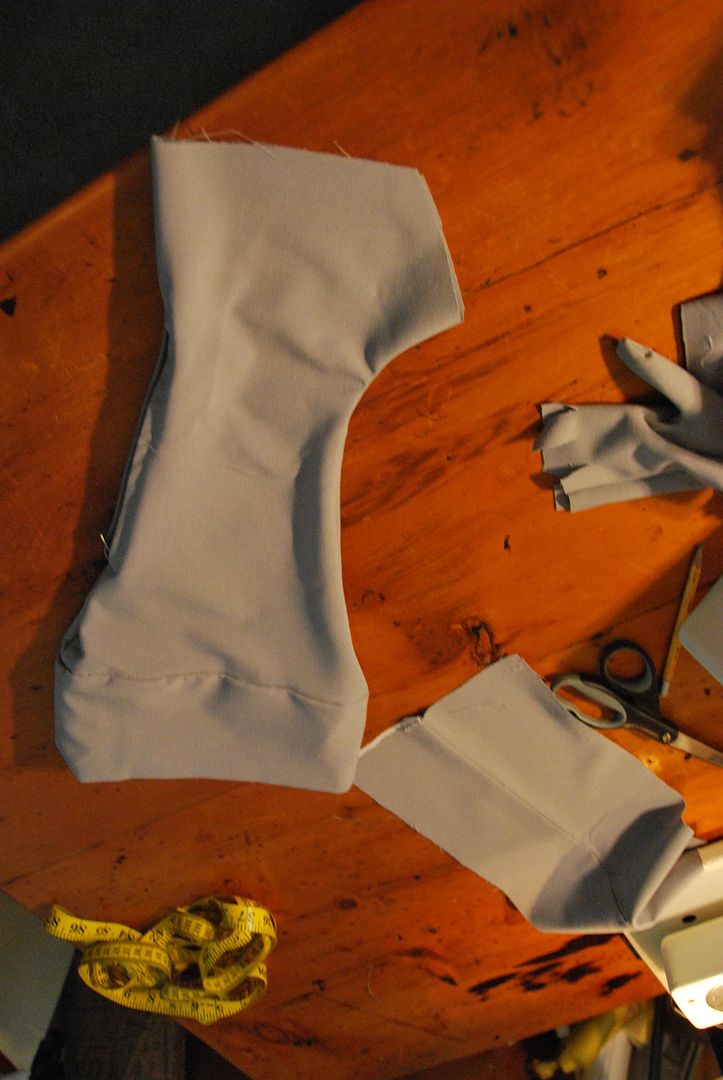


It took hours of hand stitching to assemble those gloves. Above is the separate thumb piece which was slotted into the glove.

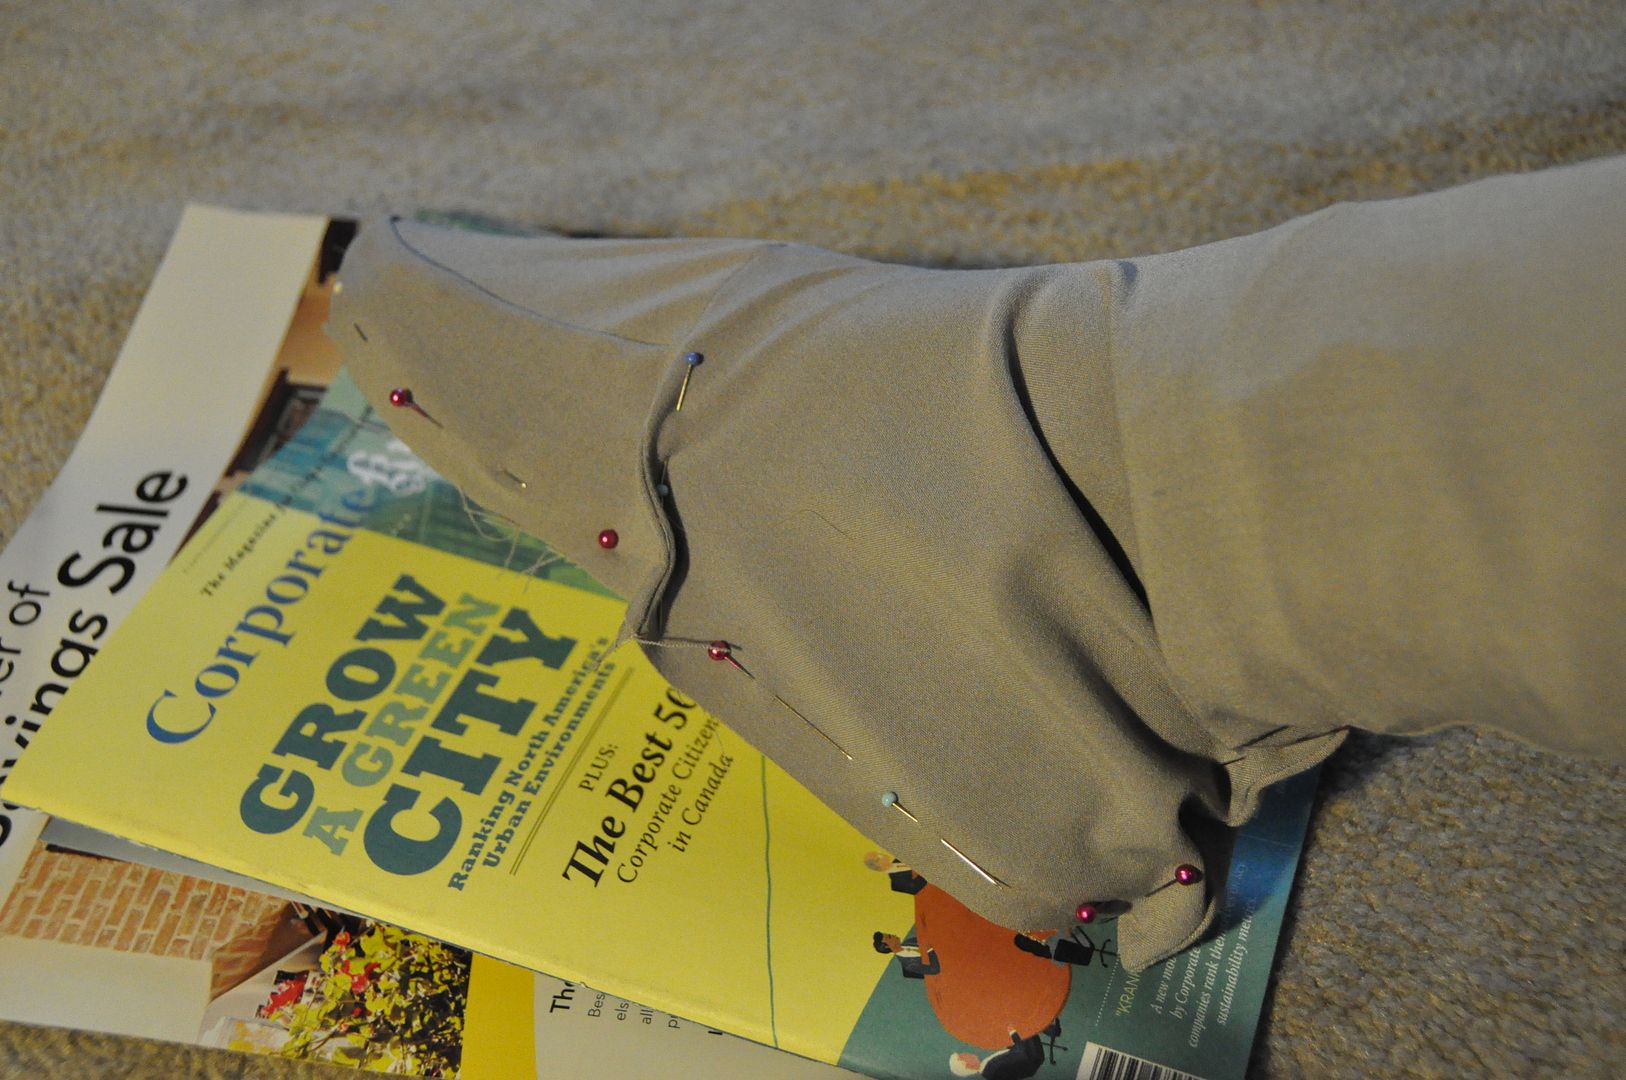
Left is my first attempt at making the boot covers, as you can see the cuff looks kind of wonky... Partially due to my inexperience working with stretch fabrics. This is where I stopped working on them for a year.
I patterned my boots to cover a cheap pair of canvas shoes I picked up at Ardenes. Above is the toe cover, left is the 2nd attempt at the boot cover. (from the inside)

I opted this time to do a fold-over cuff, which looked much cleaner, even though it isn't as accurate to the original design.
I replicated the cuffs on the gloves.

I marked where the shoe cover would be sewn to the shoes, then I hand stitched the two together. It took a while, but the result was a nice clean finished edge.
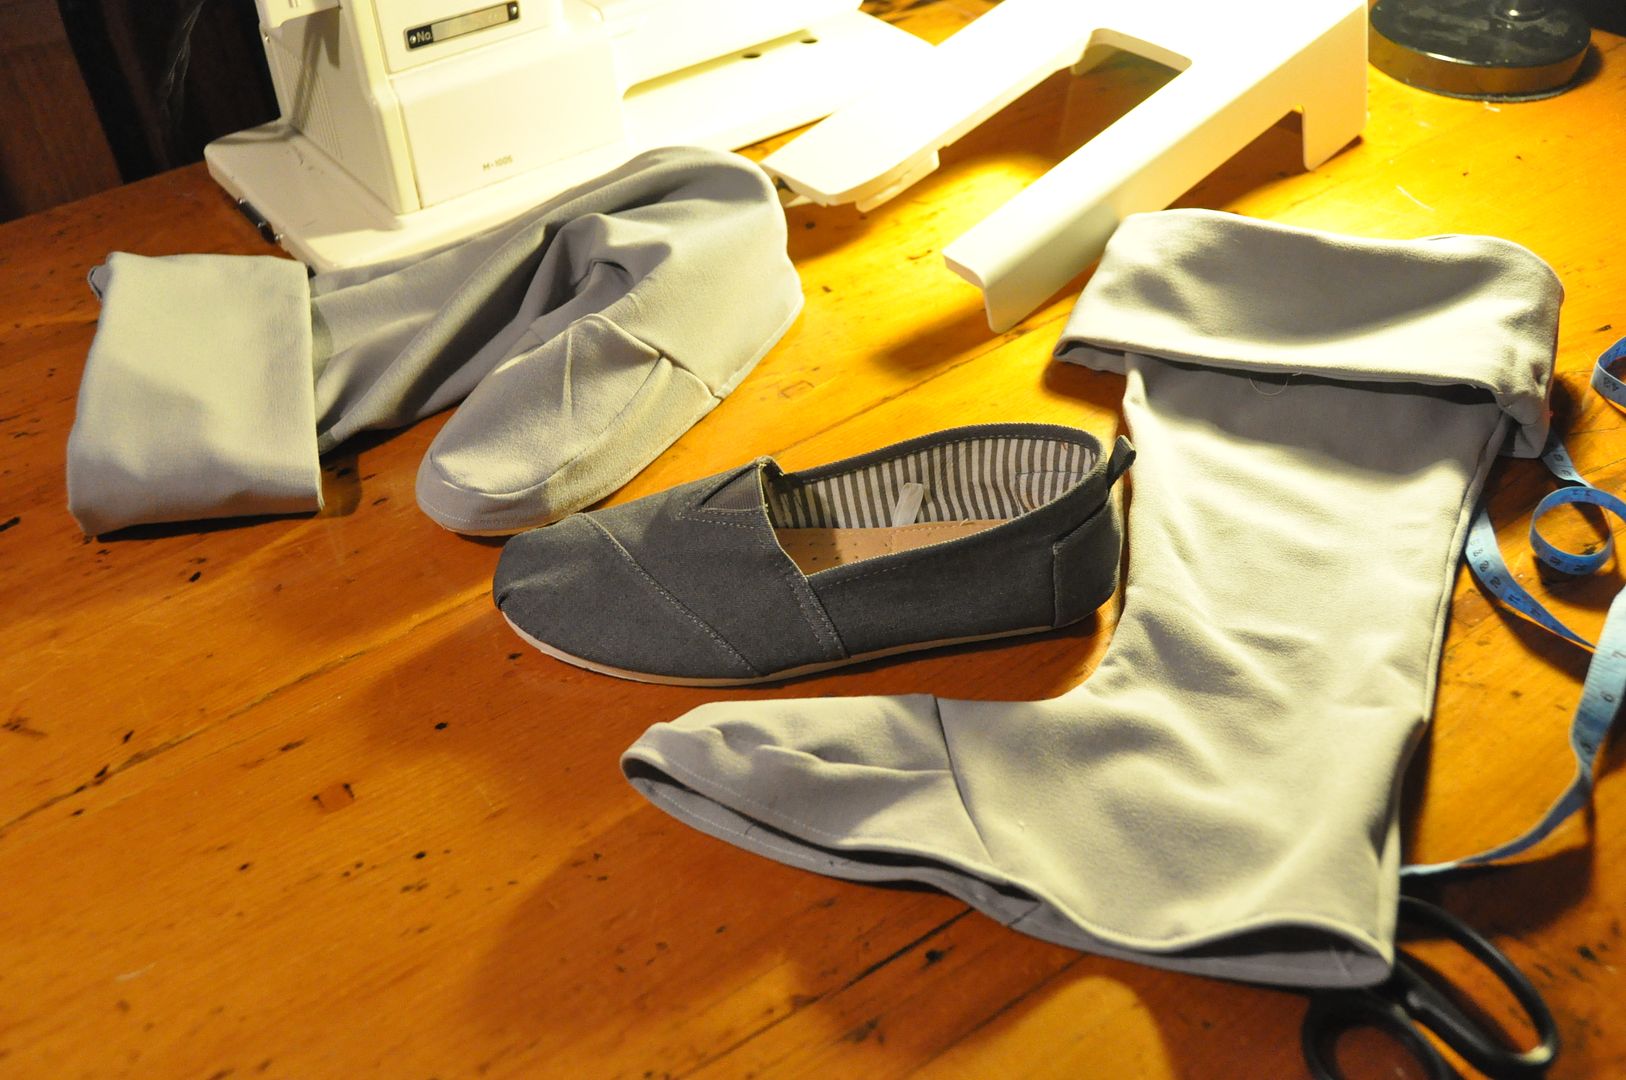
Then I sewed elastics to the inside so that the loose gloves and boots would stay up. These had to be far enough away from the edge so that they would be hidden inside. How I made the cuffs stay up was I sewed some short pieces of wire into the boot cover where it attached to the cuff.

At one point I had attempted to wire the whole boot, but I found it a) really uncomfortable, b) hard to keep it secure and c) it would be harder to pack into a suitcase, because the boots would have to remain upright. That and every time the wire got dented they were even more uncomfortable to wear... With the short wires only at the cuffs with fabric casings they were easy to fold up, and didn't cause any discomfort.
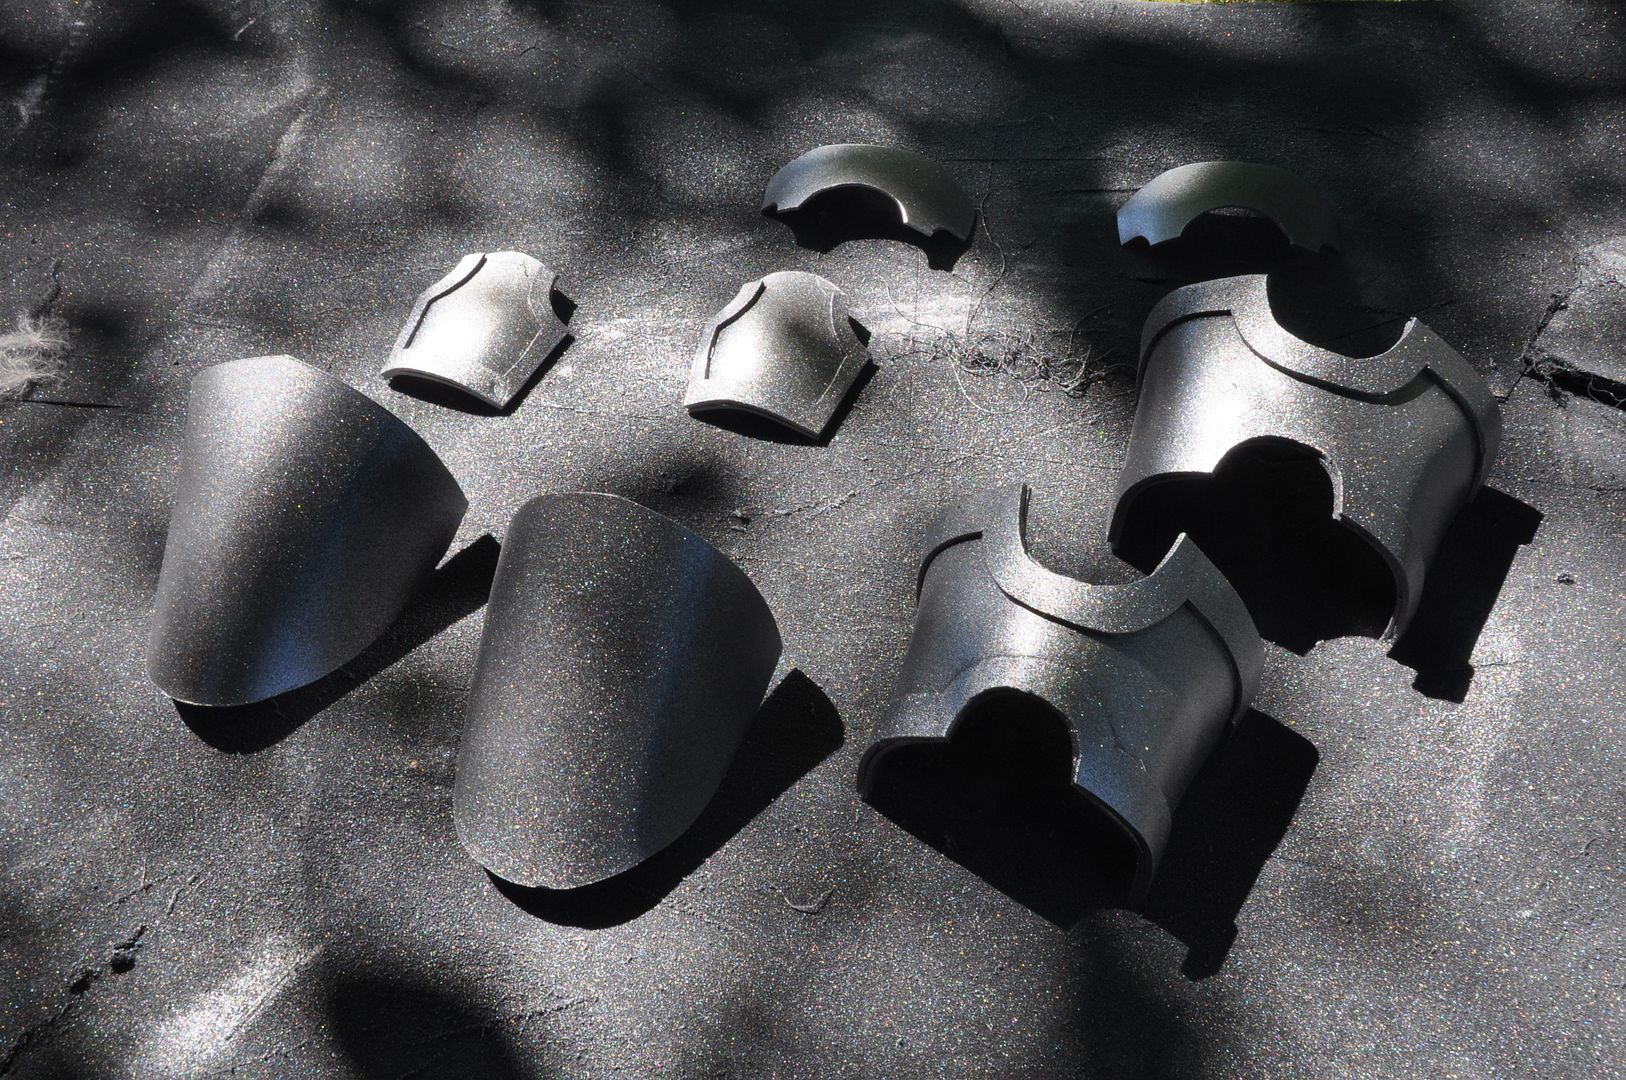
Next I got to work on the small bits of armour, following the same method as I did for Asuna. I used the leftover styrene from that costume to construct the toe and hand guards.

First I made paper patterns of the shapes I wanted, then traced them and cut them out. There were 8 pieces total. Compared to Asuna's this armour was total cakewalk.
I then made the raised bits out of craft foam, and hot glued them on.

I used the same spray paint treatment as Asuna's: primer, matte black, then silver.

I weathered with sandpaper, glued all the pieces together, then aged them with black dry-brushing.
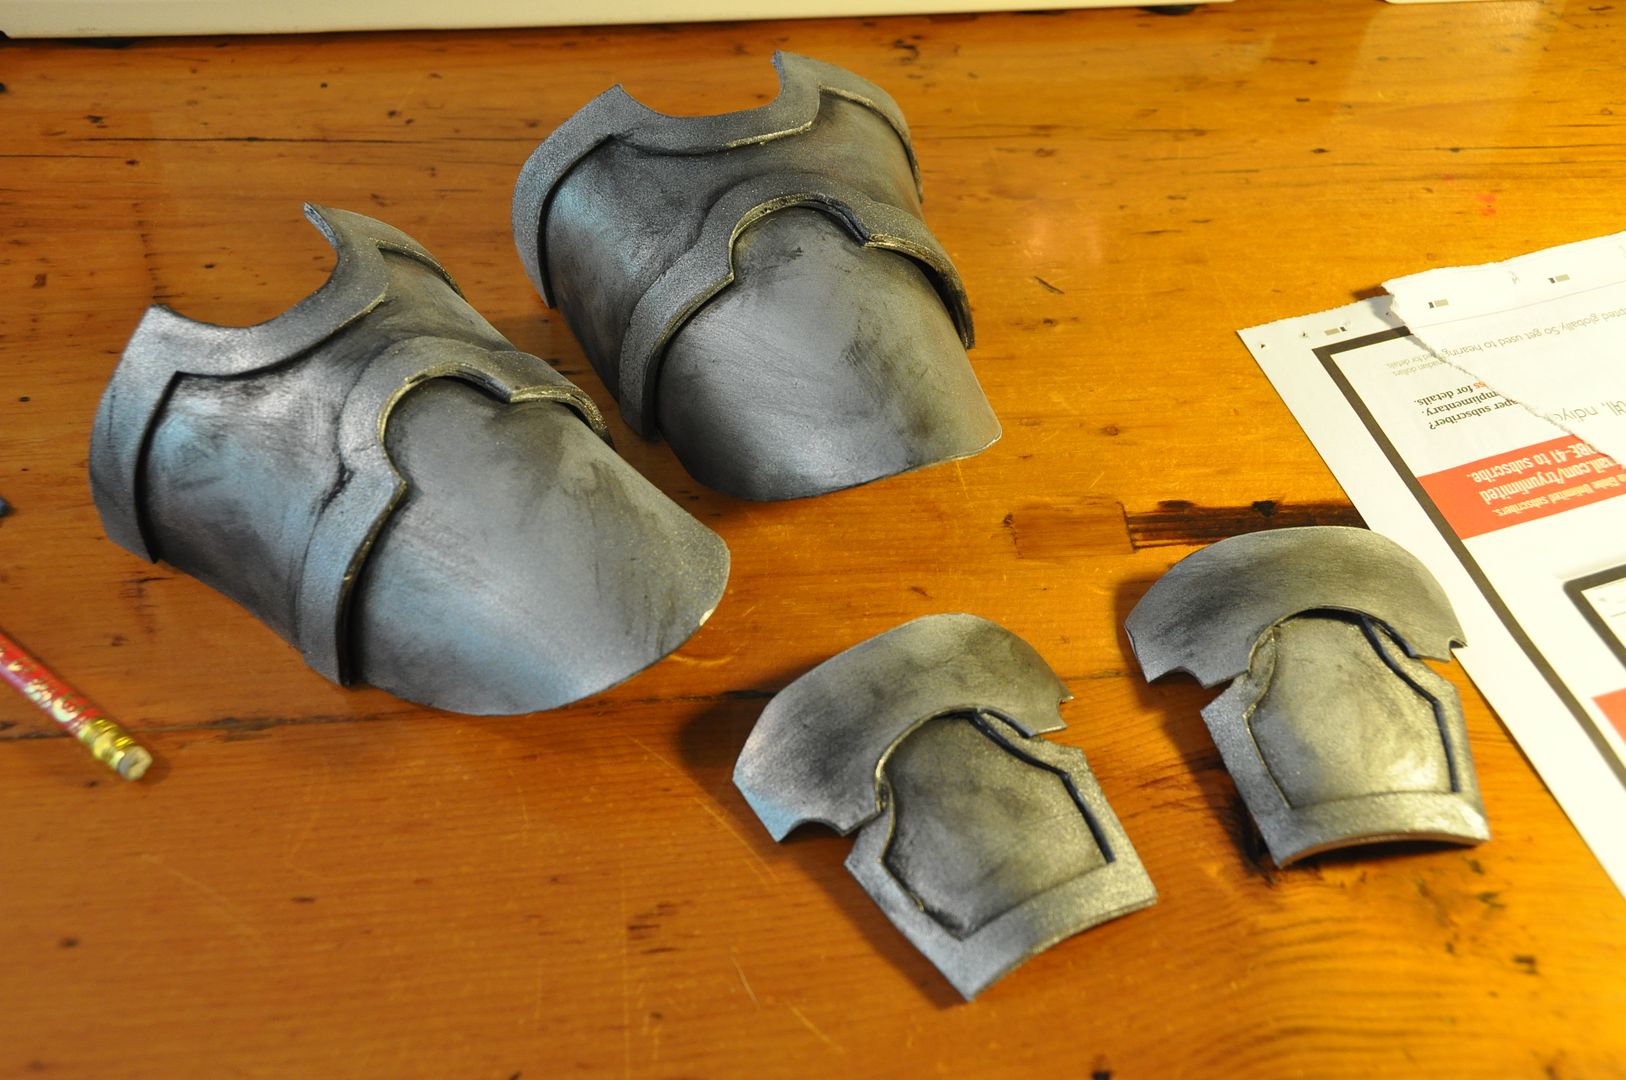
Lastly, the shoe armour was hot glued to the boots (while I was wearing them, so the armour placement would be correct). Then I rigged the hand guards with some elastic so they would be easy to take on and off. I painted the elastic grey so it would match the gloves.

Overall this project really benefitted from me not rushing to finish it the first year and instead applying another years' worth of experience to finish the job.

Wednesday, May 18, 2016

White Rabbit - Wire Frame Mini Tophat

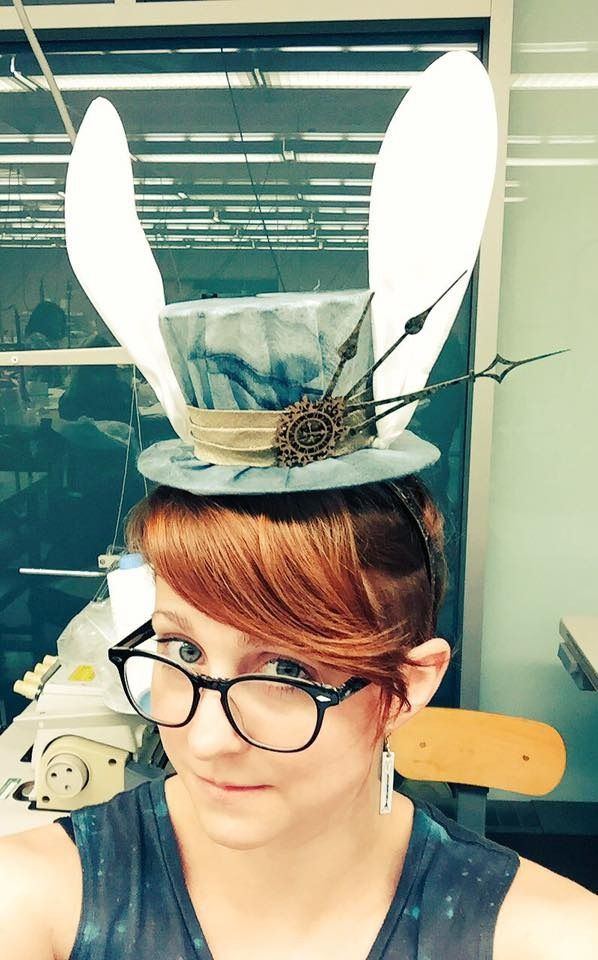
The second project from my millinery class--my White Rabbit top hat!

So the project outline was really open-ended: you had to make a wire frame hat, cover it with sheer fabric and decorate it to represent a theme/character. We were given the option of doing a mini top hat or boater that she had patterns for, or we could design our own hat shape. I picked the mini top hat because I didn't have time to pattern a new shape.

After going fabric shopping to get ideas, I found this really cool sheer blue-grey fabric. It had almost a paper-like quality to it. I thought it might make an interesting take on the White Rabbit. Since I have learned from theatre--stage lights wash out fabrics and make them look whiter, perhaps I could design a white rabbit while hardly using any white?
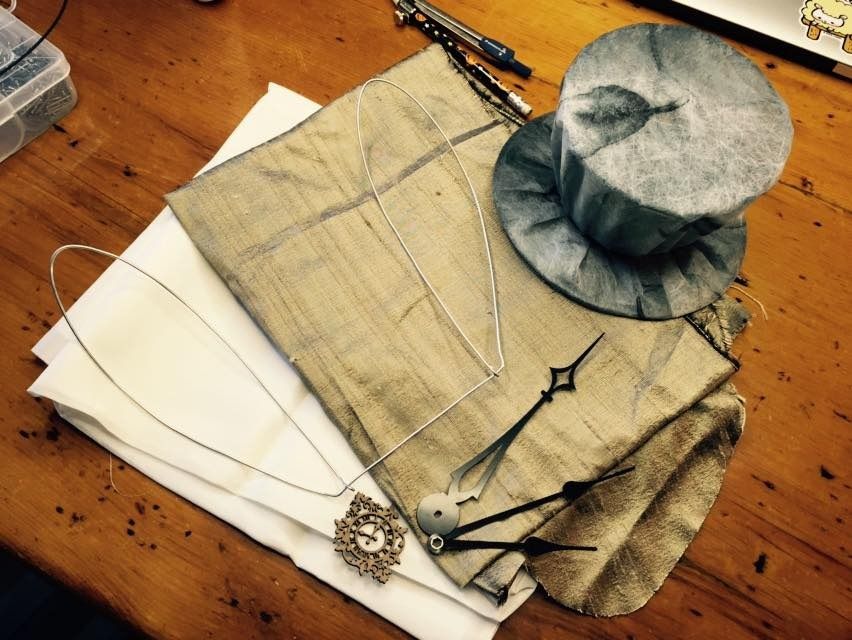
Here's a picture of the finished hat frame on top of the fabric. It shifts from blue to grey depending on lighting and instagram filters. Haha

I won't go into too much detail on how the frame was constructed. All the pieces of wire were carefully cut to length and bent into shape. I used quilting thread to tightly wrap the joints and then strengthened the bond with a mixture of white glue and water.

The brim and crown were not attached until after I covered it. It makes covering the pieces way easier.
I covered the crown and brim using 2 layers of my fabric. It was fairly sheer with just a single layer and I was worried it would rip. I like that with the double layer you get a ghost of the leaf pattern coming through.

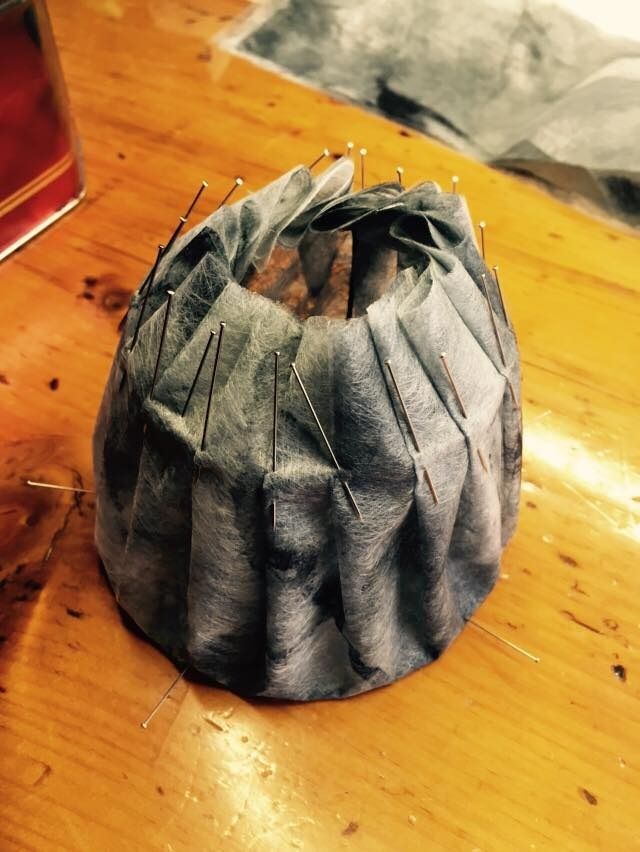
For the crown I cut 2 circles overlayed, I draped these over the top holding them in place with pins. Then I pleated the fabric along the bottom edge to conform it to the shape of the crown. I basted this in place, attaching it to the frame. I cut off some of the excess fabric, but the rest would be tucked into the inside.

The brim was done in a similar way. I cut 2 long rectangles that measured the same as the outer circumference of the brim. These were each sewn into a long loop and folded in half over the edge. Then I pleated and basted them to the frame.
Next I created my ear shape. As you can see here, both ears are made out of one piece of wire. It would sit between the crown and brim and make them much stronger overall. I covered them with a white silk leftover from the painting and dye class I took last summer.

All of my cool accent pieces--laser cut clock, clock hands--were picked up from Michael's art store. It has a great selection of weird crafting bits. I got the clock hands in the DIY clock section, for example.

The gold fabric I used to make a hat band was leftover from my Steampunk Corset (I really did buy way too much fabric for that).
I sewed the ears to the brim base, then sewed my brim to the crown. Then I carefully tacked the side of the ears to the top of the top hat--I sewed the wire frame to the wire frame, not just the fabrics.

Next was the hat band and decoration. I sewed the hat band on, the sewed the decorations on. Before attaching the clock hands I sponged on some gold acrylic paint and sprayed them with a gloss finish sealer. This was to help them match the costume better.

Lastly, I sewed a felt circle to the bottom to cover the hole and seal it shut. Then I sewed a headband to it (which I also painted gold). I think later I will swap out the headband for alligator clips, but for now (and for handing it it) it was fine.

I'm really happy with how the hat turned out and I am in the process of completing a full design for the costume. I'm thinking I would really like to complete the outfit in the future...

Thursday, May 14, 2015

Hooped Embroidery Ornament

Just something I made for my sister as a birthday gift! She loves goats, so I made her a cute goat. I think he is considering the flower a tasty snack. Pretty cute right? I got to look up lots of reference pictures of adorable goats for this project.

This DIY project brought up fond memories of building the Forest Guardian costume, but with less pressure. I would like to do embroidery more often if I could.


I embroidered using embroidery floss on muslin reinforced with non-fusible interfacing. I trimmed off the excess fabric.

Making sure the screw was at the top, to hang it from later, I glued the fabric in place and tightened it. My glue of choice was Weldbond. I used a smaller bowl to hold the fabric in place while the glue dried.
Lastly I cut a circle of red felt to protect the back. This I glued onto the back. Then I just tied a string to hang it from! Easy!

Thursday, October 16, 2014

Marimekko Tablecloth

Hey guys! Happy Canadian Thanksgiving!

For Thanksgiving this year we also took a trip up to our farm to have a bbq. Last bbq of the season, because it's gotten really cold all of a sudden. It's pretty much become a family tradition to do a bbq Thanksgiving weekend.

As a commission for my dad, I made a nice tablecloth for our round table at the farm. The fabric I used is a Marimekko print, with a black quilting cotton for the edges. This was a really easy sewing project, as it is a square of fabric that I put a wide border on.

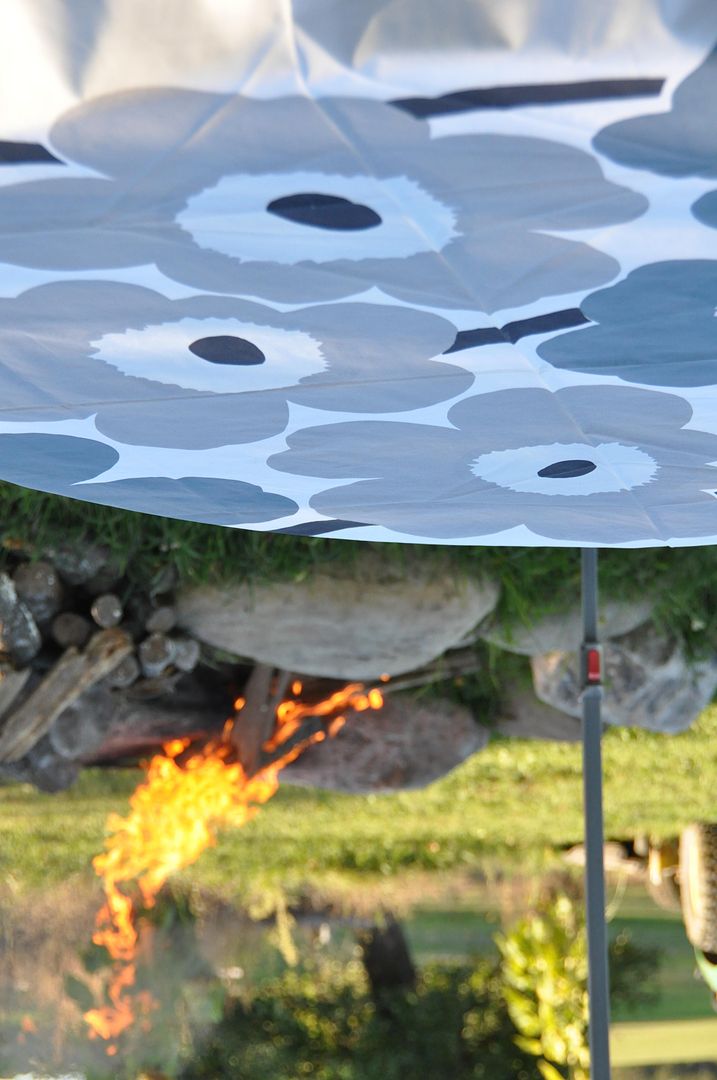
Dad picked this large print from Marimekko. He wanted a blue-grey to match the giant spool we use as a table. 
First I cut a square out of my main fabric. The table itself is 4' in diameter, so I wanted to make sure it would overhang a bit, otherwise it would look a bit silly. I decided to just base my measurements off of the width of the fabric itself.
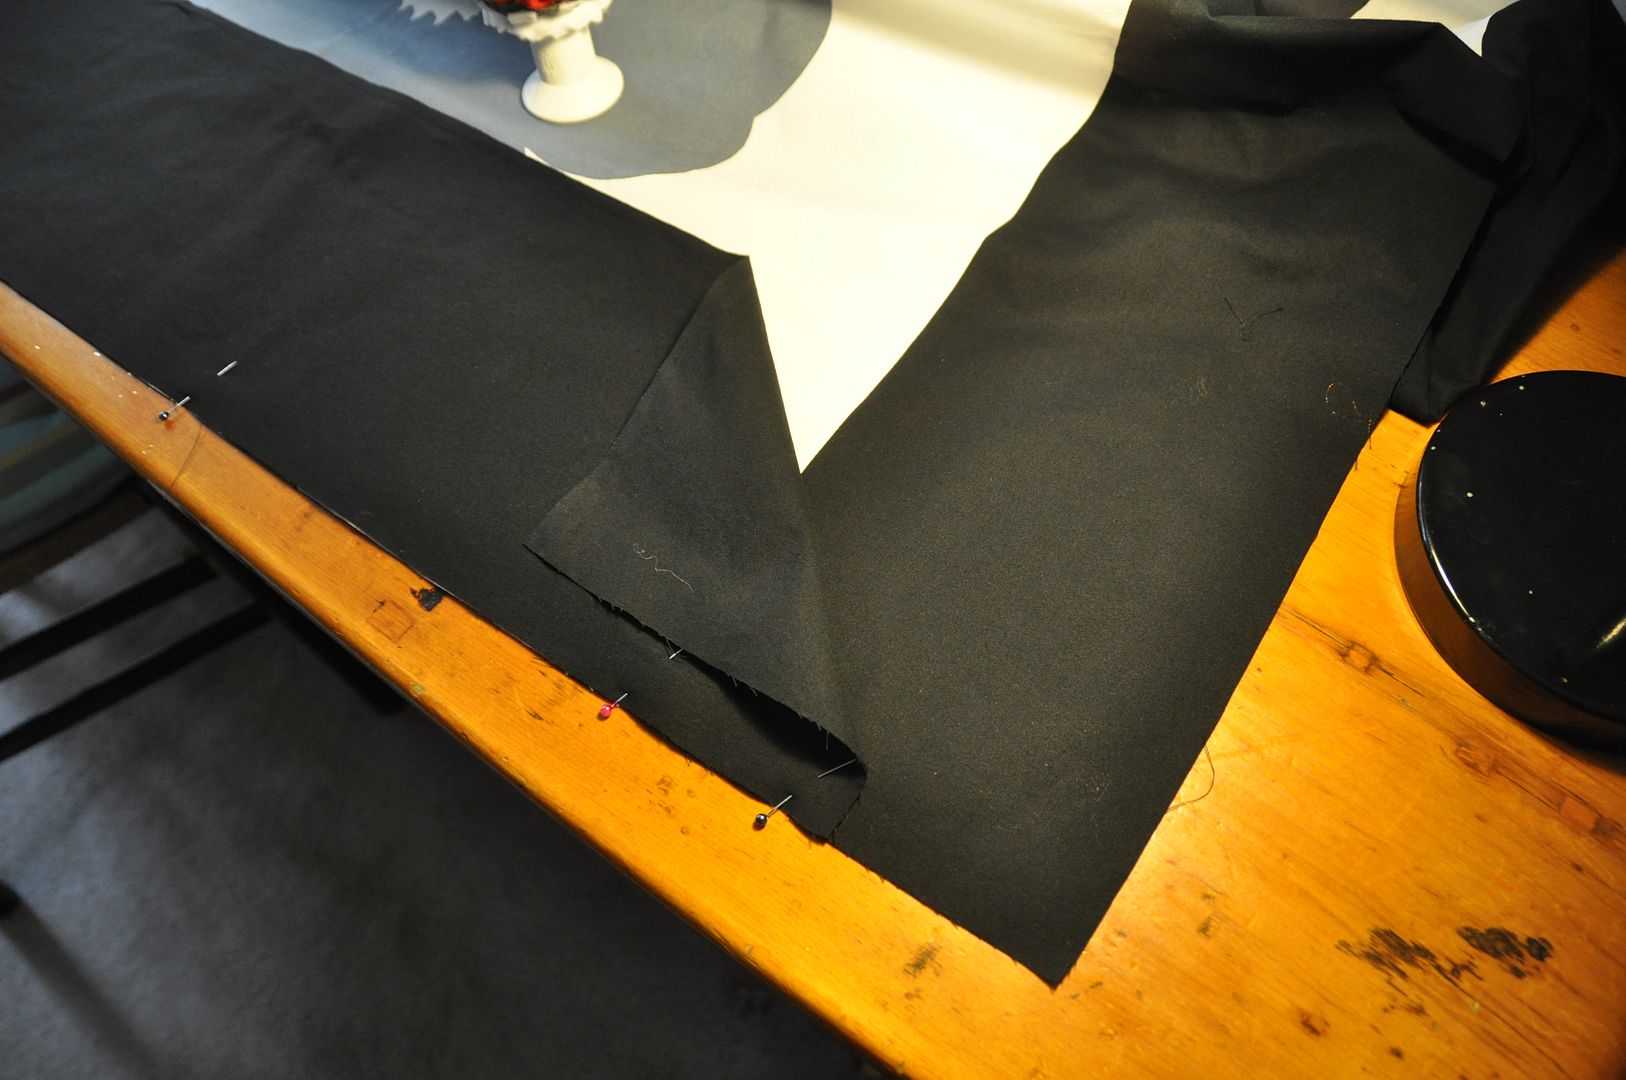
Next I cut the strips of fabric that would be the border pieces. These were all cut to measure 3" longer than the length of my square + 1/2" seam allowance on each end. The width of these strips was 7"--this would make a 3" border with 1/2" seam allowance when folded in half lengthwise.

I sewed my first strip onto the tablecloth, right sides together. Then I ironed the seam flat, pressing the seam allowance towards the outer edge.
The next one was sewn similarly to the first, the overlap now being sewn to the border instead of hanging. I repeated the process until all of the sides were attached.
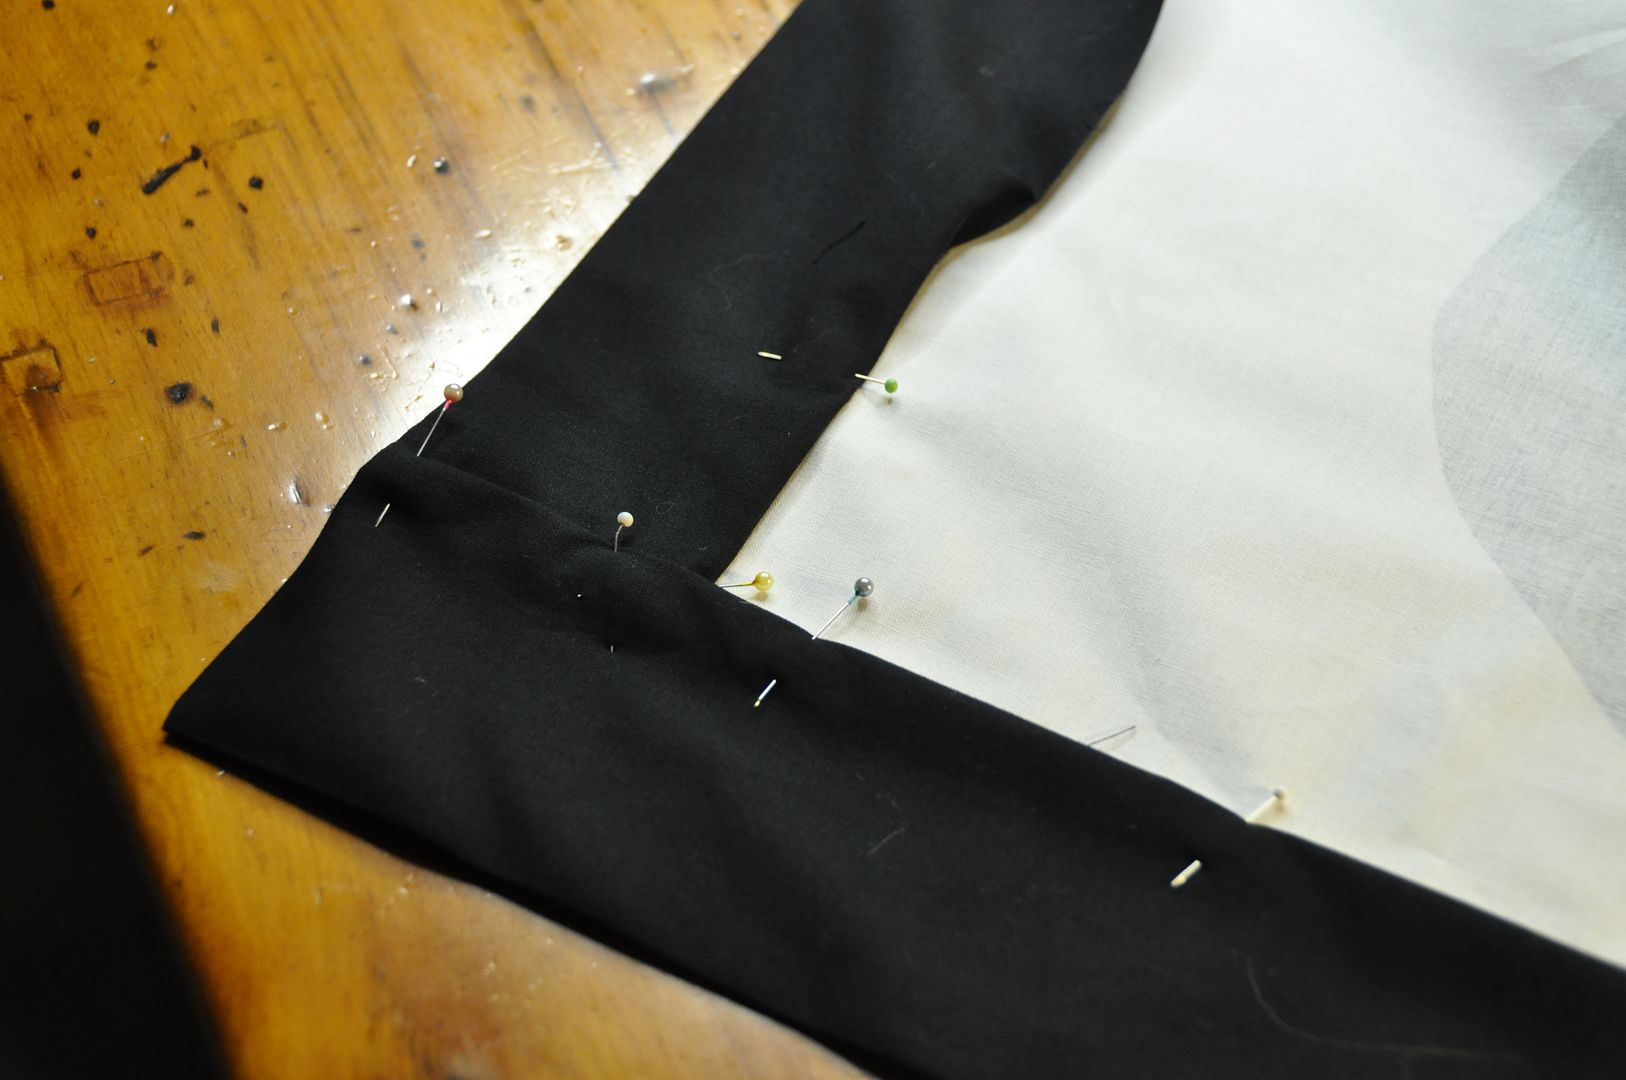
I carefully marked 3" from the seam line, folded and pressed the border. I folded the seam allowance to the inside and pinned it in place, making sure that it still overlapped the seam line. I ironed the whole piece, then I ditch stitched the border.

Lastly I closed up the open edges with a neat slip stitch. Presto!

Overlapped corners are much easier than mitered corners. 

Thursday, October 2, 2014

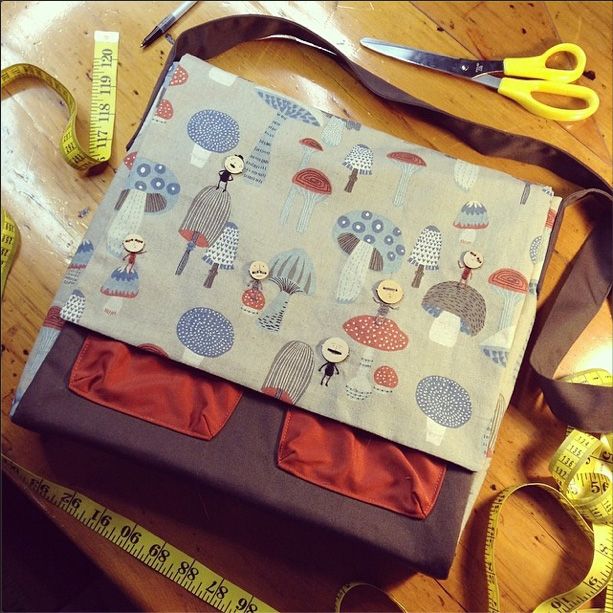
Mushroom Print Messenger Bag

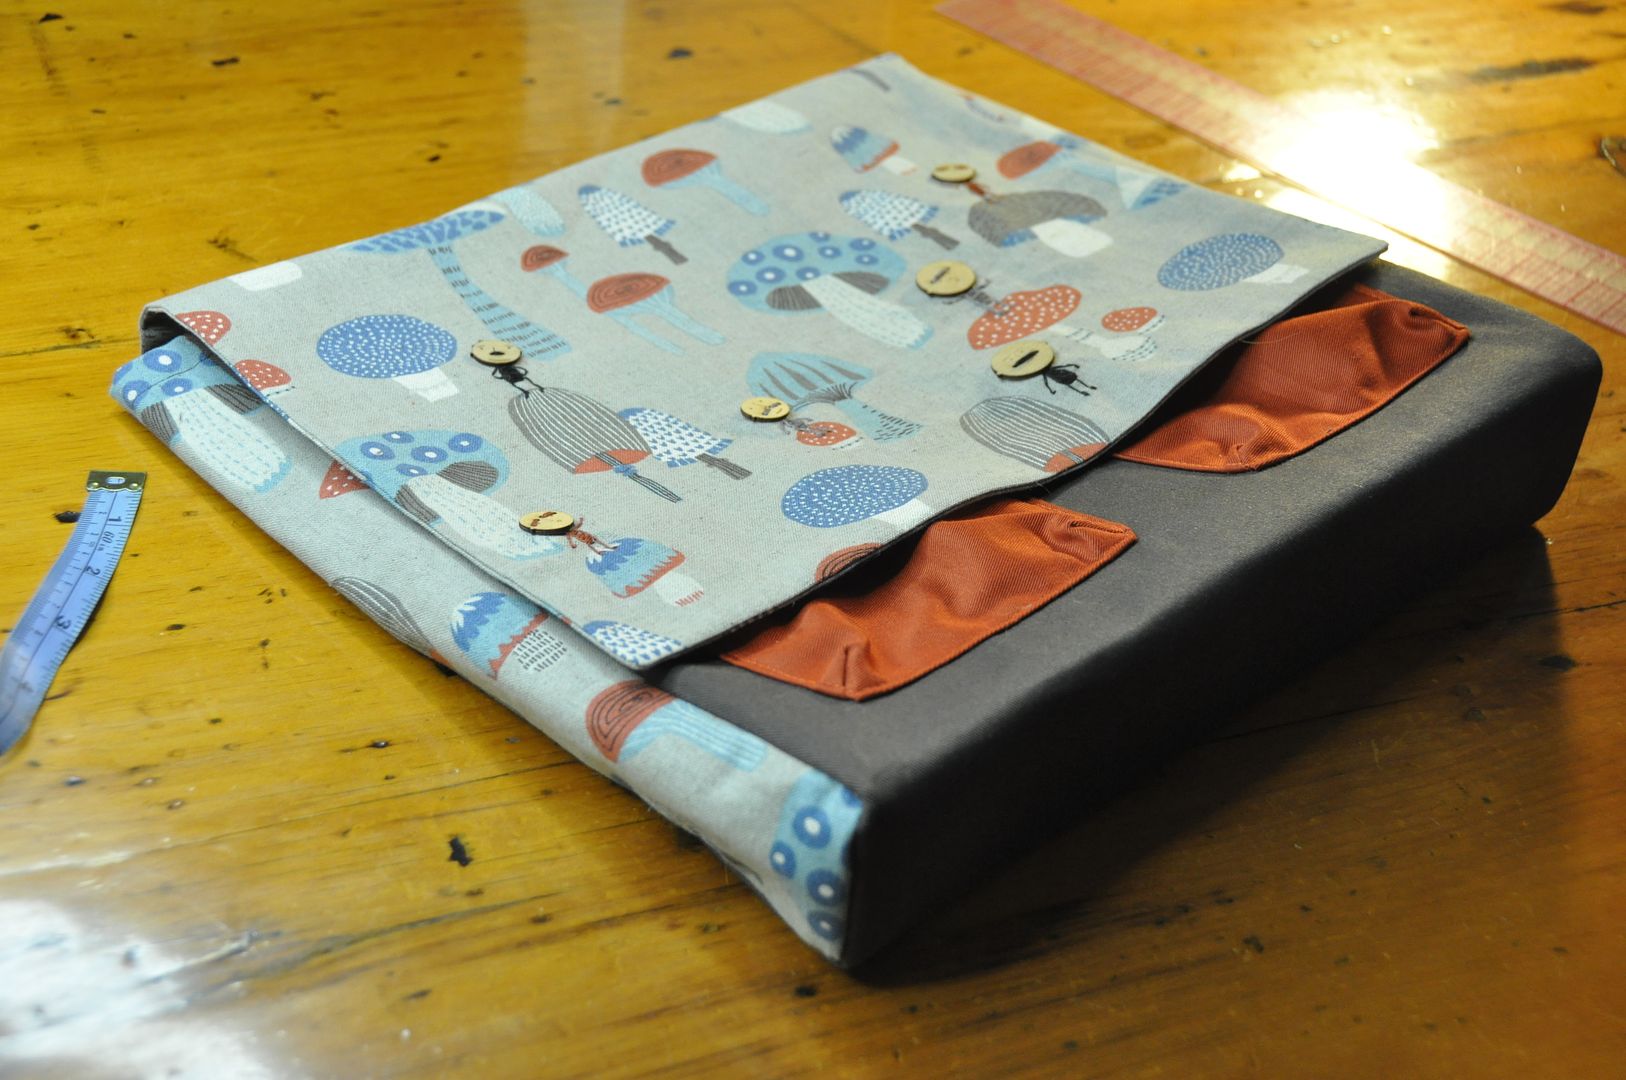
This was a fun project creating a new messenger bag for myself. I wanted to incorporate this small piece of mushroom print fabric my sister picked up for me on her trip to Japan last winter.

The accent fabrics I used are all leftover from my Forest Guardian costume.

I measured out the dimensions I wanted and cut out the pattern pieces from the fabrics I wanted.


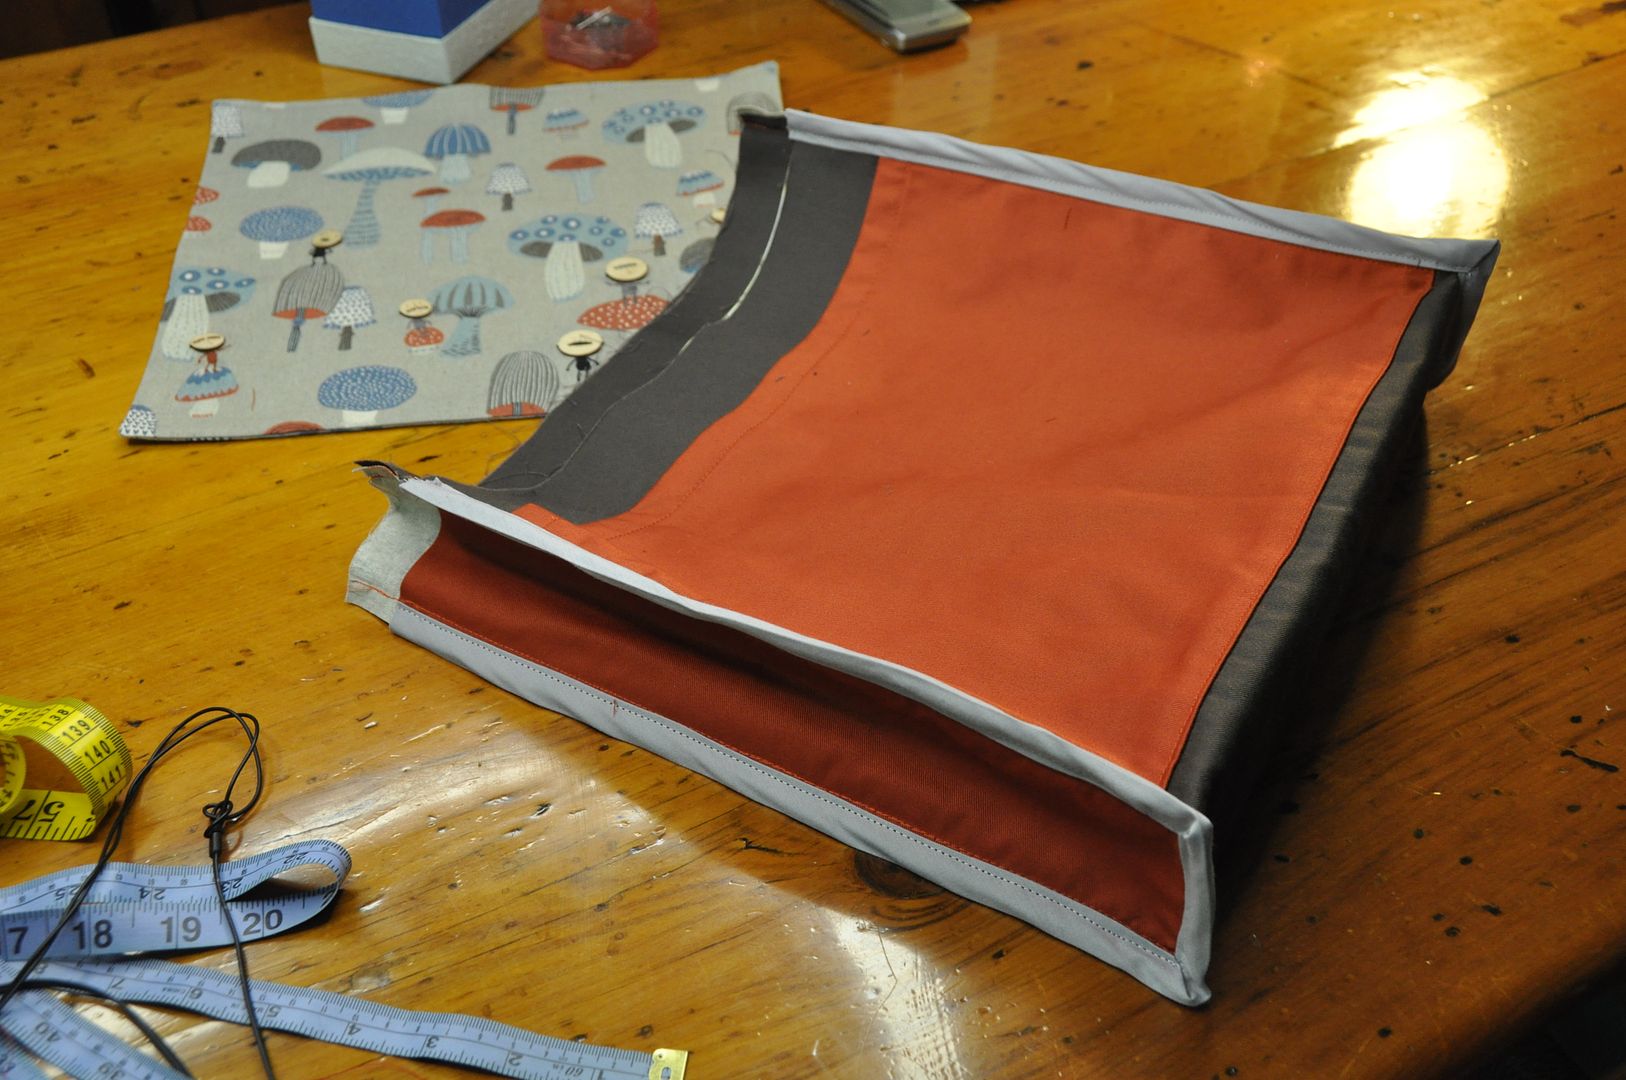
I used a non-fusible heavy interfacing fabric. I cut a long rectangle that would be the front, back and bottom sides of the bag. It had an extra rectangle sewn to it to just add extra thickness to the bottom side.
I wanted to ensure that the front pockets had a bit more room in them than a flat pocket. So I made them 1" wider than the finished pocket and sewed a dart into the bottom 2 corners at a 45 degree angle.


I designed and embroidered on the little figures by hand. The faces are all buttons.
These fun buttons my sister picked up for me quite a while back, but I hadn't found a project I wanted to incorporate them into. I decided to create some cute little people to put into the mushroom forest scene.

She bought them online, but the online seller no longer makes them.
These were all embroidered on in matching accent colours. This one is Charlie Chaplin! XD

I rolled over and stitched the upper and lower edges of the inner pocket, then stitched that to the inner bag lining. I also basted the interfacing piece to the out bag piece. It is a bit shorter than the outer and inner bag pieces so it didn't have the extra bulk in the roll over finish at the bag opening later.

I basted the inner pieces and interfacing to the bag side pieces as well.  I finished the top edge of the pockets with a rollover hem, then I zig-zagged the edges. Then I folded under the edges and top stitched the pockets onto the outside piece.

Then I basted the inner bag lining to the outer bag lining.

Once I had finished embroidering the flap, I sewed it right sides together with it's backing, then turned it right way out and pressed it flat.
I sewed the bag pieces together--the sides to the main piece. Then I finished the raw edges with a bias tape.
I ironed the side seams, and then I finished the top of the bag with a rollover hem.


I sewed the flap piece to the back.

Then I top-stitched the strap on and added a zipper closure to the opening.

Presto! One unique messenger bag!


Thursday, September 25, 2014

Kimono Style Sleeveless Shirt

 This is an original design I made using fabric I got from my sister for Christmas. Woo! I decided this fabric would make a good kimono top, but I didn't have enough of it to do a full kimono top. Since I wanted something I could wear with normal clothes I decided to make it into a cool tank top with a kimono style closure instead. :)
I started off with a mockup. The pattern I drafted myself, modified from a basic block. It was a bit of a challenge to get the princess seams to work.

Once I was happy with my pattern I cut it out of my cool fabric. It's asymmetrical so I only cut 1 of each different front piece, making sure that I was cutting a right and left side (not 2 rights or two lefts by mistake!).
Above you can see the different pieces all laid out together!

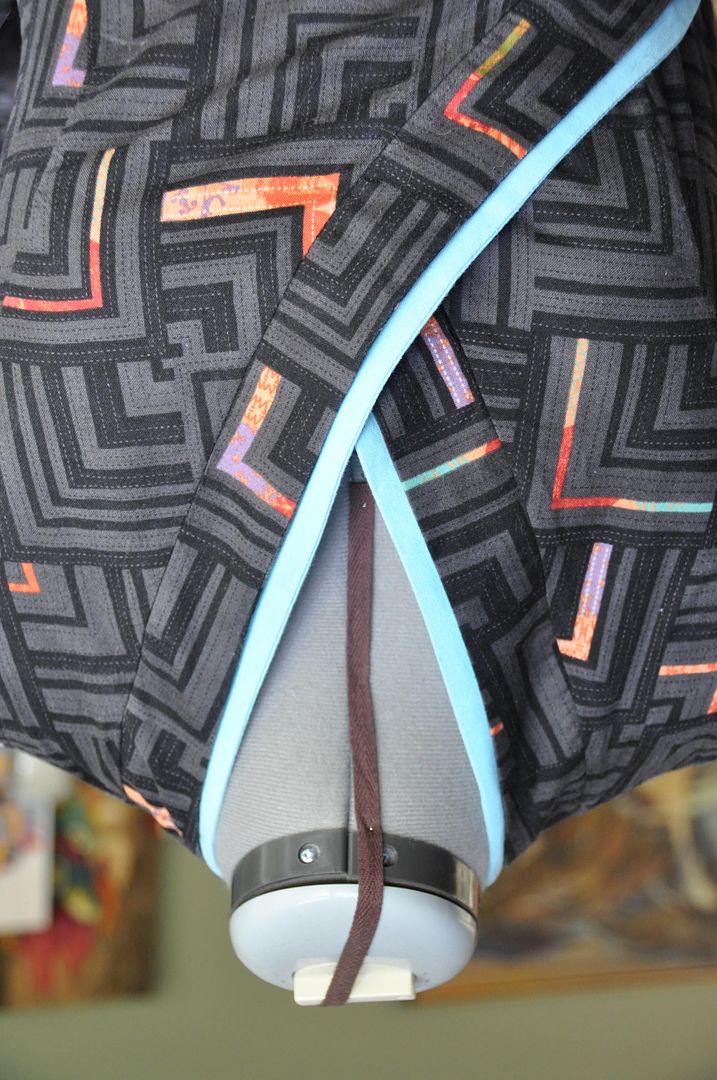
First I sewed the collar pieces together at the shoulder seams. Then I sewed the inner collar to the outer collar along the outer edge, right sides together--this way the outer edge was finished nicely. I clipped the curves and flipped it right way out, then ironed it flat.

I sewed my front pieces together along the princess seam and sewed the darts in the back. Then I attached my front and back pieces at the side seams and shoulders. I then finished all inner seams.
I made my inner collar accent piece the same way as the outer collar. The inner collar is about 3/8" wider so it is visible in behind. The inner collar is made out of leftover fabric from my Suppi costume!


I attached the collar along the front edge and back up around the neck. The outer collar is layered underneath. This was then flipped right way out, the seam was finished, ironed to one side and then topstitched neatly in place.

Then I hemmed the bottom edge. I finished the sleeve holes which was flipped to the inside and top stitched in place.

Lastly I stitched on the ties. The inner ties were made of a twill tape to hold the under flap closed, the eternal tie was stitched between the two collar layers, and into the side seam (I had to unpick it to do this). This was done with leftover fabric from my Forest Guardian costume!

This shirt is nice and comfortable. The cotton breathes well in summer!