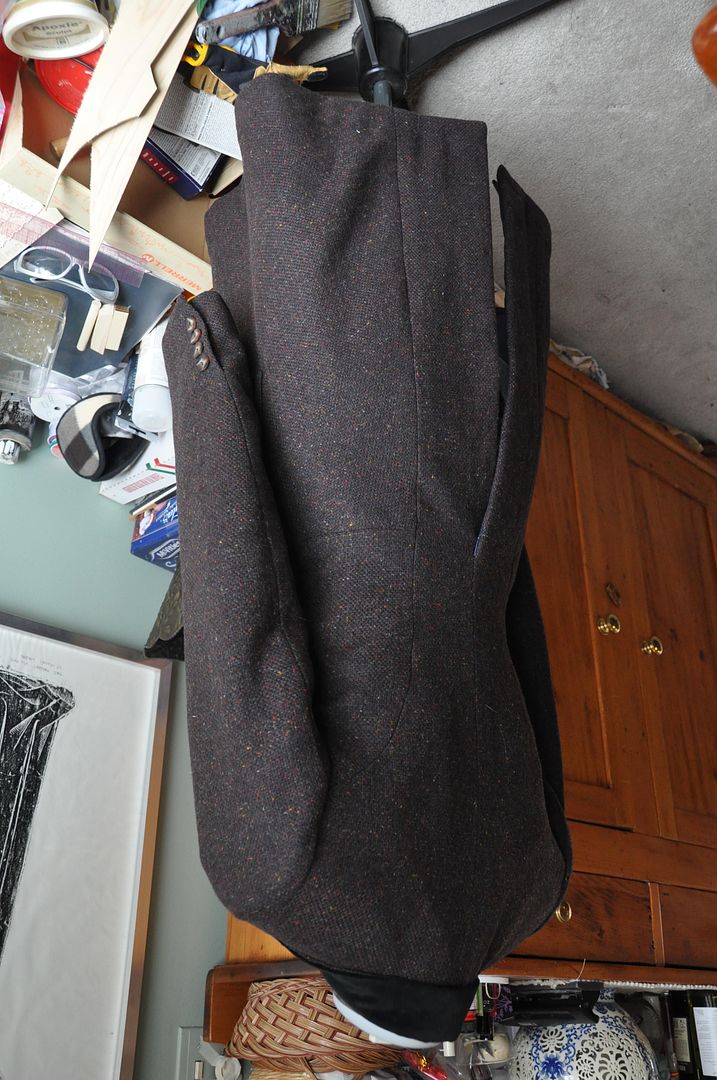
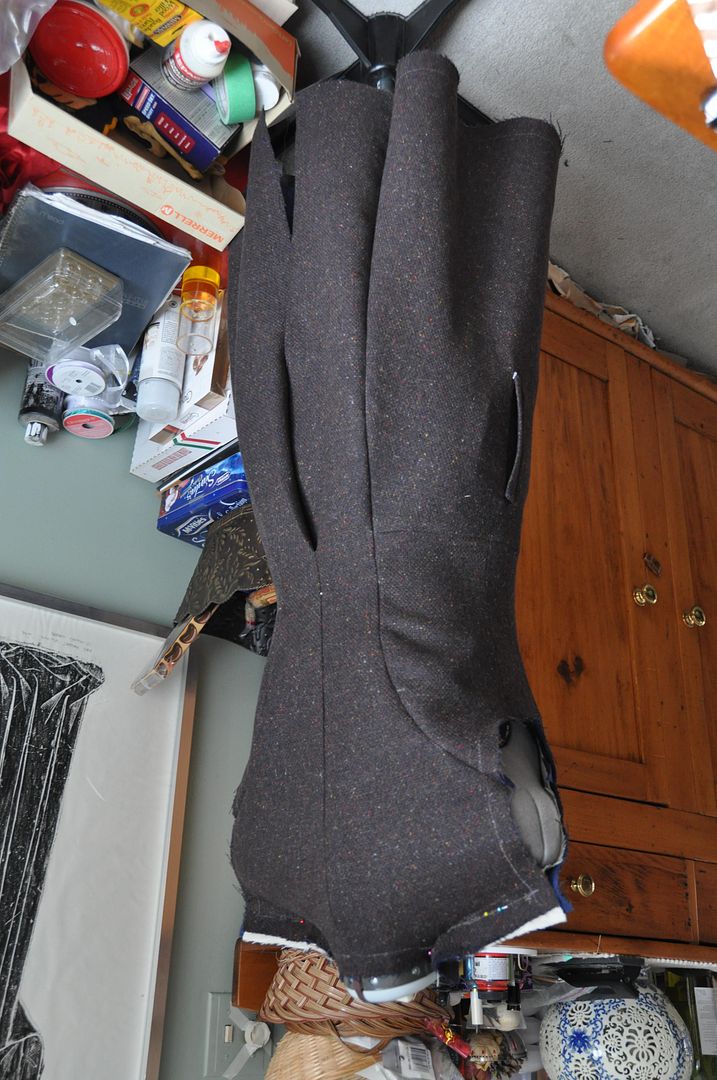
Lets take a look into how I made my 11th Doctor jacket! It's modeled after the one 11 wears in the anniversary special, except I have tailored it to be a more feminine fit (ex: for a woman. aka: me). This is my take on a female version of 11. Except for the fit at the bust, it's intended to be pretty much the same as the original. (Plus pockets, because seriously: why does this jacket not have pockets??) I have no real plans at the present moment to make the rest of this
costume, but I do plan to wear this jacket on a regular basis in
fall/winter/spring!

I had to look at many reference pictures before drawing out what I wanted to make. Proportions on Matt Smith would look different on me, particularly in terms of lapel, waistline and length. Accuracy is great, but I wanted the jacket to suit me first and foremost. As for colour/texture, I did my absolute best to match the fabrics on the Doctor's coat. My colour combo is a little less purple than 11's, but pretty close! I used a brown tweed, with a black velvet for the collar accent and a blue kasha lining. 11's lining is technically more of an indigo colour, but I couldn't find that, so I opted for blue.
To be honest, I rather dislike "Fem!Doctor" cosplay in which the Doctor is wearing a
miniskirt. Don't get me wrong, I think it would be awesome if the doctor were a woman! Just, in my head-canon if the Doctor were a woman she would dress
exactly the same. Meaning very cool and suave, as opposed to sexy. I just don't think miniskirts are very practical for adventuring throughout all of time and space...
Without further ado, lets turn to tailoring! I would describe this as my first official project that has been 100% properly tailored. Tailoring is a long and complicated process that includes a lot of hand stitching, but when done correctly the results are beautiful! I wouldn't pretend to be an expert here, so this will be more of an overview of the process than anything else.
If you are a beginner at sewing, a jacket may be a very difficult project for you to tackle. (I've been sewing for over 5 years now and I still found it a bit of a challenge.) I might suggest first attempting a tailored vest as first tailoring project. My best advice is to take a class (that's what I did). Also, the textbook I had for this course was insanely helpful. Really thorough, very detailed, lots of pictures with step-by-step instructions.
It's called Tailoring: The Classic Guide to Sewing the Perfect Jacket. I bought the newest version on amazon for about 15$ CDN (the older edition that is out of print--but the content is exactly the same--is crazy expensive, don't buy that one!). Covers everything from pockets to lining, lapels to cuffs. (Aren't I a good salesperson? Hahaha)

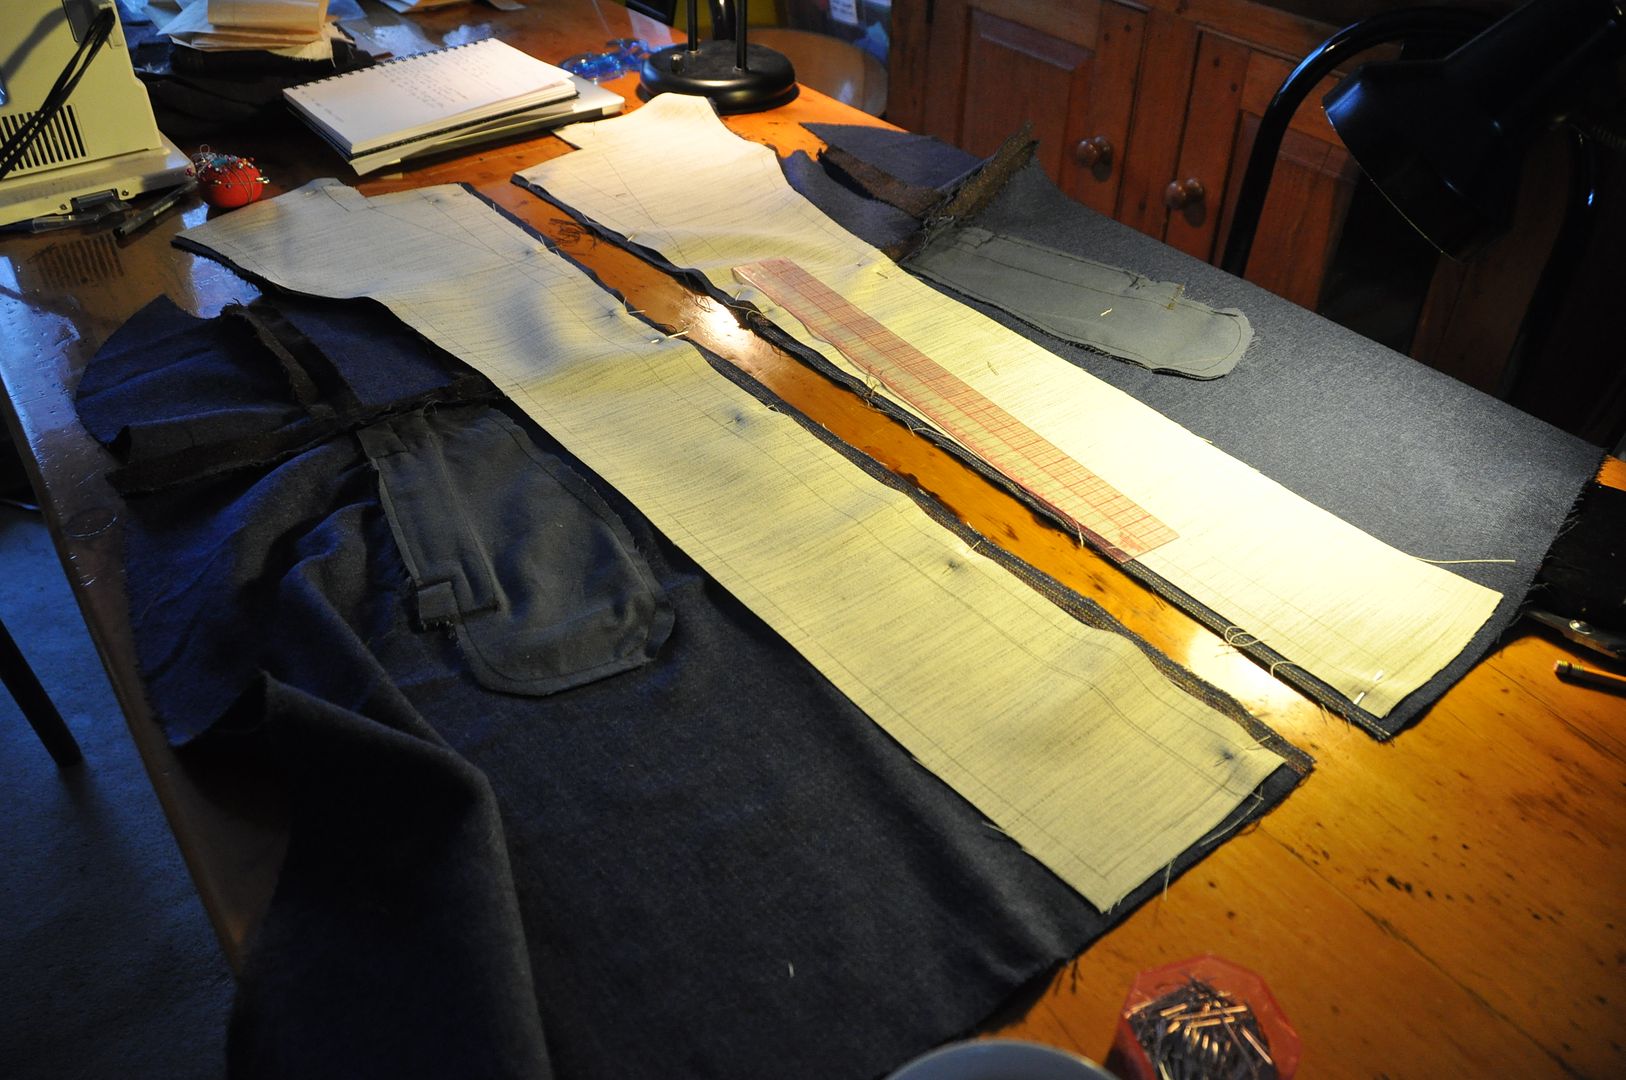
The pattern was quite tricky to make. I drafted it from scratch based off of my measurements after looking at reference of both 11's coat and 19th century frock coat patterns. Pictured left is the final version of the pattern, after much slicing, dicing and re-tracing!
The top part of the coat is in 4 pieces, with a seam a couple inches below the waist connecting to a lower panel. The waist seam actually slants down towards the center front by about 3/4", which looks more flattering that cutting it straight across. The center back panel is where the vent is and actually runs the full length of the jacket uninterrupted.
It took a couple tries to get the pattern together, but once that was done I moved on to the mockup.
Using the mockup helped me to determine any adjustments I needed to make to the fit, and also how the lapel would lie on the body. This enabled me to determine the break line (or roll line.

Based on that I was able to pattern the sleeve, which I mocked up and fit successfully on the first try, no adjustments needed! Woo!
Following the welt pocket instructions in the Classic Guide to Tailoring I made a mockup pocket, ensuring I had the process correct before trying to do one on my garment.
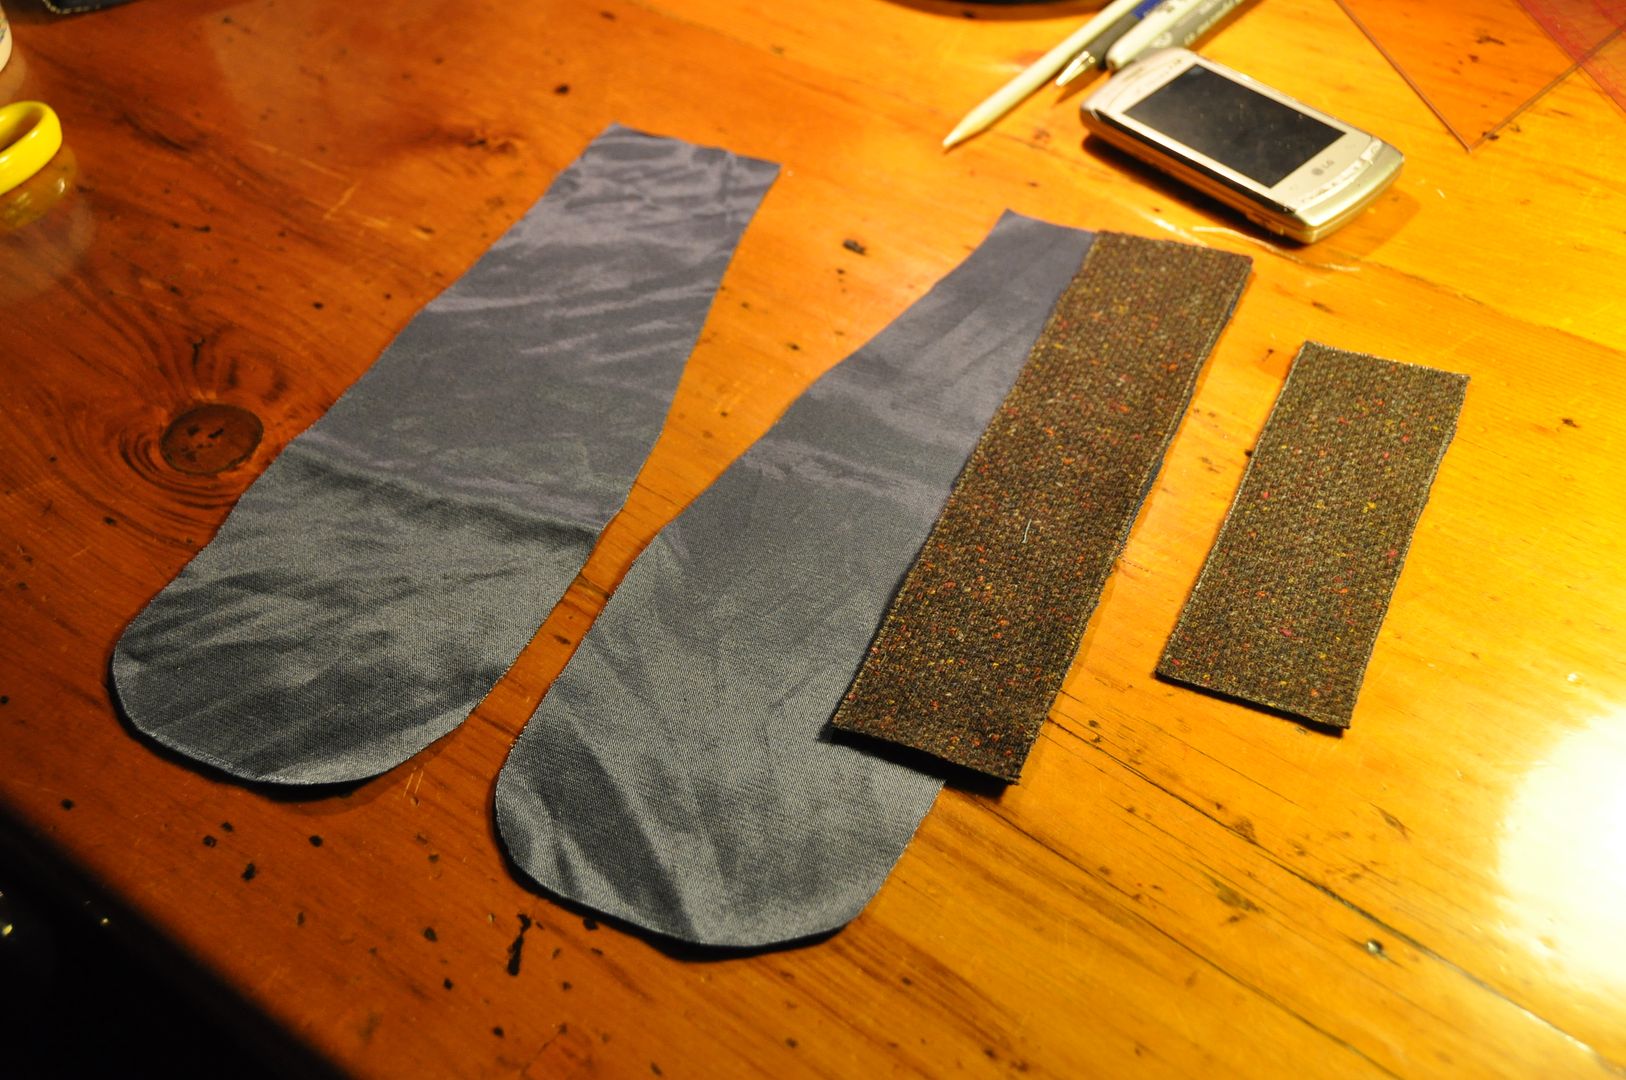
I then patterned and cut out my pocket pieces. My one regret here is that although I made the pockets deep, I didn't make them very wide. If I were to go back and fix one thing on this project, it would definitely be the pockets. The inside of the pockets are made of my lining fabric, which is a kasha lining. Kasha feels like flannel on one side, but looks like a shiny lining fabric on the other. It's a sturdy fabric, warmer than most linings that will last longer.
I also patterned and mocked up my top collar piece, which took a couple tries to get right. I also made a pattern piece for the front facing.
Once I had gotten my mockups and patterned approved I went ahead and cut my pieces out of my fabric. I left myself lots of seam allowance.
For the jacket construction I started by putting the top pieces together. Then I pressed the seams open. One thing I can say about wool: it irons reeeally nicely. ;D

I put the pockets into the lower panels, then attached them to the upper panels. I was not necessary to finish my seams, because I was lining the jacket later.
Then I began to build up the structure within the front of the jacket. This was done with a horse hair canvas. This piece was basted to the inside of each front panel. You can see that it extends from the shoulder, down the armhole to where the princess seam is, and down the center front all the way to the hem. (Mine actually goes down too far into my hem allowance and I had to cut it by 1 1/2" later.) The piece is attached with a long diagonal basting stitch in a contrasting colour thread, which is later removed (it's easier to see it to remove it if it contrasts with the outer fabric.)

Inside the lapel there are rows of permanent diagonal basting stitches that help the lapel to roll and and fold over in the right spot. First I used a twill tape and marked the break line (where the lapel folds over). This was securely basted in (permanent stitch). After I filled in the triangle of the lapel with thee rows of stitching, parallel to the break line. These are all permanent so I used a brown thread that matched my outer fabric. My advantage here is that my tweed was a thick fabric, so it was very easy for me to do my basting stitches so they didn't show through. My one mistake here is that I accidentally overshot into my seam allowance when doing my stitching, which made the next step more challenging.
Then next step of course is to baste the stitch line to mark where the seam allowance is on the outer fabric and trim the hair canvas just short of that. This was a challenge for me because I had basted the two layers together and had to pick out the stitches.
Then I used another twill tape to mark the front edge of the lapel/jacket opening.
Then I bagged out the front edge by attaching the front facing.
The next step was to clip and flip the front facing, pressing it flat. Then basting in place so it wouldn't flap about. Again, more temporary basting stitching. I secured the raw edge with a permanent basting stitch.

Once both lapels were put together, I assembled the back of the jacket. I attached the 2 pieces, stitching down the center back to the vent, which I left open. Then I attached the back panels to the rest of the jacket and checked the fit. All good! :)

I used more hair canvas to reinforce the edge of the back vent. Then I measured and permanently cross stitched the hem up.
I also stitched up the shoulder seams at this time. I made sure the inside of the jacket was ready for the jacket lining.
The jacket lining was made using the same pattern and process as the outer shell, excluding the canvas reinforcement and pockets. I also left the shoulder seams open, so I could add in the shoulder pads later. This was then carefully pinned and basted in place along the vertical seams. One thing I should have done was added in a extra fabric for a pleat at center back, this would have made the jacket have more movement across the shoulders.
I measured the bottom and front edges and then basted them into the finished position before slip-stitching the edges down.
I then worked on the sleeves, which were done similarly to the back vent. First they were reinforced, then I cross-stitched the hem. However, I made the sleeve vents "fake", so at this point I permanently basted them closed and added the buttons. Then I lined up and slip stitched in the lining around the cuff.
Then the sleeves were eased and attached to the garment on the outer shell by machine. Then, I permanently stitched in the shoulder pads along the top of the sleeve and in the ditch of the shoulder sleeve. Then I turned the garment inside out and pinned, basted and slip-stitched the sleeve lining to the rest of the lining. This closed and finished the lining.
Next was the top collar. The collar pieces were all cut on a bias (the 45 degree angle from the grain) so they would stretch around the neck nicely. The under collar matched the rest of the jacket and was done in 2 pieces, the top collar was one piece of velvet to contrast.
There was 2 pieces of collar canvas attached to the under collar, both lined up to the center back, attached with a piece of twill tape. More rows of parallel stitching were done along the collar to help it roll properly too.

After carefully lining it up, I basted the under collar in place. Then I cross stitched it down, this was a permanent stitch, so I made it look nice. Then I removed the basting.
Then I pinned and basted on the velvet top collar. I slip stitched it down around all the edges.
Lastly I had to do the buttons and button holes.
As you can see, in the final stages of this project it was mostly hand stitching, which is what makes tailoring so time-consuming, however the effort pays off in the end! I now have a lovely wool long coat to wear!