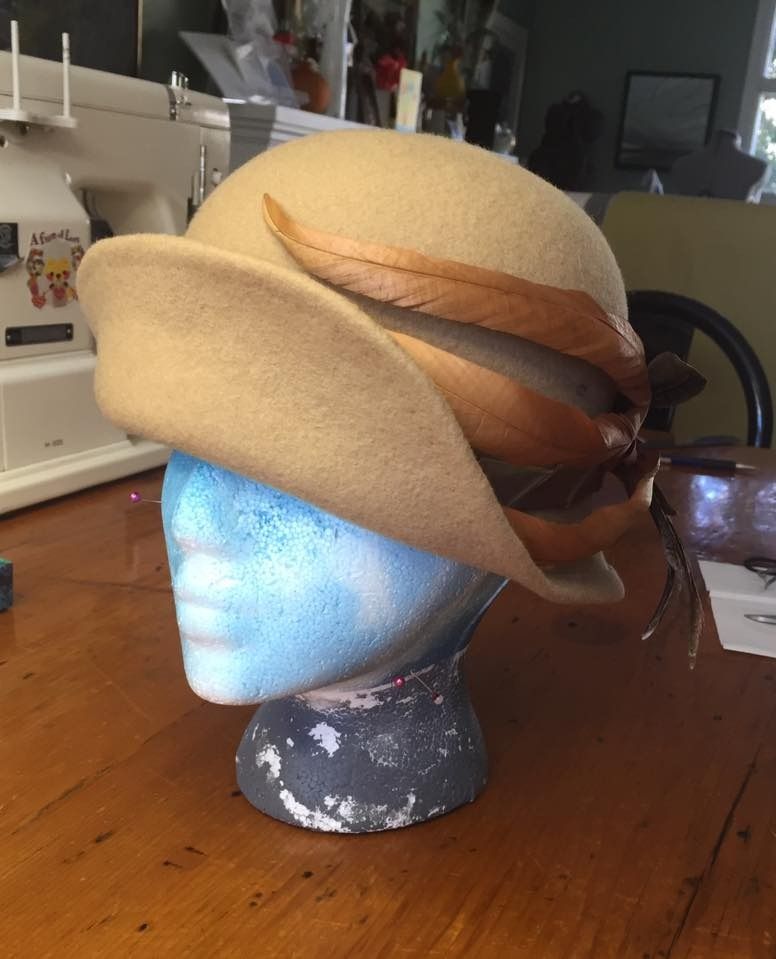
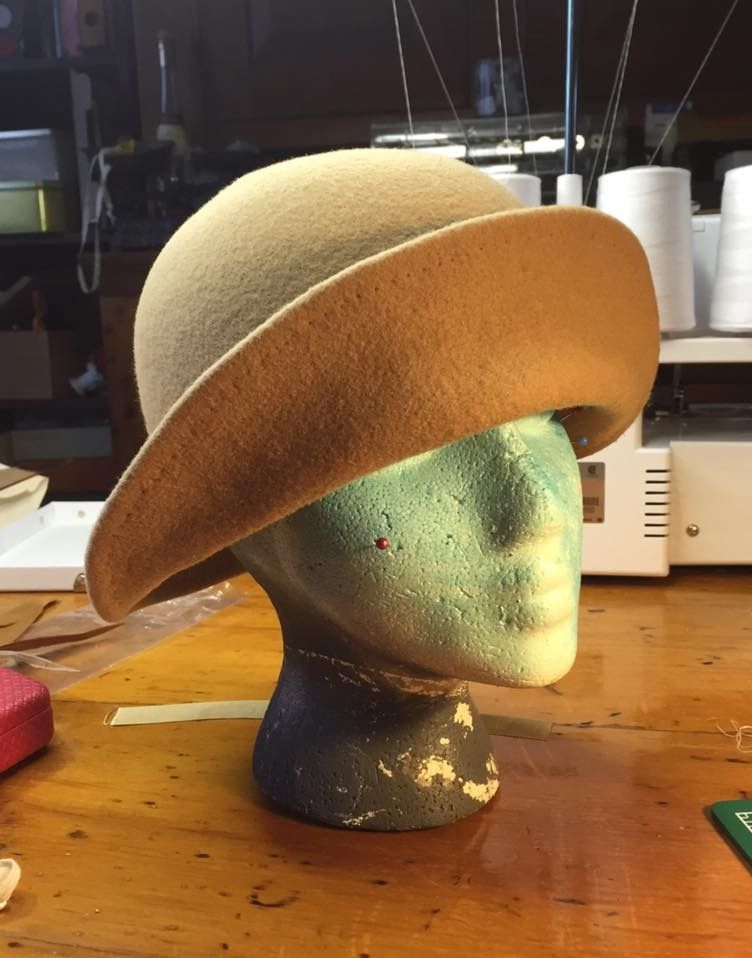
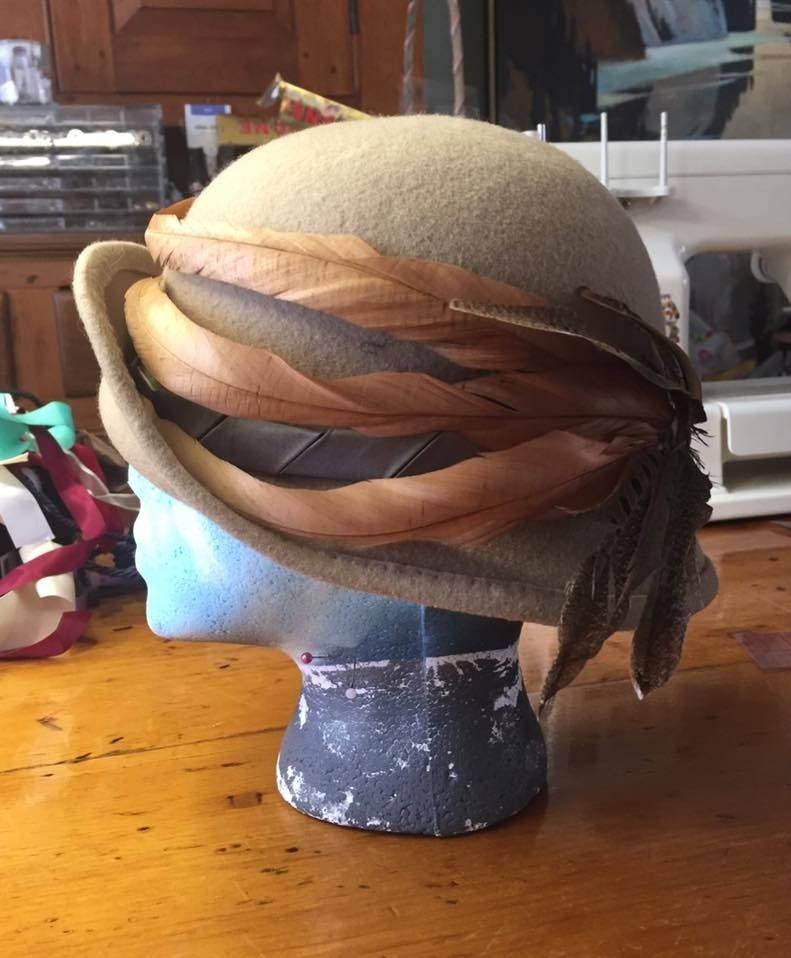
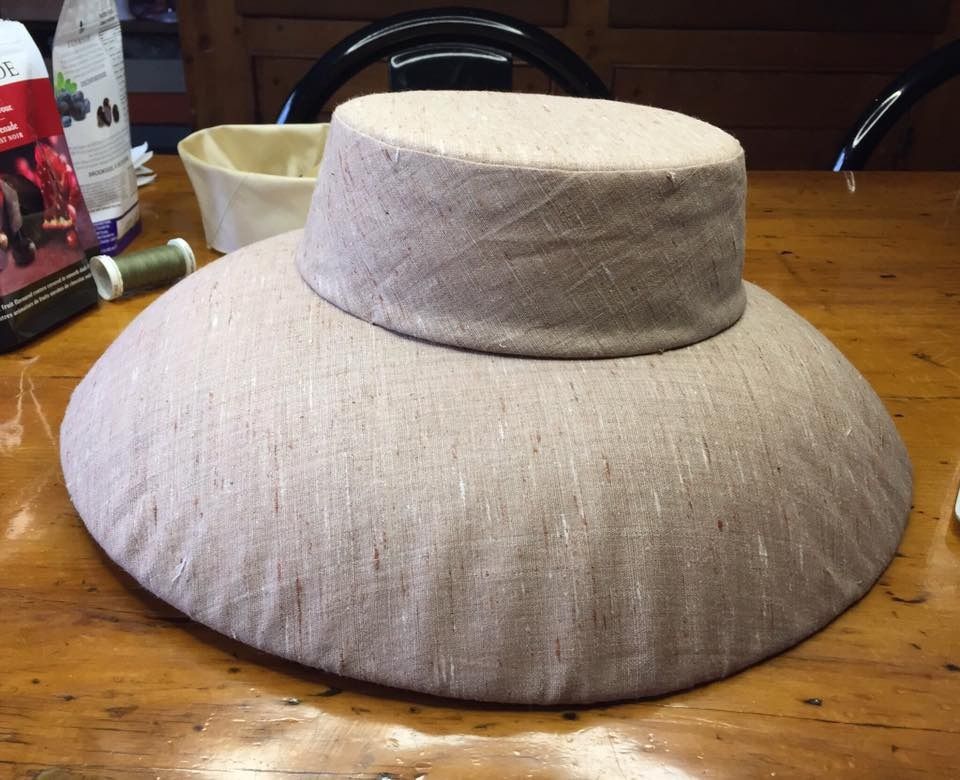
Let's talk about hat project #3: blocked buckram! We had to create a blocked buckram hat with crown & brim. I decided to design an Edwardian style hat. This process requires a lot of patience, as the entirety of it was painstakingly hand stitched.
I don't have photo documentation of the blocking process, but you essentially take the buckram, wet it and then stretch it over the block until there are no bumps/bubbles. Then you pin it in place and let it dry. I blocked the brim and the tip of the crown for this hat, the sloped side of the crown I flat patterned.
Once the pieces were dry I marked and cut them down to the desired size/shape.
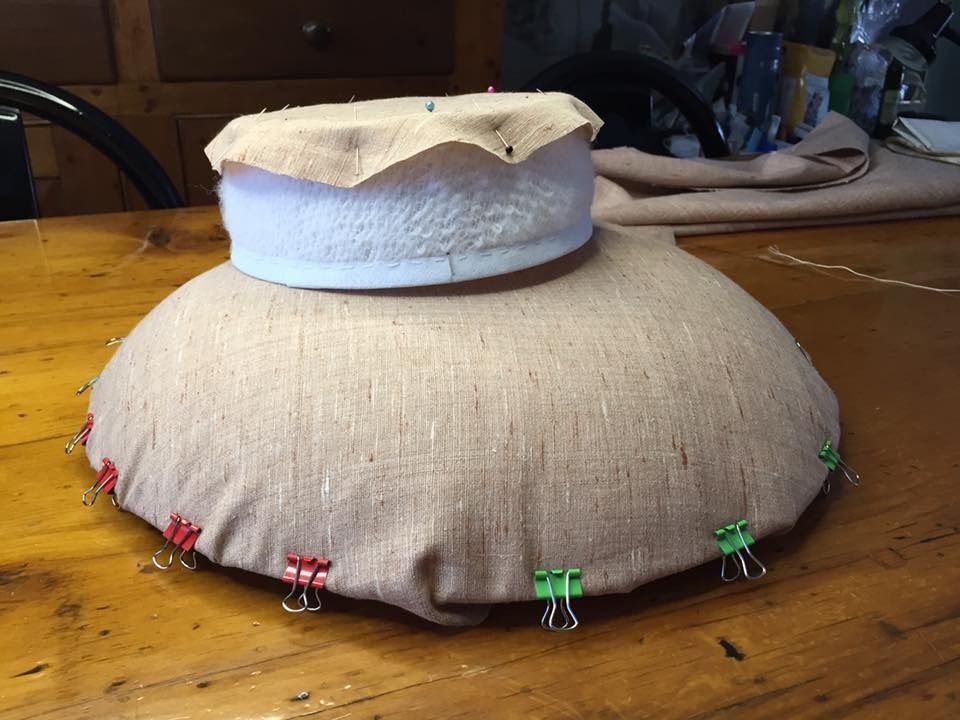
The crown and brim are covered and assembled separately, then sewn together. I used a layer of lambswool between the buckram and silk covering to give it a softer finish. All of the edges are finished on each buckram piece (excluding the head opening on the brim) before they are covered in the fashion fabric.
Bulldog clips are exceptionally helpful in holding your fabric in place. Also much of the finishing stitches were done with a curved needle on this project.
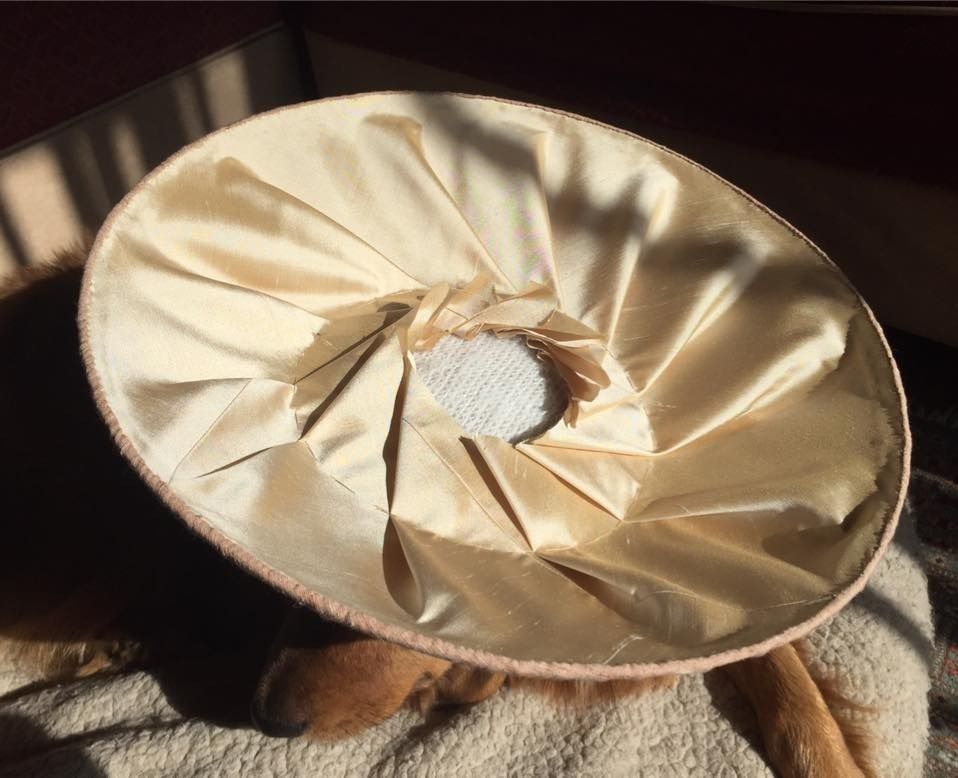
I first created my lining. It is a rectangle that I sewed into a loop that equaled the circumference of the brim. One edge was tacked down to the outer edge of the brim, and the other was carefully pleated into the center in a radial pattern. I made it as even as possible. I basted this down along the head size opening.
Next I draped the outer fabric layer over the top of the brim. I pulled it into place and tried to have as little rippling along the brim edge as possible. I folded the raw edge and turned it under. After basting it, I then slip stitched the edge down as invisibly as possible. The curved needle was really handy here.

To finish the crown, first I sewed down the circular pice to cover the tip. I notched the edges before folding them over the edge for a smoother finish. Then I draped the curved side band over the side. I folded over the raw top edge of the fabric aligning it just shy of the edge of the cylinder. I pinned it in place and then slip stitched the edges down. I left the center back seam open at this time. The bottom edge is simply folded up, but not attached. This meant I could still access the inside to attach the crown and brim.
I cut my head size opening hole in the brim, leaving 1/2" seam allowance. I cut notches into the seam allowance so the "tabs" could be folded up. The crown has no seam allowance--the brim seam allowance slots inside the crown, and they are stab stitched together along the brim seam allowance.
I ran into a few problems here--I didn't cut my head size opening large enough, so it didn't fit snugly inside the crown. It made sewing them together super difficult. And as a result the hat doesn't fit very well since its a touch small. But this is a learning process, so I just kind of rolled with it...
I then finished up the back seam of the crown cover. And I tacked down the lower edge in a few places.
Next was to finish the lining. I sewed the outer edge of the gros grain ribbon in along the edge of the opening. Then I carefully laid the crown lining inside. I sewed the inner edge of the ribbon to the crown lining, finishing the inside super cleanly.
You may notice I silk screened my new label into the lining! I'm getting so professional. ;D

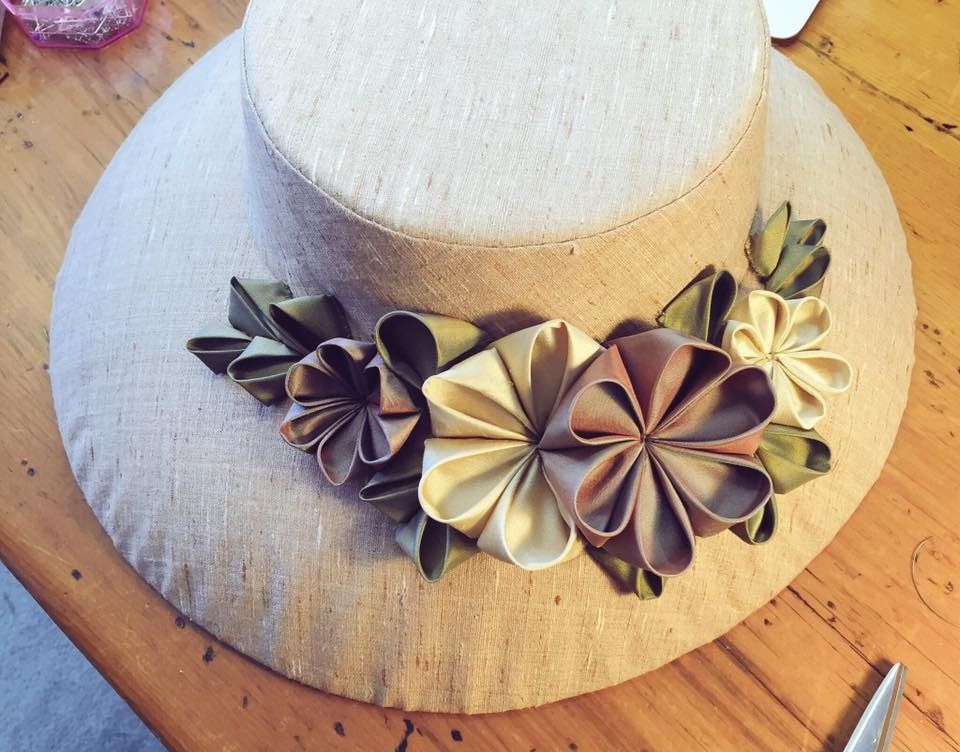
Then I created a whole bunch of kanzashi flowers to decorate it with. Some were made of a really beautiful plum silk shot with blue. I also used more of the cream silk to match the lining. And accented with green silk "leaves".
I like the hat, but if I were to wear it (for a costume) I would probably need to fix up the size issue...


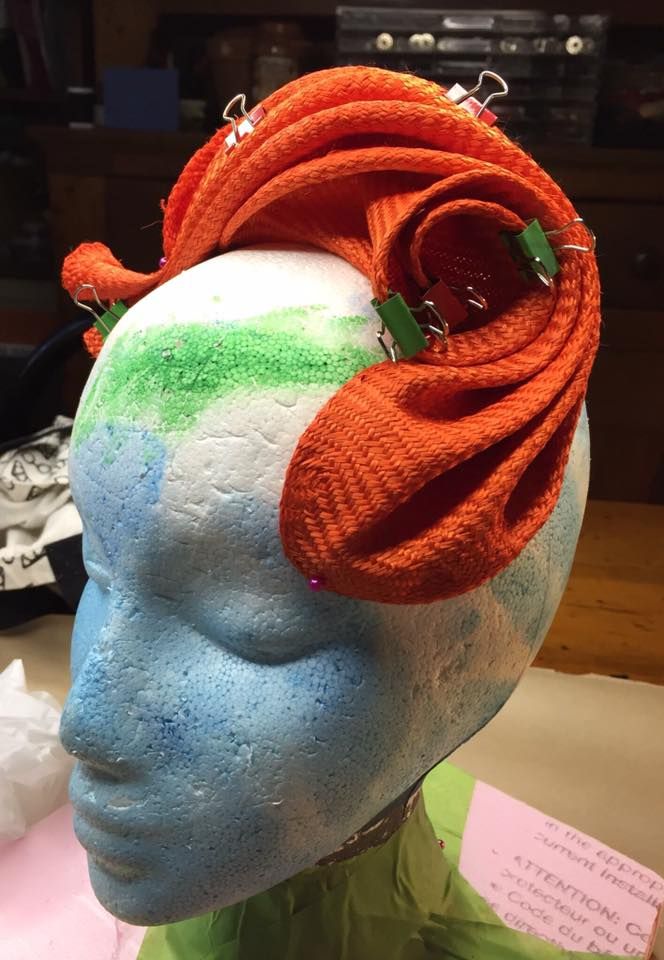 It's not the type of work I would normally do. I'm a person who tends to plan out what I'm doing in advance. So taking on a project where you had to make up what you were doing on the fly was a bit of a challenge for me.