Showing posts with label large prop. Show all posts

Wednesday, September 30, 2015

Inkling - Guns and Tanks - Splatoon

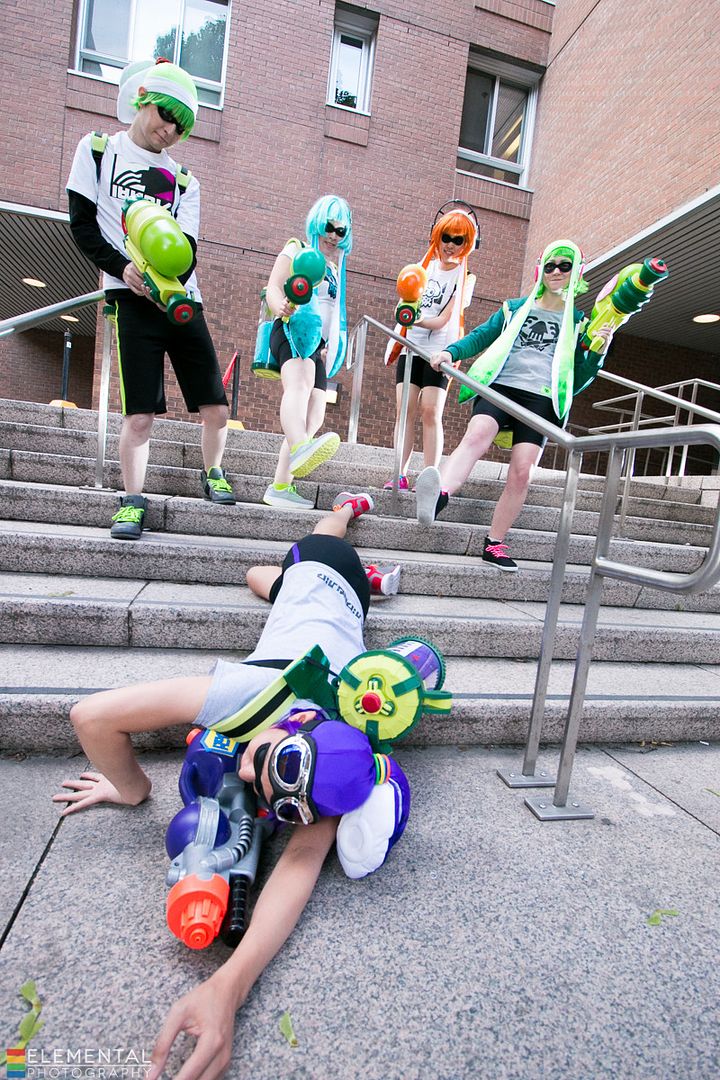
Part 3 of the Splatoon Squad posts! Lets talk armaments! >:D If you are interested in the tentacle hats, go here! If you want to see how we put together the outfits, go here! Once again hats off to Elemental for the great shots from the photoshoot!

Now we delve into territory that I know little to nothing about: The Armaments. I had very little involvement in this area. I was a helping hand in the mass production line for the harnesses, ink pillows, and I helped put the electrical tape gauges on the side of the tanks. That's about it. Credit goes to the real masterminds Brian (Ragz Cosplay) and Adrien, and their very best shop gnome Andy (Yavarice).

Based on a 3D model that Andy did of the tank, Brian broke down and printed all the components. These had to be cleaned up (sanded) and painted, and then these were assembled into a full team of tanks. Andy gave a hand in this process.

All I can tell you about 3D printers is that they operate by wizard magic. I am fairly certain Brian is a wizard, and Andy is a sorcerer's apprentice.

The pieces were painted up separately using spraypaints and then glued together using a glue called E6000. The bottom of the tank is removeable so that the ink pillow can be changed. By changing the ink pillow you can easily re-purpose the tank for a different colour team.

The pillows are made from the same spandex as our hats. Michelle (Mage Cosplay) and I made fabric cylinders of varying heights and stuffed them. The pattern is literally 2 circles and a rectangle. Except Brian's, he made the top of his wavy. Because he is not lazy like me.

The harness rigs are made out of foam mats from walmart, black webbing, buckles and hot glue. The shoulder straps are 2" wide and tapered at the front end. After being cut to the desired length, we put a slit at each end for the webbing to be fed through. The webbing had the female end of the buckle sewn on to one end. We carved out a small depression in the inside of the strap and glued this end of the buckle in place. The other end is the adjustable side. When we had the desired length, the excess webbing was cut off. We burned the ends with a lighter so they wouldn't fray.

The two straps were glued to a back piece that is a dumbell shape that has a thinner webbing strap attached to it. This smaller straps has velcro and feeds through two slots on the tank. They make the tank removable from the harness. You can see where the tank attaches to the harness in this great shot of us beating up Andy.


As for the Splattershots, Adrien takes all the credit there. (Well, Andy does get some credit for being his resident shop gnome and doing much grunt work cutting out pieces.) Adrien created some foam pieces as templates and vaccuformed all the separate pieces over them. These were then cut out and glued together. But I assure you it is more complicated than I have described. I am still in awe of these, they are so professionally made!

I believe Andy's gun is a Nerf gun? With a logo added to make it look super legit. The logos were made from craft foam.

Overall I was really impressed how we were able to pull together a really cohesive looking group! I hope I get to take part in something like this again in the future. Special thanks goes to everyone who helped make this happen. I'm excited for Squids 2.0! :D

Tuesday, November 5, 2013

Asuna Kagurazaka - Harisen (Paper Fan) - Negima

The much more compact and travel worthy version of her giant sword! This prop was made in record breaking time with whatever leftover materials I had on hand as a sort of last minute prop idea. The weapon really helps make the character more recognizable.

I had been debating whether or not to bother making it at all, seeing how I already had a weapon for this character. However as much as I love the sword form, it's really heavy and I couldn't take it to the States because it is just too large to fit in the car. So I made this the day before I left, entirely from scrap materials. Not bad for a rush job, eh? ;D

For anyone who doesn't have the confidence, time or materials to make her sword, I highly suggest making the harisen (fan) as it is a great beginner level prop, and it doesn't cost much to make!

I cut out 4 pieces of illustration board that would be the fan. (Ideally I would have liked to have more, but I only had this much board left.

I taped them together in an accordian pattern. Using a marker I neatly wrote the inscription "Ministra Magi Asuna" on the outward faces.
I made the handle in the same way as the large sword, minus the sculpted piece. I left a socket in the end where the fan pieces would attach.

Then I hot glued the fan accordian in place. I put some small wedge pieces to keep the fan slightly open, so it didn't look like flat slats sticking out of the handle.
I must have had this in mind (somewhere in my subconscious) when I was making the sword, because I made the ribbon detachable by using a carabiner instead of an actual chain link. This means I only need 1 ribbon, which I can attach to my weapon of choice, instead of making 2.

The fan part is very bendy, and doesn't stay rigid, but I rather like it that way, seeing how it is kind of the "fail" version of her sword. Hahaha

Tuesday, September 24, 2013

Kero & Suppi - Bows, Gems, Giant Candy - Cardcaptor Sakura

This is the fourth post for Kero and Suppi! This is just a quick look at all the props and accessories for these costumes. :) I always feel that props and accessories just make a costume that much more interesting!

For the rest of these fabulous costumes see the Shirts & Shorts, Ears & Wigs, and Aprons & Wings. For more pictures of Kero and Suppi see Eleventh Photograph's Otakon gallery!

First let's talk about those delicious candies! They were actually made by my sister. It was really nice to have a super light prop to carry around for the day.

My mint is made of 2 layers of insulation foam hot glued together. The edges were sanded down to be round. She then painted it white, then added the red swirls using acrylic paint. Alex's gumballs were simply coloured balls she got at the dollar store. Both candies were wrapped in cellophane.

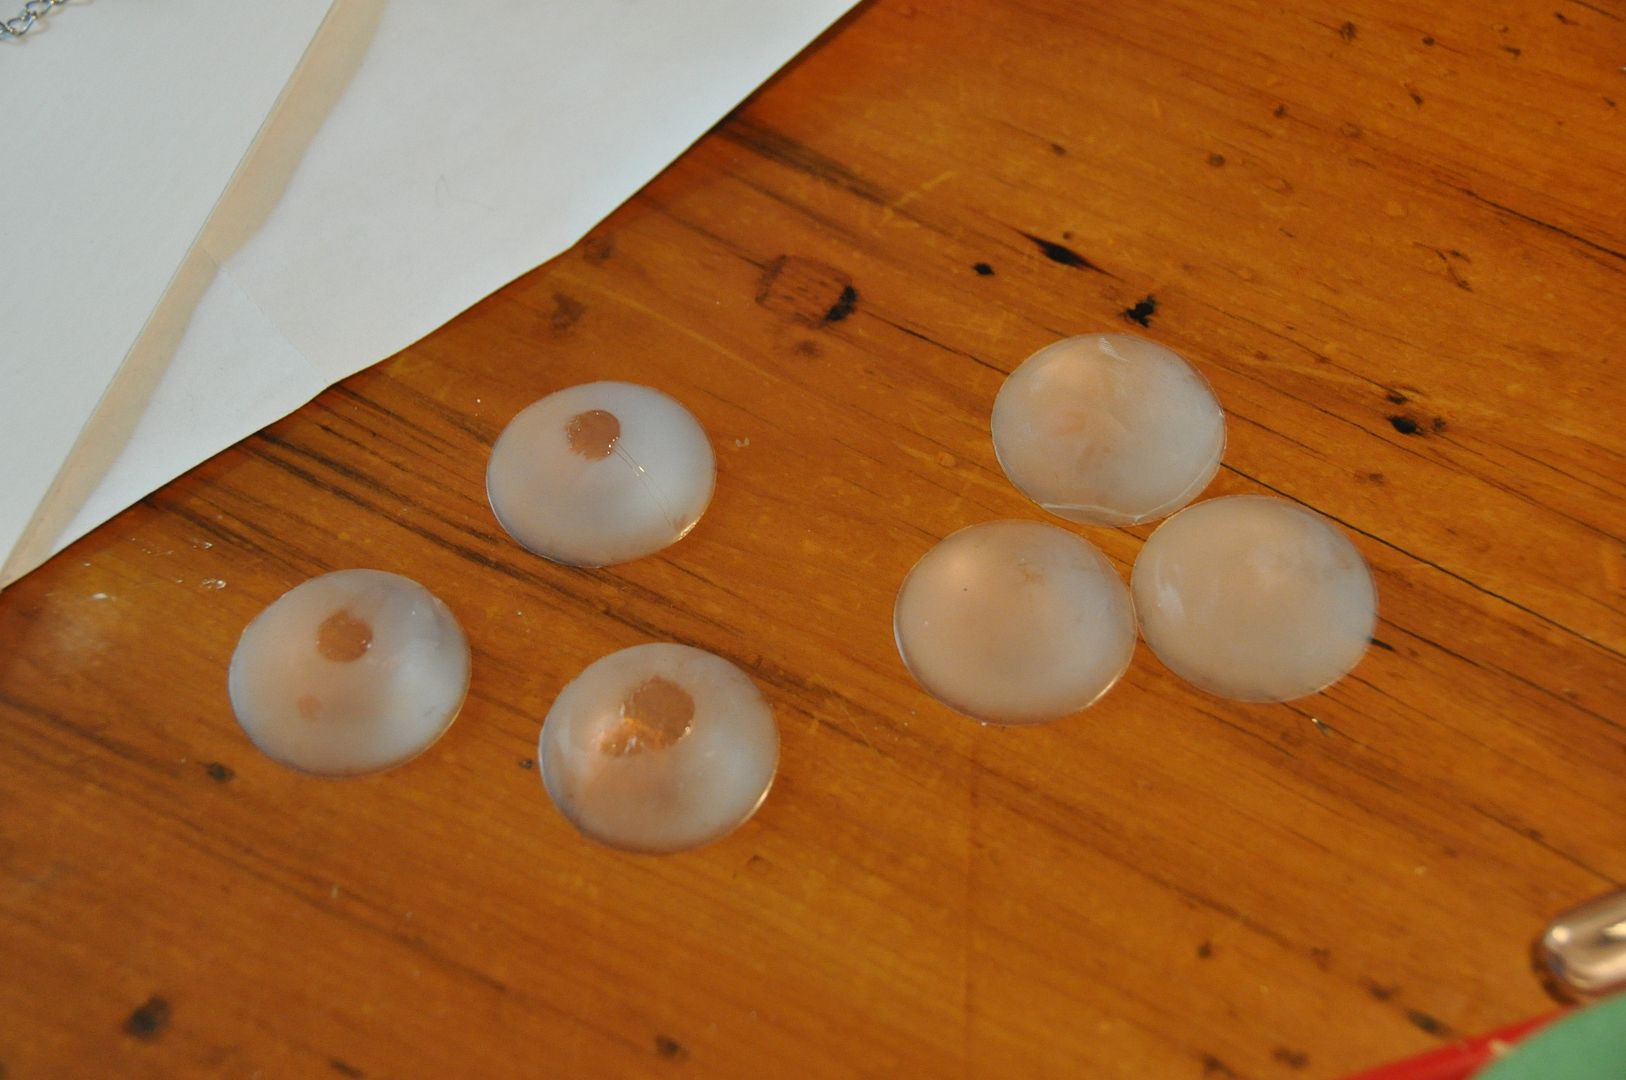
Alex also made our cool gems. For the gems we used a gedeo clear resin we bought at Curry's. Following the instructions she mixed the 2 parts accordingly and used a new paint tray as a circular mold. Then they were left to cure. We only needed 2, but she made 6. This was lucky because for whatever reason 50% of the gems didn't cure.

Then she painted them using nail polish. She backed them with a polish of each chosen colour (red and teal), then in order to bring out the shine she coated the top of the gem in a clear coat of nail polish. Trust me when I say that the clear coat is what turns them from looking "meh" into looking gorgeous.

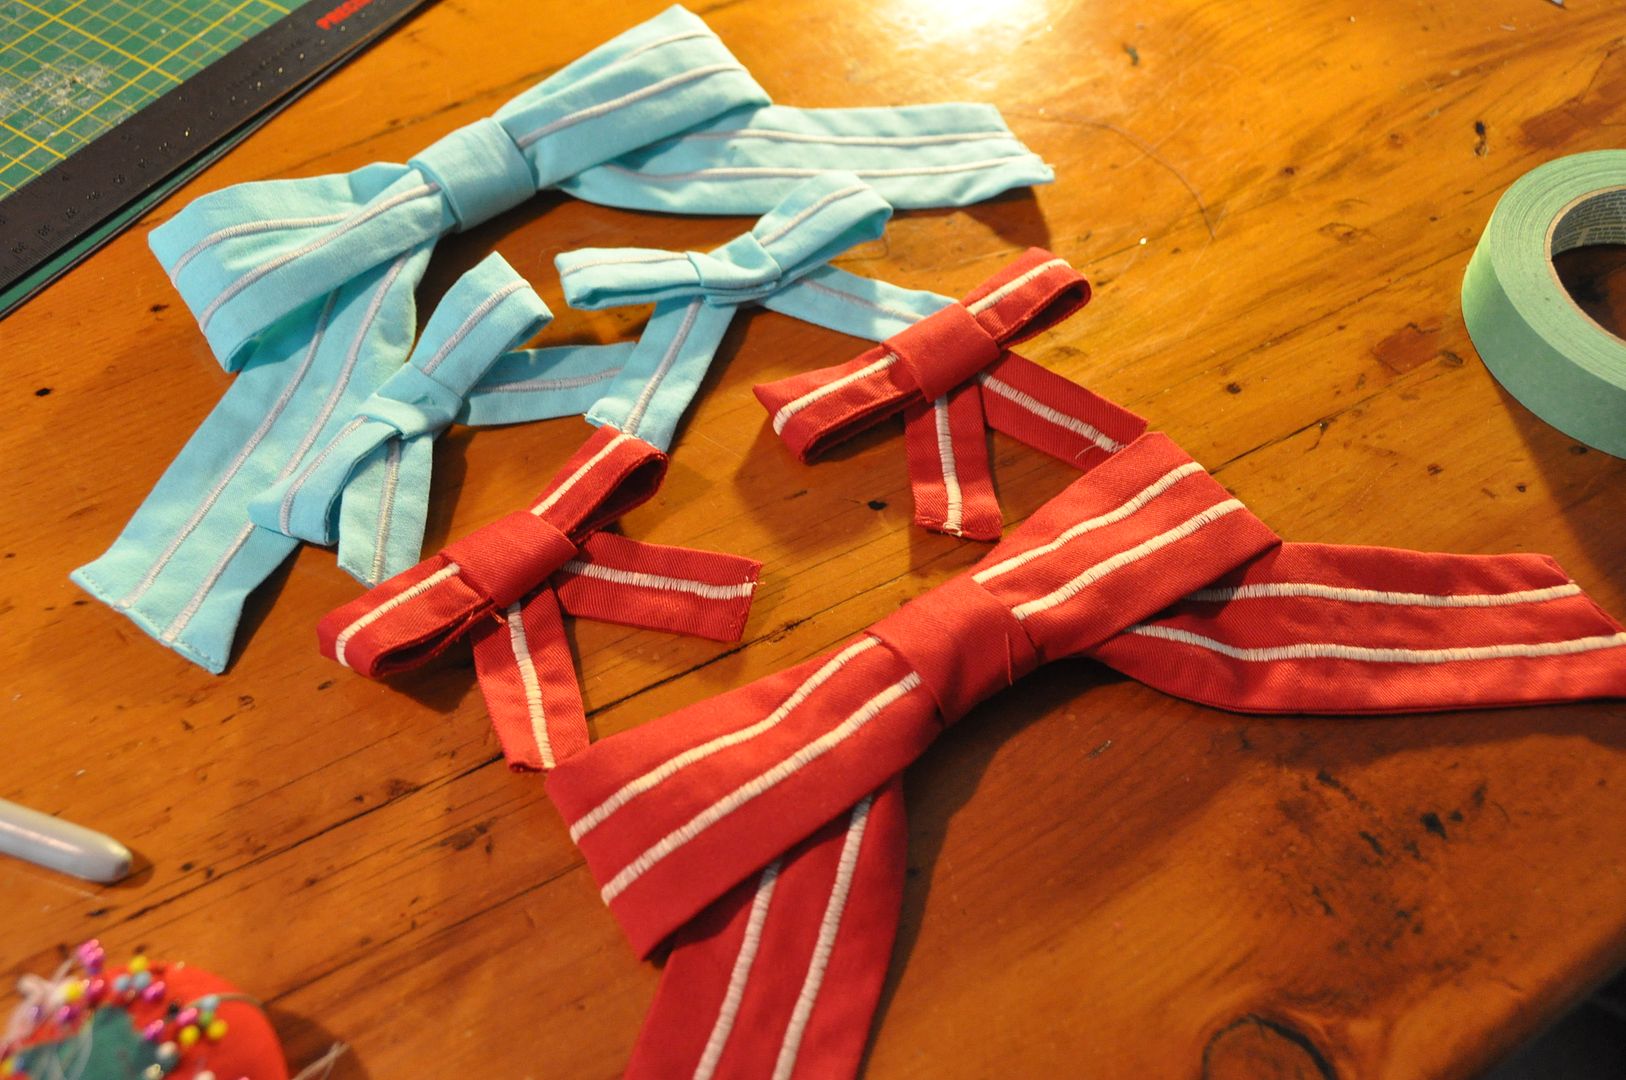
The next accessory was a set of 3 bows for each of us. Each bowtie was made of 4 pieces plus a neck band. All the rectangular pieces excluding the center were given stripes to match the aprons. The bows were hand stitched together, then the gems were hot glued onto the center. Finally to the neck bows I added a neck band, with a velcro closure. My sister's I made longer because she wanted to have her collar unbuttoned.

The shoe bows were simply attached to our own shoe laces with safety pins!

Friday, June 14, 2013

Asuna Kagurazaka - Sword - Negima

Oh look, a giant sword! Having a sword that large out of metal would not be physically possible for such a slender girl to lift. I can barely lift the foam one with 2 hands, and it is only 5 pounds!?

Haha, weaponry is actually pretty fun to make. I enjoy making props a great deal, which is why I like to choose characters with weapons, items or tools.

This weapon is the blade form of Ensis Exorcizans, which is Asuna's artifact is the story. (When it actually appears as a blade like it's supposed to!) With it she can exorcize demons and cleave through rock. >:D

This is the second part of my Asuna tutorials. You can find how I made the wig here. More to follow obviously!

First I would like to talk about how I made the sword, but I would also like to talk about how I should have made the sword. Ah... hindsight. I don't anticipate ever rebuilding this specific blade, but for future reference, these are some things that would have seriously helped with the weight factor and the structural stability. My main problem is I was so focused on making this sword as solid as possible so it wouldn't break or get ruined, I failed to realize that the combined weight of all my materials (even if they were all really light materials, like foam and plastic) would make this blade impossible to lift one-handedly...

The first thing I did was actually draft my blade full scale using autocad. By doing this I was able to create an accurately proportioned replica, giving myself real measurements to work from when I went to cut out the pieces. Using reference pictures from the manga, I decided on a length measurement, using my own height as a starting point. The blade itself is a bit taller than the character, so I knew that the blade had to be taller than 5'-2" (my height).  Then the handle and pommel piece extends beyond that by about 10". It took a lot of tweaking until I came up with a drawing I was satisfied with, but by doing this first I ensured that the sword would be exactly what I expected.

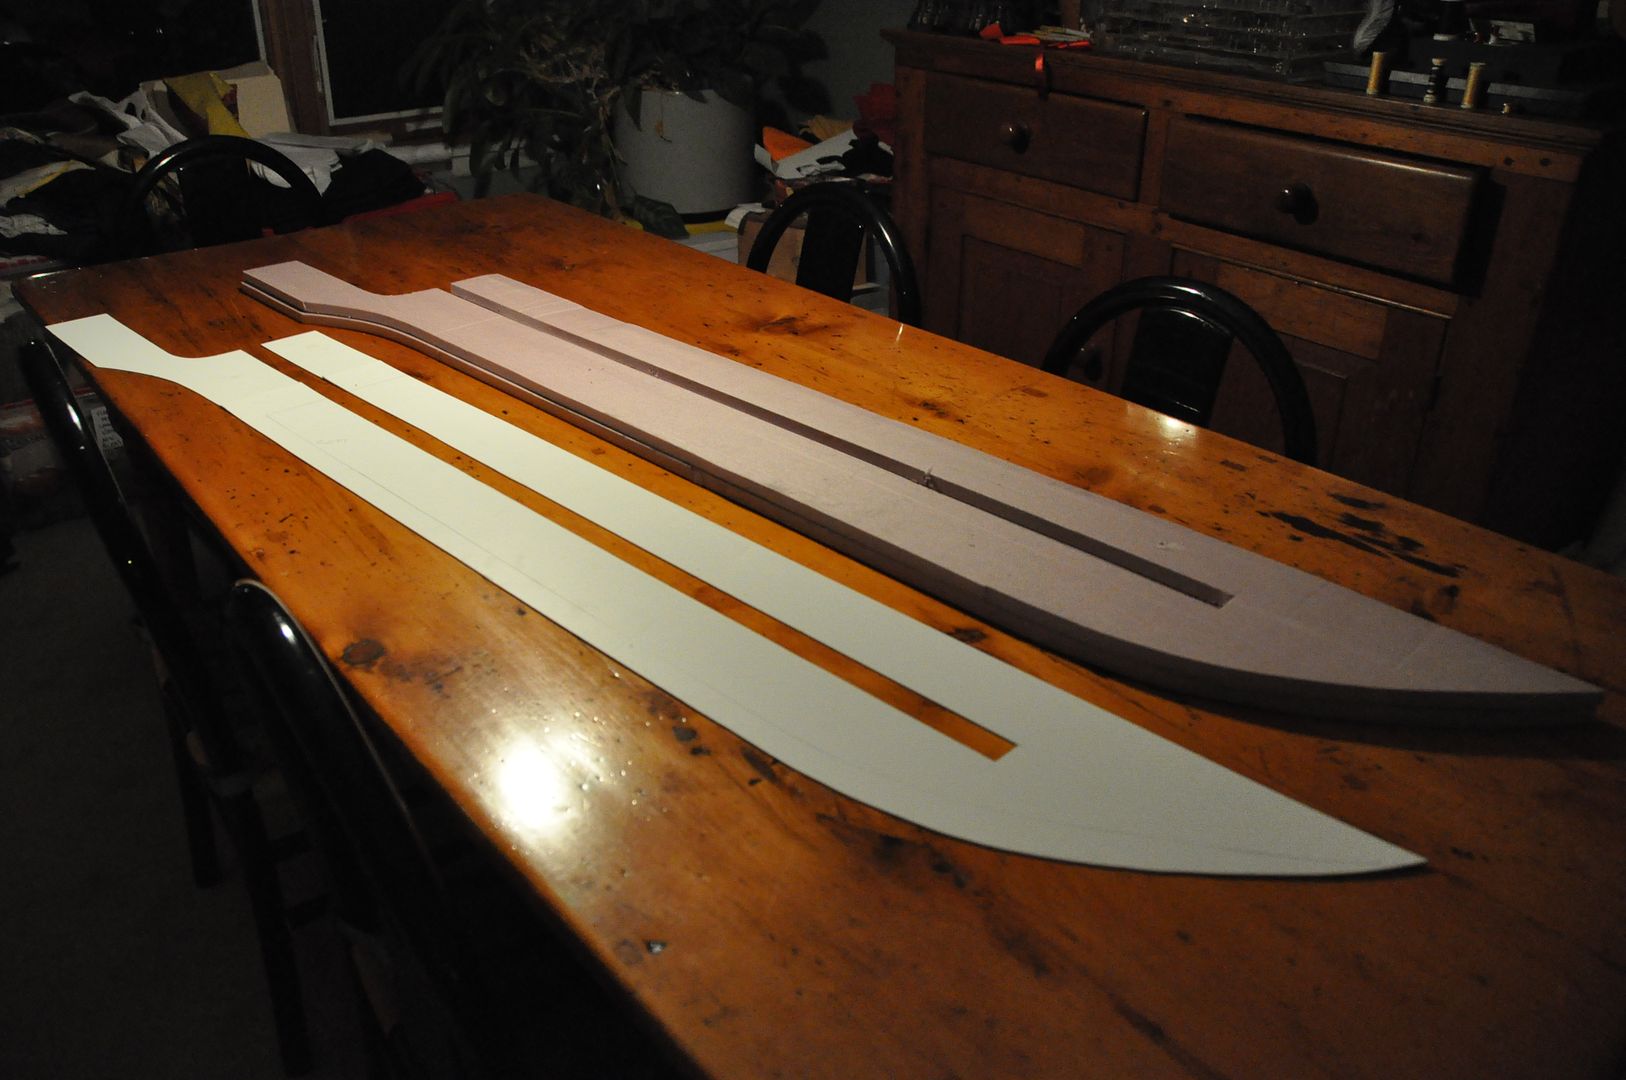
So after a couple false starts, I began the sword using a slightly different method than that of my previous blades. Basically the blade itself is a sandwich of layers. The center layer is styrene plastic, with two pieces of 1/2" insulation foam on either side. The styrene layer would be the pointed edge of the sword, by making it out of styrene, it ensured it would not be easily dented. The foam on either side would be beveled, carved to create the point. There are then two more, smaller styrene layers on each of the flat faces, protecting the flat part of the foam. These were all cut using an exacto knife.
In the middle 3 layers I cut a long trench where the handle dowel would be inserted down the length of the blade to increase structural stability. (This would be covered by the outer two panels.) The middle three layers were contact cemented together and left overnight to dry. (I needed the outer two left free for now so I could do detailing on them.)

Sounds pretty rock solid right? That's exactly the problem. I assumed that because all my materials are so light, it would be fine. I was wrong. This is where I made the first mistake. What I should have done here is also cut several hollows into the inner layers of the blade. These air pockets would have kept the sword much lighter, while still keeping structural stability.
The trench I cut was just a touch too wide, so I wrapped the handle in some fleece to help it fit more snugly. It was then inserted and hot glued in place. 

I used the outer panel to draw a line where I needed to bevel to, I traced the edge of the piece on each side. I carefully carved the edge out of the foam.

Meanwhile, on the outer panels I drew the inscription, "Ministra Magi Asuna". I had great difficulty finding decent reference pictures of inscription itself, so I am thankful for fan forums, where some lovely person on the internet was able to find me 2 decent reference pictures in the span of about 5 minutes. They were this one and this one. Because this is an illustration, the letters were just drawn on in very plain block letters. So I took a few liberties and made the lettering correspond to the design better. These letters were then painstakingly carved out of the face of each panel, giving texture to the piece. Special thanks to my friend Alli for helping me do this lettering, it never would have gotten finished without her!

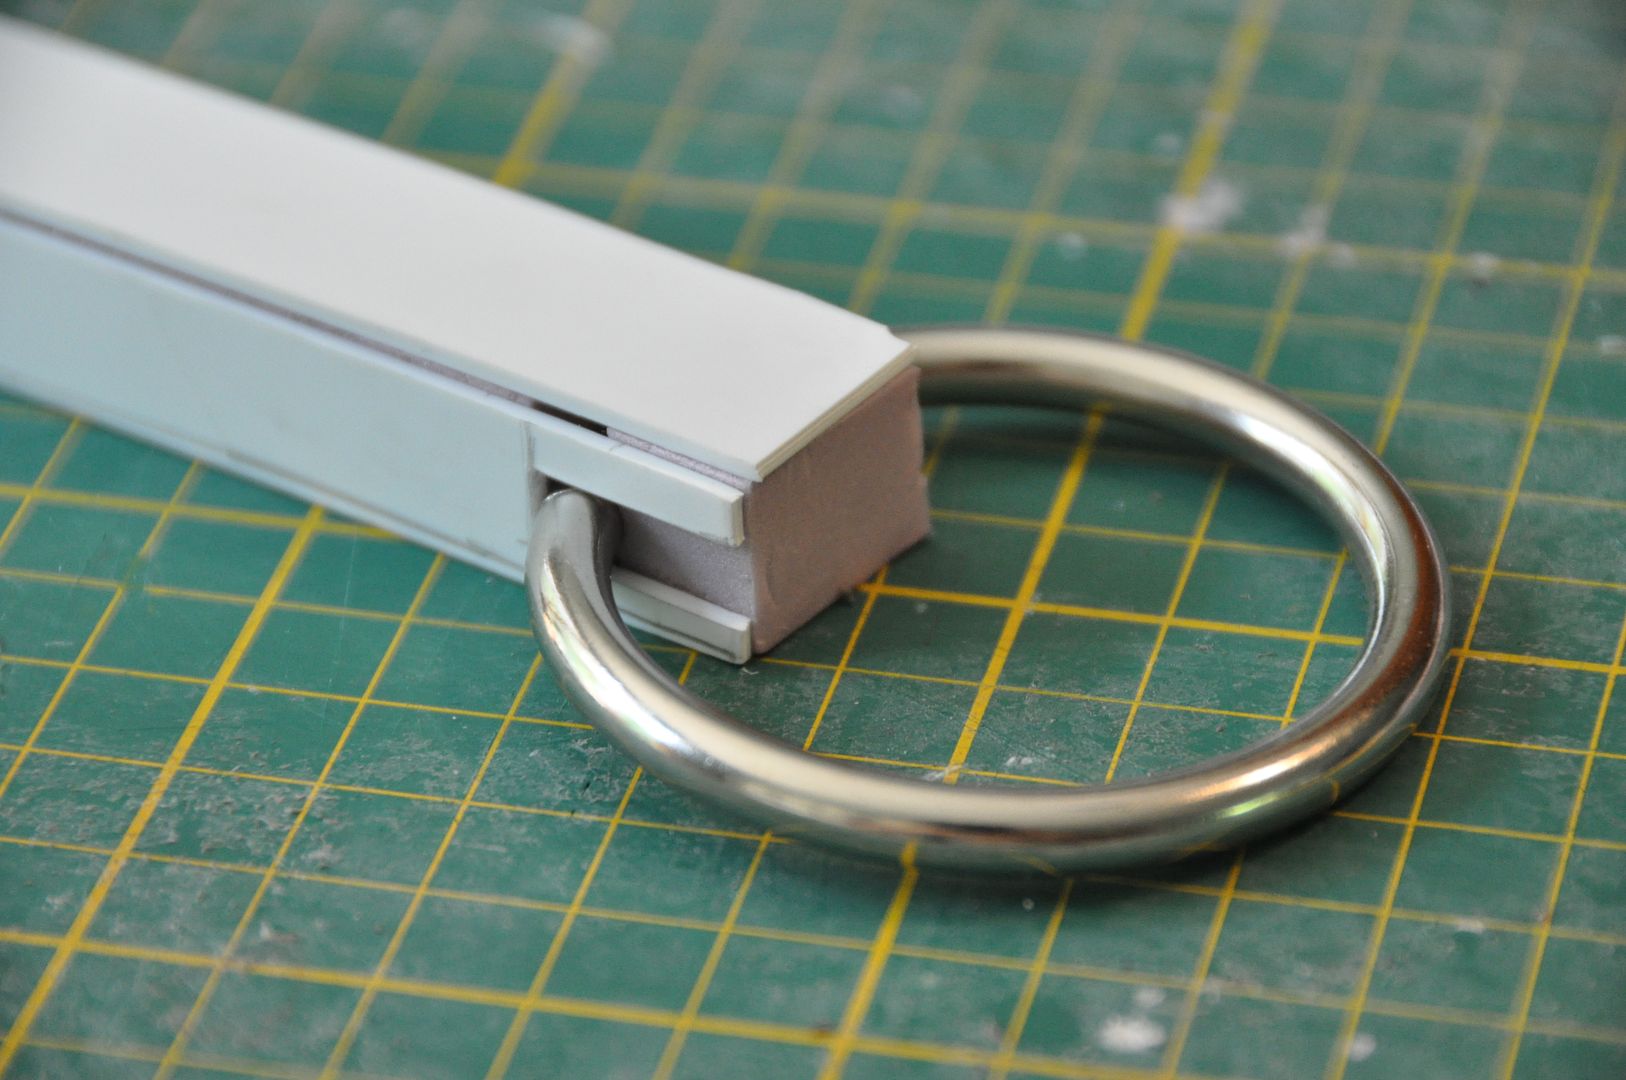
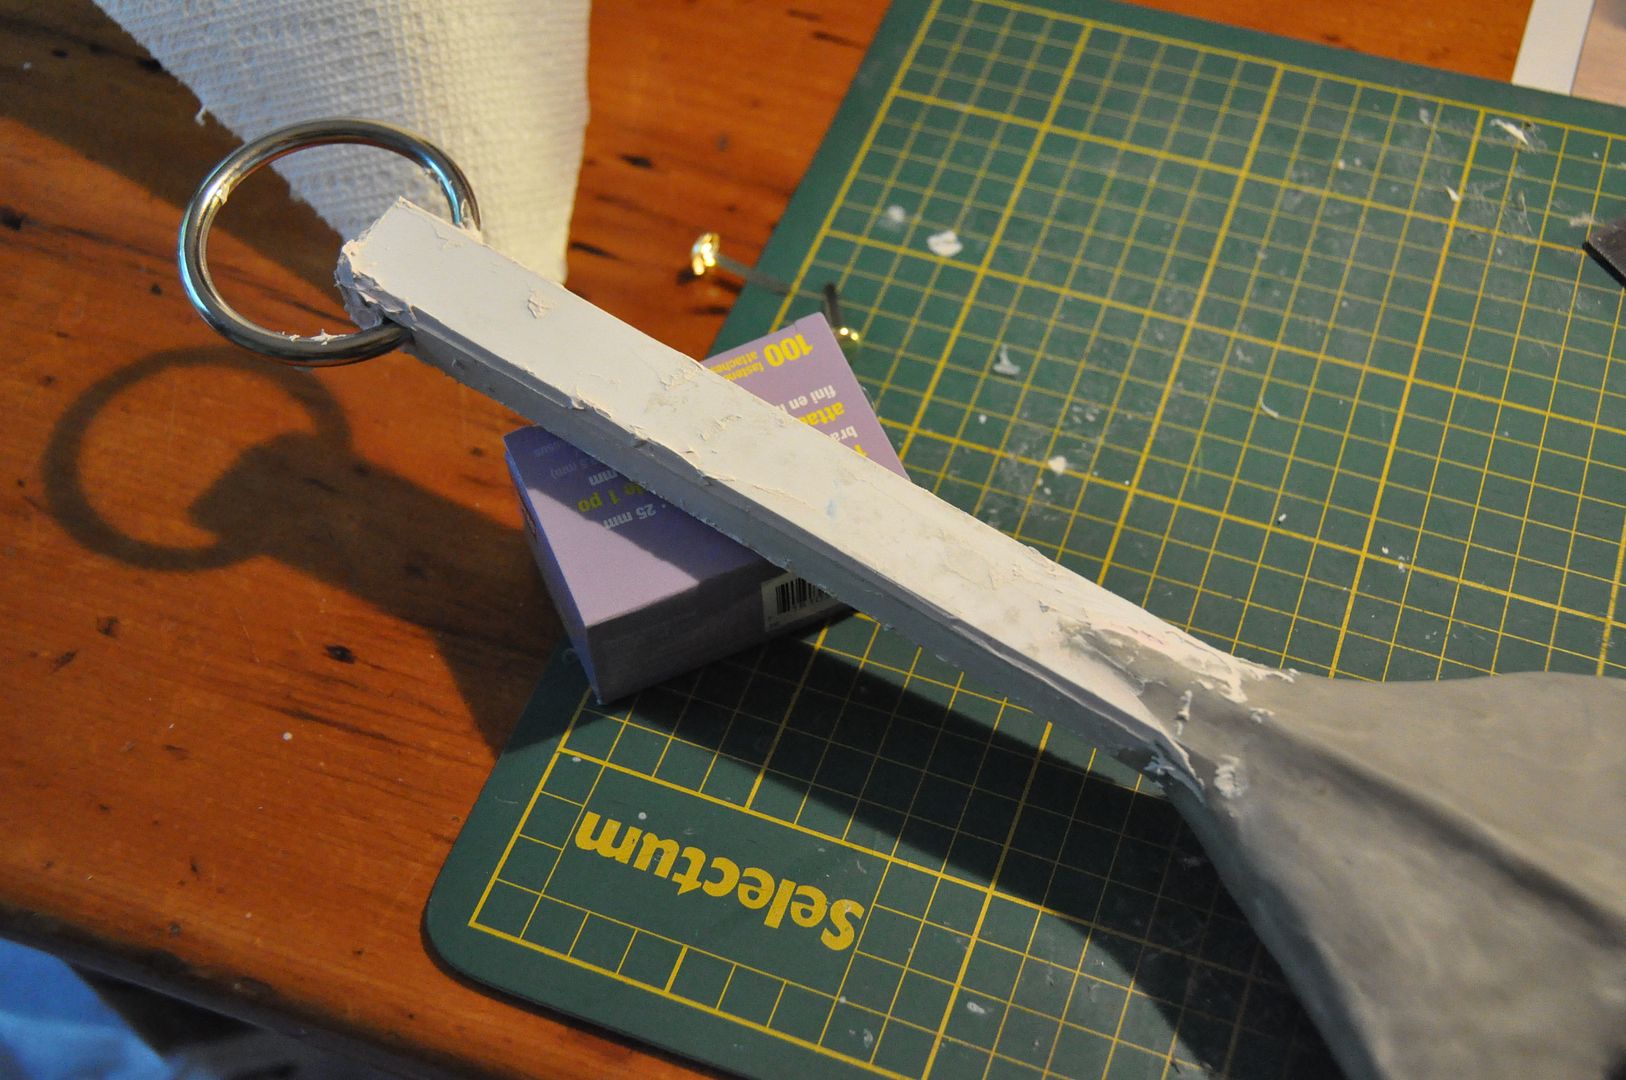
The next part I began working on was the pommel. I created the long piece with the metal ring on the end using a long strip of foam with styrene facings.
A slit was cut out of each side, so the ring could be slotted in. Then the pieces were hot glued together. (The little gaps would be filled later)
I also cut a long strip that I glued down the back edge of the blade, giving that edge and the point a cleaner finish.

Now, here is the second mistake. What I should have done was have the handle extend into the pommel piece, instead of just gluing it on the top. It would have been better both structurally and aesthetically.

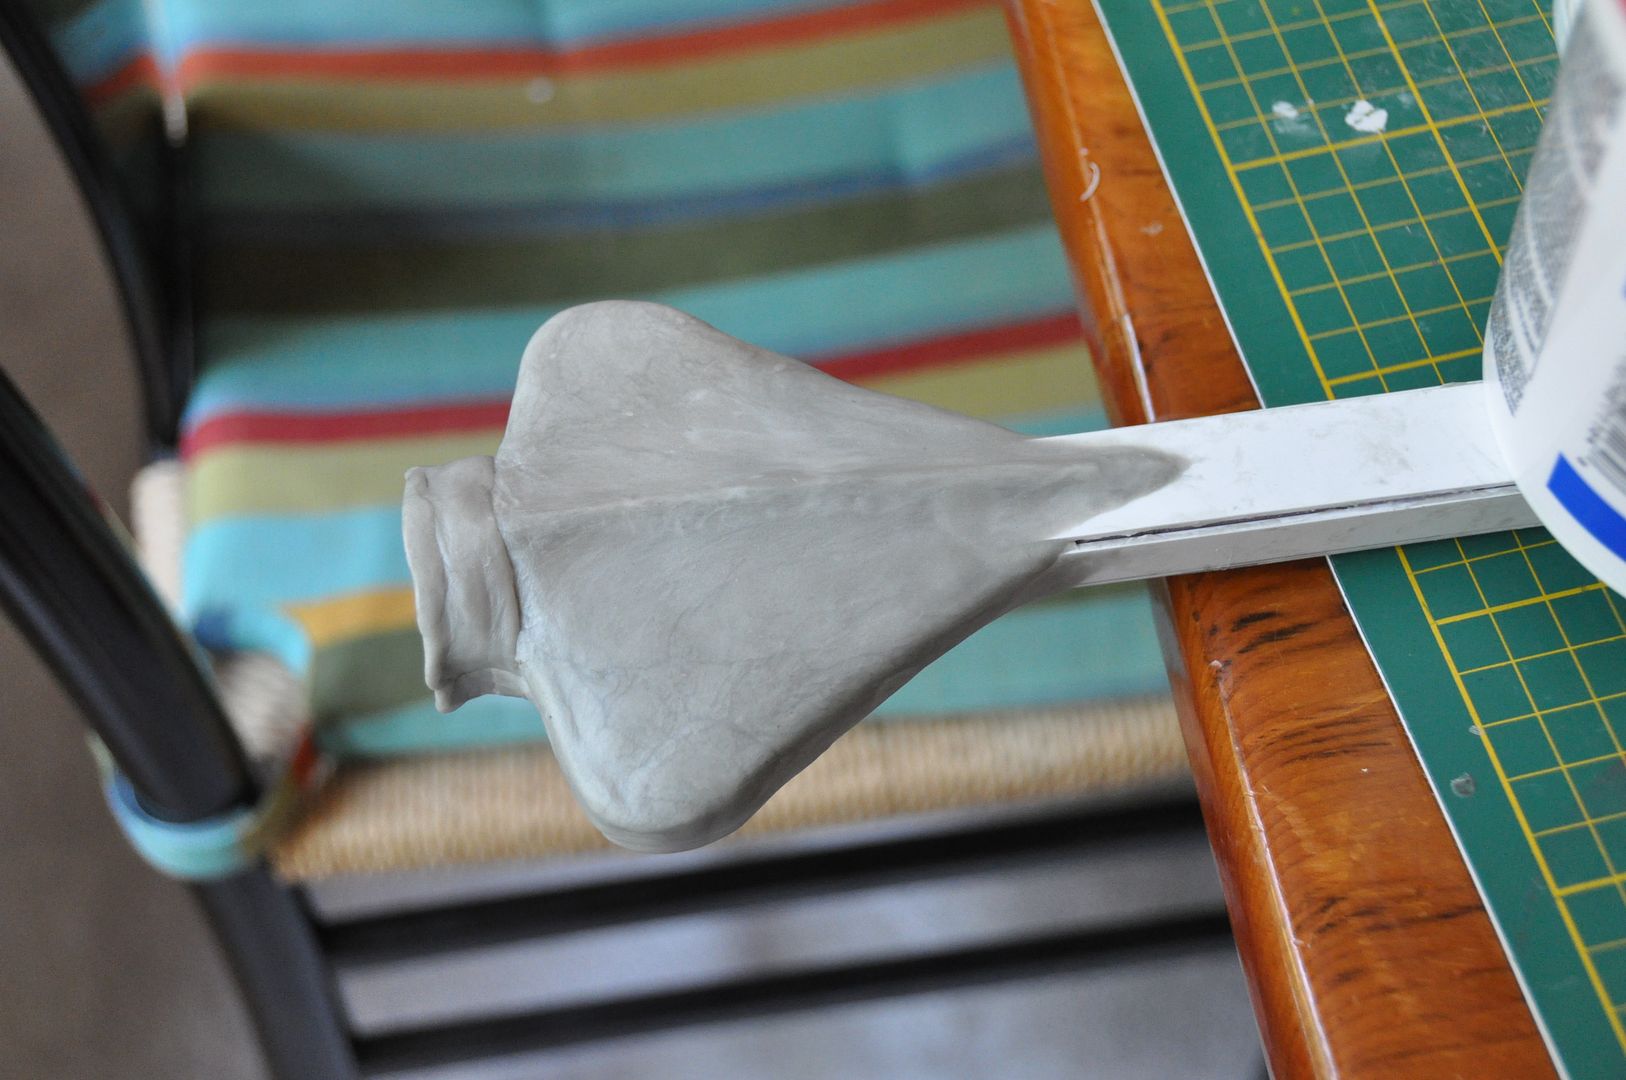
Next I sculpted my detail piece. I used apoxie sculpt, which is great because it dried rock hard and virtually indestructible, however it is quite heavy, hence the 2 fins created out of pink insulation foam that I would used as a base. Instead of being solid apoxie sculpt, I only had to do a thin layer to cover the foam center, making it much lighter than it would have been otherwise. I also made a socket to stick the handle in so it would attach more securely.
The faces were then glued on using contact cement.

I then covered the blade edge in a layer of drydex. (This is a wood filler used in construction projects.) After it dried I sanded it smooth and then applied any touch ups necessary. Those were sanded once more, then I coated the blade edge with clear gesso to prep it for spray painting. I did the same process with the pommel piece.

Next was paints. This was done in layers. First the whole word was painted with a grey primer. Then two coats of matte black. Then the whole sword was painted with a dark metallic coat. Lastly I used tape and newspaper to cover everything except the blade edge, which was finished with silver to match the armour. The whole paint job was then sanded using a fine grit sandpaper, making it look less sparkly, and more weathered.
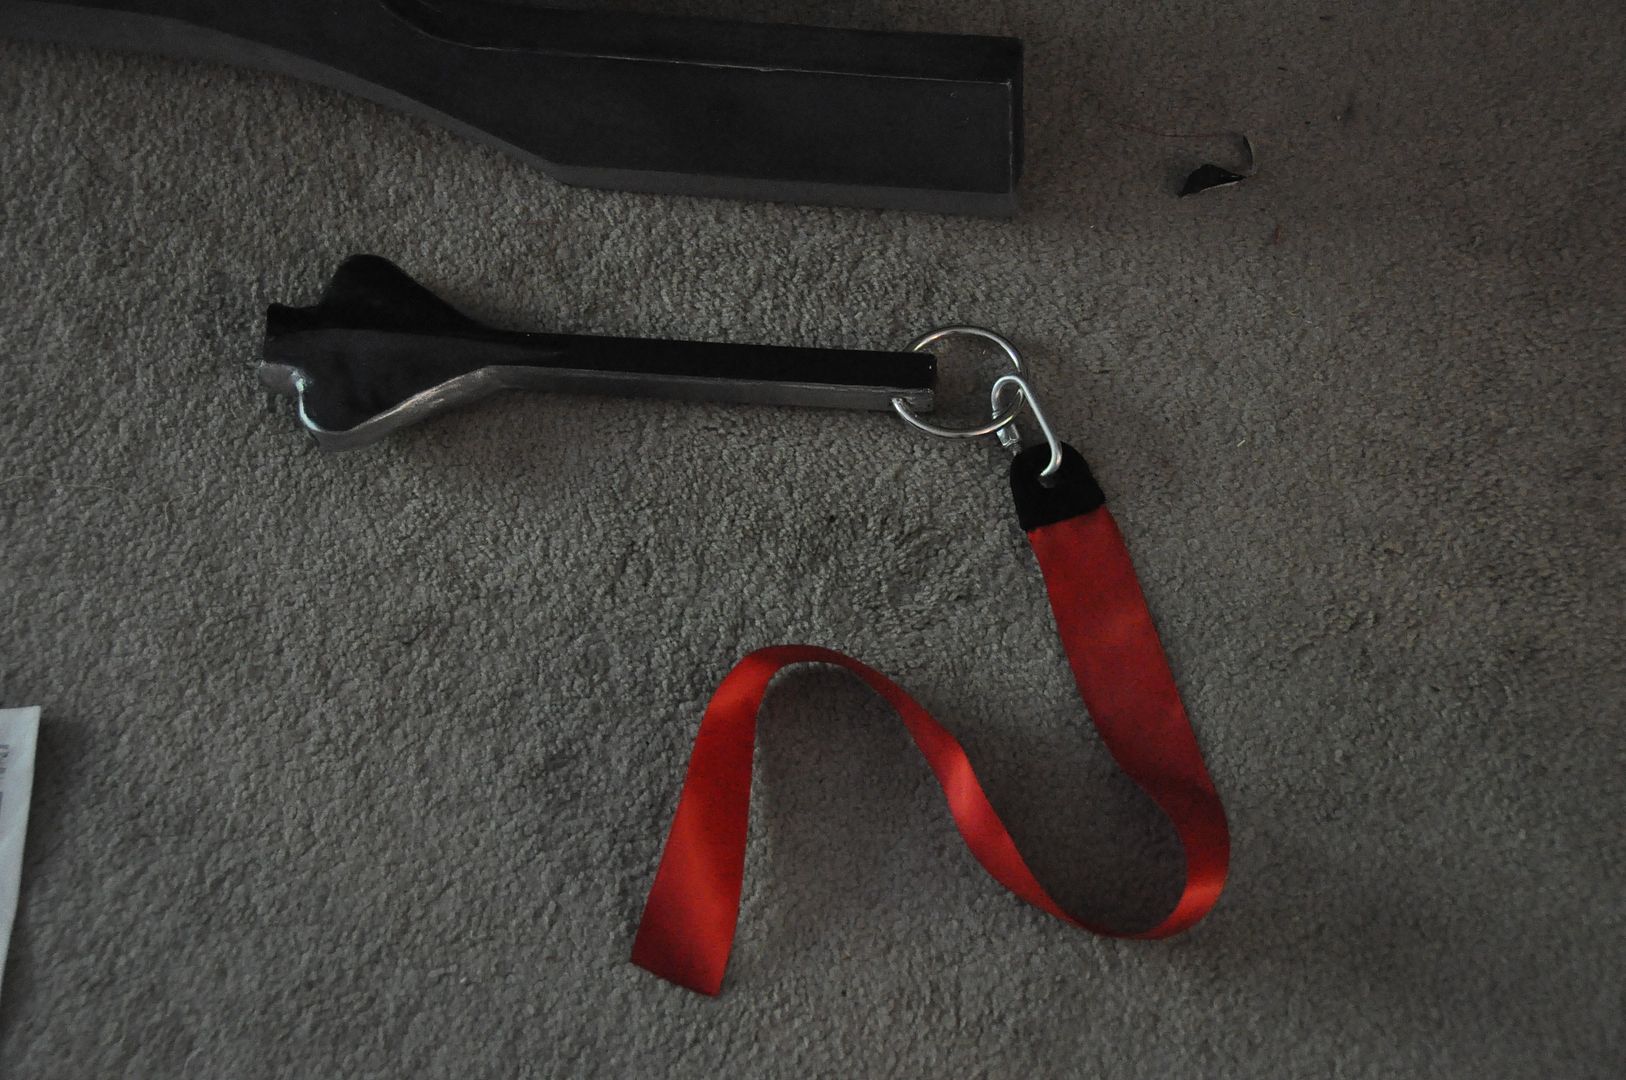
Had I had more time, I would have used different paints (the dark metallic was too dark for what I wanted), but Home Depot does not carry Krylon products anymore, so I was stuck with Rustoleum brand, which doesn't have nearly as much selection in metallic paints...

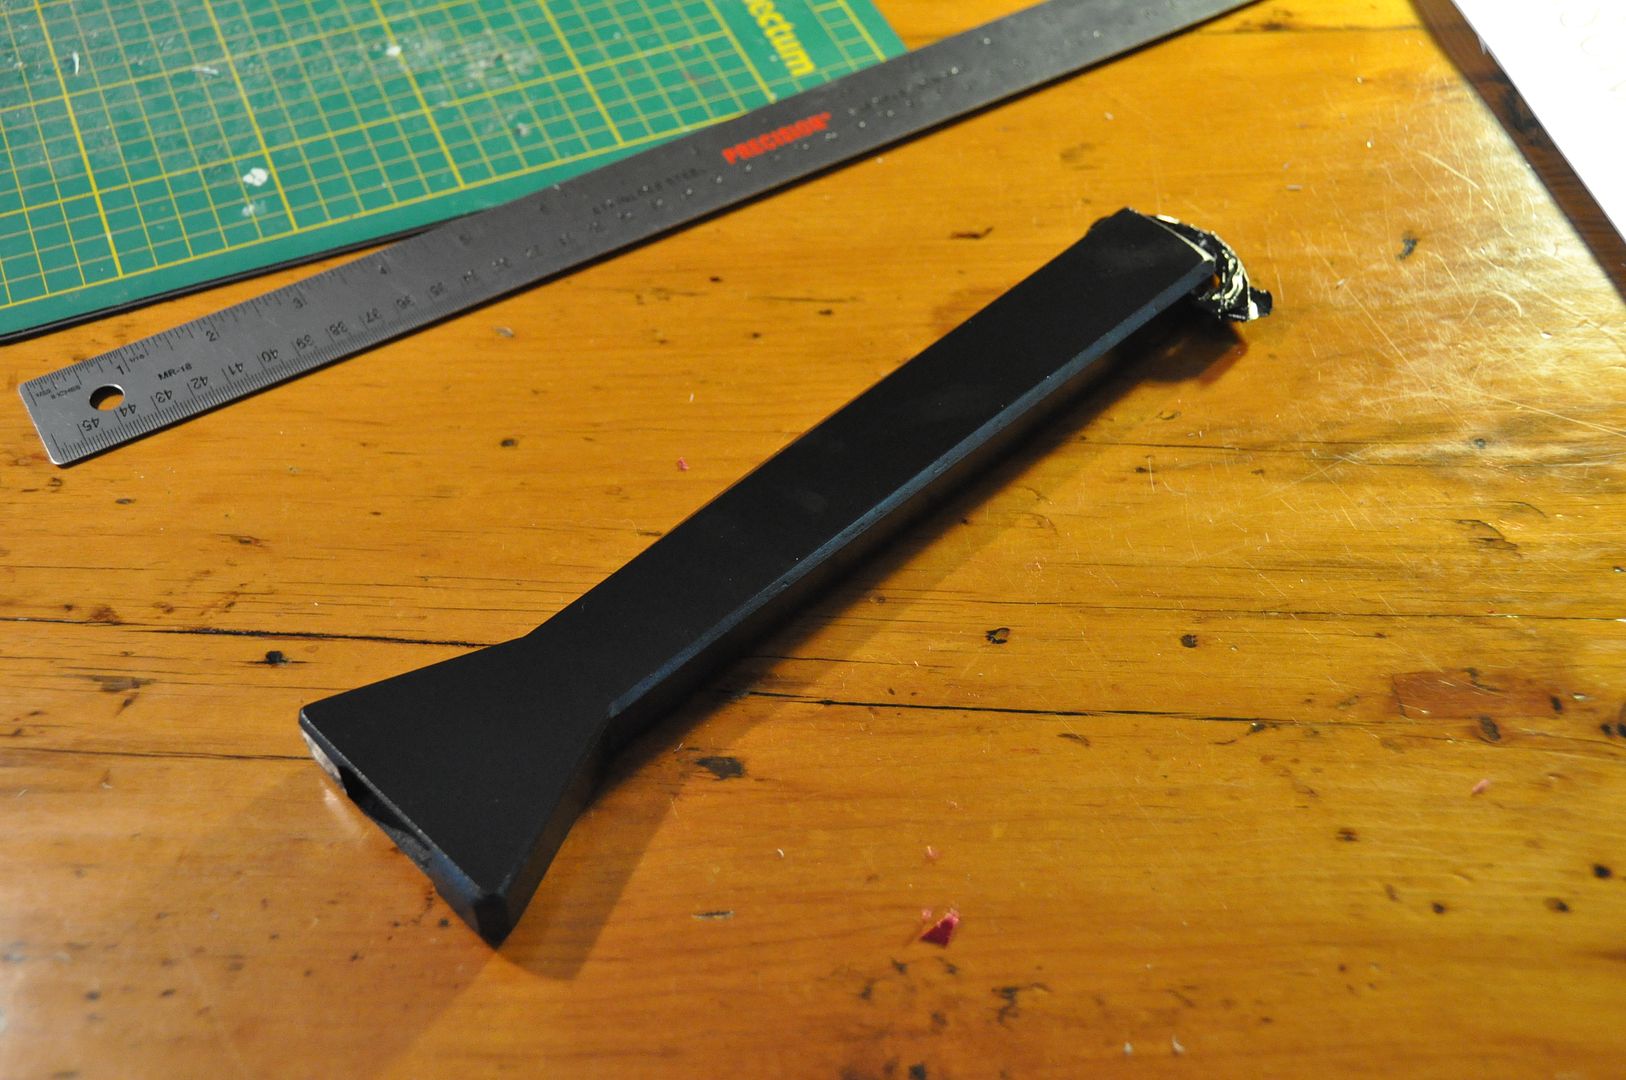
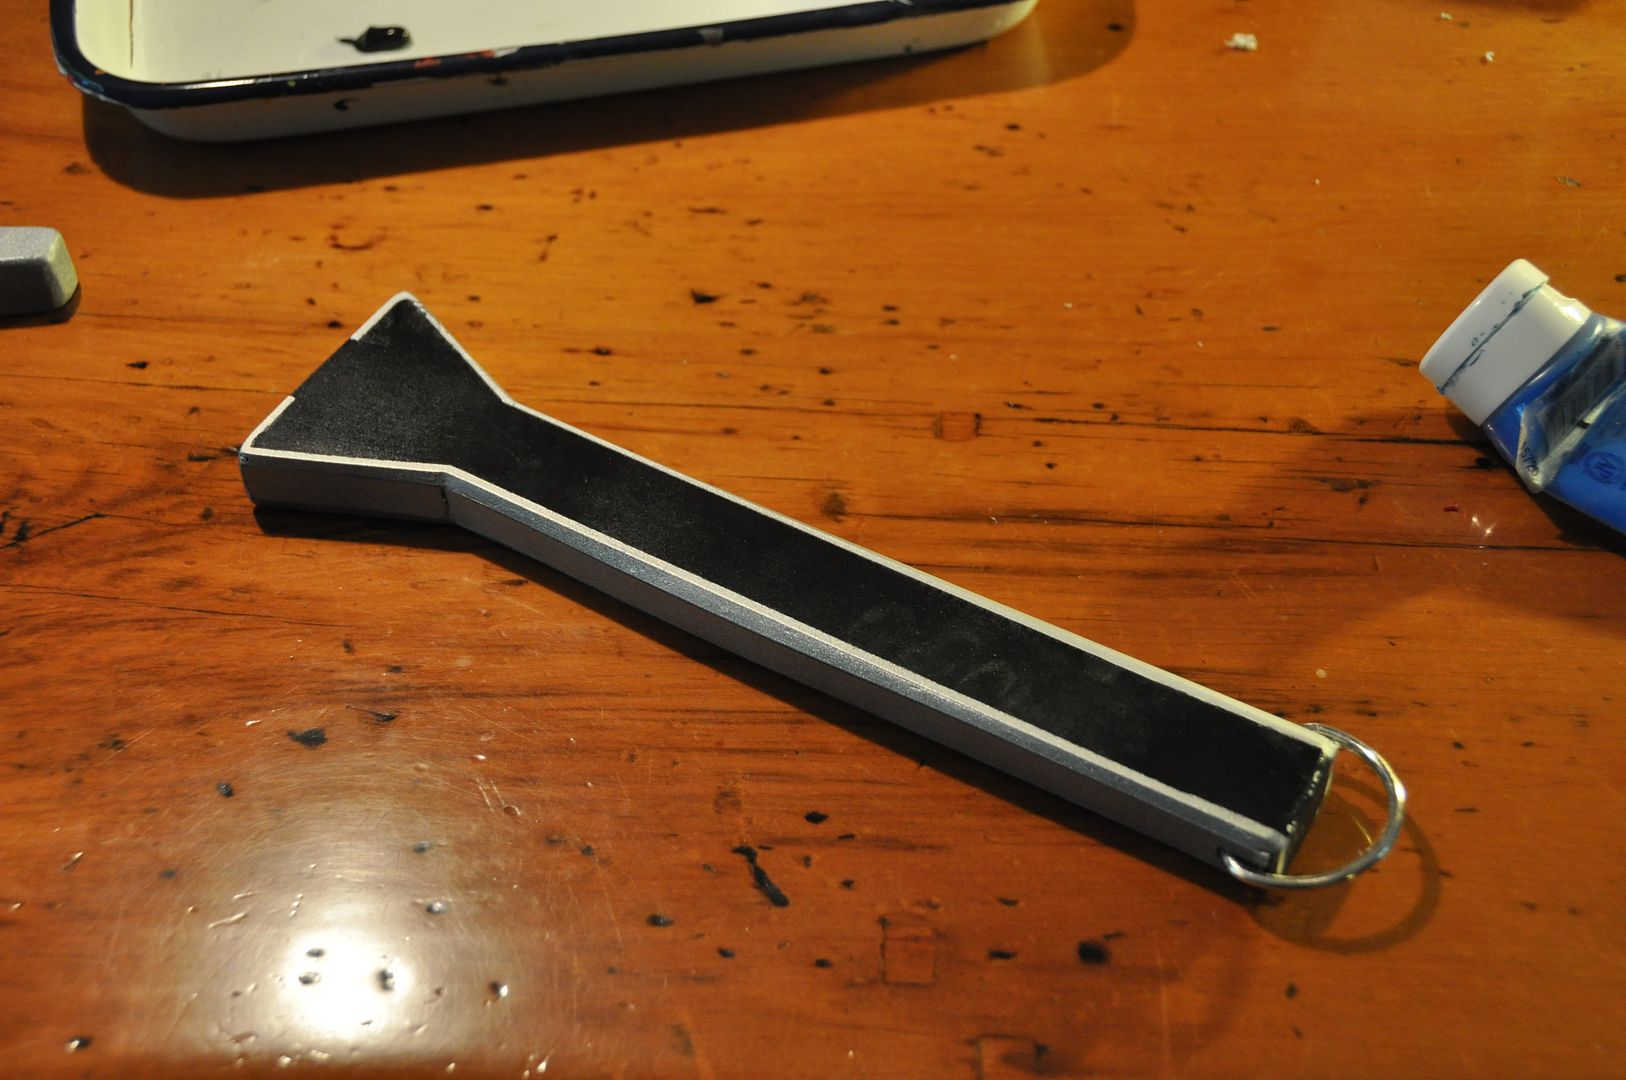
I made the ribbon end detail using my black fabric. I made 2 d-shaped pieces, that I stitched right sides together and flipped right way out.  I cut a hole in the center which I zigzag stitched around the edges of the hole to prevent it from fraying. The hole was made large enough for my carabiner link to pass through.

The last step was to epoxy and then hot glue the pommel to the end of the grip. And voila! A giant sword!

Unfortunately, it sustained some damages at the convention, most noticeably on the tip, which will need repairs before I wear it again. Most likely I will use a combination of apoxie sculpt and drydex to fix the crack/chipped area and then retouch the paint in that area.

Tuesday, August 7, 2012

Katamari Ball - Katamari

I take no credit for this amazing prop, that goes to my mum, who undertook this impossible task and made it happen.

I will still show you how she made it. ;D

She started off with flexible plumbing pipe. She used math to figure out the circumference of a 5ft diameter circle, and determined how long each piece needed to be.

She started off with flexible plumbing pipe. She used math to figure out the circumference of a 5ft diameter circle, and determined how long each piece needed to be.

She made a circle for the top, and one for the bottom. These are what she would tie off the ribs to.

Once all 14 ribs were cut I helped to string them to the top ring. First we fed the cord through the pipe, looped it around the ring and then fed it back through the pipe, securing it with a bulldog clip.

Once all 14 were on I numbered them at the top and bottom with a sharpie so they wouldn't get mixed up.

Then she measured around the ringand evenly spaced the ribs, taping them in place and marking them.

Then we tied them to the bottom ring and taped those in place.

We realized that in order for it to stay it needed support beams. So 3 vertical supports were added.


We noticed that the supports were a bit too long, making it slightly egg shaped. She took off a couple inches from the supports to fix this. You can see the difference between before (left) and after (right) above.

One huge problem that we started to encounter was that the frame wanted to twist.  We knew that the only way to really prevent this was that the connections for the ribs needed to be rigid. But, in order to store this, we needed it to be collapsable. (So we couldn't just glue the ribs into place.)

At this point we agreed that with all of the supports that were going in to hold up the frame, this was not going to be wearable as a costume, and would have to just be a large prop. This is when we decided to make the Prince costume.


Mum added cross-bracing in an attempt to prevent the twisting.

Then she began to work on the pattern pieces for the cover. She used a roll of tracing paper to help her make the ribs equal distance apart and then traced the shape onto tracing paper.

Then she began to pattern the bumps which required a lot of math.

First she decided the width of each ring. Then she had to decide the circumference of each ring, at the inside and outside, then she divided each of those numbers by the same number. Then she drew out a symmetrical trapezoidal template using the numbers that her math gave her to be the length of the top and bottom.

Using this trapezoid (which is green in the picture below), she drew a C-shape, by drawing the trapezoids with the edges touching. Draw the same number of trapezoids that you divided your original circumferences by.  Then smooth out the edges and voila!

Here is the pattern she came up with for the different rings. ;D

Then she made the prototype bump and stuffed it, just to make sure everything was correct.

Then she sewed the ball cover together.

By using the frame, she was able to figure out the placement of the bumps.

More supports were added, but the frame still wasn't holding up very well... D:

Assembly line time! Each bump had 2 margarine containers in it to save on stuffing.

Mum relief clipping for easier sewing of reverse curves.

Elanne of Sweet Boake made all of our paper cranes. ;D

Hooks and eyes were used to attach the cranes to the ball, meaning that they are removable.

Looks like an egg...

Discs of cotton batting were cut out so that the stuffing wasn't lumpy.

Then the bumps were painstakingly hand stitched on.

The collapsing frame made it too difficult to stitch, so the frame was removed. A piece of cardboard was inserted under the area being hand stitched so that the cover wasn't accidentally stitched to itself.

12 bumps and MANY hours later...

The frame was absolutely not going to work, so we scrapped it and filled the katamari with 60+ beach balls.
It took a long time to blow them up until we found a pump!