On to the third part of this in depth tutorial for my Asuna Knight costume: the skirt! I will be referring to this costume as the "knight", because I think it is her costume that looks the most like it belongs to a knight. This particular outfit was from the end of the Mahora festival story arc, when they were battling the robot army invasion, featured on the cover of volume 16 of the manga.
Go here to see the
sword and
wig! To see the rest of my fabulous photoshoot with EleventhPhotograph,
go here!
This was actually the piece I started first (because it goes under a lot of things, and has a lot of detailing), but I finished it only about 1 day before the convention, the details being some of the last to be completed.

There was much thought put into colour matching on this costume. As the
artist tends to use a lot of reds and pinks in his colouring (even white
is shaded with pink) it can be difficult to interpret exactly what
colours things should be sometimes. Keeping in mind that colours of bias
tape can be rather limited, I decided to go with a very strong royal
red, as it complimented the yellow bias tape the best. Also, while I was
there I bought pretty much Fabricland's entire stock of yellow bias
tape, as I wasn't sure exactly how much I needed... I still have several
meters leftover!
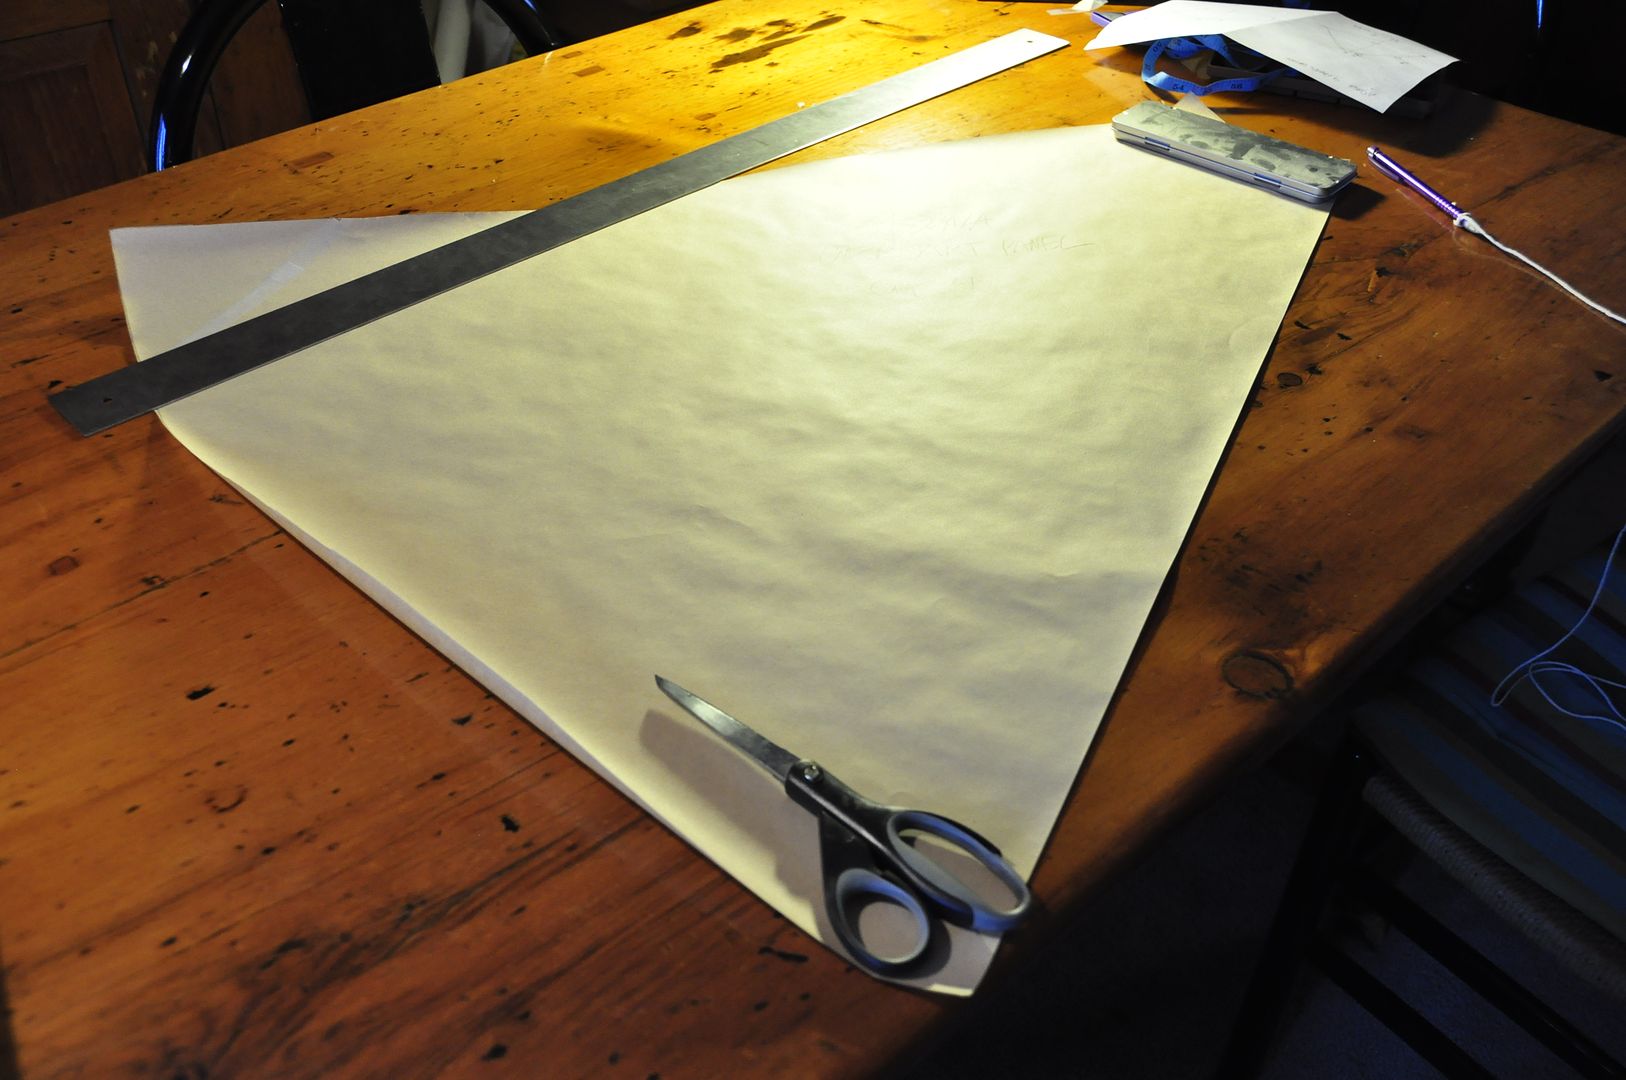
The main over layer of the skirt is a full circle skirt with a slice
missing out of the front. The pattern was easy enough. First I
determined the radius of a 30" circle (the waist height I wanted the
skirt to sit at). I wanted the space at the front to be 6" wide, so I
subtracted the 6" from 30", leaving me with 24". I divided the 24" into 4
equal panels. Using the radius (string taped to a point, tied to a
pencil) I drew an arc that was 8" long. Keeping the tape at the same
spot I added the desired skirt length to my radius and drew a second arc
below the first. By using the string pulled tight, I marked the side
seams based on where the string intersected with the ends of the 8" arc.
This gave me the pattern piece pictured above. I then patterned the under pieces to the skirt, and drew a mockup of the emblem shape to determine sizing.
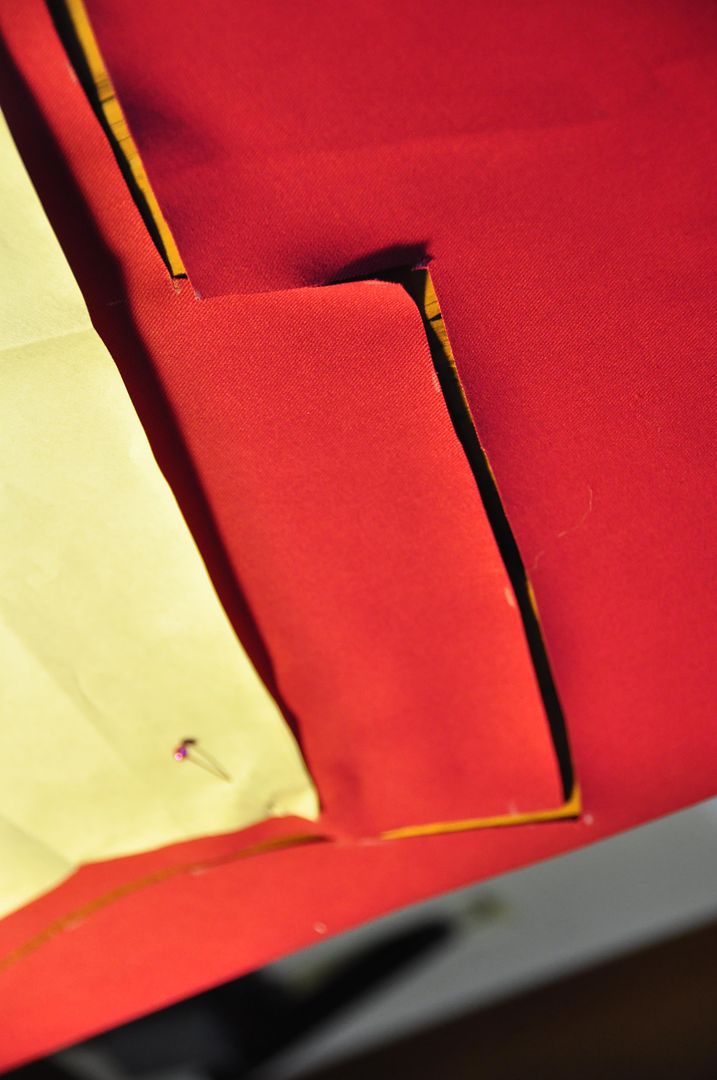
Then I cut out my pieces. Any of the edges that were to have bias tape added were not given seam allowance. For the 4 skirt panels 2 of them were given an extra rectangle of fabric in the seam allowance at the top left and right respectively. The extra fabric would go in the back seam and become the overlap for the skirt closure.

I then sewed the 4 panels together. At the back closure overlap, I left the seam open. This would be where I added dome fasteners later. The overskirt was then ironed with the seams pressed to one side. The back closure area was also pressed to one side. I then finished all inner seams with a zig-zag stitch.
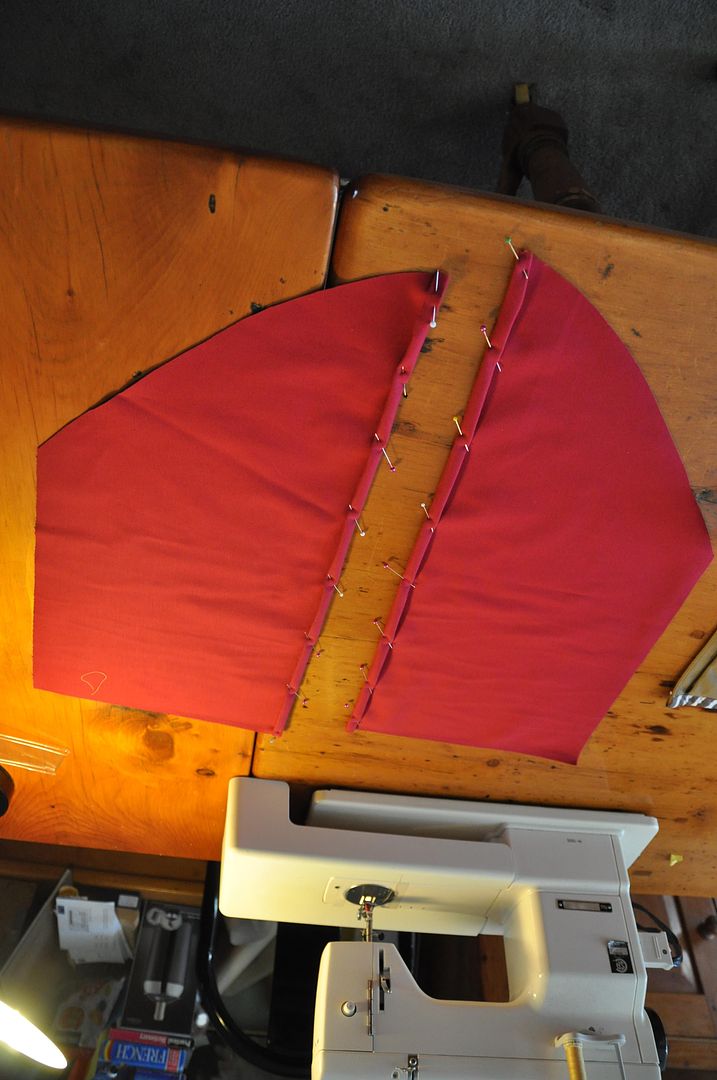
First I added the stripe 4" above the bottom edge. This was measured and marked to ensure it was at the right height (and not crooked) before top stitching it on. Then I added my bias tape to the edges of the overskirt.
I used a 1/2" (double-fold) yellow bias tape for the overskirt and a 1/4" bias tape (double-fold) for the edge detailing on the rest of the pieces.
I finished the side edges on the 2 sloped under panels. The edge furthest from the opening was simply rolled over and stitched, the other edges that were actually visible were finished with a bias tape.
I added my bias tape to my under pieces, being careful at the corners (the most difficult part of bias tape).
The main parts of the panels were now done. They looked great laid out together.
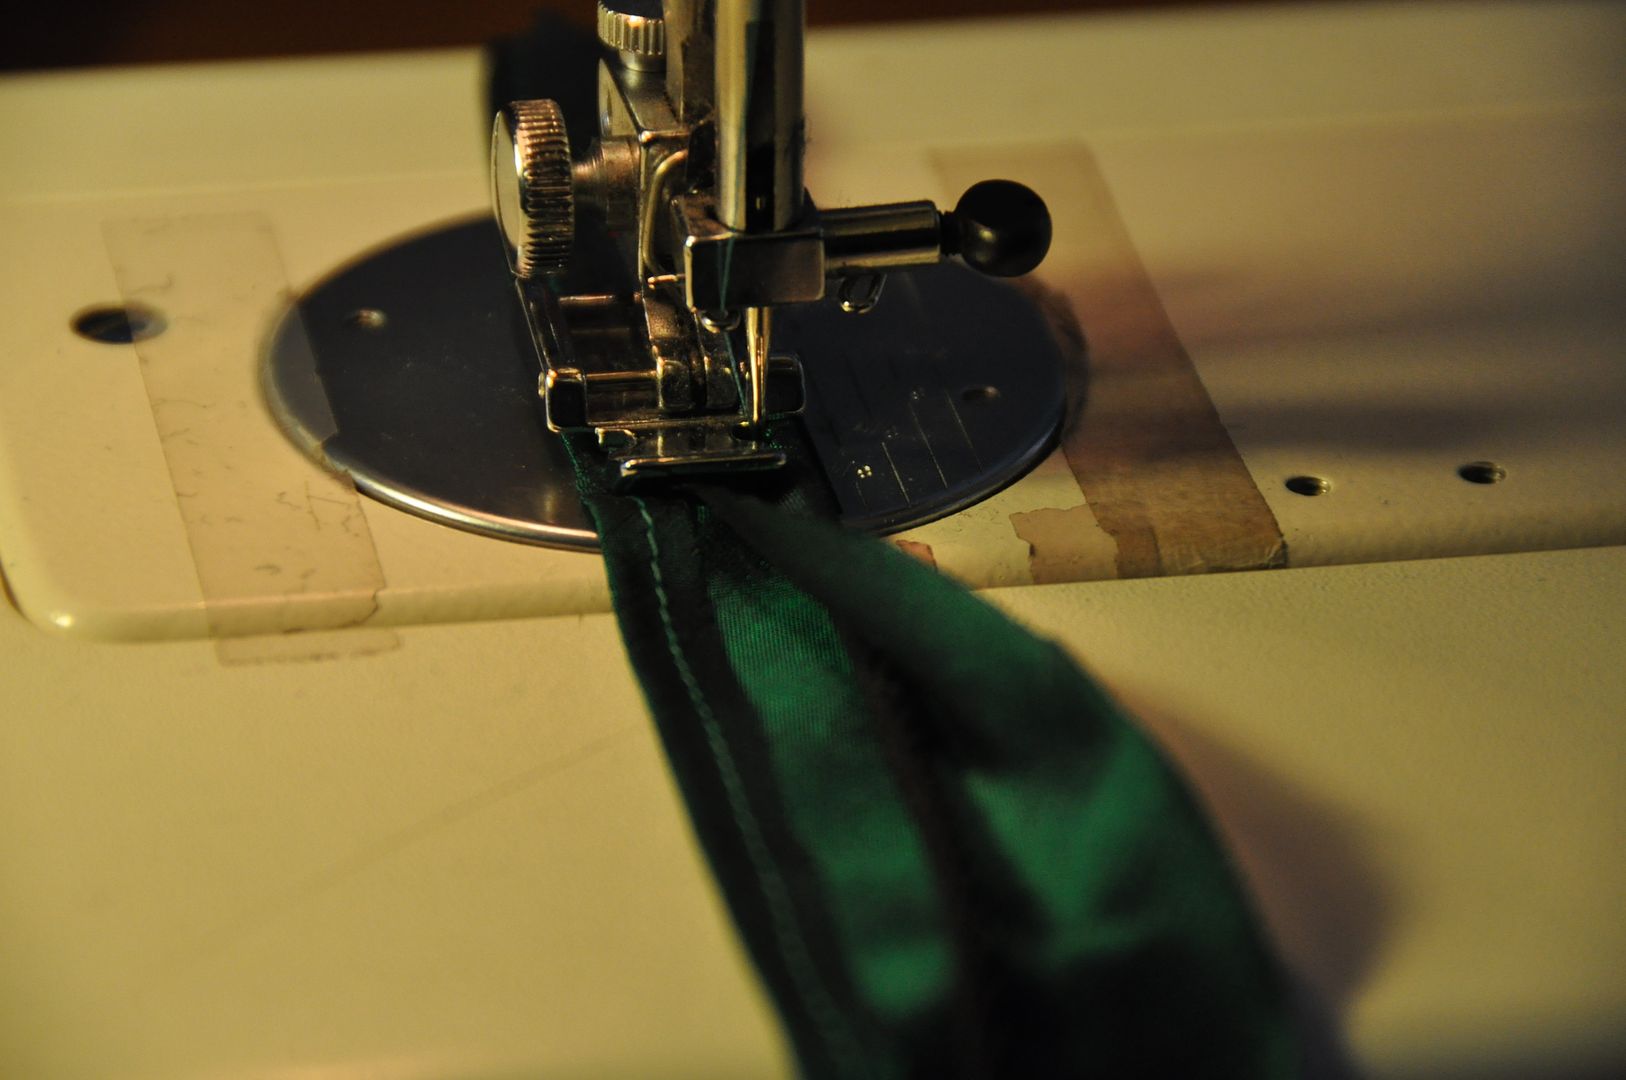
This may sound strange, but I actually find it easier to sew on bias tape
without pinning it in place. I stop frequently to ensure my edge is properly aligned, and I come to a full stop every time I reach a corner, but otherwise I find it easiest to do it this way.

I sketched up my detailed version of the emblem.
I began work on the under most layer of the skirt, the sheer layer. This piece didn't actually make it to be a part of the final costume, as after I finished it I felt it detracted from the costume more than it added. It was made to be slightly shorter than the over skirt, with 5 thinner panels forming a full circle. The overskirt pattern was used to make these.
The first thing I did for the emblem was to put in the black background and border. I carefully measured and marked out the exact placement of the corners so that it wouldn't be crooked. I first placed down the black piece (same black fabric as my bodice), and then top stitched the bias tape around.
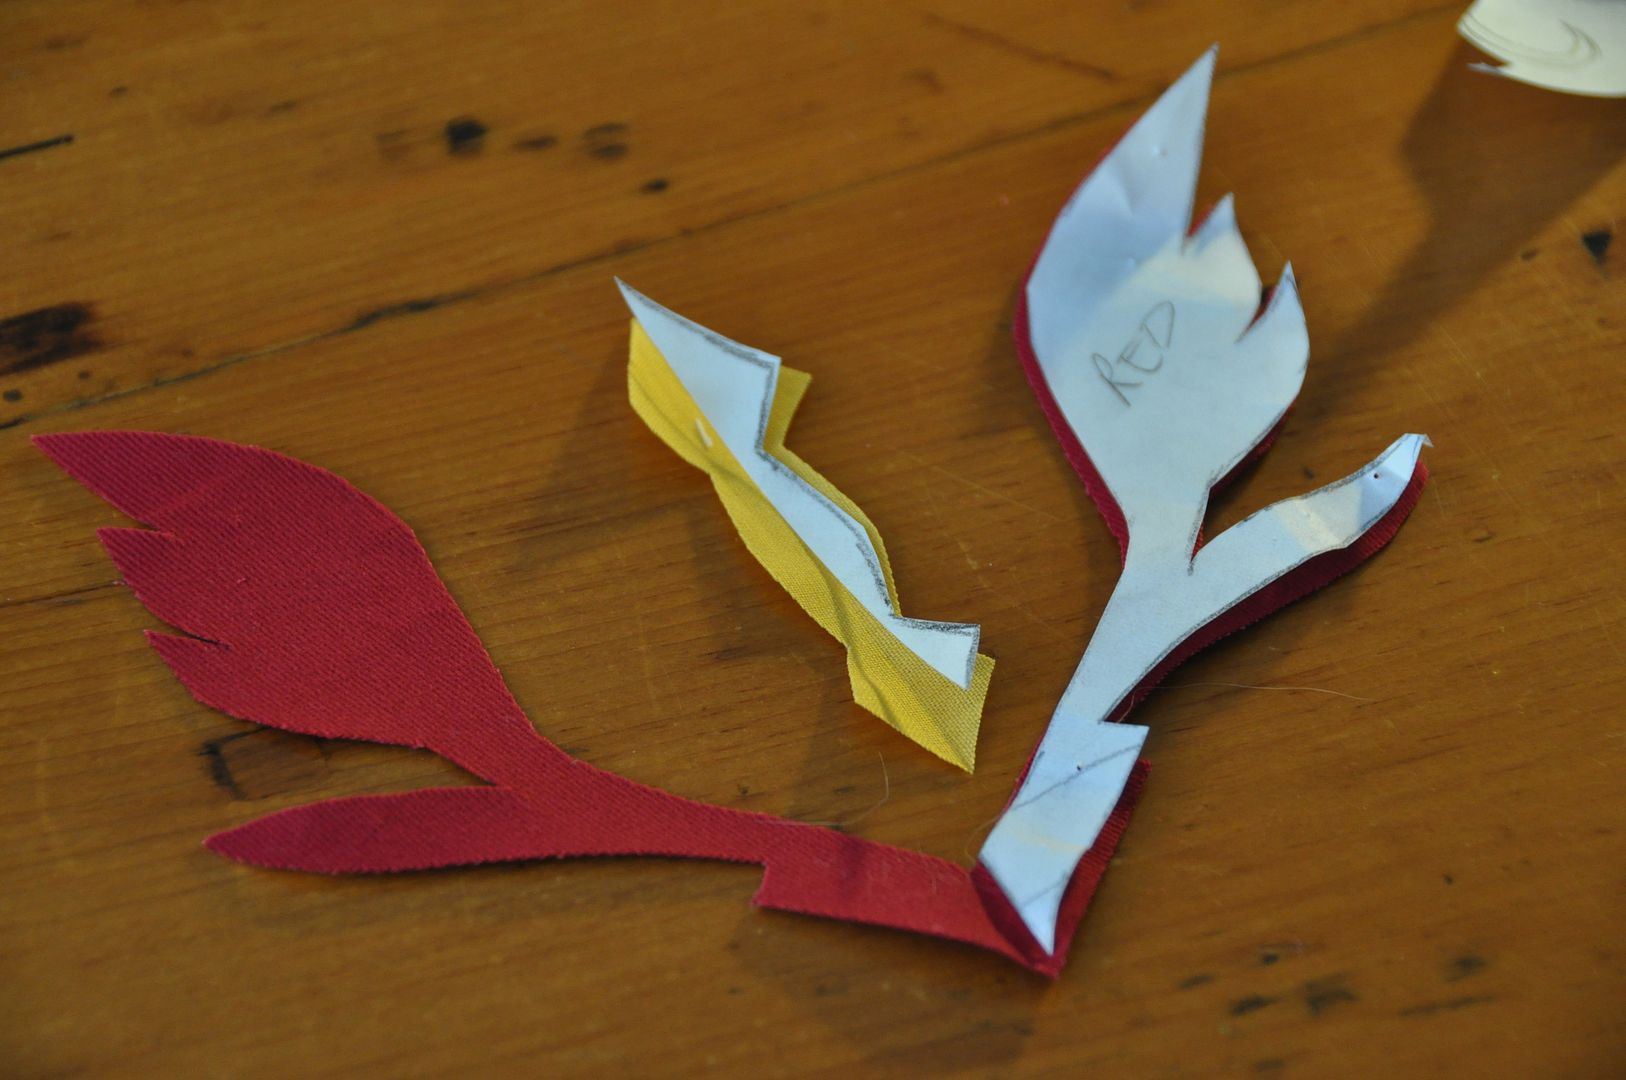
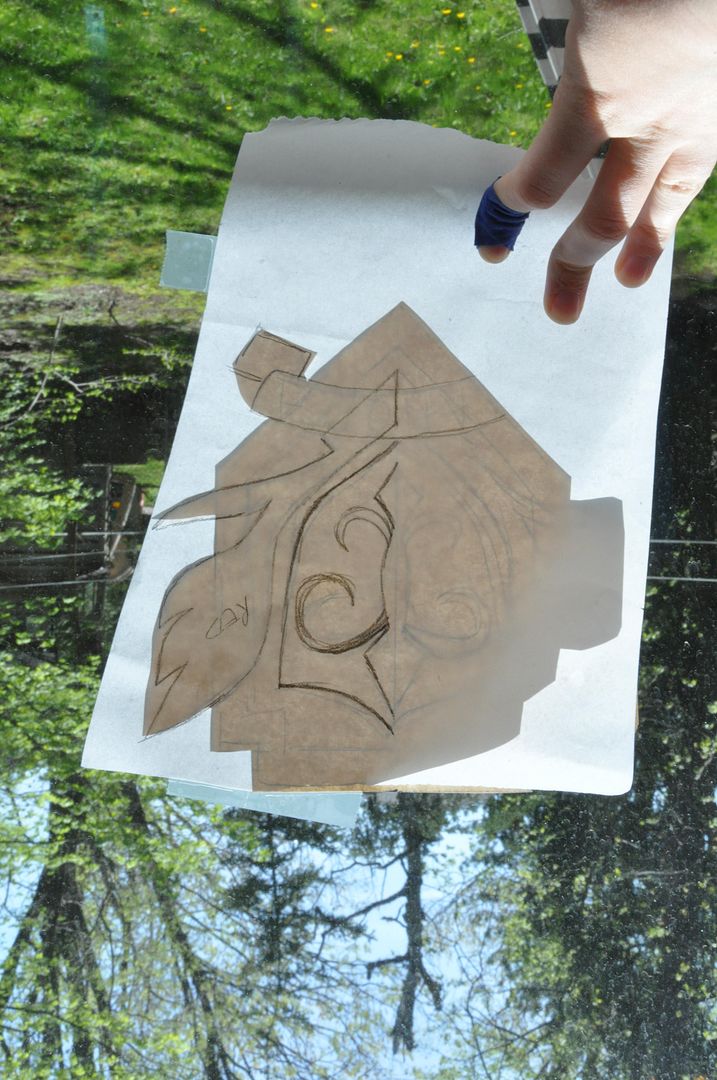
For this piece I carefully studied the reference picture to
determine what overlapped with what, so I could determine the order in
which the pieces had to be added. In order to make it symmetrical I
traced half onto a piece of paper (using a window and some tape), folded
it in half on the center line and cut out the pieces.
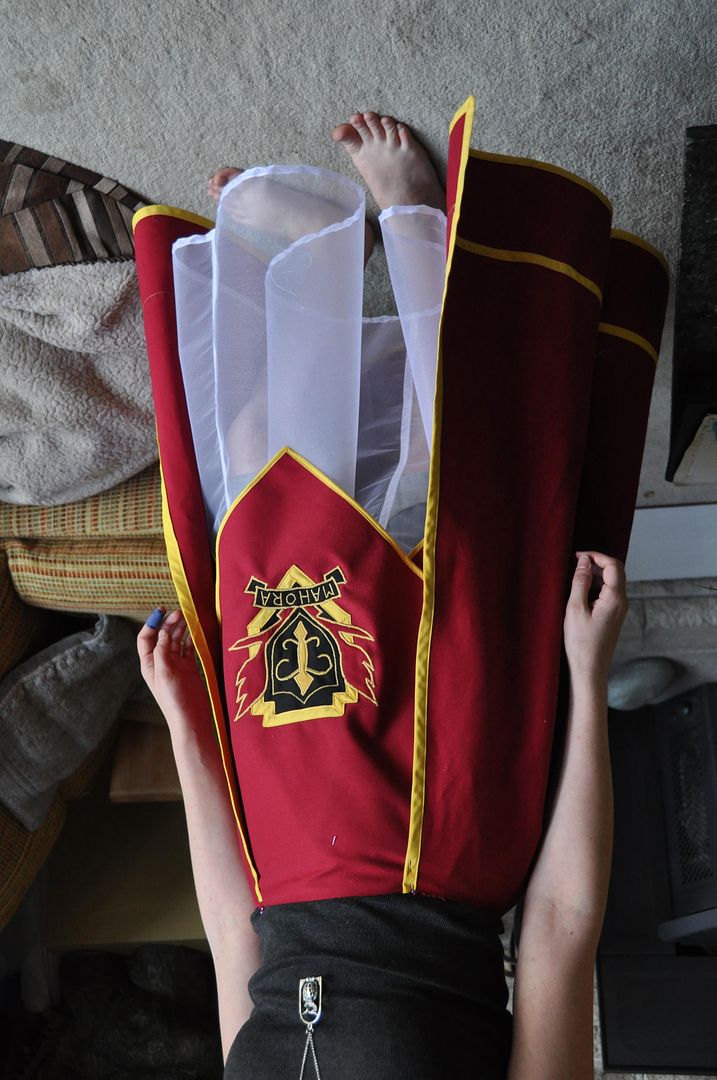
The first piece to be added was the red "wings", followed by the inner crest shape, the banner and lastly the word "Mahora". The cutouts were all carefully appliquéed in place with a tight zig-zag stitch. This embroidery was not so much difficult as it was finicky and
time consuming. This emblem took a few hours to do, as even though it was done on a machine a good portion of the design was hand-turned.
The crinoline underskirt was stitched together with french seams, the top and bottom edges finished with a thin whit ribbon. It was left partially open on the back seam which is where the closure would be. The idea is that this piece would be hooked into the overskirt, but also be removable.
You can see how they looked together below.

In order to make the under panels hang better I added in darts near where they would attach to the waistband.
I made a foldover waistband. Carefully pinning the pieces in place where I wanted them, I stitched the panels to the waistband, then folded it over and ditch stitched it in place.

Using a great deal of math I had to figure out how many complete triangles I could fit around the bottom edge of the skirt. The problem was that I had to alternate large and small... making the math significantly more complicated. Not sure exactly how I did it, but it was much easier to do all that division in centimeters.
I made my triangle strips and stitched them right sides together.
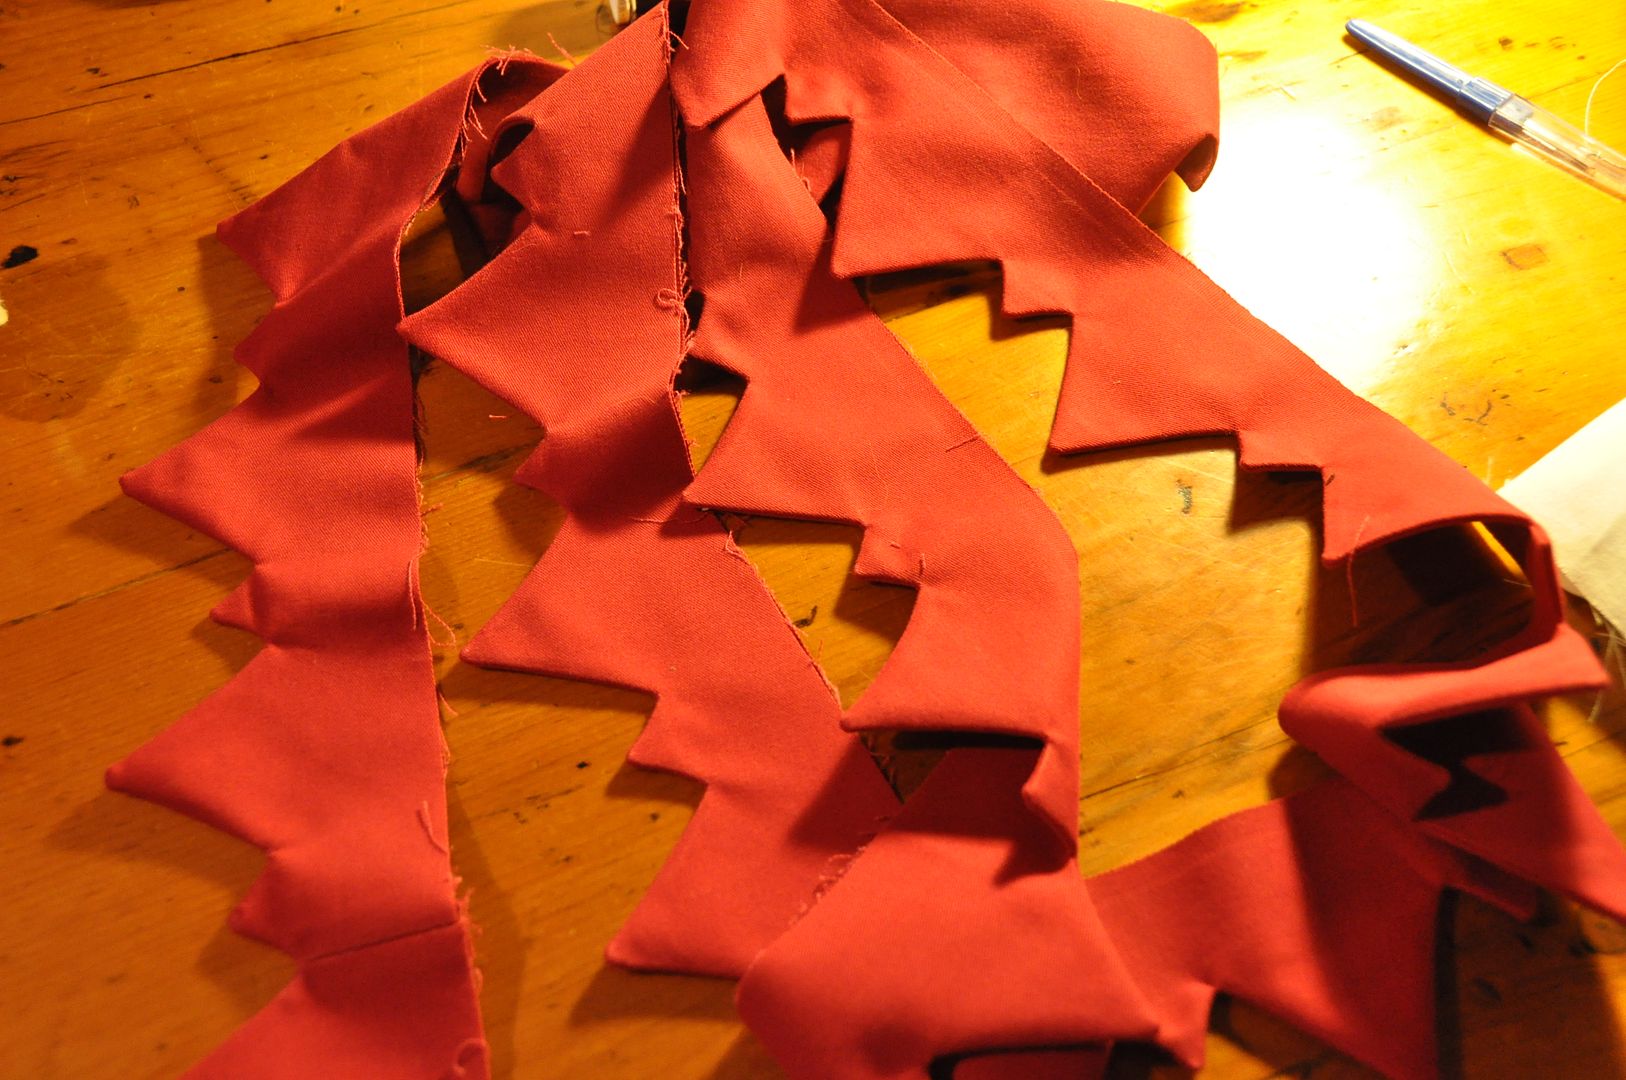
I was very thankful for my friend Alli's help at this point because she was the one who clipped all the excess fabric in the corners and turned it right way out. I can tell you, it took hours! (I never would have had the time to do it.)
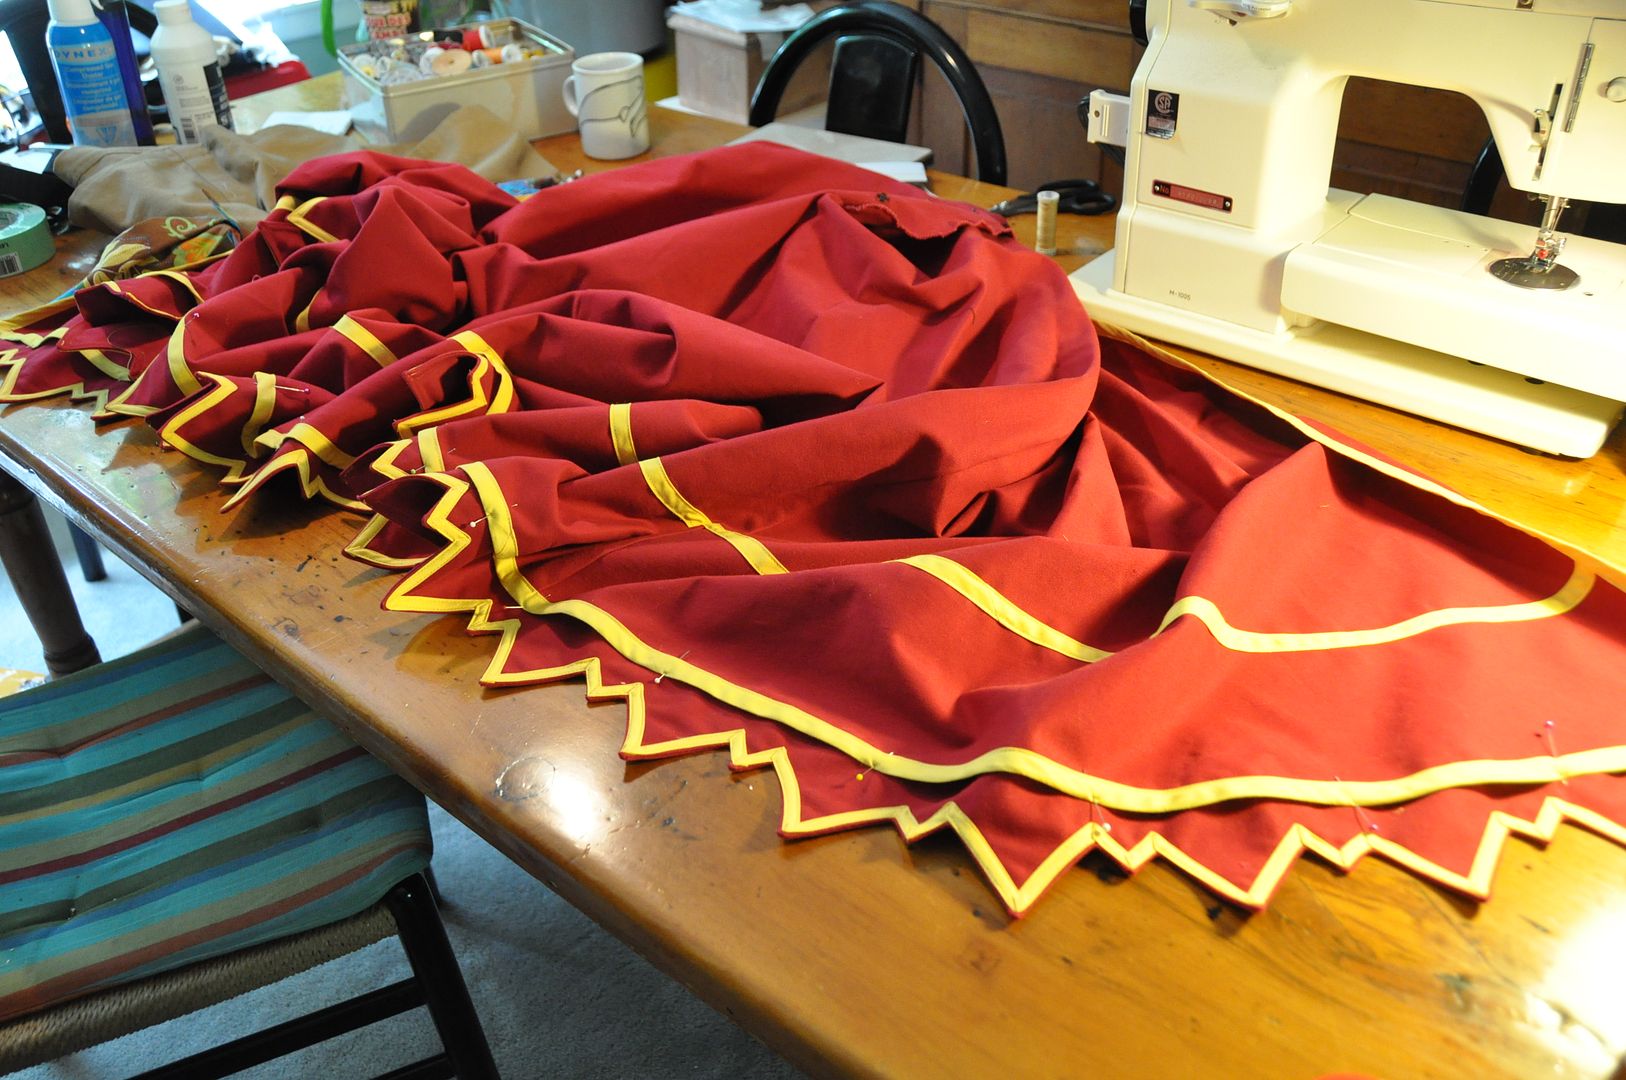
I then painstakingly top stitched the yellow bias tape to the triangle trim. (It was important to do this before attaching the triangle trim to the skirt otherwise it would have been made 10 times more difficult in terms of moving the fabric around and through the machine!) As it was, I had to come to a full stop and set up each corner separately.
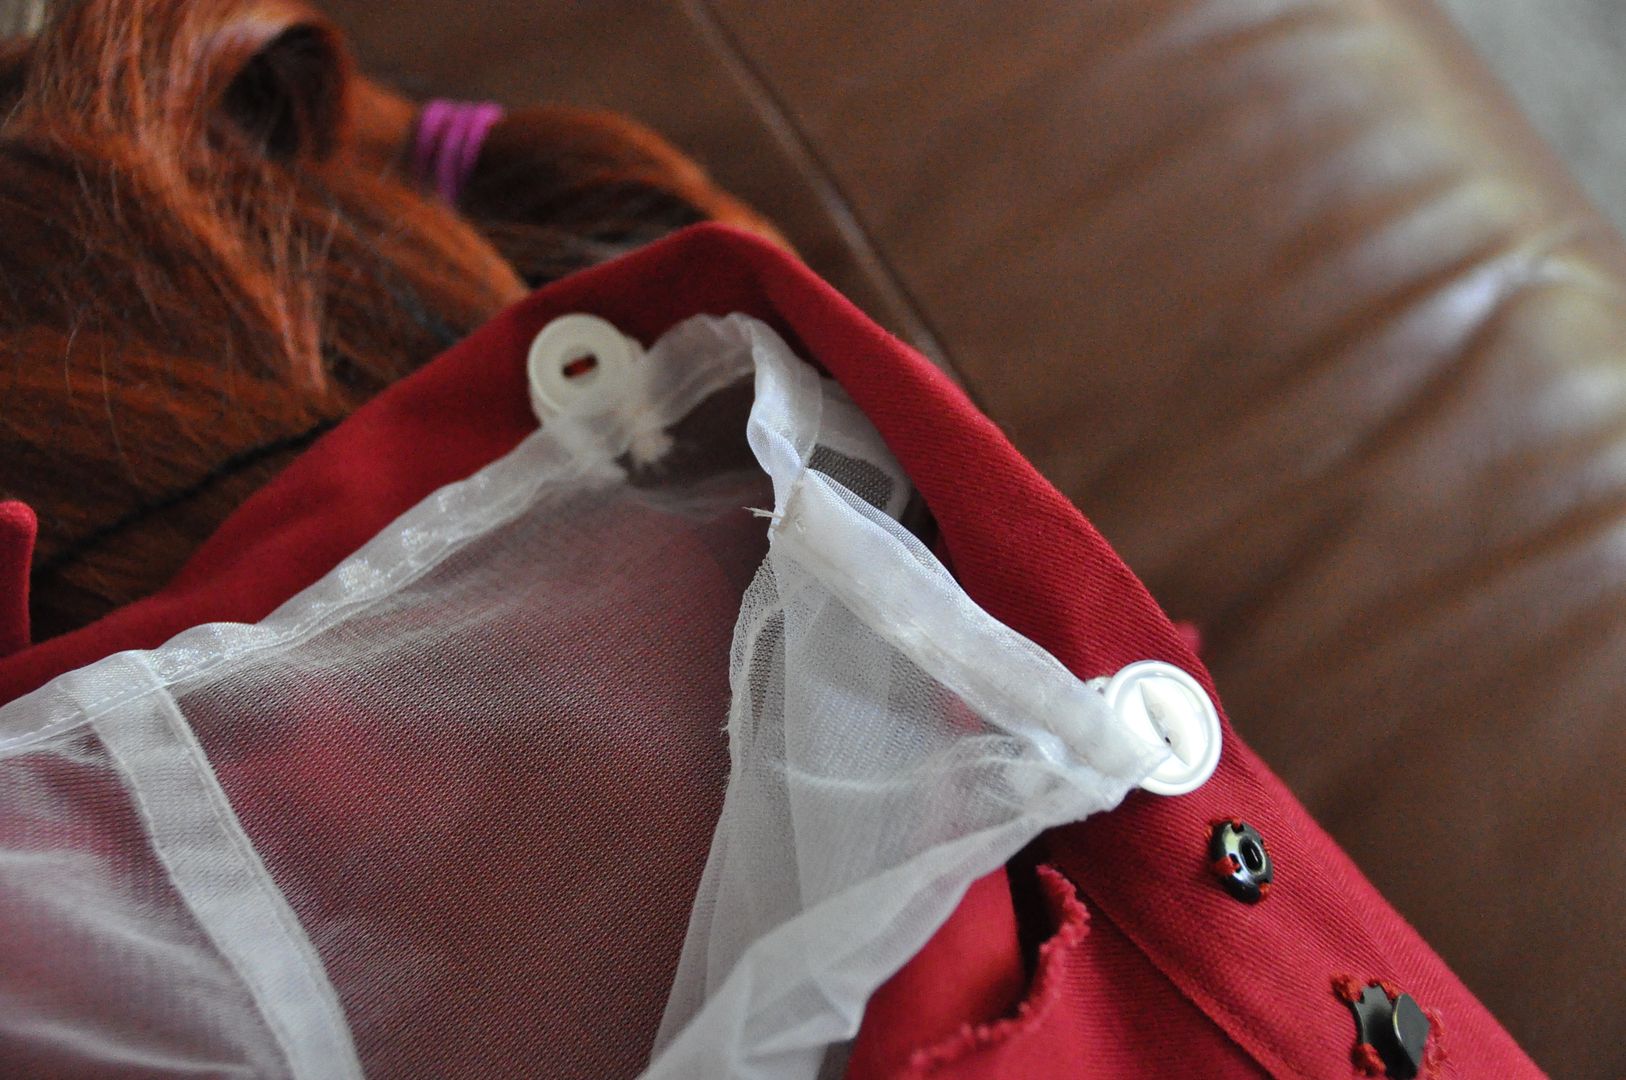
Meanwhile, Alli made the underskirt attach via buttons and loops on the inside. I'm regretful that it didn't make it to be part of the final costume, but such is life. My biggest problem with the piece is that it wasn't see-through enough, and it really obstructed the armour on the legs, which was much more important design wise.
The last part was to attach the triangle trim to the inside of the overskirt. The unfinished edges of the trime were first tucked inside the trim and stitched in place. Then the edge of the trim was aligned with the to line of stitching on the bias tape (with a little overlap). Using yellow top thread and a red bobbin I re-stitched over the bias tape stitch line, attaching the trim in a way that was virtually invisible from the outside.

The skirt itself was great to wear, except at particularly windy moments when it got tangled around my legs and made it difficult to walk.
This is probably my favourite of all of Asuna's costumes. It's a shame that this story arc never made it to the anime. Asuna may not be my favourite character, but man does she have some great outfits!


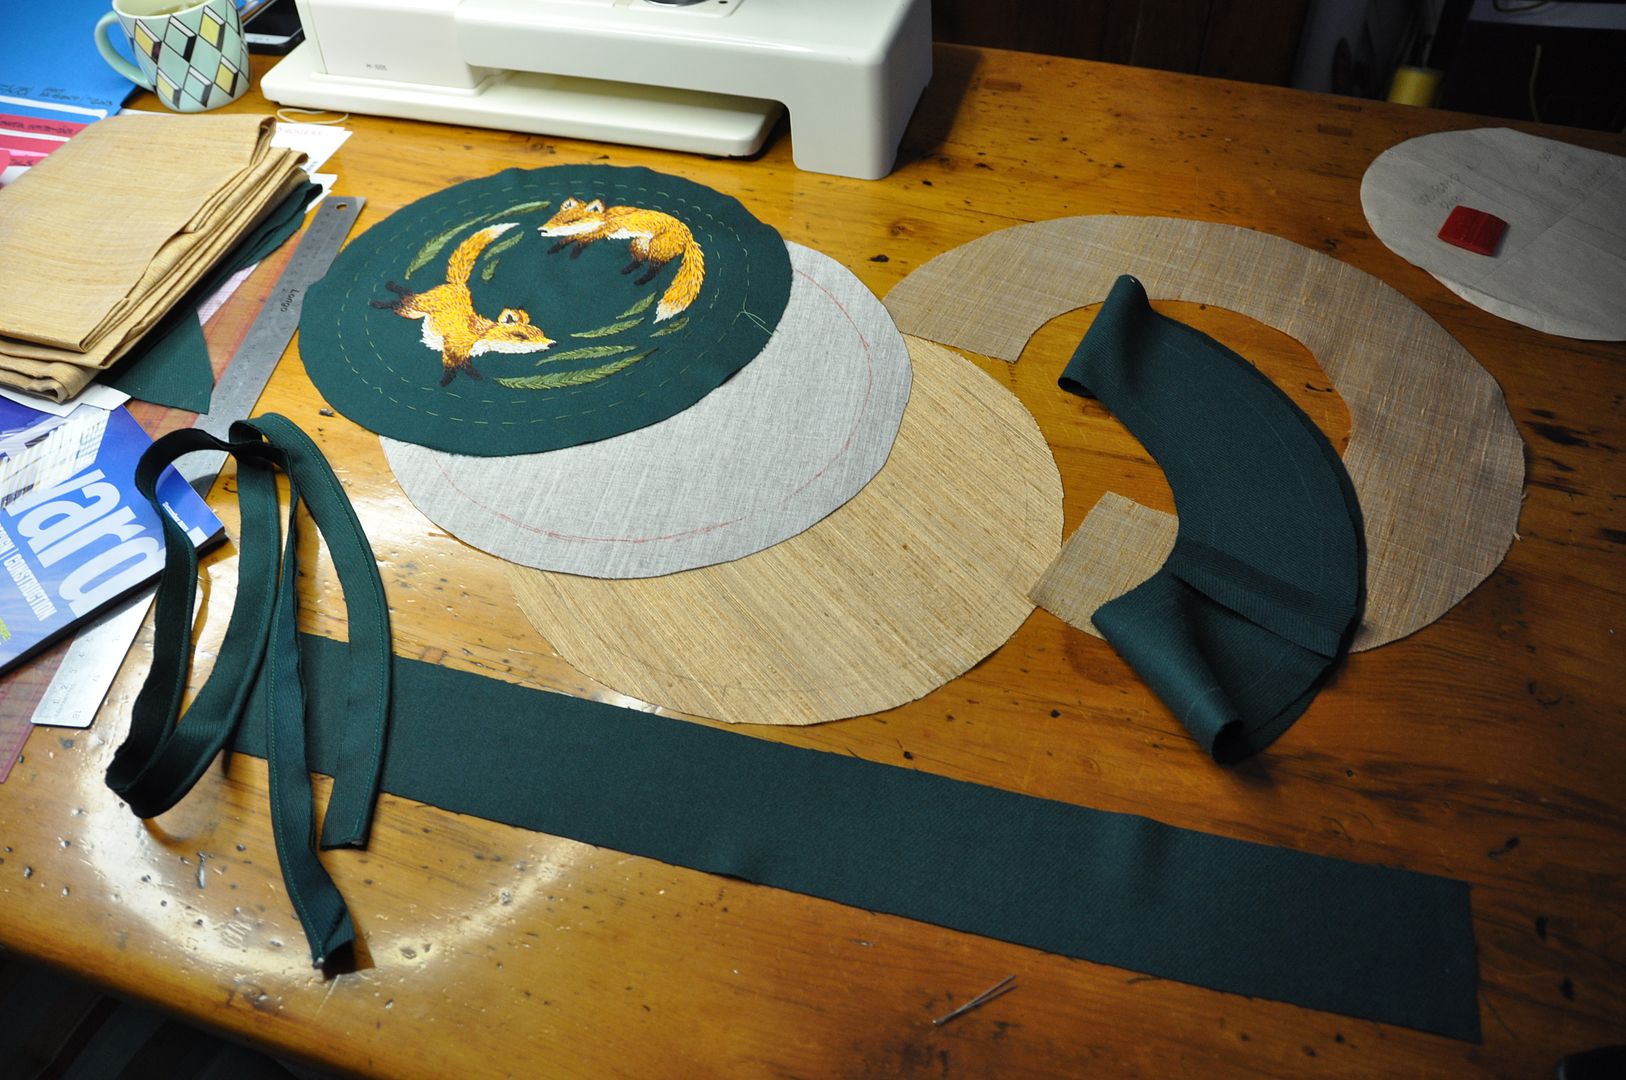 I first cut out all my pieces. I picked a beautiful green wool for the fashion fabric and the lining is leftover silk from my Steampunk Corset.
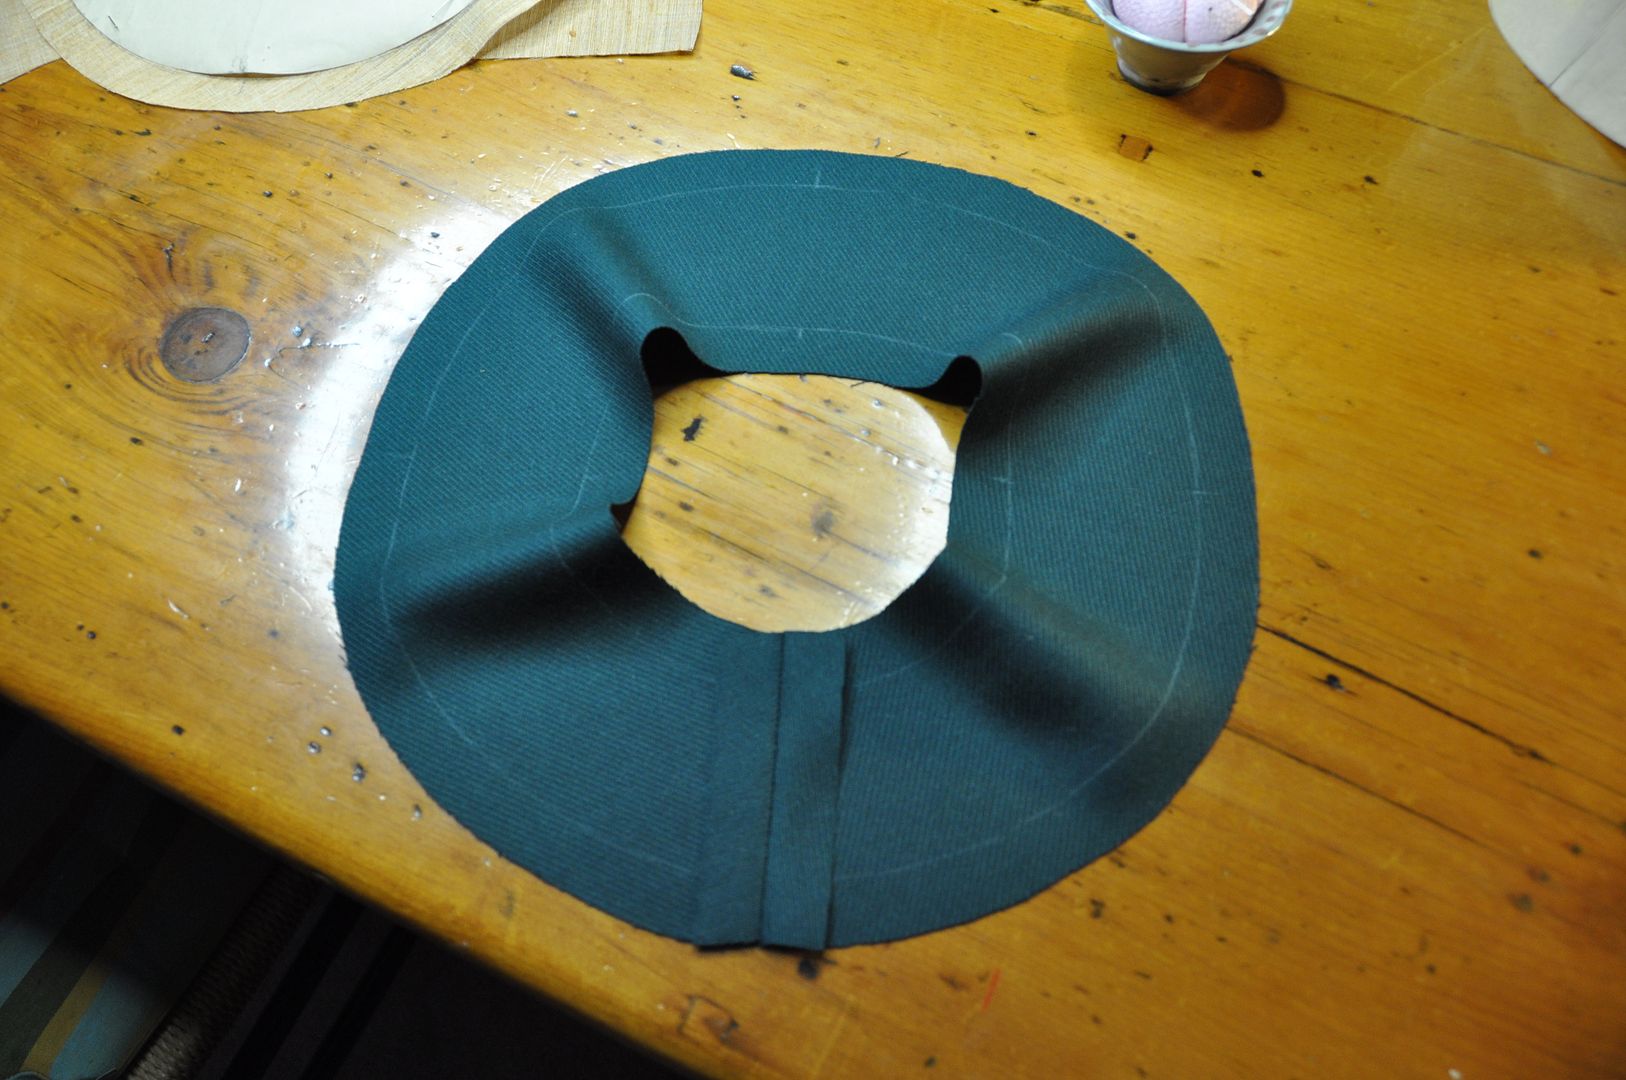

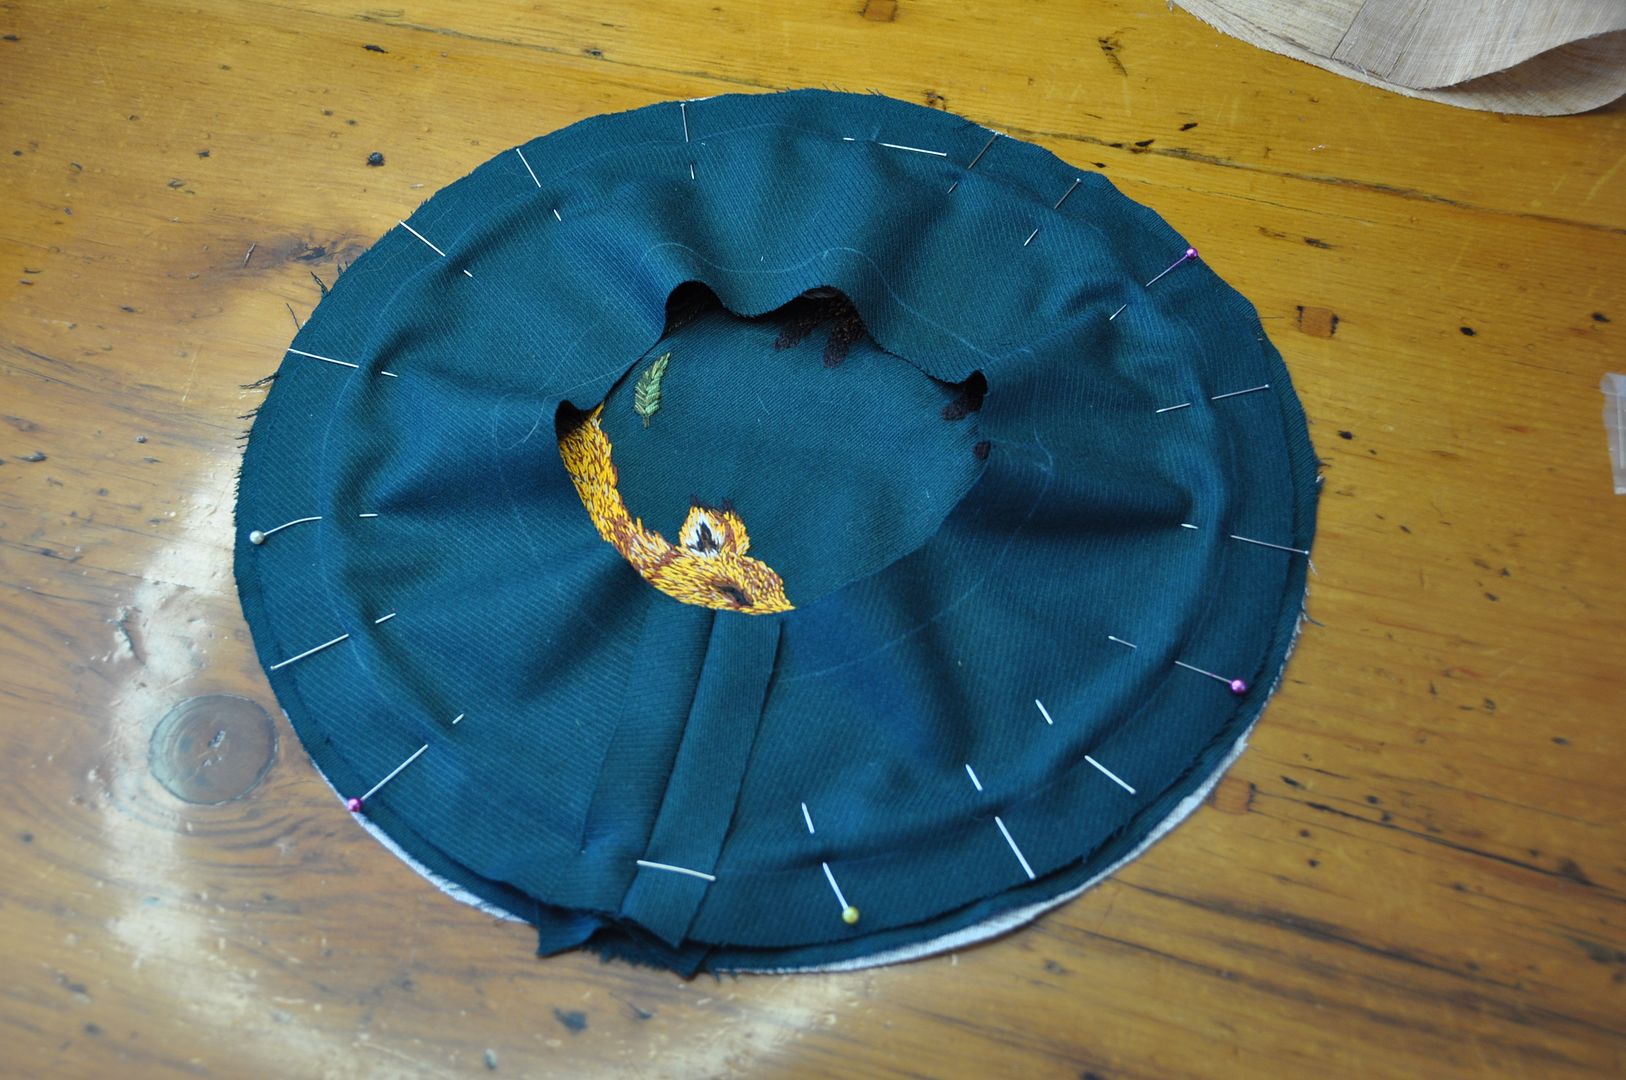 Next I made some piping trim. This was stitched onto the top layer, piping to the inside, and seam allowance to the outside of the stitch line.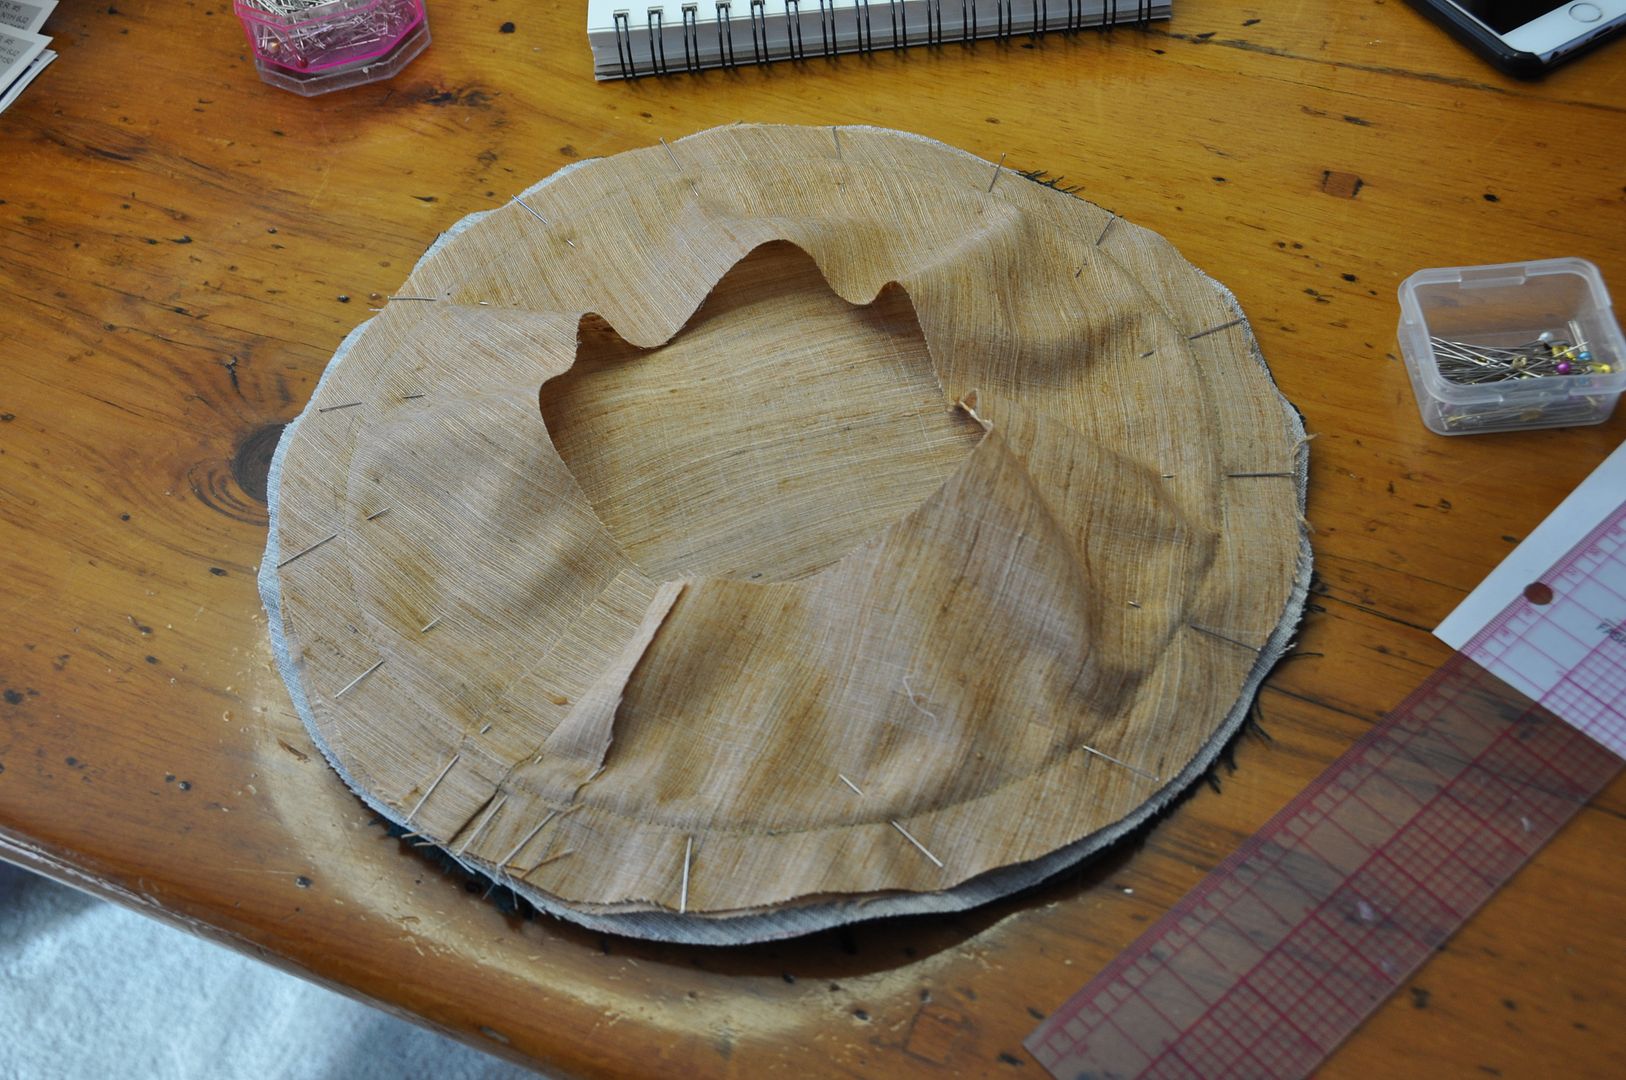
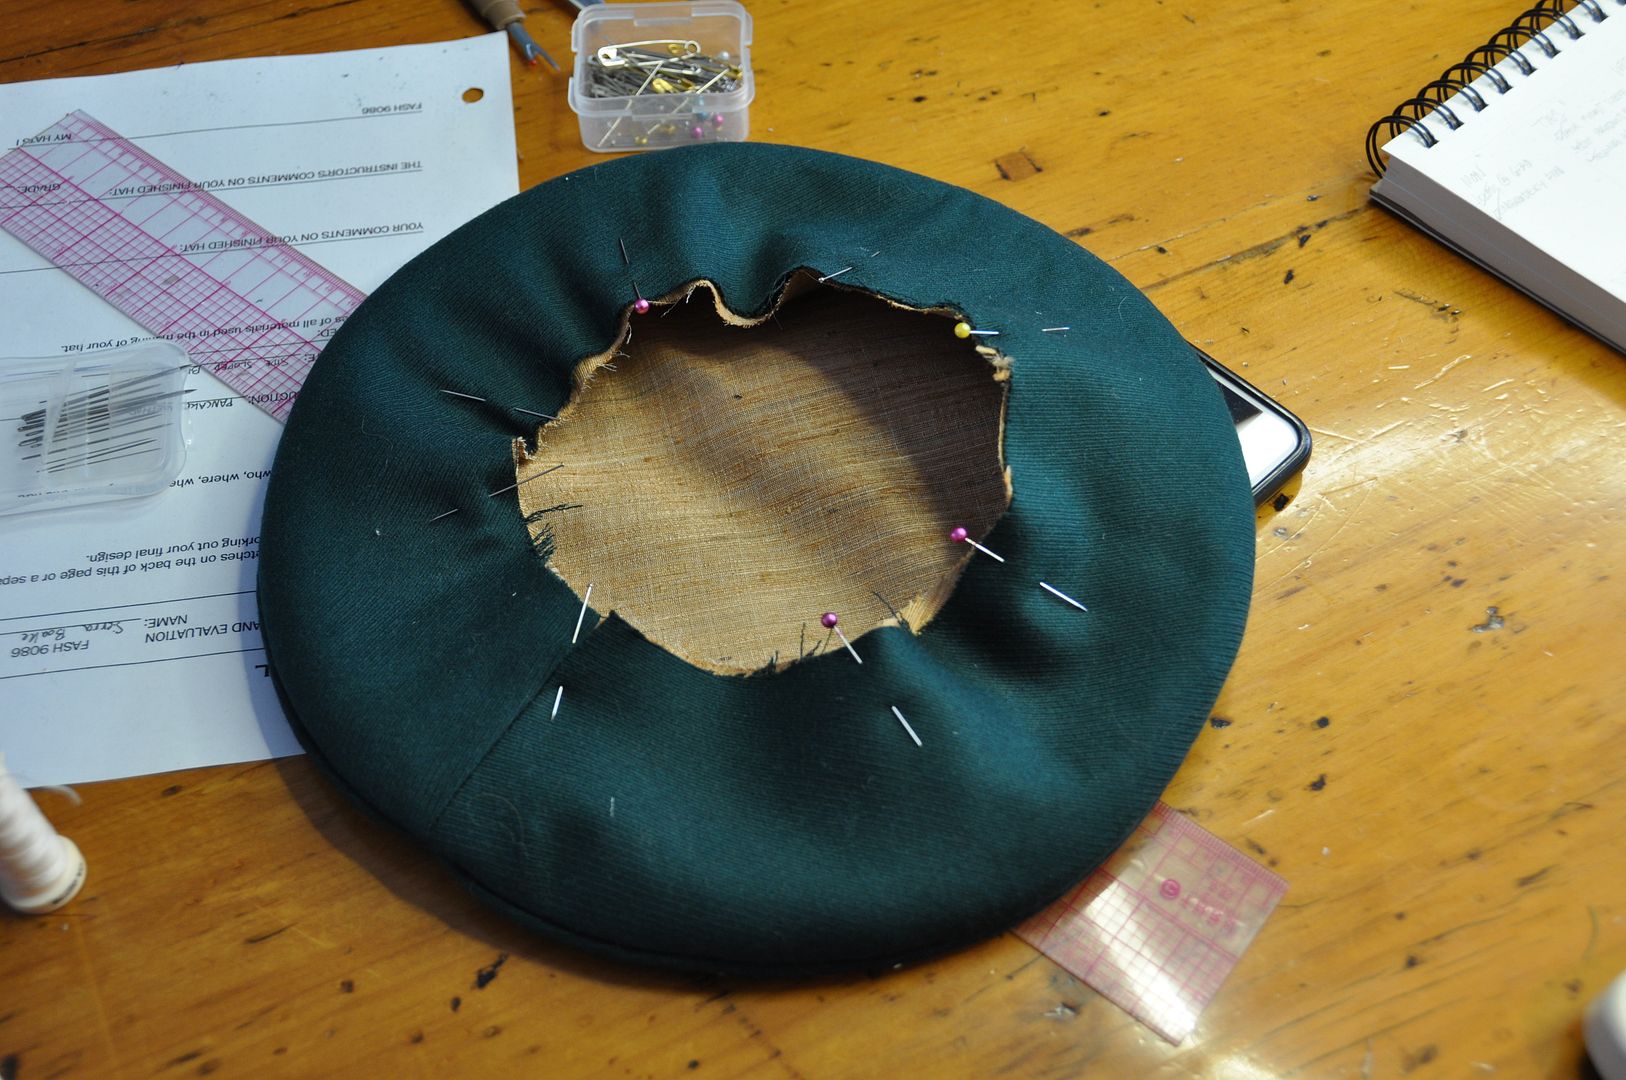 The next step was to properly grade and notch my seam allowances to cut down on the bulk. Then I flipped the outside sideband over to the bottom. I carefully pressed it--without crushing the piping trim. Now the top of the hat was completely constructed and lined, and I could move on to the final part--the headband.