
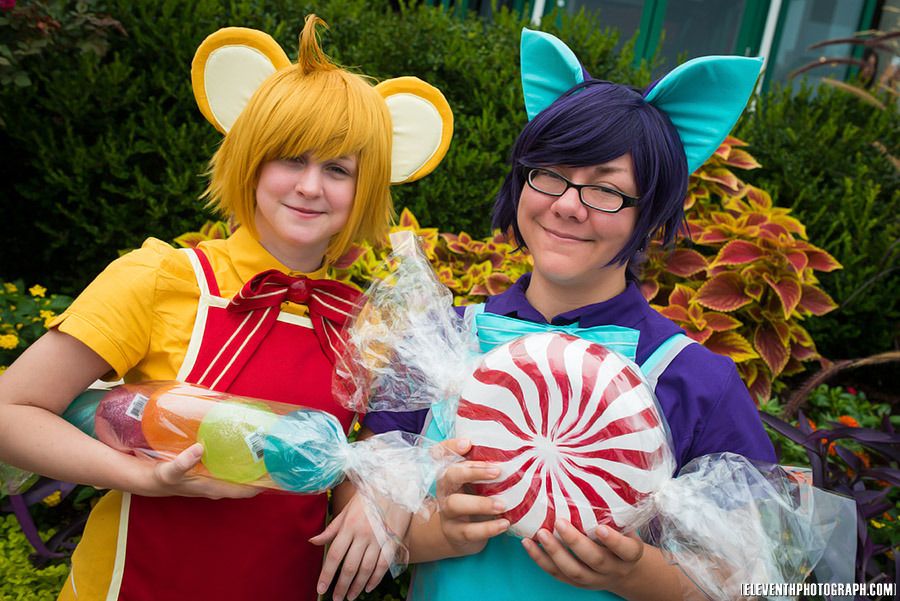
Once again, thanks to Eleventh Photograph for our mini photoshoot! Go here for the Shirts & Shorts!
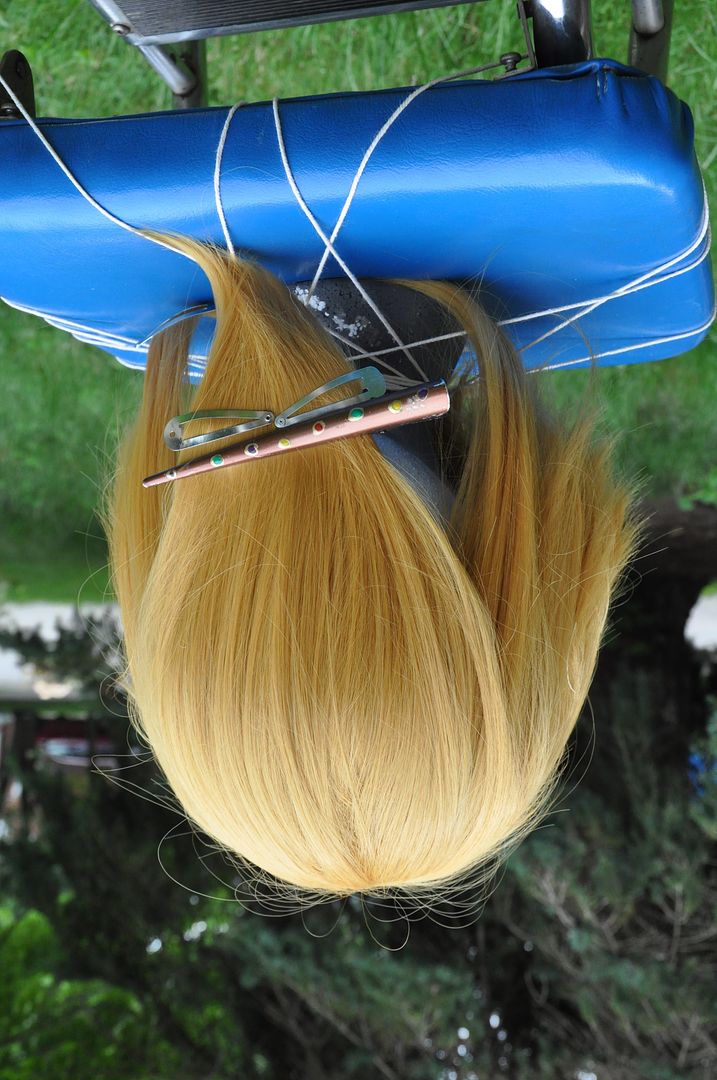

On Kero's wig I shortened the back a bit. I like this wig style for Kero as the kick at the back give him a little more attitude. I also added a cowlick (or ahoge) because he is a bit of an idiot and I think it suits him. :P
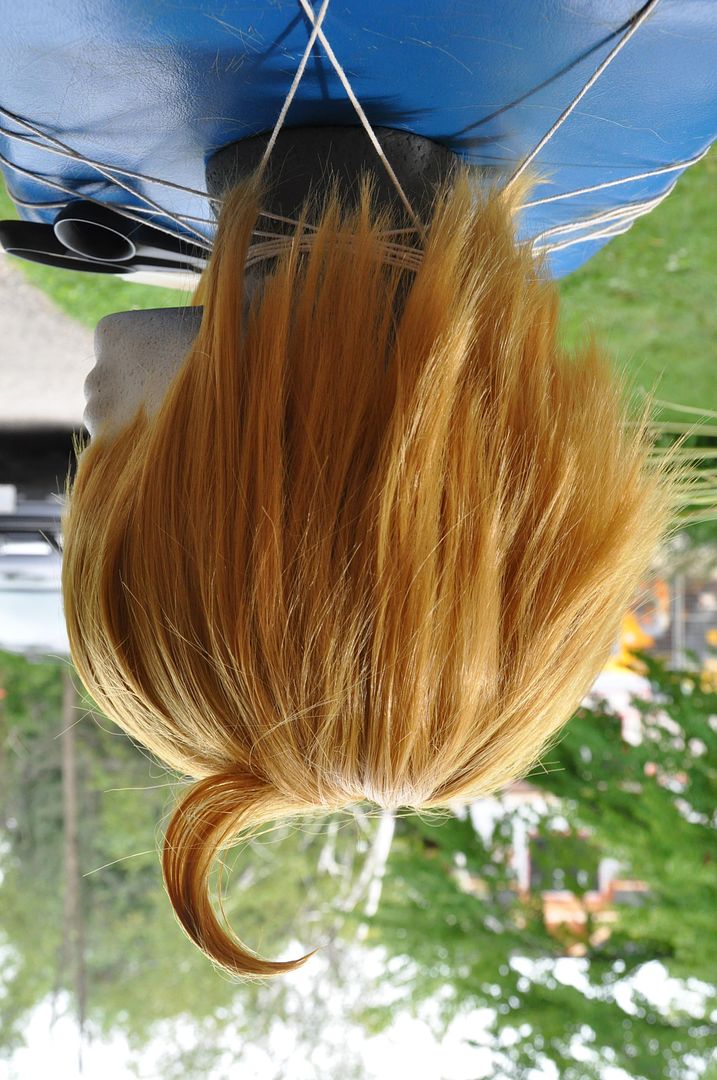
On Suppi's wig I left the back long, which was later tied into a cute ponytail. :D

 I then made a paper cutout of the shape I wanted for the ear to help me determine sizing. I cut out a foam piece using my paper as a tracer. Then I cut a c-shape to fill the outer rims of each ear. These border pieces were hot glued in place. I bevelled all the edges of the foam pieces so they weren't so square. They would look less blocky in the cases that way.
I cut 4 pieces that would be the ear covers. Then I made the inner ear accent pieces. These were sewn right sides together and flipped inside out so they could be neatly top-stitched onto the ear. With one piece of the cover pinned carefully in place underneath, the inner ear accent pieces were top-stitched directly to the foam insert.


The raw edges were then folded inside neatly and the bottom of the ear was stitched closed.
I carefully marked where I wanted the ears place on the wig using hair clips, parted the hair and stitched the ears to the wefts and undernetting of the wig.


For Suppi's ears the process was a little different. I made a paper cutout that I curved and mocked up on the wig. When I was satisfied with the shape and size I cut 2 ears out of foam. I cut out a small dent at the base where I wanted the ear to bend the most.
The covers were much easier than Kero's. Each ear cover was simply made from 2 pieces of fabric (one side teal, one side purple), slightly larger than the foam insert. These were sewn right sides together then turned right way out and pressed.
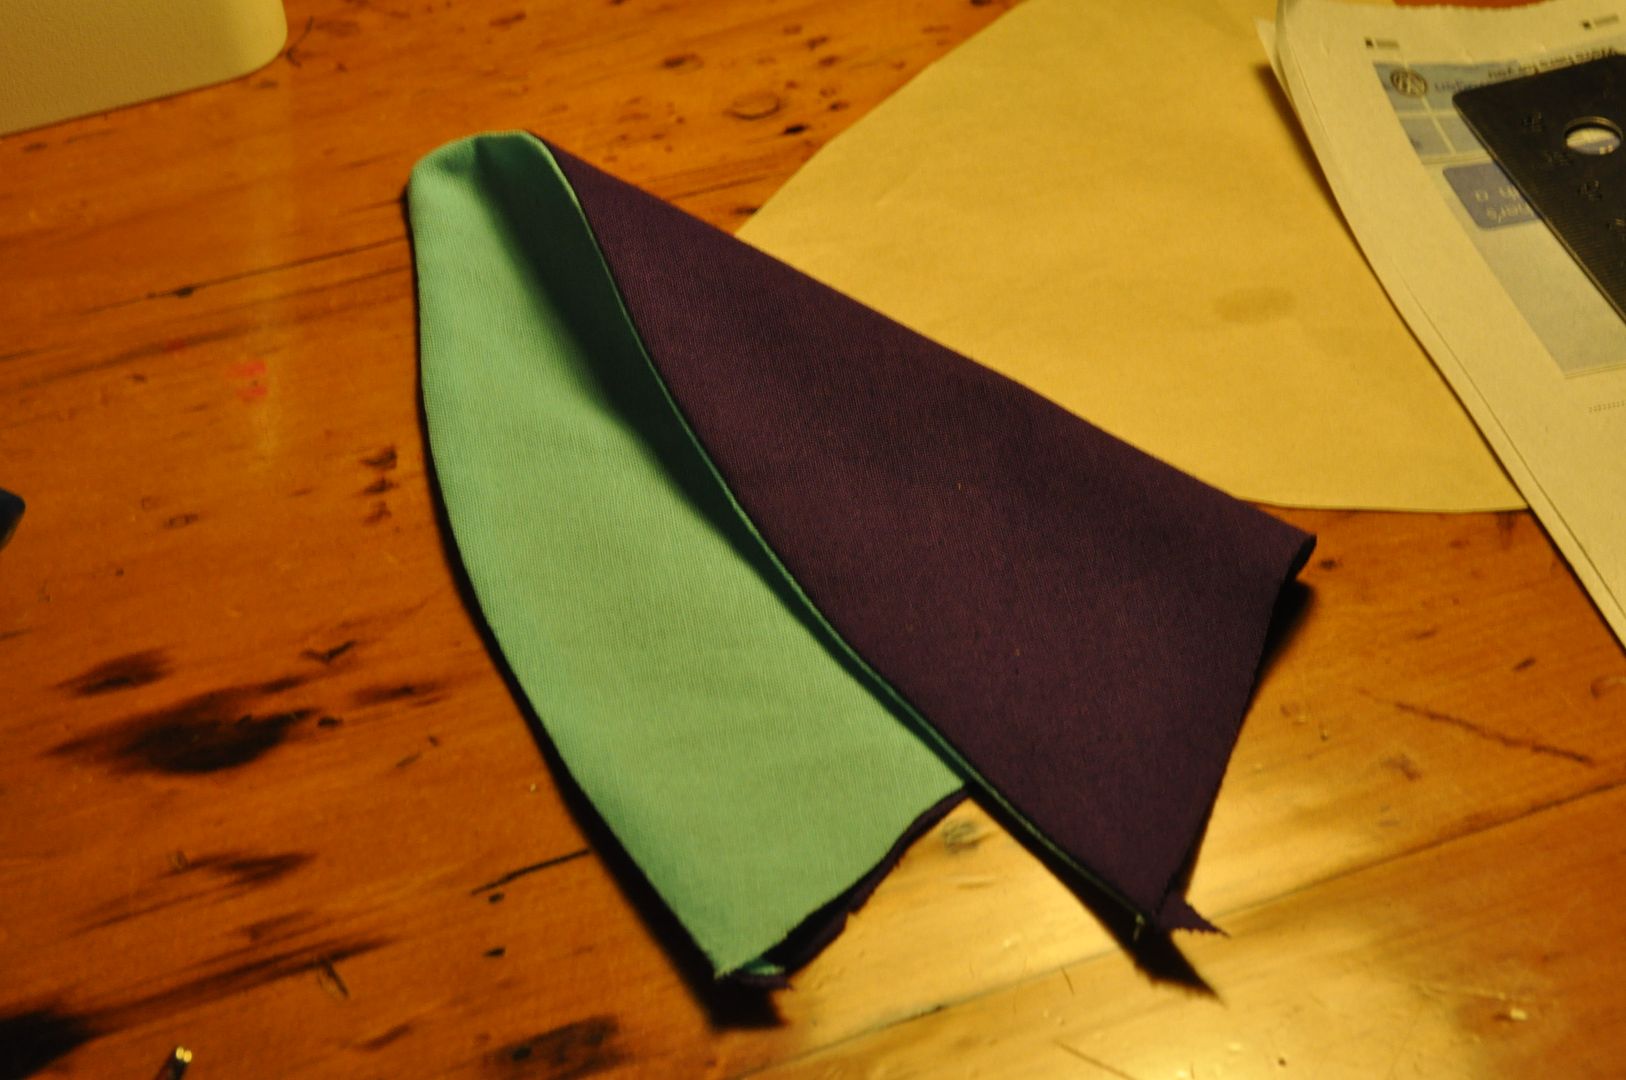
 The foam was then slipped (more like shoved) inside the cover, and the bottom stitched closed with the raw edge folded inside neatly.
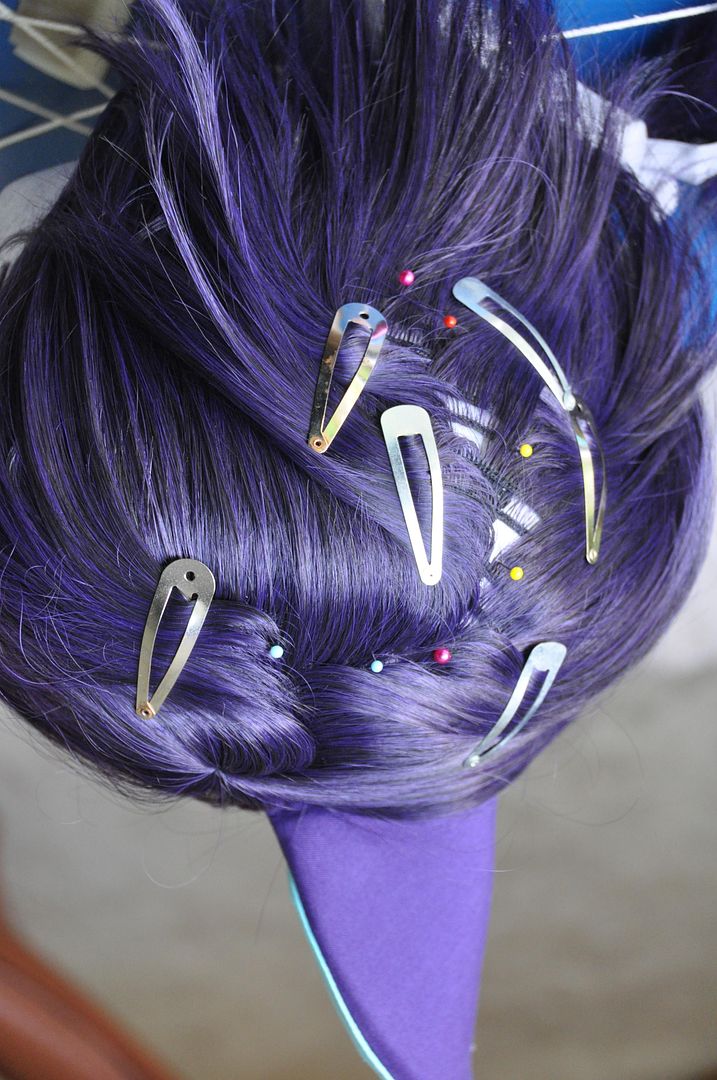
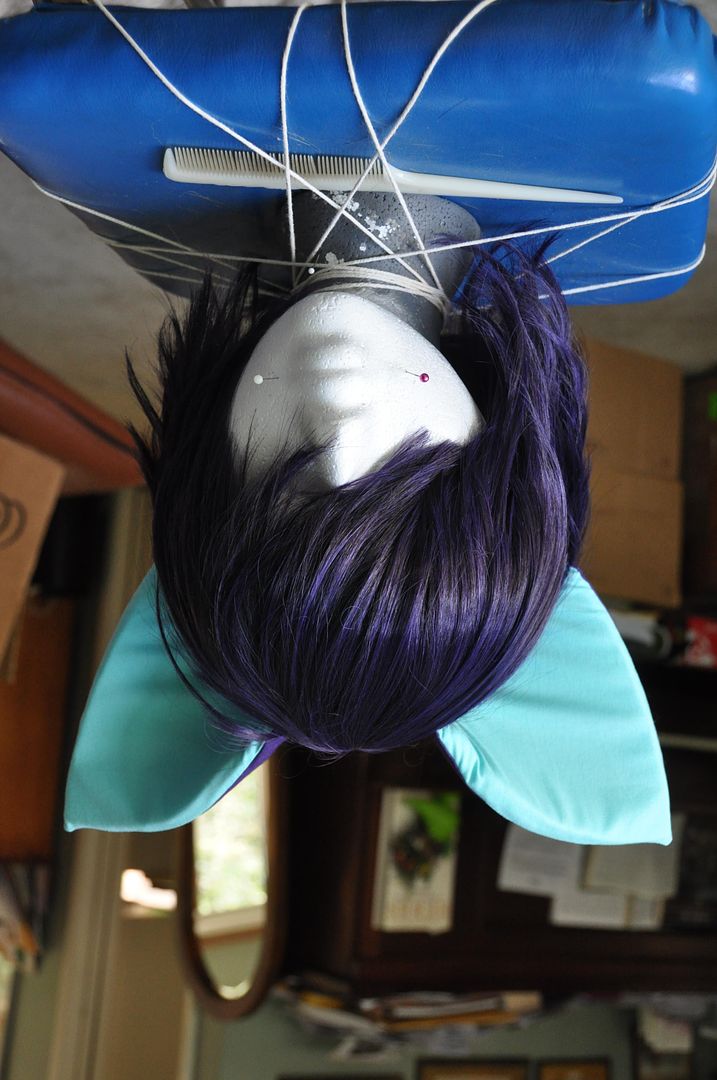
Like I did for mine, I tried the wig on my sister and used hair clips to mark the placement. (This is particularly important if you have a large head, as placement will look different on the wig head than on your actual head.) Then I put the wig on a foam head and re-marked where the ear would go using sewing pins. Then I clipped the loose hair back, away from the area and stitched the ears on by hand.
I liked having the ears attached to the wig as opposed to clipped on. It's nice to wear the wig and not have to worry about the ears slipping/becoming lop-sided, though it does make the wigs a tad more difficult to store. The foam ears were really light and easily stood up on their own, without needing any wires (though I imagine larger ears would require some infrastructure).
Overall these wigs were great to wear, and fun to make. My cowlick sustained some damage during the trip down (which was not unexpected as the car was pretty packed with stuff), so it needed some TLC at the con, but it held up well when I wore it.
No comments:
Post a Comment