This is my second time wearing a gijinka costume, but my first one making one myself! I had a lot of fun making these, particularly working with such bright contrasting colours. I got to try some new things on this project--namely tails and ears.
I got some nice photos thanks to Mike from EleventhPhotograph. We took a couple pics in the big candy store on the harbour!
 For those of you unfamiliar with the term, a "gijinka" costume is essentially a humanization of an animal character.
This project is a collaboration with my sister Alex, of Alex Boake Illustration who did the very cute design. It's sort of inspired by the outfits in the 3rd ending song "Fruits Candy". Lots of fun working on these!
But without further ado, let's get started!
I started first by washing all the fabrics, these costumes would be worn in a very hot place, so I thought it best that all clothing be washable. And since fabrics tend to shrink when you wash them (particularly cotton), it is always a good idea to pre-shrink your fabric before you cut anything. We opted to go a little more expensive with the fabric and bought quilting cotton, because it breathes really nicely. (Also it came in all the right colours, so that kind of sealed the deal.) The yellow and purple fabric were picked to match the wigs.
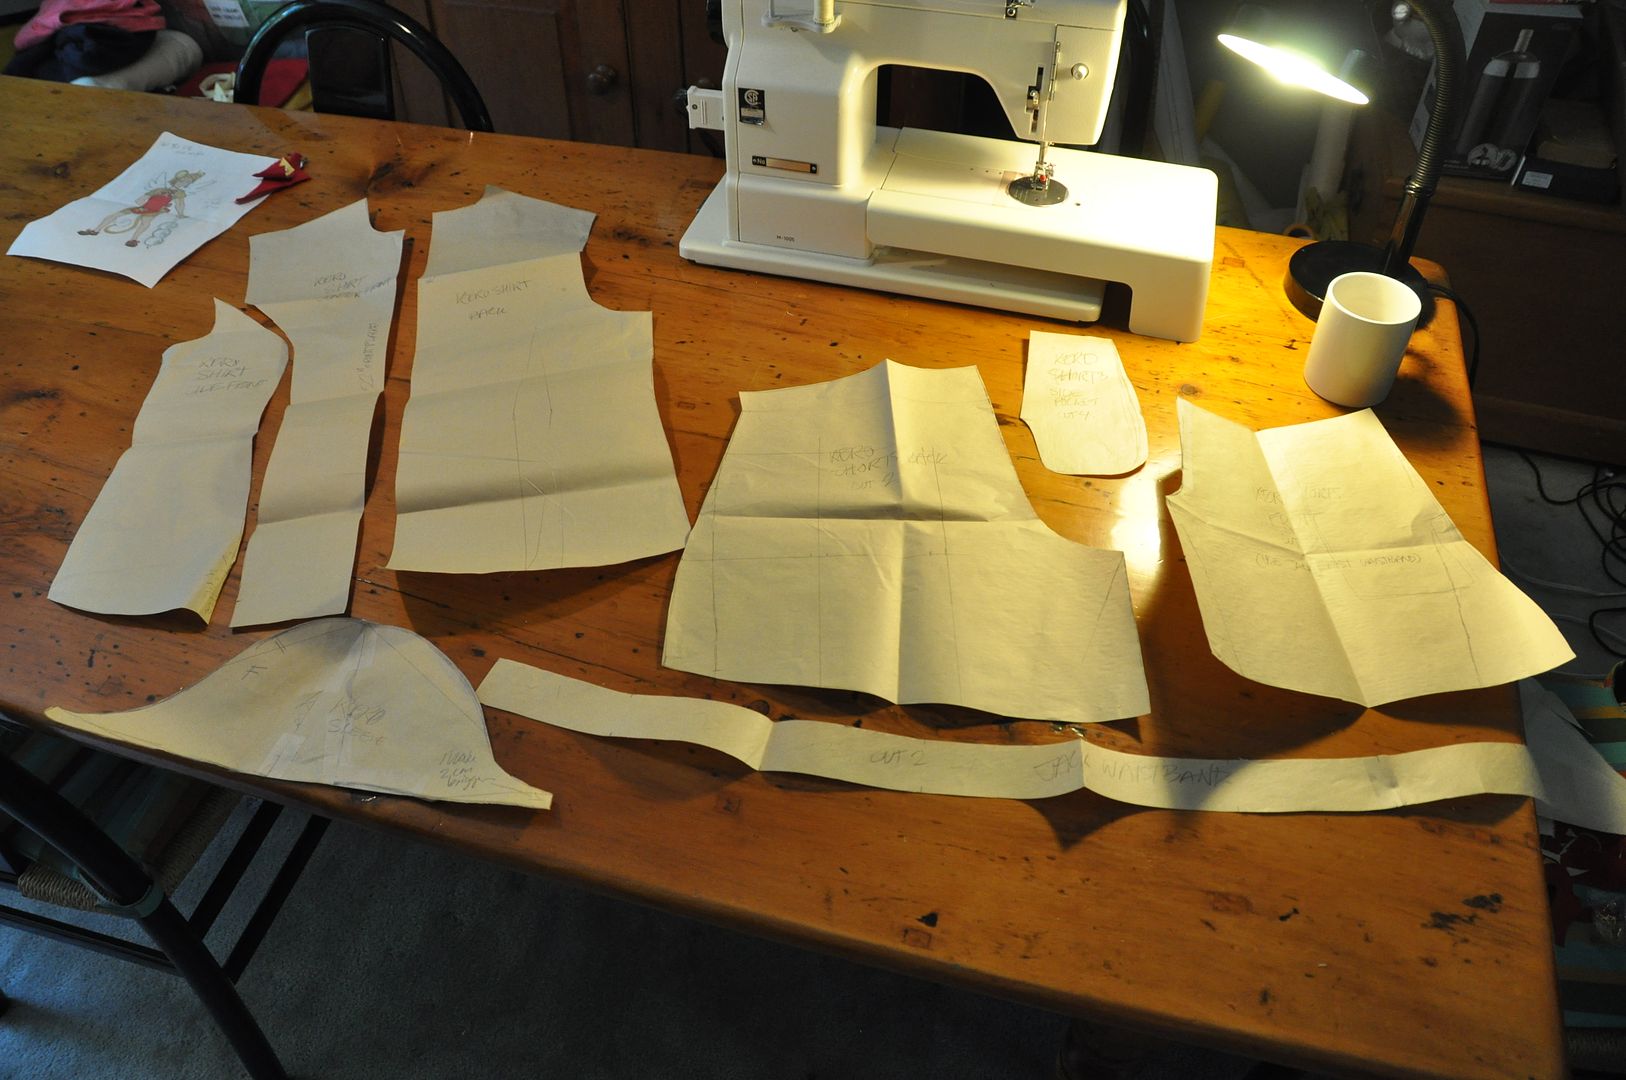
 So I started by patterning the shirts and shorts. For the shirts I modified a basic block with a princess seam, widened the armholes a bit.
 First I sewed up the back darts. Then I sewed the side seams, shoulders and front darts together.
At this time I also sewed a placket to one side of the front overlap (this is where the button holes would go). It was a long strip with a fold ironed down the center. On one side of the fold it was attached right sides together with the left side of the shirt opening. Then I ironed the seam flat, and pinned the the other half of the strip to the inside, tucking the raw edge under (making sure it overlapped the seam). This was ditch-stitched in place from the front.
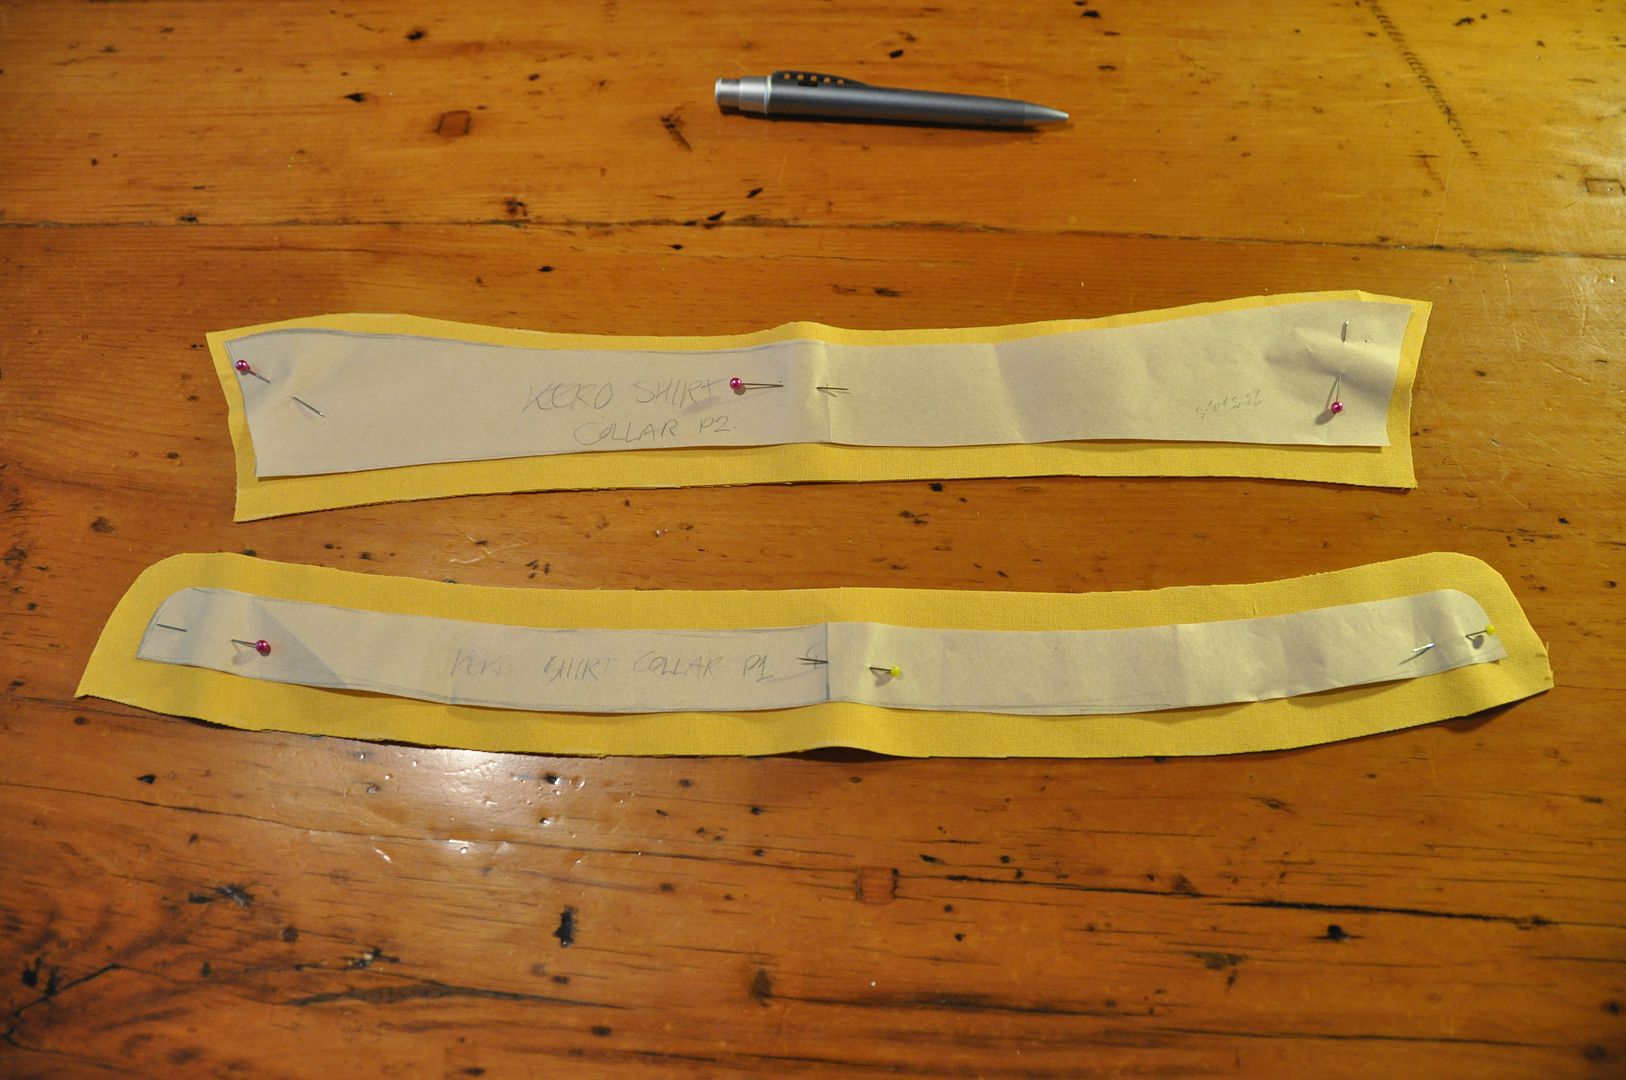
Then I patterned the collar. First the outer collar was sewn right sides together then clipped and flipped right way out. Then this piece was placed in between the 2 layers of the inner collar and it too was stitched together and flipped right way out.
 One side of the open edge was sewn to the shirt, then the other edge was folded inside the collar and ditch-stitched in place. This left a clean finished collar.
Next I patterned the sleeves, I started with a normal sleeve pattern, which I then sliced up the middle and added a few inches of flair. To the edge of the sleeves I added a cute trim with a split near the front. This detail made the shirts a little more interesting.
The last thing was putting on the buttons and adding in the button holes.
----------------------------------------------------------
Now let's talk about the shorts. I decided that I should start making a habit of putting pockets in my costumes, because it seems like a logical thing to do! So Suppi and Kero both have pockets in their shorts. When making pockets just make sure that they are big enough to hold your average size cell phone (not those monster ones) and that the opening is large enough to slip your hand in. (Otherwise your pockets will be a tad useless...)
Since I don't really know how to properly pattern pants from scratch yet, I traced each of my pants patterns from existing pairs. I picked a pair of pants that fit me well at the butt and waist. This pattern I then modified to give the flair necessary to form the little bit of pouffe at the cuffs. I mocked these up in muslin first before I cut the good fabric.
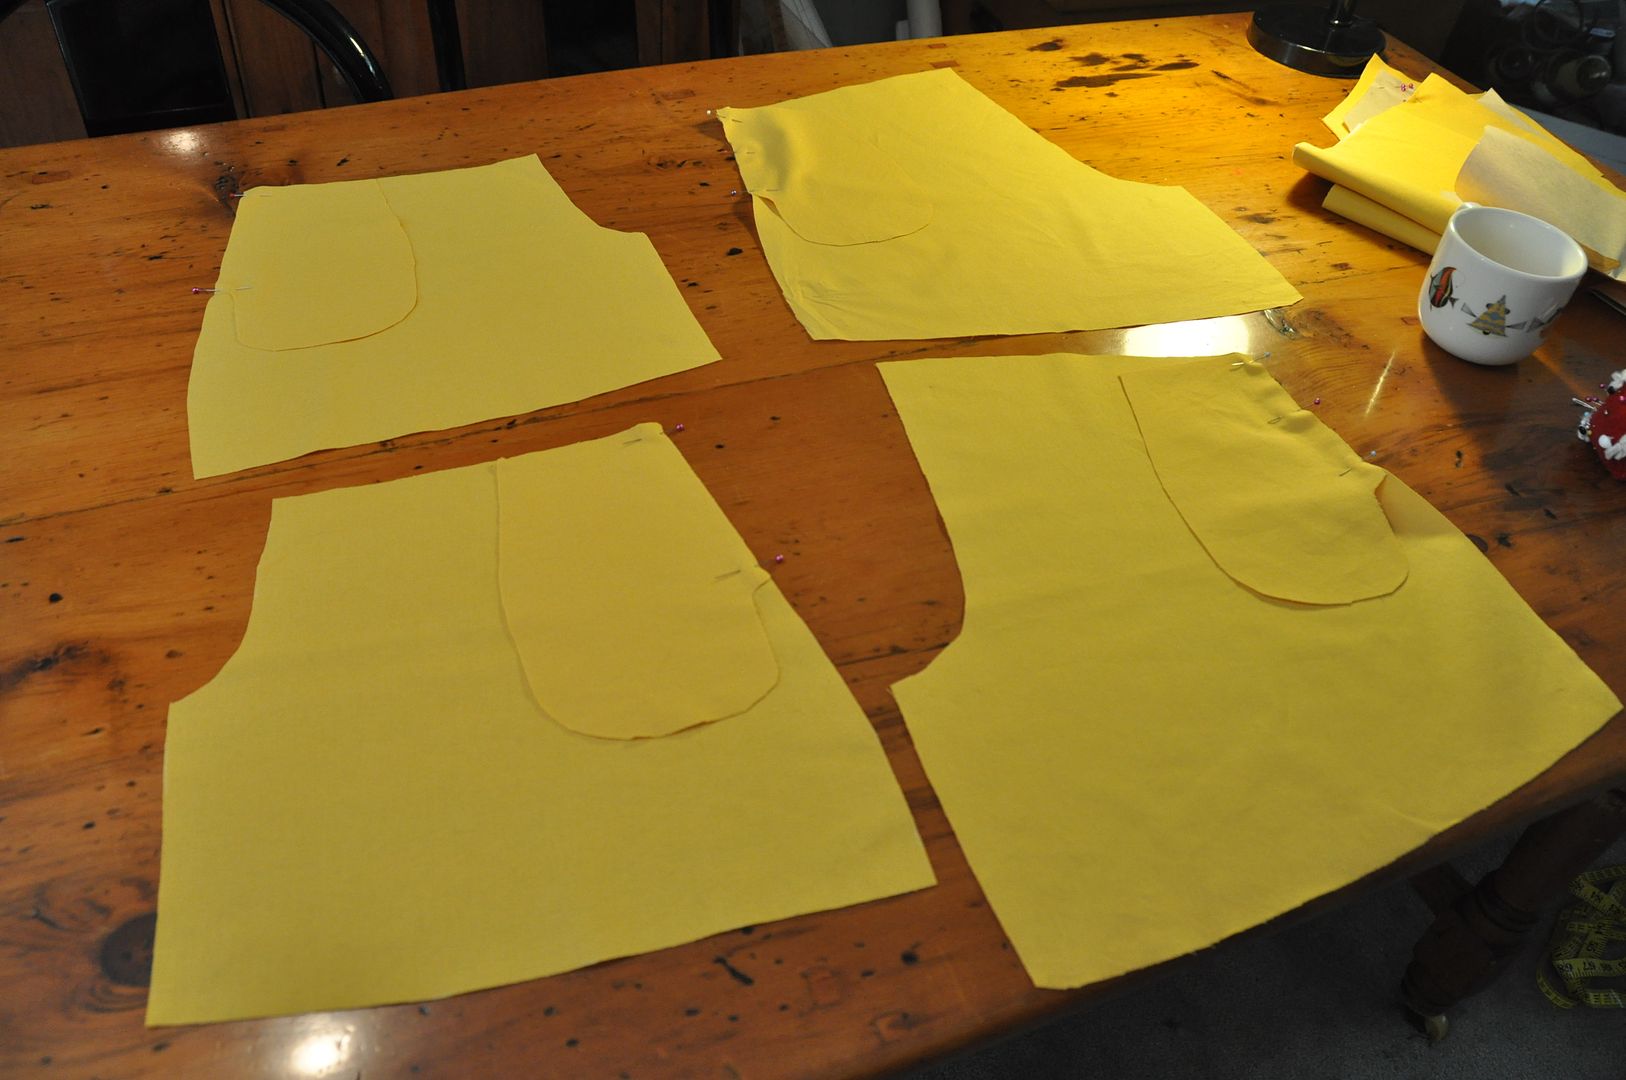
The process is essentially the same as the pockets on my Simple Gathered Skirt. I started by stitching each of the pocket pieces to the side seams. Making sure these were done to the correct sides so I would end up with a right and left pant leg, instead of 2 rights or 2 lefts. (If confused lay it out like I have in the picture above.) Then I pressed the pockets to the outside. (Before continuing it is best to finished the seam where you sewed the pocket to the pant panel, otherwise it will be difficult to do later.)
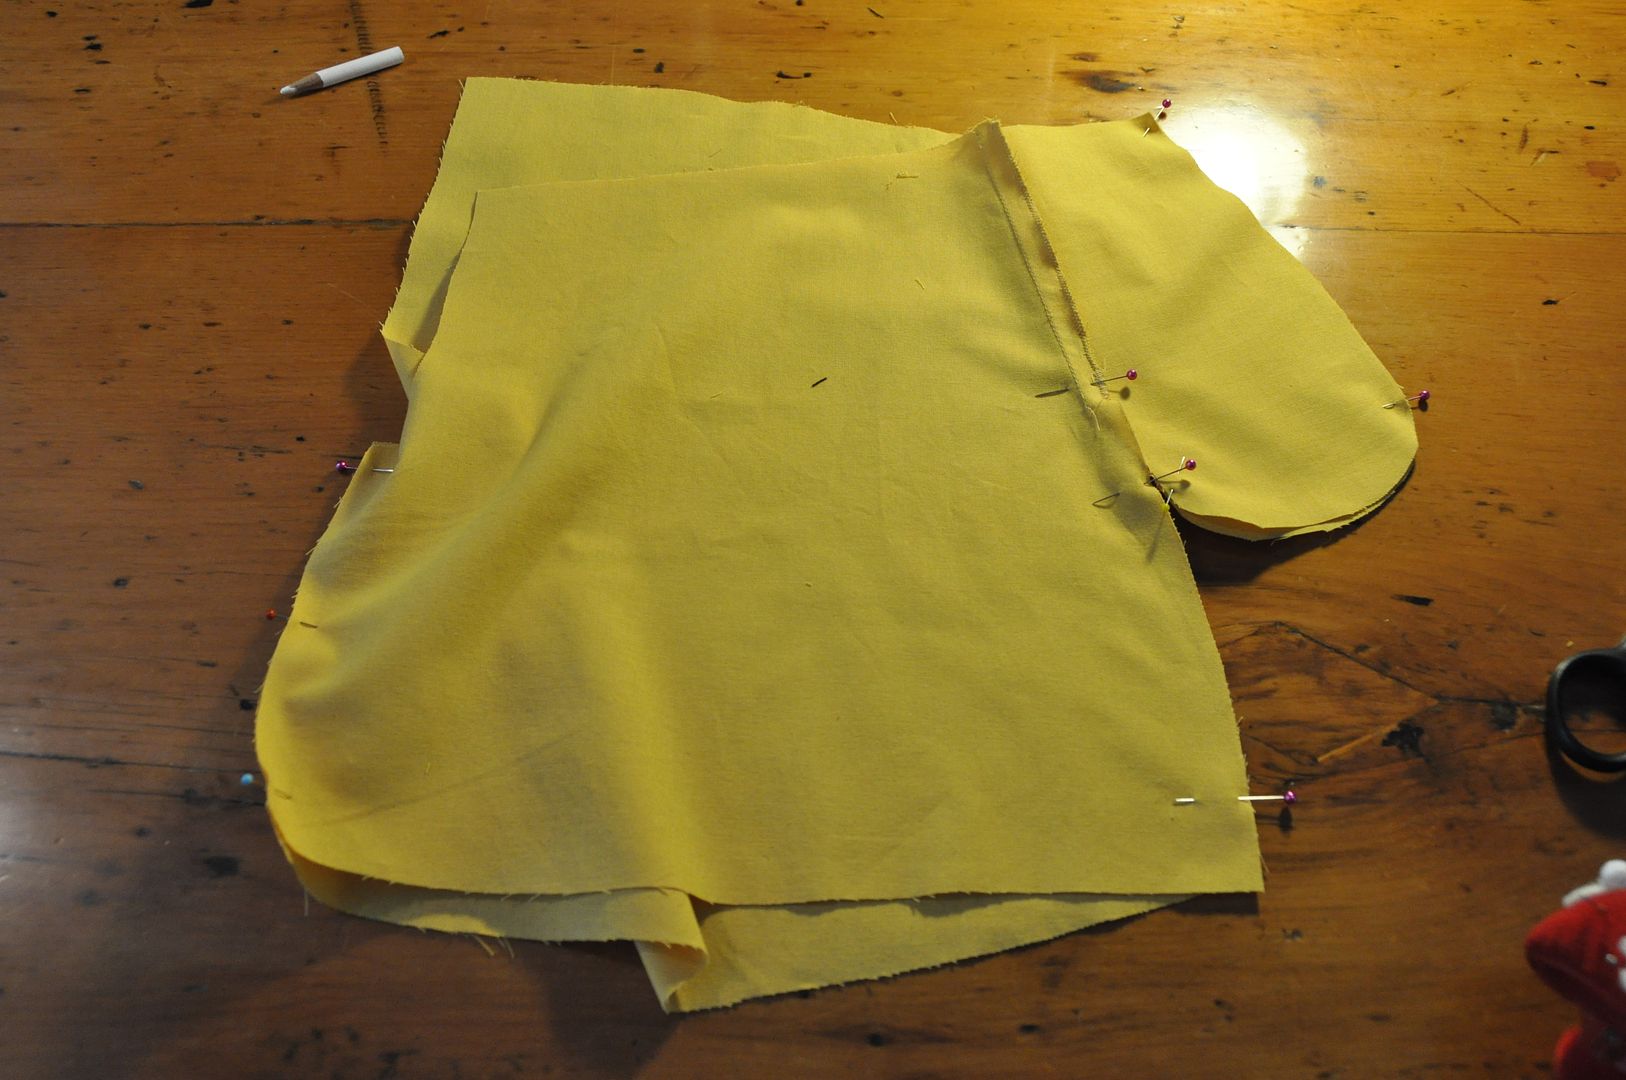
The next step is to stitch each side seam and pocket together. Go around the edge of the pocket, then turn and follow the side seam down. Then stitch together the inner leg seams. When you flip the pant leg right way out, the pockets will now be on the inside (like the picture below).
 Then I sewed up the crotch seam, leaving the fly open. Then I made any adjustments necessary and finished off all the inside seams.
  Then I made 2 pieces for the fly overlap. These were sewn to the outside. One would be flipped completely inside and tacked down, the other would be pressed flat so it would underlap the fly seam (if you are confused by this description, look at the fly on your nearest pair of jeans).
Then I made a slightly curved waistband. This was sewn right sides together along the top edge, then flipped right way out. Then it was sewn to the pants, the raw edge finished with a zigzag stitch then tacked down. I folded and finished the ends of the waistband.
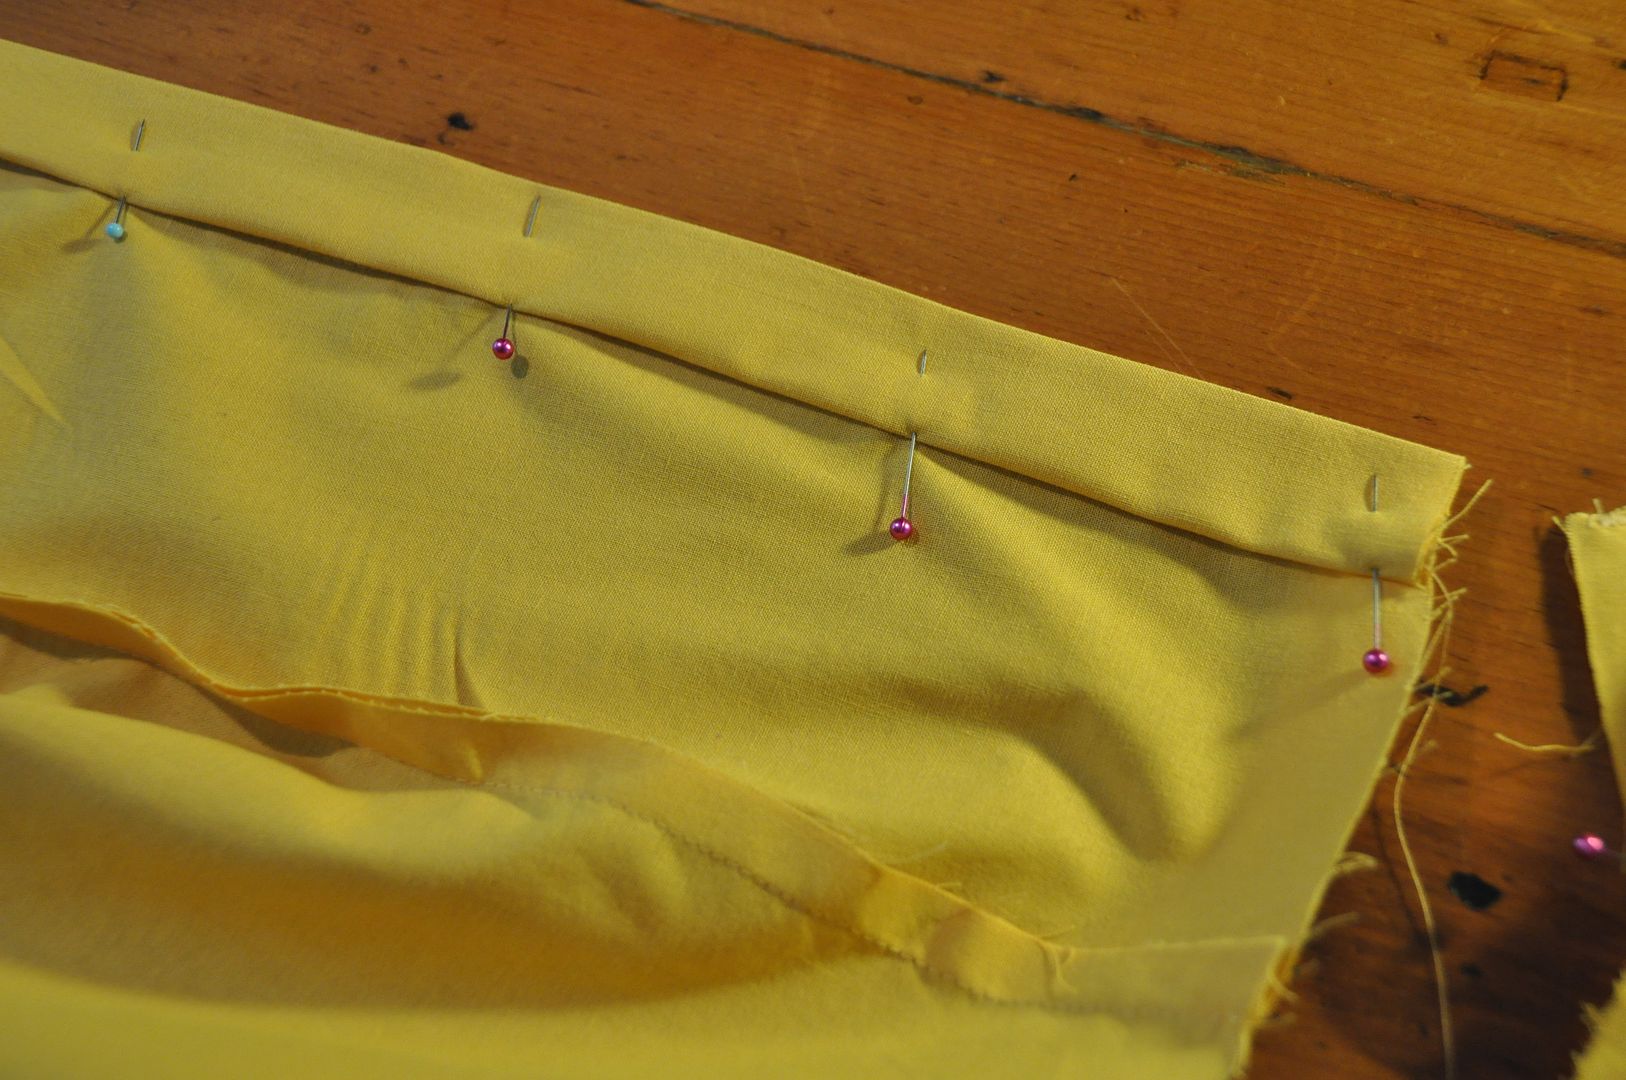
For the pouffe I did a long basting stitch around the bottom edge of the pants (without backtack). Leaving the ends of the threads long I was able to grab hold of the bobbin thread and gently slide the ruffles on. I did my best to make the gathers even. The cuffs were simply rectangles made about 2" larger than the circumference of my thigh (so they wouldn't be constricting), folded over and sewn into a loop. I adjusted the size of the pouffy pant leg to fit the loop and sewed them together. This was don on the outside, then flipped down so the seam allowance would be on the inside of the pant leg. This was finished with a zigzag stitch.
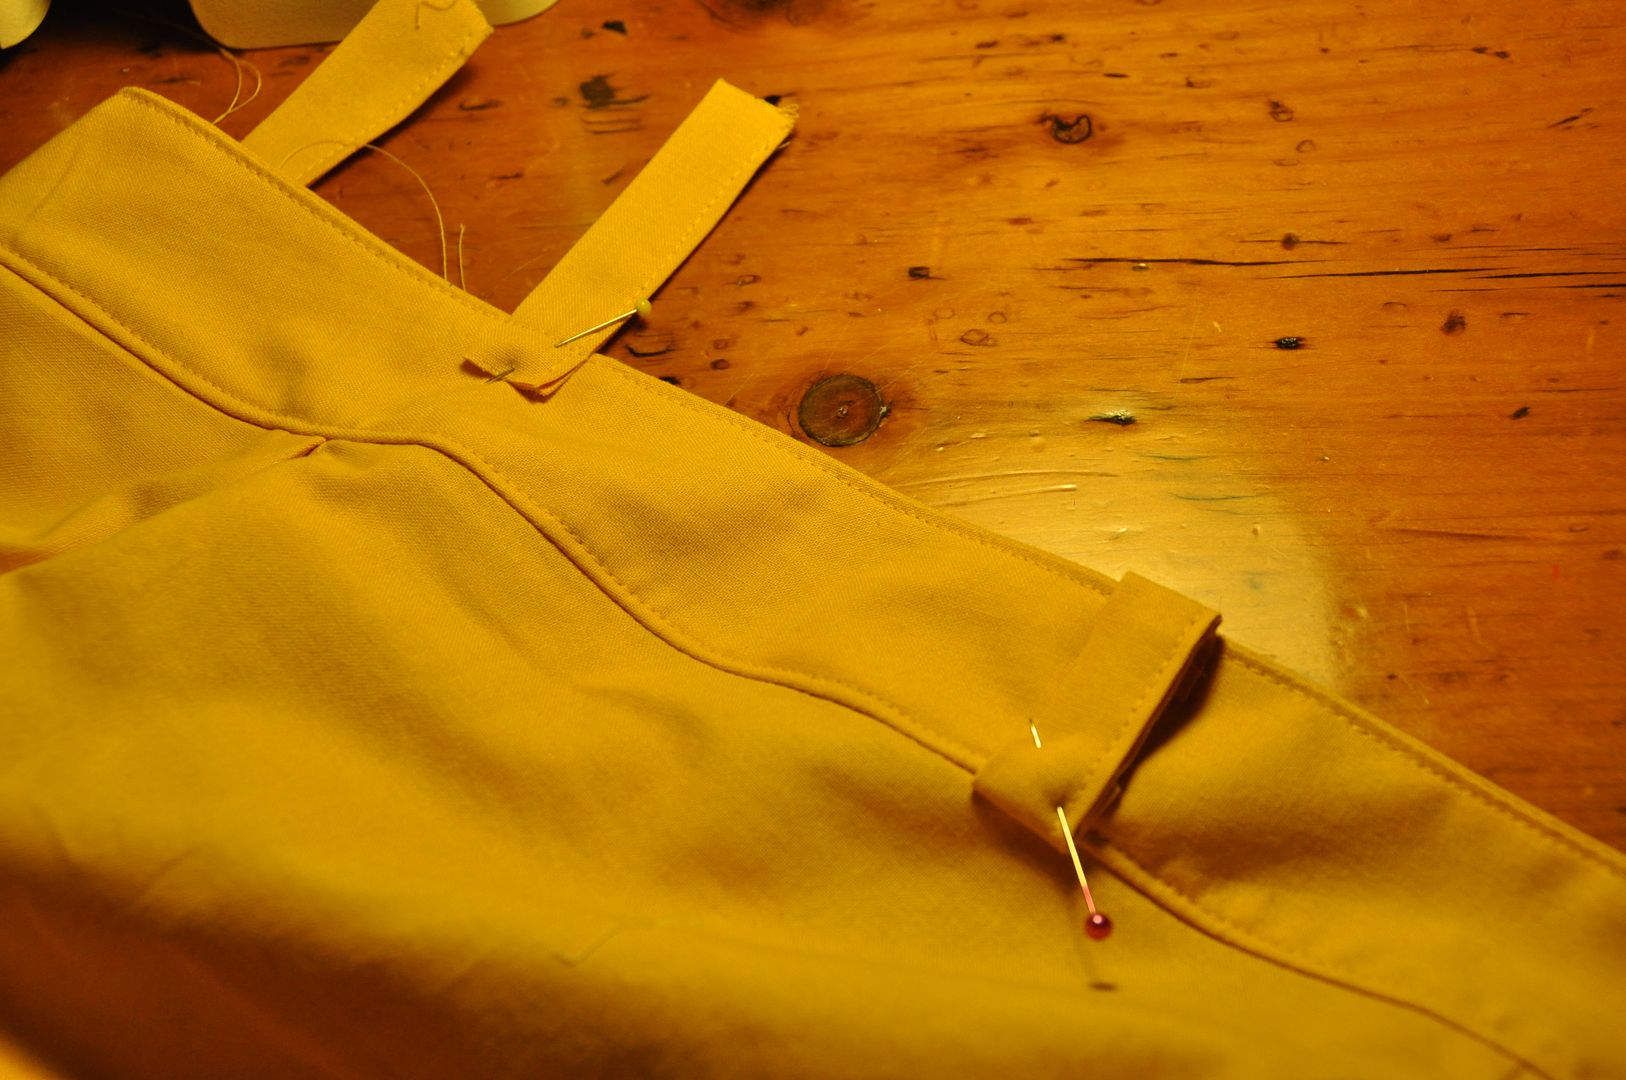 The fly was finished with Then I added belt loops. When spacing them, I had to make sure the back two were far enough apart for the base of the tail (about 6").
 Though this is more yellow than I ever wear in real life, because I don't look very healthy in the colour yellow unless I have a tan, which is only at the end of summer. Hahaha








No comments:
Post a Comment