

 Hey all! Welcome to part 5 of my Asuna posts. This time we are going to look at the armour, specifically the heat molded pieces!
I had a ton of help on this armour, as a lot of the heat molding was just not possible with only 2 hands. So my friend Alli deserves a huge thank you on making this happen!
Go here for the Sword, Wig, Bodice, and Skirt. Go here for my fabulous photoshoot with EleventhPhotograph!
All of the pieces are made out of styrene plastic which I bought at Plastic World in North York. A great place to find plastic sheet materials (like plexi/acryllic).
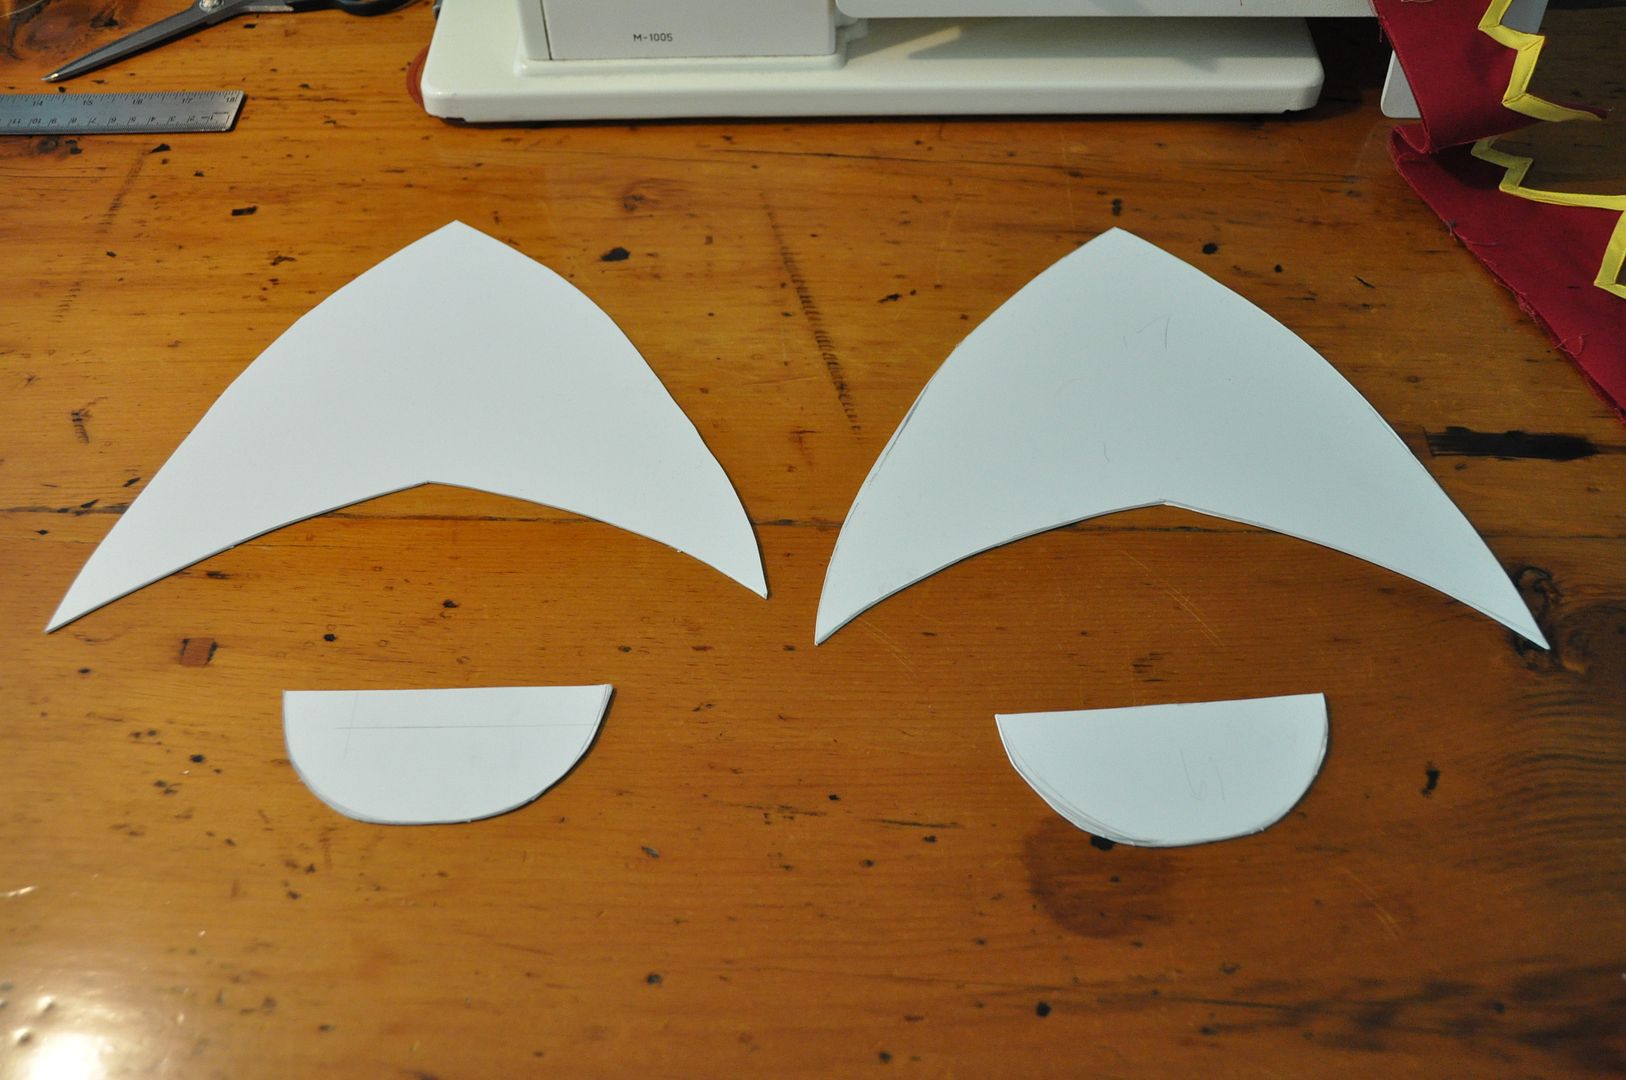
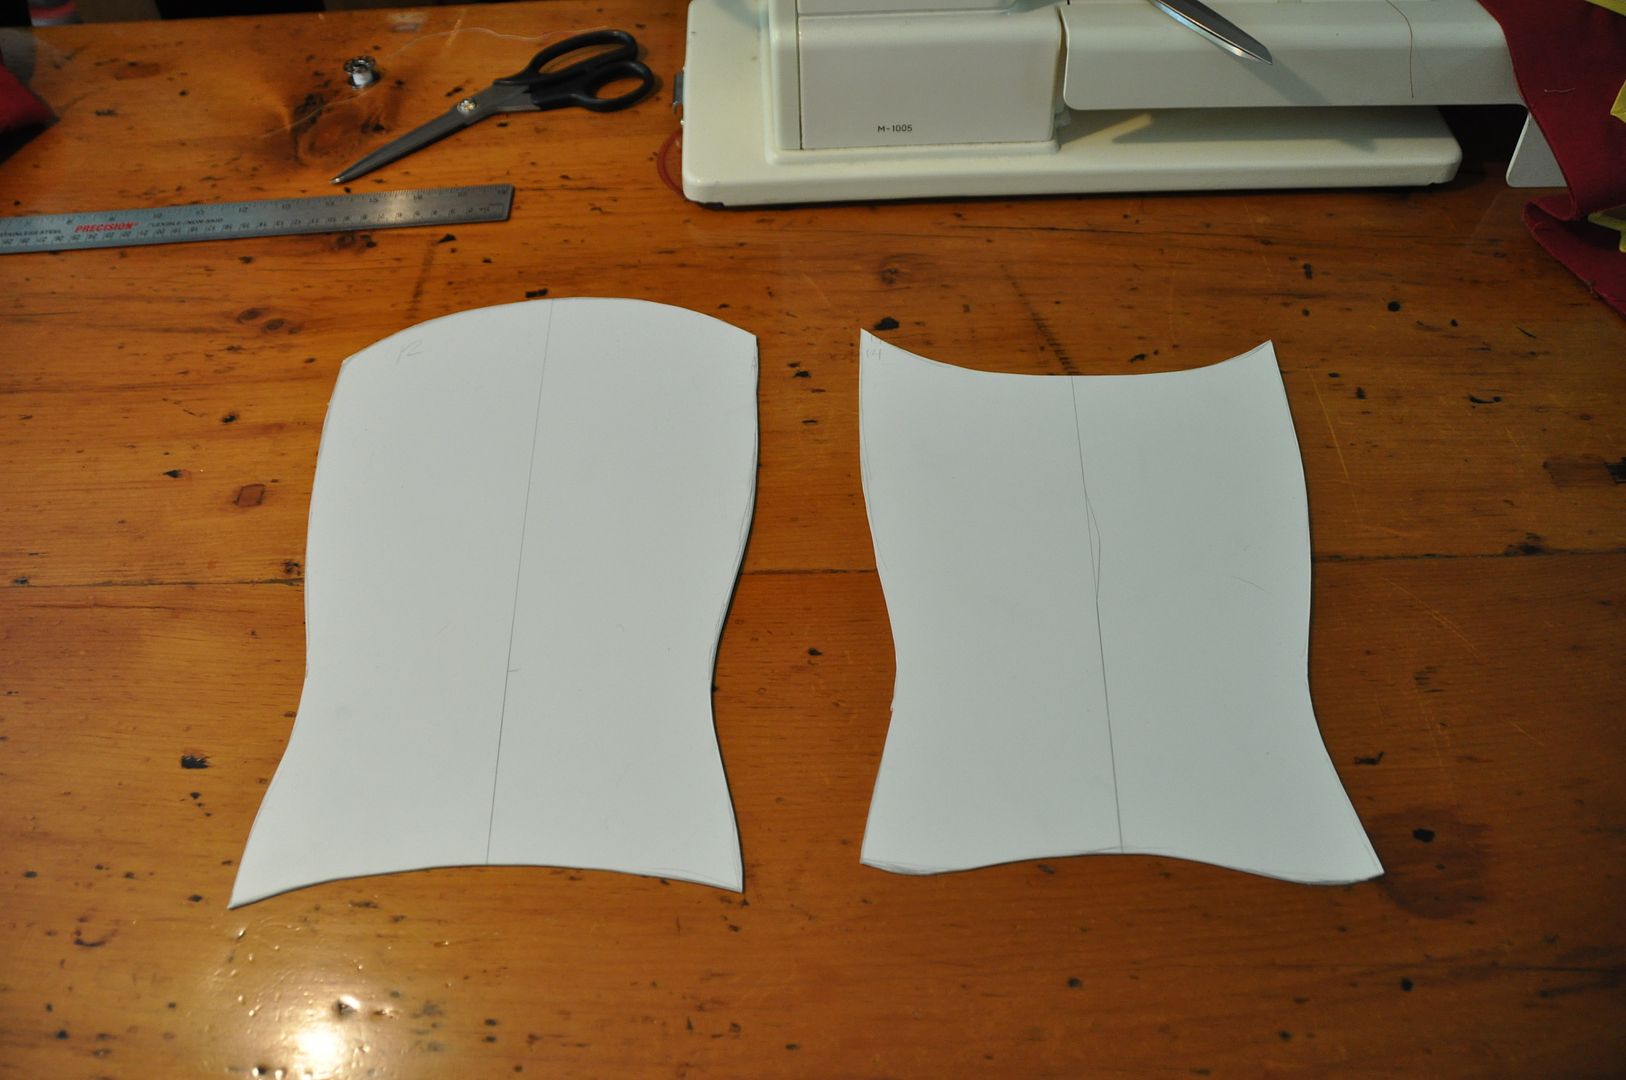


I found paper made a good representation of the plastic, because although the plastic would bend and curve, it didn't stretch or pull very well... Meaning there were some shapes that it wouldn't do for me. As it was my first time using the material I was unsure of its limitations.
The actual molding process itself was quite easy, but it was time consuming and required a second set of hands for some pieces. I bought a heat gun for about 27$ at Sculpture Supply Canada, which is pretty reasonable, particularly if you plan on making armour using this method a lot.
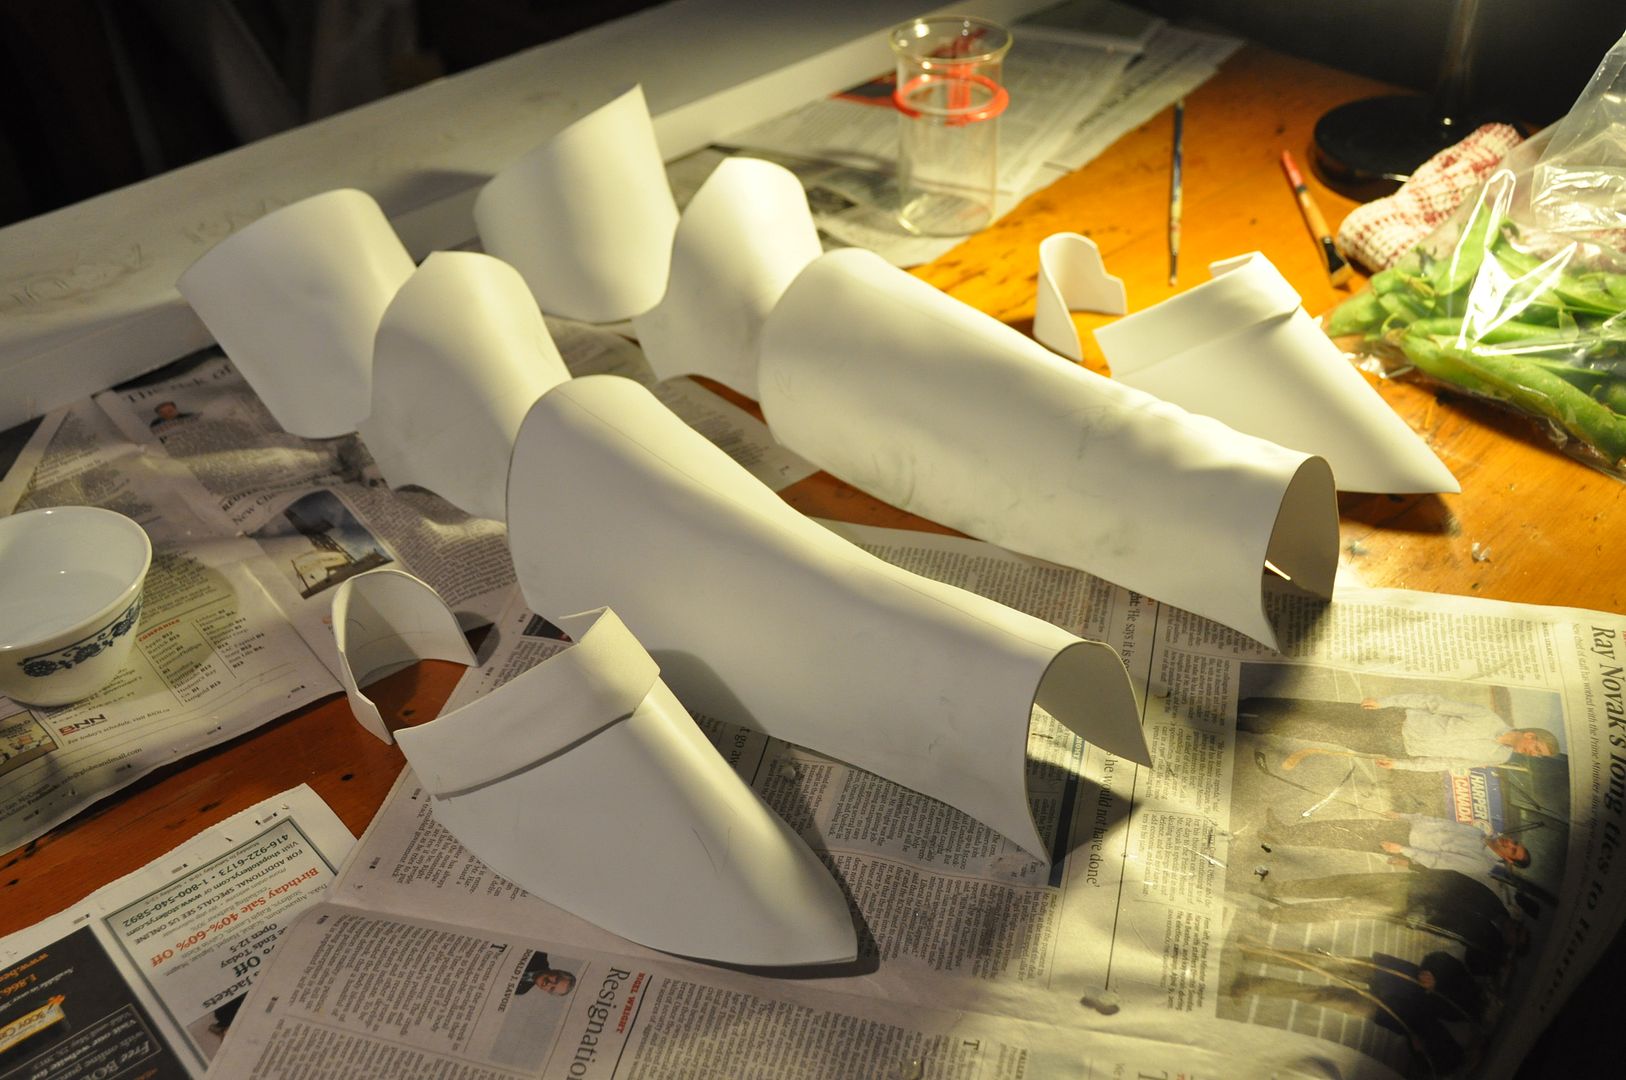

To check the pieces I would wait for the plastic to cool, then try them on.
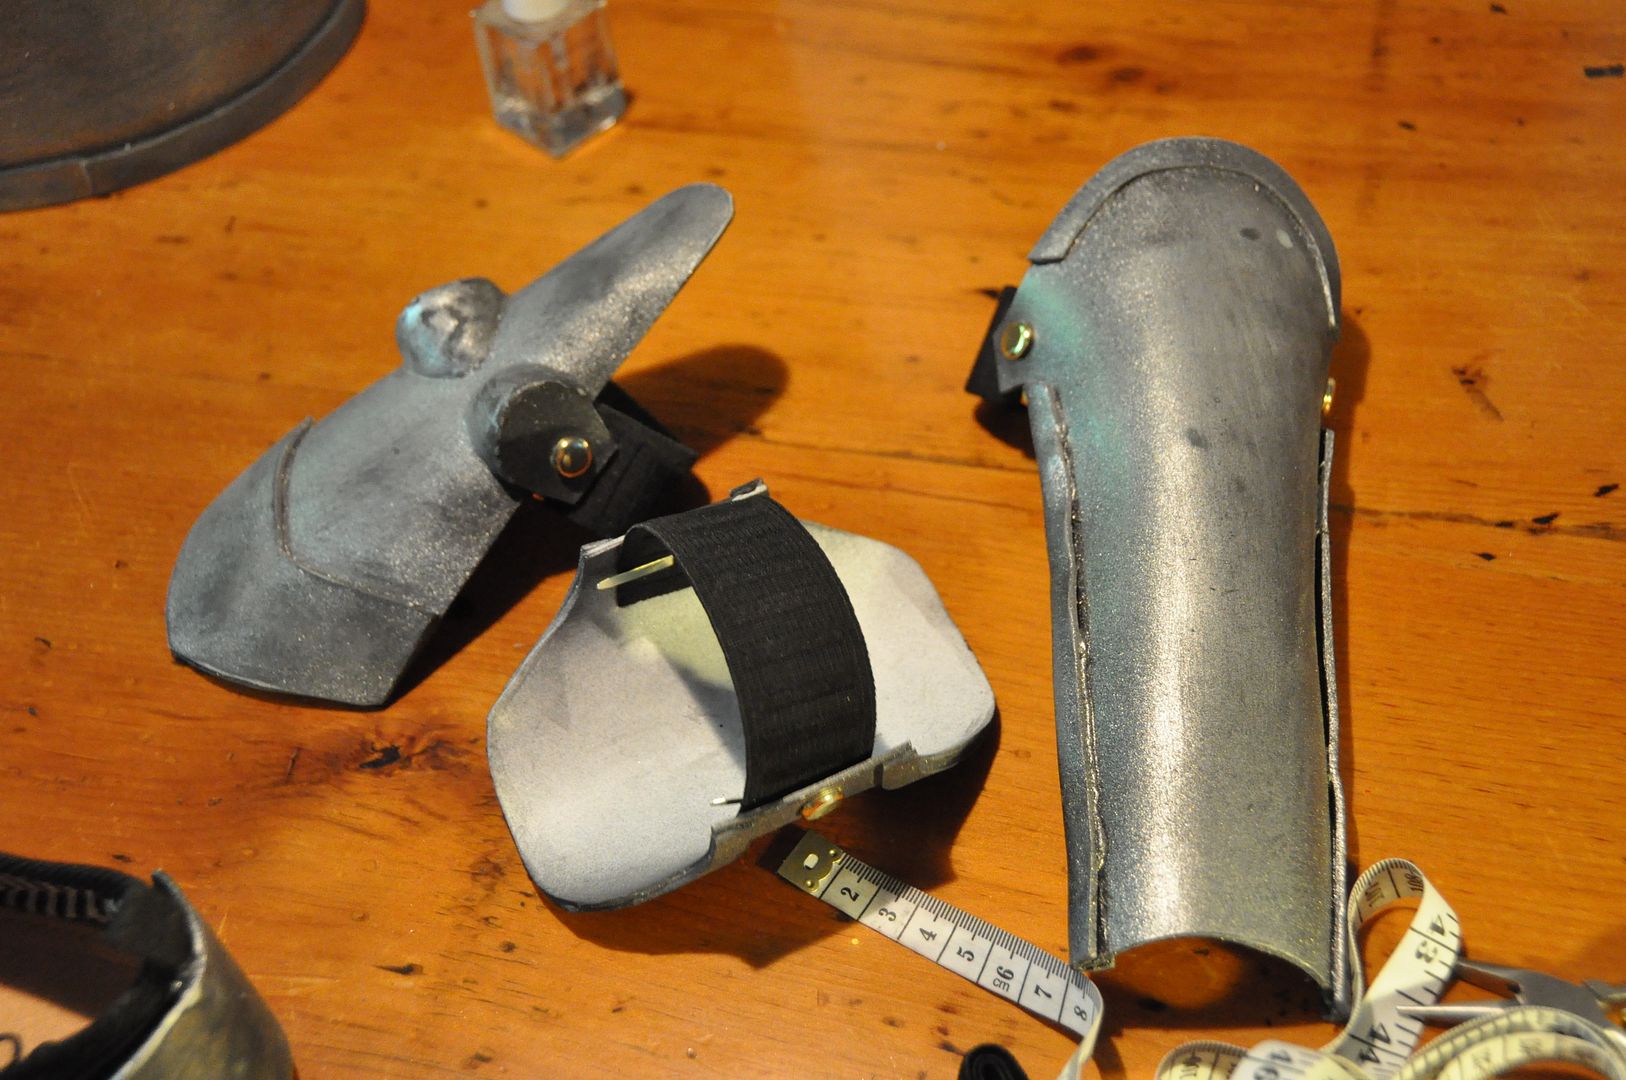
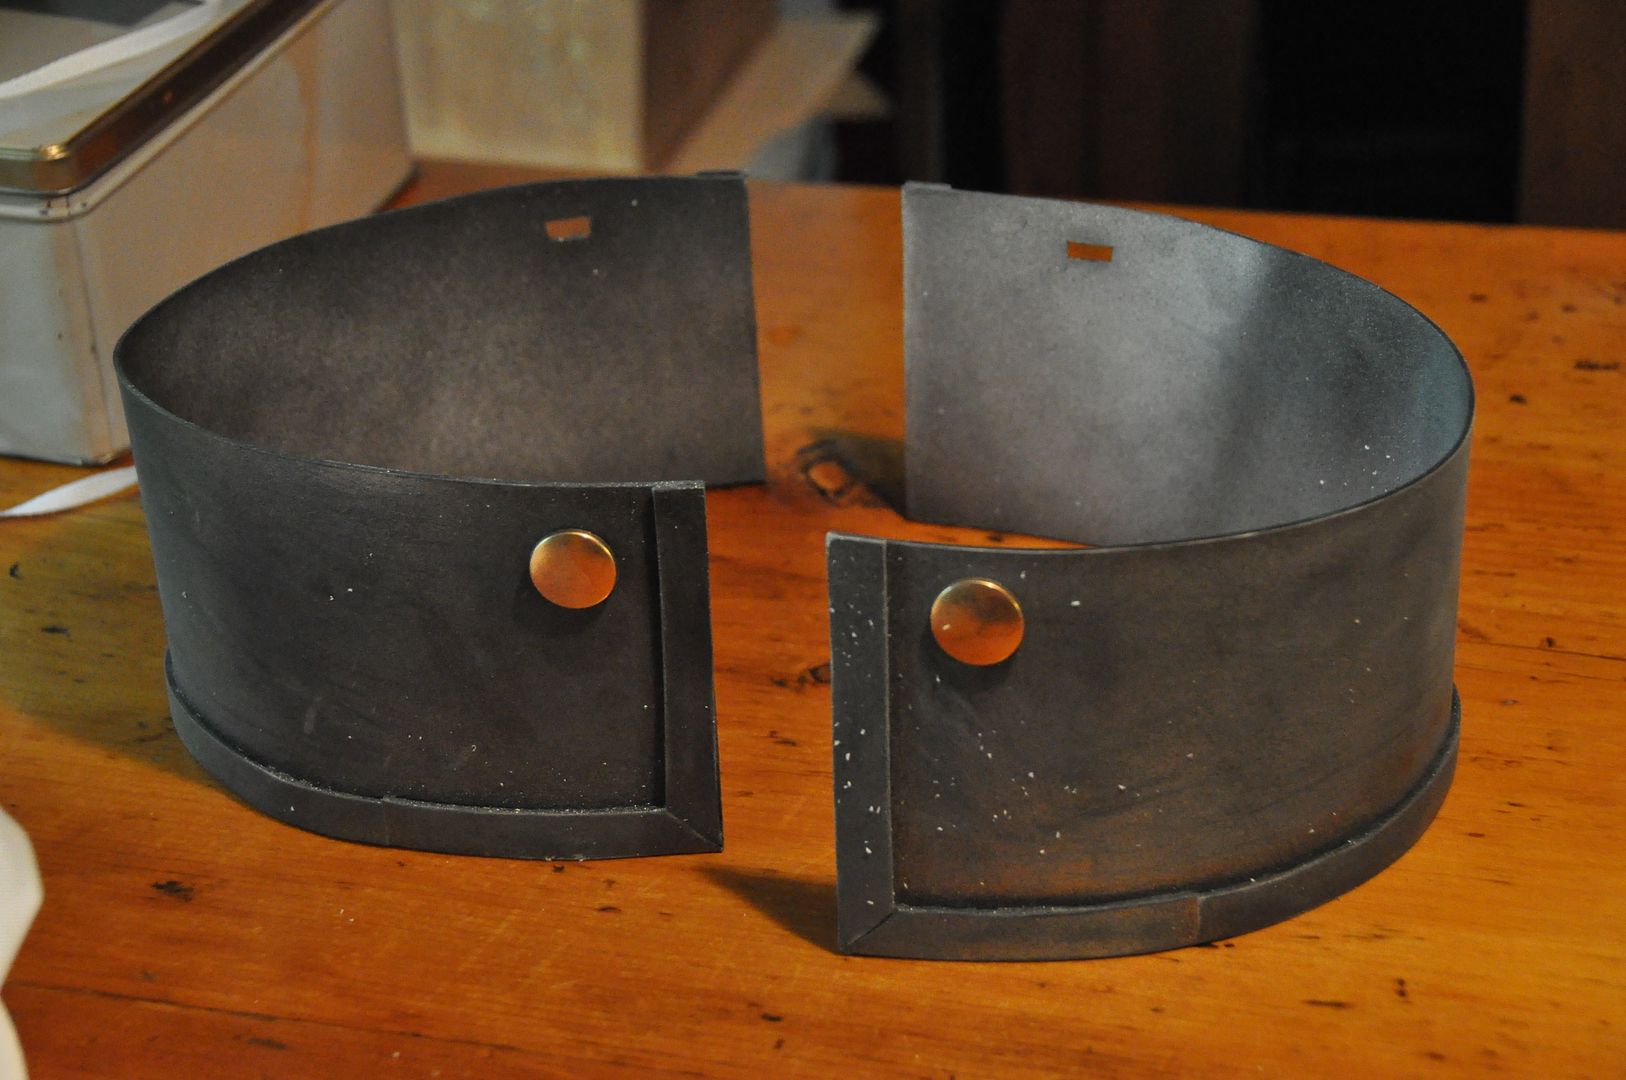
The neck piece was made from 4 pieces. The front and back were designed to nest and separate for easy removal.

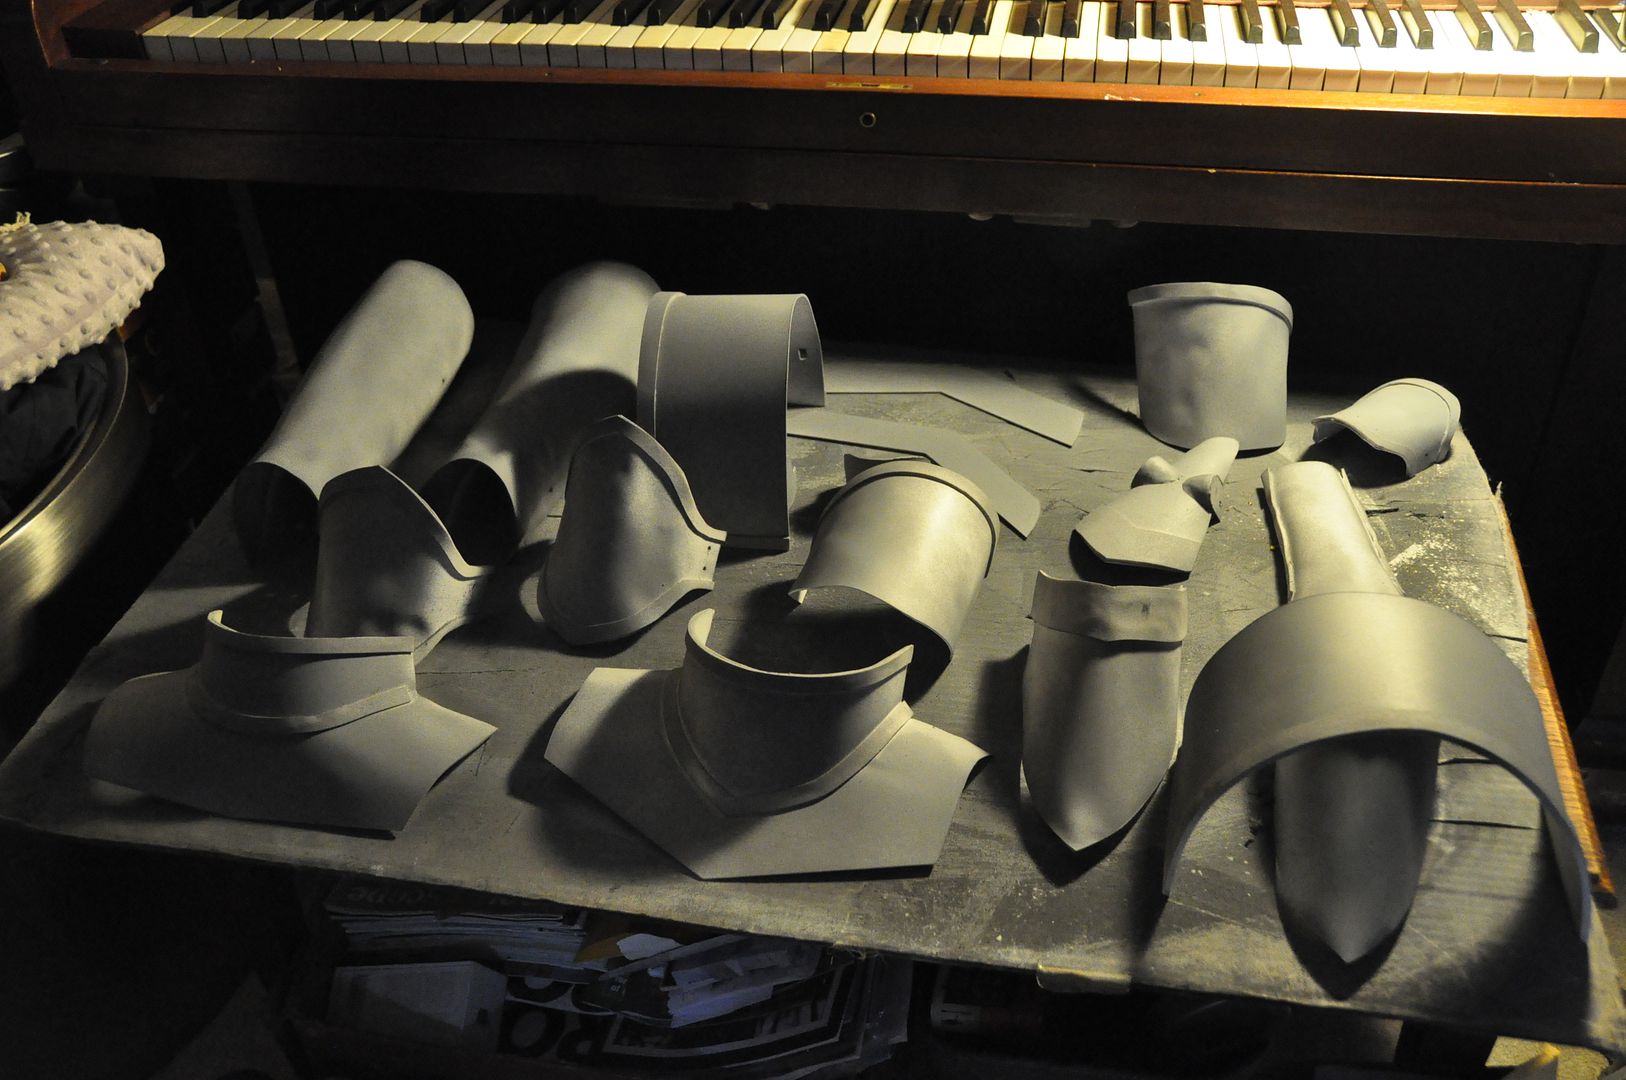
After doing several gesso layers to protect the craft foam from the spray paint I was ready to start painting! (I did a test with the styrene plastic and it did not melt from the spray paint, meaning I did not have to coat those surfaces.)
The paint was applied in several stages and many layers over a few days. First I did a primer grey, then a few coats of black as my under tone, then a few coats of a metallic silver.

 All the armour ( both cast and heat molded pieces) was given the same paint treatment so it would all look the same.
 The next step was weathering. In case you haven't noticed, a flat coat of metallic spray paint can look kind of cheap, by weathering the armour, it looks more realistic.
First I started by carefully sandpapering the surfaces. My goal here was to slightly expose hints of the black layer underneath. This was done mostly on the bare surfaces, not in the corners. Then using black acryllic paint I dry brushed the crevices to make it look dirty and older. (I simply used a very small amount of paint and pushed it into the corners, using papertowel to wipe at it.)
 For the hip pieces I used two gold buttons, some cord and a few hooks to hold them in place to the shirt.
After many hours of work, my armour was ready to wear!

No comments:
Post a Comment