

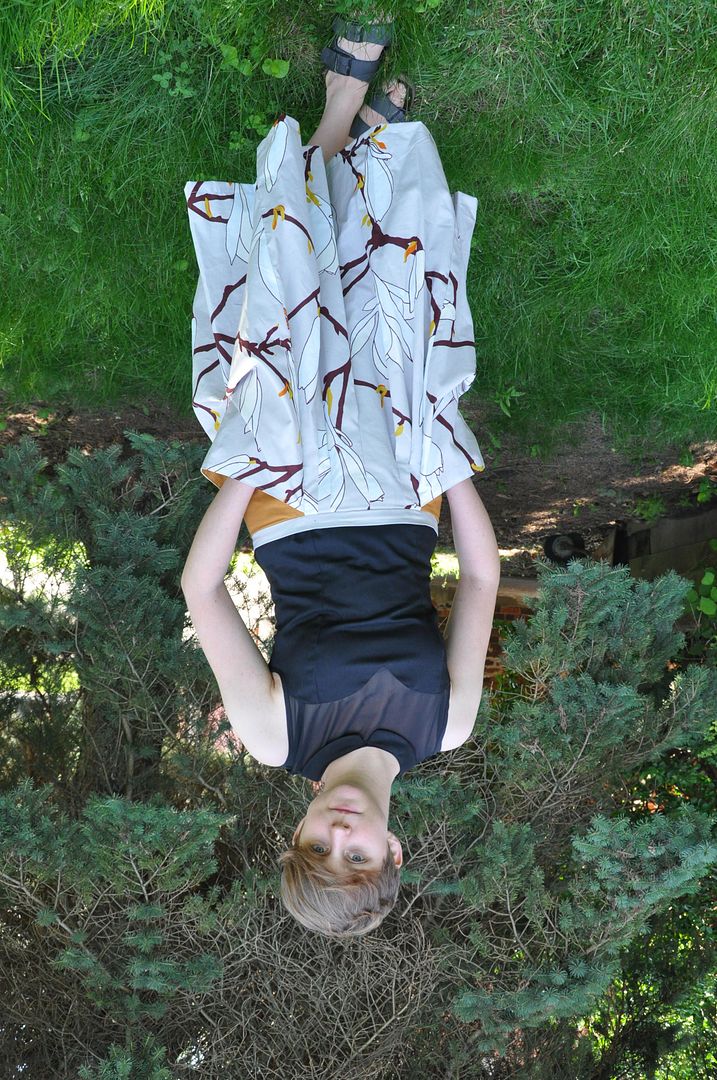
Taking a break from cosplay projects to post some of my original work from this summer! This is a fun summer skirt I designed, using the beautiful Marimekko my sister got me for Christmas. I really love the large floral print and it was a challenge to design something suitable to show it off. But I think I nailed it. ;D My favourite part of the skirt is the two large pockets on the side.


First thing I did was make a broadcloth mockup of my garment, to make sure that the pleats had enough volume, and that the pockets would hang the way I wanted. Since this is expensive designer fabric I didn't want to waste any by making easily preventable mistakes. After some minor adjustments to my pattern I was ready to move ahead.
The pattern is made mostly of rectangles. When cutting I had to be very conscious of the floral print ensuring that there weren't too many noticeable gaps in the pattern, and that the print wasn't upside-down on any of the panels.
The two back pieces were stitched together first, then the zipper was inserted.


Calculating for pleats is not too hard, but requires some math. I purposefully did not make all my pleats even (but they were still symmetrical).

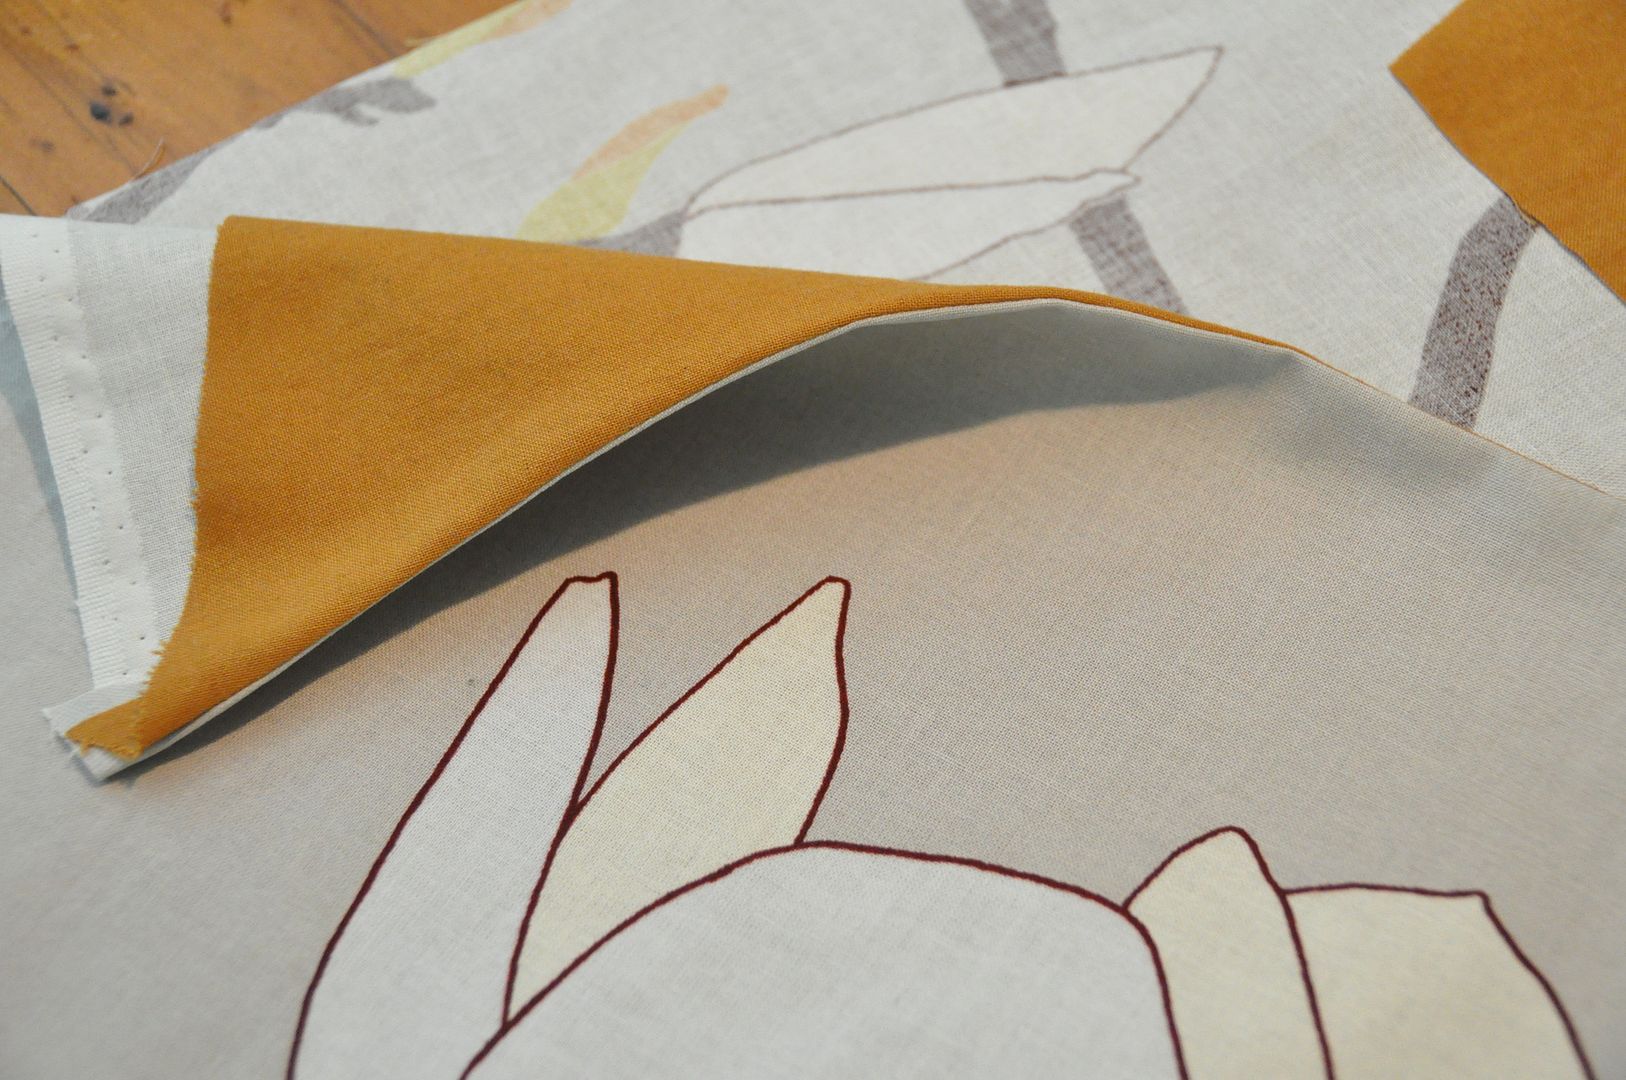 The side panel pocket detail was constructed before being attached to the rest of the skirt. For this I chose a nice contrasting orange/brown fabric.
 I first sewed the two curved top edges together and flipped the pocket to the inside. This left me with a nice finished edge which I ironed and top-stitched.

 To create the loose hanging pocket edge the wide angled inner pocket piece is attached to a narrower rectangular piece that would be attached to the waistband later. (This piece is the visible piece on the hip of the skirt.)
I finished up my inner seams then attached the side panels (now with pockets) to my front and back panels. Then I added a waist band, which closes with a hook above the zipper. Then the skirt was hemmed to the desired length.

 The last step was making the skirt adjustable so it could be worn in 3 different styles. I added in 2 button holes and a button that allows you to pin up the side of the skirt to form the second style (see left). Also there are two strips on the inside that can gather up the sides for the third style which reveals more leg. ;D
I wore this skirt to my cousin's engagement party. :)
ALL THE COOL POCKETS!!!!!!!
ReplyDeleteThis would actually be super handy for working in a wardrobe shop. I wonder if you could adapt this style into an apron? Add in a patch of muslin to stick pins without ruining beautiful fabric like this.
ReplyDeleteYeah, I think it could make a cool apron. :D The pockets would have to be super reinforced to carry scissors though.
DeleteVery nice! I love the pockets.
ReplyDeleteVery nice! I love the pockets.
ReplyDelete