

I suppose I could have made the sleeves bigger if I wanted to be really accurate.
I will actually be going in depth on the pattern I modified for this costume, so hopefully this tutorial will be helpful!
 The pattern (which was modified from one my mum made ages ago for some Bleach Shinigami costumes) goes as follows:
Outer Kimono:
Back: (cut 2) Length 34", Width 11", Shoulder 5 1/2"
Front: (cut 2) Length 34", Width 22", Shoulder 5 1/2", Slope to 15"
Sleeve: (cut 2) Length 17 1/2", Width 31"
Collar: (cut 2) Length 34", Width 3"
Inner Kimono:
Back: (cut 2) Length 34", Width 11", Shoulder 6 1/2"
Front: (cut 2) Length 34", Width 22", Shoulder 6 1/2", Slope to 16"
Sleeve: (cut 2) Length 18 1/2", Width 28"
Collar: (cut 2) Length 30 1/2", Width 3"
(This all includes 1/2" seam allowance, and 1 1/2" roll over hem for the sleeves and bottom edge. Will most likely fit a person who wears a medium to large size women's shirt.)
The shoulder length listed is on a 1" slope down from the max length to the side seam. The leftover width on the back curves down 1" to the center back seam for the neckhole, leftover width on the front slopes down across the panel to the other side forming the overlapping front. You will also need twill tape for the ties. 4 decent sized pieces for each kimono.


 The two collar pieces were stitched together to make one long strip. I added the collar facing in the same way I normally do waistbands-- sewing the band right sides together with the collar, folding it over and ditch stitching it in place.


I then finished all the edges. This included the open underarm on the outer kimono, the bottom hem, and the sleeve hem.


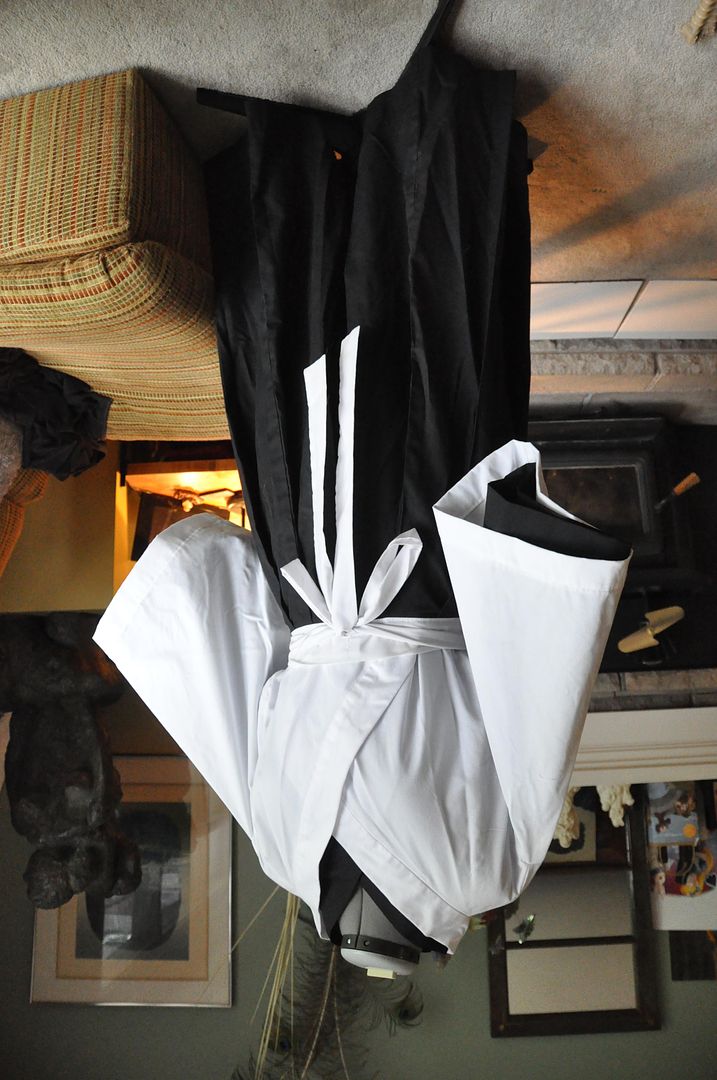
The last thing I did was to mark and add the ties, which helped to keep the kimono from slipping open. This kimono was tucked into a pair of black hakama pants that my mum made for our set of Bleach Shinigami outfits back in the day.
No comments:
Post a Comment