


 Alright, lets talk about this cute shirt! I tend to bring a little sketchbook with me on the subway and draw cool things I see people wearing. This design was based on a combination of things I had seen in various outfits. I wanted to try something that involved having a sheer layer and a sweetheart neckline. Also a collar. This is the result. You can also see how I made the skirt.
I started with a basic block, and drew my desired neckline and armholes onto this mockup. From there I transferred my changes to my pattern.


I sewed the bodice pieces together (excluding the center back pair).
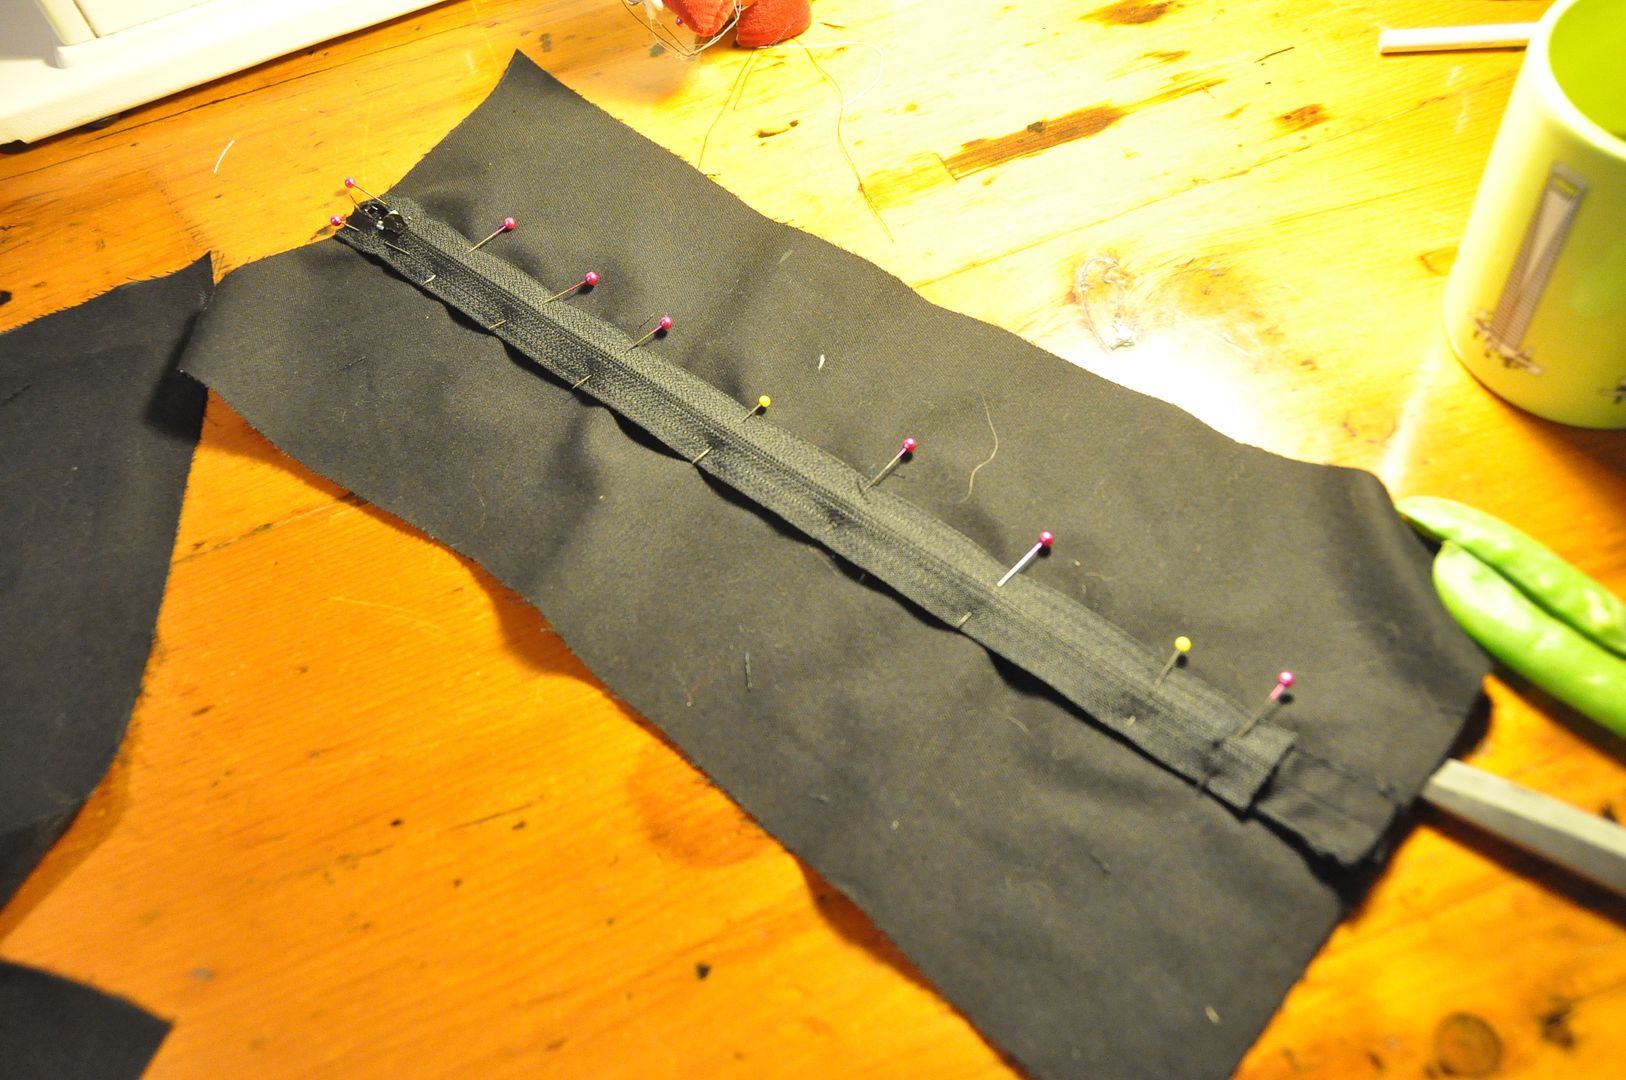
 To the center back pair I added my zipper before attaching to the rest. I made my adjustments and then finished all the inner seams.
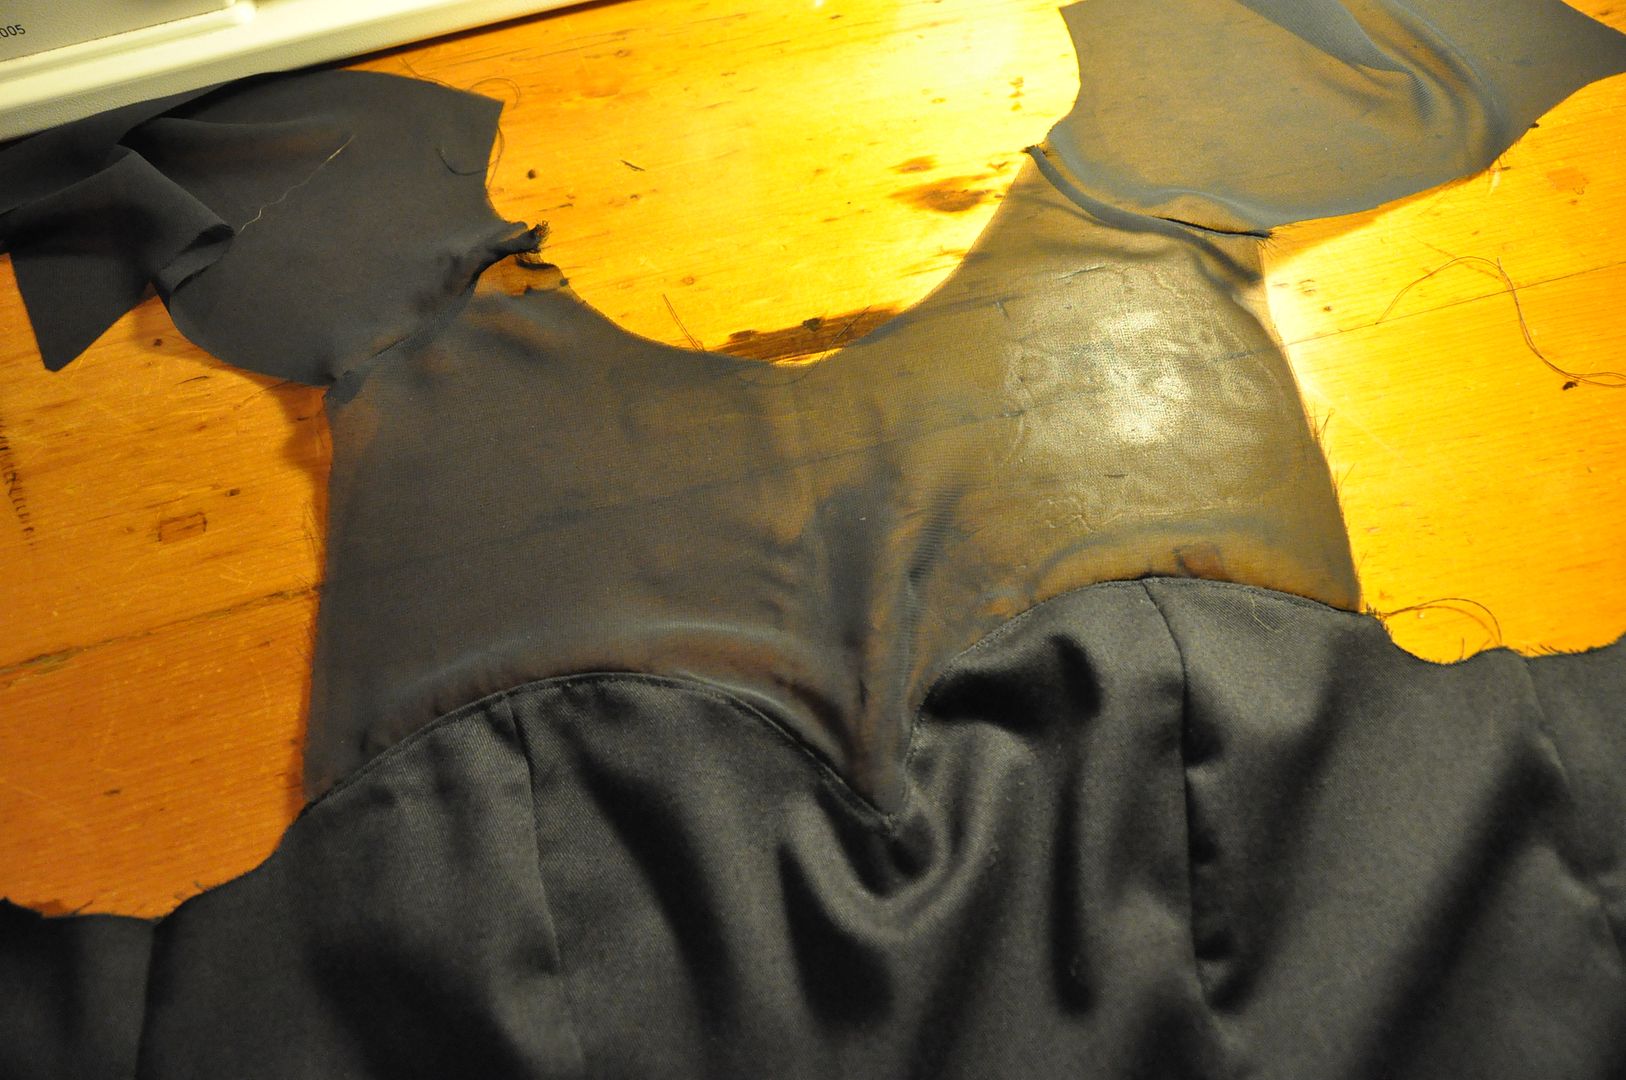
I first sewed my sheers together at the shoulder seam and then carefully attached it at the front to the sweetheart neckline. I finished this seam and top-stitched it down.
 Before attaching the sheer to the back of the garment I finished the open edges with a thin black bias tape. Then I stitched these pieces down the same way as the front.
 I finished the armholes using more black bias tape.

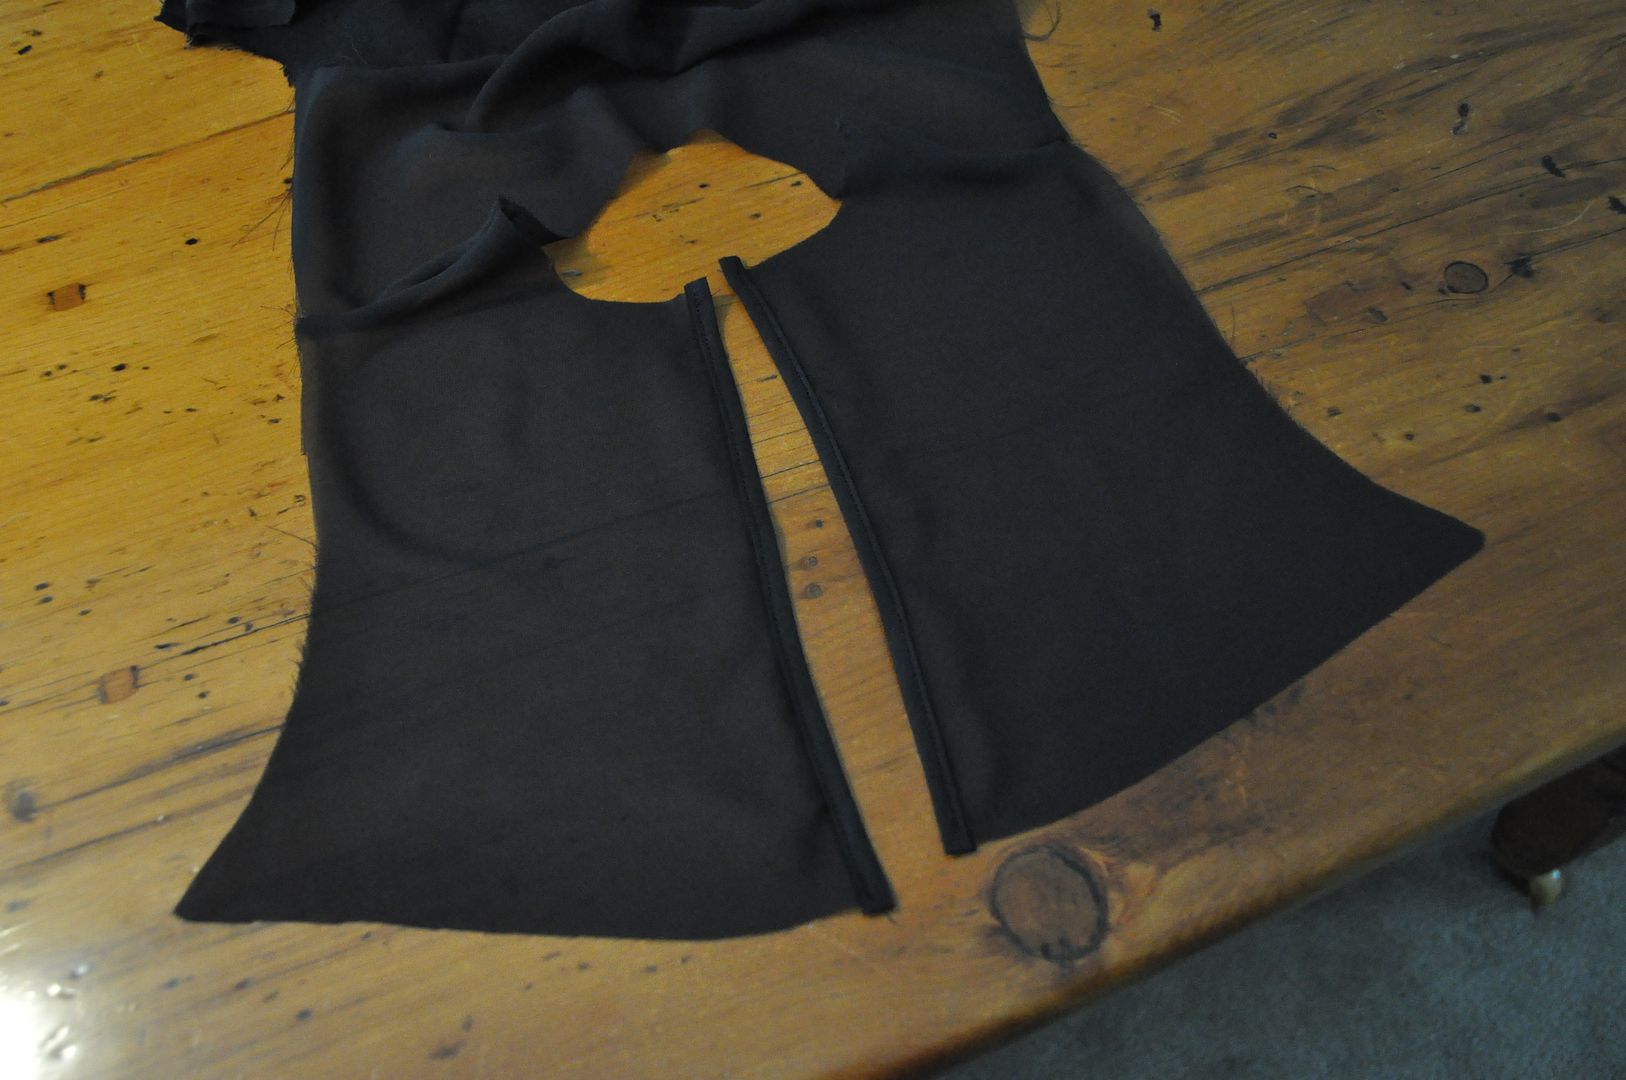
The last step was to add a button and loop at the top of the collar to close the shirt at the back. The rest of the gap was left open. :)
I wore this lovely skirt and shirt combo to my cousin's engagement party! :D
Cute. It fits you really well. :)
ReplyDelete