

This here is a project I did in the summer for my sister Alex in exchange for designing my lovely business cards and banner title graphics.
This cute print was picked up when we were in Vancouver on Granville Island. It was actually an apron pattern that I modified.


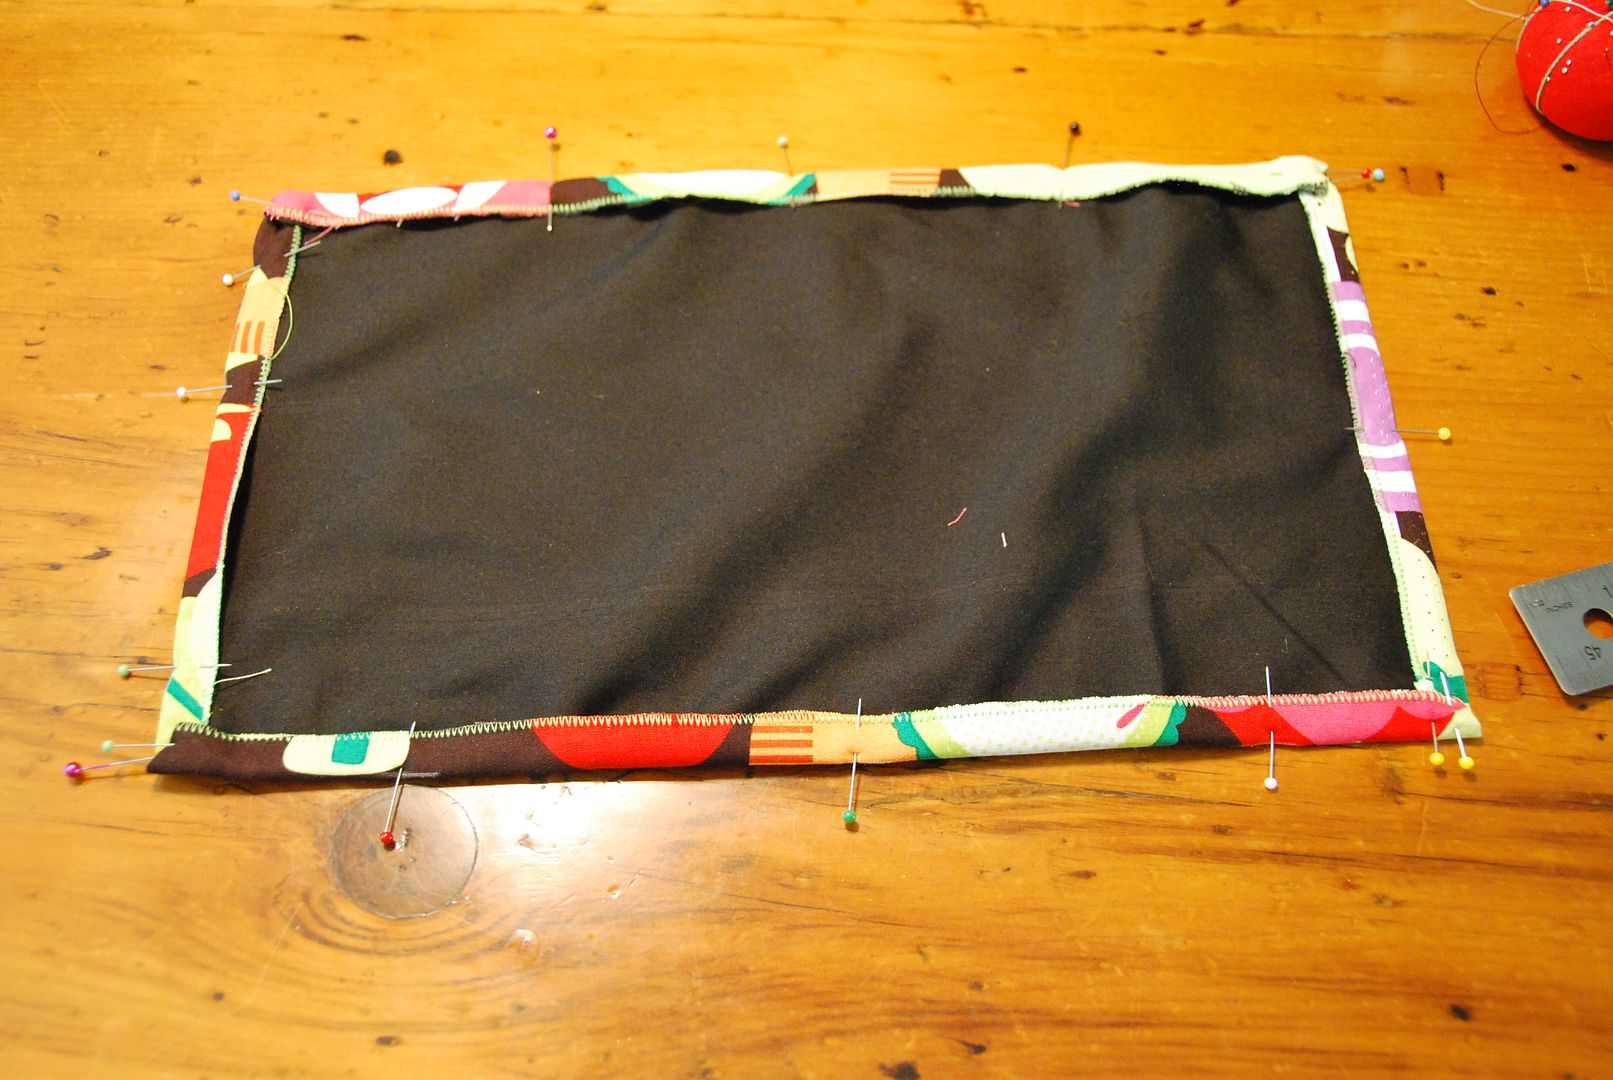
The 2 pieces were pinned right sides together, and I stitched along the outer edge, leaving it open at the top in order to turn it right way out.
 I clipped the excess fabric in the corners, and turned it right way out. The I pressed it flat.
Then I tucked the open edge at the top to the inside and top-stitched all the way around the piece--closing the hole, and tacking it in place--in an accent colour. I picked a light green.

 I then made 4 long rectangles, which were sewn into tubes, turned right way out, and the pressed flat. These would then become the ties.
2 were attached at the top and the longer 2 at the sides.

 Then I finished off the edges by tucking them in and top stitching them.
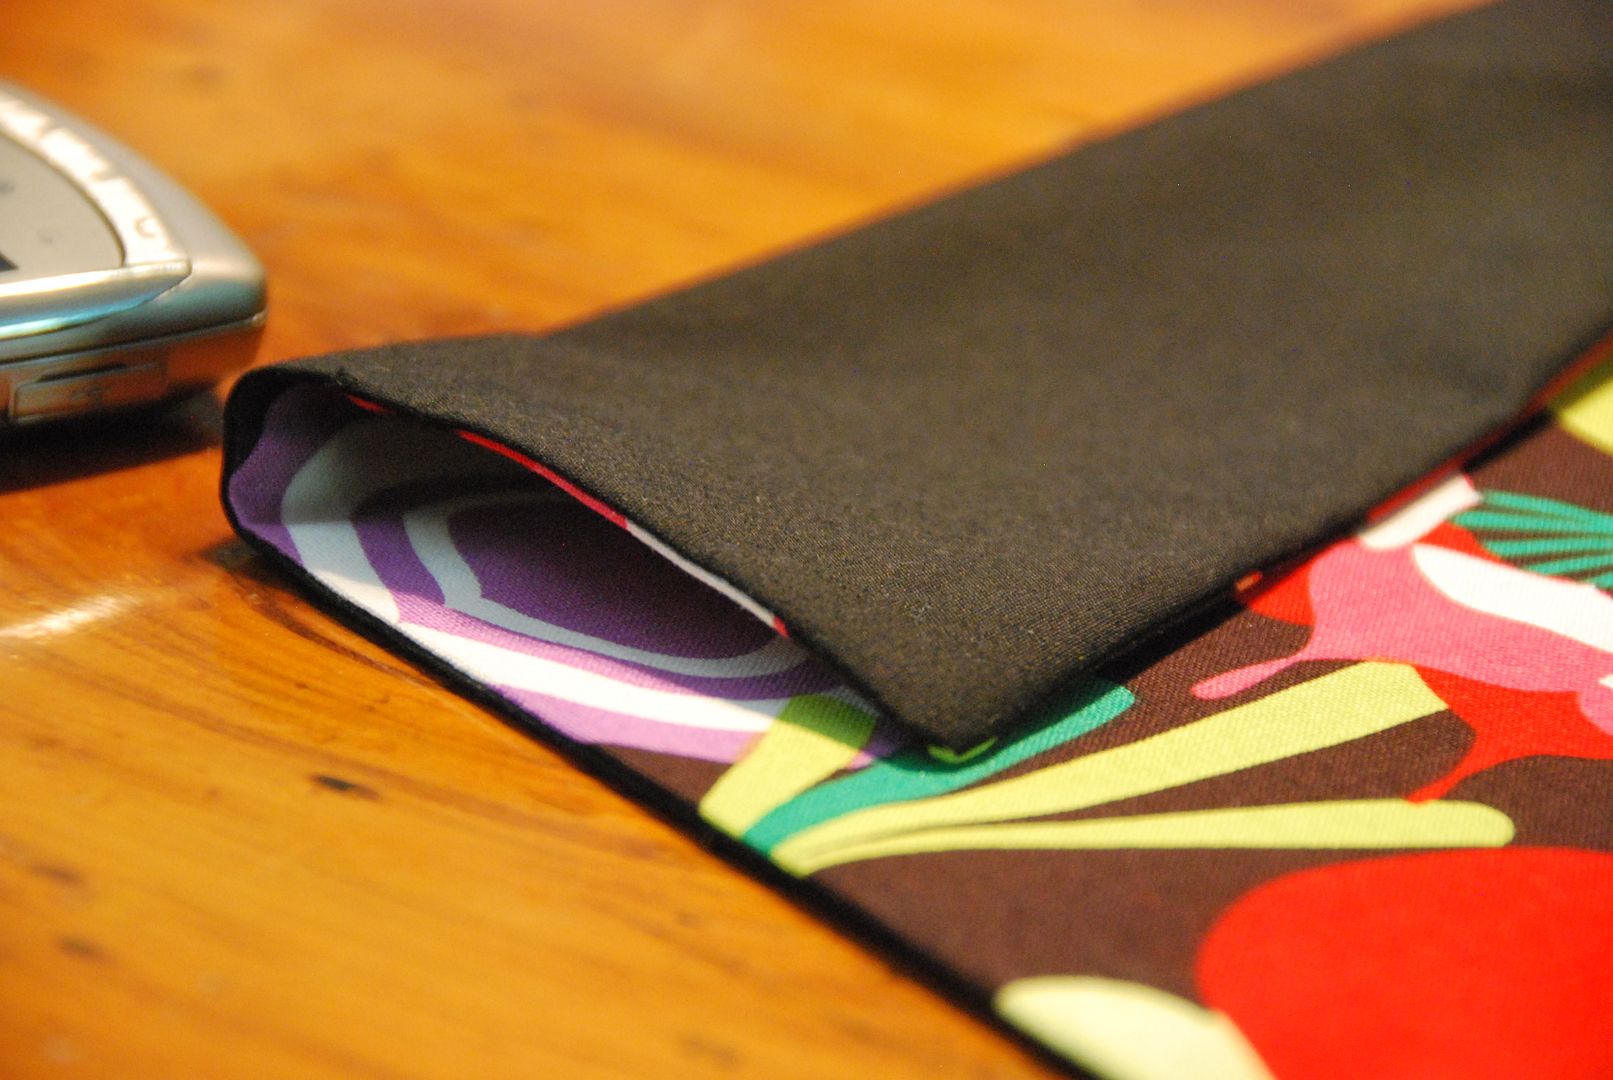
 To make a front pocket I cut 2 rectangles, one of my main fabric and 1 of my black fabric. I used a zig-zag stitch around the edges to attach them together and stop them from fraying. The I folded in the edges to the back, stitching down the side that would be the top of the pocket, leaving the rest pinned in place.
 Finding the center and the right height placement for where I wanted my pocket I pinned it in place and top stitched it down on three sides. The I put a divider line of stitching in the middle of the pocket, effectively making it 2 separate compartment.
 Overall this apron was fun and easy to make.
No comments:
Post a Comment