

(My Alice posts will be divided into three parts: the dress, the petticoats and the apron. )
Special thanks to Mike of Eleventh Photograph for the awesome photoshoot! Go here for the pictures!
This was a costume that I had wanted to make for a long time and I am really happy with the end result. This version is loosely based off of both the '60's Disney movie, the original illustrations from the book and my own designs. I wanted to go less cartoon-y and more historical.
I had a great difficulty deciding on my blue fabric. I didn't want something excessively shiny, as I find that can look extremely tacky, but I did want a fabric that had a bit of a sheen and some nice weight to it. After much scouring I eventually found this fabric at a really reasonable price and also somehow managed to miscalculate and buy almost twice as much as I actually needed... whoops.
 I started to pattern this by figuring out how wide I wanted the skirt to be at the bottom. I guesstimated the circumference and divided that number by 4. Then I calculated the length of the skirt, from where I wanted it to start to where I wanted it to fall. Keeping in mind that it would puff out in the end because of the petticoats. I drew this out on craft paper. I tapered it in at the waist, because although I wanted it to bunch and ruffle, I didn't need like 200 inches of fabric doing that at the waist...
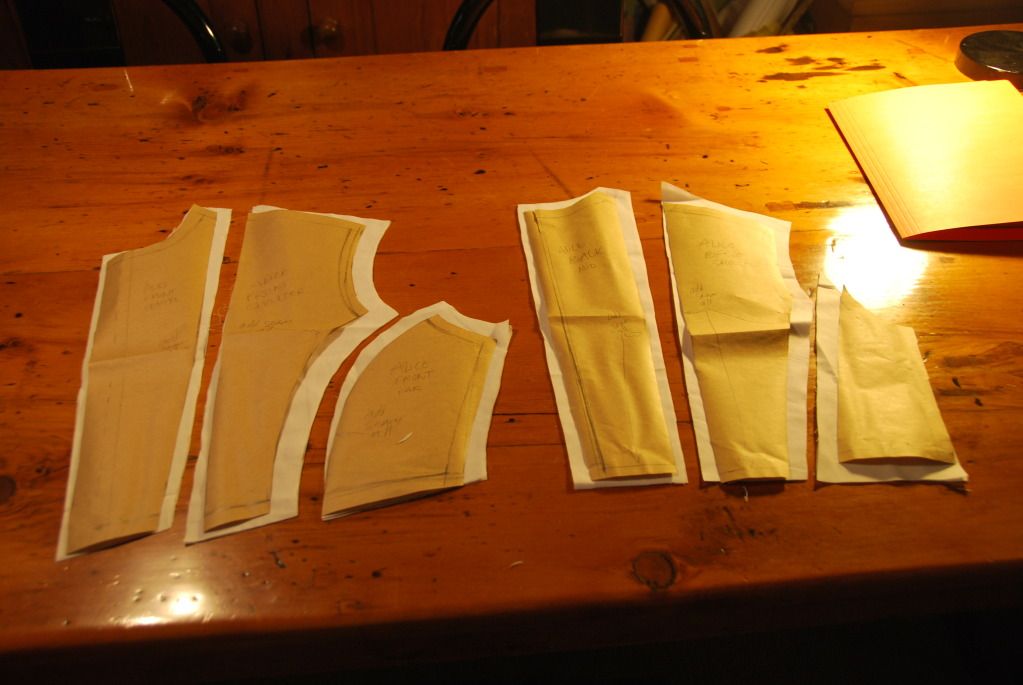
 I first made a mock-up to determine if my pattern worked. Some adjustments were required--I ended up lengthening it by 1/2" and I took the shoulders in a bit--but overall the fit was good.
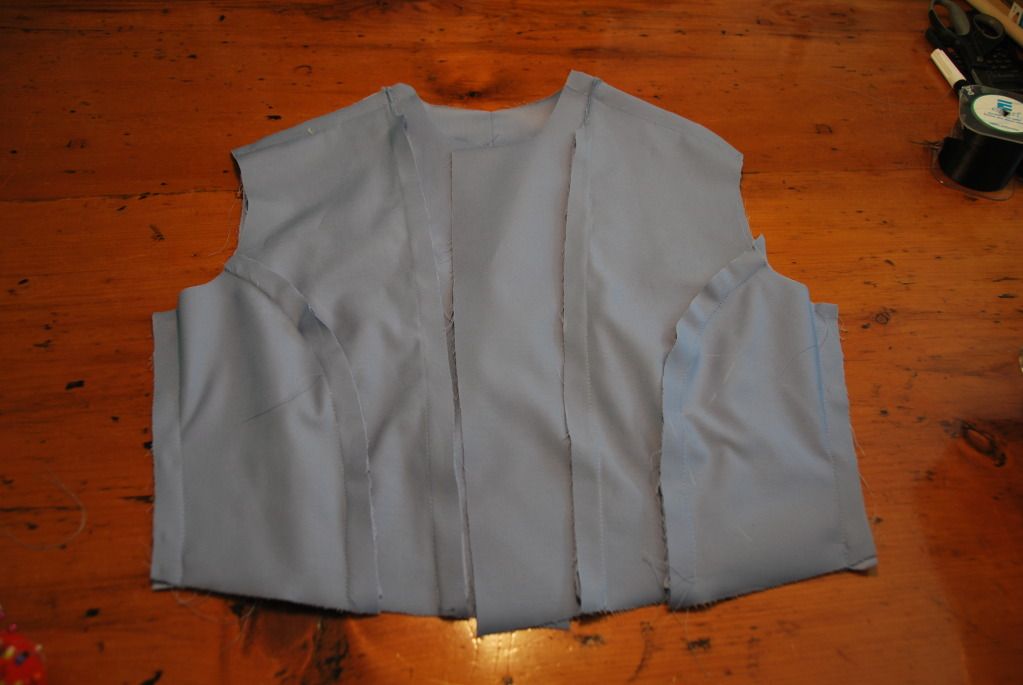
 I then cut my pieces out of my good fabric, making sure to add the seam allowances.
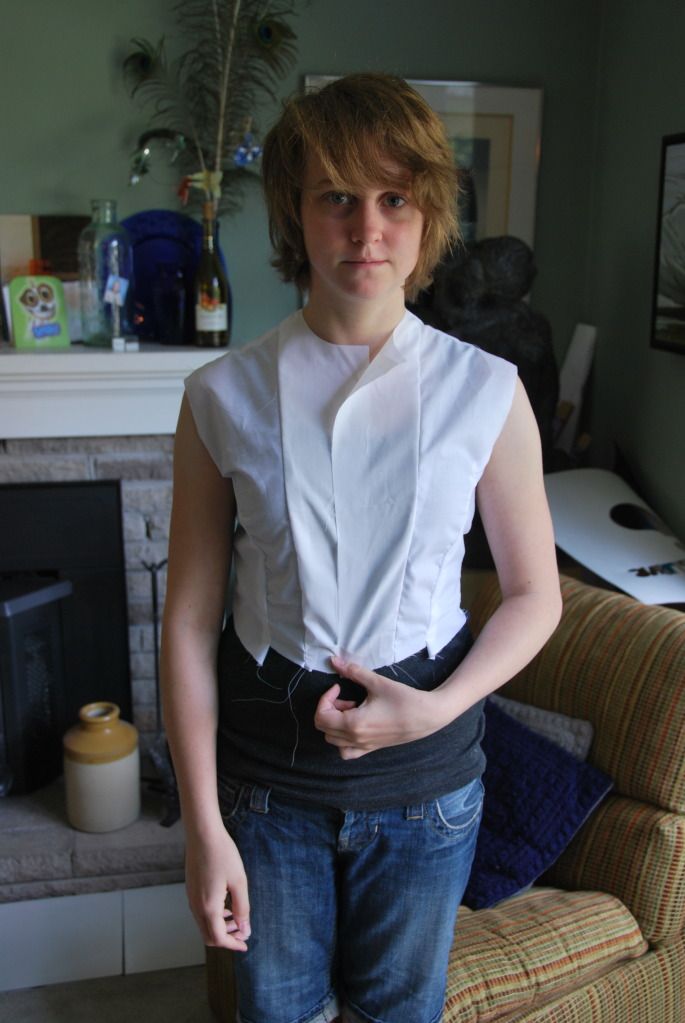
 I sewed the front panels and back panels together. I pressed the seams flat.
 I clipped and finished the tops of the seams that would be sewn in the
shoulder seam. I left the rest of the seams in the bodice unfinished so I
could make adjustments, but I had to do up the sides and shoulders
first so I could determine the fit.
I clipped and finished the tops of the seams that would be sewn in the
shoulder seam. I left the rest of the seams in the bodice unfinished so I
could make adjustments, but I had to do up the sides and shoulders
first so I could determine the fit.

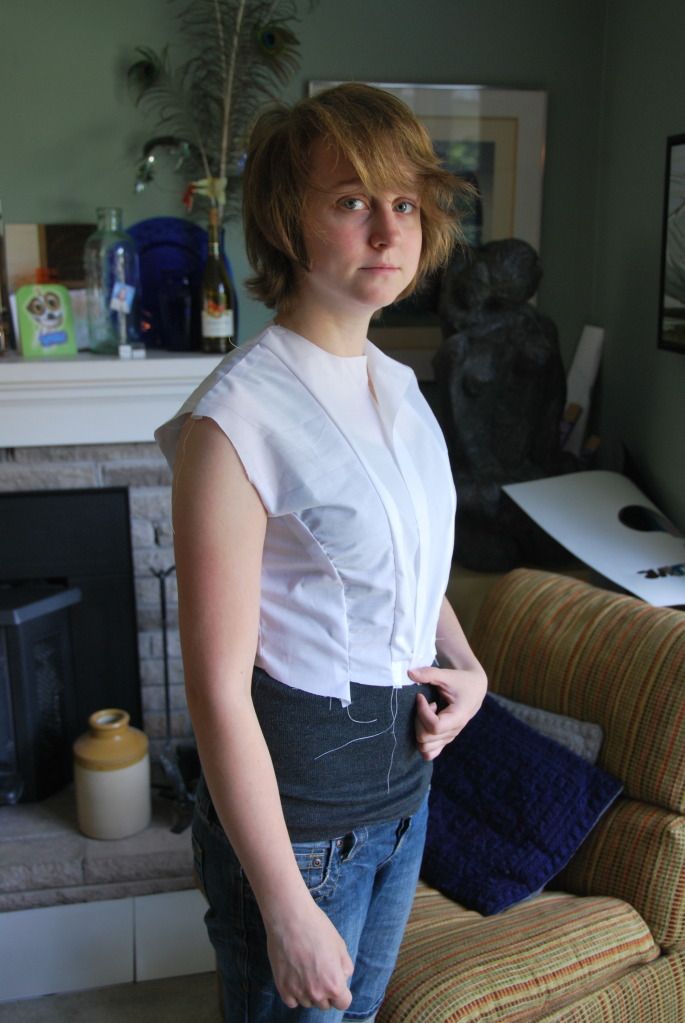
 Once the placket was complete, I made a few more adjustments to the fit, particularly at the arms and shoulders. It is easiest to pin these adjustments when the garment is worn inside-out.
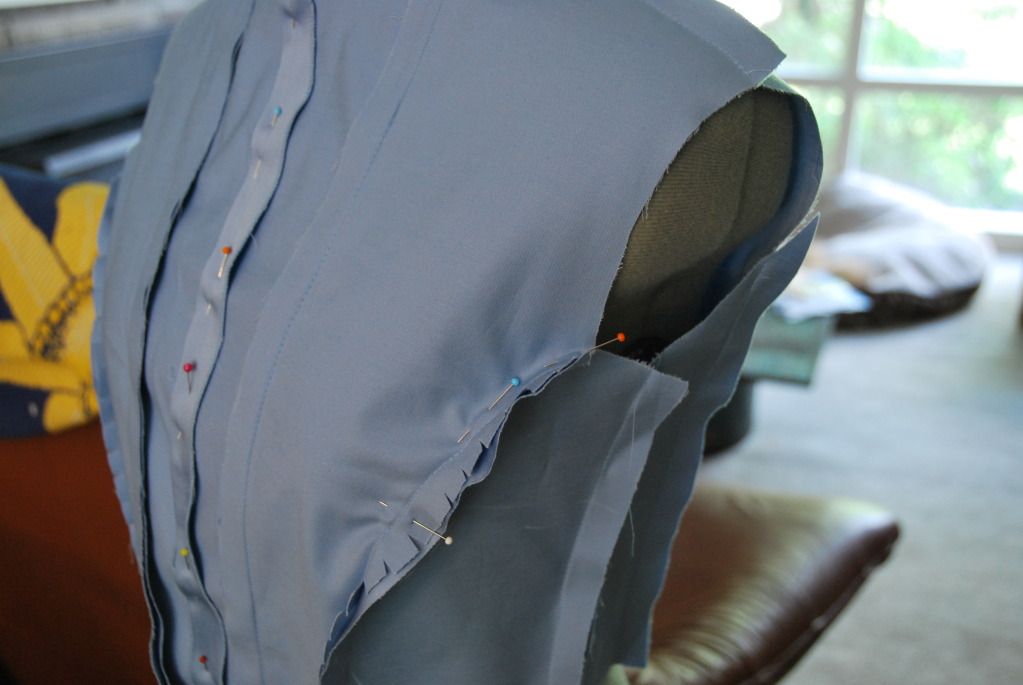


 I sewed the outer part of the collar together, clipped it, turned it right way out and pressed it. Then I sewed it into the inner part of the collar. After clipping and pressing that, I was able to attach it to the bodice.
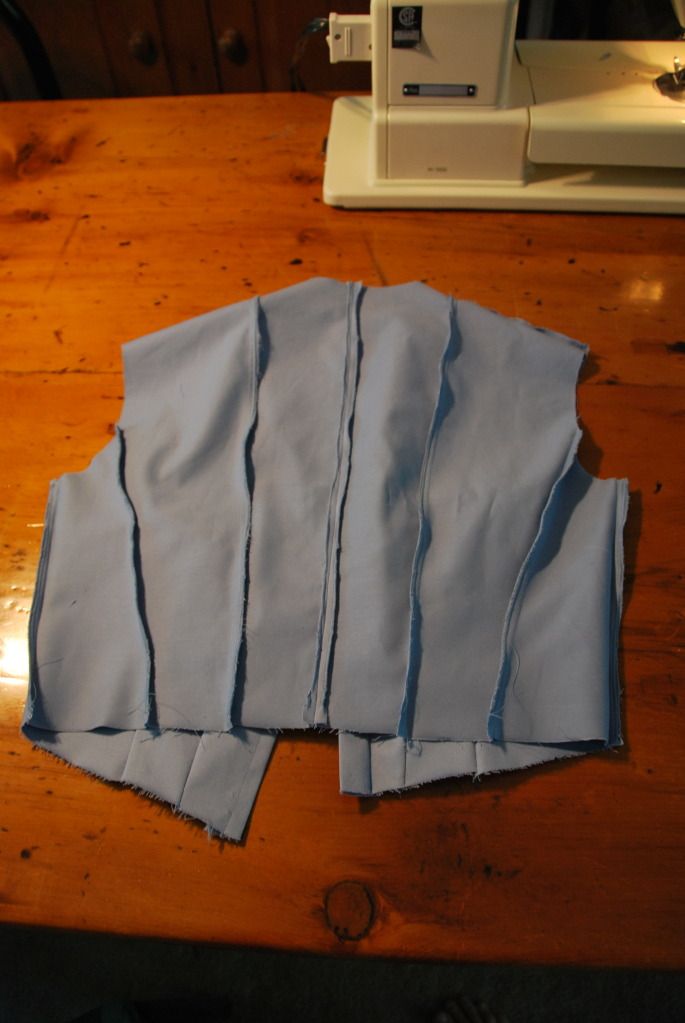
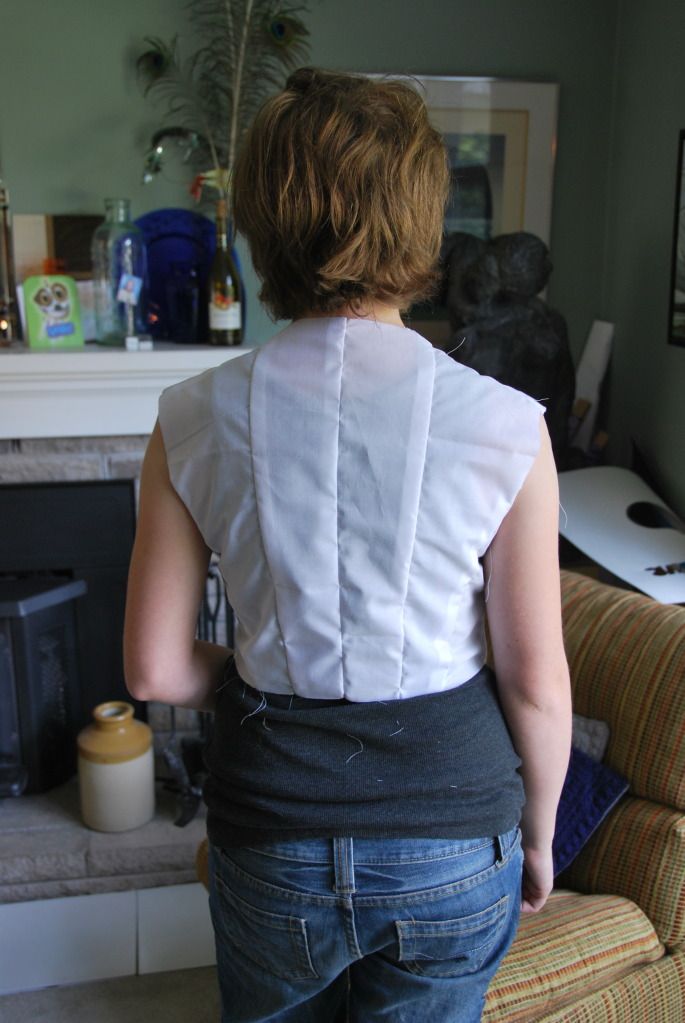
 I finished the inner seams of the bodice, and then attached the collar. First on the outside and then using a ditch-stitch to finish the inside. Pretty! :D
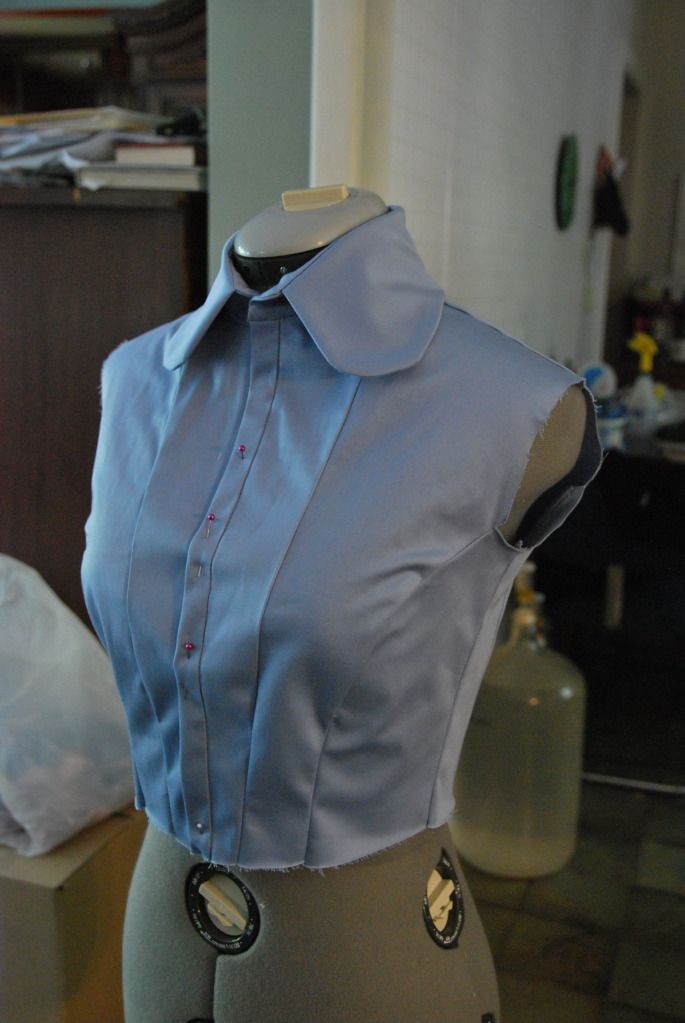
 I sewed my 4 panels for the skirt together and finished the inner seams. On on of the seams I left a 2.5" gap at the top that was un-stitched. This is where it would be attached to the front opening. By having this 'slit' I would be able to easily remove the dress when it was unbuttoned, but with the overlap it would be unnoticeable when buttoned up.
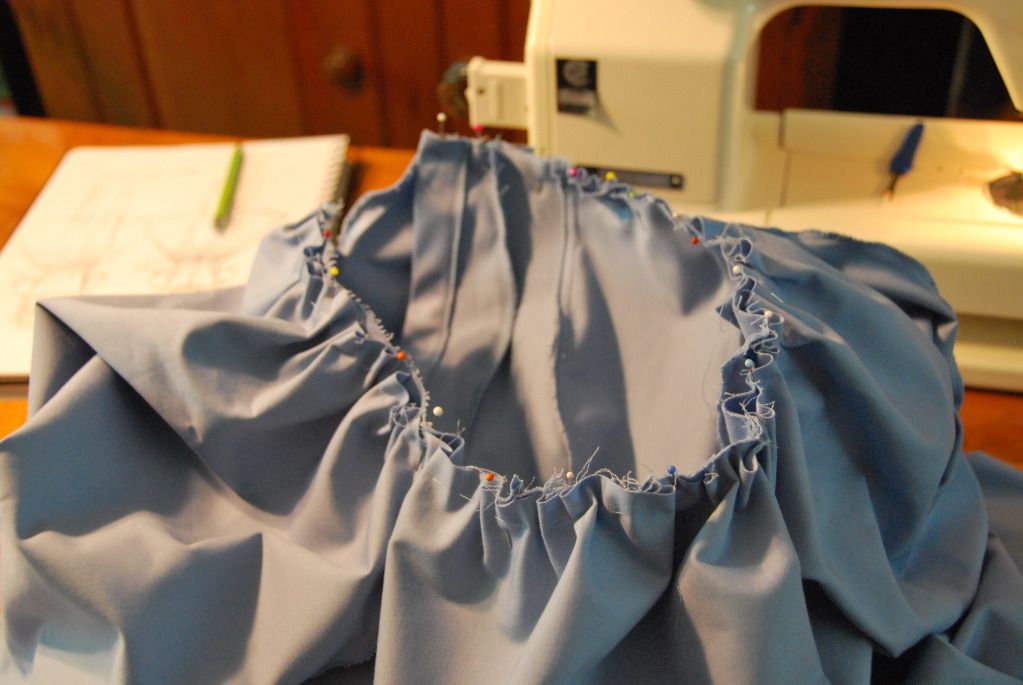 I then used a basting stitch and sinched up the skirt to the correct cicumference so it could be attached to the bodice. This was pinned in place and sewn on (right sides together).
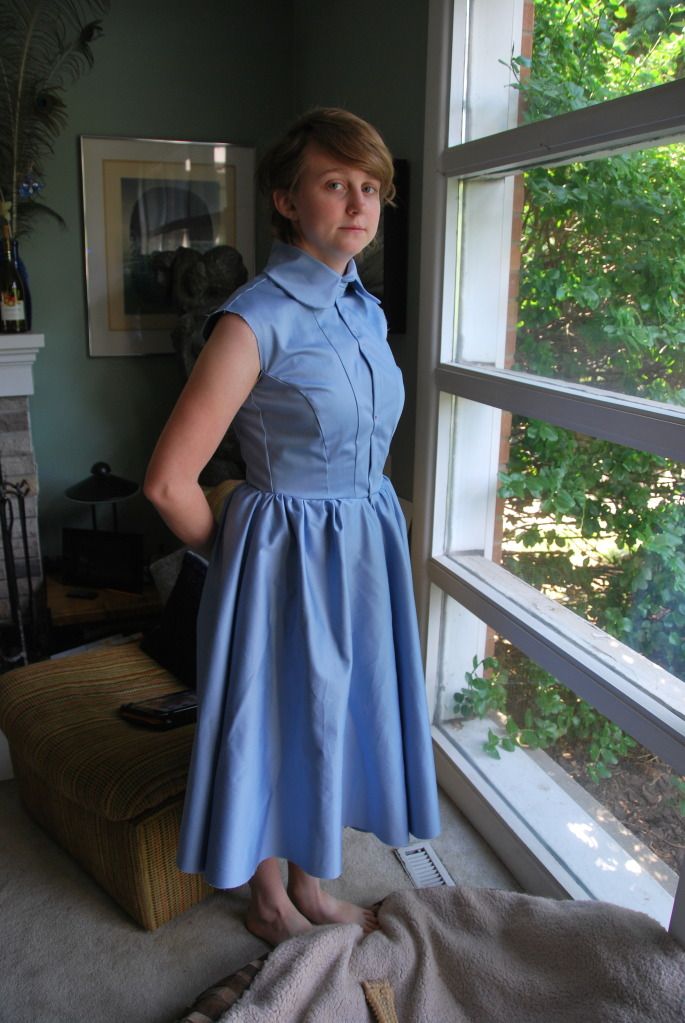


 I marked and pinned the dress for hemming. I had a sewing party with a friend and she hemmed the dress beautifully for me while I made gloves for another costume.
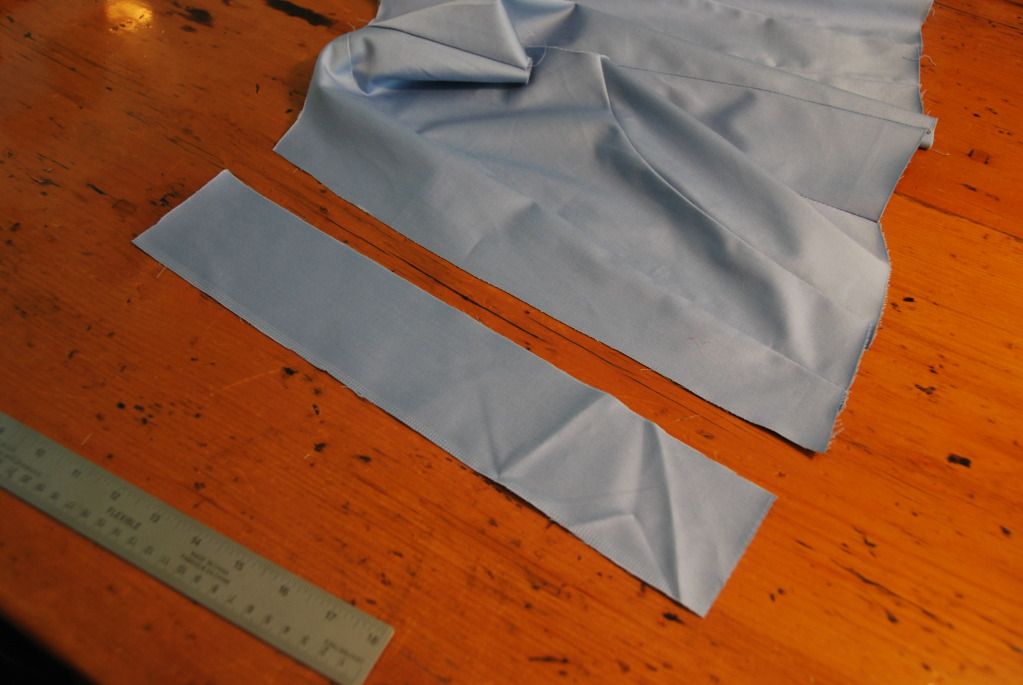
 The sleeves were patterned and the sinched so that they would be pouffy. I attached them, and added a slit, which would be where the sleeve would close with a button. This slit was finished off with a bias tape made of my same fabric.
 I then gathered the bottom of the sleeves and added the little cuffs. The button and loop were the finishing touches here.

Is it possible if I can get a pattern for this dress?
ReplyDeleteHey Audrey,
DeleteIt is possible for me to trace a copy of this pattern and snail-mail it to you, however I would have to double-check that I still have all the pieces and that they have all the alterations I made documented on the actual paper pattern. Also I will not have time to do this until the beginning of April. I patterned this myself from scratch, and it is sized to fit me, so even if I sent a copy there is no guarantee of a good fit though... If you are still interested, just let me know. :)
Oh thank you so much!
DeleteWhat were the measurements for that dress? I'm still interested, though as of right now, I don't need it right away. Since I'm a petite person,I guess I'll alter the pattern myself, unless you're willing to do it. Whatever works best for you.
The measurements for the dress are: bust 33", waist 29", length 40" from nape (though it looks a bit shorter when you add the petticoat.) I currently have a lot of projects on the go, and I don't think I can make time to properly copy out this pattern and re-document my alterations (which were not copied onto the paper pattern) until the end of april.
DeleteAudrey,
DeleteIf you could email me the measurements I can tackle re-sizing the pattern for you at some point this week. I will need measurements for bust, waist, hips, height, nape-to waist, waist to hip (tie a piece of twill tape around your waist when taking vertical distance measurements to ensure they are accurate) across front and across back (on a fitted shirt this would be from armhole seam to armhole seam about half-way down the armhole.)
My email is: sierra.boake@ryerson.ca
Hey! I love that costume :D I would be happy to have the pattern. You want to know my size then tell me and I will send you in email. It would be so nice! I want to do that for halloween I hope it's not too late.
Delete@CheekySignpost: Very sorry, but I am in the middle of a really heavy school term and have no time to re-copy and resize that pattern. (I don't even have time to make a Halloween costume for myself!) I'm hoping at some point in the future I can make a version of this pattern that is printable, but for now I can't take on any extra work... :(
DeleteOkey I understand. I am not sure if i would be able to do it anyway. Maybe in future you could give me the pattern cause it's fantastic! A have to make easier Alice costume or change my mind ;)))
ReplyDeleteI know this is a long shot, but I want to create an Alice costume for my 2-year-old. Can you simplify the pattern a bit? I want to make a dress with a puffy skirt and collar (and a zipper in the back for on/off), and the apron, but I don't think I need a very fitted bodice of many pieces for a child that age.
ReplyDeleteWould you be able to help with that?
I'm very sorry but I am currently in university and have no time to create a new pattern. My suggestion would be to find a pattern supplier like Simplicity that makes Halloween costume patterns in children sizes. You should be able to find something similar to what you want there!
DeleteHey! My name is Bek.
ReplyDeleteI've been put in charge to be Nurse Joy from Pokemon, it's impossible to find a pattern for her dress. Her dress and Alice's dress are almost identical, so I was wondering if you still had a copy of this pattern lying around? Even if it's in an old email or something.
I understand you may be too busy, or may not have it. So regardless, thank you for your time (:
Also, I may have double posted this message... Honestly have no idea, haha.
I have no copies of my original pattern, and I am currently in university (meaning I have no time to draft a copy). I haven't had a chance to figure out how to digitize my patterns yet. Sorry! Best of luck finding a pattern!
DeleteHello, you wouldn't happen to remember what kind of fabric you got for the dress? I would like to use it for my own Alice dress. :3
ReplyDeleteHello! I'm trying to create my first cosplay, and I'd love it to be an Alice in Wonderland one. I have a couple questions about measuring and making a pattern like this one, but if you're too busy with school or other things to answer them, I totally understand. My con that I'm going to isn't until November, but I would like to get a head start. Pleaaaase reply soon! I so look forward to hearing back!
ReplyDeletethank you for this great tuto, but have you been able to find any tuto for the other purple dress of alice in the film alice in wonderland 2 ? like this one : http://cosplaysky.fr/film/alice-au-pays-des-merveilles.html
ReplyDeleteI don't know any good tutorials for that costume, but it is a pretty amazing outfit. All the costumes from that movie were pretty amazing and I'd love to make them, but lack the time. haha
DeleteCan I please get the pattern for this costume?
ReplyDeleteWhat type of fabric for the dress did you use? It’s perfect!
ReplyDeleteHello! Do you still have the pattern?
ReplyDelete