The last post from my Asuna set, then I am officially done Anime North 2013 stuff! Hahaha
Go here for my
Heat Molded Armour,
Wig,
Bodice,
Skirt, and
Sword. And you can find the rest of my photoshoot with EleventhPhotograph
here! The armour looks particularly stunning in these photos, the paint job on the shoulder piece really reflected light well.
So here we go with the second part of my armour tutorials, except this
time we get to talk about casting. Probably one of the more finicky
aspects of the whole project, and in spite of all its faults it turned
out really well (particularly since this is my first time casting
anything myself!) Before I get into the technical talk of this post, I
would like to thank my friend Ian (aka Elephutan) for taking the time to
walk me through the whole process! It would not have been possible
without him!
The shoulder piece I am the most proud of, of the entire costume, while
the elbow piece I am the least proud of (in terms of shape, size,
rigging, etc. it just didn't fulfill my expectations.)
First I would like to say that it was an executive decision to change the design of the elbow armour to be something more physically possible. On real armour there are no metal bits on the inside of your joints so that you can actually bend your limbs. On the original design however the elbow piece encircles the entire elbow (see picture on the left). This would have made it a) more difficult to cast, b) more
expensive to cast, and c) physically impossible to bend my arm. That being said I was so mobility impaired anyway that I doubt it would have mattered, but I didn't want to hamper myself from the get go. So I modified it to go only halfway around the arm.
While the heat molded armour is quite economical, the cast pieces are quite pricey. However, with the styrene plastic it would not have been physically possible to achieve the shapes I wanted. I could have carved it out of foam also, but I would have had my constant dilemma of foam being easily dinged, and carving the inside cleanly would have been nigh impossible. The hollow cast shell was what I was looking for in this project.

...And now for something completely different: The first thing I cast for this project was actually my legs to use as a base for heat molding. This was done with a plaster bandage mold.
First we covered the front half of my leg in plaster bandage, then after that set we covered the area of overlap in a generous layer of vaseline. Then Ian covered the back half in the plaster bandage. Obviously I could not do this by myself as it had to be done while I was standing, and I had to stand still so it didn't set in the wrong position.
These were then peeled away. We coated the inside in vaseline and then sealed the side seams and bottom. Using elastic bands to hold everything in place.
Following the instructions on the package we mixed the correct proportions of plaster and water. This was then poured into the molds. It wasn't a perfect replica, as the side seams were rough, and one leg didn't turn out as well as the other, but it made an excellent base to heat mold my calf and knee pieces around.
Now on to the real reason we are here! I actually started this process by taking detailed measurements analysing my proportions and those of the reference pictures, mocking up my plans in autocad. This ensured I was on the right track before I started carving.
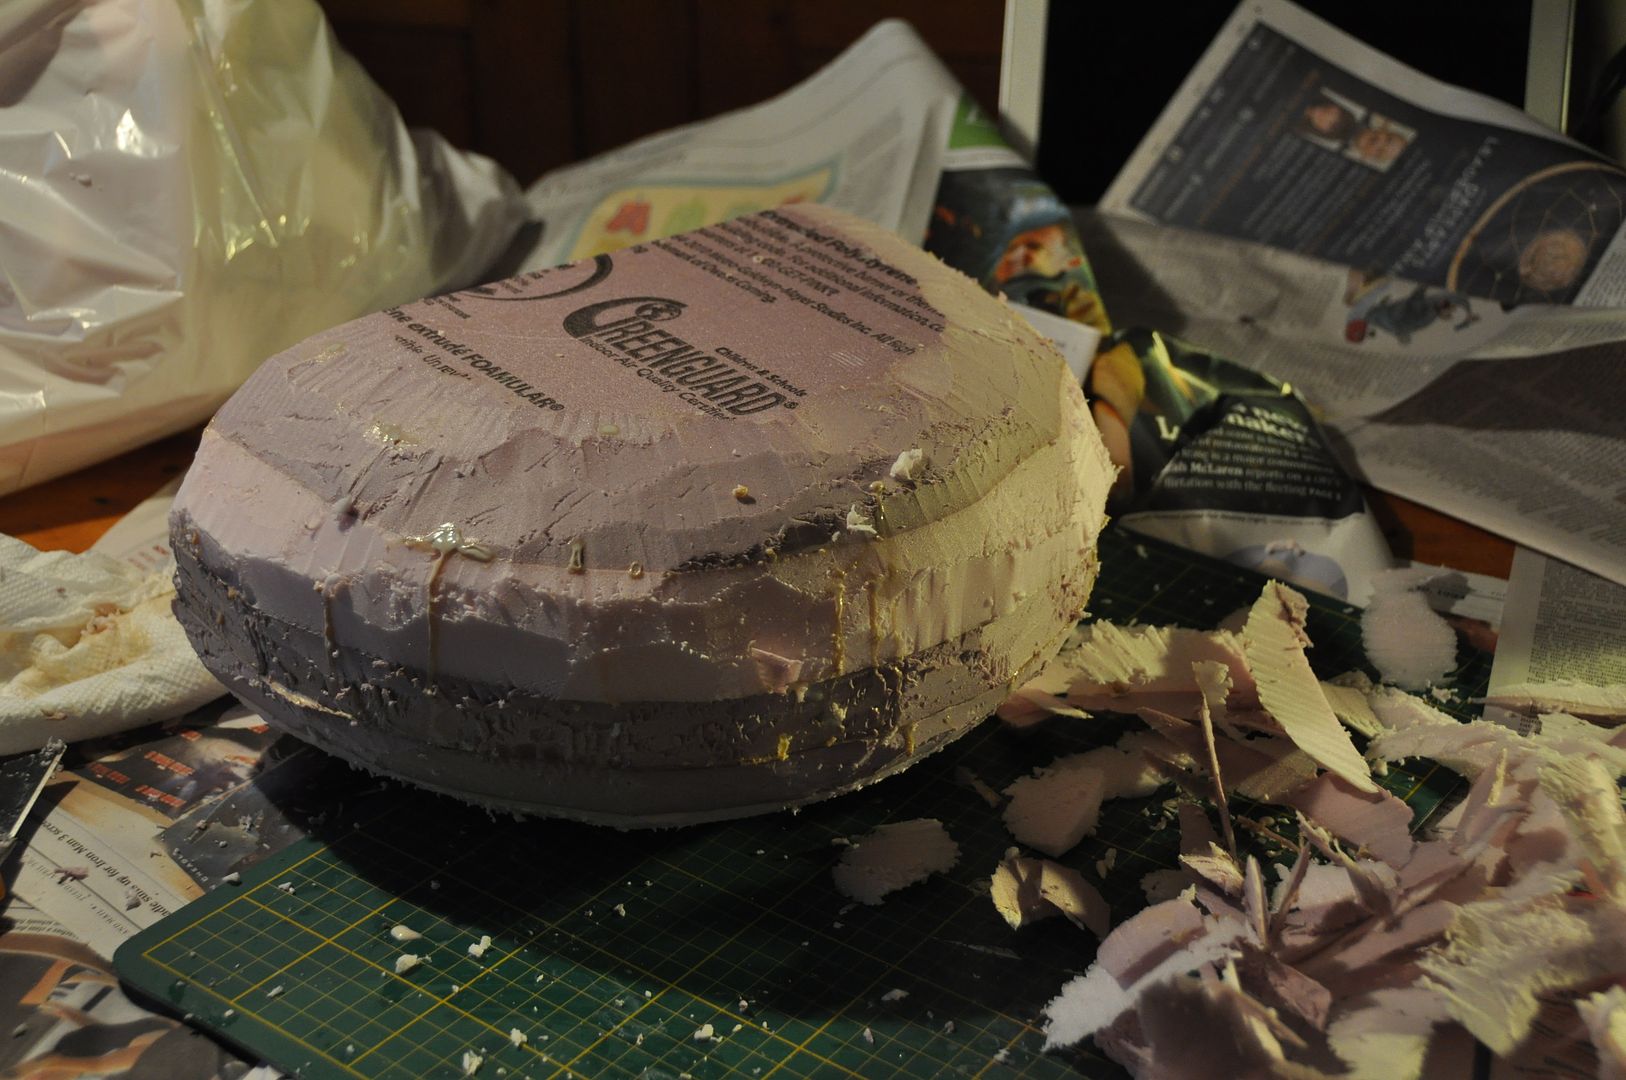
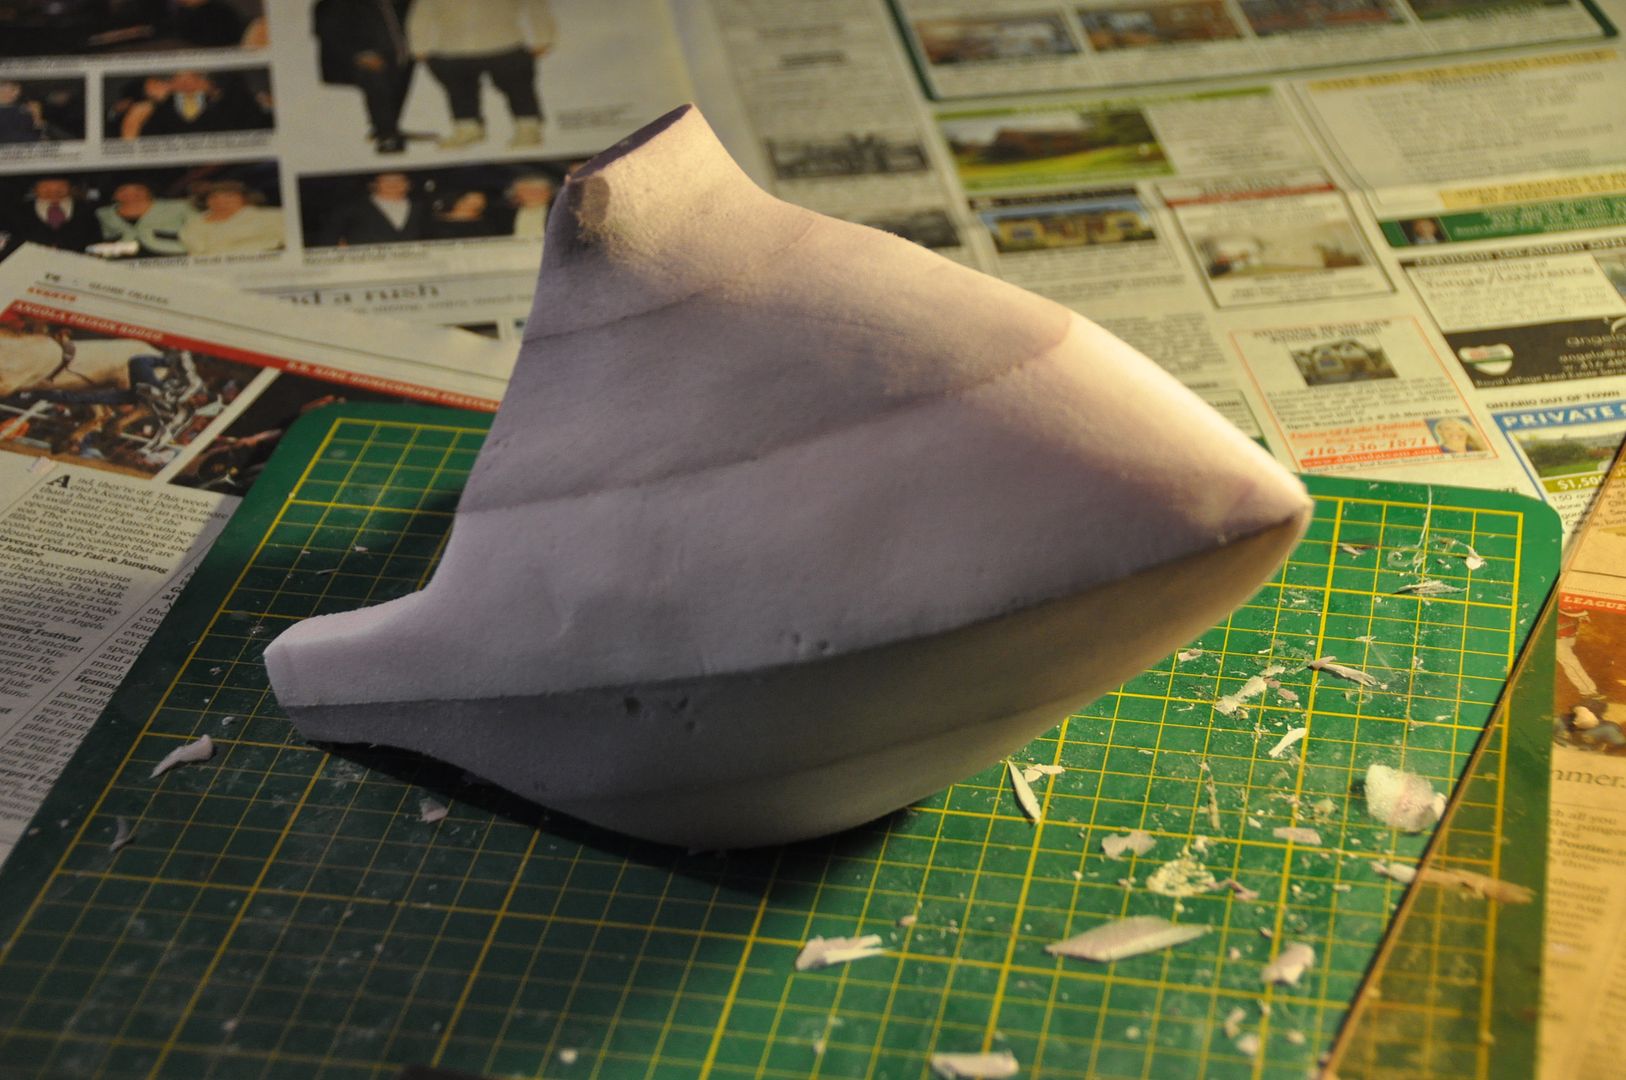
Using contact cement I glued 5 semicircle layers of foam together to create my starting shape. I drew on the semi circle cut outs on the top and bottom as reference points. The radius of the semicircles here were the same as the widest point of the piece.
I carved down to the rough shape before switching to sandpaper.

I drew up my imagined elbow piece to scale. Unfortunately I was working under the assumption that the cast would be thicker than it was and as a result the piece wound up being very loose fitting.
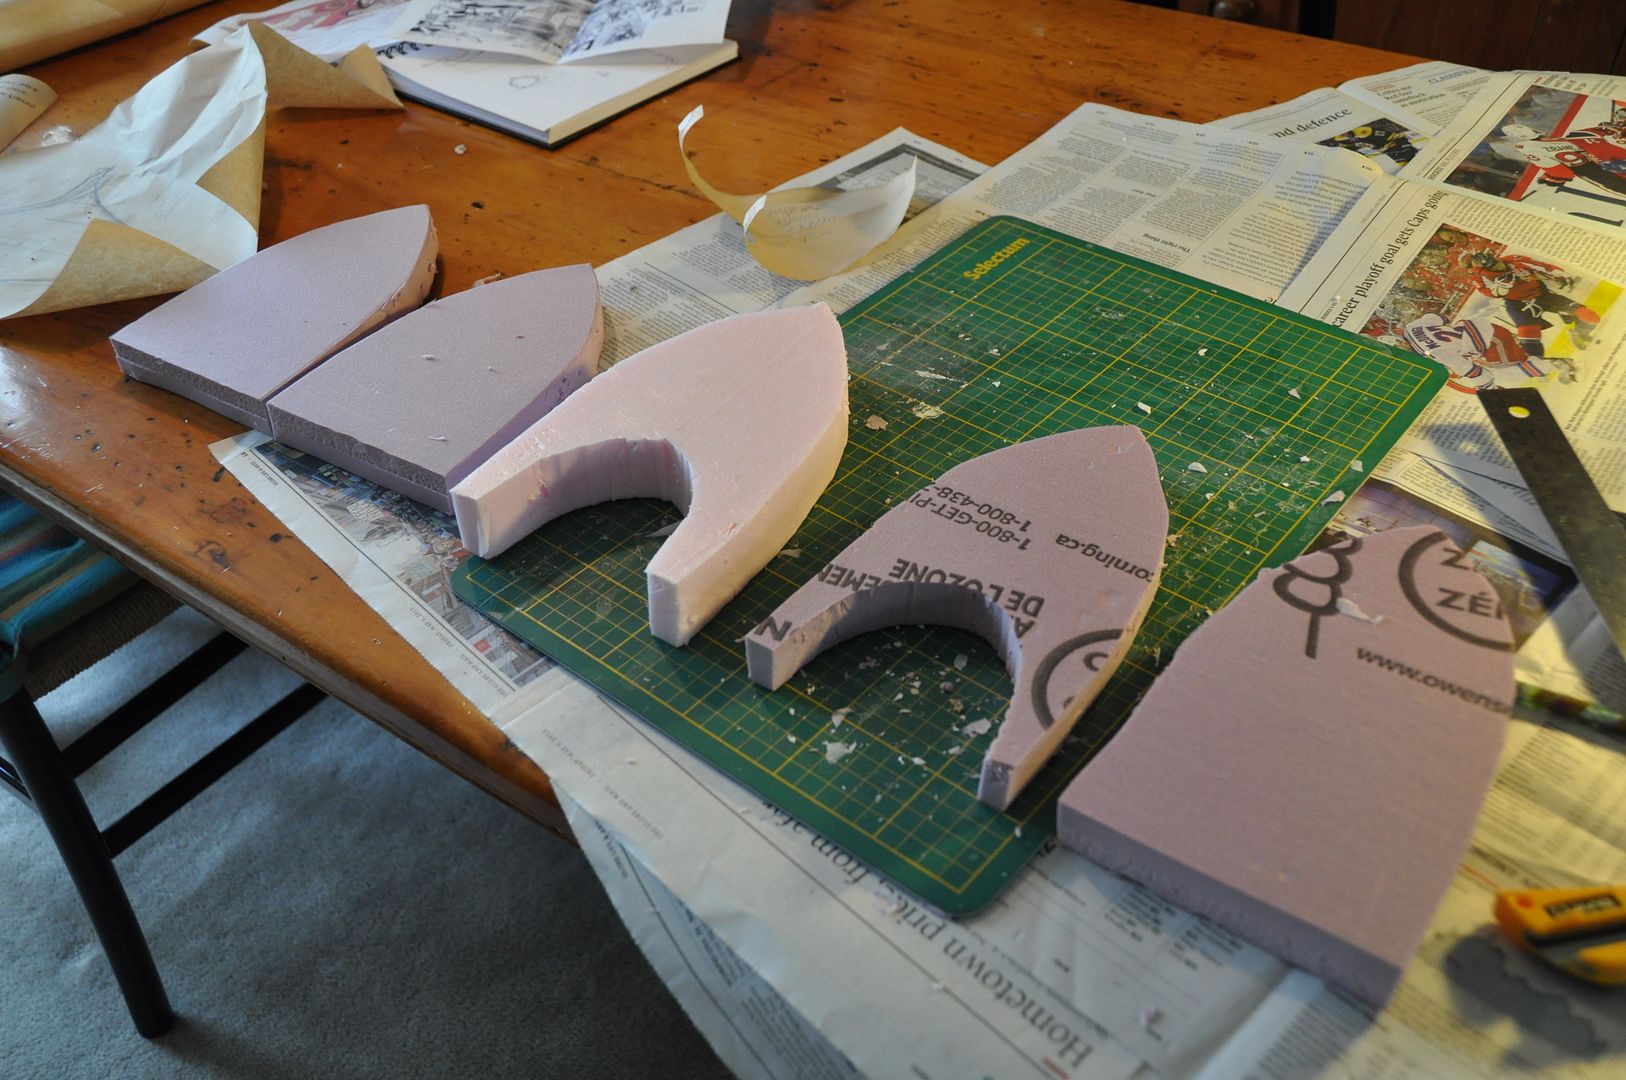
I traced out pieces of my top view and cut out the layers.
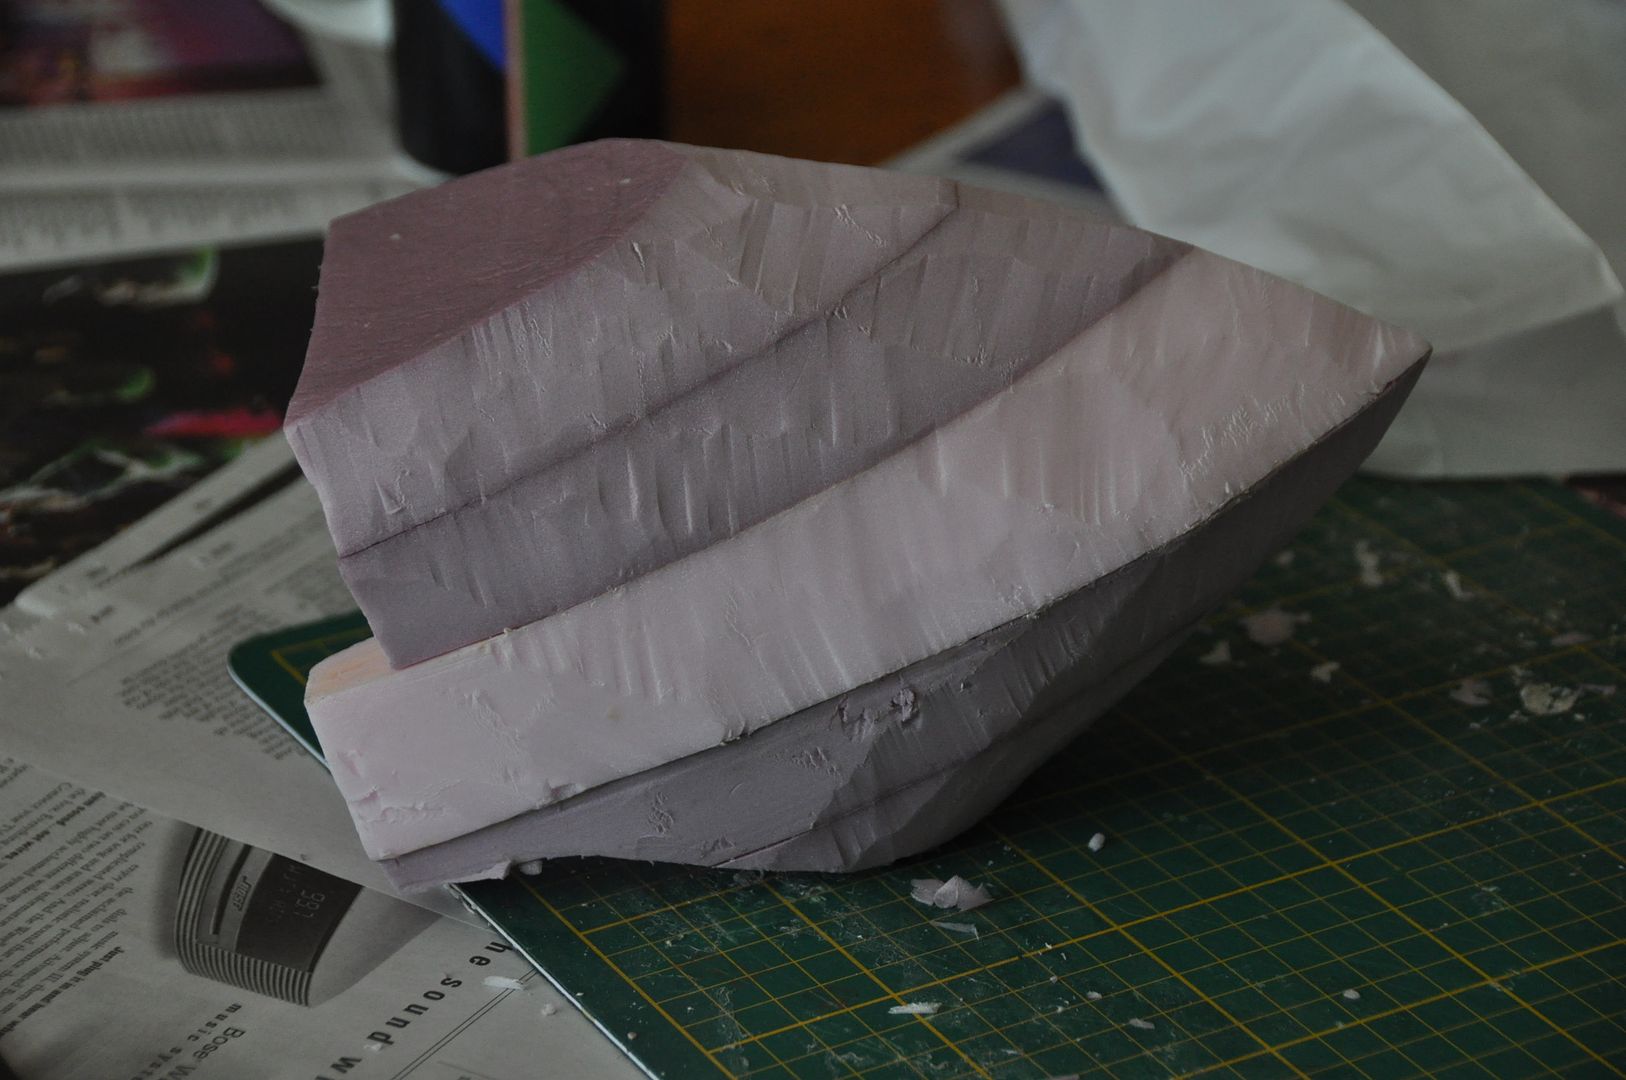
I glued these together and began carving.

I then fine tuned these pieces. I filled in any divots or dents and sanded it smooth. This was repeated multiple times, keeping in mind that any mistakes on the master would be duplicated in all the replicas.
Then it was time to begin the casting process. I went out to
Sculpture Supply Canada and they set me up with everything I needed! I brought both pieces with me so that they could ensure I had the right materials for the job in the right quantities.
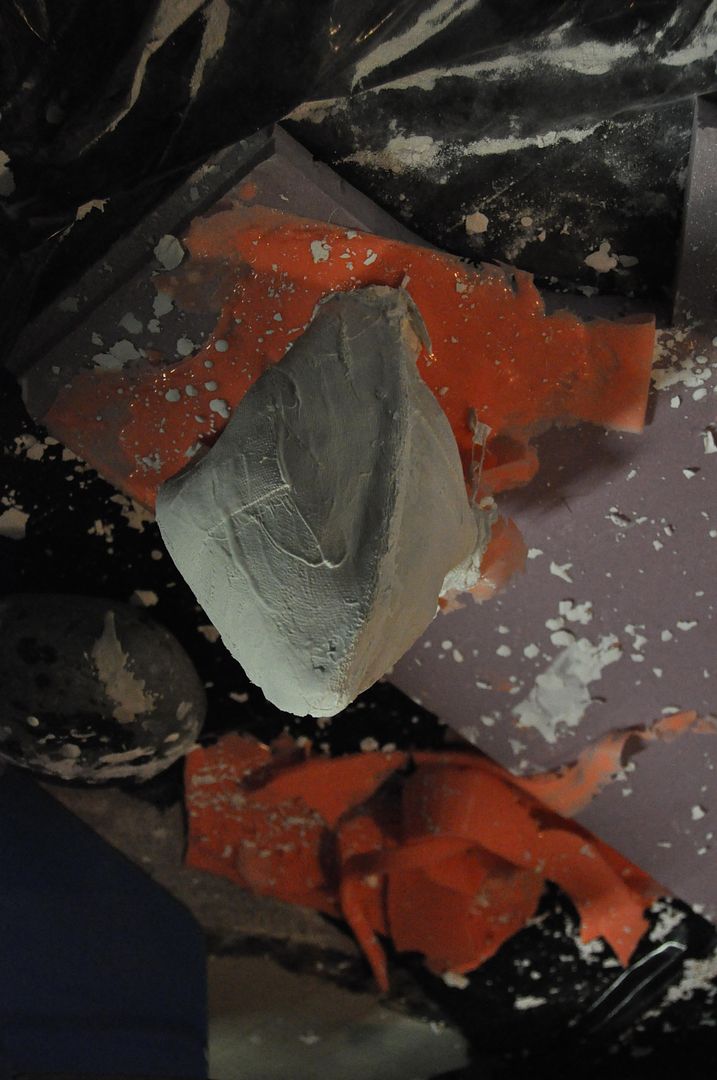
We started by making the silicone mold. This is a brush on mold, that would be open on one side. The open side was tacked down to a scrap piece of foam so that it wouldn't make a mess and was easily moveable. In several layers we made a silicone shell that was about 1/8" thick. (Tip: always have like a million disposable paint brushes on hand for this, every time you use one it becomes garbage.)
We took extra care to ensure there was a thick layer of silicone on the tip and the ridge so it wouldn't tear.
Then we made a plaster bandage mother shell. Again this was done in a few layers. Like the leg molds I did earlier we first did one half, then put a coating of vaseline on the area of overlap, then did the other half. This ensured that we could take it apart and line it up easily when putting it back together.
Then we de-molded the pieces, meaning we took the foam originals out of the silicone casings.
The mold and mother shell were then put back together, ready for casting.
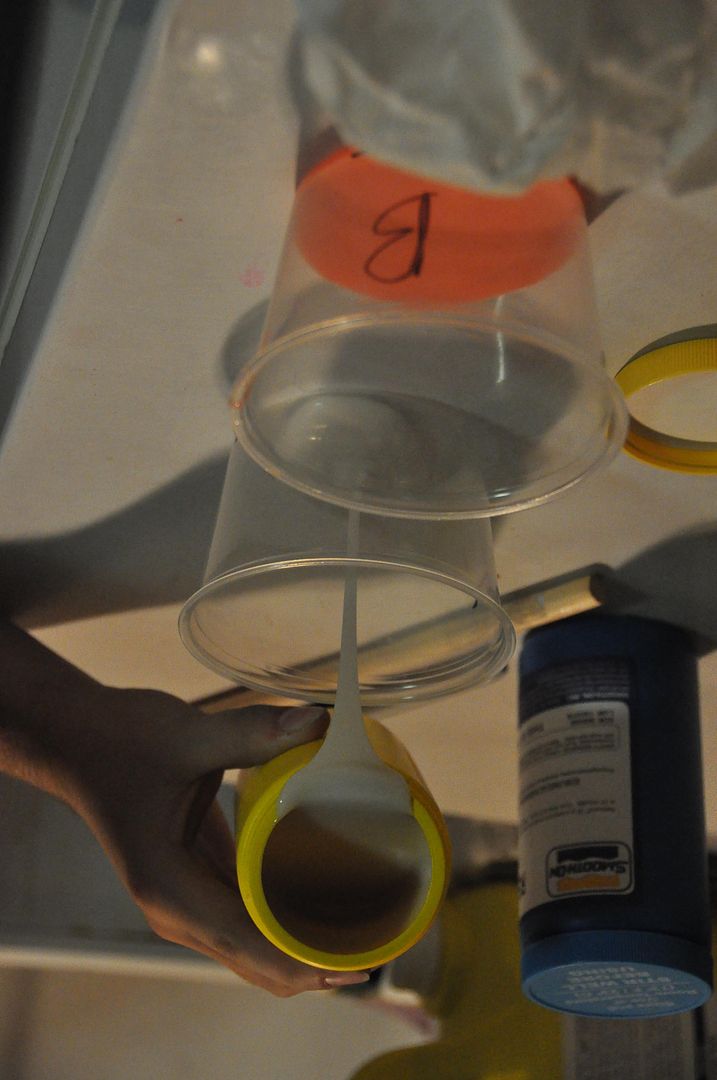
Following the instructions on the package we mixed the proportions of part A and B accordingly.
The cast was brushed in so it would be a hollow shell. This means I needed a resin with a short work time so it would stay on the vertical walls and not slosh back down before it was done curing. (Lots more disposable brushes were used.) I should have done more thin layers on this part, instead of fewer thicker layers as this resulted in a buildup of resin in the bottom of the mold, making the tip a lot heavier than I had anticipated.
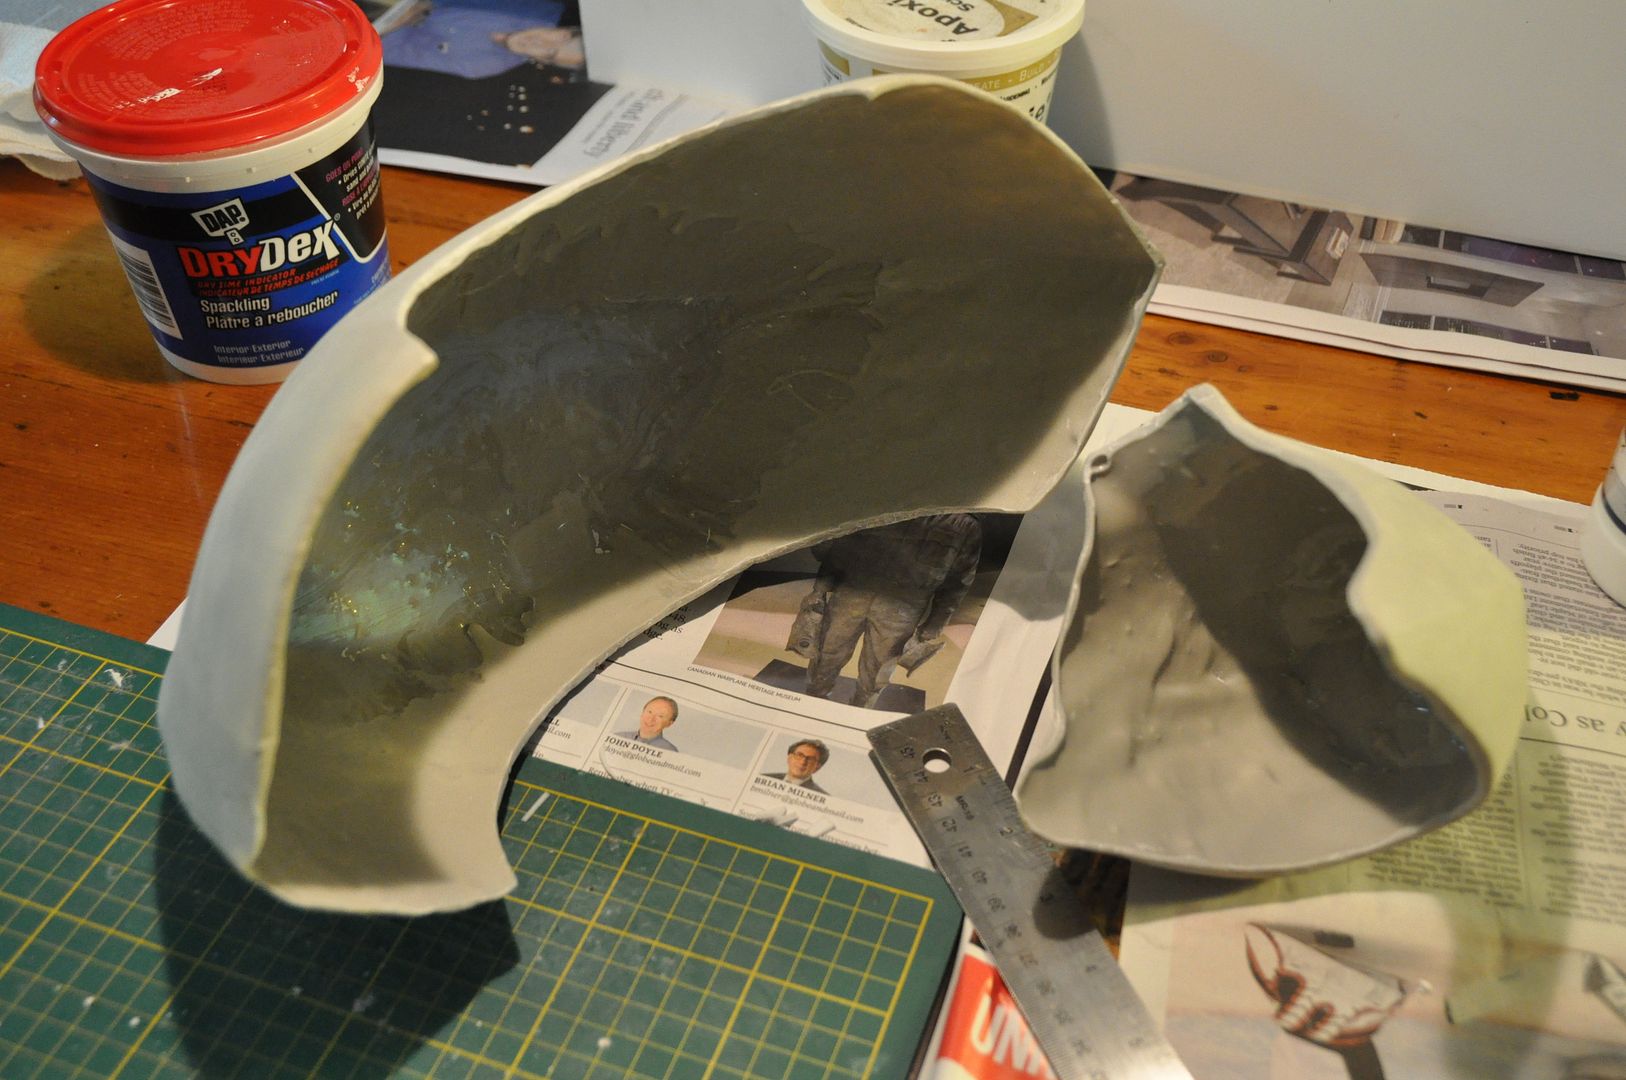
Using my dremel I cleaned up the edges and cut out the two semicircles on the shoulder piece.
Then I heat molded two strips of styrene to nest into the curved sections. These were hot glued in place.

The last thing I did before paints was to drill some screw into the thick buildup of solid resin in the bottom. These were used as anchoring points for my rigging, which was much more secure than trying to adhere anything as the pieces are quite heavy. Unfortunately on the last screw we managed to crack the elbow piece. With no time to recast it, I filled the fracture with duradex.
All the pieces were then sanded to be even smoother than the foam originals. Then I painted them the same as the
heat molded pieces.

The rigging for these was very complicated and resulted in me needing a
squire to dress me for battle. I made the straps out of leather so they
wouldn't chafe my skin (like pleather/vinyl would have) and they hooked
around my anchor points on the inside. I used buckles to cinch
everything in place. Unfortunately the straps stretched over the course
of the day, meaning that things started to shift, hanging in the wrong
place and slowly strangling me. This was remedied by boring more holes
in the straps, although they continued to stretch and be a problem.
Final notes for casting: Unless you have someone to help you along every step of the way like I did, start small! Don't cast anything crazy large or complicated as your first project! Also, always read the instructions like 8 times before starting and ensure you have everything you need laid out before you start.
Overall I was super happy with the costume as a whole, and it was very well received at the convention. I hope to pull it out again next year, perhaps I can fix some of the rigging issues in the mean time!
Hope you enjoyed the Asuna tutorials, I had a lot of fun making it! We will be taking a short break from cosplay things before looking at Otakon costumes!


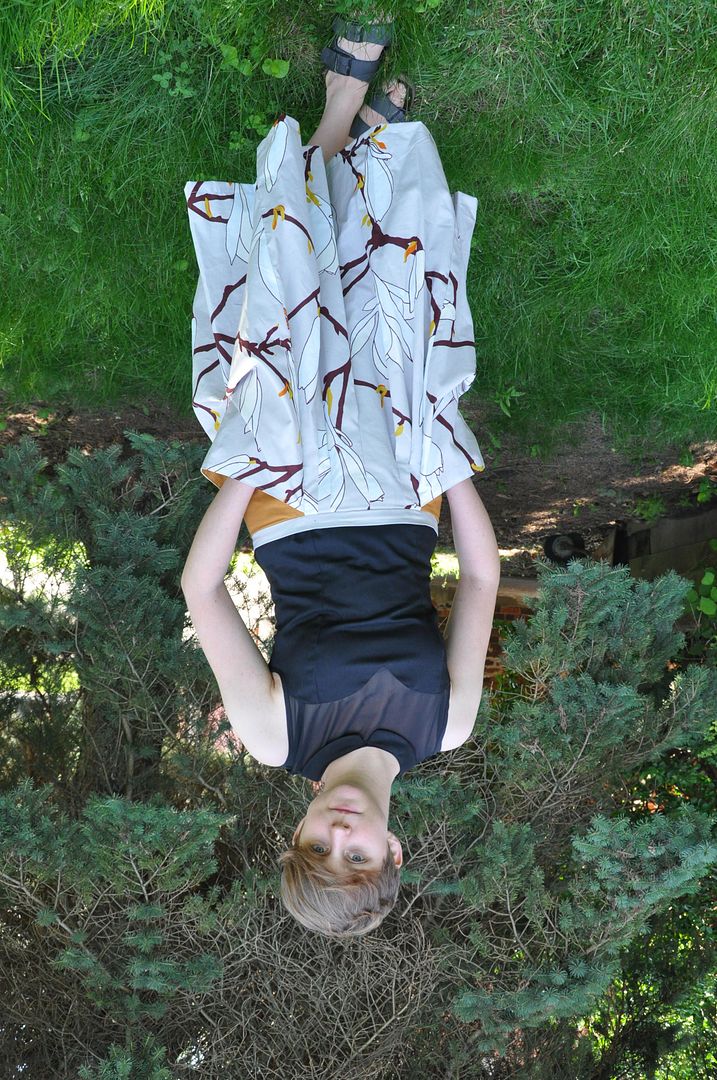
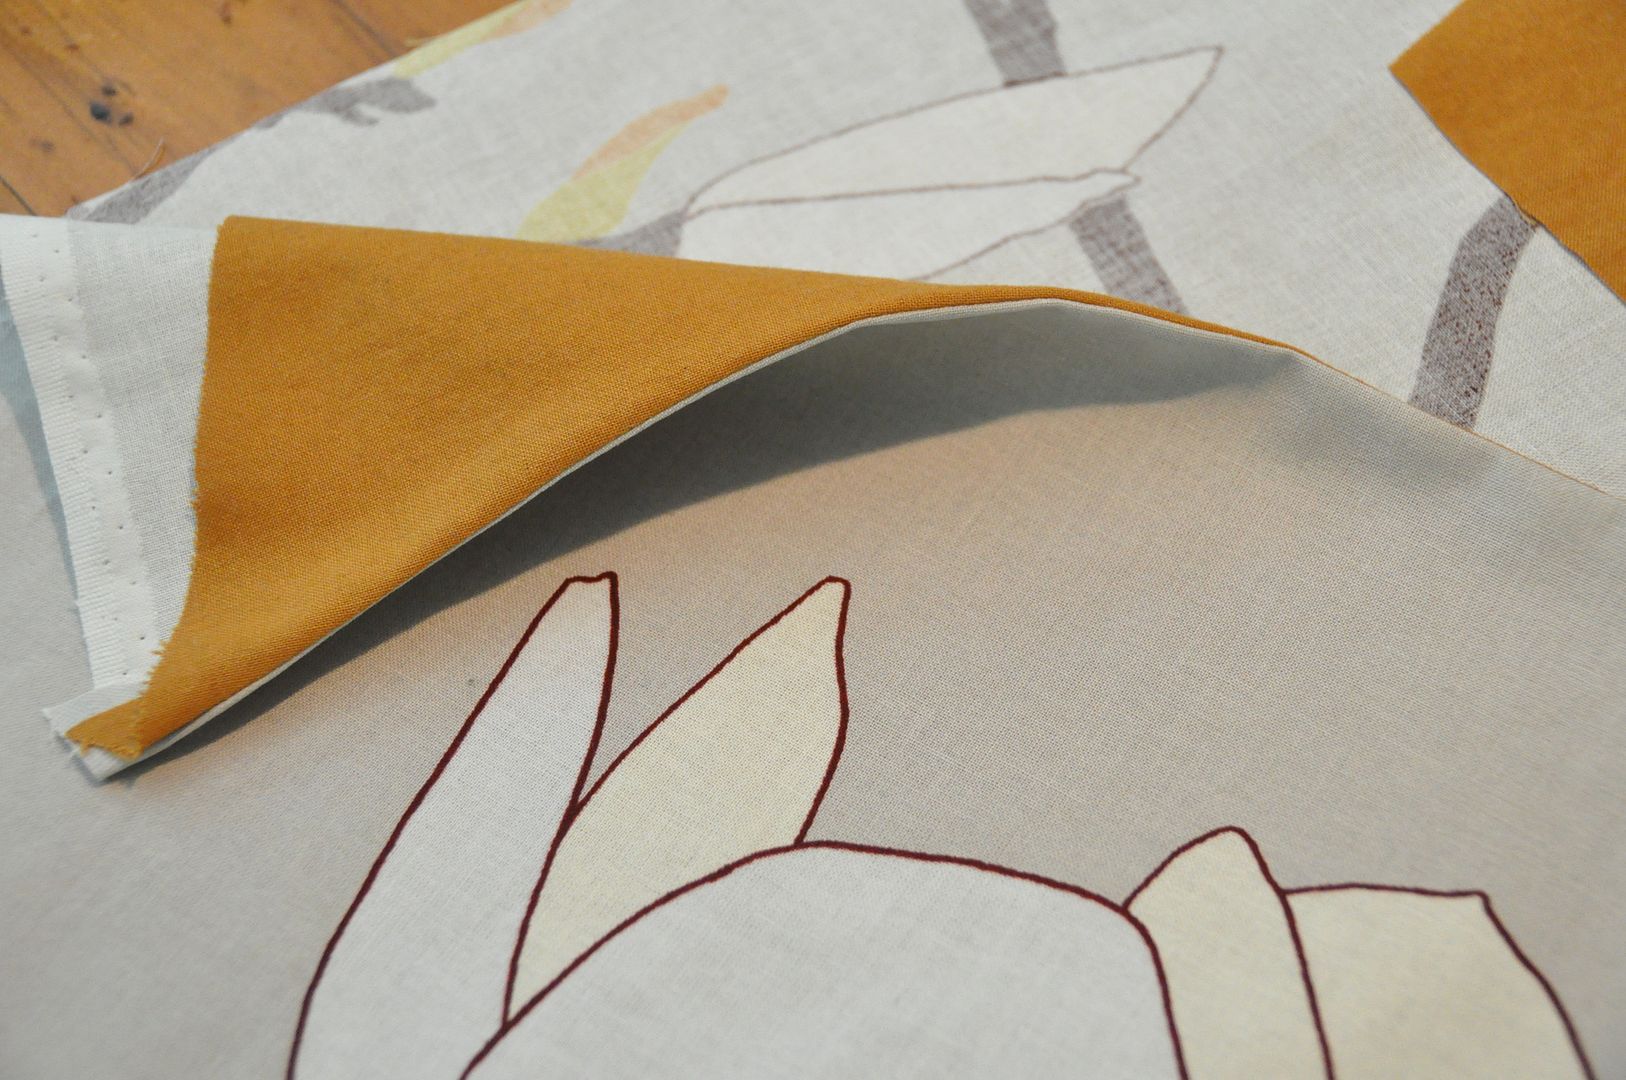
 Alright, lets talk about this cute shirt! I tend to bring a little sketchbook with me on the subway and draw cool things I see people wearing. This design was based on a combination of things I had seen in various outfits. I wanted to try something that involved having a sheer layer and a sweetheart neckline. Also a collar. This is the result. You can also see how I made the skirt.

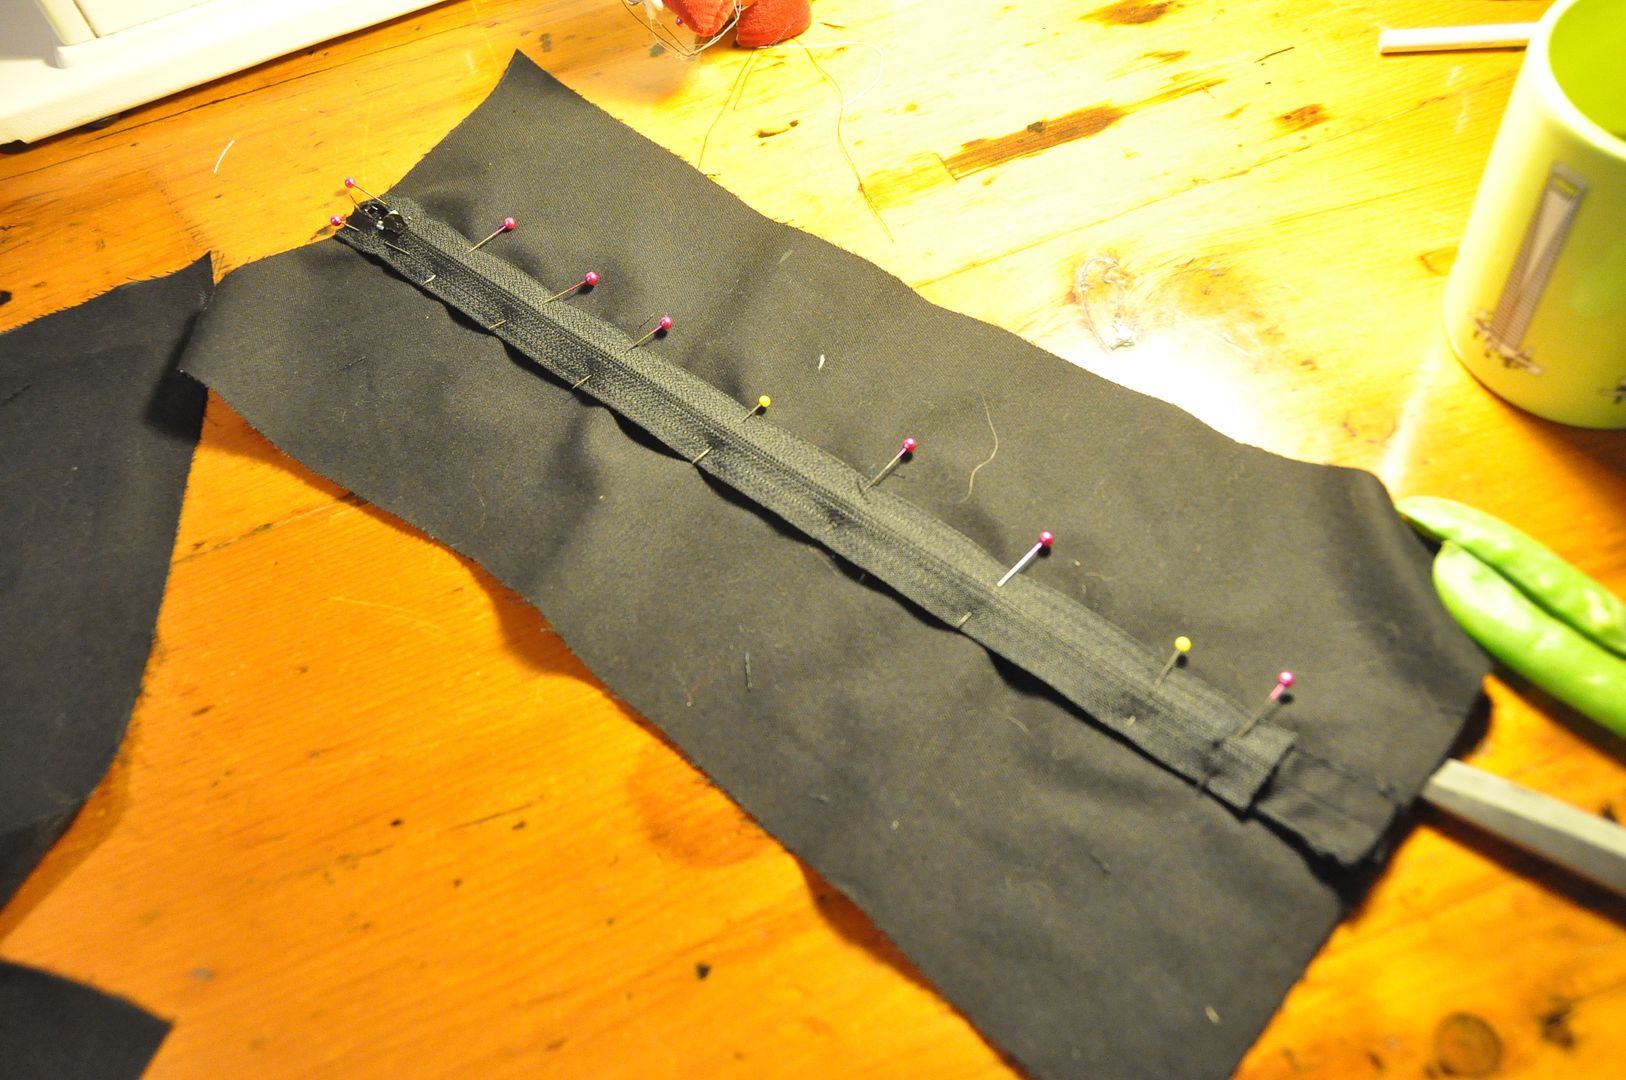
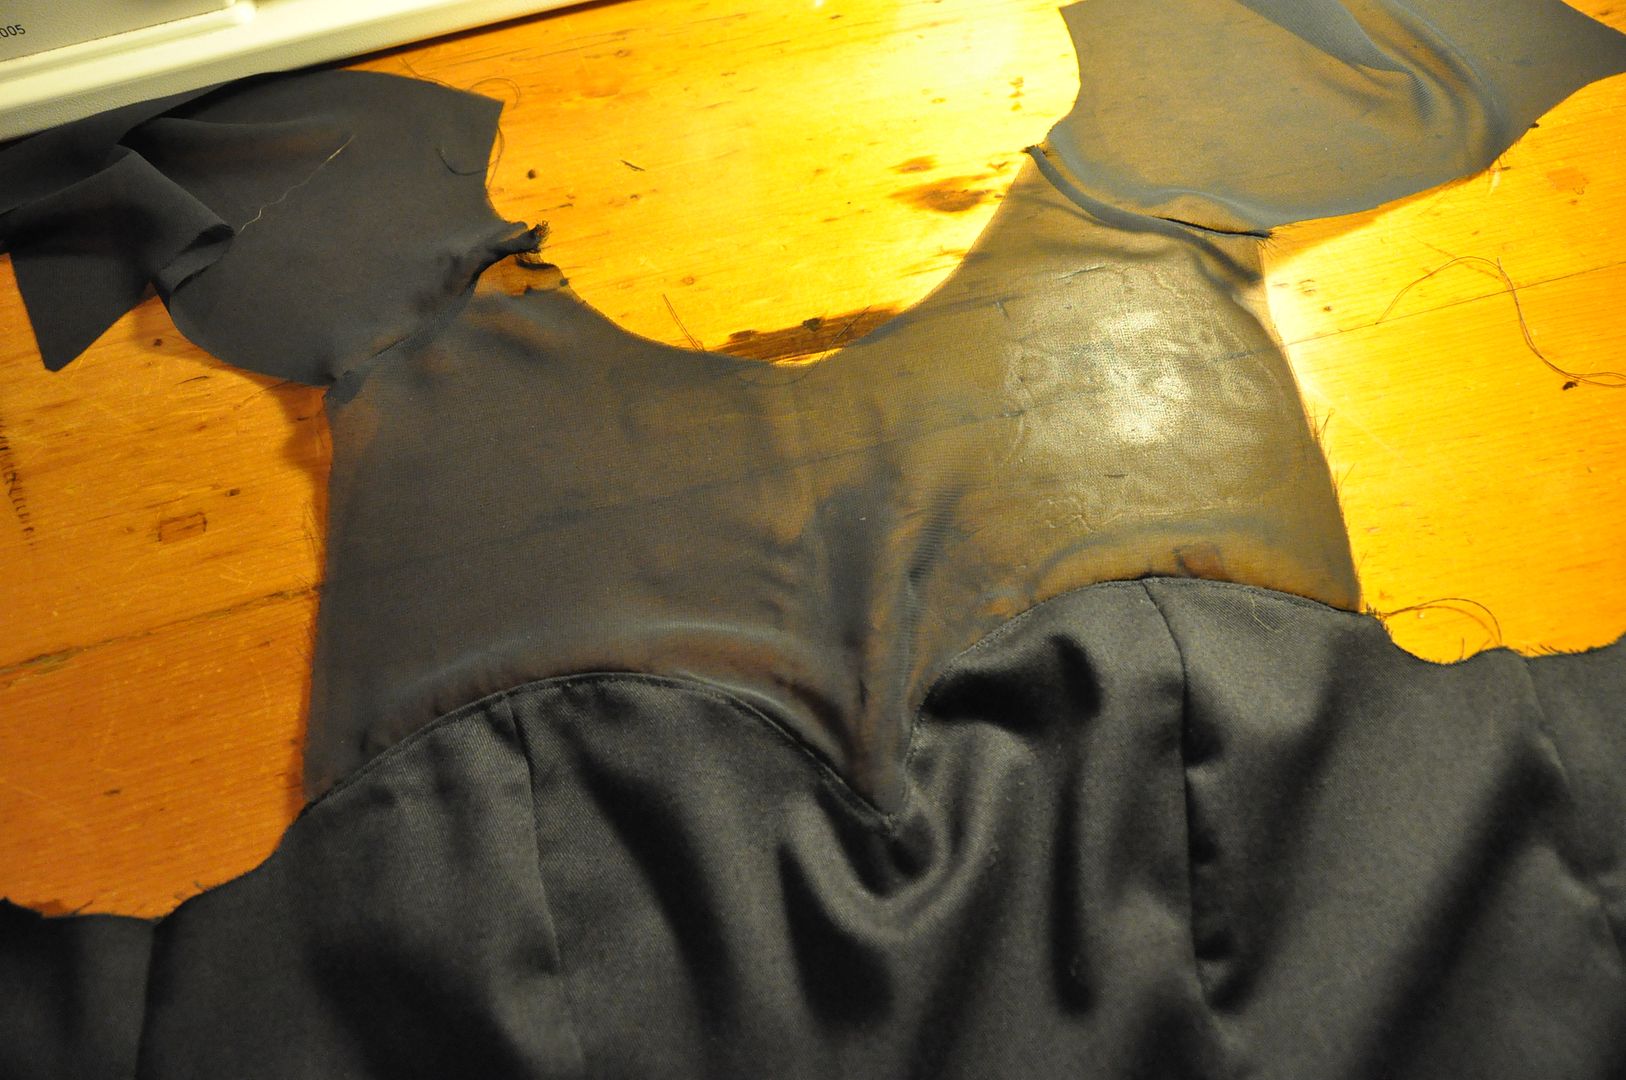 To the center back pair I added my zipper before attaching to the rest. I made my adjustments and then finished all the inner seams.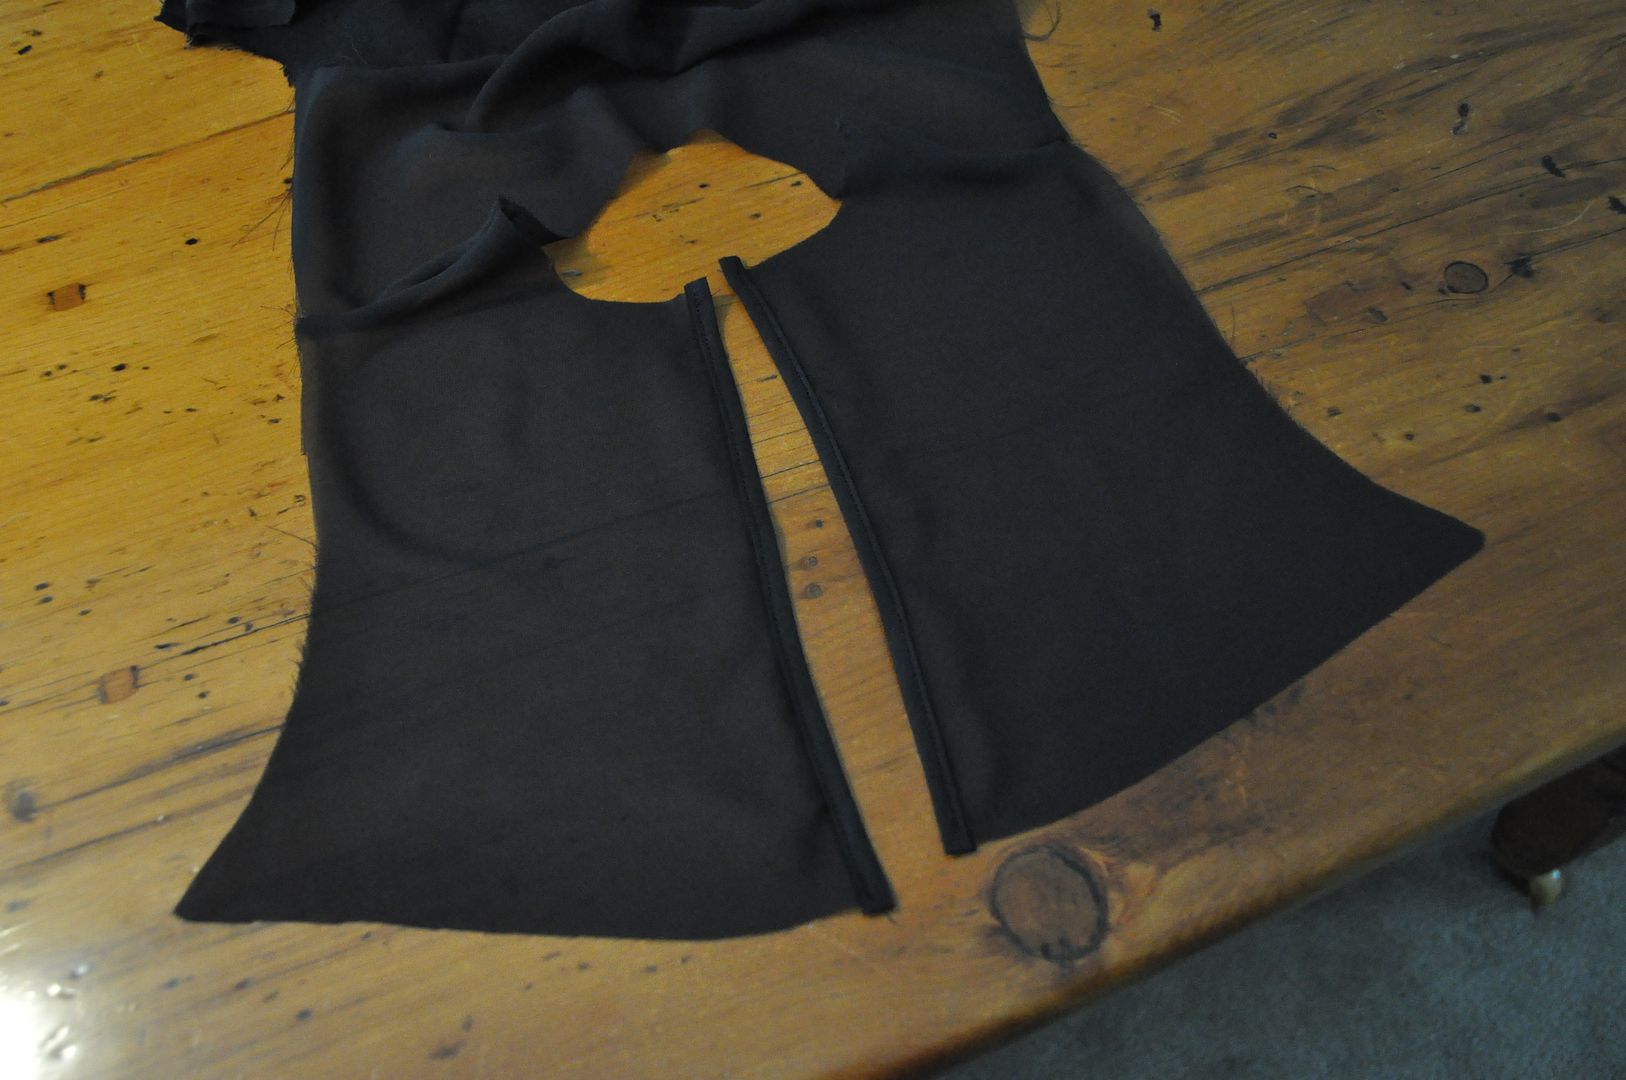
 Before attaching the sheer to the back of the garment I finished the open edges with a thin black bias tape. Then I stitched these pieces down the same way as the front.