Thursday, May 5, 2016

Fox Embroidered Beret

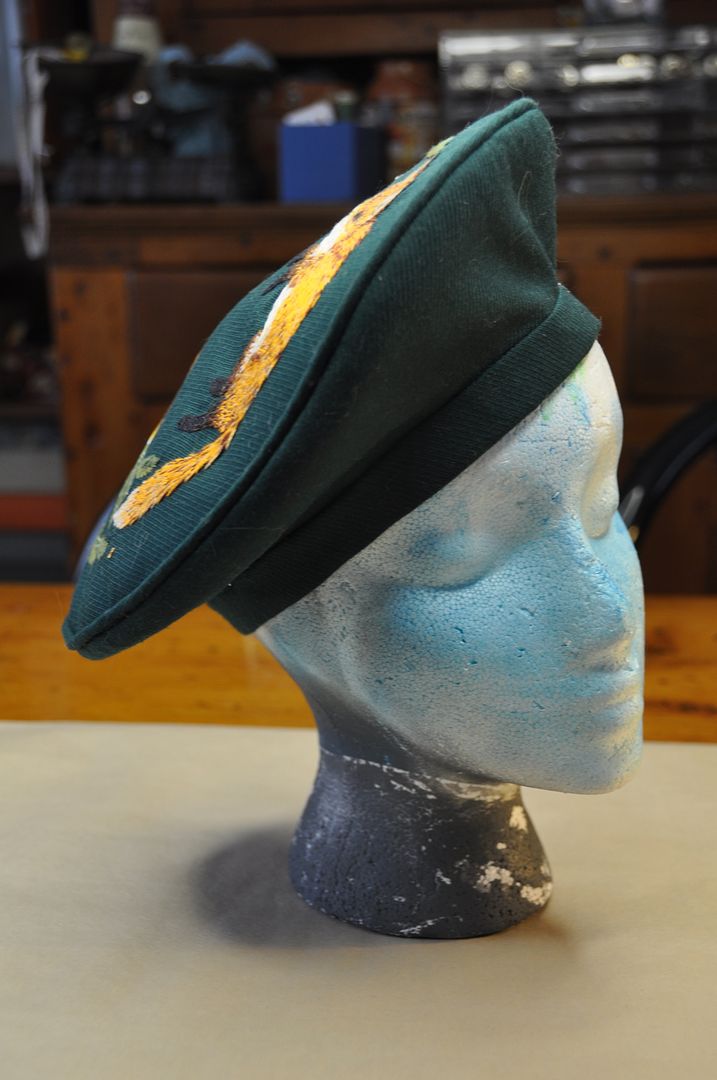
My first project for my millinery class--the project outline gave us a choice of a number of styles of sewn hats. I chose to do a side sloped beret. And since decorating was required and beret tops have such a nice flat surface area I decided to turn this into an embroidery project.

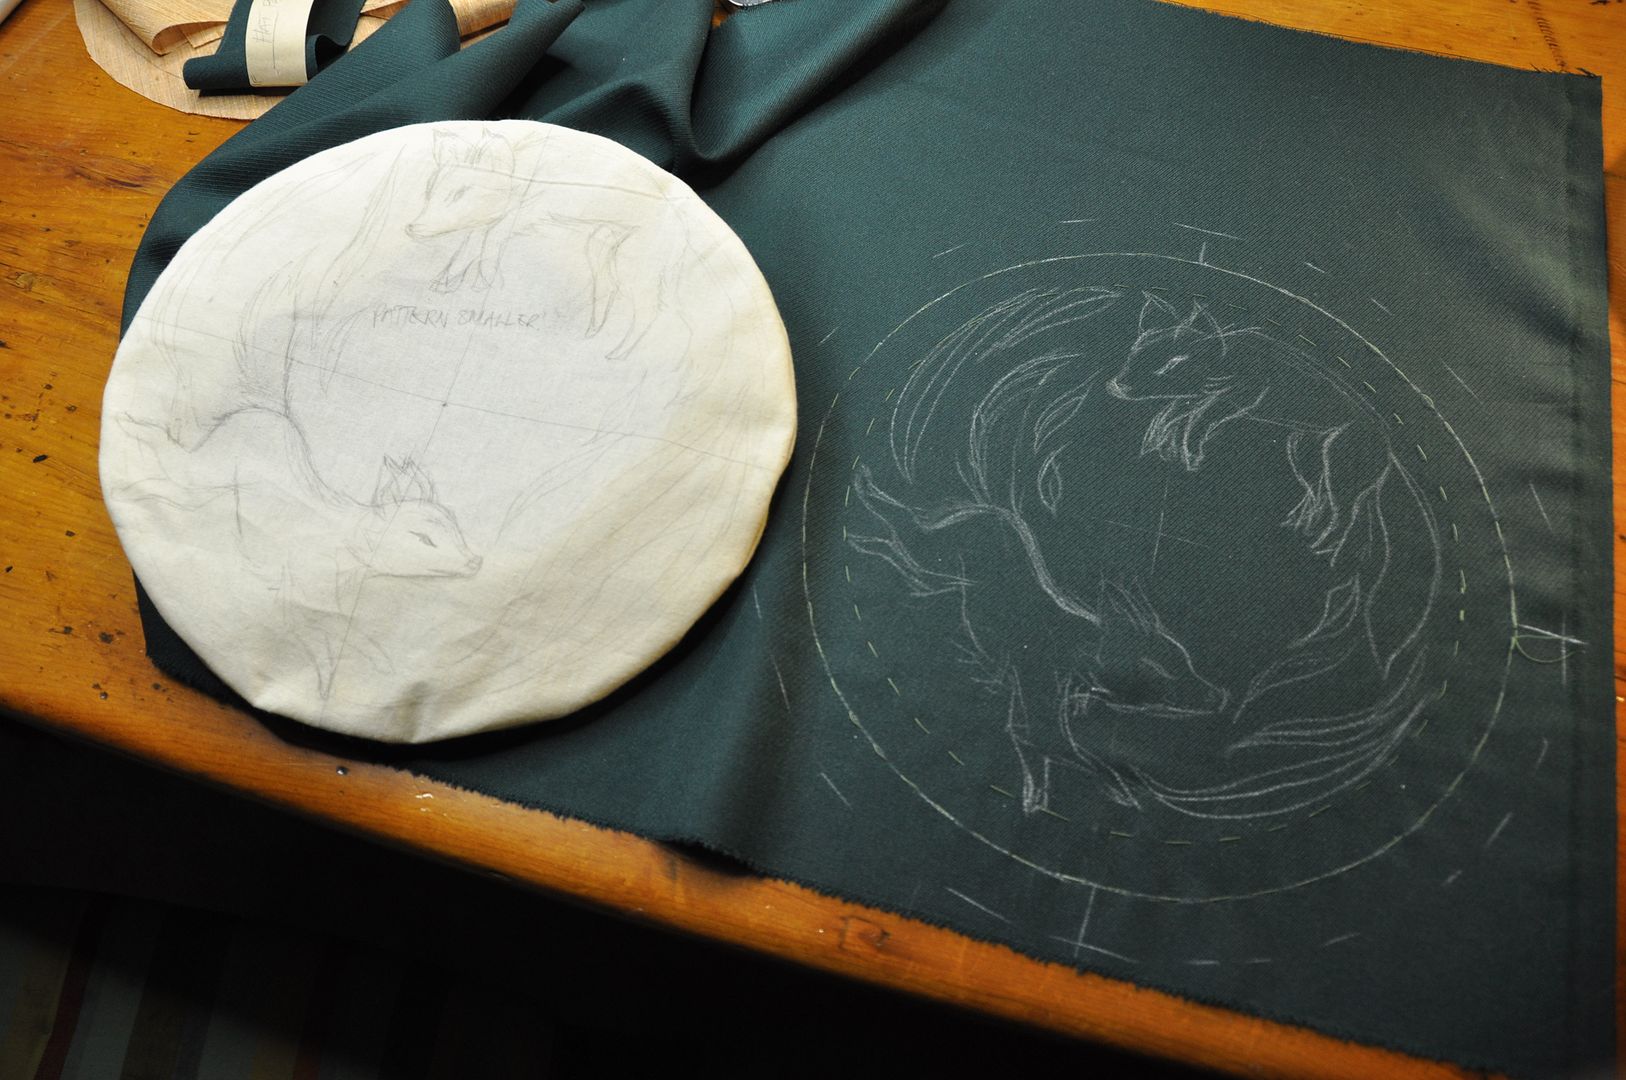
I patterned the hat from scratch. And mocked it up to ensure I liked the style and fit. Then I sketched out my design for the top. Once I was satisfied with that, I moved on to the real hat.

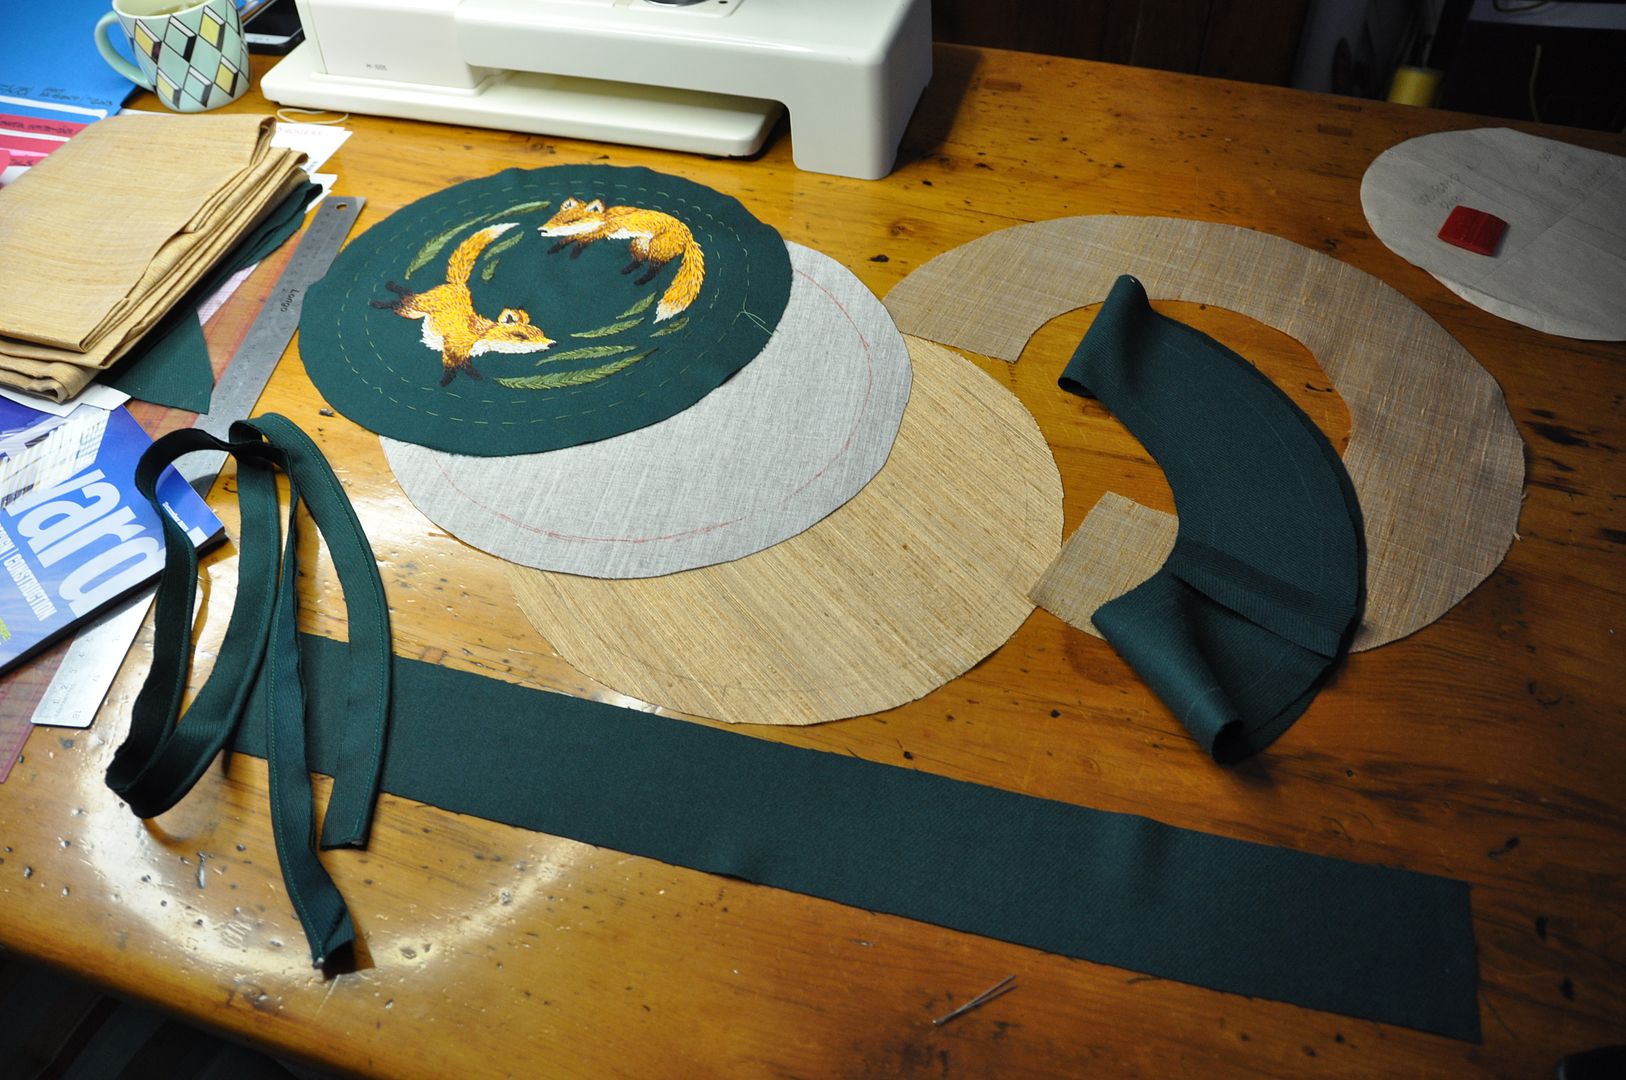
I first cut out all my pieces. I picked a beautiful green wool for the fashion fabric and the lining is leftover silk from my Steampunk Corset.

Then I embroidered the top. I had to finish my embroidery completely before moving on, so that the back of the embroidery stitching could be protected by the lining and interfacing layers. That is the part that obviously took the longest.


I sewed the center back seam on my sidebands--lining and fashion layer.

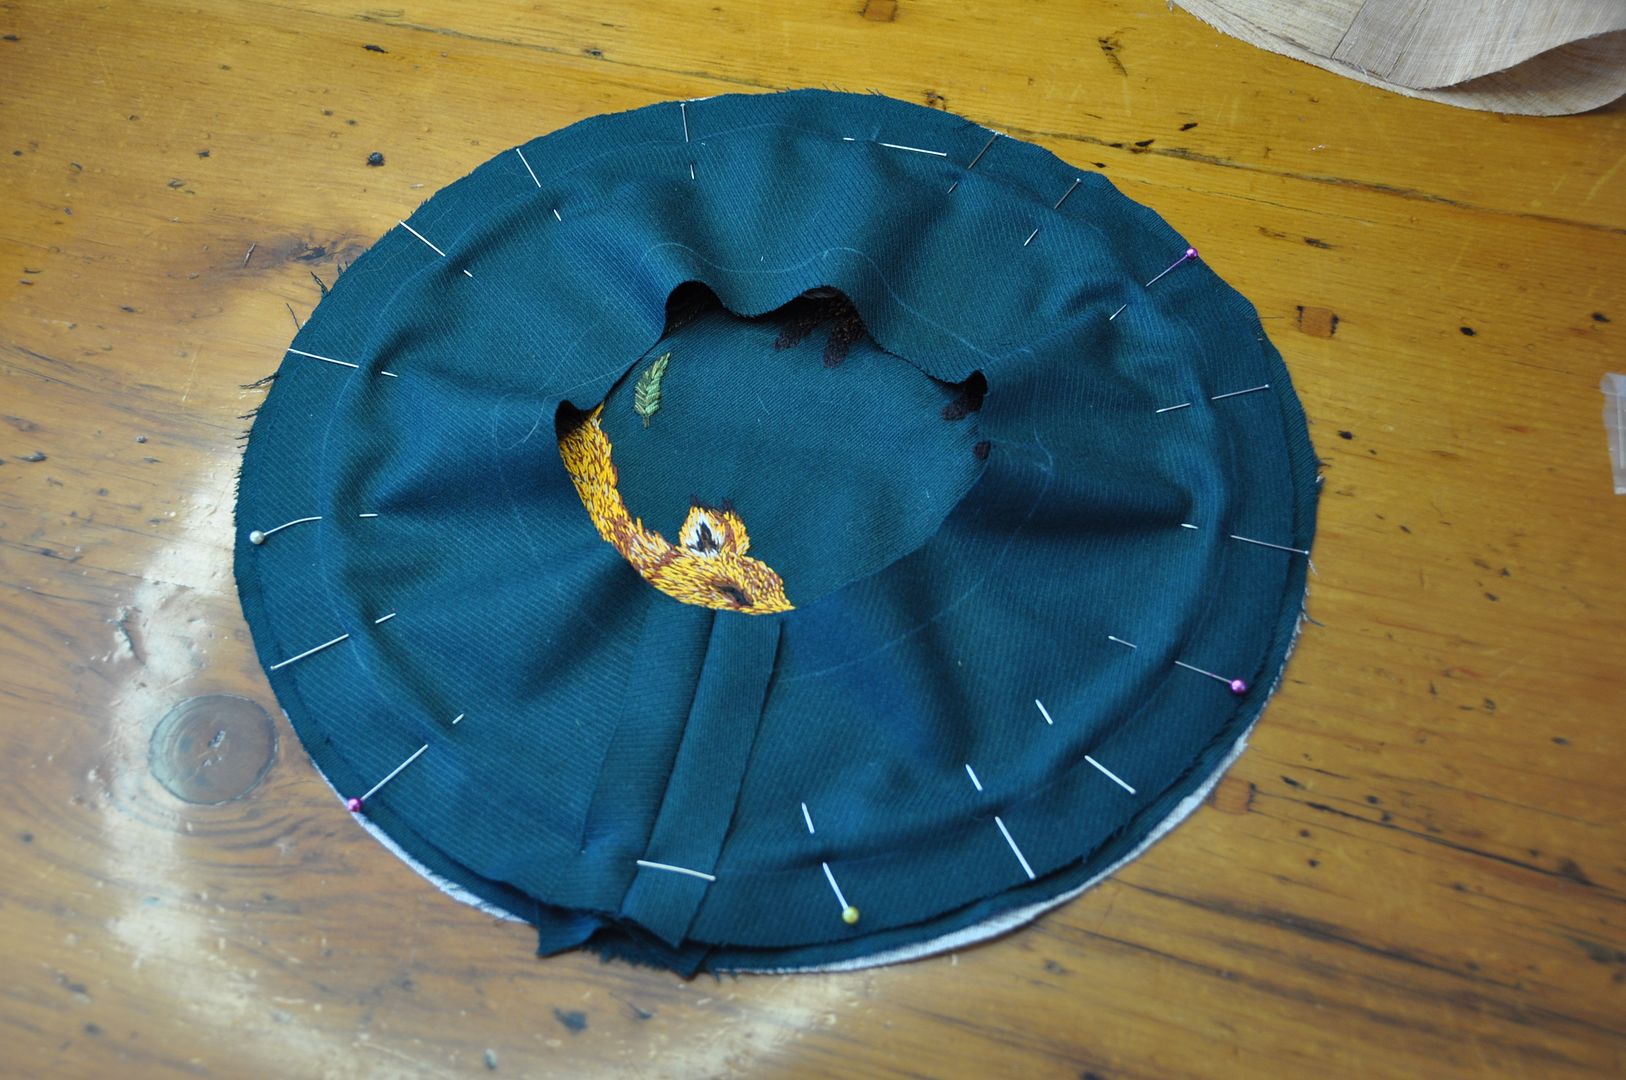
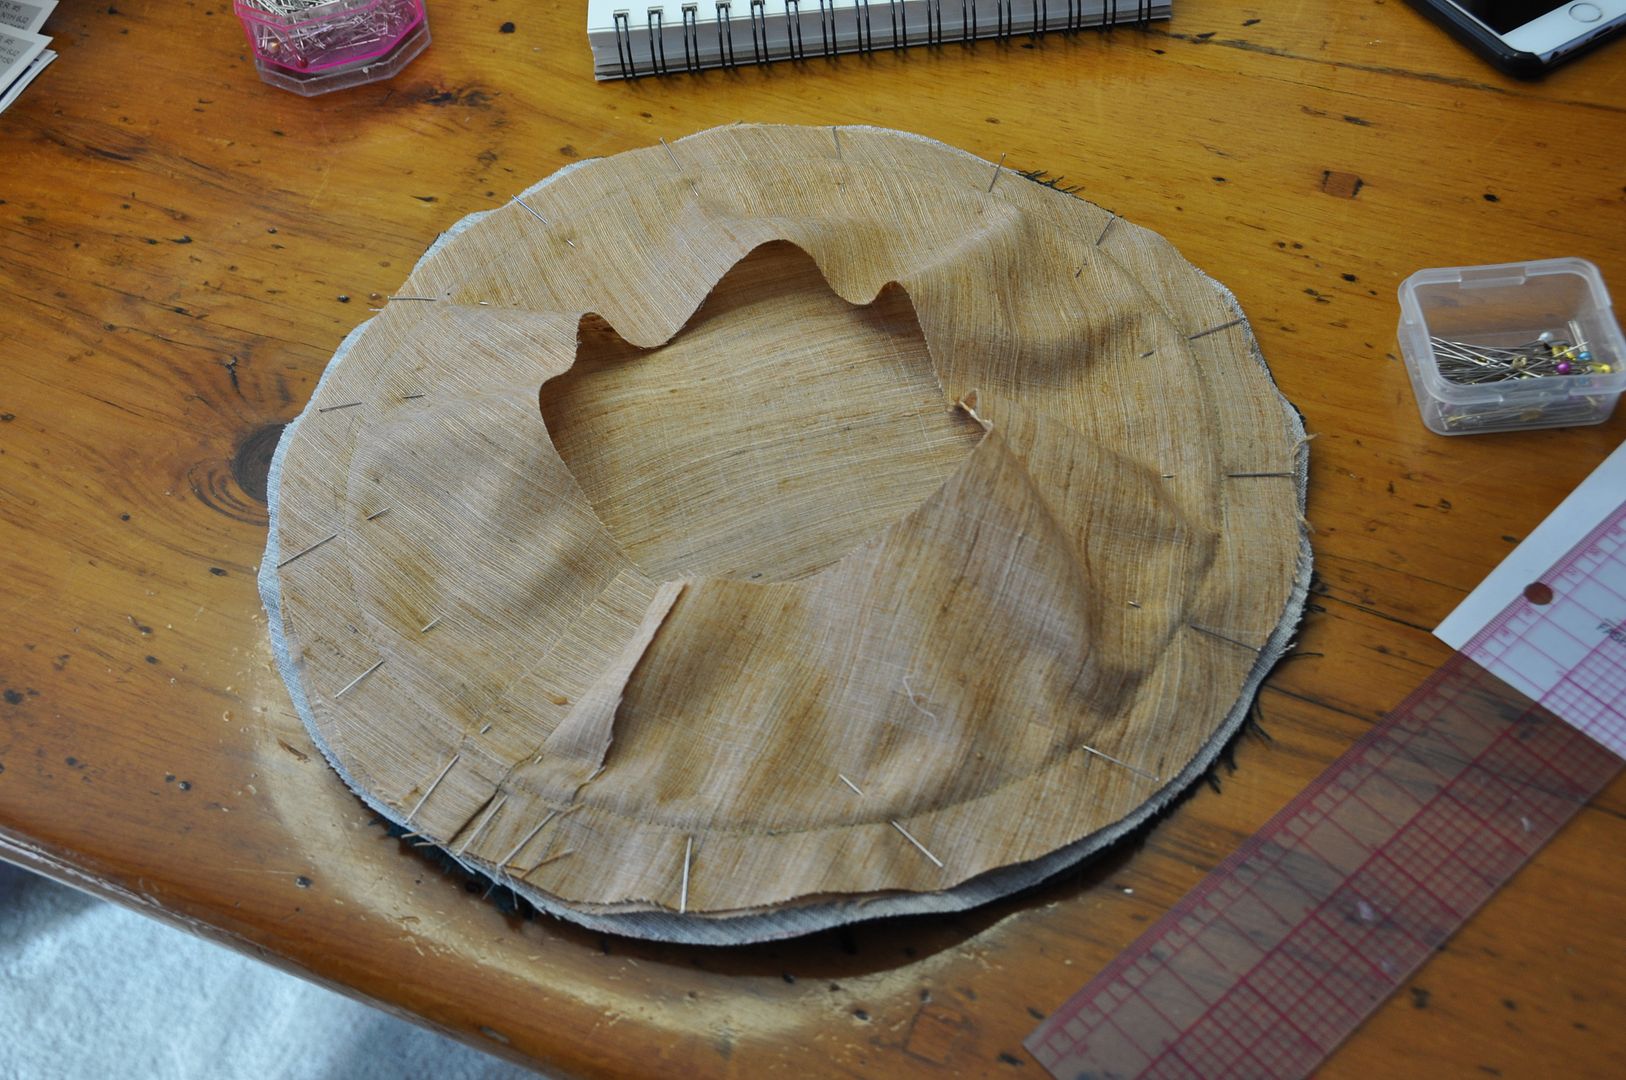
I constructed the hat in the "pancake" method. The tip (top) of the hat has 3 layers: the outer layer, horse hair canvas interfacing, and the silk lining. I basted the 3 layers together.


Next I made some piping trim. This was stitched onto the top layer, piping to the inside, and seam allowance to the outside of the stitch line.

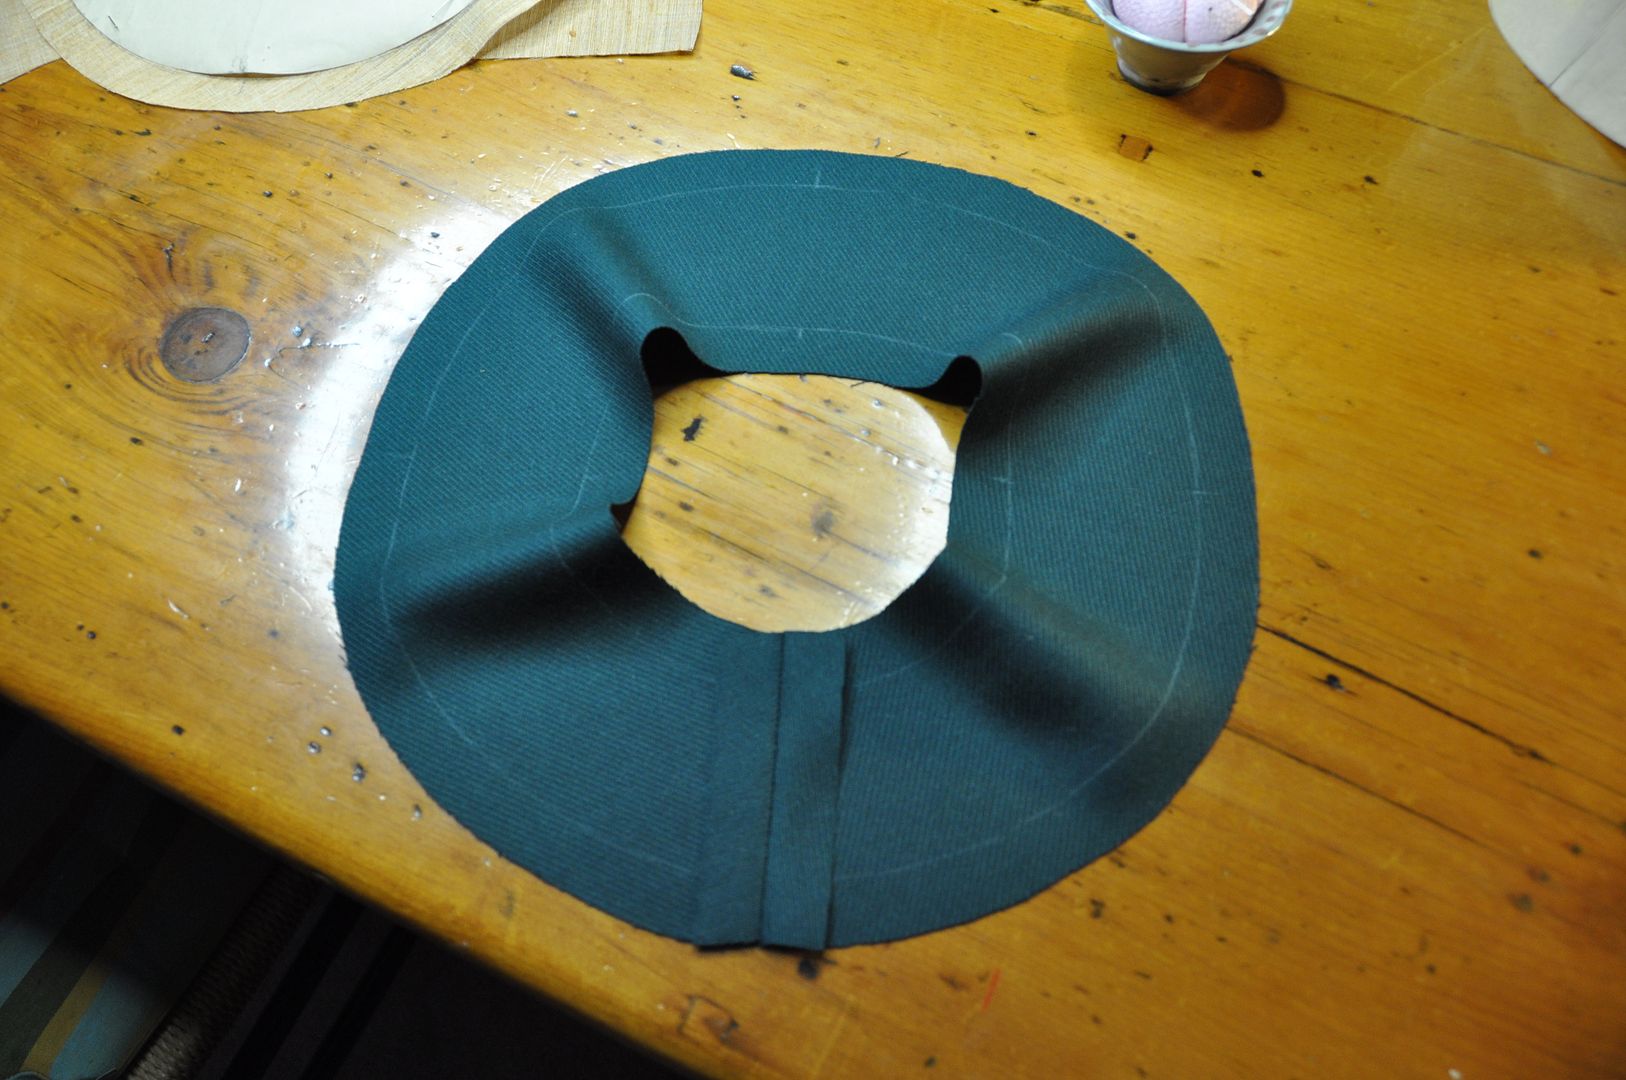
Then I basted on my outer layer of the side band. This was basted to the top, on top of the piping trim, following the same stitch line. Then I flipped it over and sewed the lining sideband to the bottom side, through all the layers.
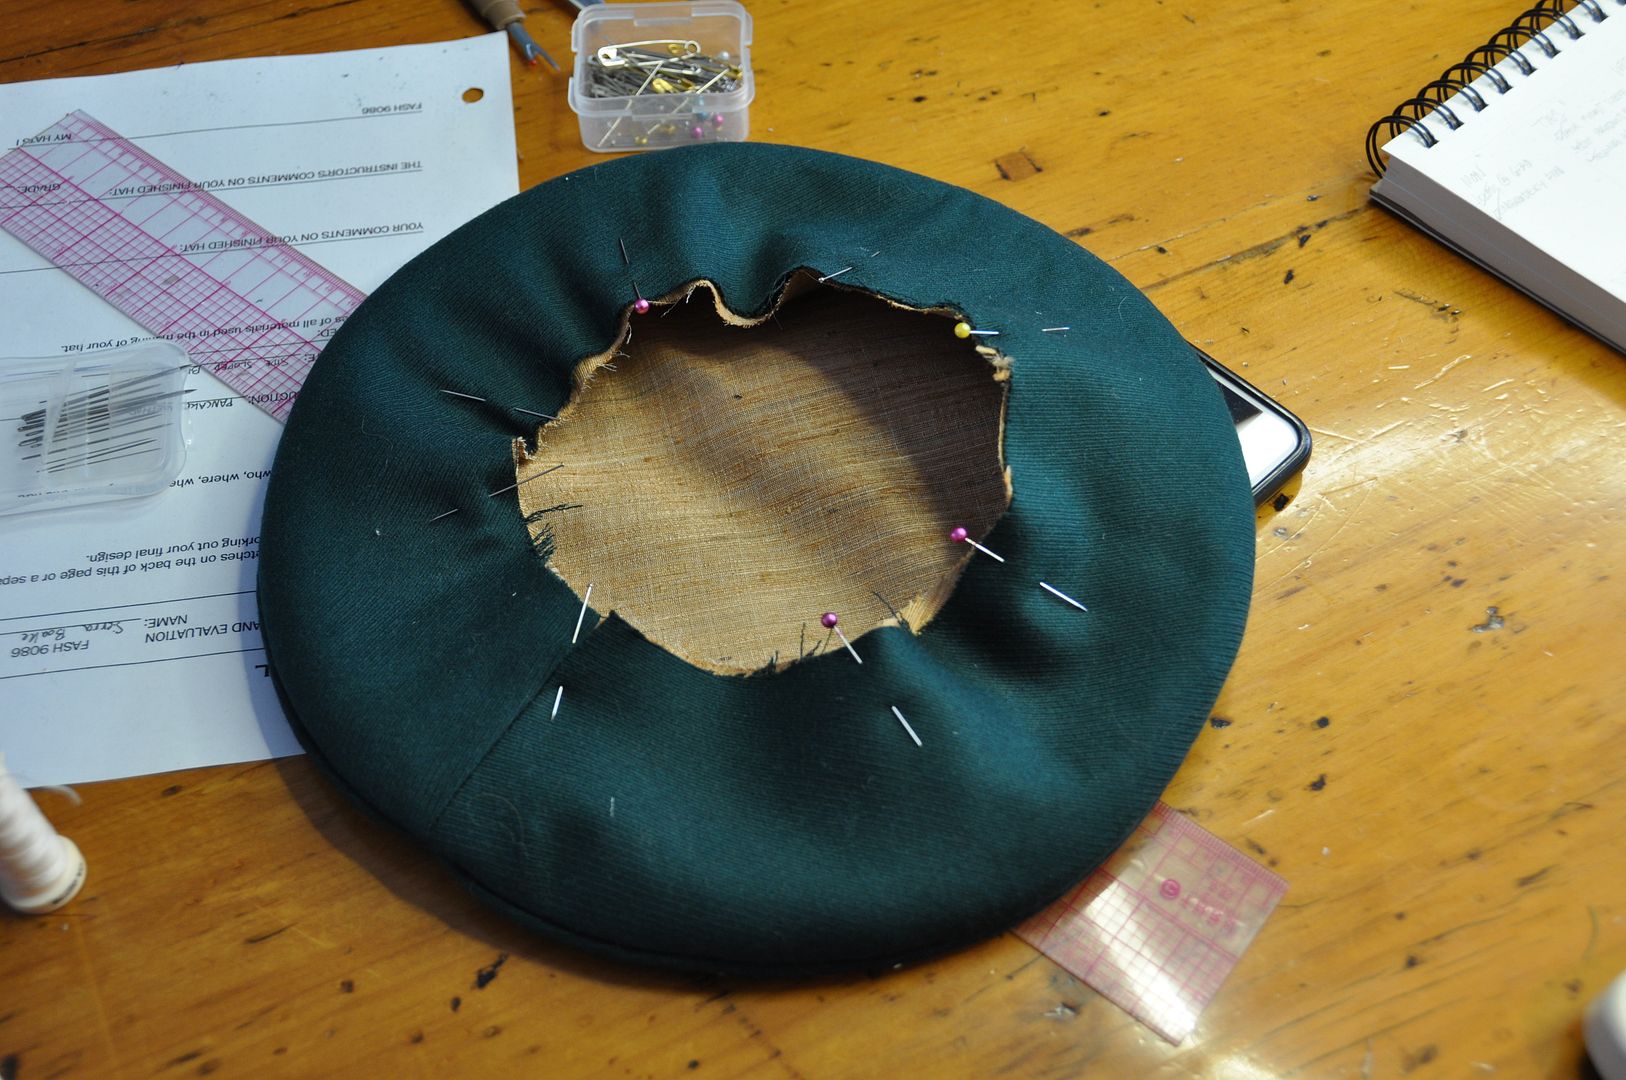
The next step was to properly grade and notch my seam allowances to cut down on the bulk. Then I flipped the outside sideband over to the bottom. I carefully pressed it--without crushing the piping trim. Now the top of the hat was completely constructed and lined, and I could move on to the final part--the headband.
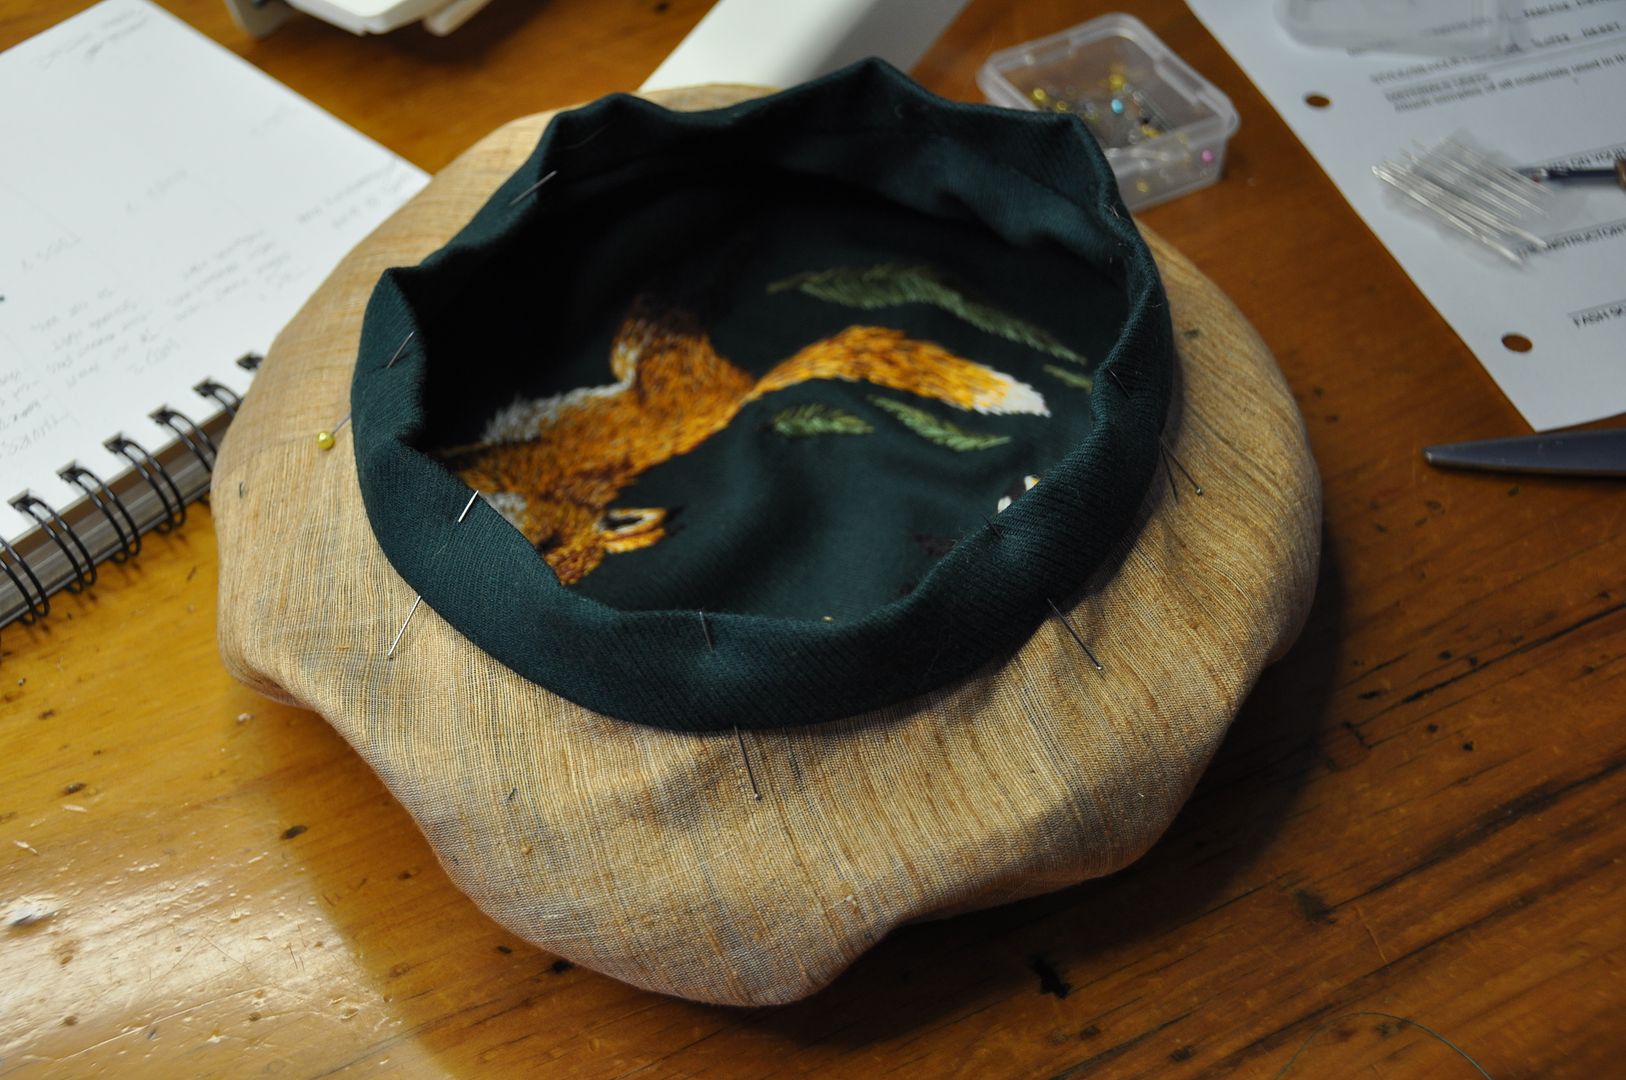
I basted my sideband layers together along the bottom seam allowance. Then I sewed one edge of the headband to the outside. I graded and notched my seam allowances before ironing and folding over the headband to the inside. This was pinned and then carefully slip-stitched in place by hand.

Presto! A fabulous beret!


Sunday, April 10, 2016

April Update

You may be thinking: Is this the blog I'm looking for? Why yes it is! We've had a huge makeover! It's been a few years, so I thought it was about time. We have a new logo, courtesy of my fab sister Alex! Check out her cool art stuff at Alex Boake Illustration! >;D  And using my newfound knowledge I also made a silkscreen version of my new logo to label stuff with! Badass!


Wow, this is a crazy month! The first big news item is that I'm moving to Alberta for 3 months. I got a job in Drumheller. So I get to hang out with dinosaurs.

This means I will be missing Anime North for the first time in 11 years... I'm a little sad. But I will be back in time for Otakuthon, so I am looking forward to that. I may also attend AdAstra here in Toronto at the end of the month, but since it's 2 days before I move and I don't have a ride there yet... it may not happen.

I have a lot to get in order before I leave. I still have yet to officially decide what sewing projects to bring with me when I go, but I will most likely be taking some of my Link and Leia costume sewing to work on while I'm away.  I have LOTS of packing and prep to do this month, so there may not be much in the way of blog content in the next few weeks while I get my life in order...

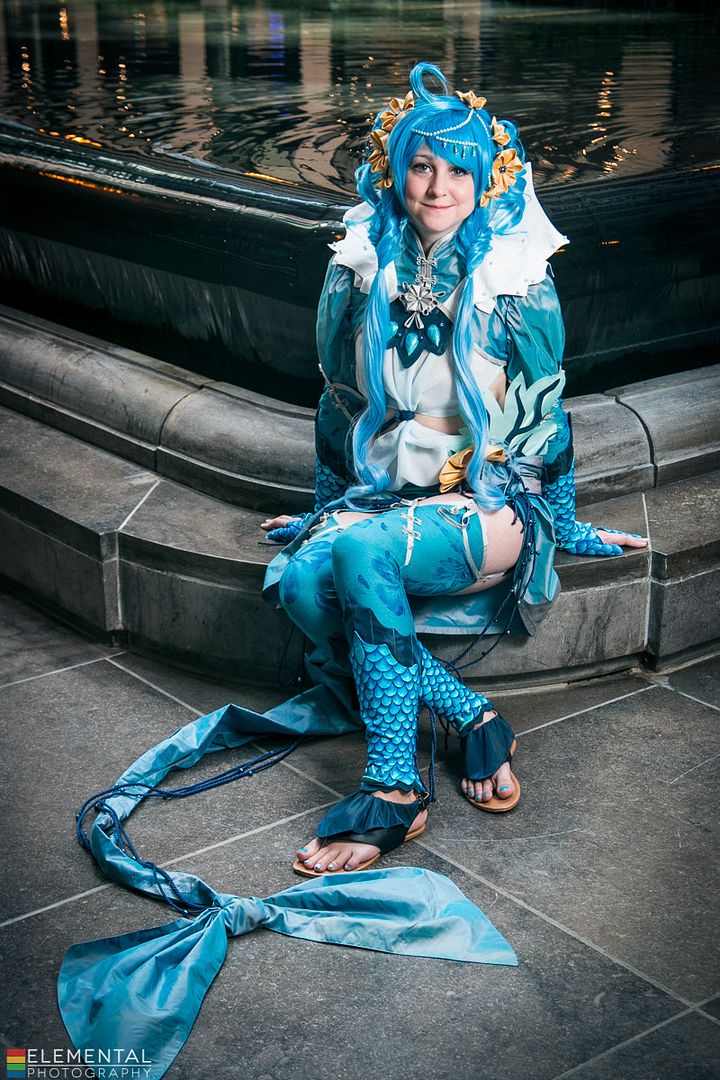
In other news Presea is finished! After 3 years! Excitement! :D I did a photoshoot last month with Elemental Photography. So I will have actual photos as proof that that costume exists. Aw yeah.

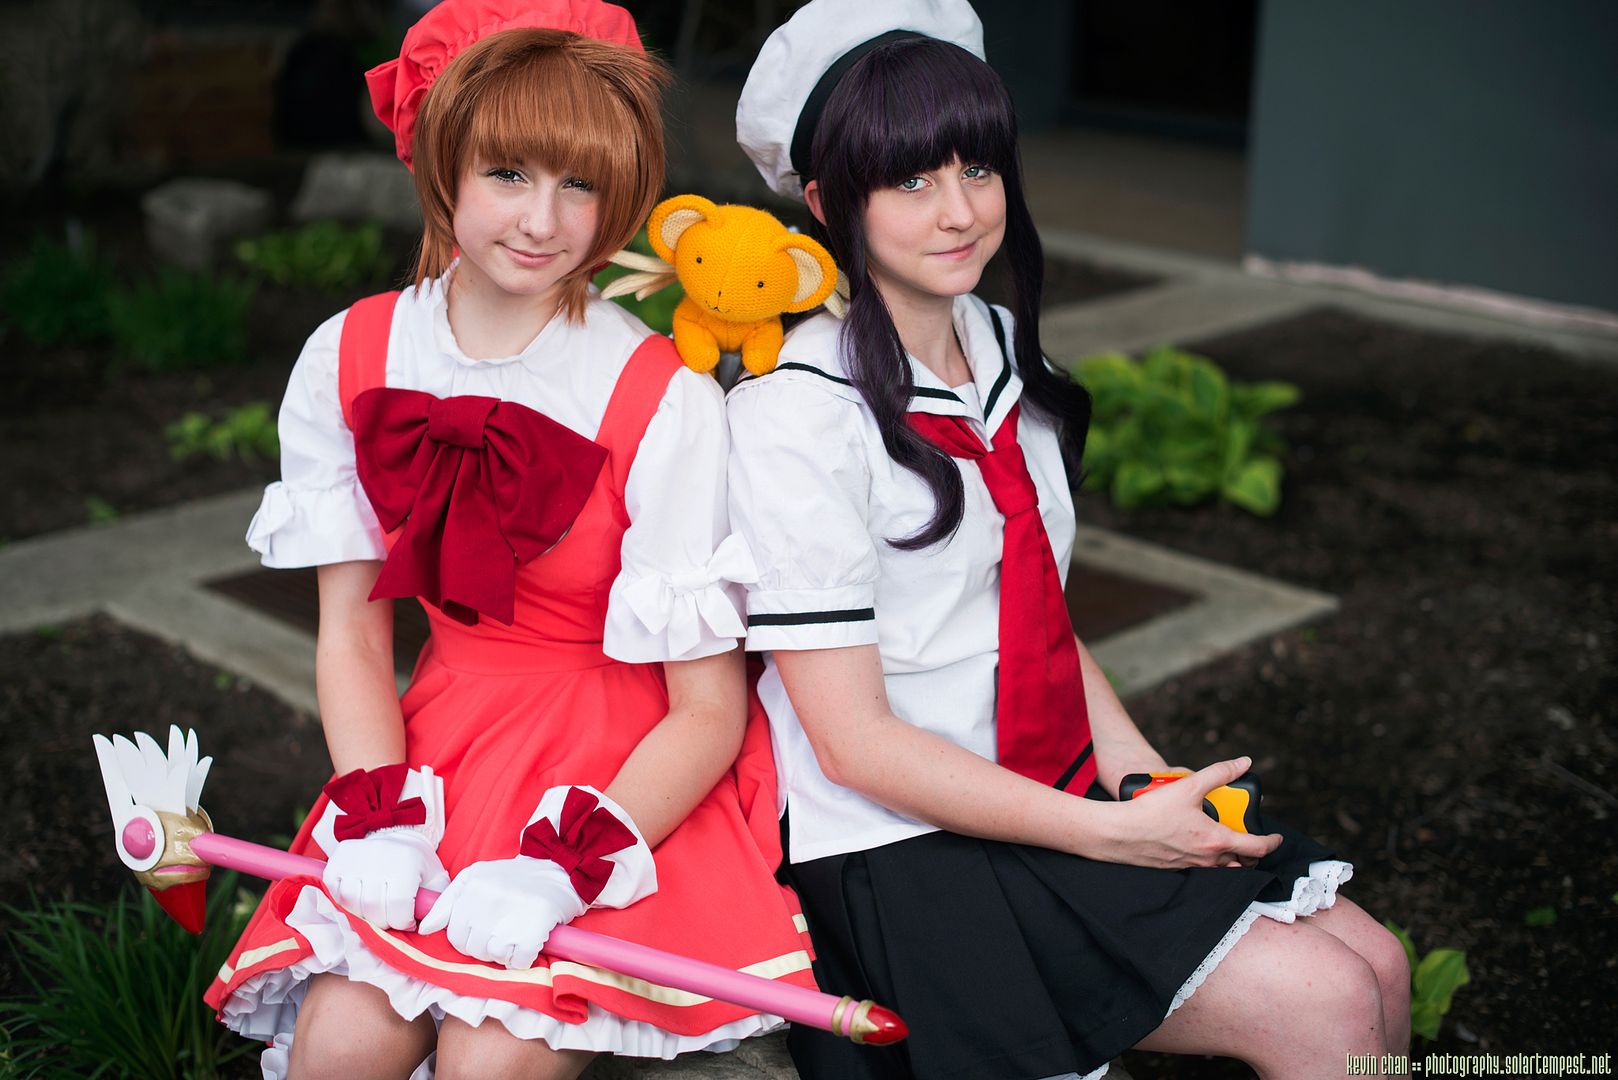
In other other news, I got pictures back from Kevin Chan Photography for our Sakura and Tomoyo shoot! :D They look great! So pretty! I will be going back and adding them to their respective costume posts.


Madly working on my hat projects for my millinery class. Progress shots are on facebook. Since I will miss the final class I have 1 less week to do all my projects. Yikes.

Lots to do before I leave and running out of time to get it all done! I'd say posts are coming soon, but probably not until later this month...

Mischief managed... for now.

Tuesday, March 15, 2016

March Update

---Edit: Due to work reasons, I will be switching to attending Toronto ComiCon on Sunday March 20th, instead of the friday.---

Salutations! It's already March!?

I'm officially announcing my first convention appearance of the year: Toronto ComiCon. I'll be there on the friday night only (March 18th)--fingers crossed something doesn't come up with work. I haven't been to Toronto ComiCon since the days when it was still called MTAC. I have a photoshoot planned with Elemental Photography that I am excited for. Currently the plan is to wear my new lolita outfit or Presea. My original plan was Jack Frost, but that was decidedly too much work to finish on top of my current schedule. The costume is getting much closer to finished, but the high temperatures and lack of snow is really uninspiring. At this point I may get it as done as I can this year, but I will probably shoot it next winter.

In other con news... I haven't booked any yet except Anime North. Currently I am waiting to hear back on some job opportunities out of province, which would mean I would be missing most of the cons I normally attend (including Anime North). I obviously don't want to drop money on cons I may not be able to go to, so until I know for sure, I won't be booking anything. I am, however thinking of attending AdAstra for the first time in April this year, as it doesn't conflict with any of those job opportunities.

In blog news: all my posts on Vaporeon are finally up! Be sure to check those out. That write-up took ages. Splitting it into 6 parts just made it way more manageable to write. And with that completed, I am officially caught up on documenting costumes I made in spring/summer 2015. Coming up next are a few random projects that I haven't got around to posting yet--including my newest hat I made and some DIY projects.

There has been some progress since I announced my costumes for this year. Jack Frost as you know has had some serious work done on it. And I have also made the base structure for Sakura's hat. Presea has been pulled out of storage and I am currently fixing it up.

I have also taken on a few commission pieces over the last two months that have been pretty fun. Nice to finally get some paid work again. I can't share too much about them but I got to make a coat and a hat.

I have also been working on some product samples, as I plan to start up an Etsy store. More to come on that really soon!

That's all for now guys!

Tuesday, March 8, 2016

Vaporeon Gijinka - Sandals & Accessories - Pokémon


The 6th and final instalment of my Vaporeon building quest: Sandals & Accessories! This costume was all about the details and finishing touches. Beading, painting, trimming, gems, accessories, props--all elements that helped give this costume the extra wow-factor. It's not often I break a costume down into 6 posts, but this one is certainly worthy of that.

Links to Part 1: Bolero, Part 2: Under Layers, Part 3: Wrap Skirt Tail, Part 4: Wig & Hairpieces, and Part 5: Wraps & Bracers!

Thanks to Elemental Photography for the fantastical photoshoot! Credit for the original costume design goes to Cowslip!

Firstly I would like to thank my friend Harriet for lending me her fan! She does Chinese fan dancing and allowed me to borrow hers for this shoot. Thanks muchly!

For the sandals I started by buying a plain pair of cheapo flip flops from Ardene's. Which is a great place to buy shoes you don't care about.

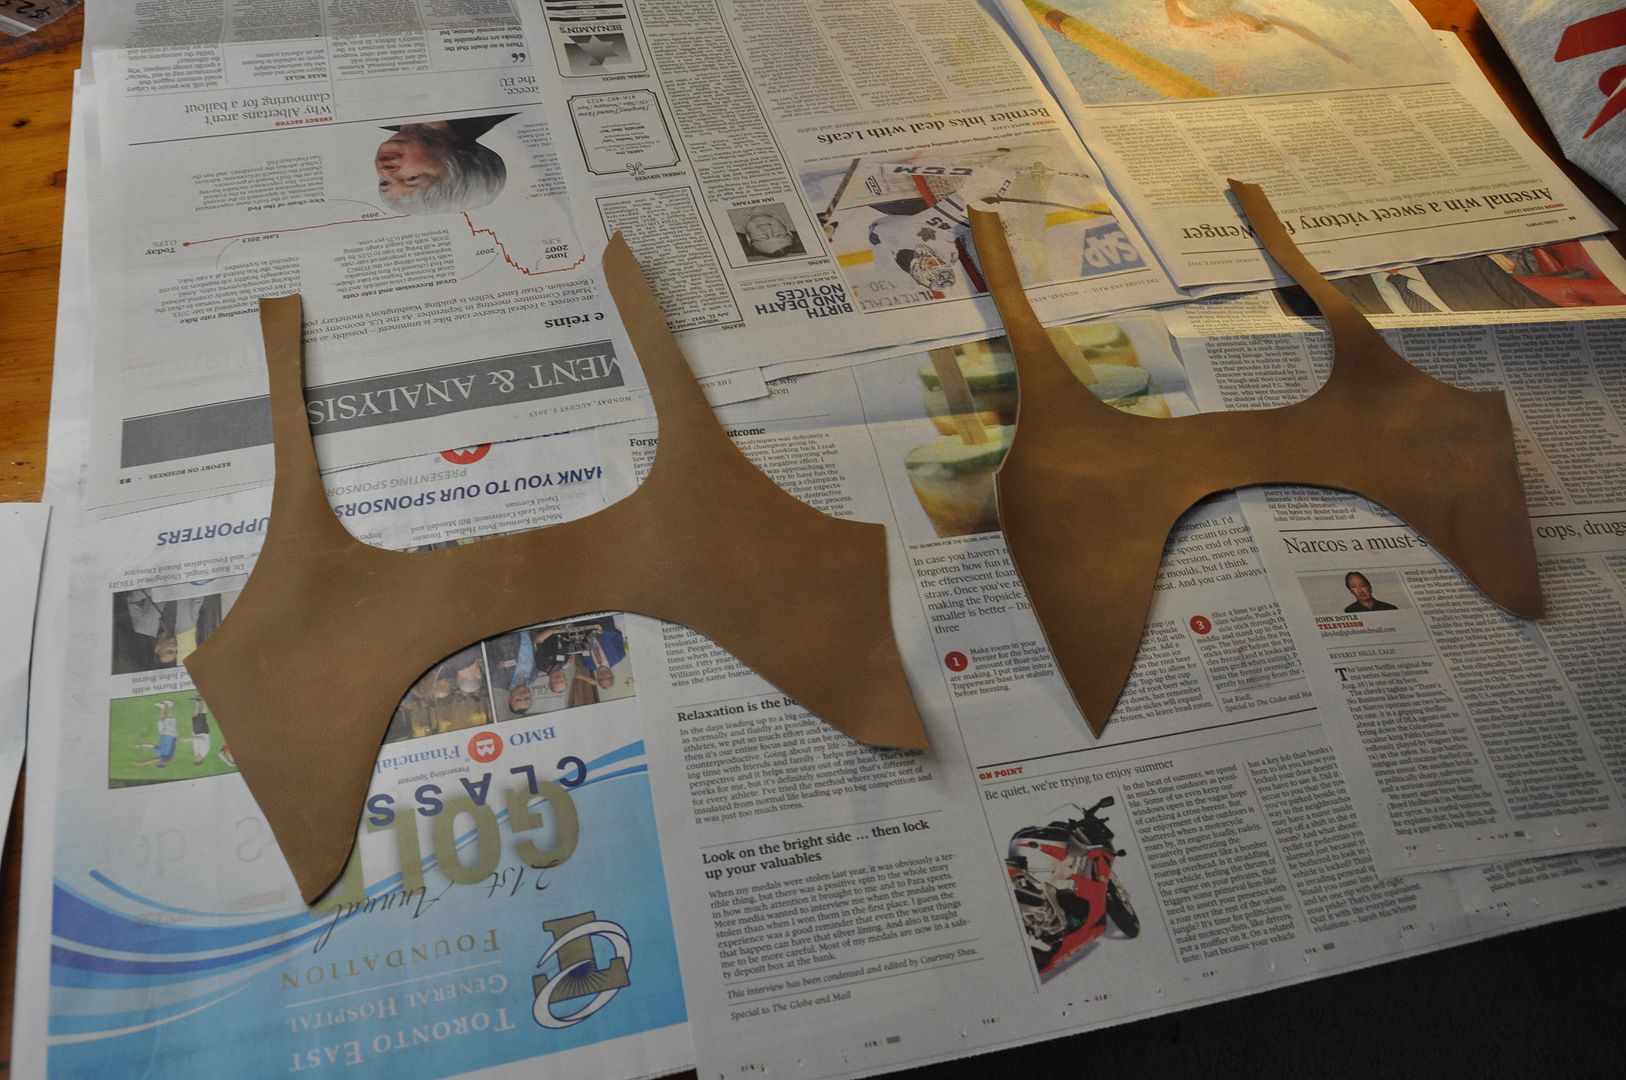
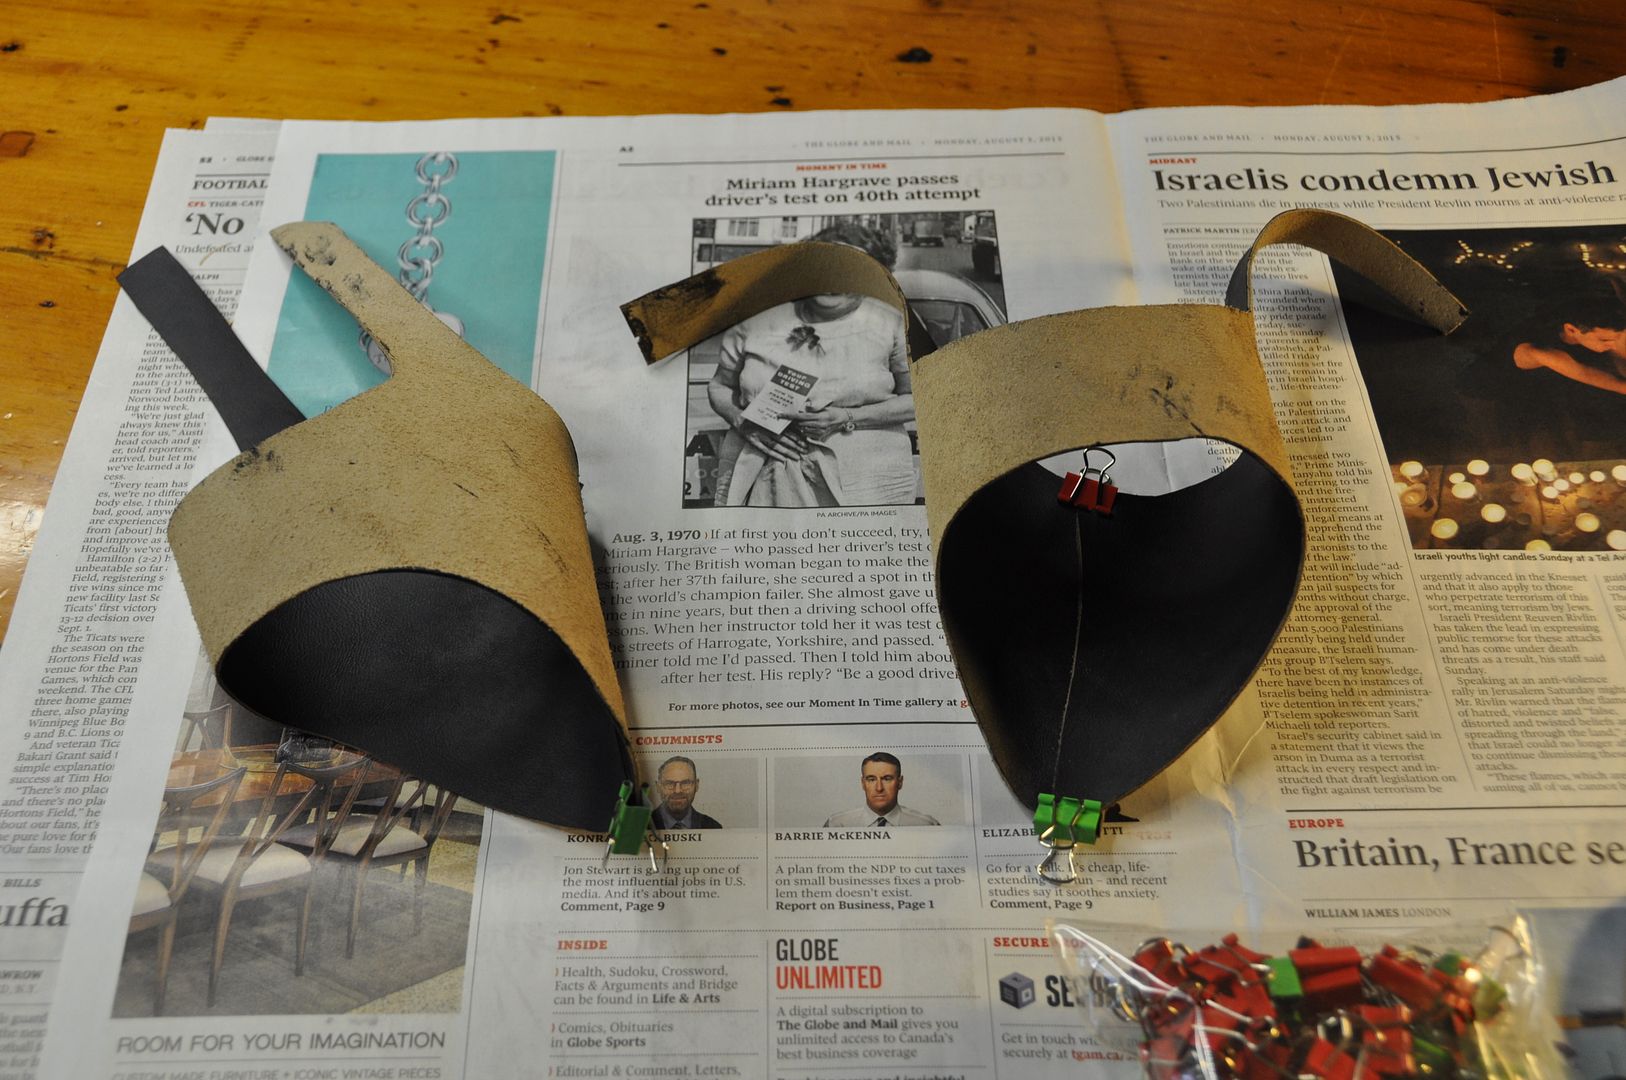
I patterned my base cover shape out of paper, then cut out my pieces (making sure they were mirror images) in leather. Using acrylic paint, I painted these leather pieces navy blue to match the costume.

These pieces would wrap under the bottom of the shoe, with a single seam in the top. The long tails would be used to make a buckle strap around the back of the heel.

Once I was happy with the fit, I machine stitched that top seam.

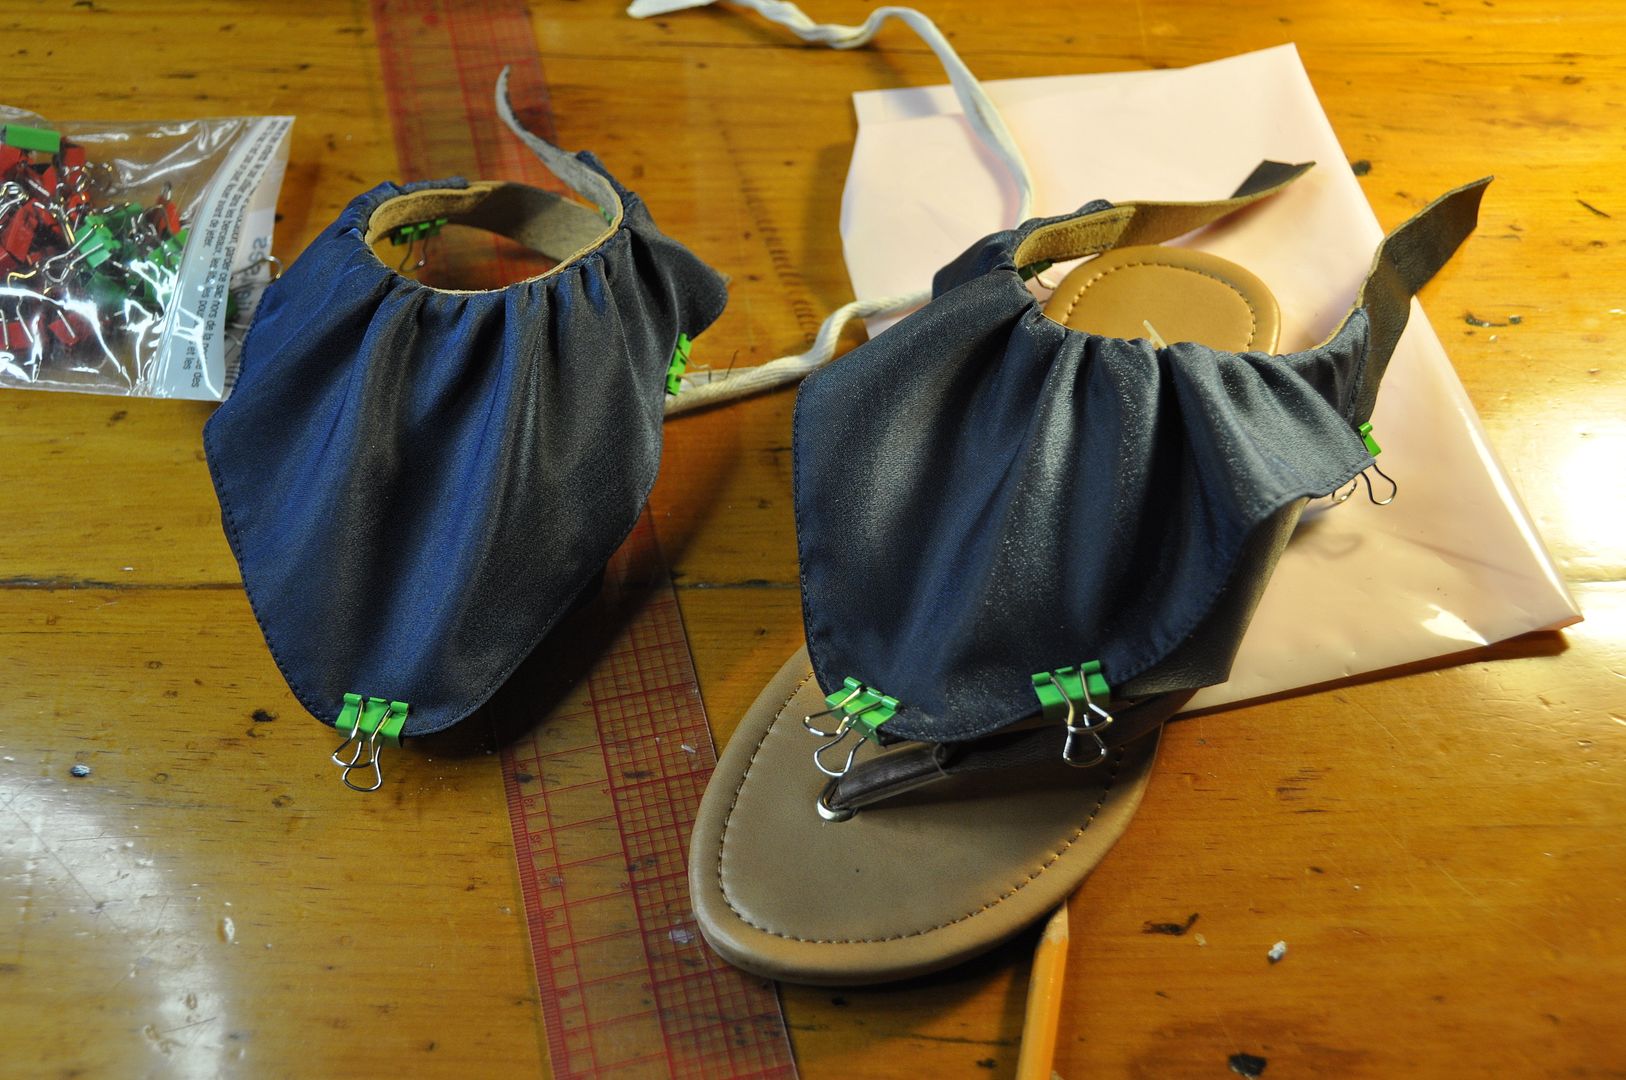
Next step was to create ruffle bit. Using leftover navy fabric from the bracers I created the two pieces. Each is made of two layers, sewn right sides together along the outer edge, then flipped inside out and top stitched. 

These were then gathered and stitched onto the top of the leather part of the sandal. I also tacked them down with a hand stitch in a few places on the outer edge, because the fabric was super stiff and didn't want to lie flat. 

Next I sewed a buckle into the back of each and punched holes to finish the closure. 

The last step was to glue the leather piece to the sole of the shoe to keep it in place/stop it from rotating. I used e6000 to glue it and it worked quite well. 

Another step in the detailing process for this costume was creating the gems for the center front and the edge of each bracer. 

I sculpted them using apoxie sculpt and then I painted them using a few different shades of nail polish. I did a splotchy application of my dark blue and light teal. And then went over that with a translucent shimmery blue, before finishing it off with a coat of clear gloss.

I applied the same paint to my toenails later! Details are important!

All of the gems were glued onto the costume with e6000. 

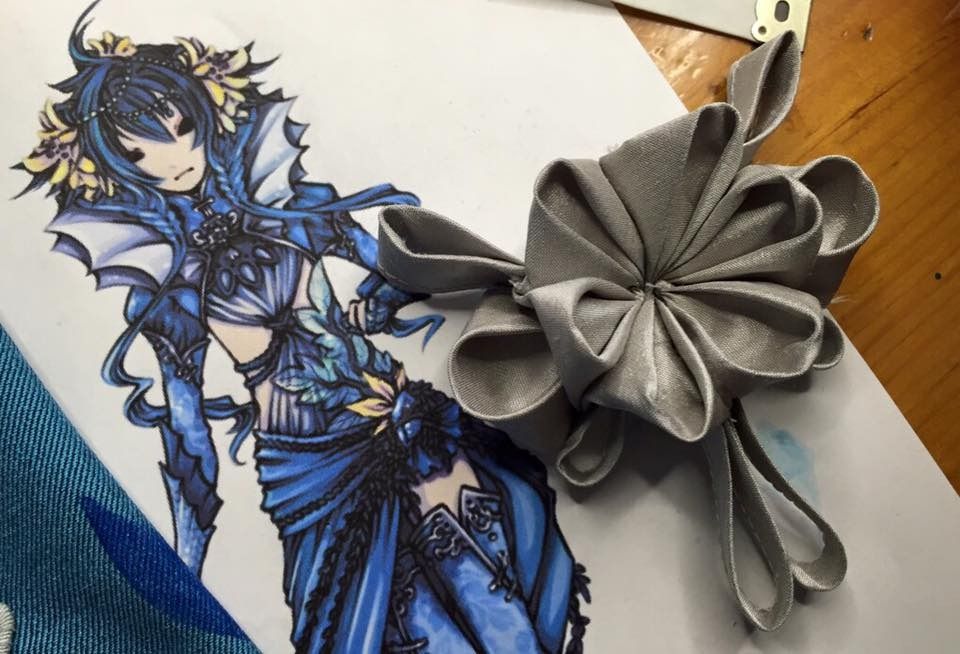
My last accessory was a brooch I created for the front of the costume. It was based on the very faint squiggle in the illustration. I got to interpret it how I wanted and this was the result. (I think I sewed beads to  the center later?)
Overall I am very satisfied with how this project turned out, and look forward to starting my next complicated fancy project.

Once again thanks for all your support! Now that this is done I can move on with my life! Hooray!