

The 6th and final instalment of my Vaporeon building quest: Sandals & Accessories! This costume was all about the details and finishing touches. Beading, painting, trimming, gems, accessories, props--all elements that helped give this costume the extra wow-factor. It's not often I break a costume down into 6 posts, but this one is certainly worthy of that.
Links to Part 1: Bolero, Part 2: Under Layers, Part 3: Wrap Skirt Tail, Part 4: Wig & Hairpieces, and Part 5: Wraps & Bracers!
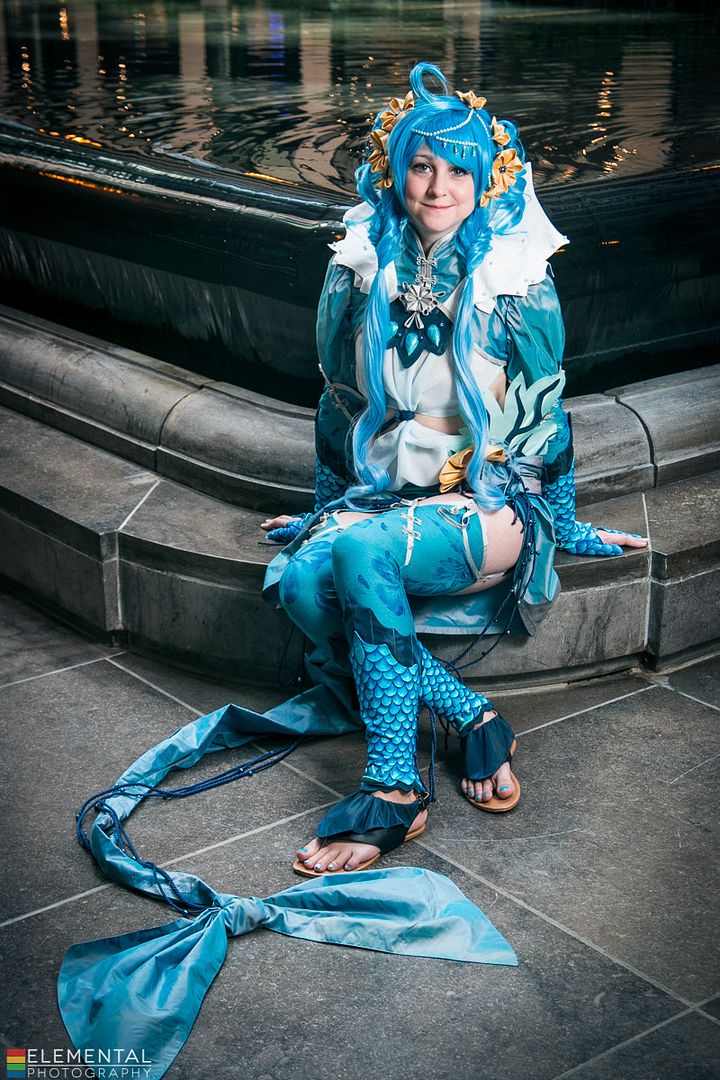
Thanks to Elemental Photography for the fantastical photoshoot! Credit for the original costume design goes to Cowslip!
Firstly I would like to thank my friend Harriet for lending me her fan! She does Chinese fan dancing and allowed me to borrow hers for this shoot. Thanks muchly!
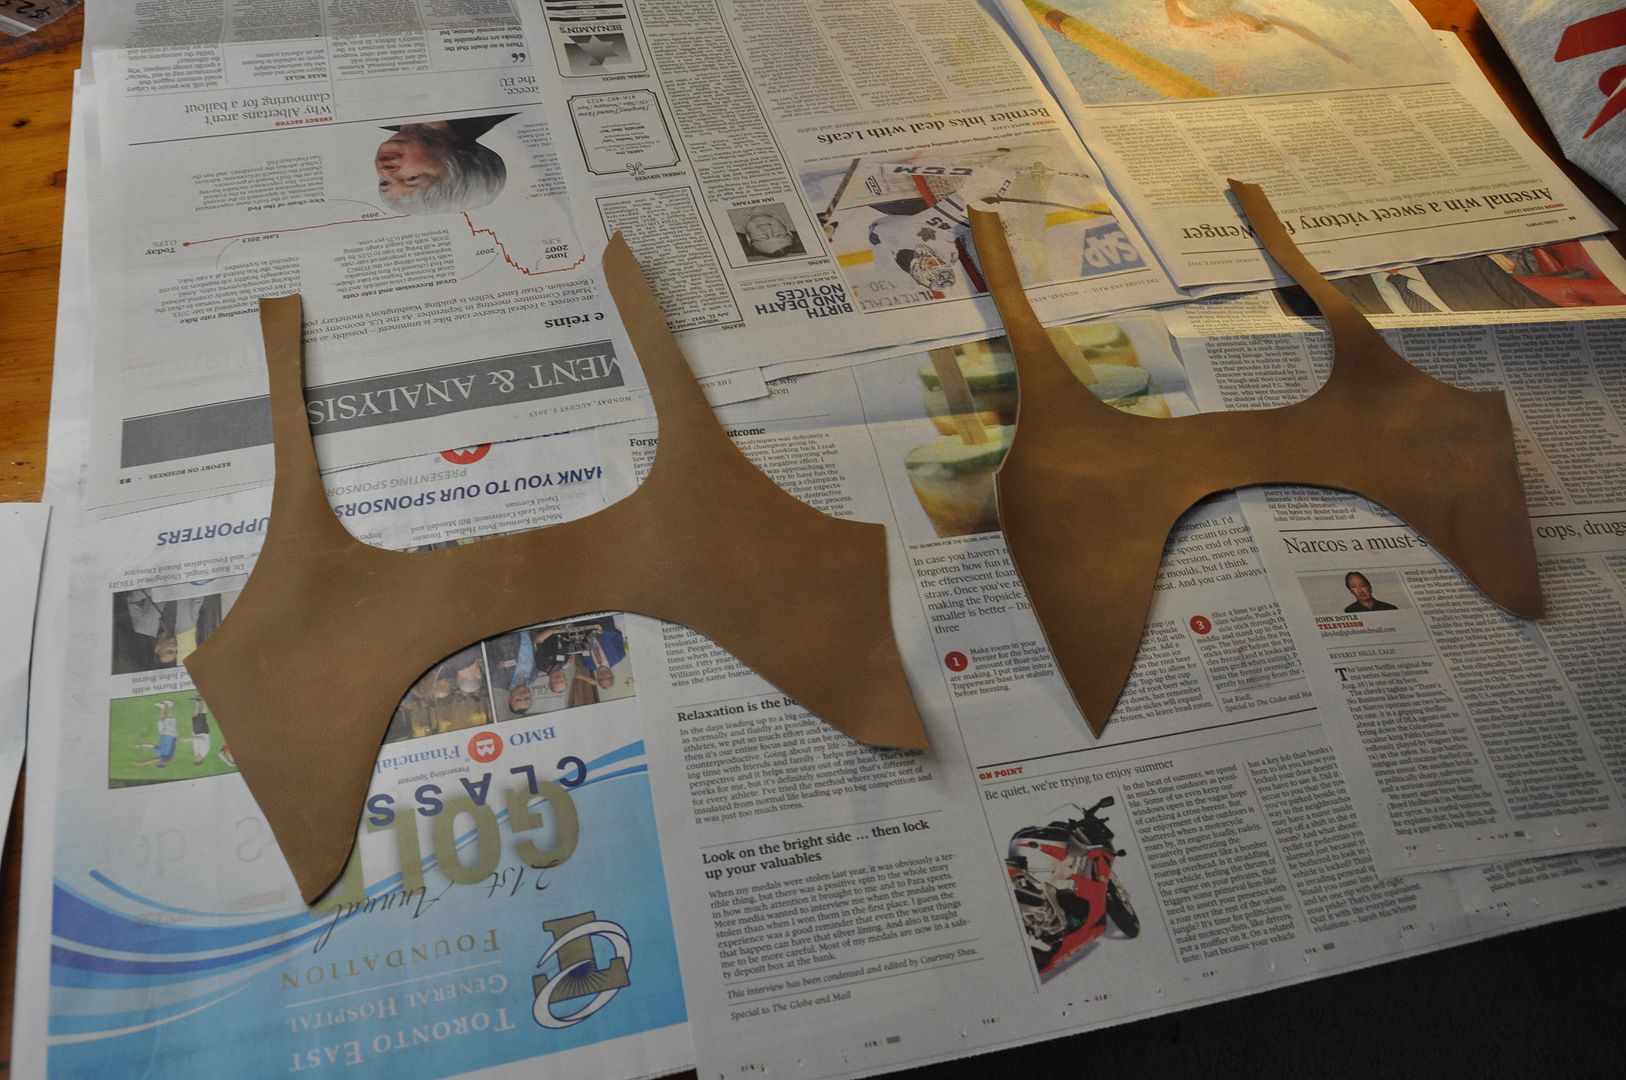
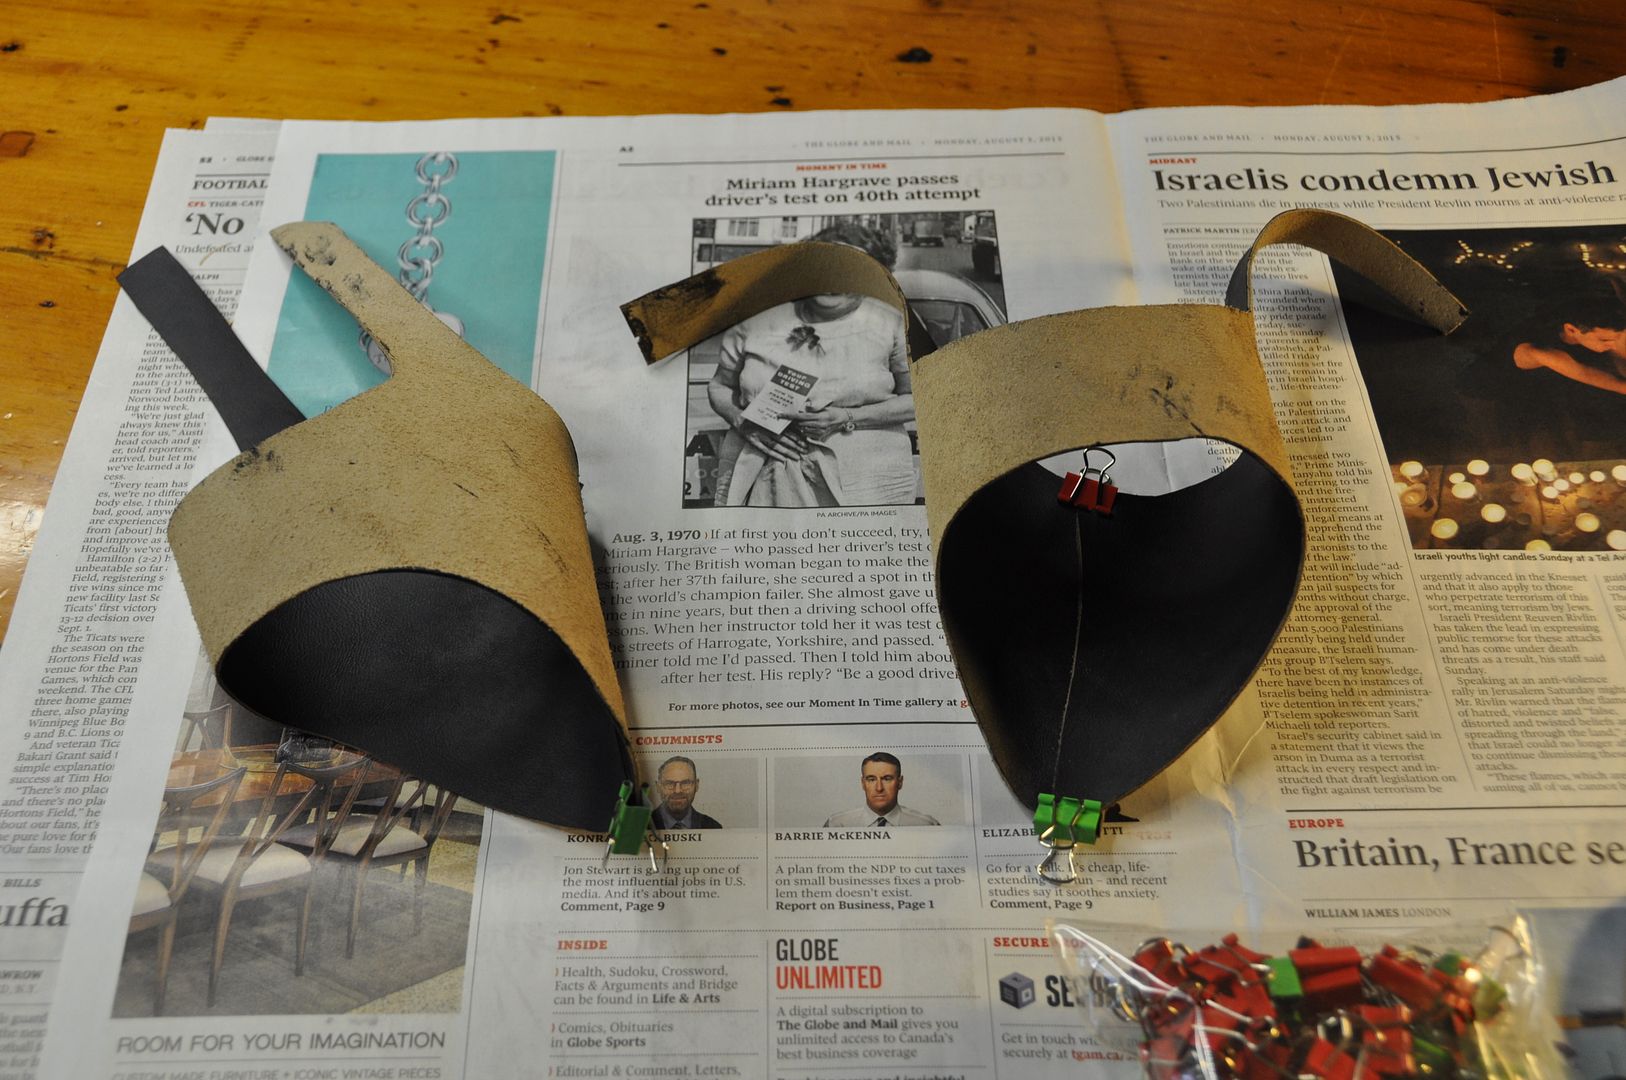
I patterned my base cover shape out of paper, then cut out my pieces (making sure they were mirror images) in leather. Using acrylic paint, I painted these leather pieces navy blue to match the costume.


Next step was to create ruffle bit. Using leftover navy fabric from the bracers I created the two pieces. Each is made of two layers, sewn right sides together along the outer edge, then flipped inside out and top stitched.
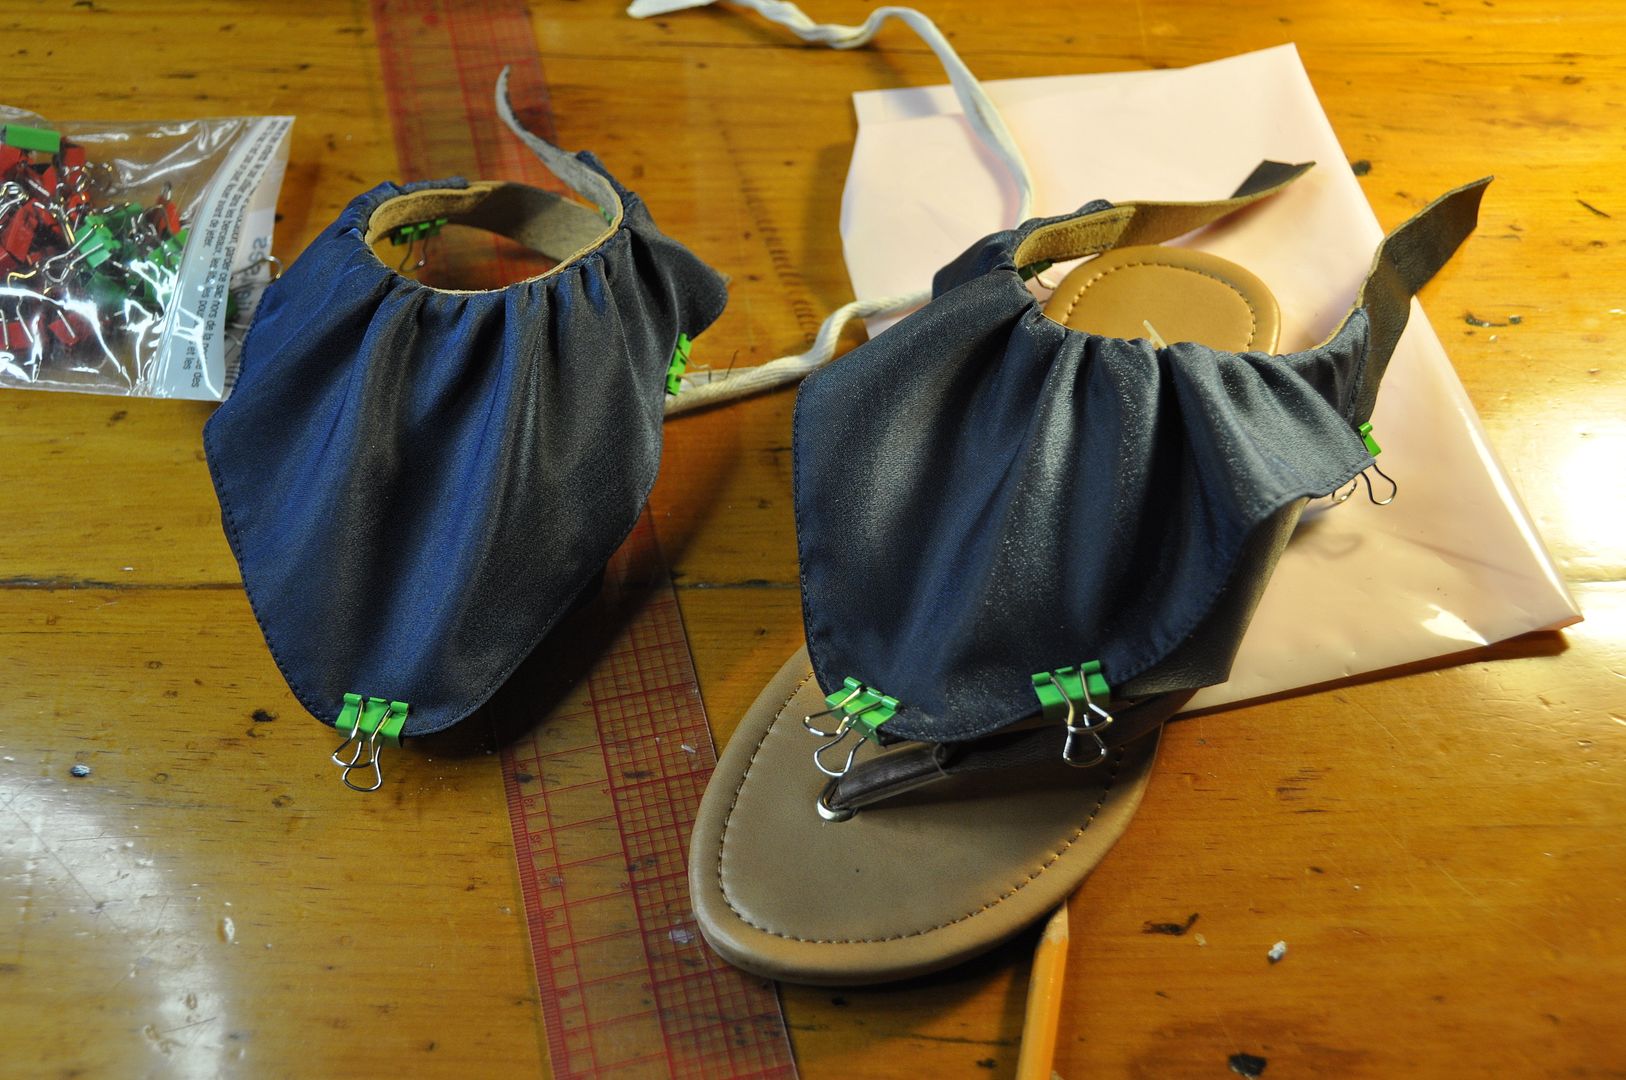
These were then gathered and stitched onto the top of the leather part of the sandal. I also tacked them down with a hand stitch in a few places on the outer edge, because the fabric was super stiff and didn't want to lie flat.
 Next I sewed a buckle into the back of each and punched holes to finish the closure.
The last step was to glue the leather piece to the sole of the shoe to keep it in place/stop it from rotating. I used e6000 to glue it and it worked quite well.

Another step in the detailing process for this costume was creating the gems for the center front and the edge of each bracer.
I sculpted them using apoxie sculpt and then I painted them using a few different shades of nail polish. I did a splotchy application of my dark blue and light teal. And then went over that with a translucent shimmery blue, before finishing it off with a coat of clear gloss.
I applied the same paint to my toenails later! Details are important!
I applied the same paint to my toenails later! Details are important!
All of the gems were glued onto the costume with e6000.
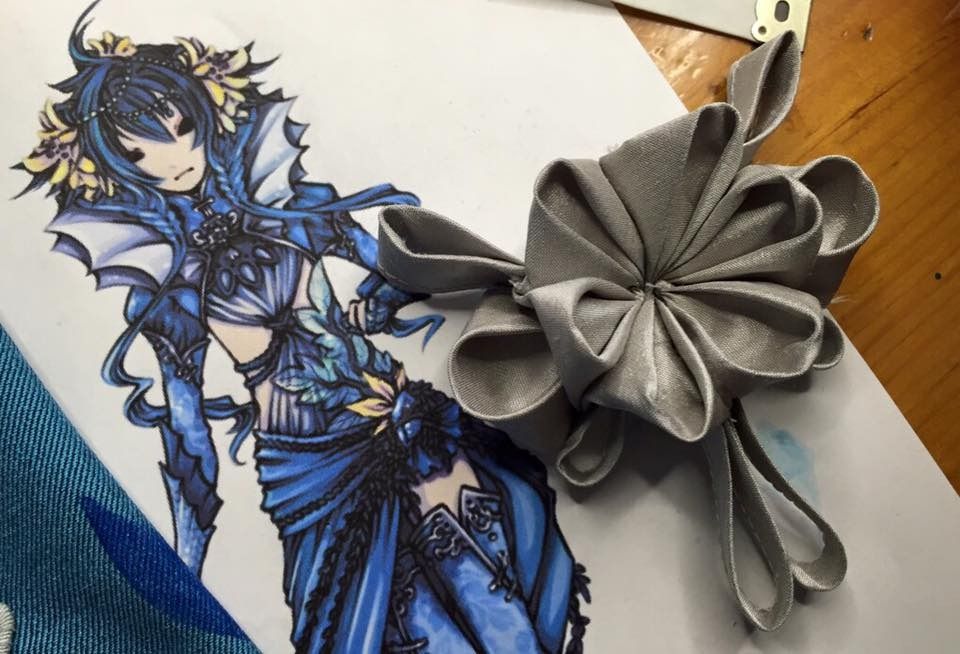
My last accessory was a brooch I created for the front of the costume. It was based on the very faint squiggle in the illustration. I got to interpret it how I wanted and this was the result. (I think I sewed beads to the center later?)
Overall I am very satisfied with how this project turned out, and look forward to starting my next complicated fancy project.Once again thanks for all your support! Now that this is done I can move on with my life! Hooray!
No comments:
Post a Comment