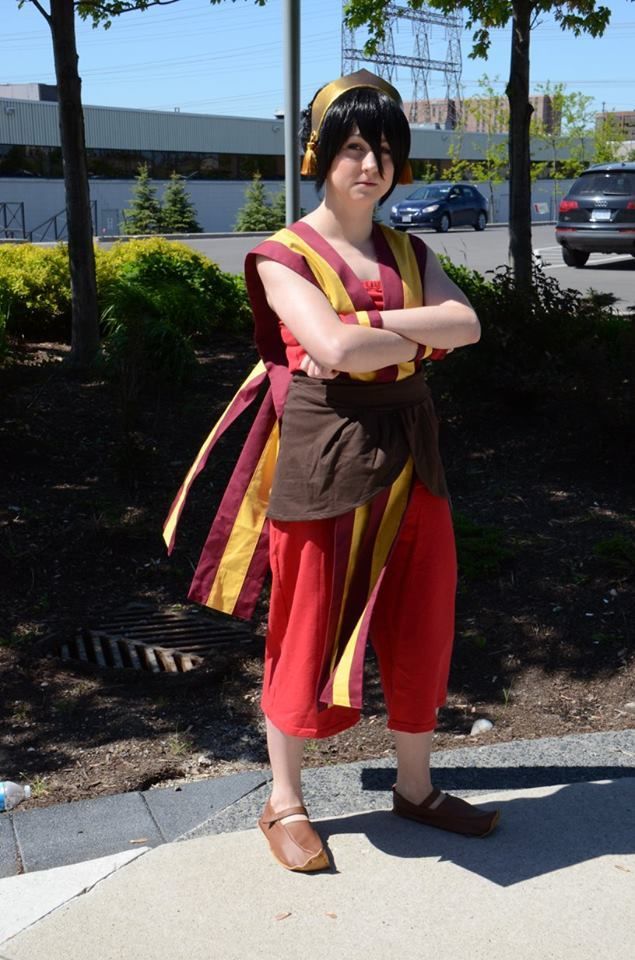
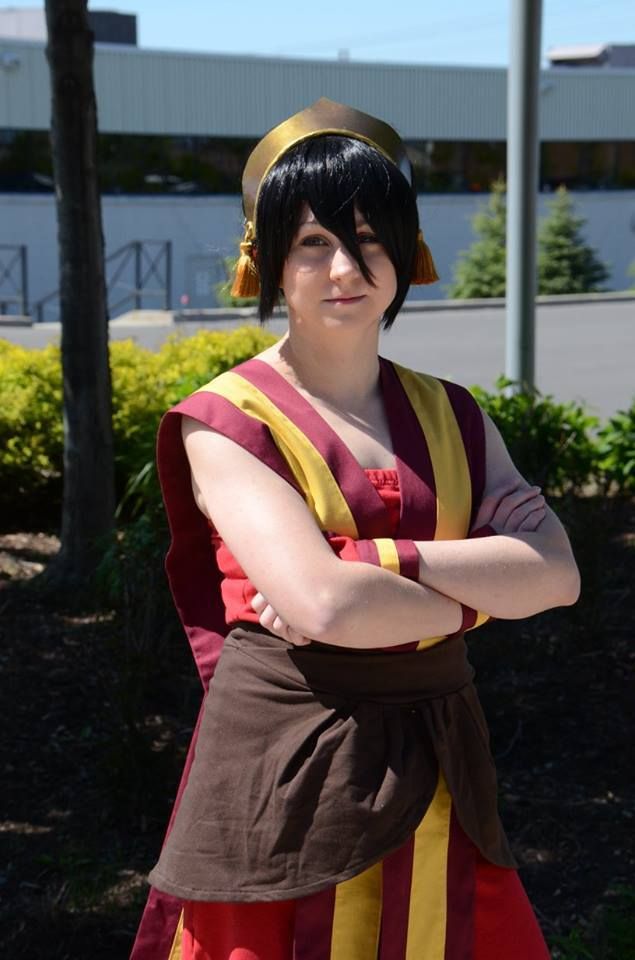
The second installment in my series of posts on my Toph costume. If you want to see how I created the wig, go here!
Toph Beifong is one of my favourite characters from The Last Airbender. She is so very sarcastic and a genuine tough-guy. A welcome addition to the group dynamic in season 2. I've always wanted to do a costume from this series, but I had never made time for it. I really love the Fire Nation outifts the best aesthetically, though I've always had my eye on doing either one of the Kiyoshi warriors or Ba Sing Se costumes... So many good choices. Perhaps someday...
As I said in my previous post, I actually started this costume last summer, but after many difficulties with the wig I didn't finish it. This is the part of the costume that I constructed and finished last year for Otakon.
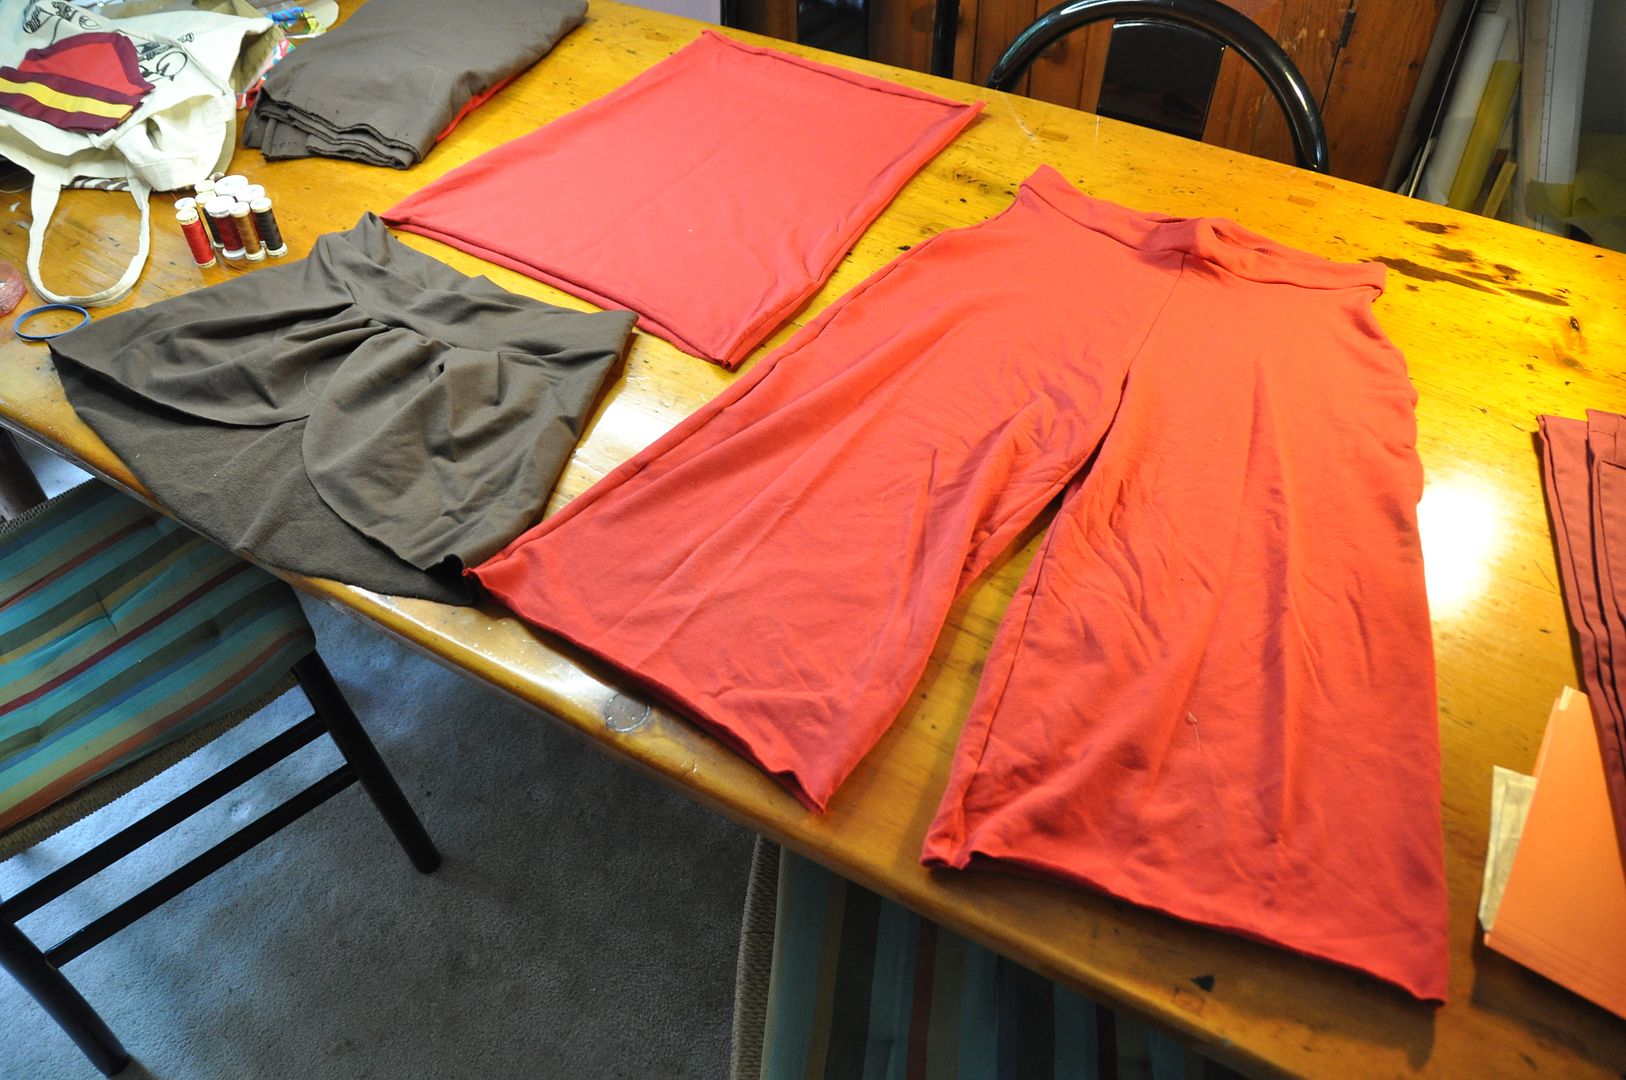
Aside from the extremely heavy wig, the rest of this costume is super comfy. I decided to make it primarily out of stretch fabrics.
The pattern for the pants is based off of a pair of old yoga pants I have. I traced that onto a piece of paper and used it as my pattern. They only needed some slight adjustments to account for the difference in fabric.
The tube top was made from two pieces--a front and back--that were narrower at the waist.
The waist wrap I draped to created the pattern. I pleated the fabric along the front overlap. The waistband for it was folded in half and tapered to a point at each end.
Because I lack a serger, after cutting out all my pieces I went to visit my friends Jen and Amanda--AKA Mai Sheri and Elemental--who were kind enough to let me use theirs! (I paid them in homemade cookies.) I assembled the pants, and tube top with relative ease. Pinning the waistband to the wrap this was serged together in a circle on the inside. Then using a zig-zag stitch I hemmed all the garments.
I inserted an elastic in the waistband of the pants and the top of the tube top. All of these pieces stretch to fit and have no closures.
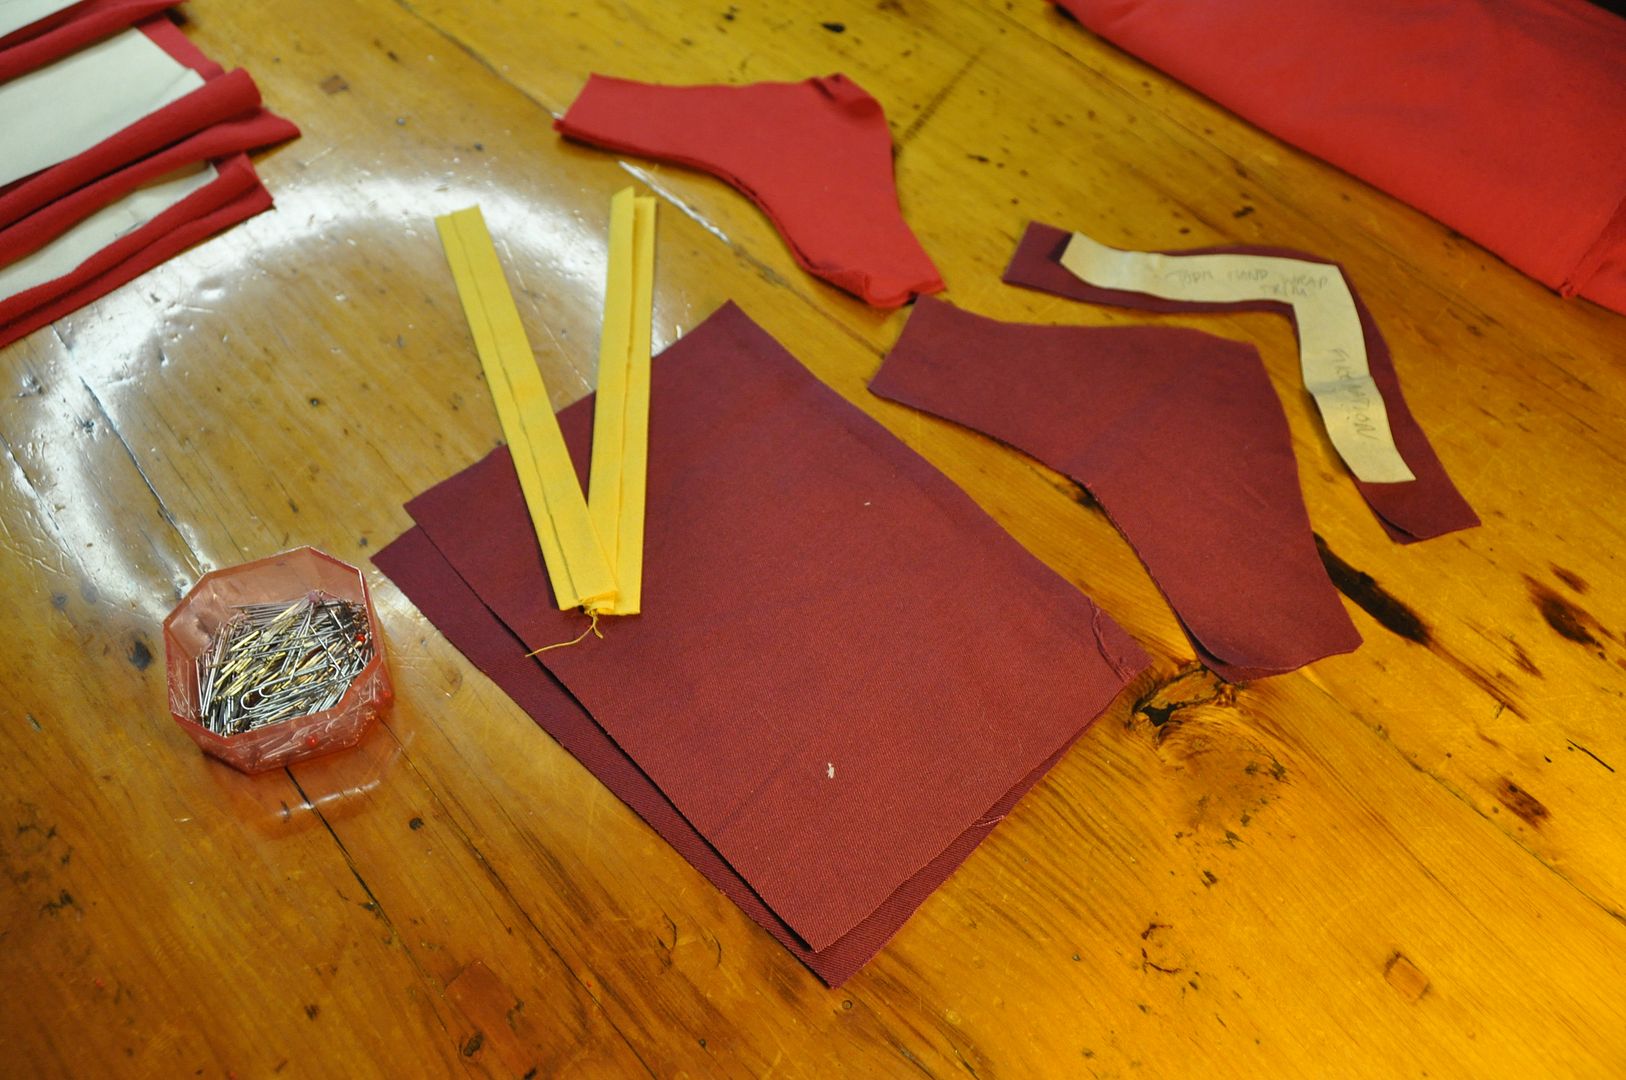
For the striped pieces draped over the shoulders, they are simply long rectangles. I was using up leftover fabric from another project. The yellow stripe was aligned with the center of one half, then top stitched down. Then I folded them right sides together and sewed along the open edge. Then I flipped them right way out and finished the ends. I tacked them together at the front and back where they overlap so they would stay in place.
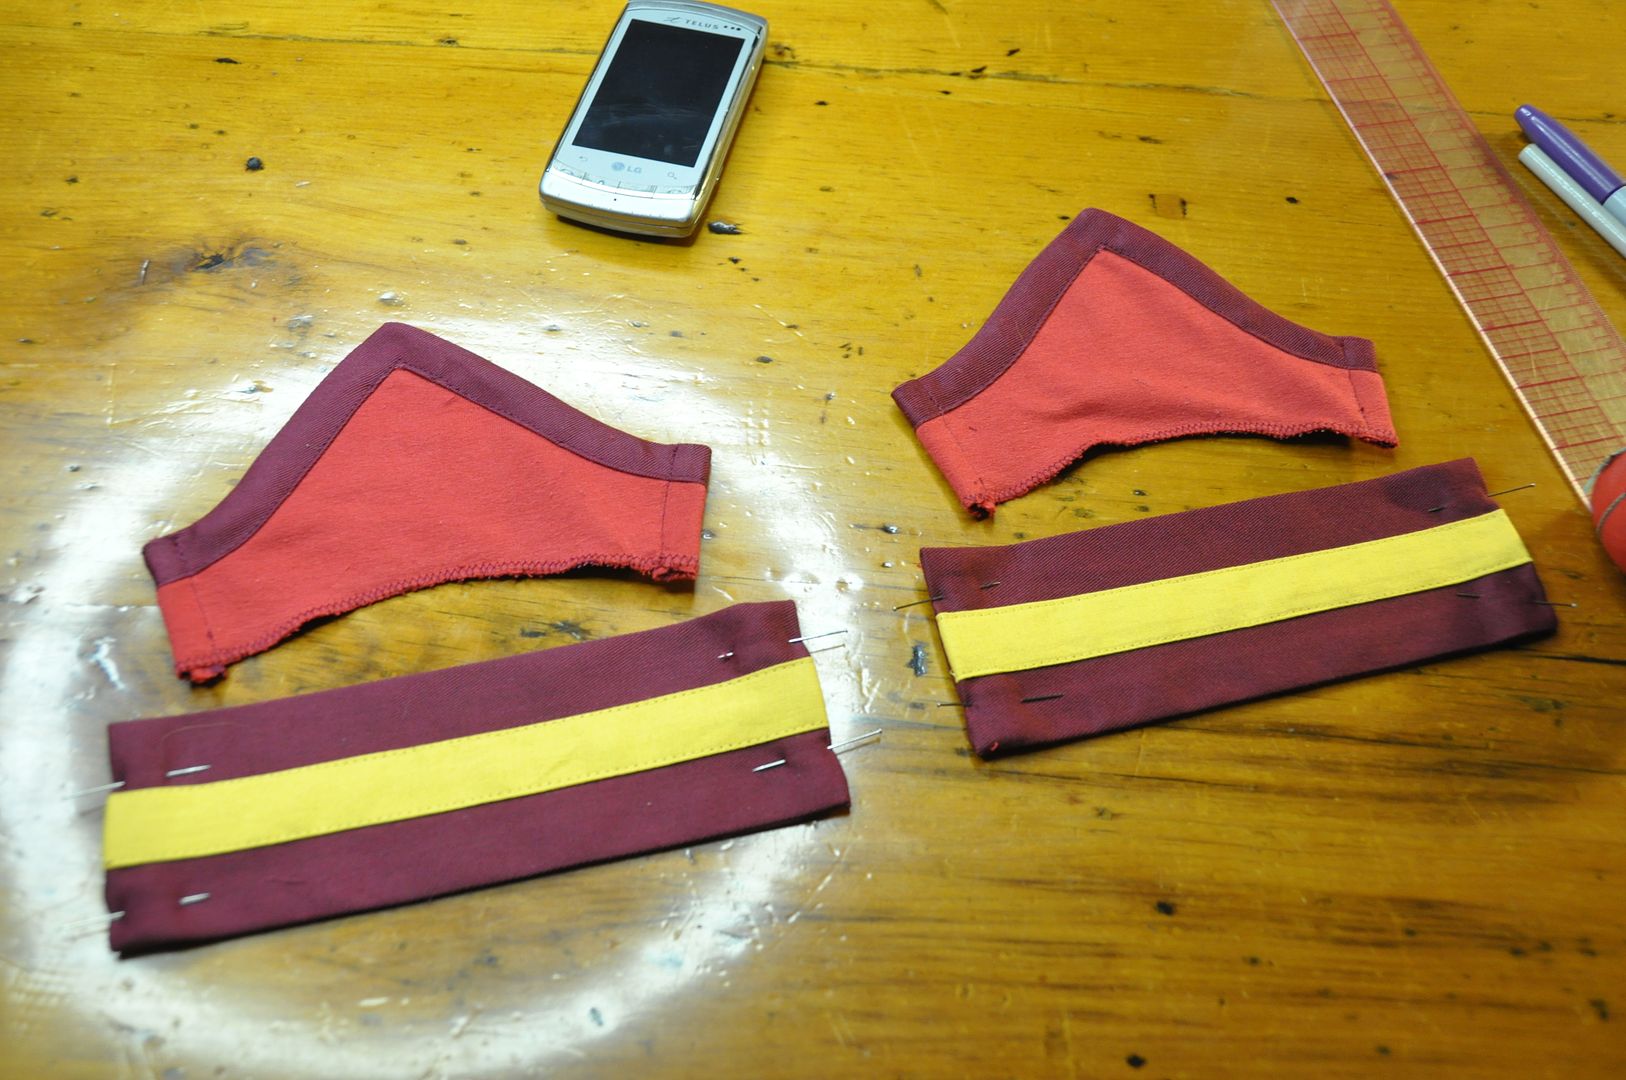
The last piece to create was the cuffs. I used paper to mock up a pattern. Then cut out pieces in the various colours.
I sewed the yellow stripes to the wristbands in the exact same way as I did the draped pieces--just on a smaller scale.
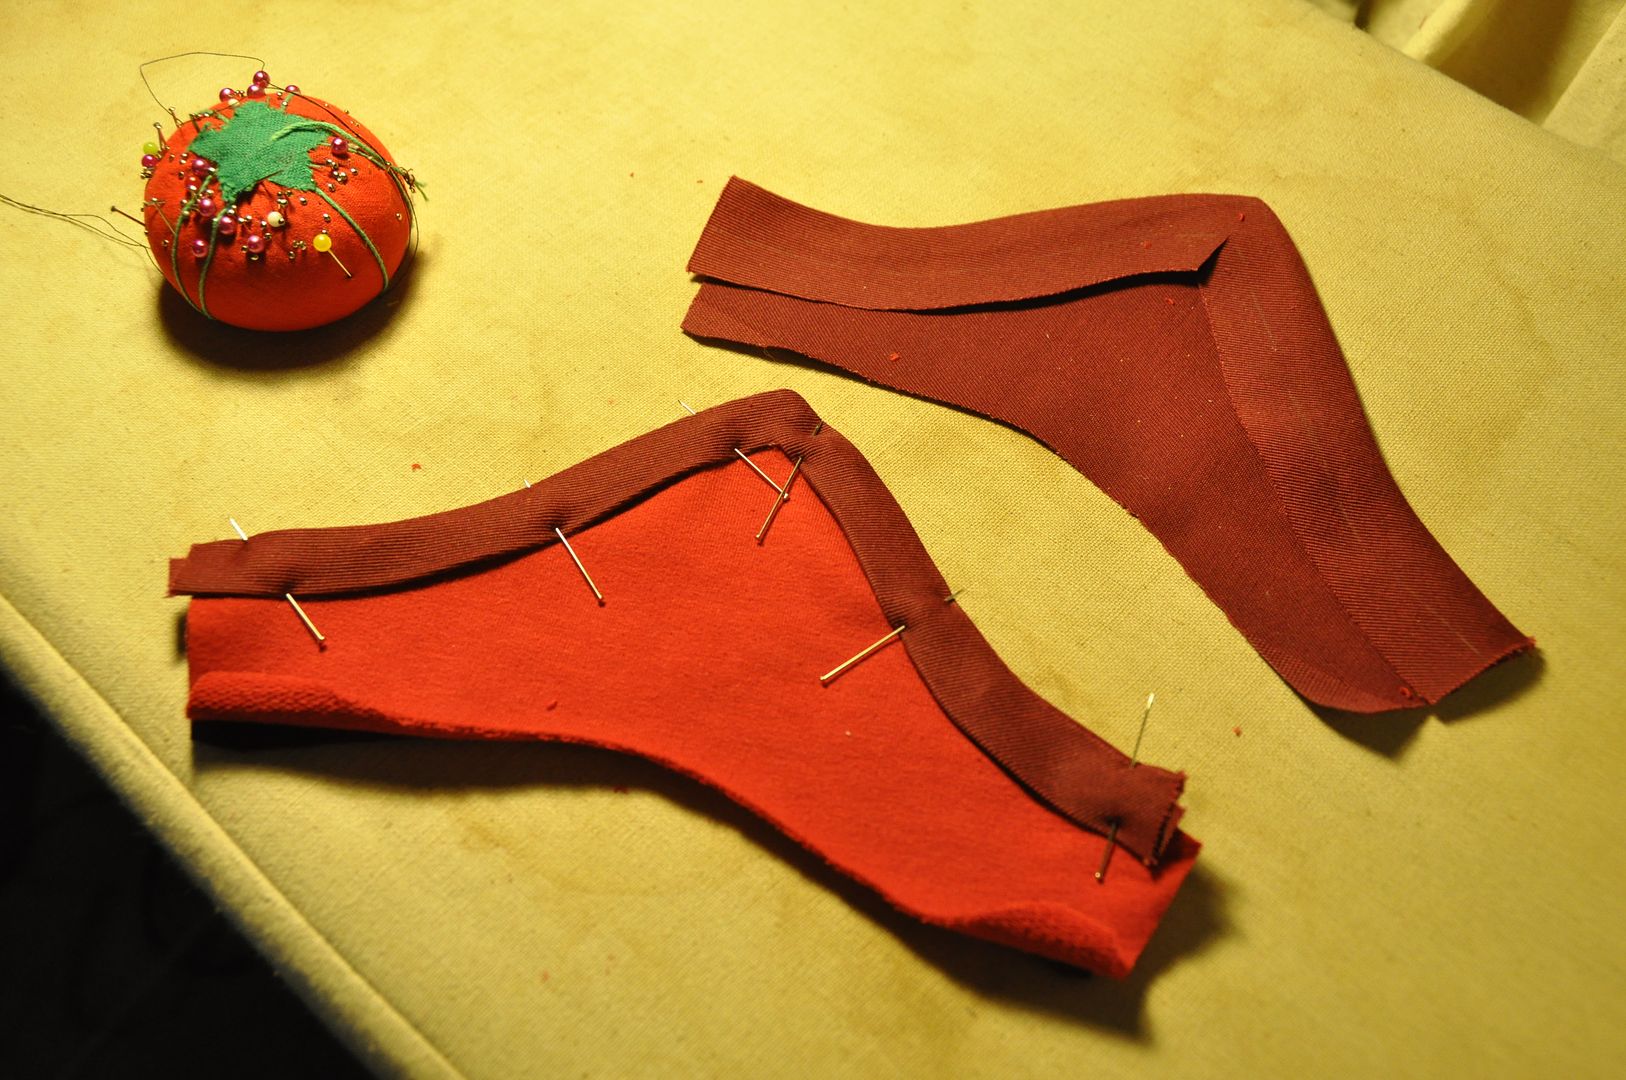
For the pointed piece I sewed the backing and the top edge piece right sides together.
The next step was to clip the excess seam allowance and flip the top edge piece to the front. I ironed it flat. Then I inlaid the red piece, tucking the raw edges of the burgundy piece underneath the trim and top stitching it in place.
After finishing the edges I sewed the pointed piece to the wristband. Then I added some hooks and bars as closures.
Stay tuned for part 3!
Wednesday, August 26, 2015
Toph (Fire Nation Disguise) - Outfit - Avatar: The Last Airbender
Labels:
anime north,
avatar,
burgundy,
cosplay,
fire nation,
hook and eye,
pants,
red,
sewing,
shirt,
stretch,
toph,
wrap,
yellow
Wednesday, August 19, 2015
Toph (Fire Nation Disguise) - Wig - Avatar: The Last Airbender
This is my first post on Toph. Rather than the traditional green outfit, I decided to make her Fire Nation disguise outfit from season 3. Of all the nations, I really thought the Fire Nation had the nicest designs in the series, but Toph is one of my favorite characters--so this seemed like a good compromise.
This costume was originally supposed to debut at Otakon last summer, and I had managed to get everything finished except the wig and shoes. But without the wig, the costume isn't really wearable, so the costume went on the backburner for a while as I worked on the wig.
I really need to make time to do a real photoshoot of this costume. Perhaps next year...
I thought I would start by talking about the wig--easily the most difficult piece of the costume. This wig took me 3 attempts until I was satisfied with the end result.
It was a nightmare to construct, partially because the reference is so vague. All you can see is that she has a large black blob of hair at the back of her head--which is presumably a bun? I've seen people achieve this in different ways, some opting for a small bun (a bit of a cop-out, and not very accurate), others choosing to do an intricately braided style to create the mass. I wanted to create a smooth rounded "bun" that was as accurate as possible.
My main issue I encountered--which carries over to many costumes--is that I have a small head and not an abundance of hair. This means that 99% of all the wigs I ever bought are loose on me. Back in the day I had waist-length hair which I had difficulty stuffing under a wig, and this would keep it from slipping. But these days, any wig that is remotely back heavy slides out of position like nobody's business. It is a problem I have noticed since I have started to do more elaborate styled wigs (Asuna was a problem in particular because of the heavy metal bells).
To counteract this problem I have found the best way to keep a wig from sliding to to sew a small comb into the front of the wig and then french braid my actual bangs. The comb hooks into the braid and prevents it from sliding out of position. (I did the same thing on my Tomoyo wig.)
Black is such an easy colour of wigs to find, so I was not worried about finding a wig (for once!). To save myself some time, I ordered a ponytail wig from Epic Cosplay, this meant that I wouldn't have to also make my base wig into a ponytail wig first to cover the gaps in the wefts. Their ponytail wig is a short wig that comes with an extension you can wrap around the ponytail base to make it a long wig. This was great for my purposes, as the large extension would be put to use later in creating the bun.
I started by taking out some of the wefts from the middle of the back of the wig. This was done very carefully with a seam ripper. This was to remove bulk under the bun while also procuring more hair to make the bun with.
Out of some back fabric I made the base of the bun and loosely stuffed it. I hand stitched the wefts around the edge. I cut a hole in the middle of the fabric to stick the loose ends of the wefts in.
This is the point where I realized I wasn't going to finish the wig before Otakon, and put it on hold for a while. The next steps were done over the next couple of months before going on hold while I finished my degree and then finally finishing in the weeks leading up to AN.
After that I attached the bun at the top of the wig with a strong hand stitch. I tied the hair that would later be the bangs out of the way.
At this point I also made the wig slightly smaller smaller along the back with some darts that I stitched in to the netting. This helped it fit better. I also hand stitched the small comb into the front of the hairline.
Next I pulled the wig under the bun into a ponytail and stubbed it using regular white glue. Then I cut off the excess hair.
I also stubbed the bottom of the hair that was draped over the top of the bun.
Next I cut and styled the bangs. The wig was quite thick at the front, so I had to thin it out a fair bit. Because although Toph's hair is supposed to fall into her eyes (which isn't a problem because the character is blind), I kind of needed to be able to see.
To finish off the wig I used some heavy duty hair pins to affix the bun in place.
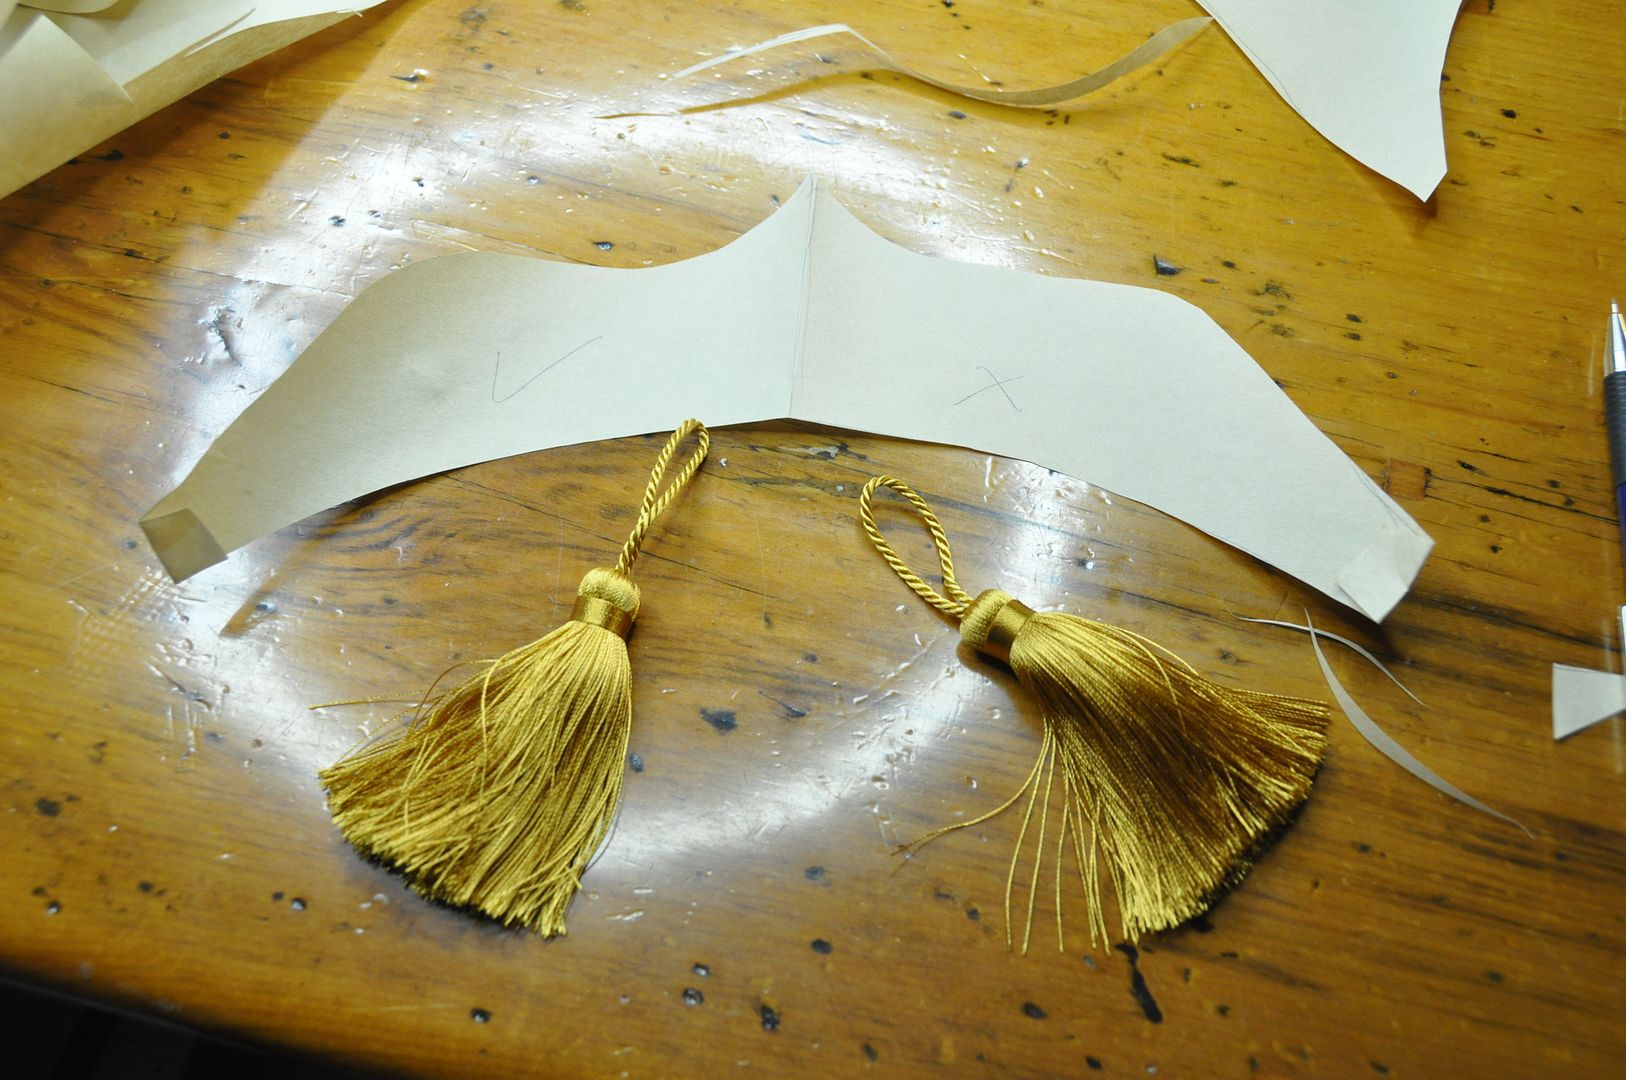
Next I paper patterned the tiara/headband. Once I was happy with the pattern I cut out 2 pieces of worbla and laminated them together with a heat gun. This was to make it sturdier.
This part of the costume was done after I had finished my independent study on worbla, so I used some of the leftover materials to make this tiara/headband.
I molded some scrap bits of worbla into a long roll and used that to make the raised detail along the edge. Then I heated the whole piece and gently curved it into the desired shape.
Using a dremel with a drill bit, I drilled a hole through the center of the raised loops at each end.
I made the tassels shorter to be more accurate.
Here you can also see how the finished wig looks from the side. The bun is a little smaller than the actual character's hair, but I think this is a more manageable size. It is already insanely back-heavy!
Next was priming the surface for painting. Worbla tends to have a slight bumpy texture to it, so I used a couple of coats of gesso and gorilla glue as a filler.
I primered it with a red spraypaint. The red colour underneath helps to counteract the green-ness that is common in most gold paints. I gave it a light sanding, before doing a second coat of red.
I painted it using a bronze acrylic paint as my main colour and then a gold for the raised detail. It required a few coats.
Then I used a clear gloss spraypaint as my final layer, to seal it and give it some shine. "Metallic" acrylic paints tend to be more sparkly than glossy.
I looped the tassels through the holes I created earlier and hot glued them in place.
To attach the headband to the wig I hot glued a small metal comb and two ties to the inside of the tiara. The metal comb would hook into the wig and then the ties were tied under the bun at the back. This made it secure, but also easily removable.
And in a nutshell, that's how I made the wig. Hopefully I can get some more side shots of the wig at another con.
Labels:
acrylic paint,
anime north,
avatar,
black,
cosplay,
dremel,
fire nation,
gesso,
glue gun,
gold,
hairspray,
headband,
heat molding,
sewing,
spraypaint,
stuffing,
tassels,
toph,
wig,
worbla
Wednesday, August 12, 2015
August Update 2
Salutations! Con season is almost over for me, only Fanexpo is left. I have finished all the costumes I had planned for this con season, so now I have begun to plan out my next costumes.
I'll be taking this "break" as an opportunity to catch upon my blogging. If I post weekly I should be up to date with my current costume by the end of December. The approximate release schedule for the posts is currently: August=Toph, September=Splatoon, October=Sakura, & December=Vaporeon. Weekly posts will be released on Wednesdays!
I am taking a vacation in November to visit family in Japan again so I won't be posting during that time. However, I am aiming to prep a new costume to shoot with EleventhPhotograph when I am visiting in Tokyo. Fingers crossed I can get that done!
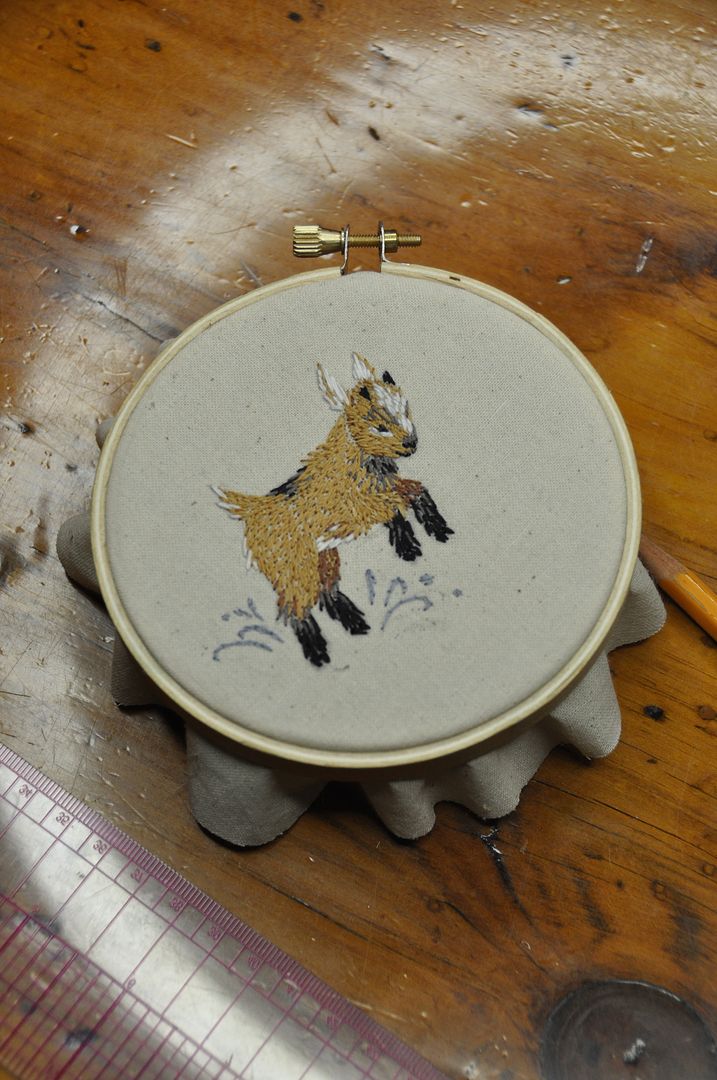
In other news I recently embroidered another adorable goat! Look here to see how I made the first one. I am doing a craft exchange with my sister Alex who is currently in Japan. I am excited to see what she makes for me! :D
This month I am planning on working on a few commission pieces that have come up. And I am also looking into getting my drivers' license. Because I need to work on becoming a real adult. Hahaha And also looking into continuing with some film work/finding some other short term employment.
My Otakuthon report is up, if you missed it!
That's all for now folks!
Monday, August 10, 2015
Otakuthon 2015
Otakuthon--my 3rd con of the season! The summer continues to fly by! I have finished constructing all my planned costumes for this season, so now I can sit back and relax for a few weeks!
Photo credit: Don Dolce Photography
The weather was generally very nice for the whole weekend. I didn't mind that it was a bit on the cool side, as I really hate overheating in costume. I haven't attended Otakuthon since 2012, when I debuted my Cosmo costume and wore Alice. I had a much better time this year, and I think should add this con to my regular con season.
Friday: I met up with my travel buddies/roomies early friday at the bus station. The party consisted of Blayke (my boyfriend), Harriet (a friend from school) and Hotaru (Harriet's friend--a Japanese exchange student). We took Megabus in from Toronto and arrived around 3:30 in the afternoon. We checked in to the hotel first and freshened up. We went grab some caffeine and then pick up badges. After a short stint in the dealers room we grabbed some quick food and then lined up to go see World Cosplay Summit.
I have to say--I was really impressed with the WCS event. The stage was great, and the lights were fantastic. The MC was enjoyable, and handled both the french and english sides well. As for the contestants, I was very impressed with the level of quality of the costumes as well as the onstage presentations. They all did Canada proud! The cosplayer interviews afterwards were delightful, and I hope that they continue this tradition! It was nice to hear the voices of the artists and get a little background information on the contestants and their costumes. Above all, I wish the winners good luck next year at WCS in Japan! Fight-o!
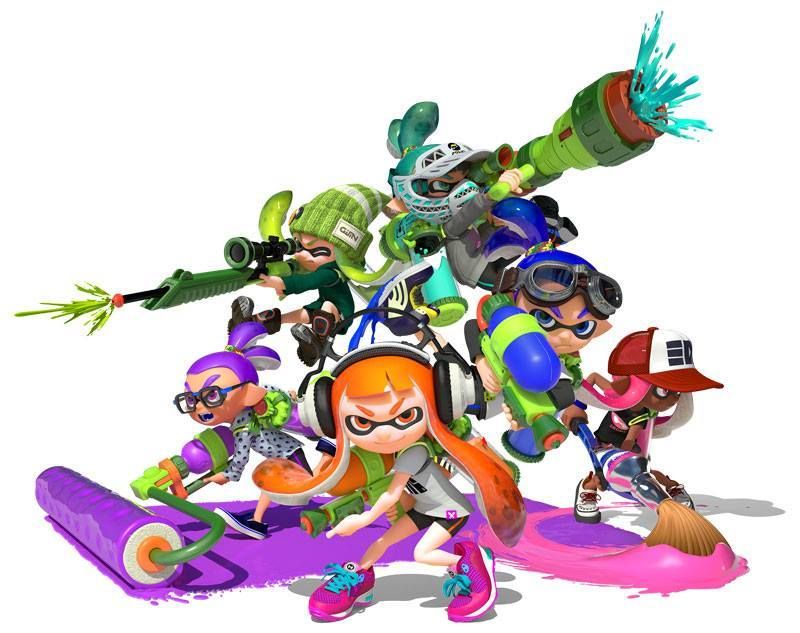
To round off the evening I met up with the Splatoon Squad for a late dinner and went back to their hotel to pick up my armaments for the next day.
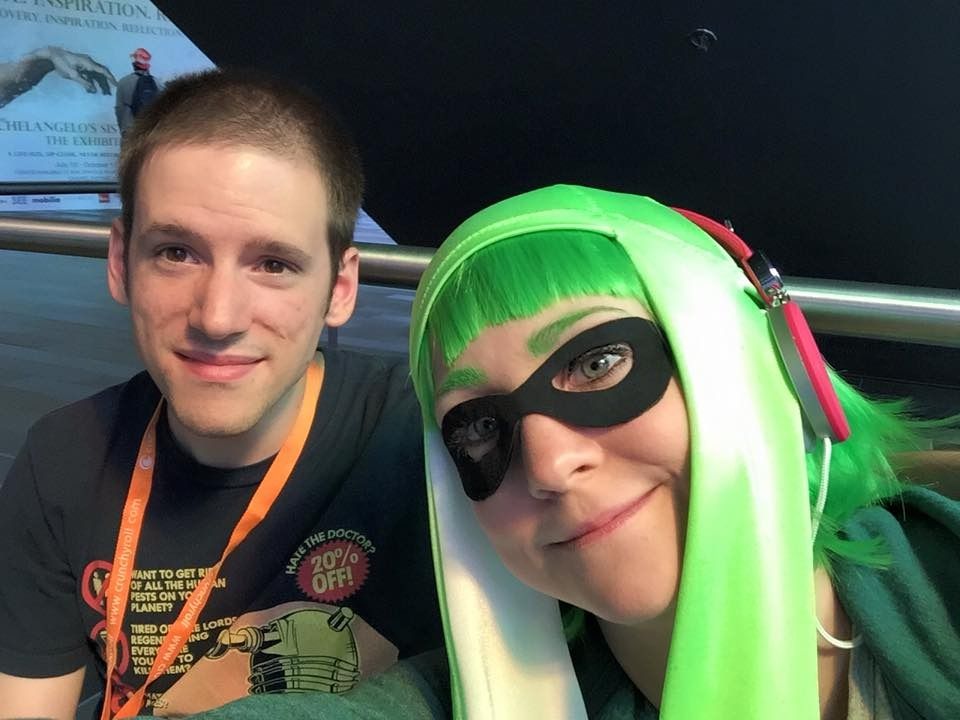
Saturday: I was up pretty early to get into costume. Blayke was kind enough to go and grab caffeine for us--and deserves like 10 gold stars and a million hugs for all his help this trip! I wore Vaporeon in the morning, and Harriet borrowed my Alice costume. We checked out the rest of the dealers room before heading off to my first photoshoot of the day. I shot with Elemental, and it really was a pleasure! She found a really beautiful--and secluded--fountain and reflecting pool to shoot my water Pokémon at. She was lovely to work with and I hope to shoot with her again soon--which I actually did later that afternoon! hahaha I went back to the hotel and changed into my Inkling Girl costume for the Splatoon group photoshoot. Both shoots went really well and I am excited to see the photos!
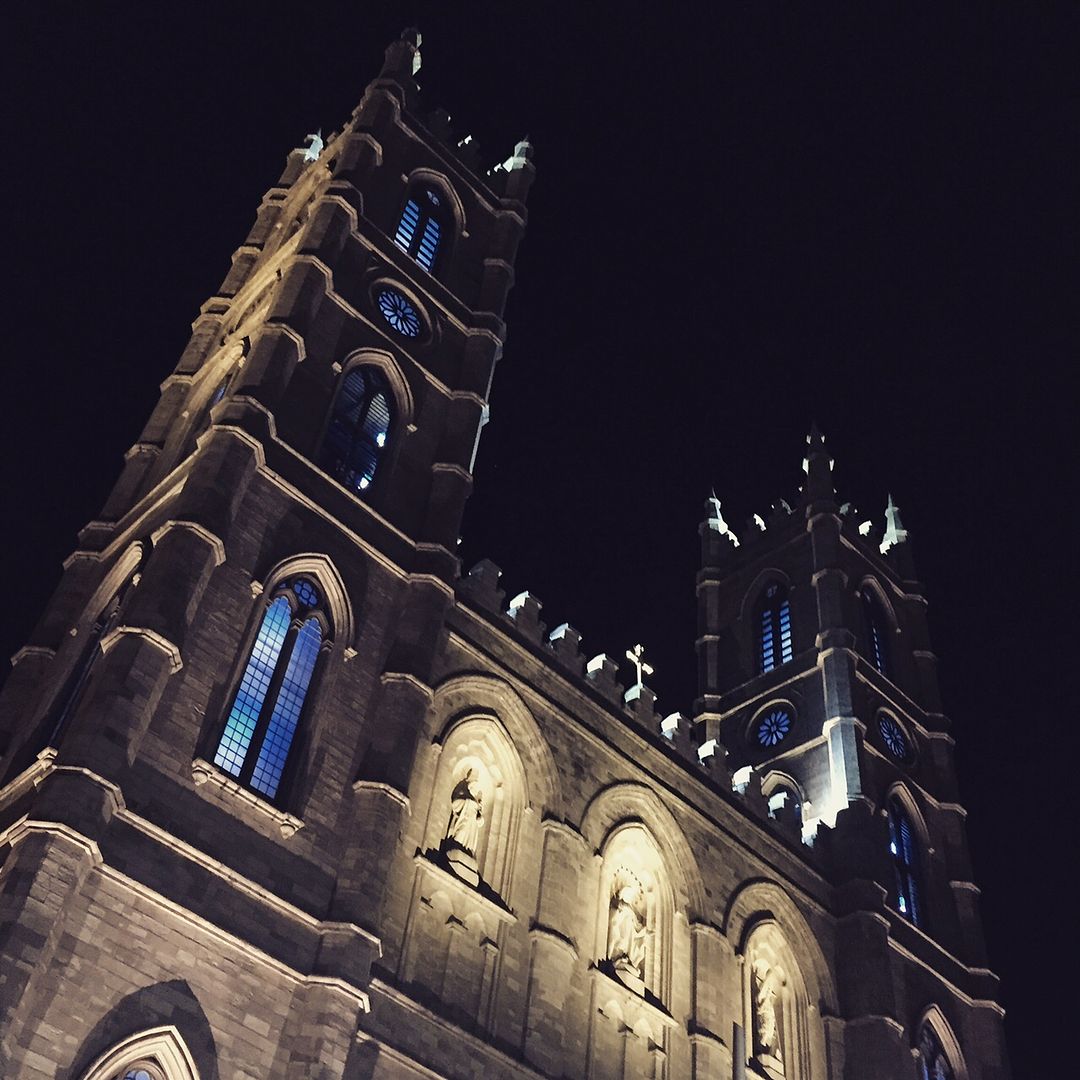
After all that we were sufficiently starving and went to grab a very late lunch. We went back to the con for a bit before rejoining the squids/kids and heading back to their hotel for mask/makeup/costume removal. We had dinner at Reuben's--yum! Then Blayke and I went on an evening adventure to explore old Montréal for a bit.
Sunday: After packing up and checking out, we went to Jardin Nelson for a delicious brunch--crepes! Then we explored old Montréal until it was time to catch our bus to return to Toronto.
Overall I had an excellent con weekend! Looking forward to attending again next year!
Sunday, August 2, 2015
August Update
Holy Batman! The summer is already half over? I haven't even done half the things I wanted to get done. Like post my AN stuff. And make a website. But rest assured I have been busy here in the elf workshop! The Otakuthon deadline approaches. I leave Friday morning for Montréal.
Vaporeon is the closest to finished it's ever been. And I see glimmers of hope on the horizon that I will be bringing this costume with me. (Credit goes to Cowslip for the design!)
Also in the works is a massive Splatoon group (massive relatively speaking anyway--because it is fairly difficult to coordinate 7 cosplayers and therefore qualifies us as a massive group). We have had several cosplay sweatshop days (including last night's field trip to Walmart) getting us coordinated and swapping tasks so all our tentacles, guns, tanks, and accessories all match. That costume is at the point of finishing touches.
For the con itself I'm still working out my costume lineup, but I have 2 photoshoots on Saturday that will require me to switch costume halfway through the day? The rest of the weekend is undecided.
In other news: I got Twitter. Username is sierraboake.
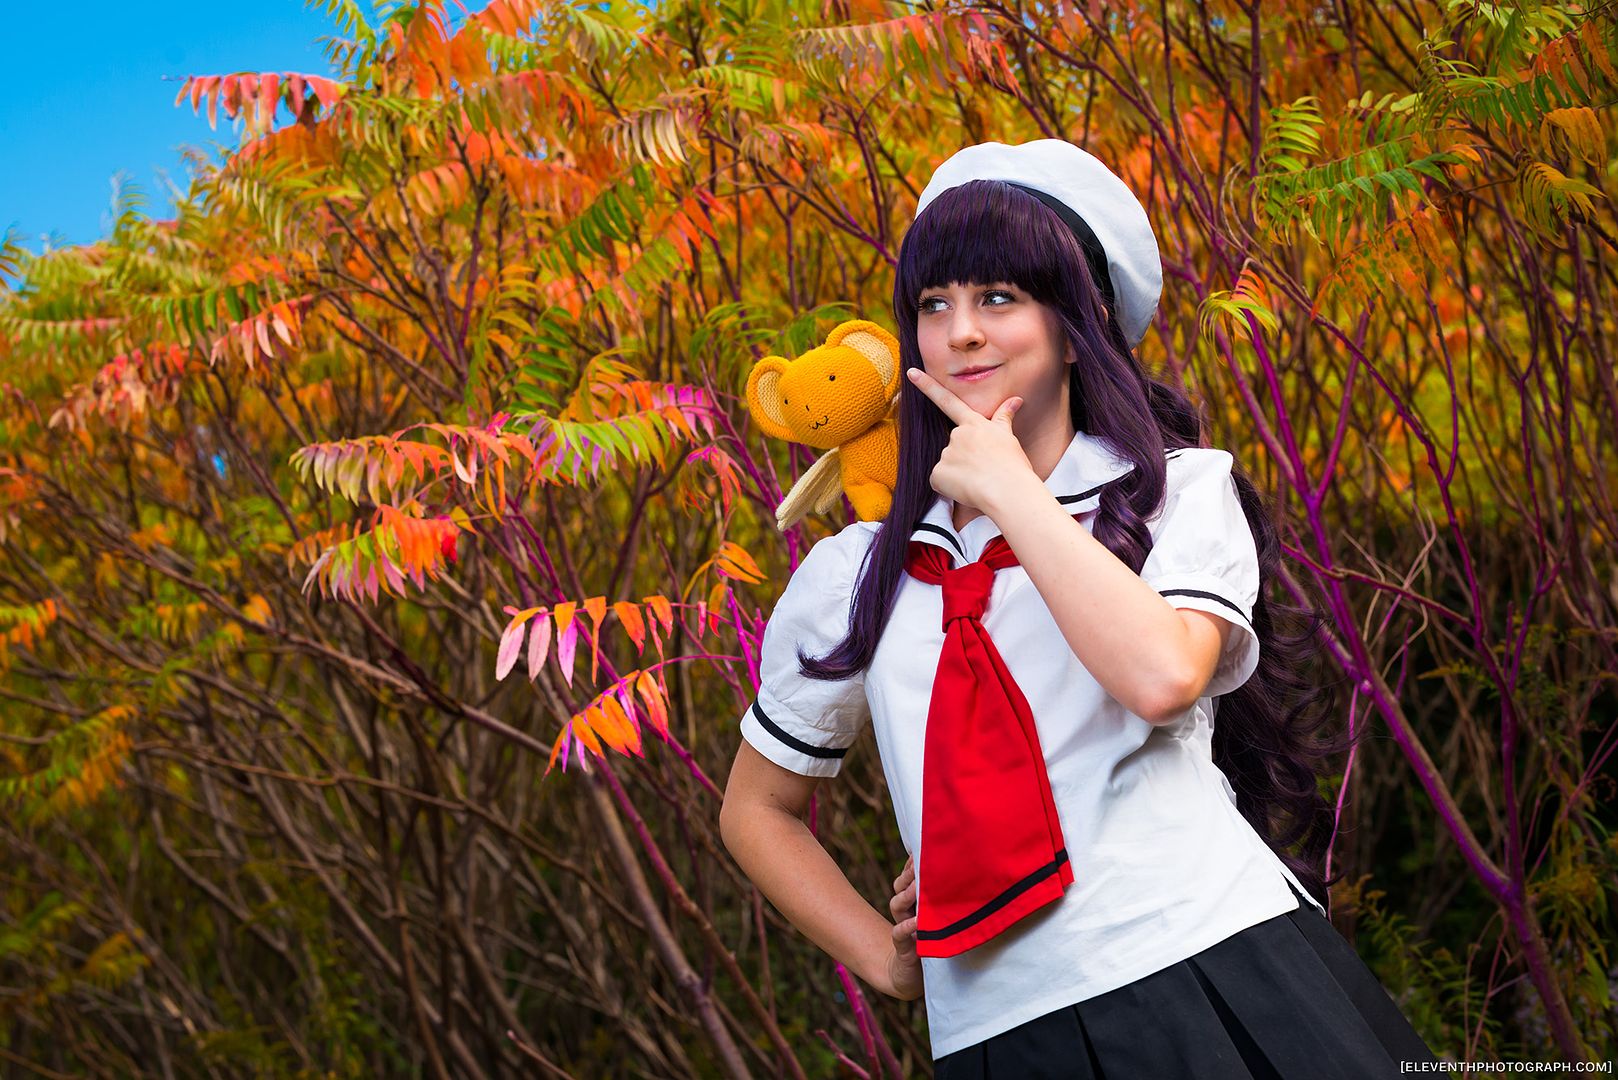
Tomoyo - Wig & Accessories - CardCaptor Sakura
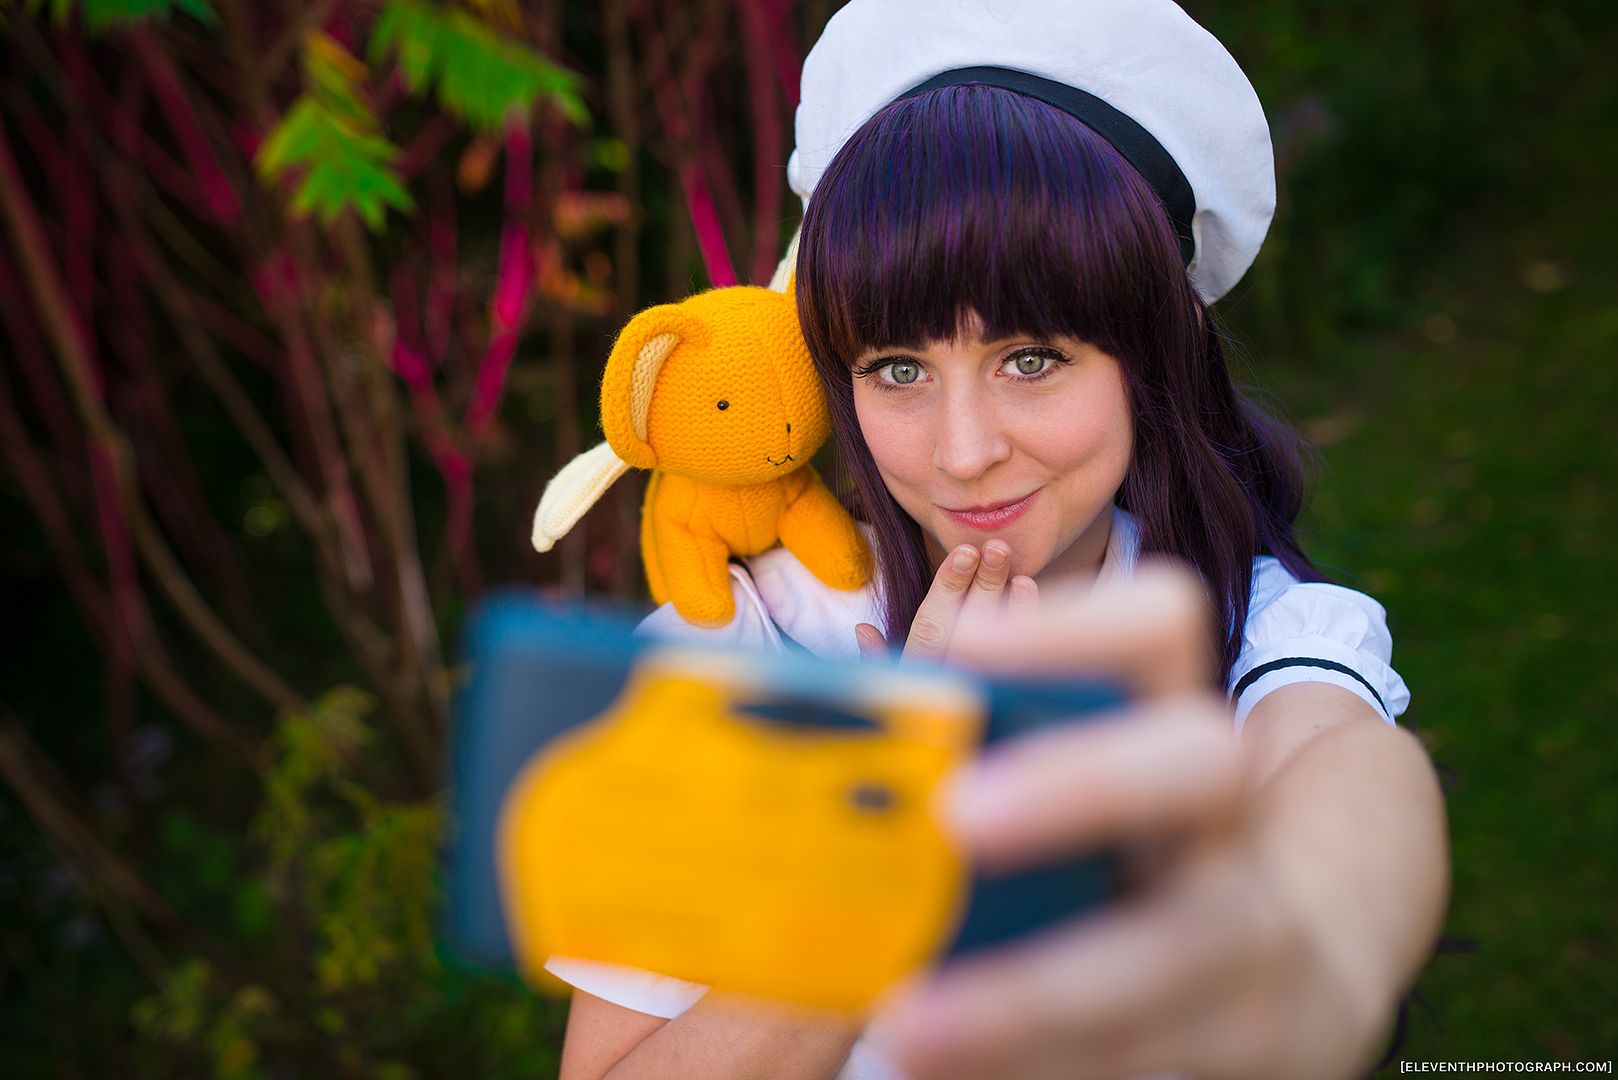
I only have 1 wig for both of my Sakura costumes. So I decided that I should turn my sailorsuit outfit into another character, so I could have a pair of costumes to wear with my sister's Sakura (1st opening outfit). It was a bit of a no-brainer to make it into a Tomoyo costume--she's one of my favourite characters in the series!
Transforming a Sakura costume into a Tomoyo costume was fairly easy--they both wear the same uniform. It was simply a matter of changing the wig and accessories.
...Now, saying that is the easy part, but the real problem was figuring out what colour of wig to buy!
Edit: Special thanks to EleventhPhotograph for the fall photoshoot. The pictures have now been added to this post!
I looked through hundreds of reference pictures and eventually put together the above collage to pose my question to the wise sages of the internet--my facebook fans.
I knew I wanted to go curly like the manga illustrations, but the discussion eventually decided on purple-black as Tomoyo's hair colour/the colour that would look the least weird as a wig. The trick was then finding a wig that reflected that choice. After much searching I managed to find Arda Wigs' Luthien in Dark Purple, which looked perfect.
I must confess, I had not bought a wig from Arda before this because they are a bit more expensive than other sellers. Their quality and colour selection is top-notch, but I just couldn't afford it in the past. Before they had their Arda Wigs Canada store, their shipping prices for Canada were outrageous. (Approximately 20-25$ for regular shipping--no tracking, not fast--on a 30$ wig was not in my budget back then. Still not really in my budget.) But the new store has made things much more affordable for Canadians, even if they don't have as large a selection in stock as the American counterpart.
The wig arrived and I gave the bangs a trim. I made the blunt bangs a little rounded so they would look softer on my face. (Blunt bangs are not the best on me.)
I had to take Sakura's sailor hat and enlarge it by an inch, because it would not fit over the extreme volume of Tomoyo's hair.
As you can see the wig is a blend of black and purple fibers.
I had to add a comb into the front hairline because this wig is super back heavy, and does not fit super snugly on my head. (Most wigs are too big for me because I have a small head and short hair.) The comb hooked into my bangs which I had tightly french braided horizontally along my hairline. It meant that the wig wouldn't slip and slide around all day. I sewed in the comb by hand with some heavier thread.
I may trim the bangs just a touch more, but I think it looked pretty good. Fluorescent lighting does nobody any favours (as you can see right), but I changed how I did the makeup for this costume and it turned out much better.
As for props: I kept Kero with me (Sakura had her hands full with the Clow wand) to make myself more recognizable. My Sakura had dance rehearsals all day and wasn't at the con until 3pm, so this turned out to be a good idea. We attracted tons of photos as a pair in the afternoon, but I was not so recognizable as a solo costume.
My favourite ancient relic of a prop is a disposable camera i had leftover from the 90s! I used it to take pictures of all the Sakuras at the con.
Still waiting on photos from our professional shoot from AN... hopefully they will be done soon...
As I may have mentioned before, Tomoyo is one of my favorite characters from the show. What is less well known is that Tomoyo was my very first cosplay. Ever. I'm still looking for the photographic evidence but I know I put that costume together for Halloween way back when I was in grade 5. It had a horrible blue wig that we got at Shopper's Drug Mart in the Halloween section. It was awful and itchy and I have thrown it out since then. I even made my own camera. Out of tin foil. It was pretty impressive. ;D We all have to start somewhere?
Subscribe to:
Posts (Atom)