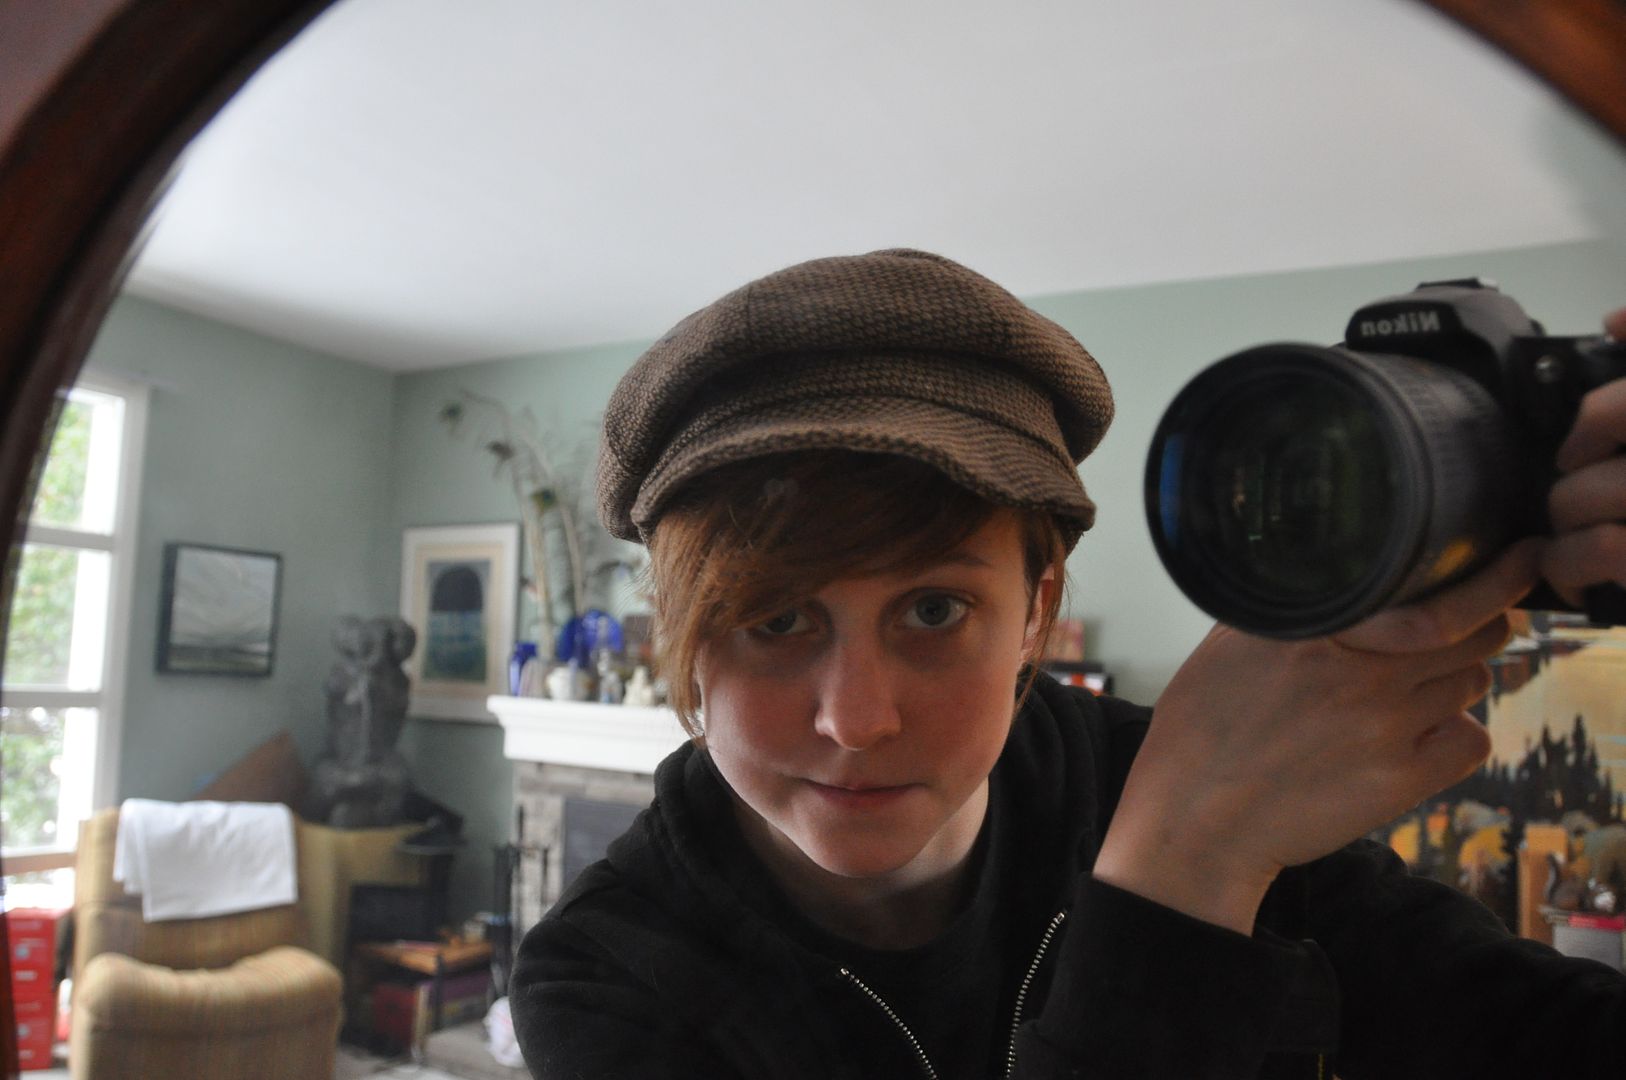
All the distressing was done with a rasp, and all the 'blood' is watered down acrylic paint.
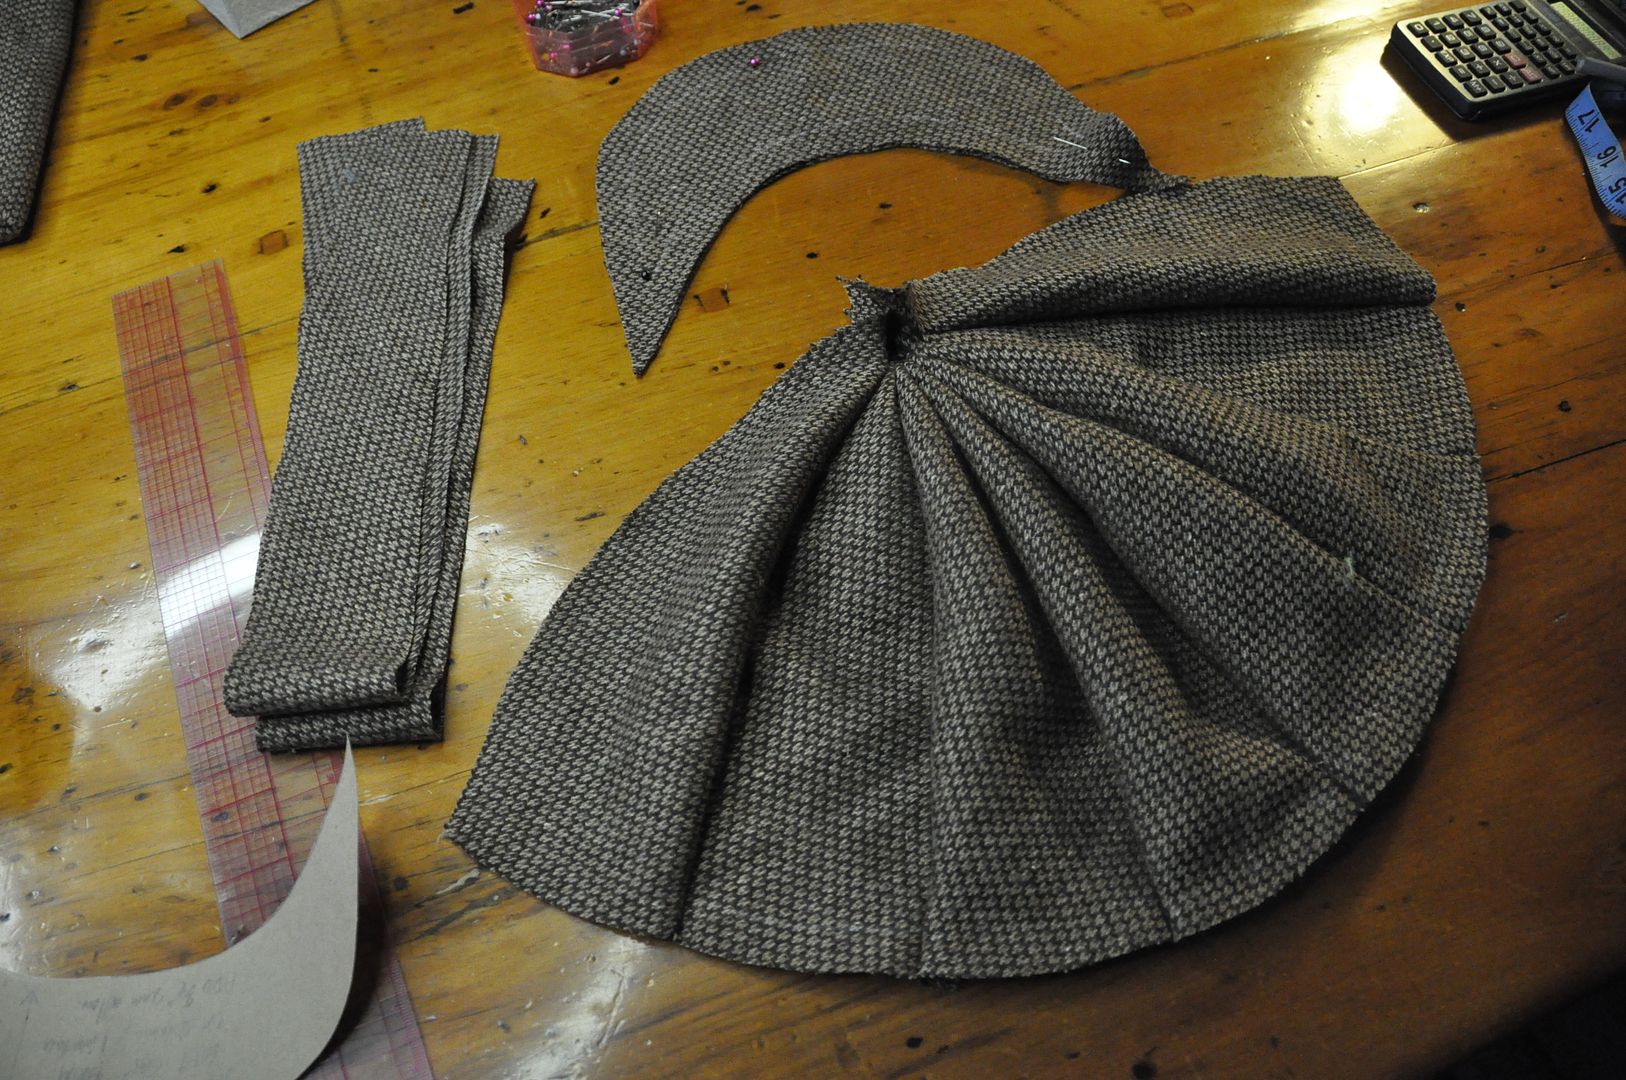
I started by patterning a 8 section hat using my head size measurement. I made sure it had a bit of poof to it, but not enough to make it super floppy.
I cut out all the sections and sewed them together.
 I cut out the brim and sewed it right sides together along the outer edge. Within the stitch line I ironed on a piece of fusible interfacing. Then I clipped the excess fabric so it would turn right way out more crisply.
 I turned it right way out and ironed it flat.
I created a lining for the hat out of blue fabric. It is sewn in the same way as the outside of the cap.
As part of the project requirements, I made a buckram hoop to put inside the hat band. This is wired so that the hat will hold its shape.
Next I sewed the hat band pieces to the brim.
The edge of the buckram was finished with a bias tape to protect the stitching.
The hat band was attached to the cap on the outside, but left open on the inside. This is so I could insert the buckram.
The inside of the hat band was stitched closed to the lining by hand. The inside of the completed hat can be seen below.


No comments:
Post a Comment