Wednesday, February 20, 2013

Simple Pencil Case

So here's a quick tutorial of how to make a simple pencil case! I made this for a friend for Christmas, for our Secret Santa gift exchange. I used some of the leftover fabric from my Echino Dress.

To start, cut 2 rectangles of fabric that are the same size. One will be the outside, the other will be the lining. You can line it with the same fabric as the outside if you want, I simply chose a contrasting colour for style points. ;D Remember to choose a heavier weight fabric for this project, as it will need to stand up to everyday wear and tear.

The size of the rectangle pattern should be as follows: 1/2" wider than your longest pencil and 2.5 times your desired finished height (this will wrap around to be the front, back and flap). To each of those numbers add 1", which will translate to a 1/2" seam allowance on all sides.  So for example if your finished width is 8 and your finished height is 5" (x2.5 which will be then 12 1/2"), cut a rectangle that is 9"x13 1/2".


Then with the fabric right sides together sew along the bottom edge and the top part that will become the flap. You can see in my picture above the faint stitch line. Then clip the top corners and turn it right way out. Press flat.
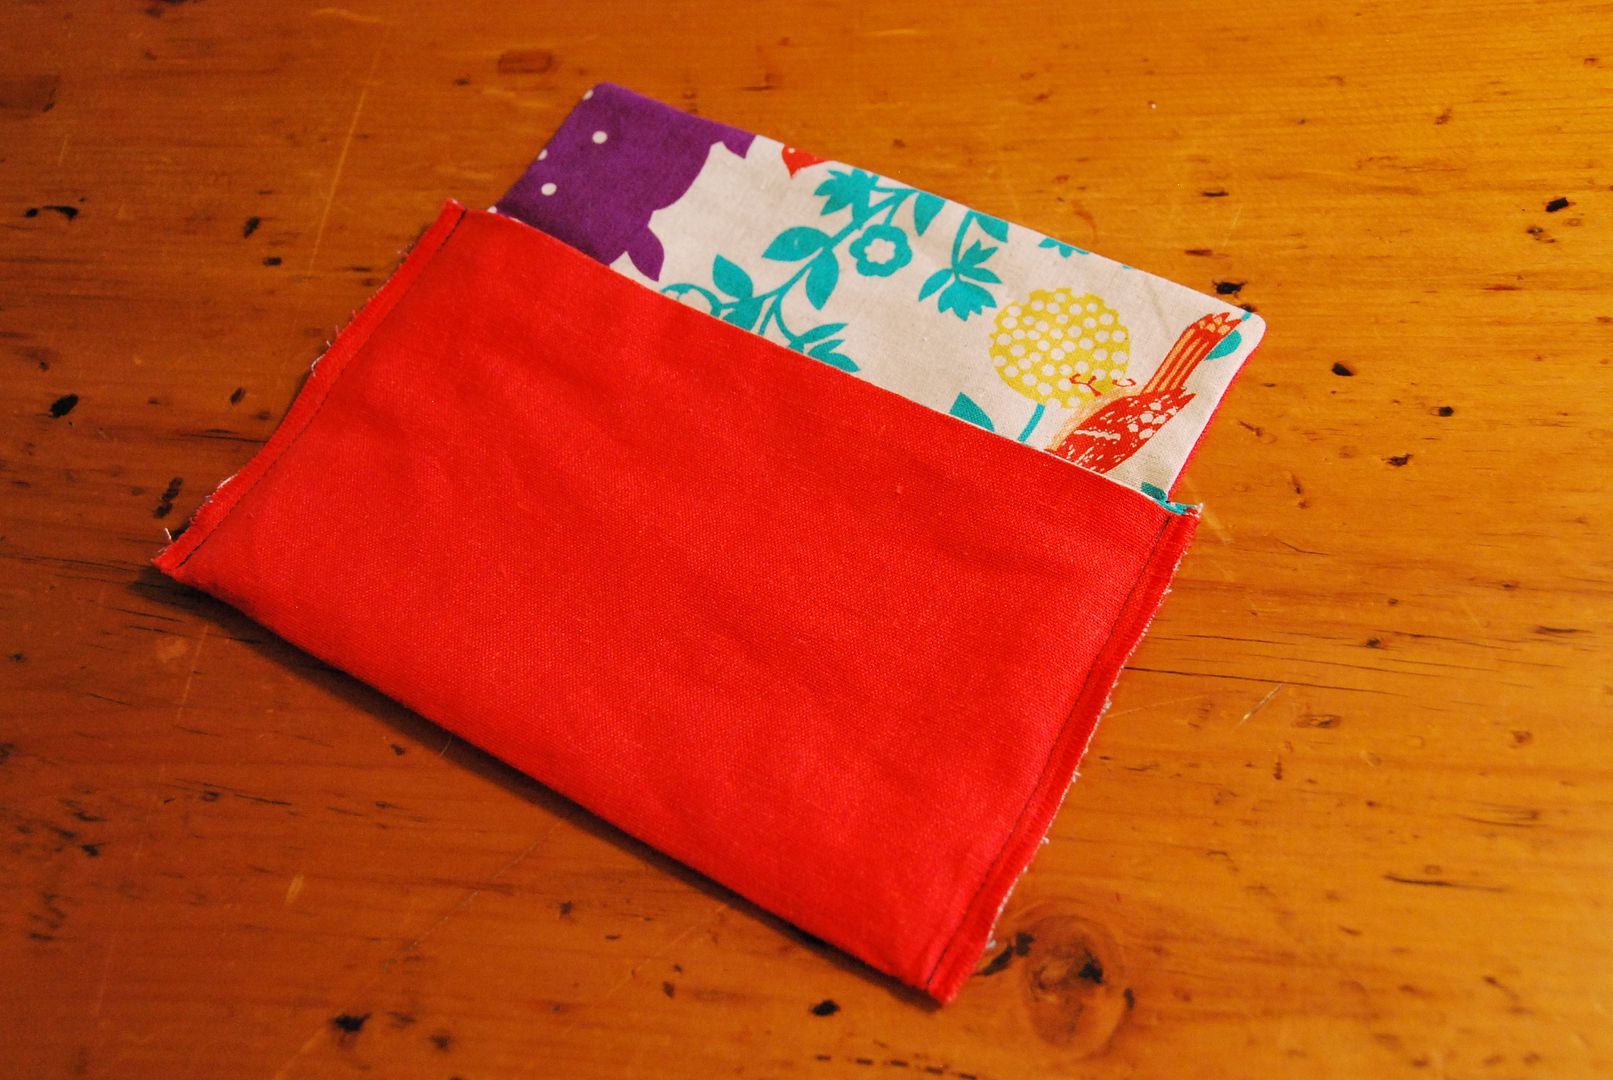
Then face the outsides together and align the finished edge with the base of the flap. Sew up the 2 side seams and finish the raw edge with a zig-zag stitch (or your own preferred method of finishing stitches). Turn it right way out and iron it again.
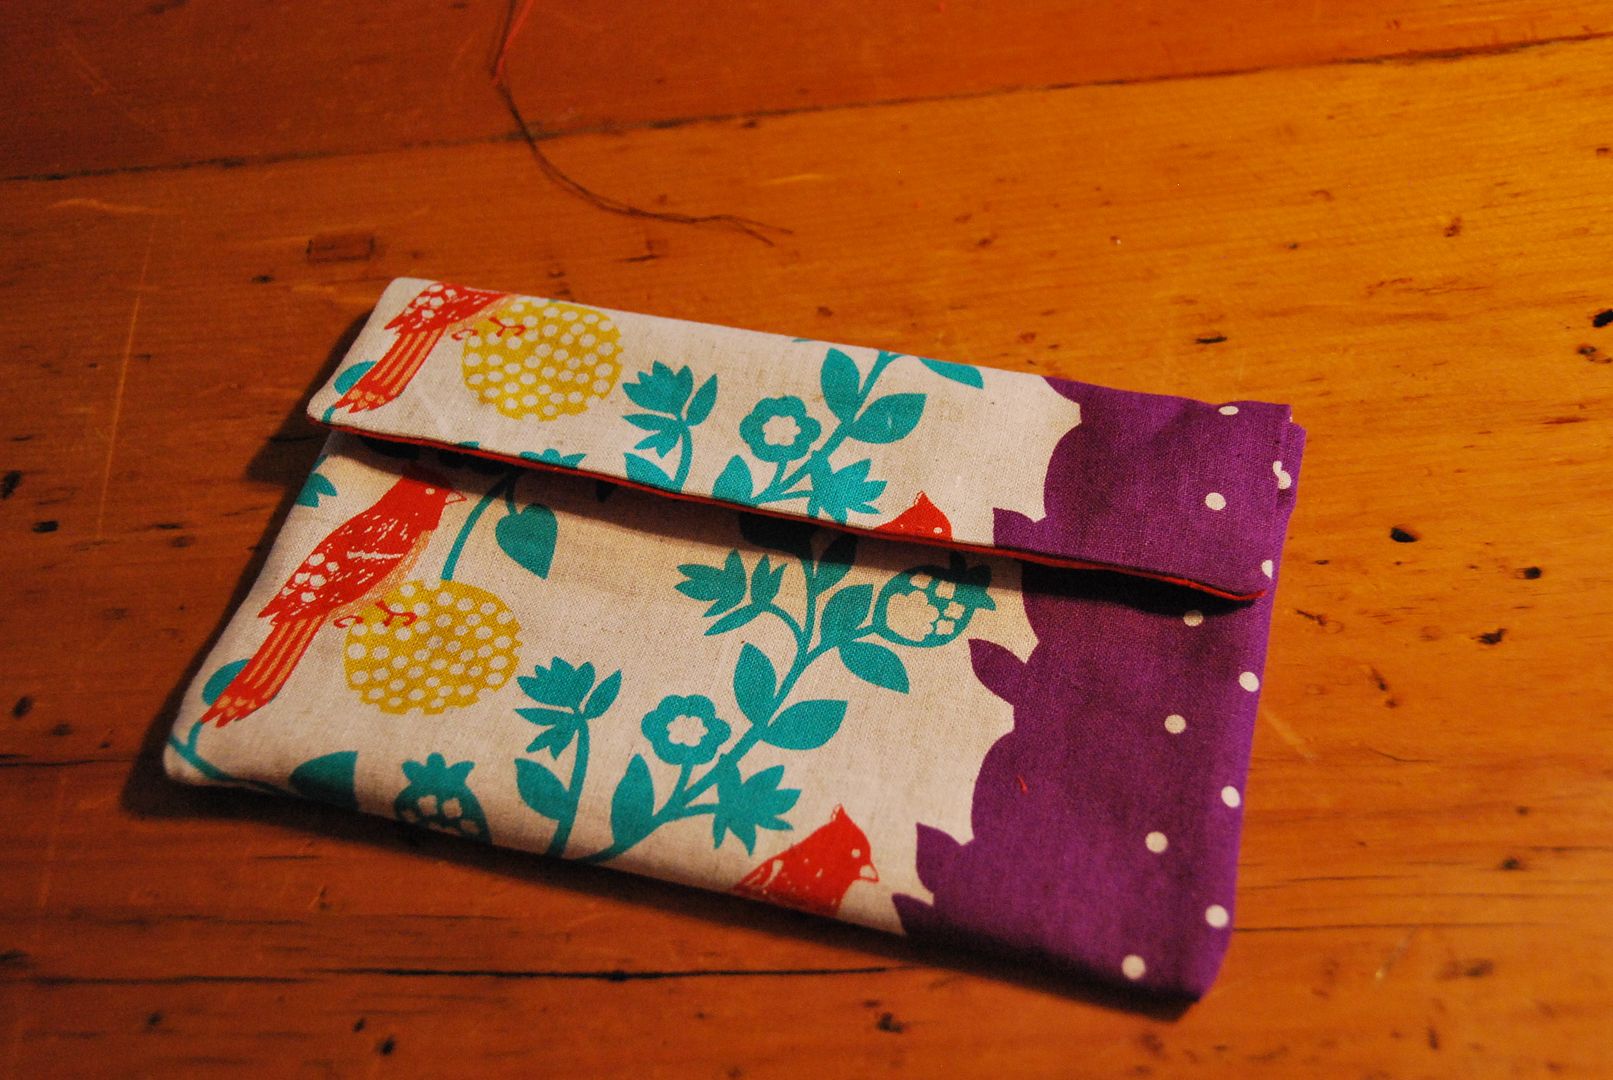
Mark and add in some dome fasteners, or velcro.

And voila! ;D

This pattern is easy to modify to fit your needs, you can make it as big or small as you want. You can also change it around to have the flap on the short end rather than the wide side simply change around the measurements accordingly!

If anyone uses this tutorial, be sure to send me a finished pic! ;D

Wednesday, February 13, 2013

Kitchen Utensils Gathered Skirt

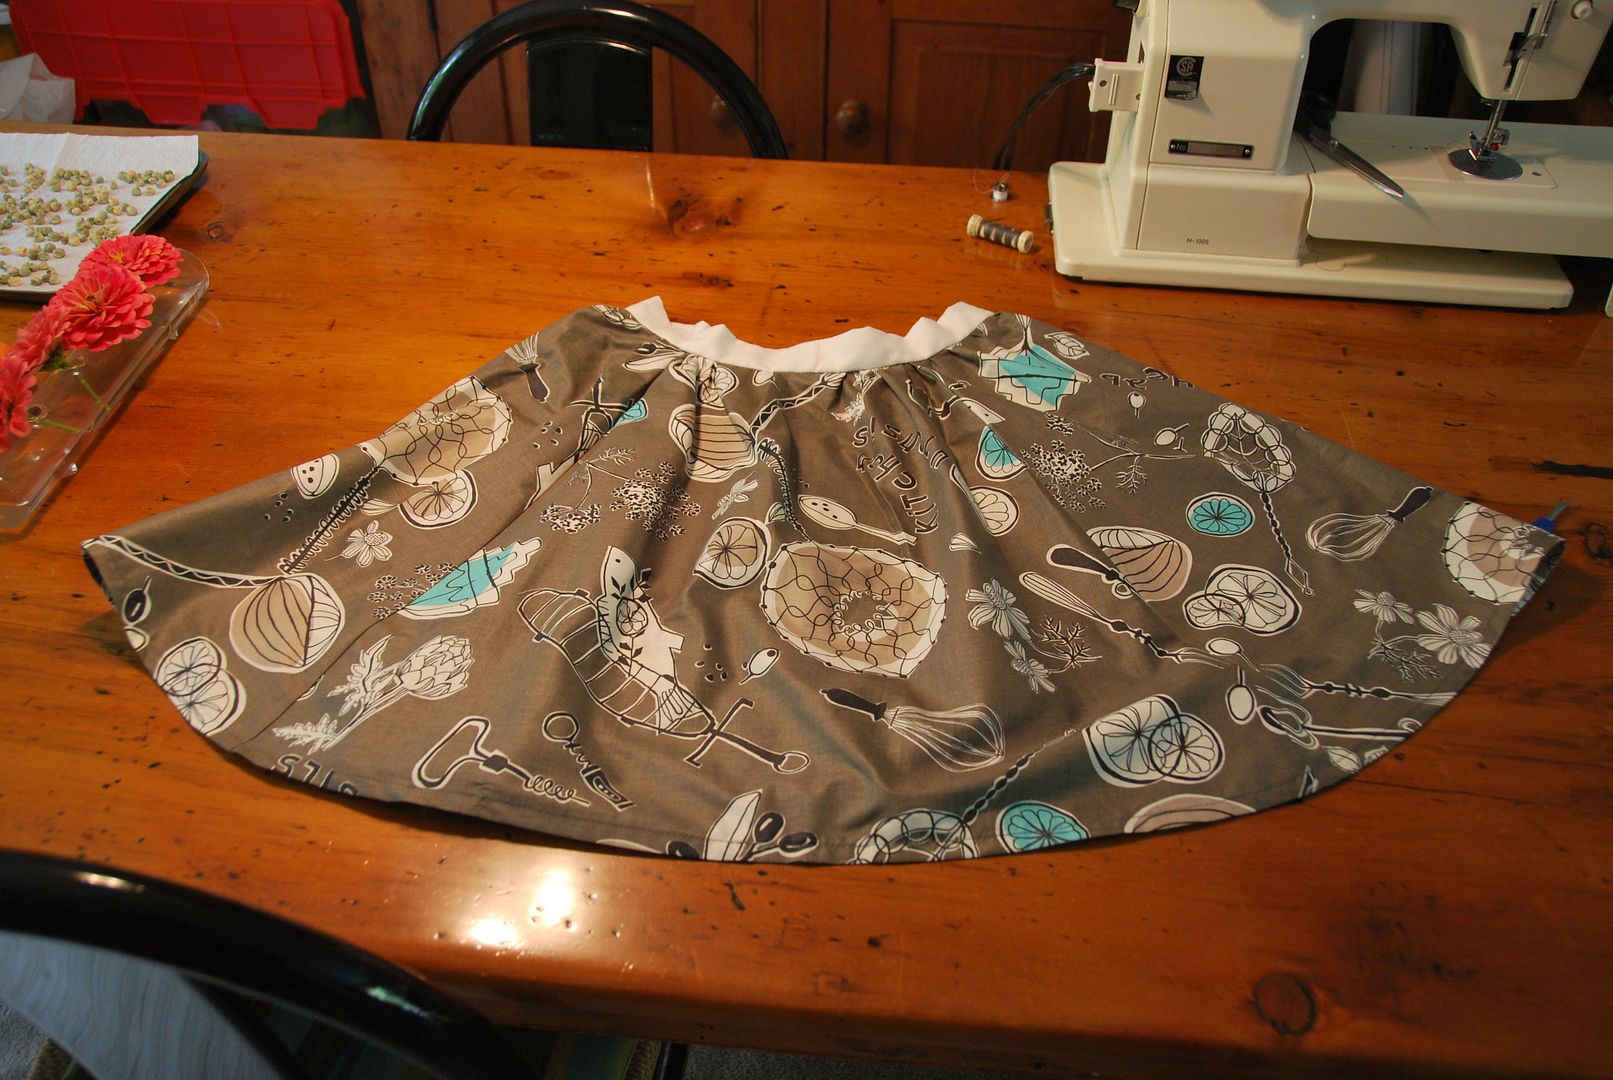
So here is my "Kitchen Utensils" skirt. Kitchen Utensils is the name of the fabric print that my sister got me for Christmas last year. She got the fabric on Super Buzzy, which is a online Japanese fabric shop. Lots of cute prints.
This is a simple gathered skirt with a zipper in the back. It is an original design.  I made this skirt in time to wear to the Legend of Zelda 25th Anniversary Symphony this past fall. Lots of fun!
I started by cutting 4 panels out of my fabric like this. The total inches at the top of the panels was made much larger than my actual waist size which would leave me fabric with which to do the gather. THe bottom was flared out and curved up at each side so the skirt length would be the same all the way around the skirt.

One of the panels was cut in half down the center. This would become the center back of the skirt where the zipper would go.
I stitched the panels together leaving the center back open then pressed the seams flat and finished them off.

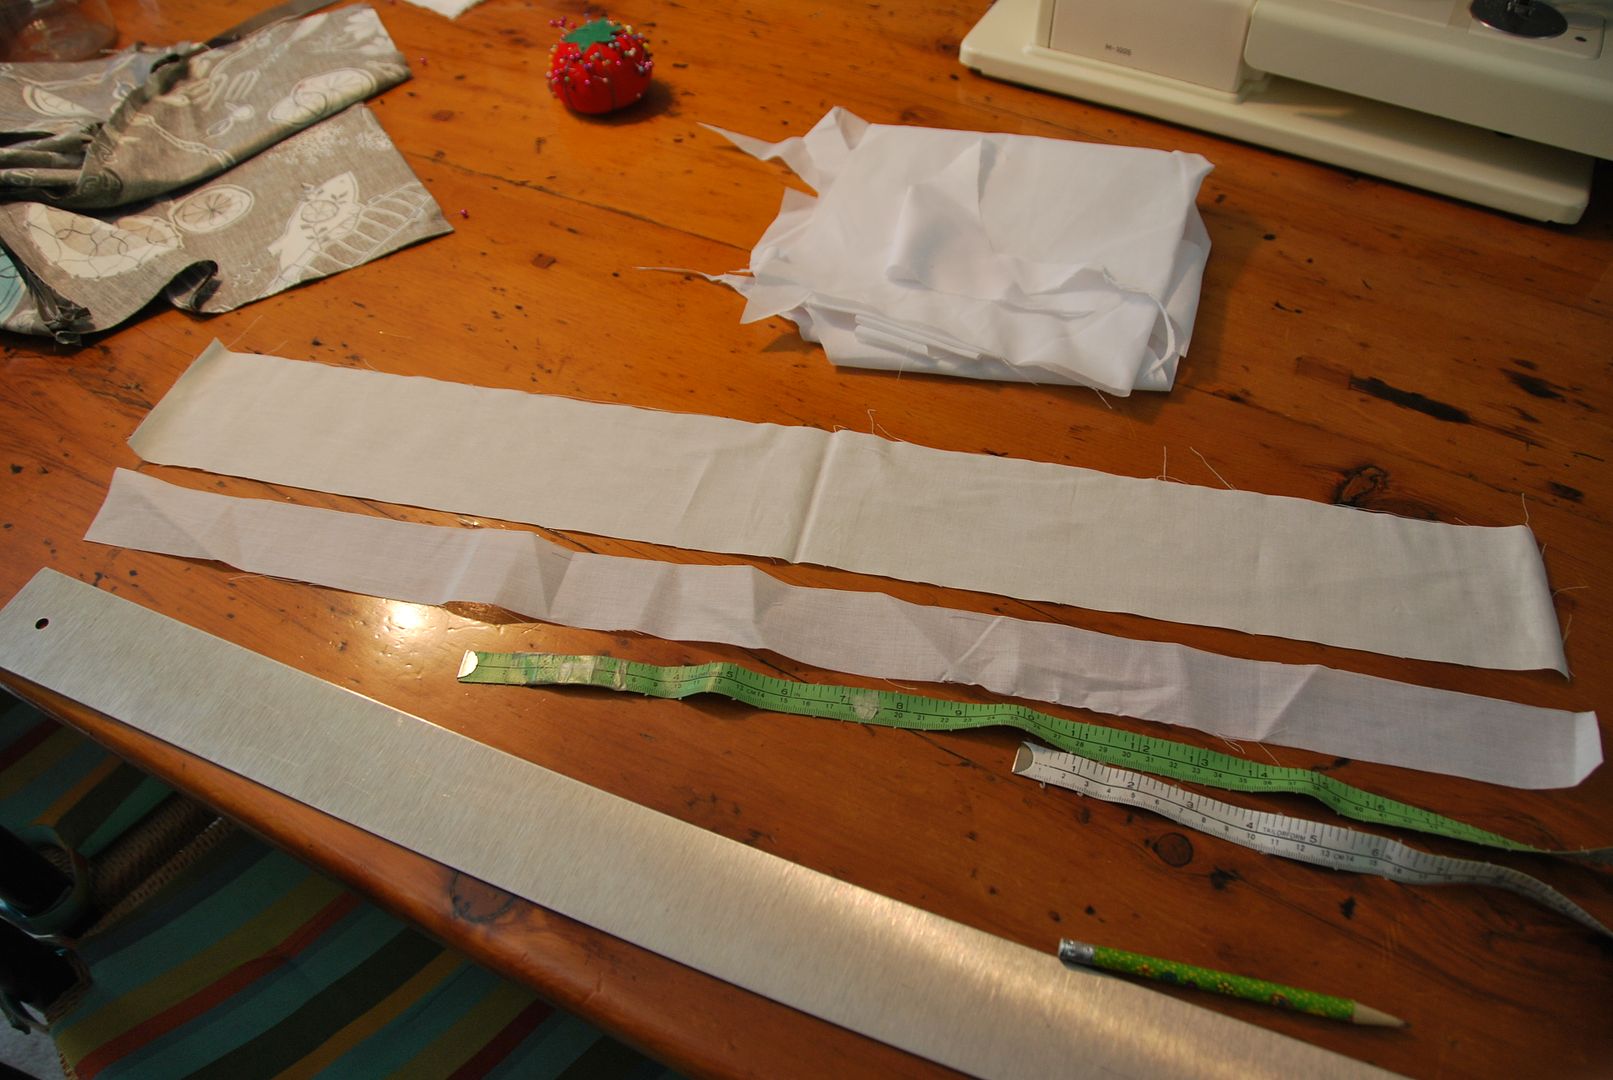
Then I cut a rectangle for the waistband. This would be a fold over waistband. I also cut a rectangle of interfacing that was half the width of first one.
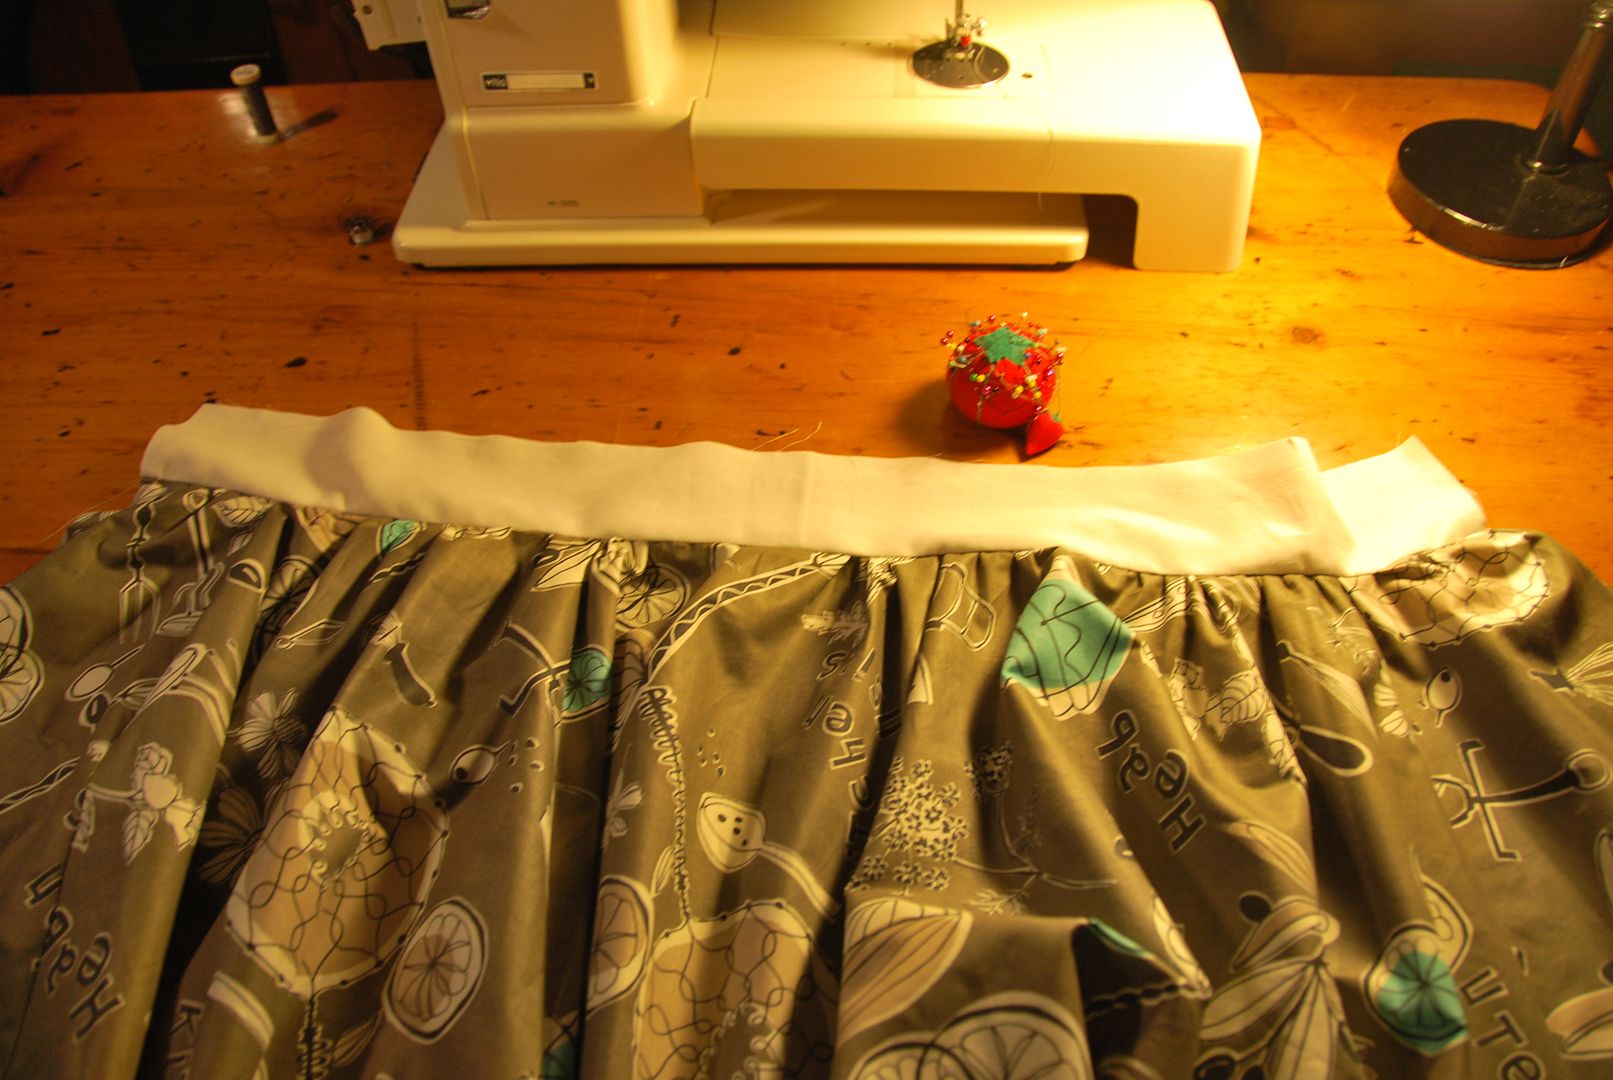
I used a basting stitch to gather up the skirt to the waistband. Once that was done I pinned and stitched the waistband to the front of the skirt (right sides together).

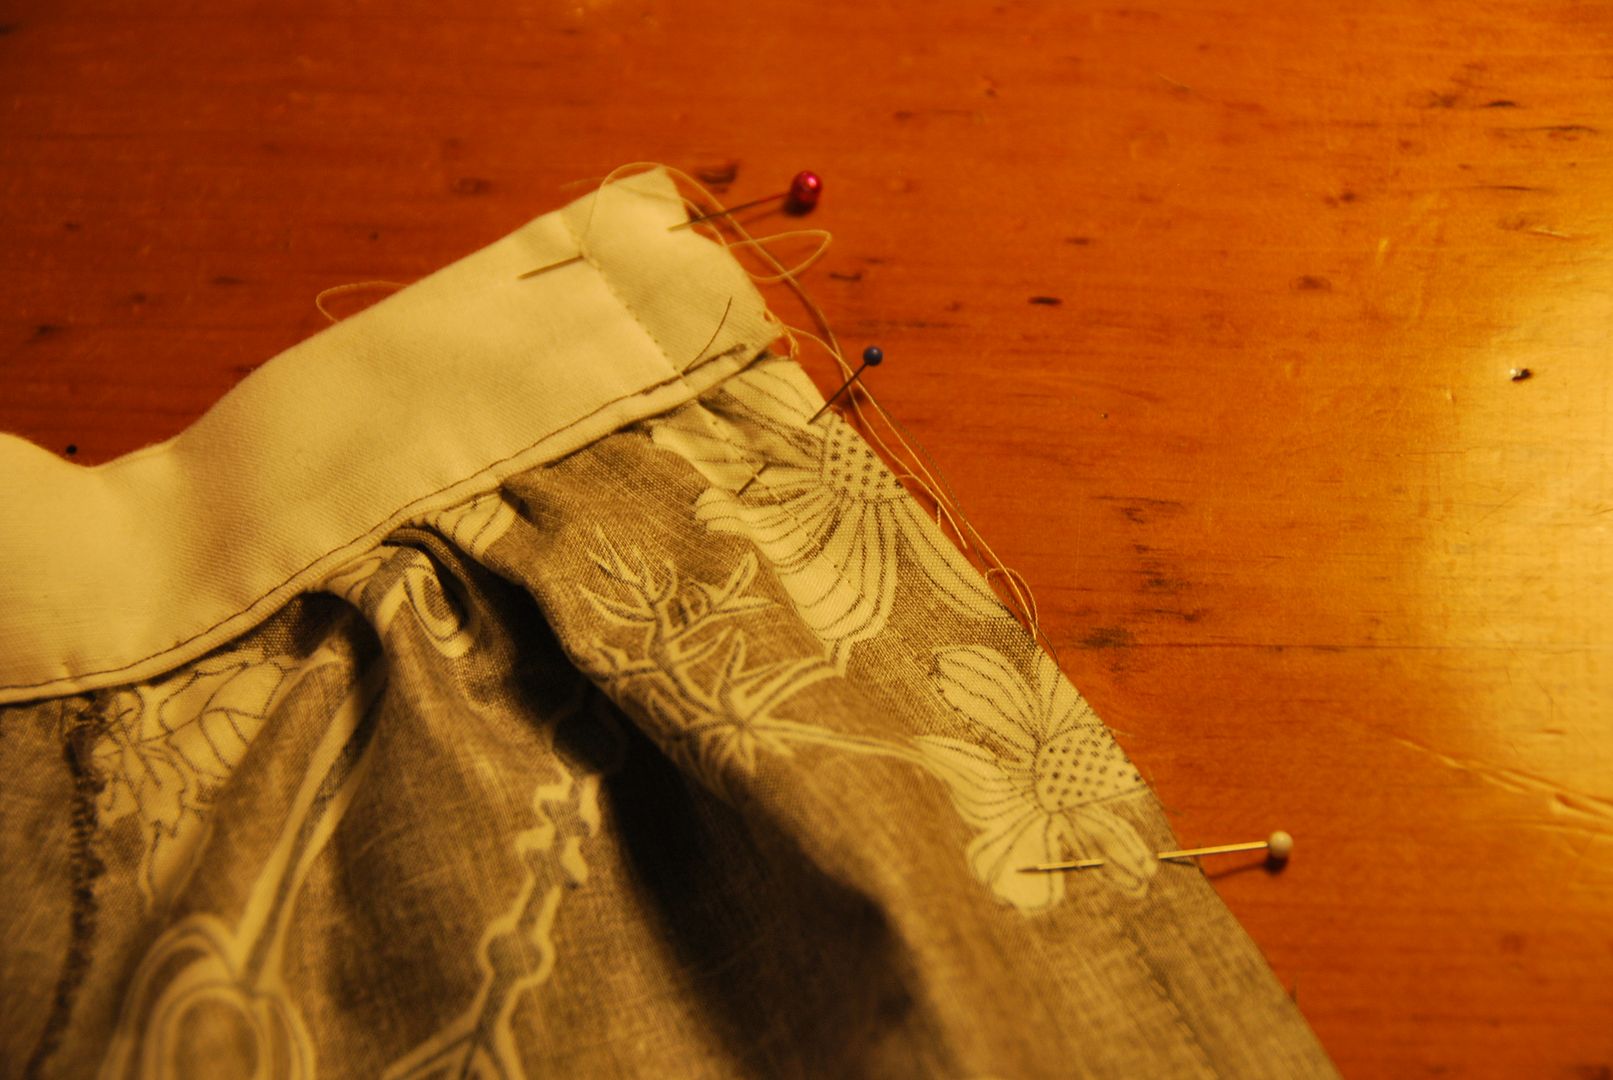
Then I ironed the waistband upwards and in half. The seam allowance was then neatly tucked up and ditch-stitched at the back.
Then I basted up the back seam. I pressed it flat and hand basted in the zipper. Then I machine stitched it in securely and opened up the seam, removing all the basting stitches.
Then I hemmed the skirt and added a bow detail at the waistband.


So I have changed my posting day to Wednesday evenings to better work with my new schedule for this term. Hopefully I can stick to it! ;D

Sunday, February 10, 2013

February Update - Blogiversary!

So today Among Bobbins and Thread turns 2! How time flies! Hard to believe I have been doing this for 2 years already...

Some stats for those who are interested: We now sit at 8663 pageviews, more than double what  had last year! My record for most pageviews in a month was broken 4 times this past year, and now sits at an astonishing record of 1166 hits in October 2012. (All you people looking for Halloween costume ideas, eh?) Thanks guys for all you support. :D

Our top 5 viewing countries are now as follows:
Canada: 3550 pageviews
USA: 2151 pageviews
Germany: 519 pageviews
Russia: 380 pageviews
UK: 271 pageviews

My "Ginny Weasley Hogwarts Robes" is still my most viewed post, but now my Cosmo Wig and 10th Doctor Wig follow closely behind. "Ginny weasley wig" is now the most used search phrase to find my blog.

This past year has been a fabulous year, full of some great projects! The highlights would most certainly be Alice in Wonderland, Cosmo, and the Katamari cousins, Nickel in particular. But for me, I was really excited to delve deeper into learning how to build LED circuits, petticoats, mascot heads and how to operate power tools! The skills that I have picked up in the past year will propel me towards more complicated projects in the future. >:D

Excited for the coming year, learning from experience that keeping potential projects under wraps is best just in case they don't pan out, but current projects that I am working on include Jack Frost from Rise of the Guardians and finishing Presea from Tales of Symphonia. Those will certainly be debuting for the spring/summer convention season. The rest of my cosplay projects will be kept secret for now, but in the coming months you will be seeing a fair amount of original clothing projects that I have been working on in the past months. :)

If you guys want to get more frequent progress pics of things I am working on, become a facebook fan!

Look forward to year 3! And once again, thanks for all the support! :D