Tuesday, March 4, 2014

Piping Trim Tutorial

Here's a short tutorial on how to make from scratch and apply your own piping trim. This kind of trim makes a really nice, clean finish on a garment. This is a particularly good way to finish the edge of a corset.

This is the trim I made for my first corset, for my corsetry class this semester. It's now finished, but I will be posting some finished pictures once I get it back from my prof. ;D

I really love the beetle green colour of this silk fabric I chose. :) As far as fabric choice goes, I highly recommend using a thin, but strong fabric. Make sure it is not sheer or really stretchy as this will be way harder.
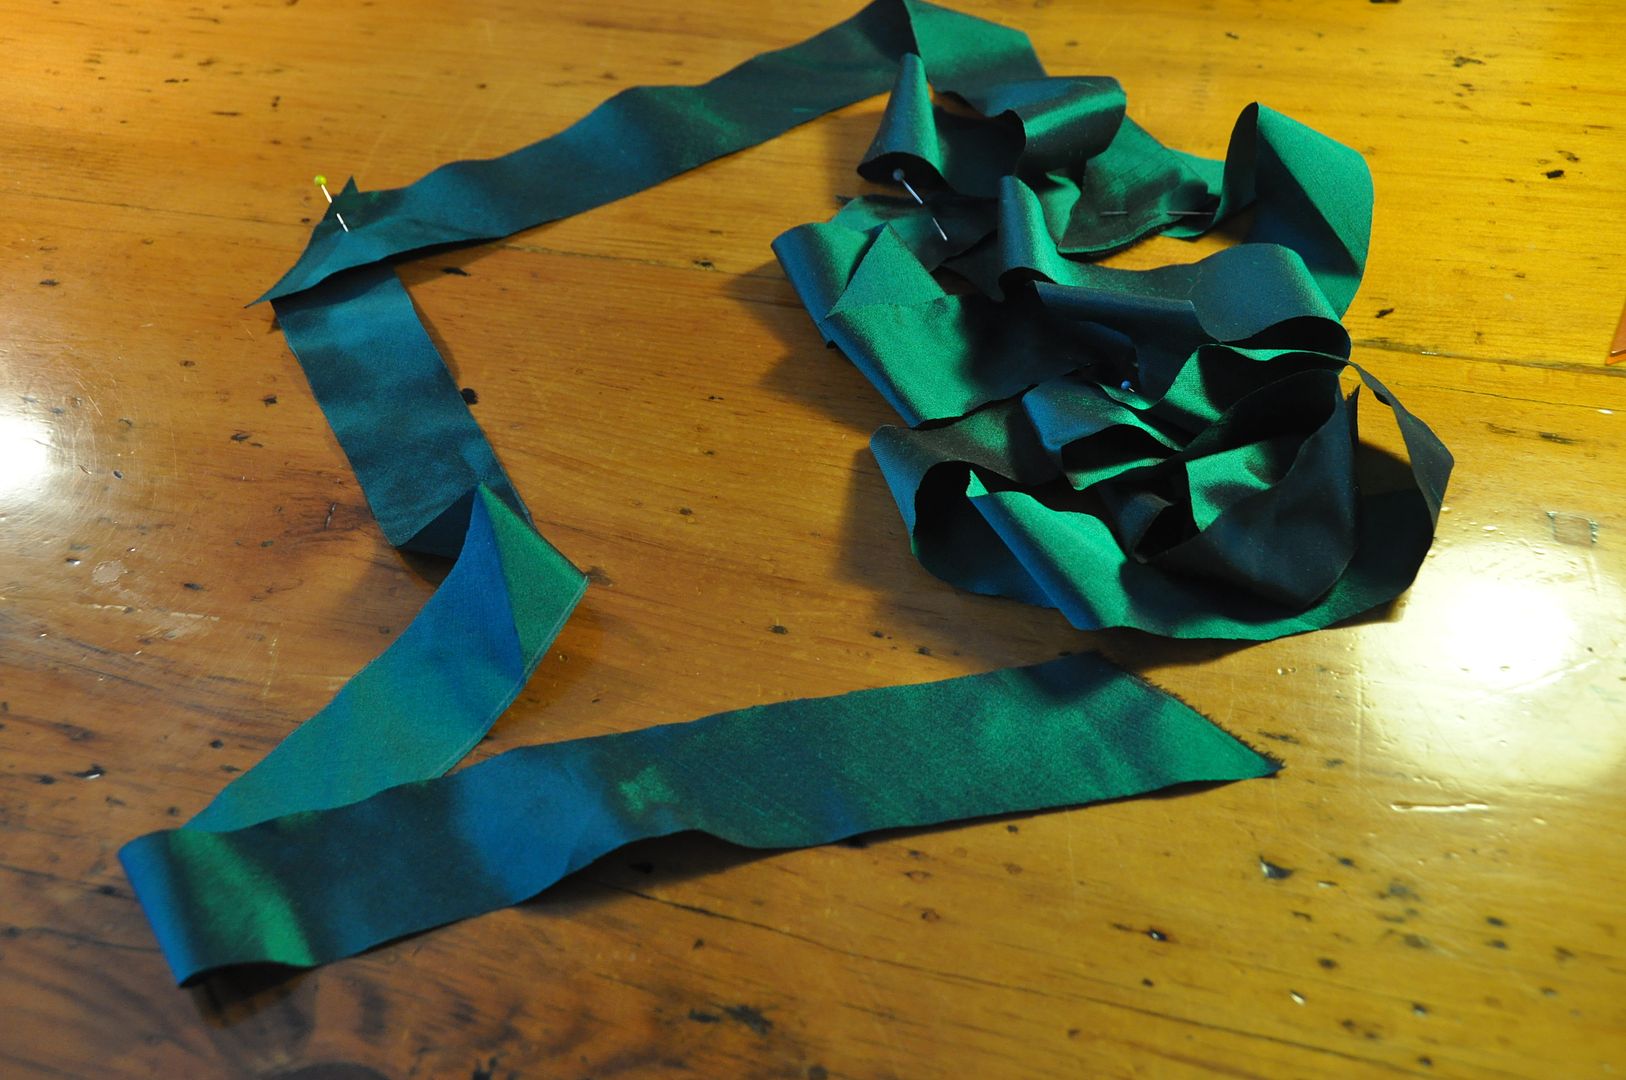
First you cut bias strips 1 1/2" wide. These should be cut on a 45 degrees angle from the selvedge. This will allow the tape to easily stretch along any curves you need to apply it to.

It's easiest to mass produce piping in one long strip and then cut as needed instead of making pieces to fit. Make sure you have enough cord to go along all the edges you are applying it to, and that you cut enough length to cover the cord. (Keep in mind if you are attaching pieces that seam allowance between pieces will make it shorter.)

To attach strips, sew them together as pictured on the left, forming a 90 degree corner, then press flat. The strip will have a 45 degree seam running across it, which makes much less bulk than joining the pieces straight across.
Fold over one edge 1/4" in and stitch 1/8" in from the edge. Make extra sure not to pull on the strip as you fold and stitch, because it will stretch and get thinner, which is not what you want. This creates a nice finished edge for the inside of the garment.

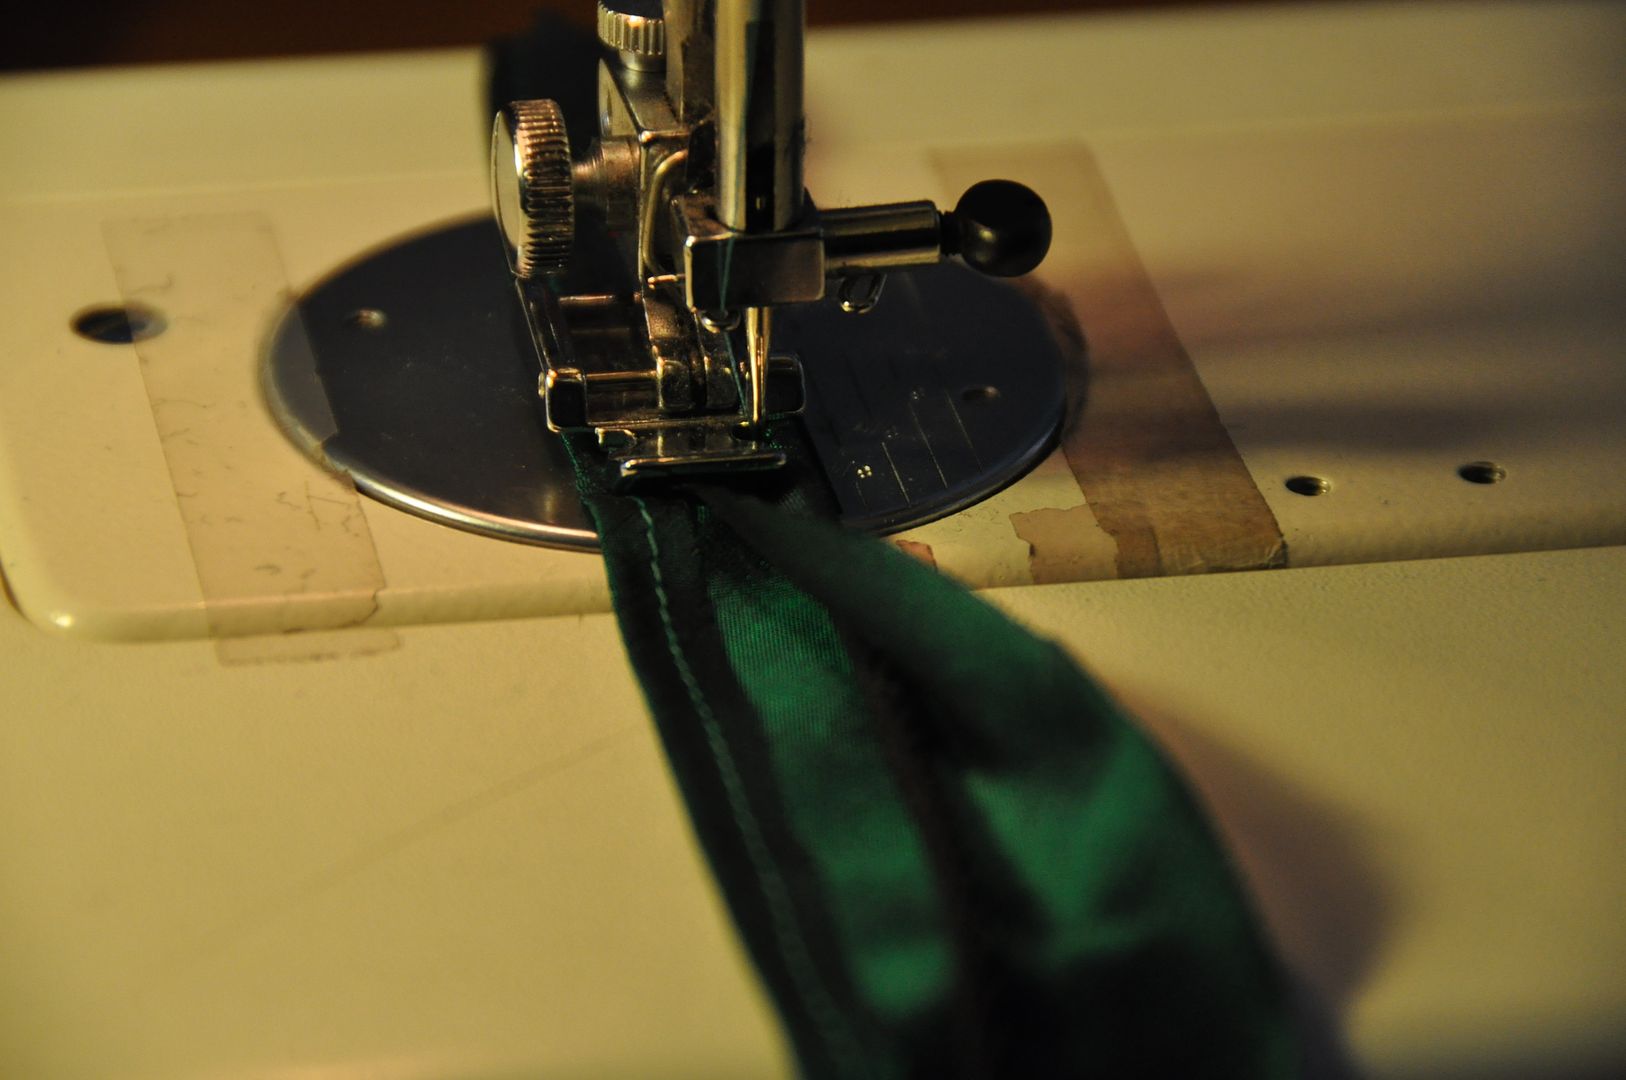
Fold the unfinished edge over the cording and line it up with the stitching on the inside of the tape. Use a zipper foot on the machine to snug your stitch line up against the cording. Again, don't stretch it when sewing. I find it easiest to not pin it and fold it over as you go.
^ The finished product should look like this,  the 2 raw edges meeting on one side, and the other showing a nice finished edge.

To apply it is pretty easy. On the outside of the garment line up the stitch line of the piping with where you want your finished edge. The trim should be nice/finished side up, the folded edge on top of the garment's seam allowance. Pin in place. You should leave about 3/4" hanging off the ends so you can fold it in and finish it nicely afterwards.

You can use this opportunity to further snug the cord inside it's casing by stitching a little closer to the cord than on your previous stitch line.
Fold the finished edge to the inside and carefully hand stitch it down so the stitching is not visible from the outside. If you are having trouble, put in a basting stitch to hold it in place first, you can take that out after. If you have excess seam allowance trim it off first.

The loose ends should be folded up under and neatly hand stitched in place.

Do not iron your trim, otherwise it will flatten it out which kind of defeats the purpose. :P

Tuesday, February 25, 2014

Scissor Holster

Just a simple holster I made for myself.  Time to feel really pro with my scissors close at hand.

This should now also protect my sewing apron and my schoolbag from getting more holes in them... which has been a problem for me transporting my scissors back and forth from school. It's working pretty darn well for something I put together in less than an hour. Hahaha

First I made a paper mockup to get the size right. I wanted to make sure that the flap would easily fold over the top of the scissors. (These pattern pieces included seam allowance.)

Then I cut my pieces out of leather. This was leftover material from my Asuna armour, specifically the straps for the shoulder piece.
Next I cut 2 strips to create the closure and the belt loop. These were marked and top stitched to each piece before sewing the main 2 pieces together. The long strap has a gap in the stitching at the back to serve as a belt loop.

Then I sewed the 2 main pieces together, leaving a small seam allowance. (These were simply top stitched, insides together.)

The end result is a simple, yet functional holster. :)

Wednesday, February 19, 2014

Makar Plushie - Legend of Zelda: Wind Waker

This is a plushie I made for my sister's birthday gift. Yes, it's Makar, and yes, Makar is adorable. He was pretty easy to make, and turned out as well as I'd hoped. :D

This plushie is made out of felt, which was a very different material for me to work with. It's always good to experiment with different fabrics. The beige felt I chose for this project is sort of mottled in colour, which suits the character well. (He is supposed to be a tree sprout thing.)

For those of you unfamiliar with the character, Makar is from the video game Wind Waker in the Legend of Zelda series. He is a Korok from the Forest Haven. My sister is a big fan of the game, and Makar is her favourite character. Probably because he is adorable.
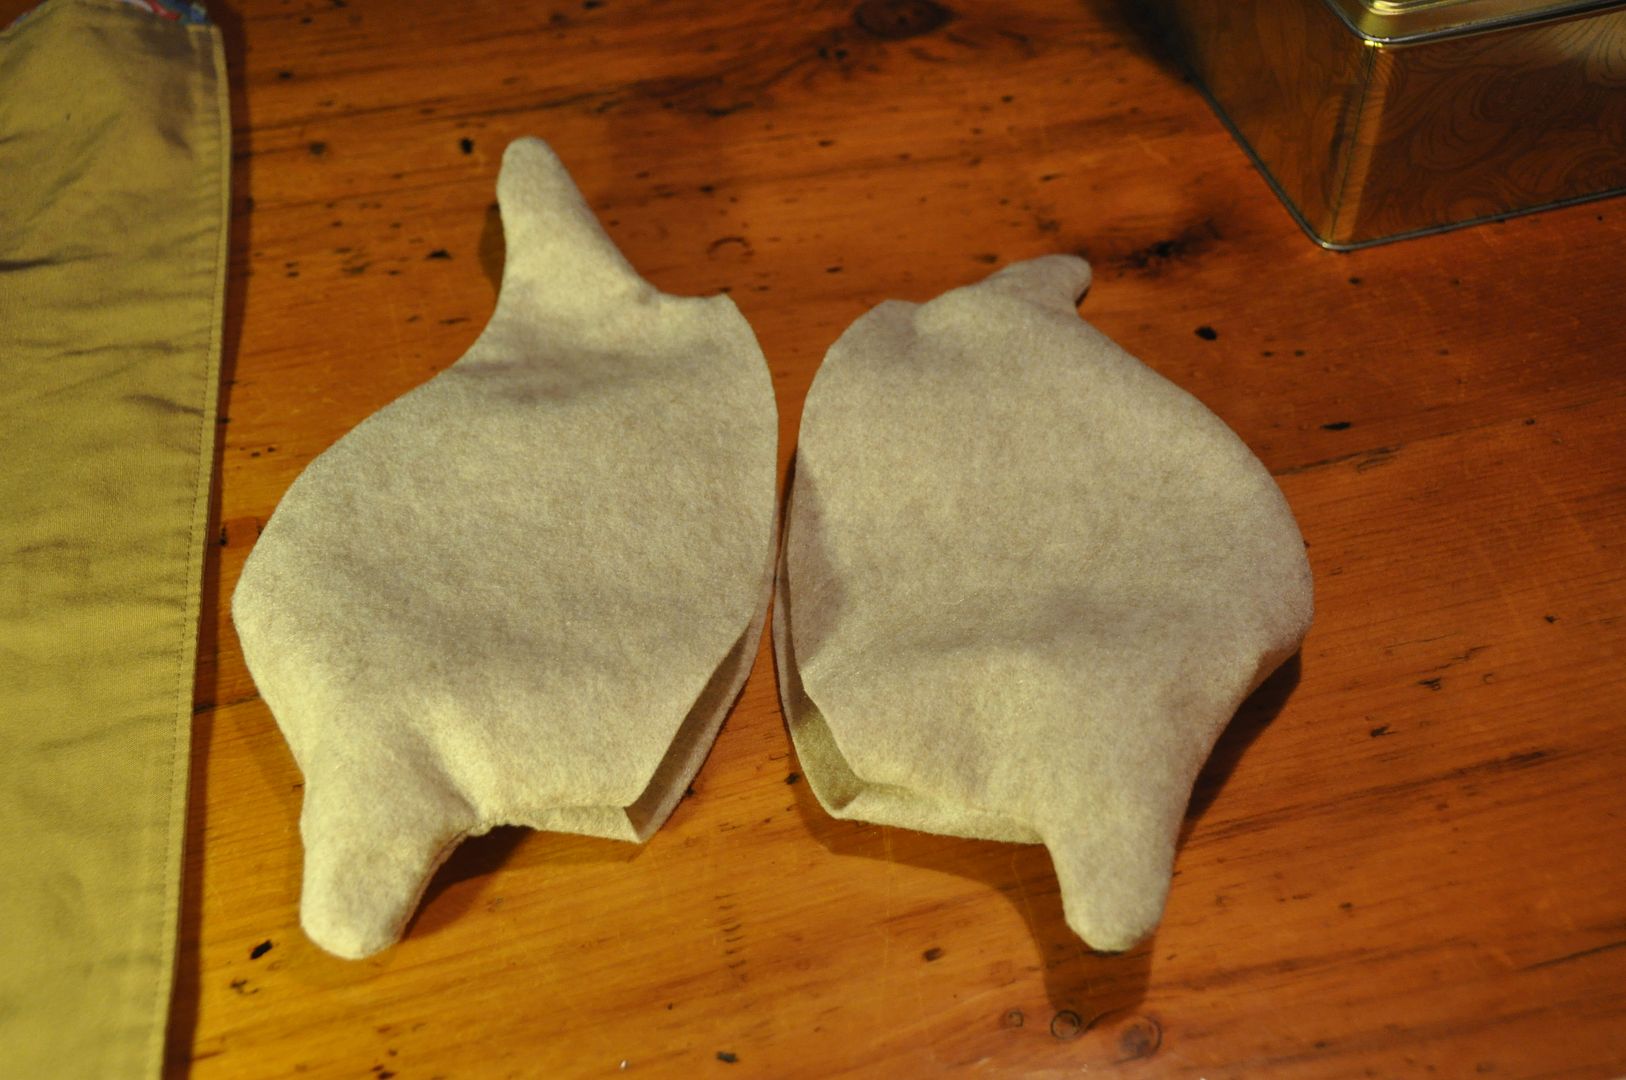
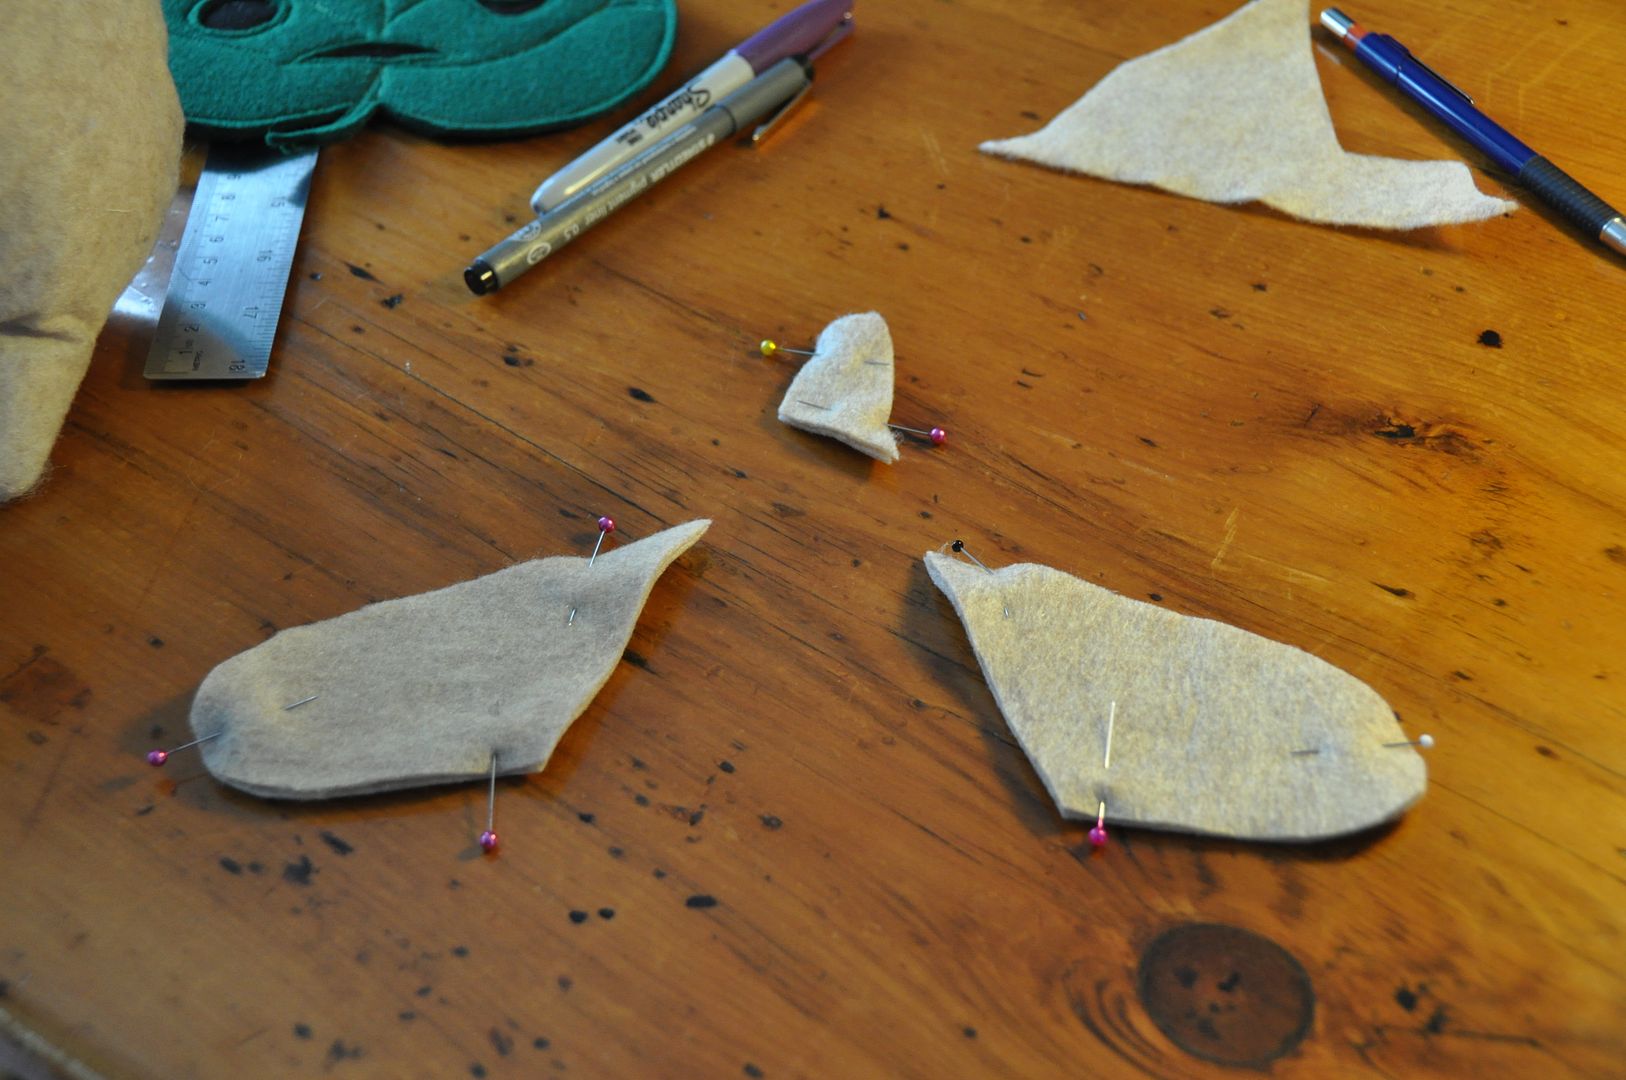
First I patterned the body. The two halves are different at the top. I started by making a mockup in muslin. This was a good idea, because this is my first time patterning a plushie, and so it looked a bit wonky.

The curve I originally had on the front and back seam of the body was too extreme, so I pinned and took it in on the mockup. You can see the change I made in red on the pattern pieces to reflect the change on the mockup.
Once I was satisfied with my mockup I started on the final version.

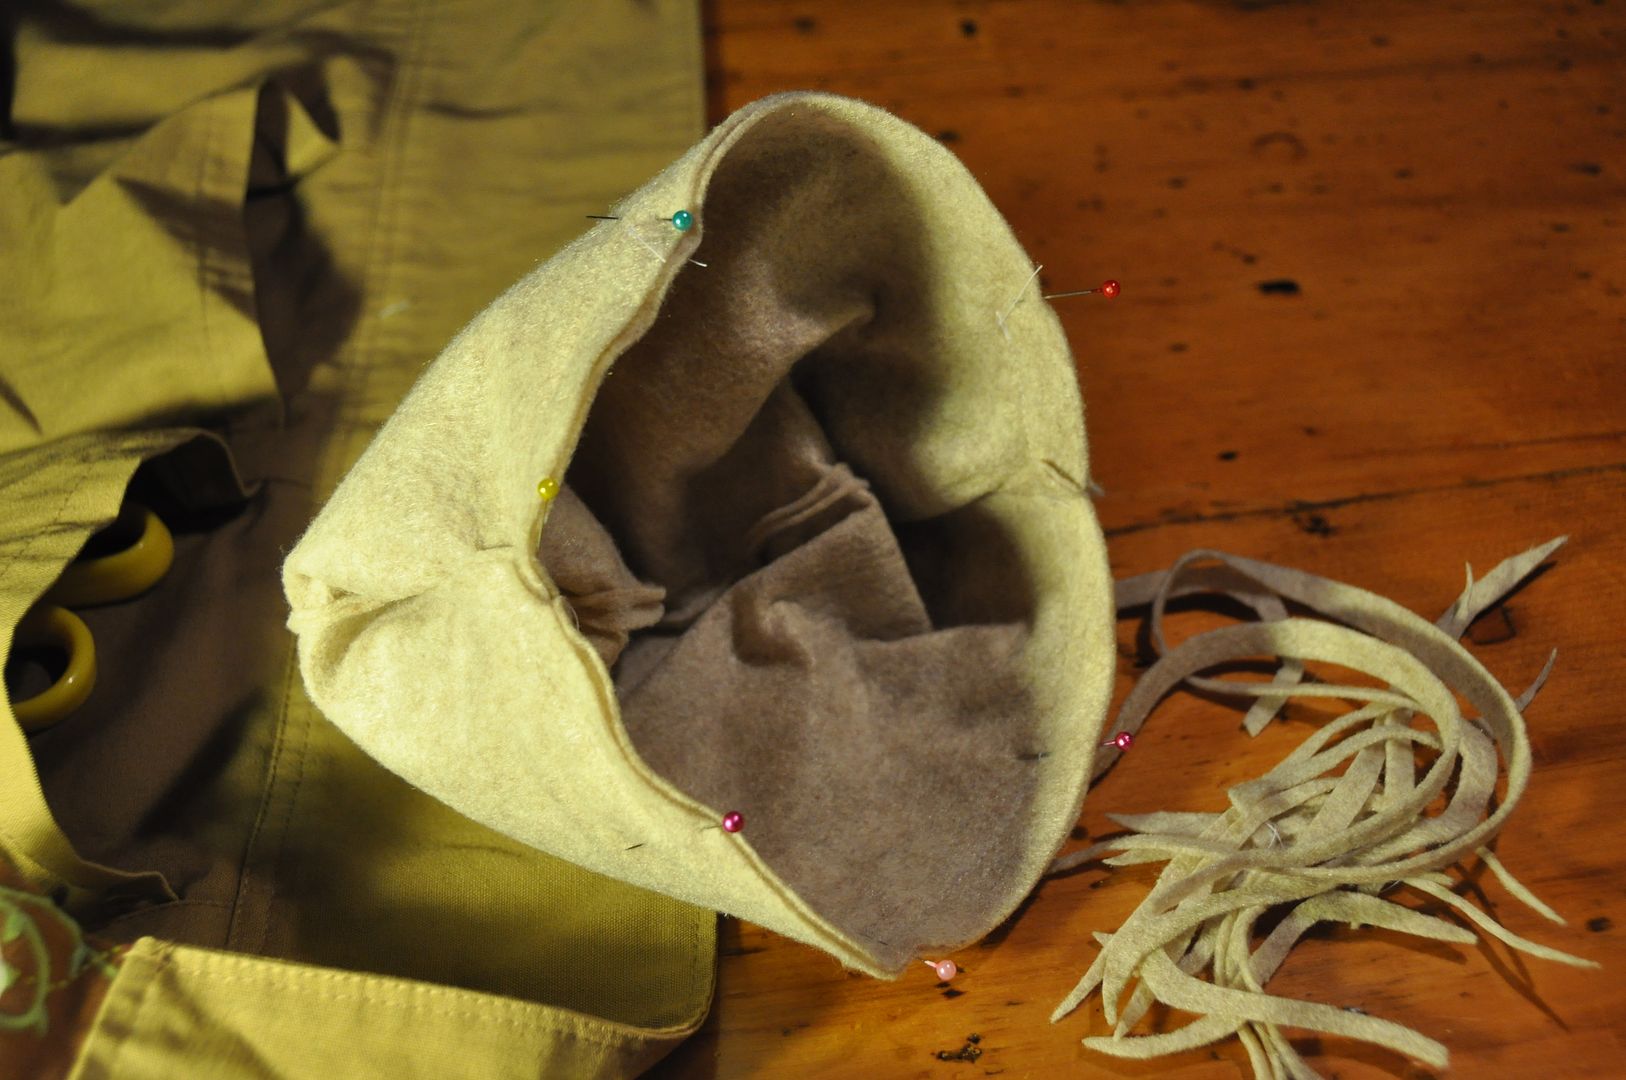
I cut 2 pieces for each half (one for the front, one for the back). I sewed the side seams together, clipped the excess fabric on the inside so it would be easier to turn right way out.

Leaving one right way out, and one inside out I lined up the center seams and sewed them together. I left a gap to turn it right way out and stuff it. This gap was left where it would be covered by the leaf face.
After sufficiently stuffing it--ensuring the stuffing got into all the extremities--I hand-stitched up the center seam.

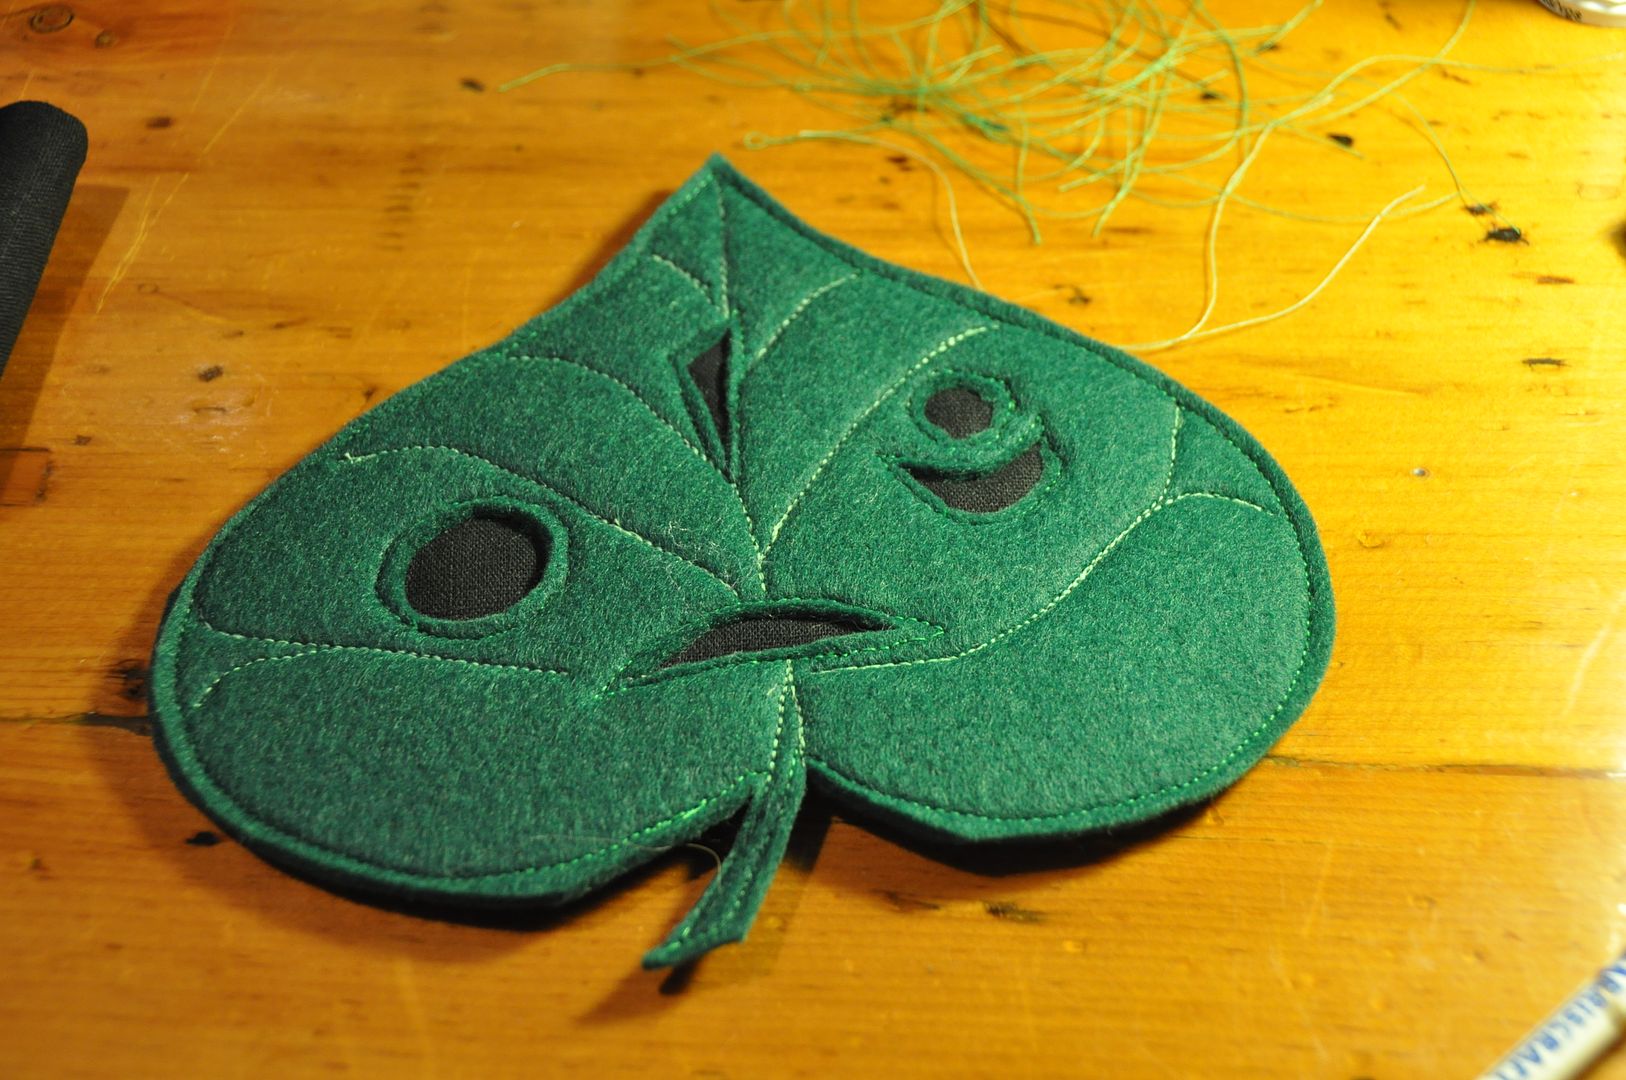
I made a pattern piece for the face. I cut 2 in green felt and one smaller piece in black fabric. I cut the holes out of the top piece of felt only, the black fabric in between the layers made the facial expression stand out rather nicely.
First I stitched around the outside of the face, then outlined all the facial features. Then in a lighter green thread I stitched the vein pattern onto the leaf.

Then I made some arms and a little twig. These were stitched together leaving one end open, seam allowance clipped, and then flipped right way out. I stuffed them and hand stitched them onto the body.

Lastly I tacked down the leaf face with a secure hand stitch.

The result was one cute plushie!

Monday, February 10, 2014

February Update - 3rd Blogiversary!

Cheers to 3 years of blogging! Holy smokes! I can't believe it's been 3 years since I started this blog. Thanks for all the support guys, it really means a lot.

This year has been really eventful, and full of a lot of great costumes. My costumes for this year were Asuna (Knight), Presea, Asuna (alternate outfit), Kero & Suppi. I also constructed a lot of cool garments of my own design. I learned some new things this year, most importantly molding/casting, working with thermoplastics, how to rig tails and wings, and even special effects makeup! I have a few projects already on the go for next year. :D
Lots of great stuff to look forward to this year. Those who are following me on facebook have seen some of the work I have been doing on my original design costume, which I have been madly working away at for Costume Con this April.I have a variety of things planned for the rest of the summer cosplay season, but I won't give away any surprises yet. :P

Year 4 is bound to be epic! And once again, thank you to all who've stuck by me this long and helped me along the way. :)


For anyone interested in the stats: Among Bobbins & Thread now has more than 20,000 pageviews. The record for most pageview in 1 month is 2341! (It's always October!) My top 5 viewing countries are now as follows: USA (7930 pageviews), Canada (6026 pageviews), Germany (906 pageviews), UK (880 pageviews) and Russia (544 pageviews). My Cosmo Wig & Crown has snagged the spot as my most viewed post, followed by my Cosmo Blouse & Wings and my 10th Doctor Wig.