Wednesday, October 23, 2013

Presea - Wig - Tales of Symphonia


(Edit: Now with completed photos!)

This was my first time doing a pigtail wig. This method is more difficult, and far more time consuming, but less expensive than the method I used for Asuna's wig. For Asuna I bought a second wig and used the wefts from that to cover the netting at the back, but for Presea I chopped off the bottom half of the wig and used the leftover hair to make the wefts for the back. This only worked because Presea's pigtails only had to be longer than her shoulders (as opposed to Asuna's, which are supposed to be almost down to her knees).

In order to do this with one wig, I bought a 50" pink wig from Epic Cosplay.

(To see how I made the Dress, go here.)

For Presea's pigtails, I chose to go a little less extreme, I wanted them to have volume, but not be crazy/ gravity defying.


 To start, I divided what I wanted to be the front part of my wig (bangs and side burns). I made the bangs a bit choppy, making sure they covered some of the wefts that would be pulled into the pigtail underneath. I started with a lot of hair at the side, but thinned it out, and transformed about half of it into bangs.
I carefully parted the back of the hair along the center back of the netting.  Pulling the hair into pigtails I could see how much netting would be exposed. Also you can see how little volume is in those pigtails. (Some of it was added simply by adding all that extra hair in the back, the rest was done later with lots of hair spray.)

At this point I tried the wig on and figured out exactly how long I wanted the pigtails. I marked this point and chopped off the bottom of the wig, keeping all the loose hair carefully bundled.

Then I set about adding in the wefts. I took a large embroidery needle and would take small bundles of hair fibers lick the ends and thread them through. I would pull them about halfway through the needle. Then I would stitch the needle in and then out of the wig (from the outside). I would then pull one side of the bundle all the we through the wig. I would do this several times, then I would take caulking and smear it around the inside of the wig, sealing the fibers in place. Then I would wait for it to dry, then repeat.

(I totally marathoned "Murder, She Wrote", while making this wig. As the process is long, tedious, and does not require much brain power.)
 This was a messy process, and in the end it made the wig a bit lumpy. I cut out some of the excess lumpiness.

I had bought a heat sealer for this process, but it didn't work. It got hot, but wouldn't melt the fibers. We tried to contact the seller, but they ignored all our emails, so I was quite peeved that I spent 40$ (+shipping) on a useless piece of equipment.
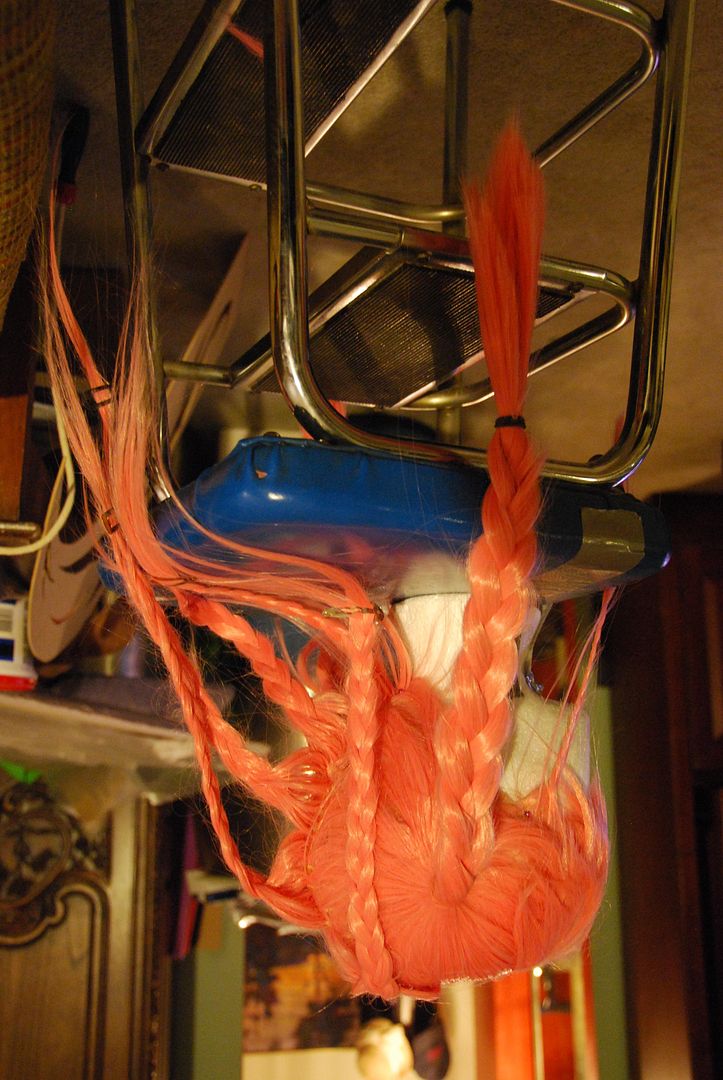
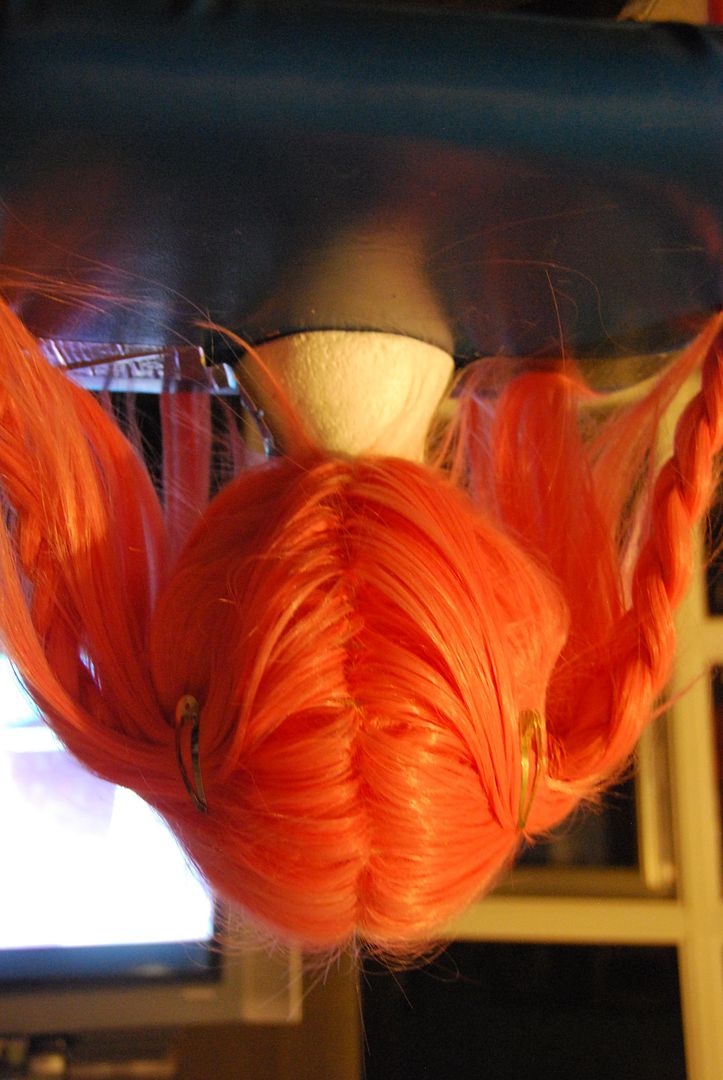
With all the loose hair around it was much easier to braid all the sections I wasn't working on so the wig wouldn't become hopelessly tangled.

Then carefully, using a comb, I parted the back. Now it looked much better than when I started!
First I thinned out the bottom of the pigtail, so it would look so straight cut. The layers helped make it look more spiky/punkish.

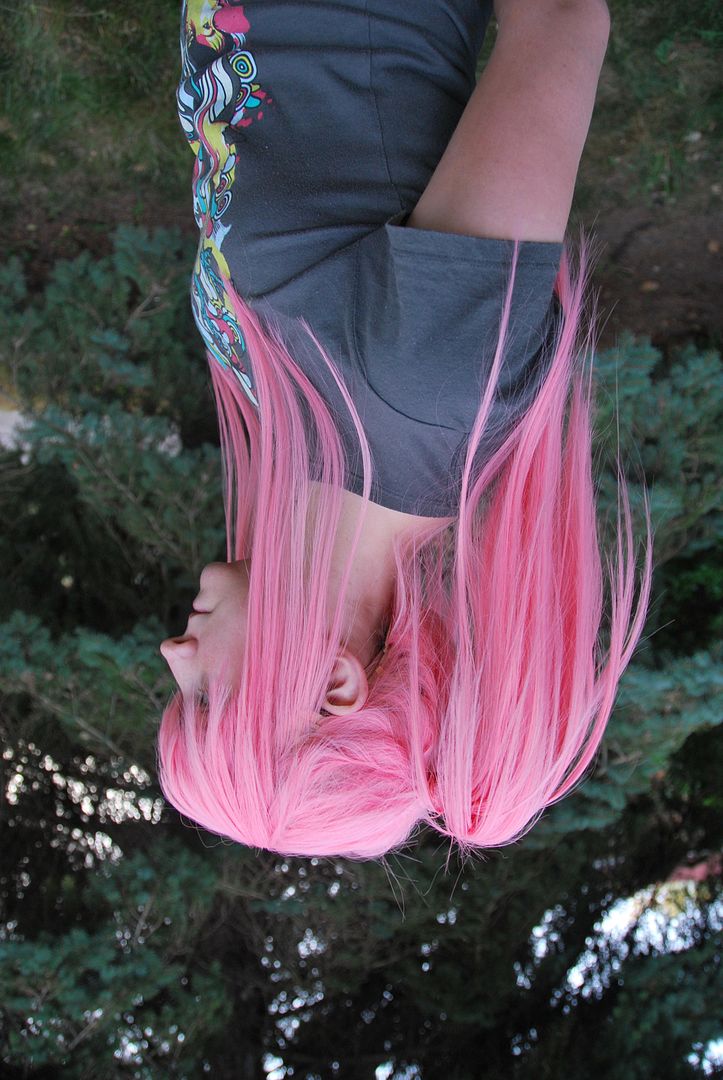
The next step was to add some volume to those pigtails. I tied the pigtails with elastic bands (normal hair ties slip too easily). I pulled the pigtail apart at the base and used a liberal amount of hair spray, using a hair dryer to help it dry faster. (The brand of hair spray I use it Got 2B Glued, in combination with a hair dryer it works wonders.) I would then pull sections and spray them individually, trying to make the pigtail as wide as possible. (Look a the picture on the left to see the pigtail without hairspray, and the one with.)
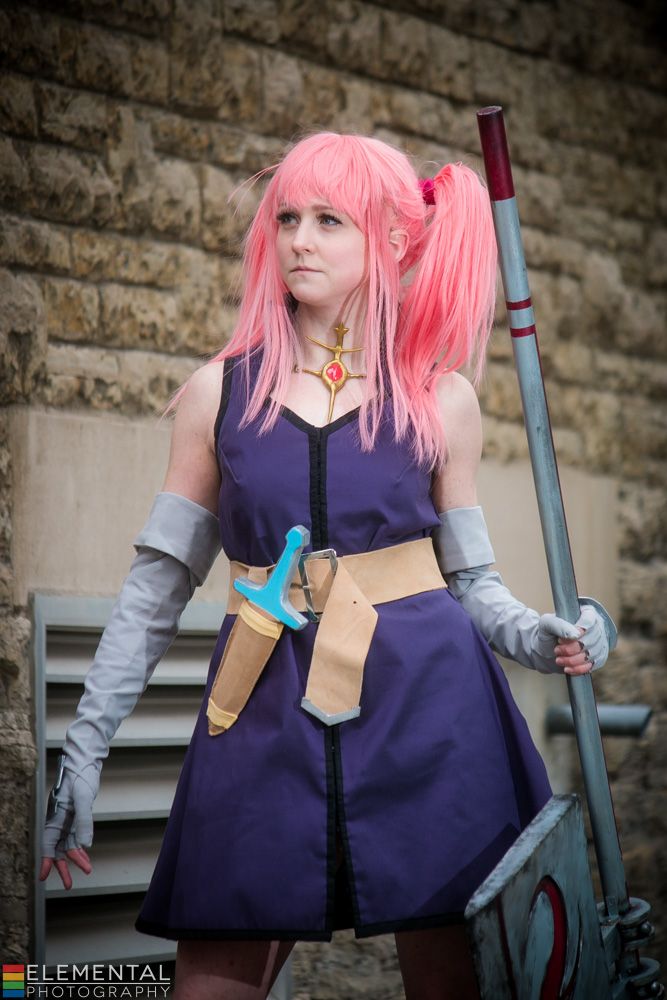
Then this wig was ready to be worn! Unfortunately the costume was not! This wig had to wait a whole year for it's debut!

I am not 100% satisfied with the full finished costume, and I plan to do some major touch ups on the battle axe, which got damaged during the trip to Baltimore. Then I will do a photoshoot so you guys can all see pictures of the finished costume!


Tuesday, October 15, 2013

Presea - Dress - Tales of Symphonia

(Edit: photos finally added many years later!)

This is the first part of my in-depth look at how I made my Presea costume from Tales of Symphonia. (Attn: I currently have no pictures of the finished costume, as I need to make some major repairs to my axe before doing a photoshoot. I will post photos of the finished costume sometime soon!)

This costume had been in the works on and off for over a year. Originally meant to debut at Otakon in 2012, I encountered a lot of set-backs in the initial build that made it impossible to get it done for that con. Instead, I set it aside, to be finished for the following year. It was received quite well at Otakon 2013! Though I am a little sad I missed the Tales photoshoot.

Presea Combattir is a character from the Gamecube game Tales of Symphonia, released in 2004. This game, although being primarily single player, had the option of setting one of the computer controlled party members to player controlled during combat. So, I spent a great deal of time playing this game with my older sister. Originally, the party is quite small, and there are not too many characters to choose from, but later on there are about 9 characters and Presea was always one of my favourites. She was a silent badass, wielding a mighty axe, hefting trees, fighting off the bad guys. Also a very cute character. (Much preferable to Colette, as far as the main cast goes.)


It's interesting for me to compare how I made things 1 year ago to now. There is a lot I have learned over the past year, and there are many things I would have done differently on this costume had I made it now instead of then. The dress was the piece I finished first when I first began making the costume, so when I returned to the costume a year later I decided to leave it as it was, rather than improving it.

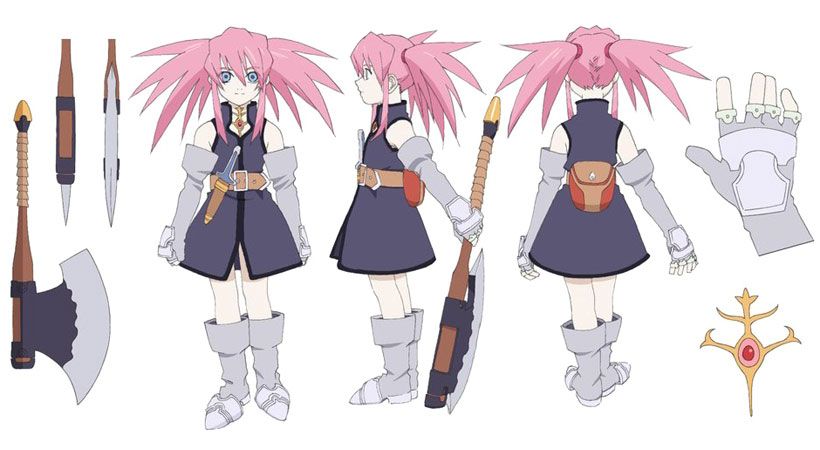
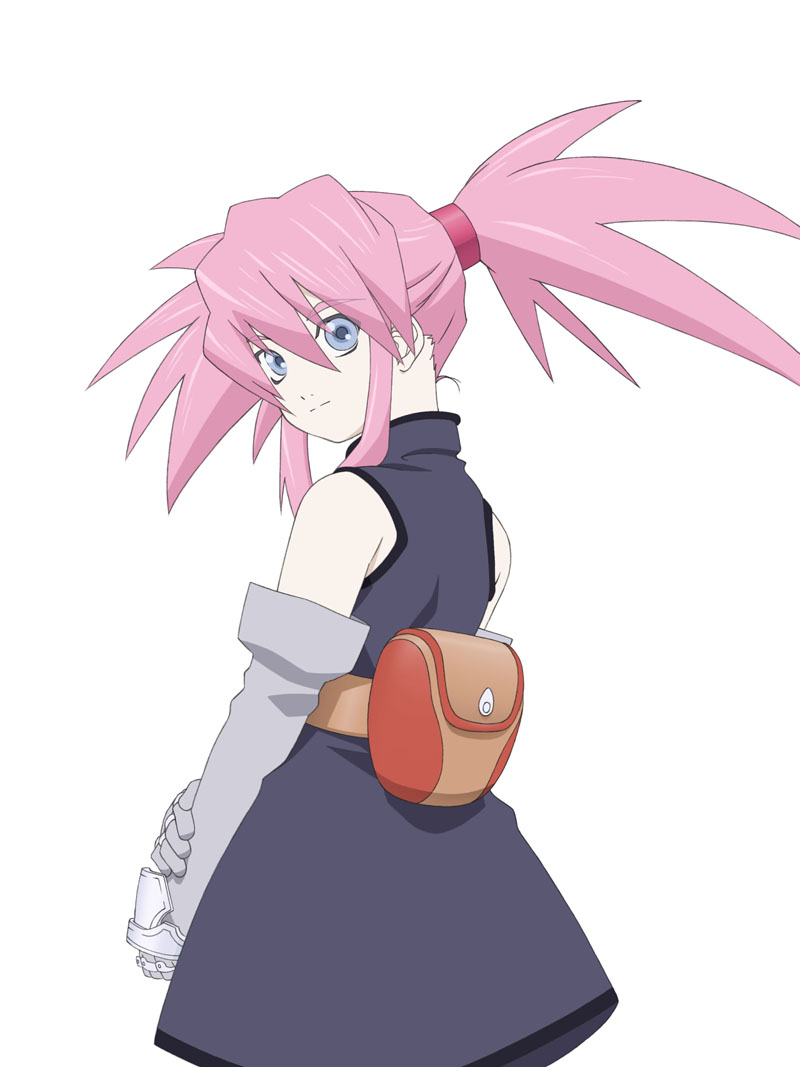
Like Suppi, this is another costume where colour is debatable because every reference picture is different. This dress ranges from blue to grey to purple. I decided to go with purple, because a) I like purple, b) I found purple fabric, c) I like purple on this character, and d) that is the colour the dress is in actual gameplay. Haha

 Finding the correct colour of purple fabric was not so easy however. The only purple I found was in the drapery section, so yes, my dress is made out of drapery fabric.
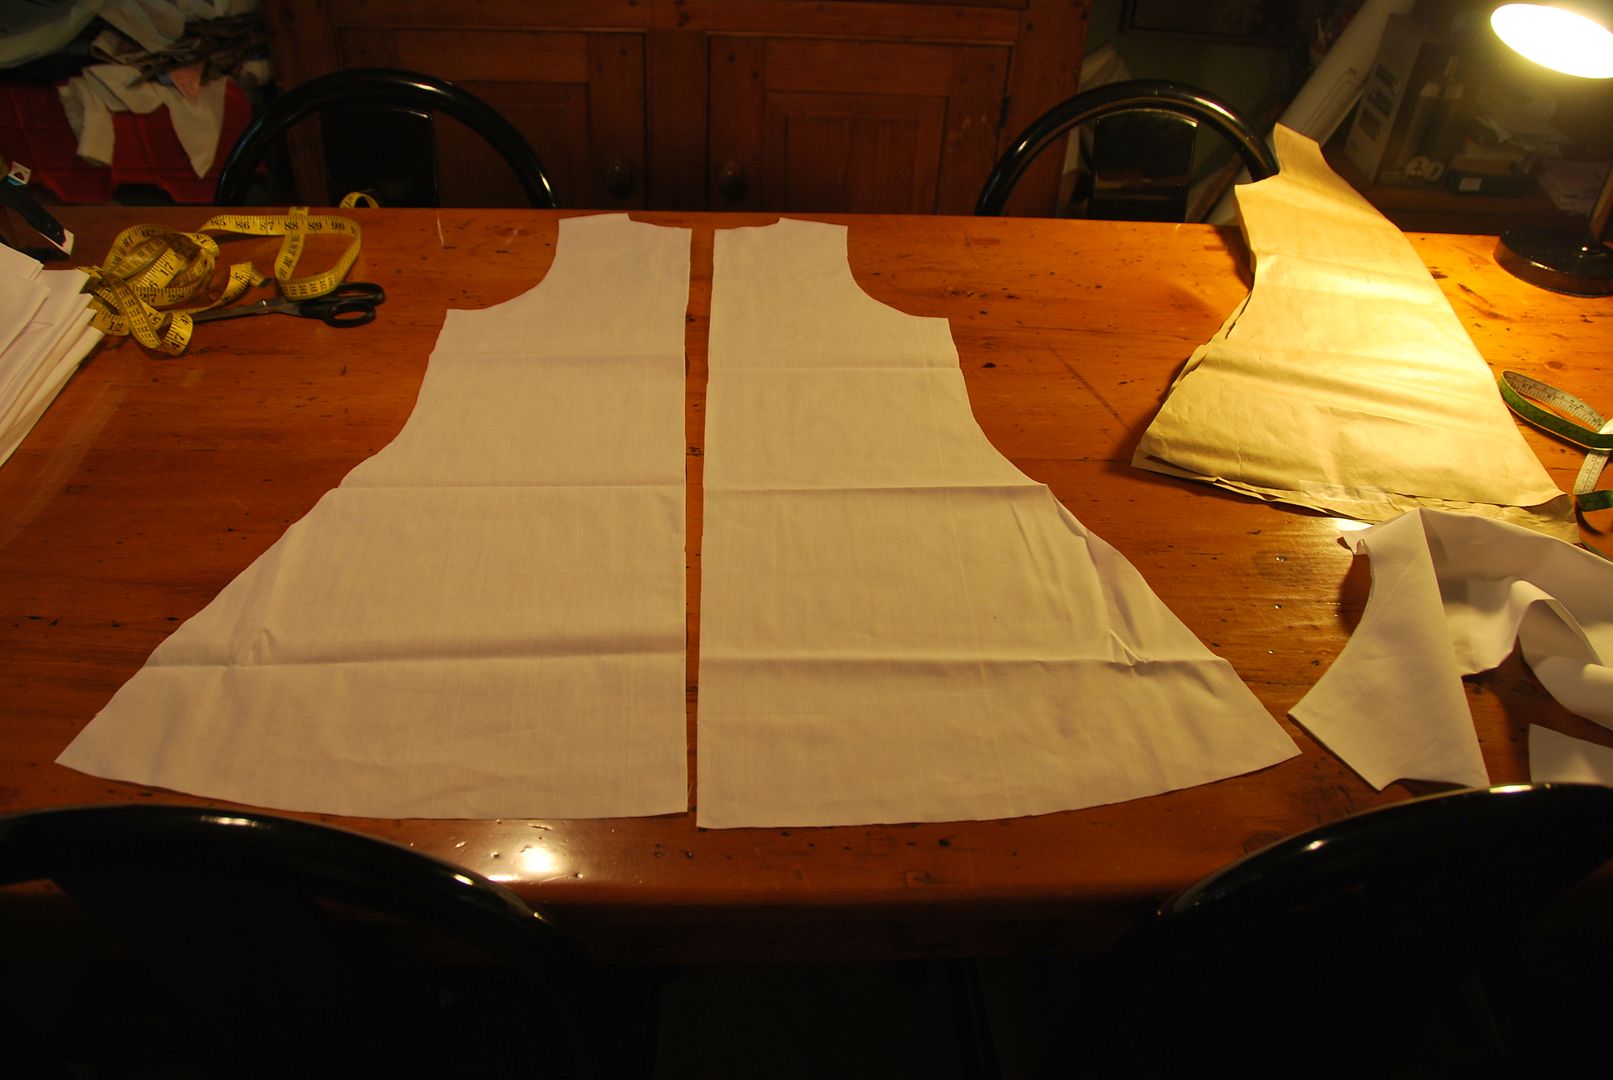
I started by tracing a shirt to get the width and armholes I wanted. I made the dress a wide a-line with no darts. All the cinching at the waist would be done with the belt. From there I made a broadcloth mockup. I drew my desired diamond neckline onto the mockup, then transfered it onto the paper pattern.
I then cut out my pieces from my purple fabric. I cut out double, making the dress double thickness to make it stiffer.

I sewed the side seams, and shoulder seams, then finished the inside edges.
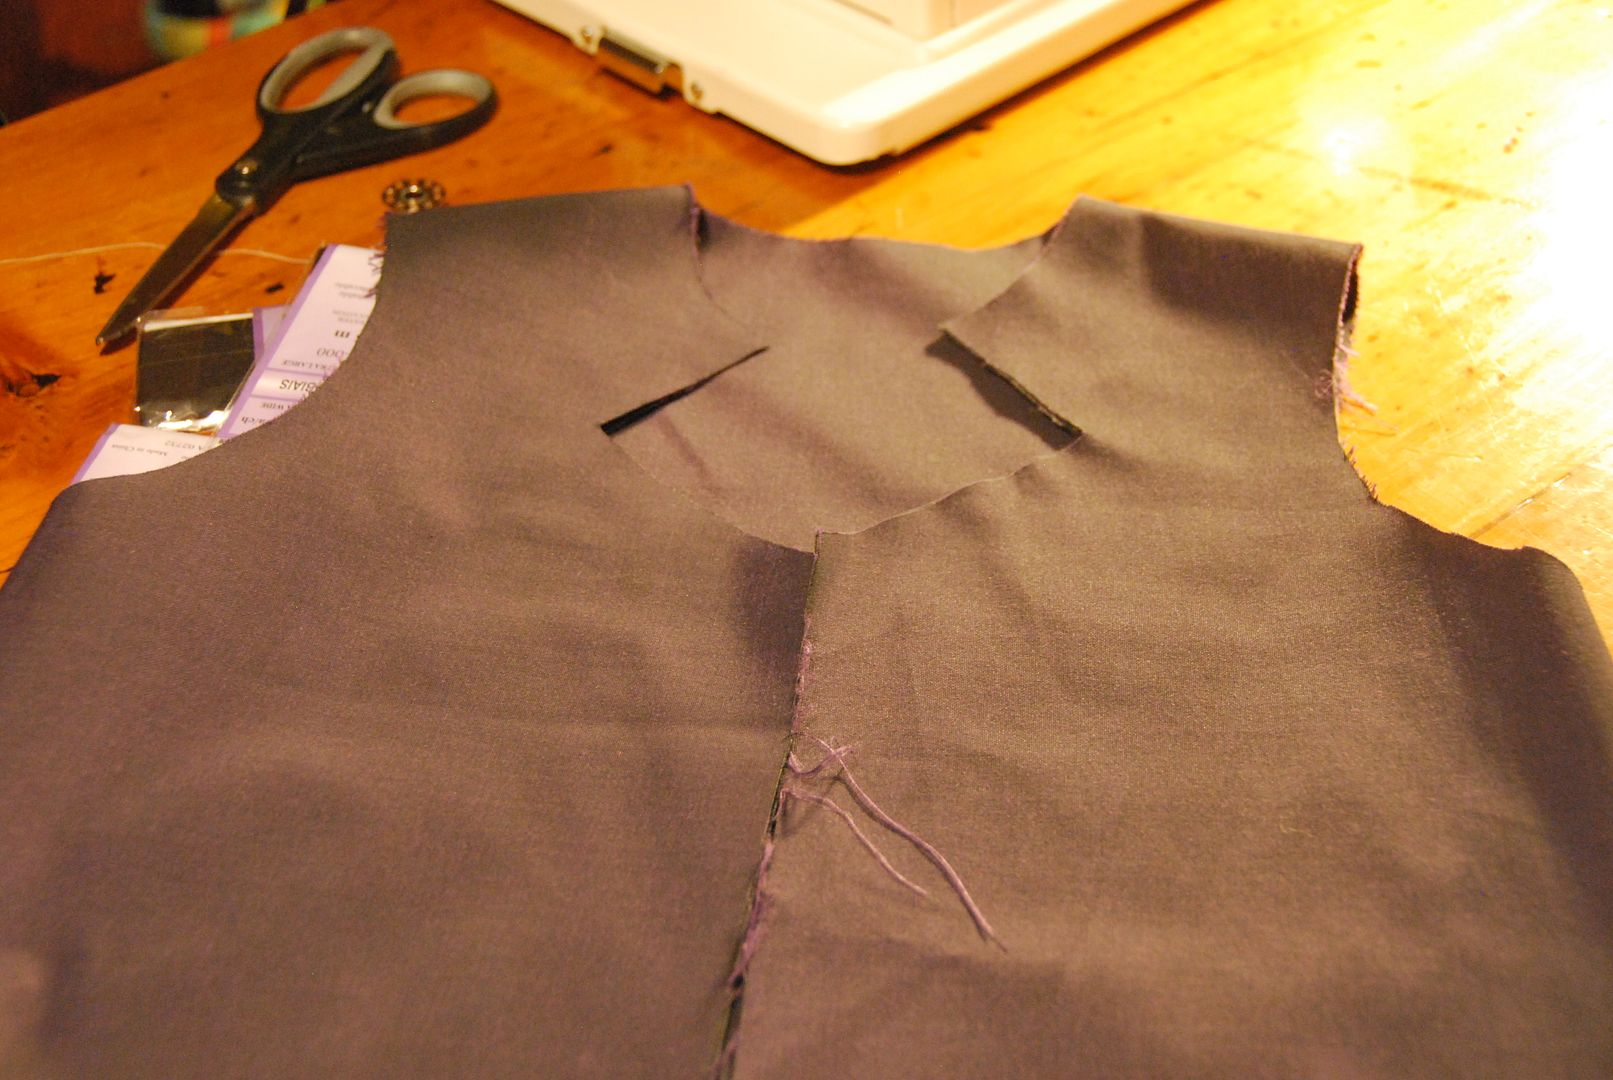
Then I made the collar, which was 2 pieces of my purple fabric, with 1 layer of interfacing to keep it stiff. The collar is slightly shorter in the back than in the front. These pieces were basted together, then attached to the neckline.

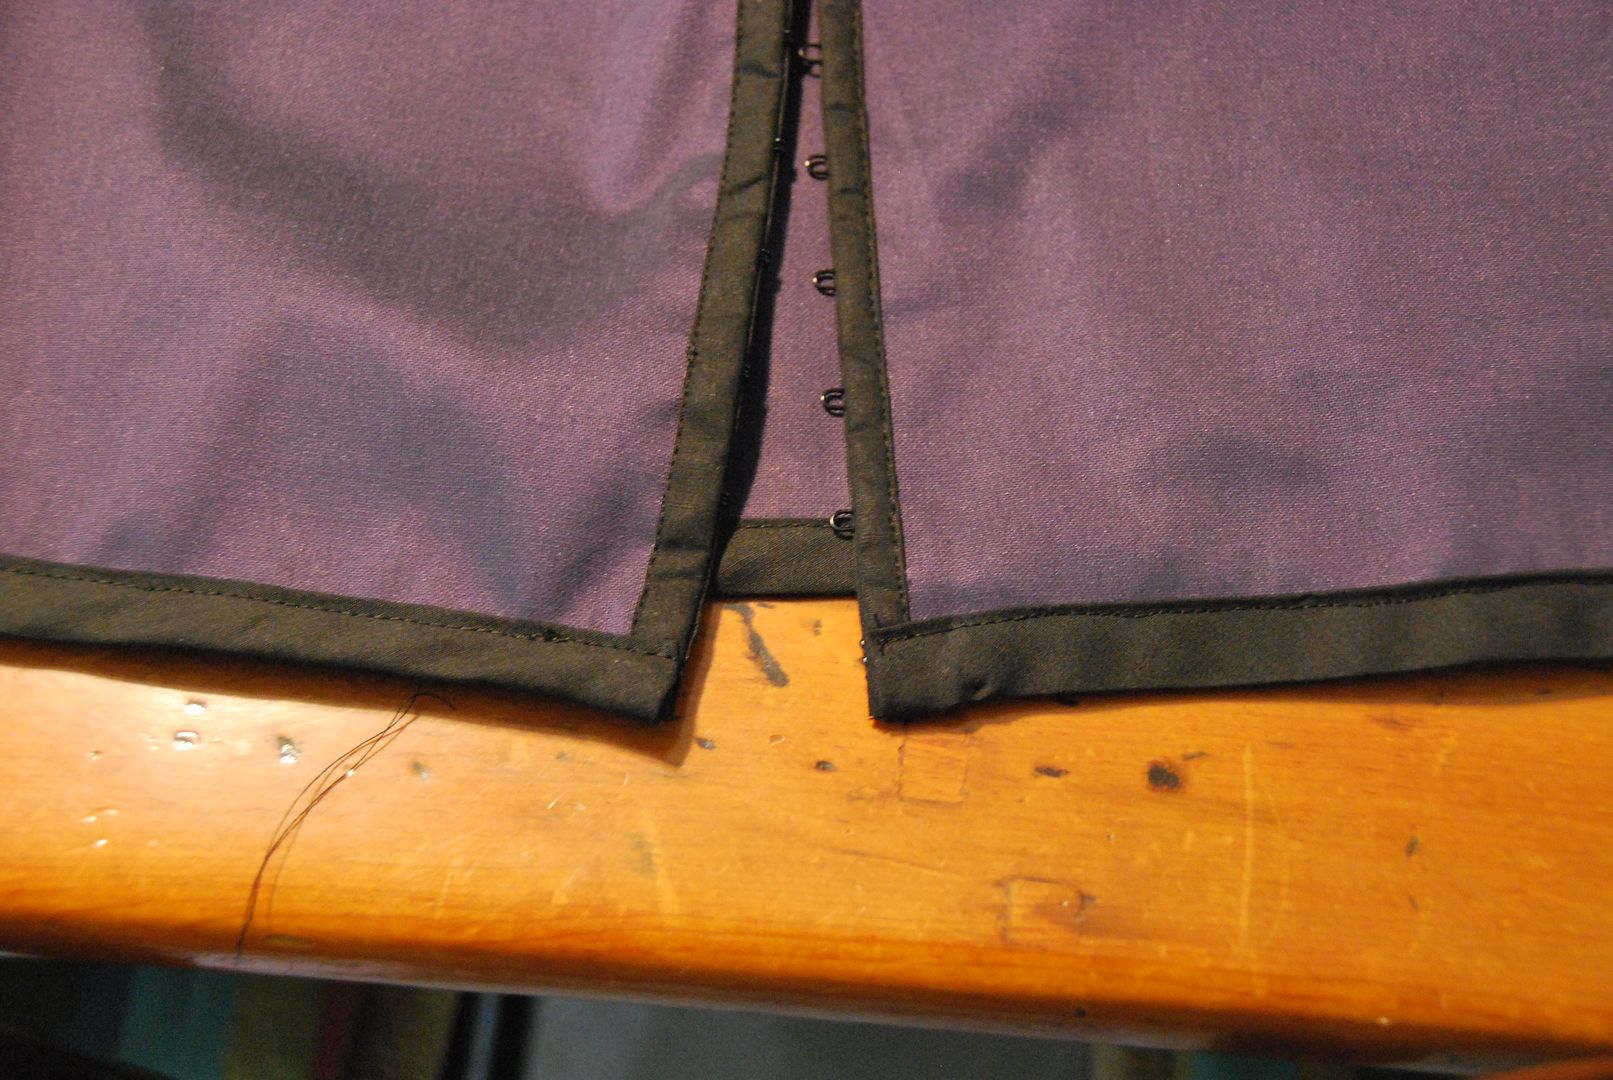
I then added a black modesty panel, and a long row of hook and eye tape down the front.
Next step was to finish the bottom edge with black bias tape.

Then I added a dart coming in from the armhole. This stopped it from gaping weirdly at the front. The armholes were also finished with bias tape.
The last step was to finish the collar with black bias-tape. This was the first time I had done sharp corners with bias tape. I put the corners into the bias tape before sewing it on.

Tuesday, October 8, 2013

Asymmetrical Marimekko Jacket

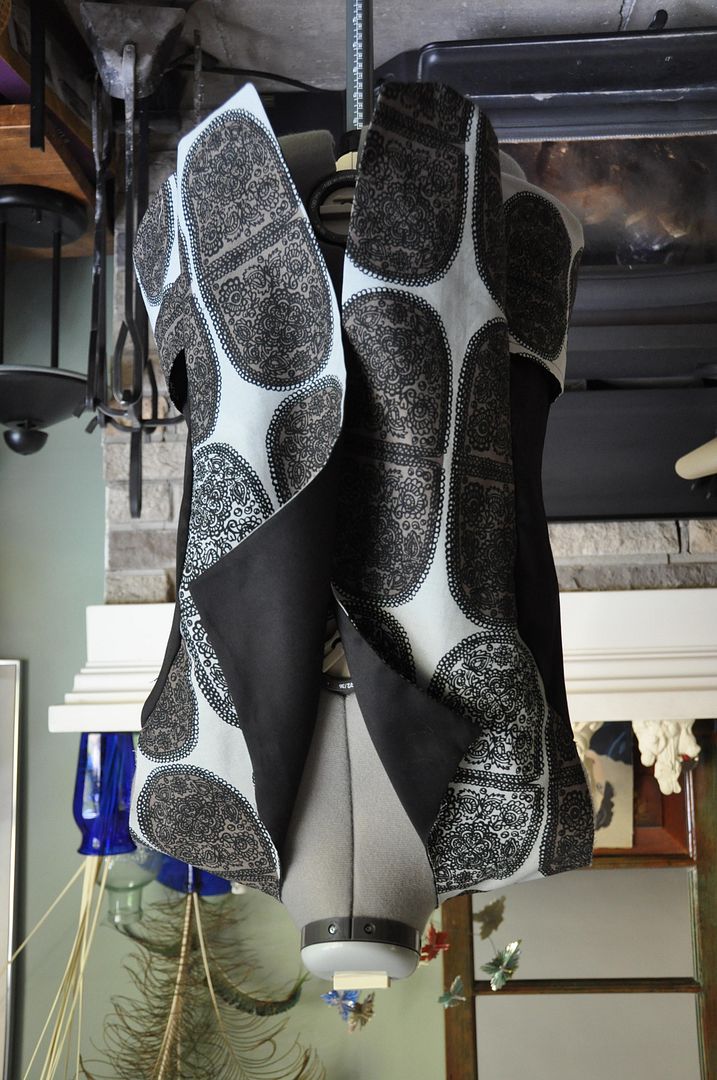
Taking a short break from costumes to show off an original design of mine using a Marimekko fabric I got from my sister as a gift. :) It was a really interesting experiment for me in making a fitted garment with a large print fabric. I really love the warm and cool grey tones in this fabric.

A summer project for me, though the only reason it took me all summer is that I kept stopping work on this in favour of more pressing cosplay projects! Hahaha

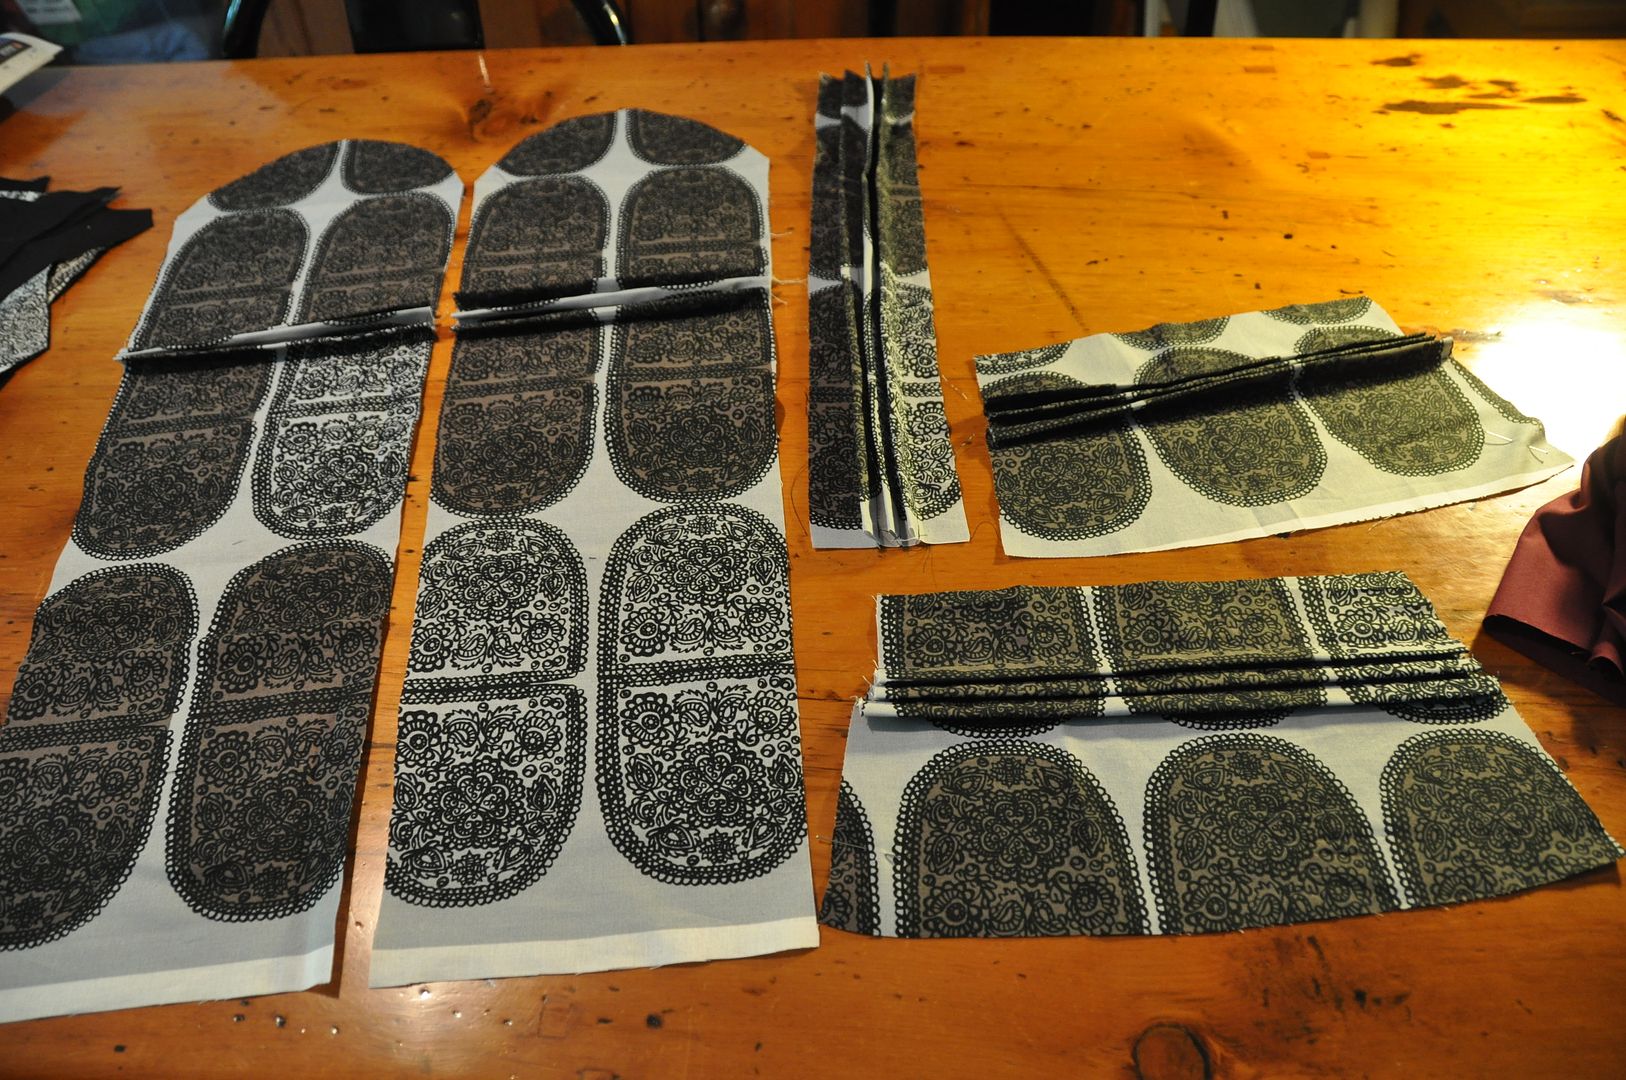
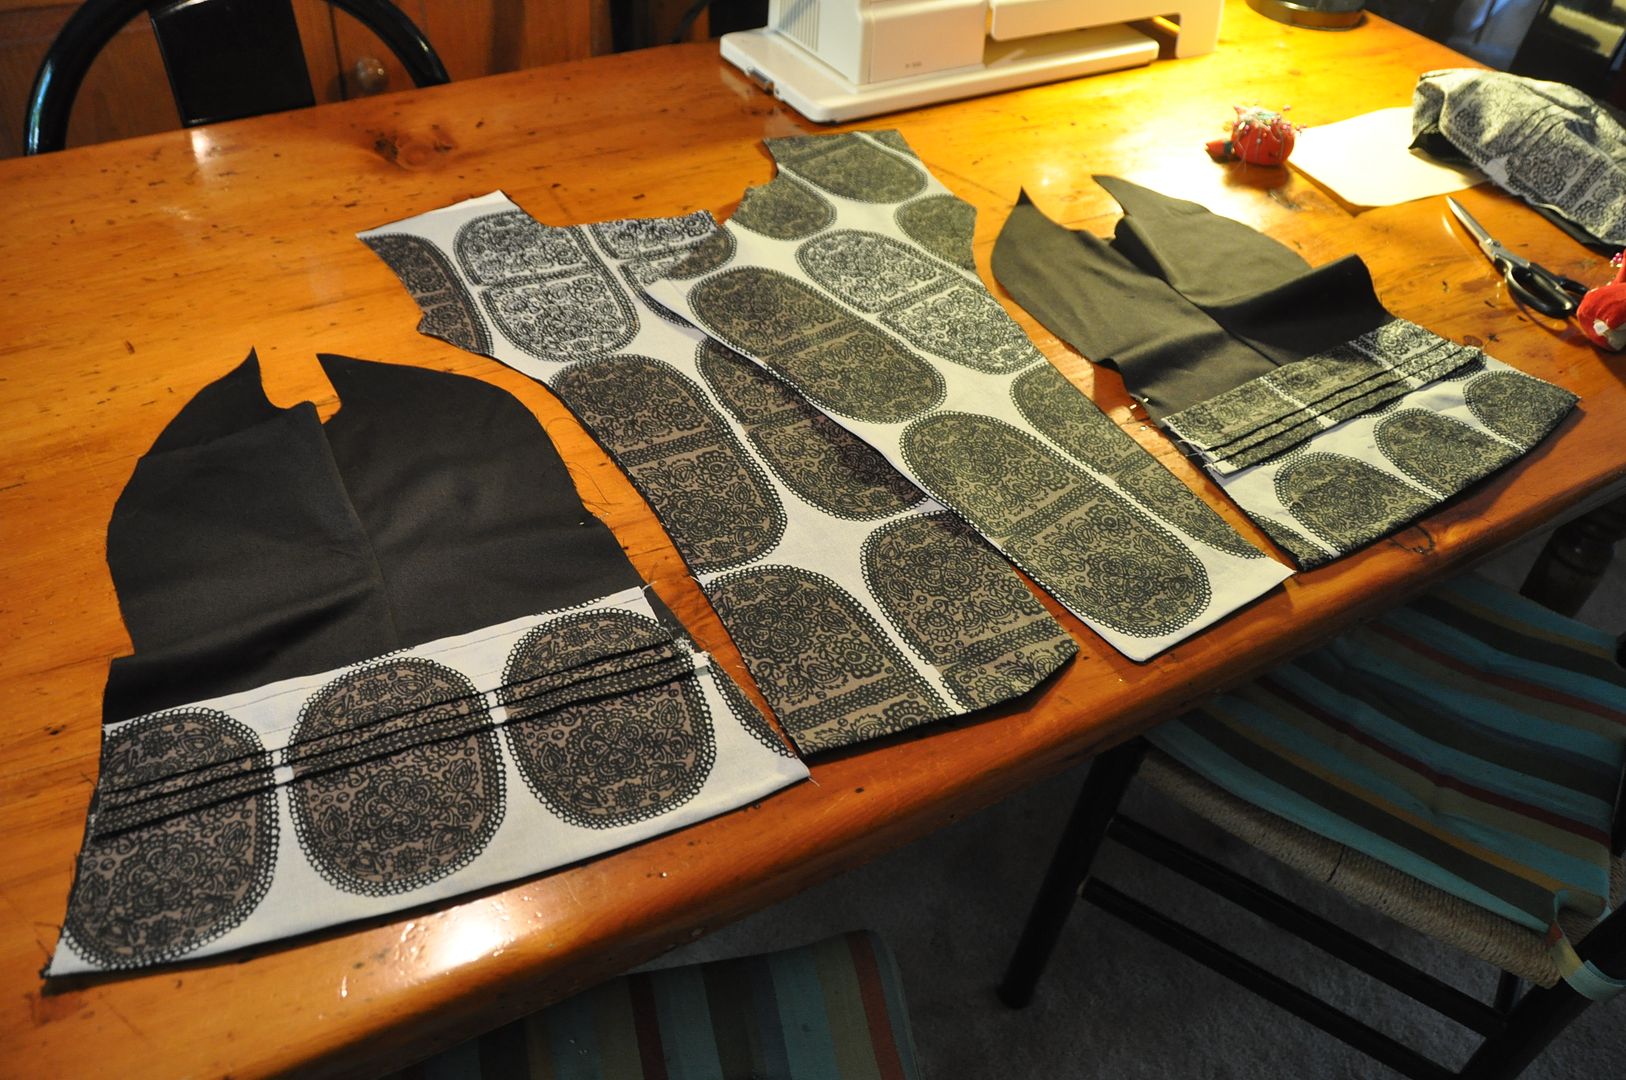
You will most likely notice that I used a black fabric  on the sides and under arms: this is completely intentional from the very beginning. (Meaning I did not run out of fabric.) I felt such a large print would be overpowering if it were used on the whole jacket, and I actually had designed it this way from the beginning. The black panels on the side make the jacket far more slimming. ;D
For patterning this I started with a modified basic block. I added in a seam down the back and the asymmetrical front overlap. I made a muslin mockup first before cutting my good fabric. Because this was a jacket, I had to make it a bit larger to ensure it would fit over other clothes (as a jacket should).

I also cut two pieces (inner and outer) for the collar. You will notice that the patterned outer piece is much wider; this is because of the folded fabric detail. Same with the sleeve.
My folded ruffle detail was pretty easy to make I simply pinched 1" sections of fabric together and sewed them, these were each 1/2" apart. They were then all ironed to the same side.

I also cut the 2 pocket pieces, and added the same detail there.
I added a black facing piece to each of my front overlapping panels. I sewed these right sides together (only along the finished edge, not on the seam edge where they attached to other pieces), clipped the excess, turned them right way out and ironed them.
Then I sewed the black side pieces to my sleeve.
The outer collar was stitched to the inner collar along the top and side edges, right sides together, then clipped, flipped and ironed.
I sewed my side seams together, then attached my pocket pieces to the sides along the bottom hem.

I also faced the bottom portions of the two back panels where the slit was in the back so they would have a nice finished edge on the hem.
I sewed the two back panels together up until the slit. When cutting these pieces I took great care to ensure that the pattern lined up along the back seam. It was difficult, but it turned out beautifully!

At this point I began to put it all together. I sewed the front, side and back panels together, and then the shoulders. I then ironed and finished all the seams. I also top stitched down the seams from the outside with black thread.

Then I added on the collar and the sleeves. After trying it on I then marked and hemmed the sleeves.

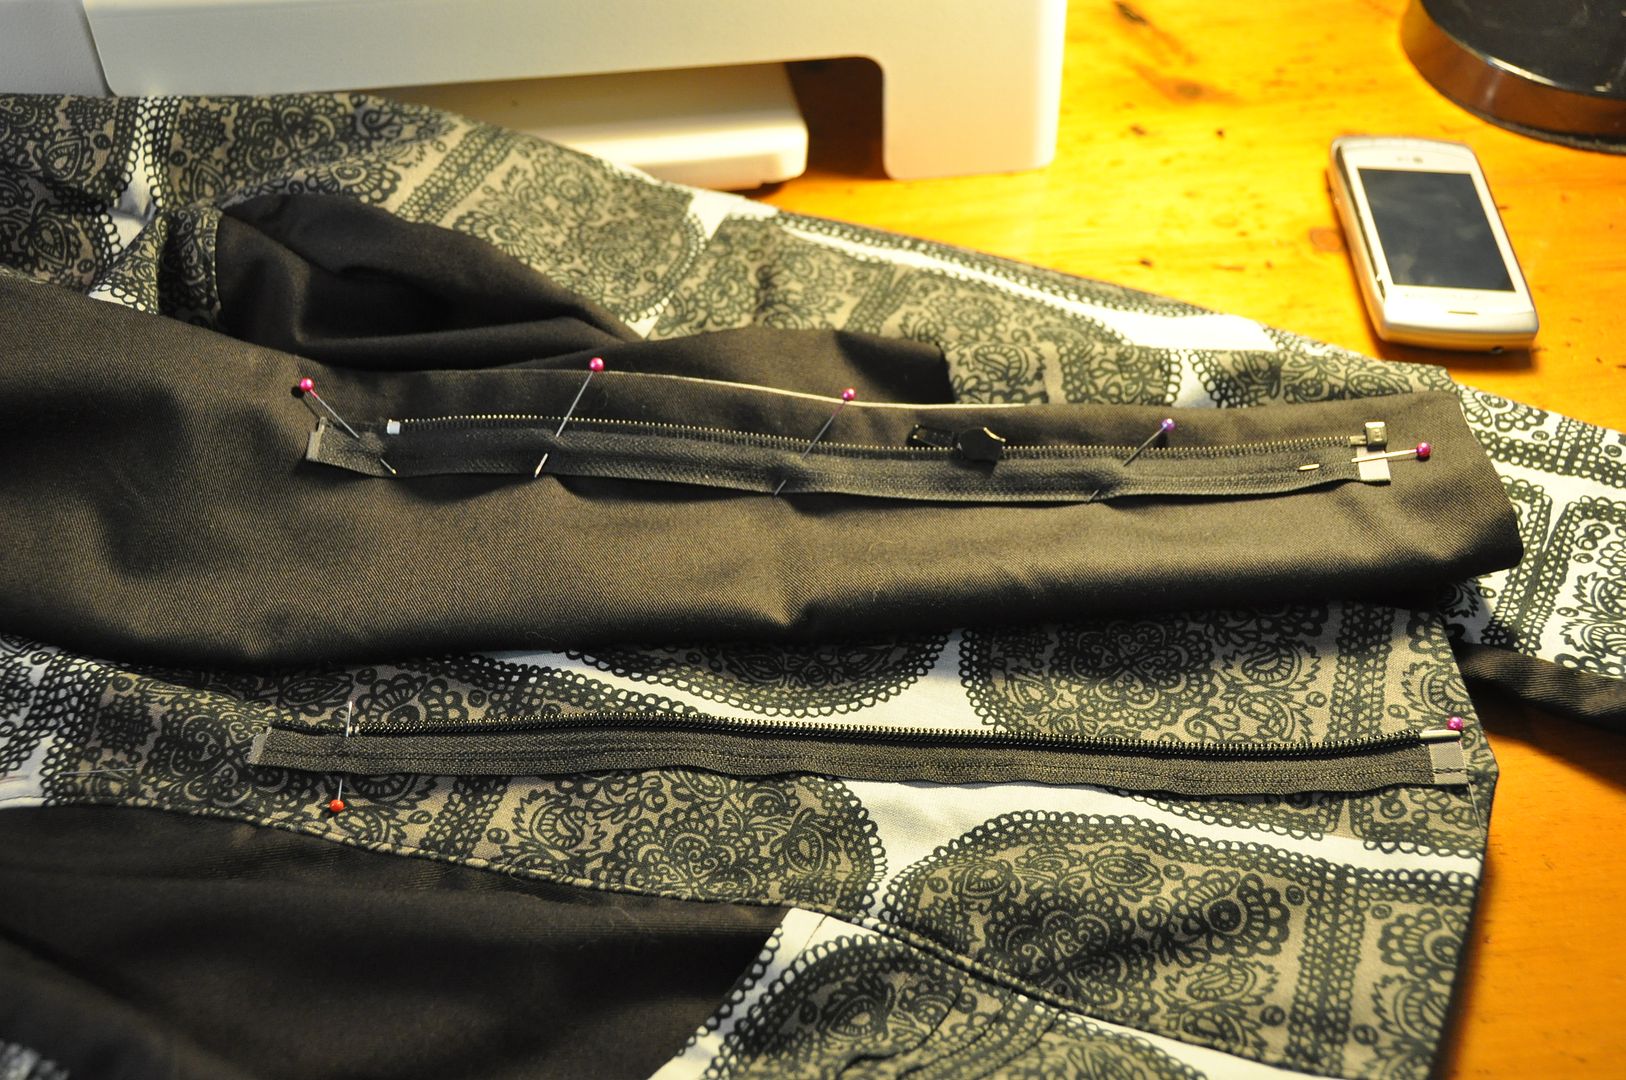
I marked (first on myself) where the jacket should sit when closed, then marked where the zipper should go. Funny story: normally I buy zippers for bags, skirts and dresses, not jackets. So the first time I bought a zipper for this jacket I bought one that didn't separate at the bottom! D: I had to go back and buy one that actually worked for jackets.

The zipper I separated into its two pieces, pinning them to the jacket separately. These were sewed down securely.

The last thing I did was add the black fasteners at the top with the velcro and metal d-rings/buckles.
I really need to buy a pair of black shoes so I can wear this in public...

Tuesday, October 1, 2013

Kero & Suppi - Tails - Cardcaptor Sakura

For the last part of this tutorial lets talk tails! This was my first time making tails, so there was a bit of trial and error to get it right, but these ones turned out really well, and I am super happy with them. Particularly Suppi's; look at that fabulous spiral! :,D

Go here for the Shirts & Shorts, Wigs & Ears, Aprons & Wings and Props & Accessories! Special thanks to Eleventh Photograph for taking some great pictures of us! See us in his Otakon gallery!

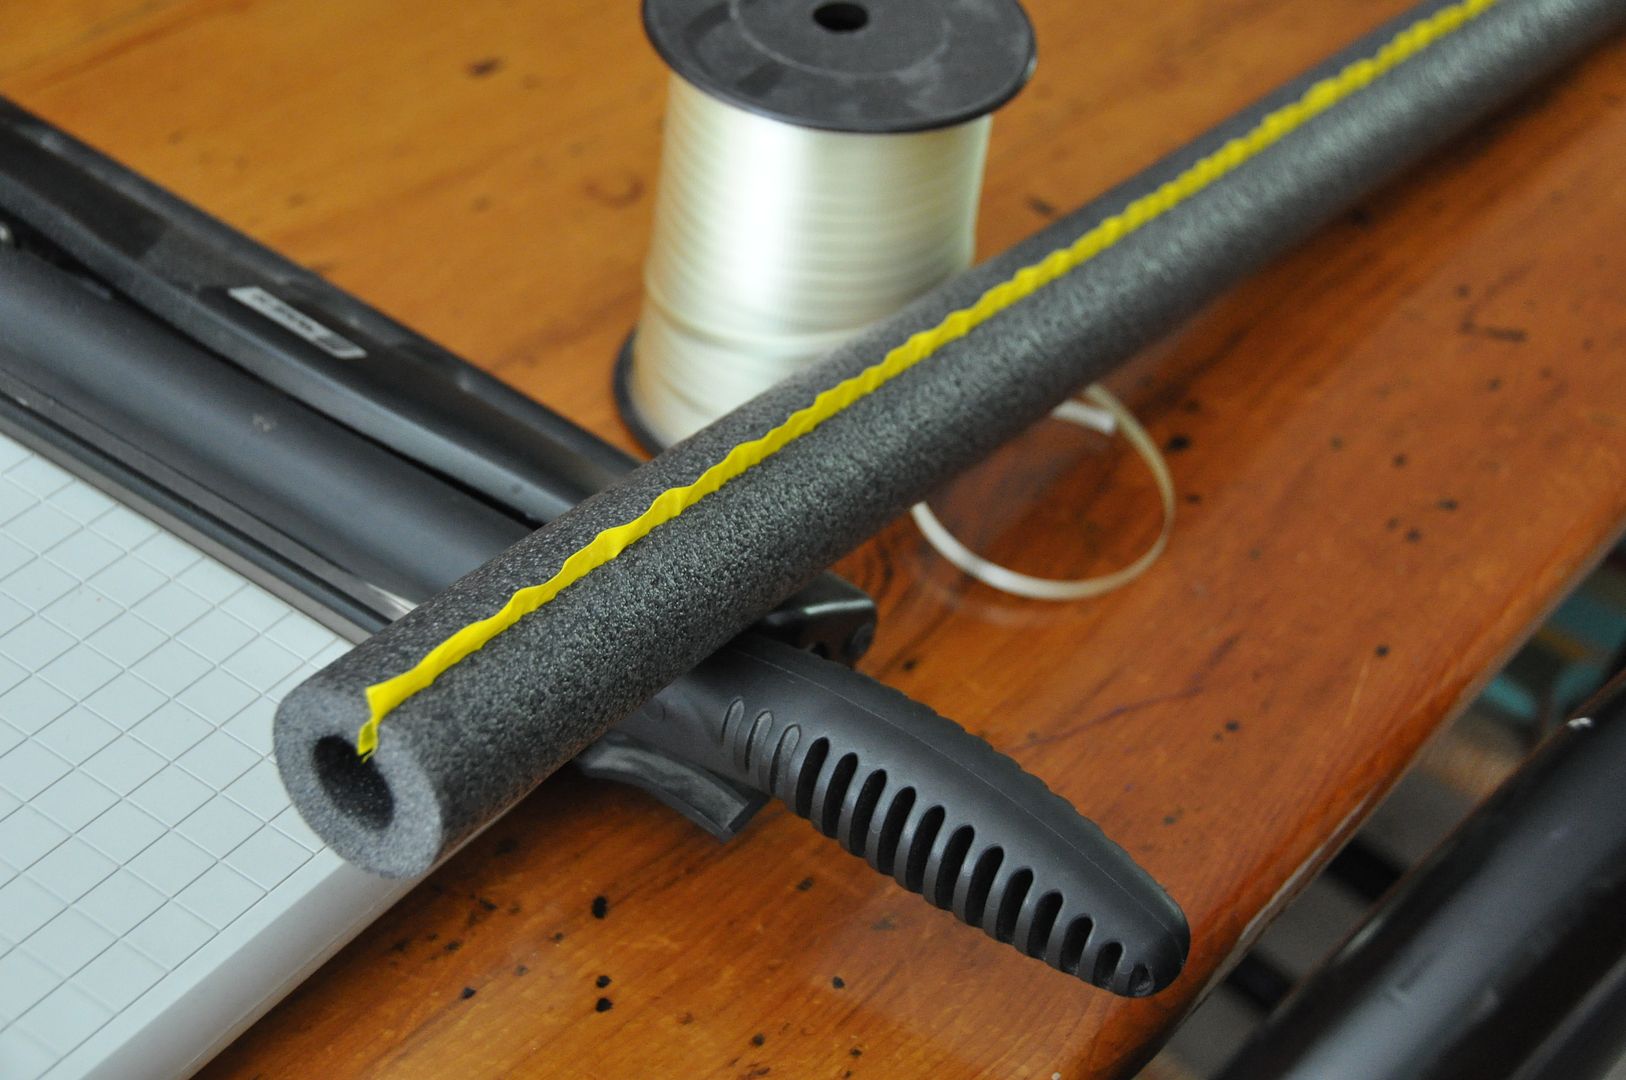
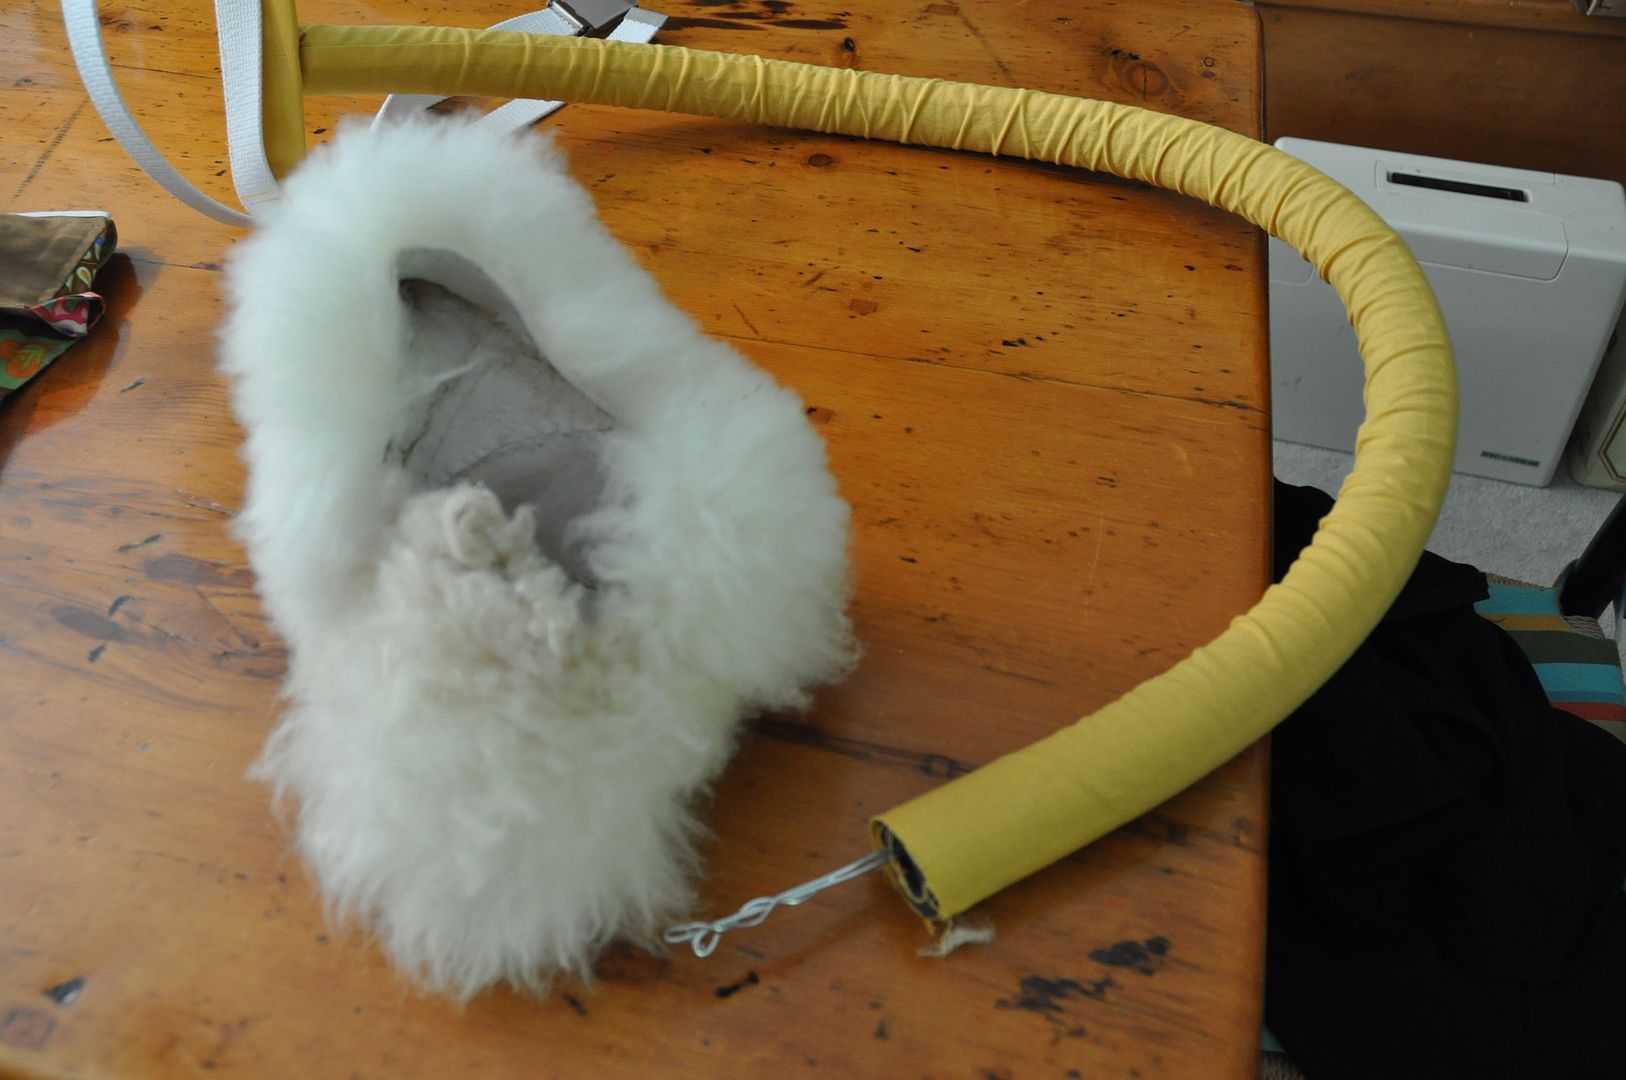
The secret to these tails is that they aren't stuffed; I used foam insulation tubing for 1/2" pipe. Normally this stuff is used in construction around pipes. It's a flexible foam tube with a slit in the side. You peel off the yellow strips and it adheres to become a complete tube. Also it's dirt cheap. Pretty cool stuff! 
Let's start with Kero's tail, as it was the easier of the two.
I started by cutting a section the length I wanted (keeping in mind the pouffe on the end would add to the length). Then I stuck 3 lengths of wire down the center, leaving excess at both ends. Then I pulled off the adhesive strip, closing the tube.
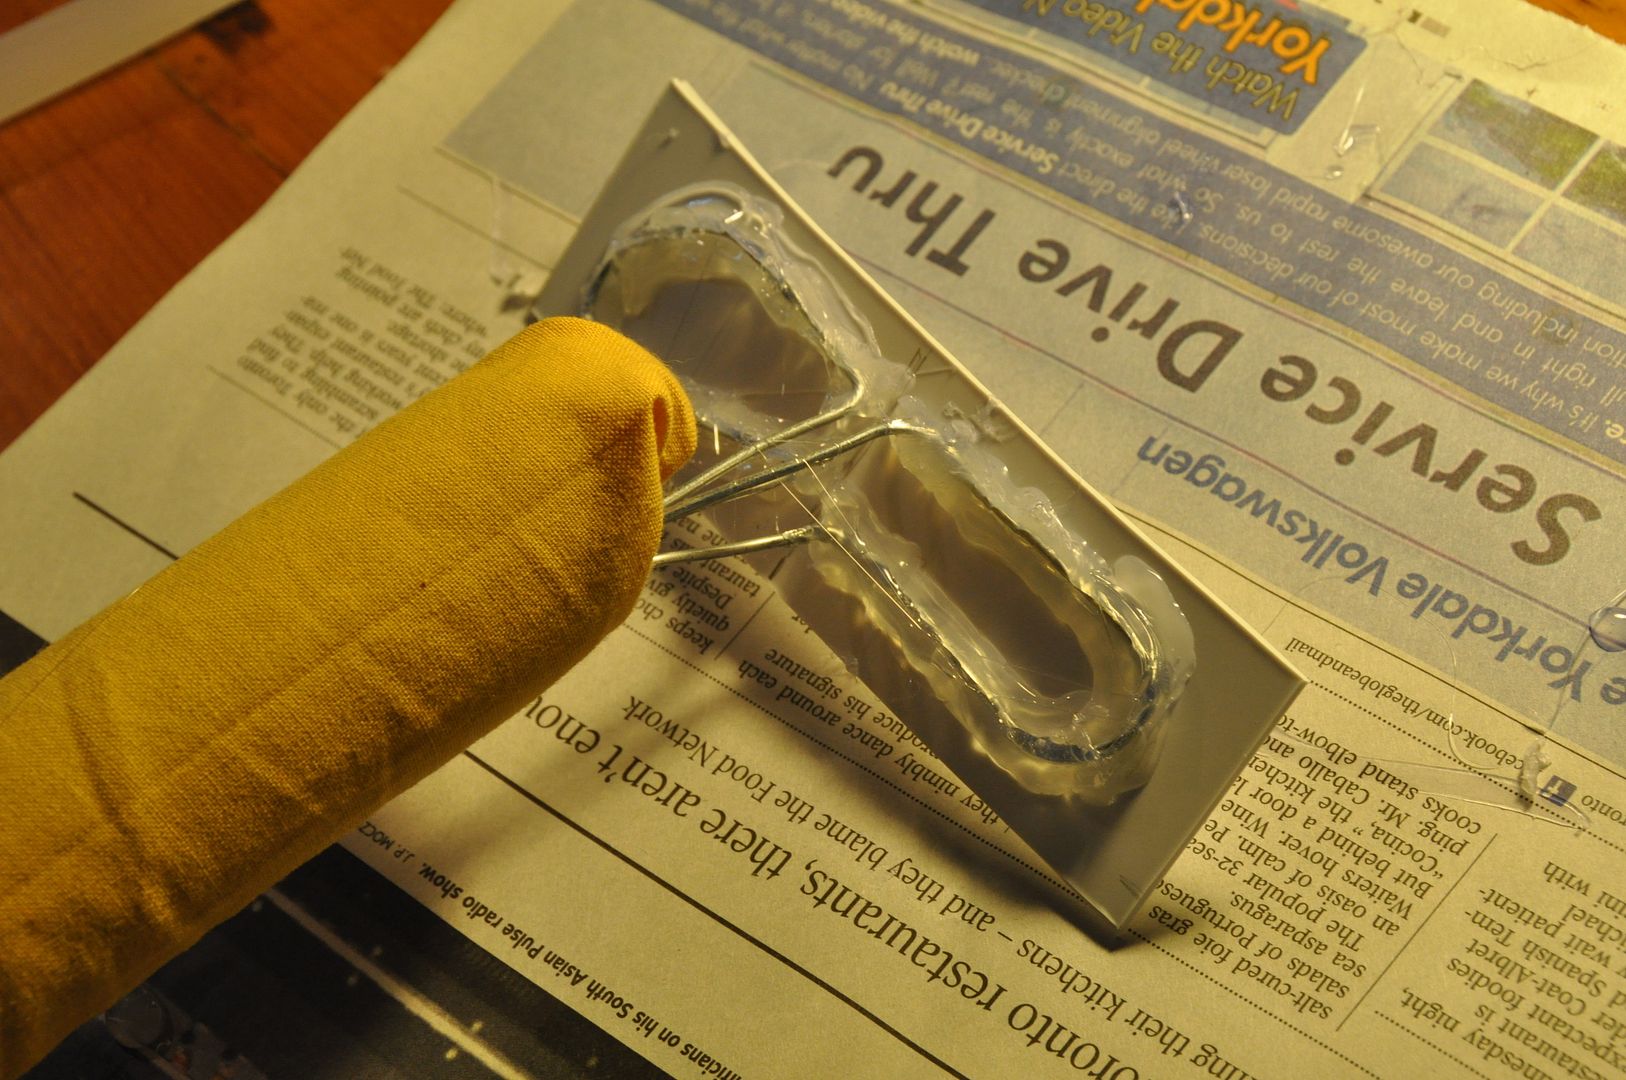
The end of the foam where the tail base would be I cut on an angle. Then I bent the wires into loops pressed off to one side. This would make the connection secure.

Then I made a long tube of my yellow fabric just slightly wider than the circumference of my foam tube that I snugly slipped over the tubing.
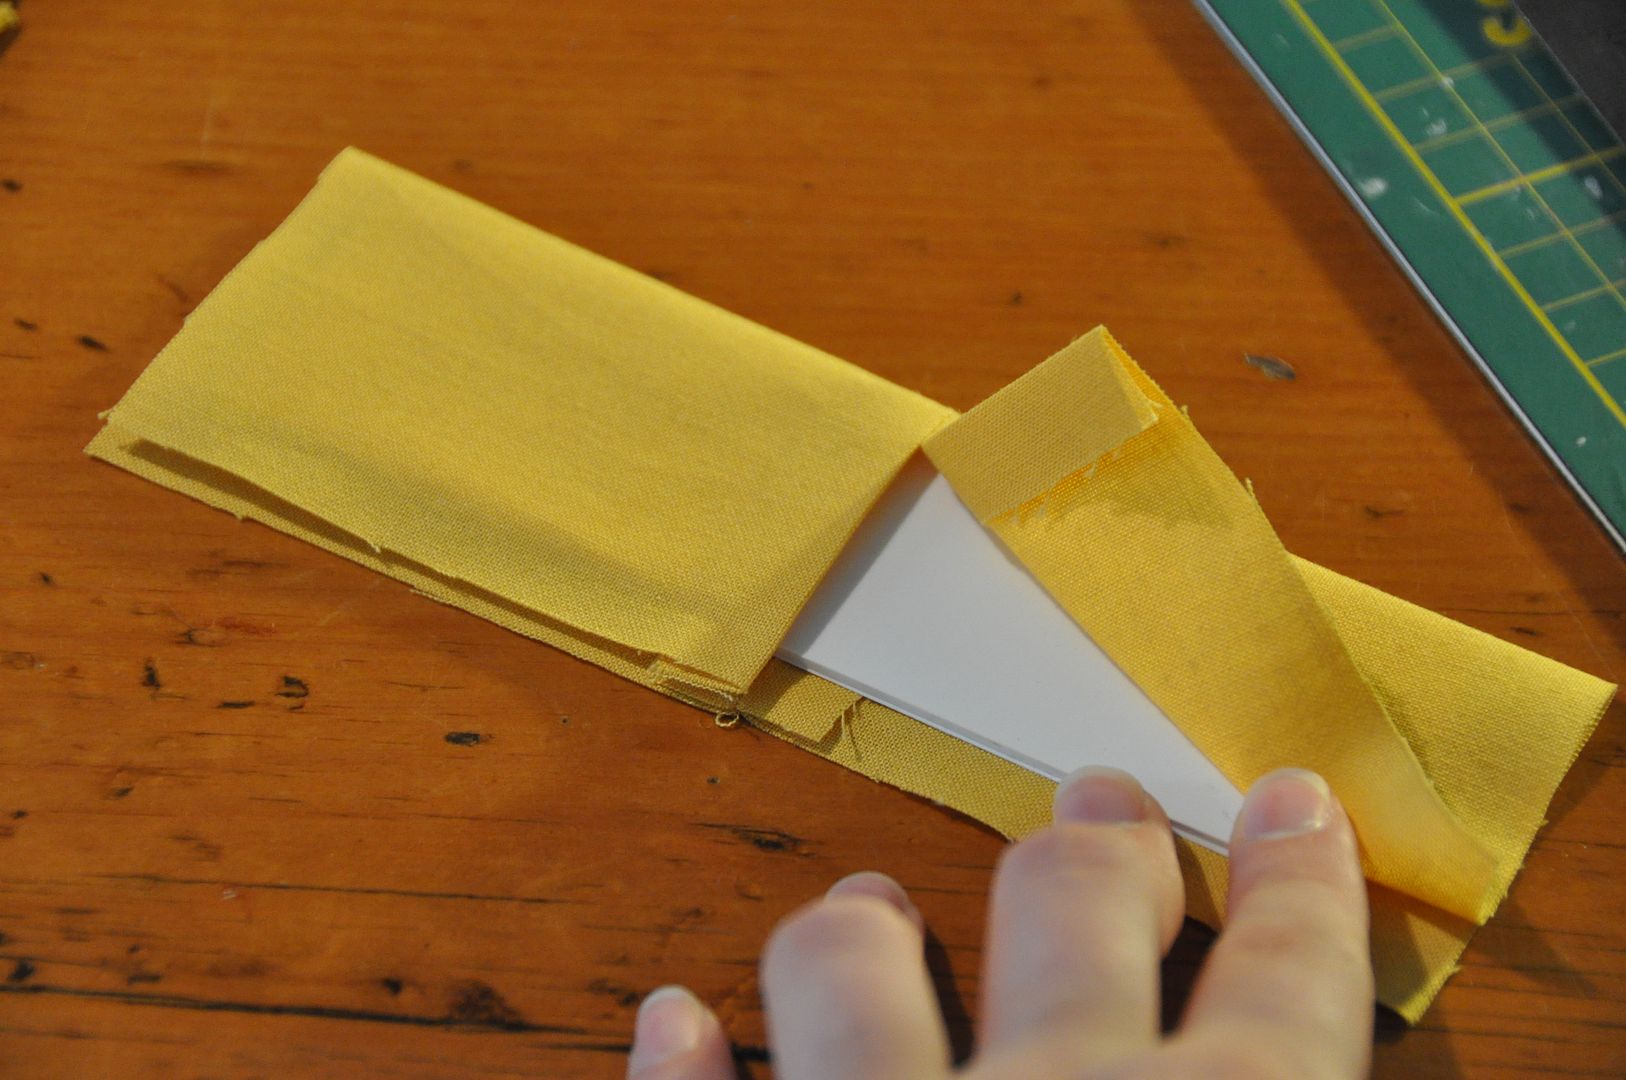
The base piece is a covered piece of styrene plastic. The cover has a slit built into it where the wires come out of it.

I drew a center line on this piece that would line up with the slit, then carefully glued down my wire loops using hot glue. The nice thing about styrene is that hot glue bond really well with it. But be warned if you make a mistake the lumpy glue will pretty much never come off.

Then I cut off the excess fabric, stuffed it inside the tube and hot glued it in place.

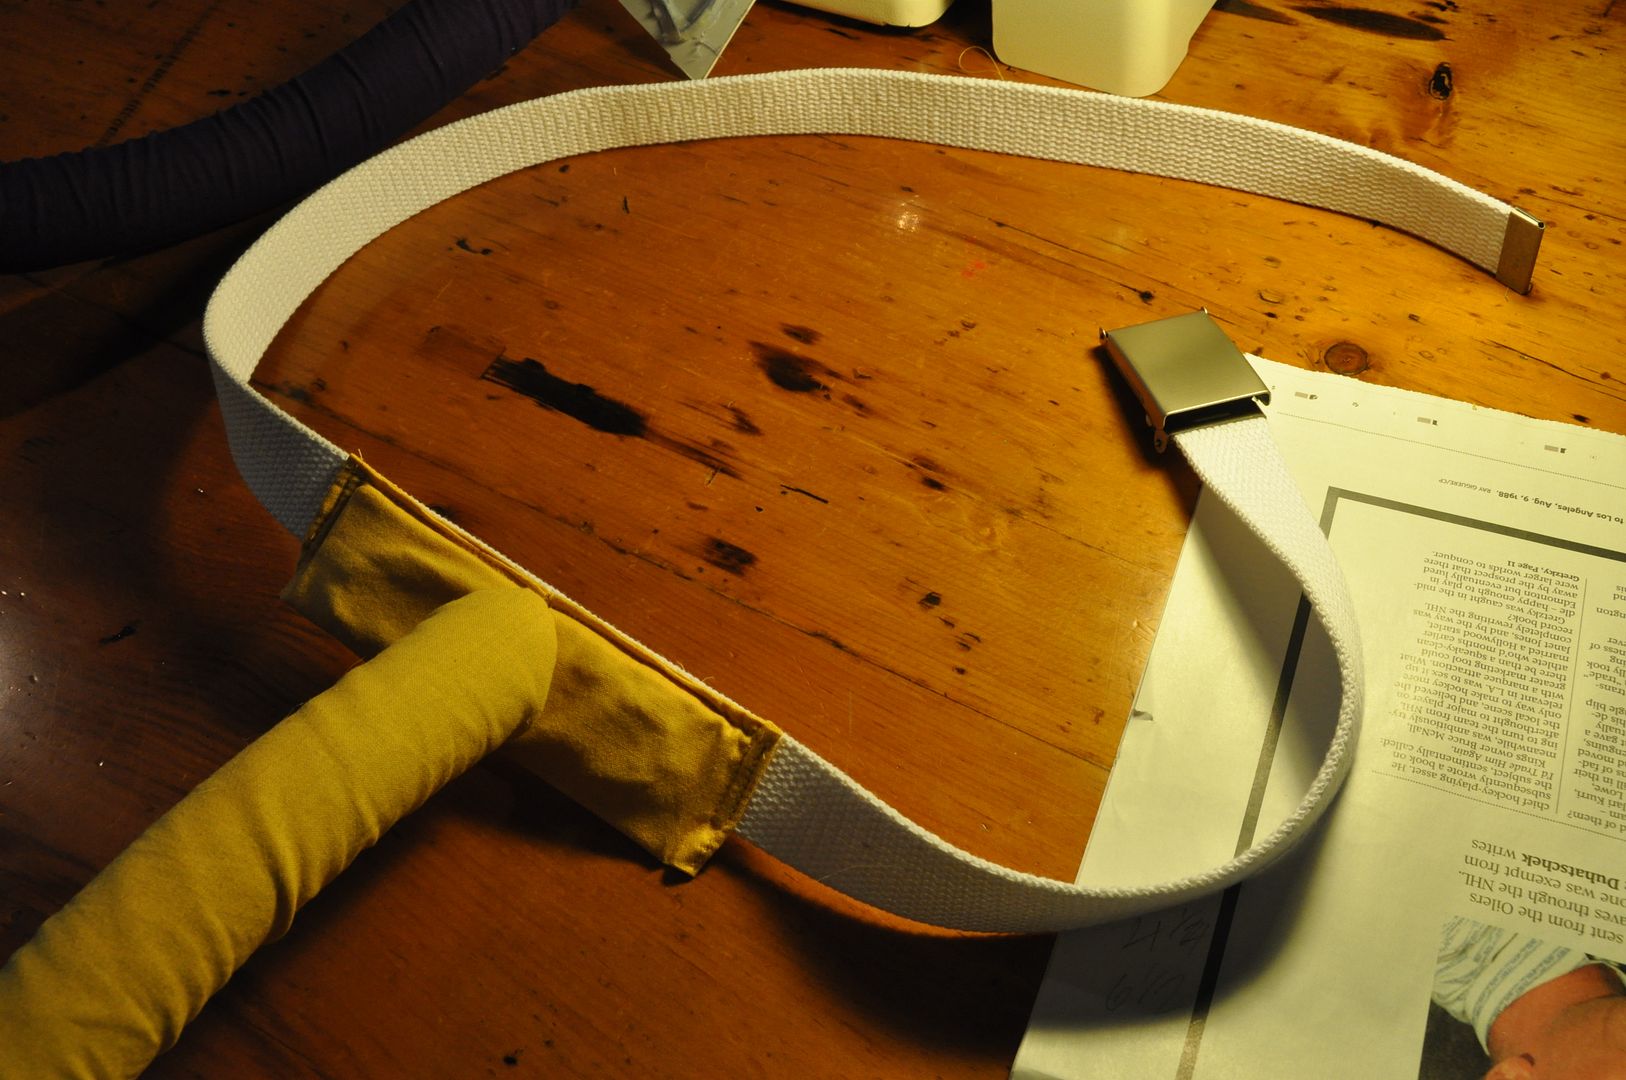
The slitted cover is then slotted around the wires and stitched together along the top edge. The cover is then sewn to a fabric belt. This kind of belt is easily picked up for cheap in Kensington Market in Toronto.

The pouffe was constructed out of leftover scraps from a costume of my sister's. That is actually part of a sheepskin rug from Ikea. :P

Suppi's tail was a lot more challenging to construct. The main issue was getting a spiral with a cover that wasn't completely wrinkly. This meant that part of the cover had to be a curved tube.

Making the spiral itself was pretty easy. I simply cut out triangle wedges from the inside edge of the tube to allow it to curve more sharply for the spiral portion. I fed 3 wires down the center, then removed the adhesive strip, sticking the tube together. Then I bent the wires into a spiral, keeping my slits on the inside edge. The length of tube was 4 ft, but I didn't cut it any shorter, as the length was necessary to make the spiral.
Then I made a test cover piece. How I patterned it is really quite easy. I measured the inside edge of the spiral, then the outside edge of the spiral. These two numbers I divided by 20. Using these two products I then made a trapezoid pattern piece that would then be drawn 20 times to form a C-shape.
I cut 2 of this shape, sewn right sides together, then flipped inside out. This was then slid over the spiral end of the tube. I made a normal rectangle tube to fit over the straight part of the tail.

Where the two covers met they were hand stitched together, and the tail end was hand stitched closed.

The base was done in the exact same way as Kero's. :)
And that's it for Kero and Suppi! These costumes were a blast to make and to wear! I loved having a tail, wings and ears. ;D I only managed to drag my tail through one puddle...