

(Edit: Now with completed photos!)
This was my first time doing a pigtail wig. This method is more difficult, and far more time consuming, but less expensive than the method I used for Asuna's wig. For Asuna I bought a second wig and used the wefts from that to cover the netting at the back, but for Presea I chopped off the bottom half of the wig and used the leftover hair to make the wefts for the back. This only worked because Presea's pigtails only had to be longer than her shoulders (as opposed to Asuna's, which are supposed to be almost down to her knees).
In order to do this with one wig, I bought a 50" pink wig from Epic Cosplay.
(To see how I made the Dress, go here.)
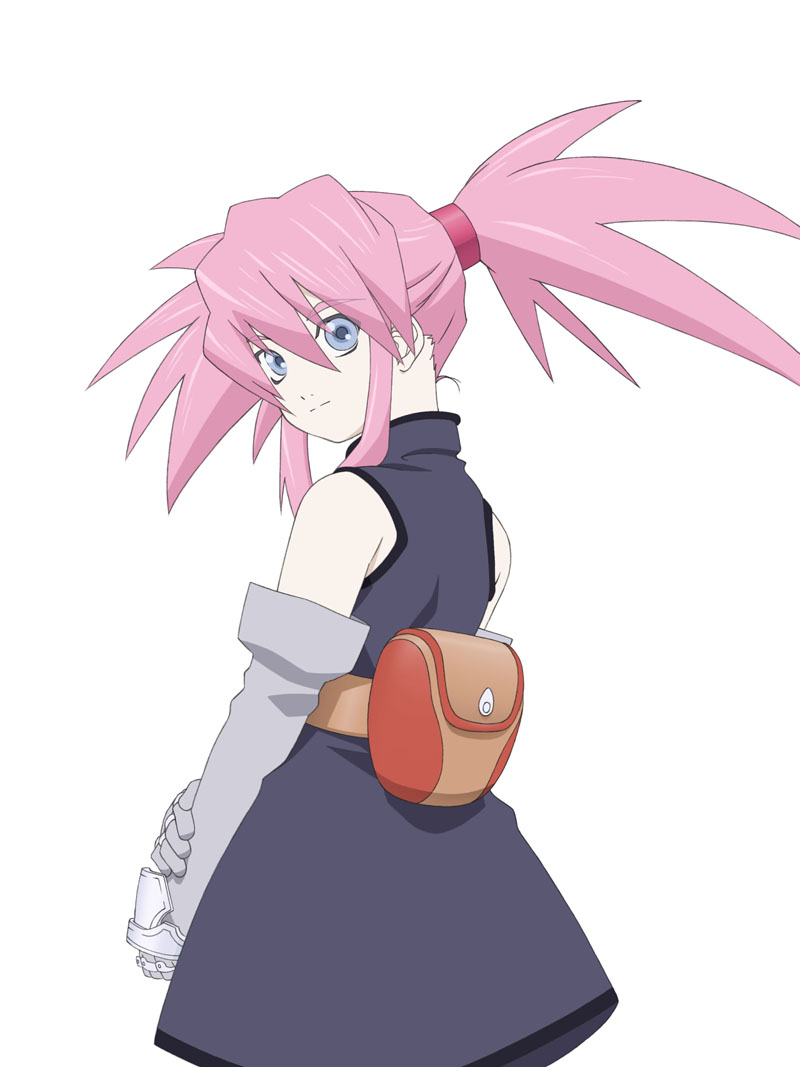
For Presea's pigtails, I chose to go a little less extreme, I wanted them to have volume, but not be crazy/ gravity defying.


To start, I divided what I wanted to be the front part of my wig (bangs and side burns). I made the bangs a bit choppy, making sure they covered some of the wefts that would be pulled into the pigtail underneath. I started with a lot of hair at the side, but thinned it out, and transformed about half of it into bangs.


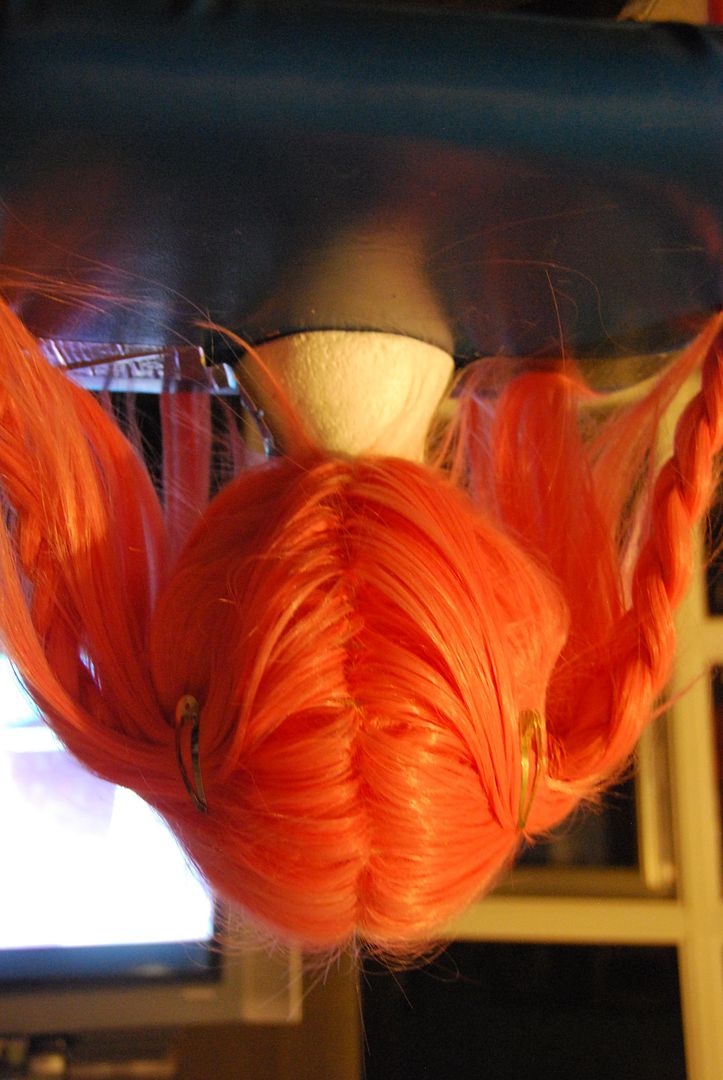
 I carefully parted the back of the hair along the center back of the netting. Pulling the hair into pigtails I could see how much netting would be exposed. Also you can see how little volume is in those pigtails. (Some of it was added simply by adding all that extra hair in the back, the rest was done later with lots of hair spray.)
At this point I tried the wig on and figured out exactly how long I wanted the pigtails. I marked this point and chopped off the bottom of the wig, keeping all the loose hair carefully bundled.
Then I set about adding in the wefts. I took a large embroidery needle and would take small bundles of hair fibers lick the ends and thread them through. I would pull them about halfway through the needle. Then I would stitch the needle in and then out of the wig (from the outside). I would then pull one side of the bundle all the we through the wig. I would do this several times, then I would take caulking and smear it around the inside of the wig, sealing the fibers in place. Then I would wait for it to dry, then repeat.
(I totally marathoned "Murder, She Wrote", while making this wig. As the process is long, tedious, and does not require much brain power.)

I had bought a heat sealer for this process, but it didn't work. It got hot, but wouldn't melt the fibers. We tried to contact the seller, but they ignored all our emails, so I was quite peeved that I spent 40$ (+shipping) on a useless piece of equipment.
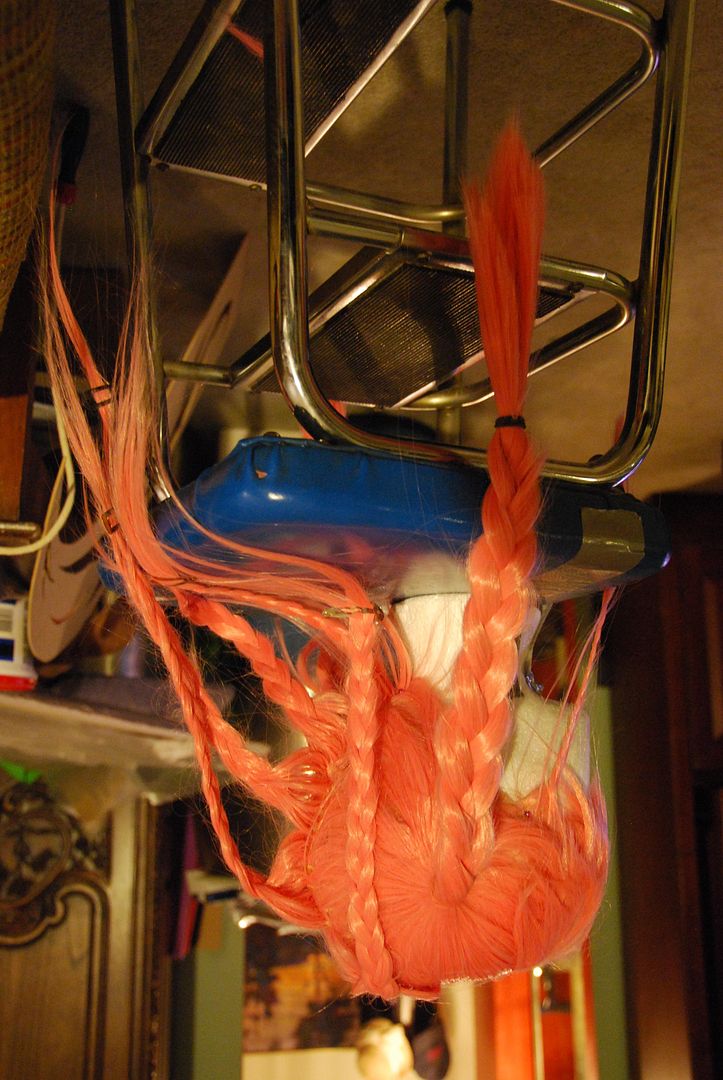
With all the loose hair around it was much easier to braid all the sections I wasn't working on so the wig wouldn't become hopelessly tangled.
Then carefully, using a comb, I parted the back. Now it looked much better than when I started!

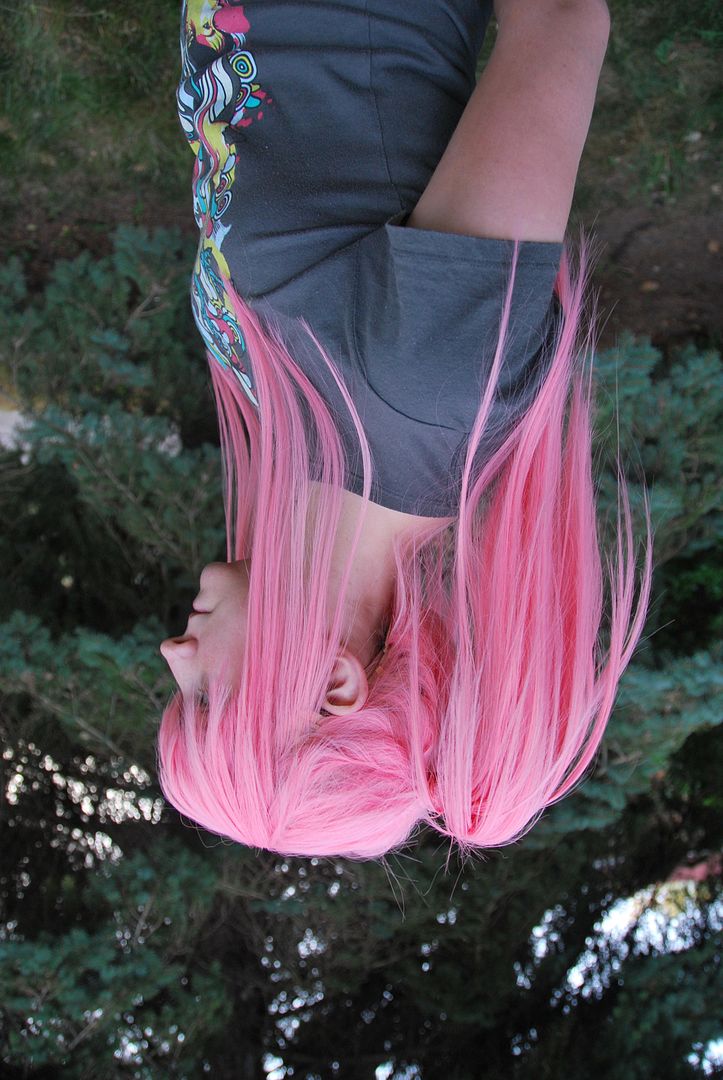
 First I thinned out the bottom of the pigtail, so it would look so straight cut. The layers helped make it look more spiky/punkish.
The next step was to add some volume to those pigtails. I tied the pigtails with elastic bands (normal hair ties slip too easily). I pulled the pigtail apart at the base and used a liberal amount of hair spray, using a hair dryer to help it dry faster. (The brand of hair spray I use it Got 2B Glued, in combination with a hair dryer it works wonders.) I would then pull sections and spray them individually, trying to make the pigtail as wide as possible. (Look a the picture on the left to see the pigtail without hairspray, and the one with.)
Then this wig was ready to be worn! Unfortunately the costume was not! This wig had to wait a whole year for it's debut!
I am not 100% satisfied with the full finished costume, and I plan to do some major touch ups on the battle axe, which got damaged during the trip to Baltimore. Then I will do a photoshoot so you guys can all see pictures of the finished costume!

No comments:
Post a Comment