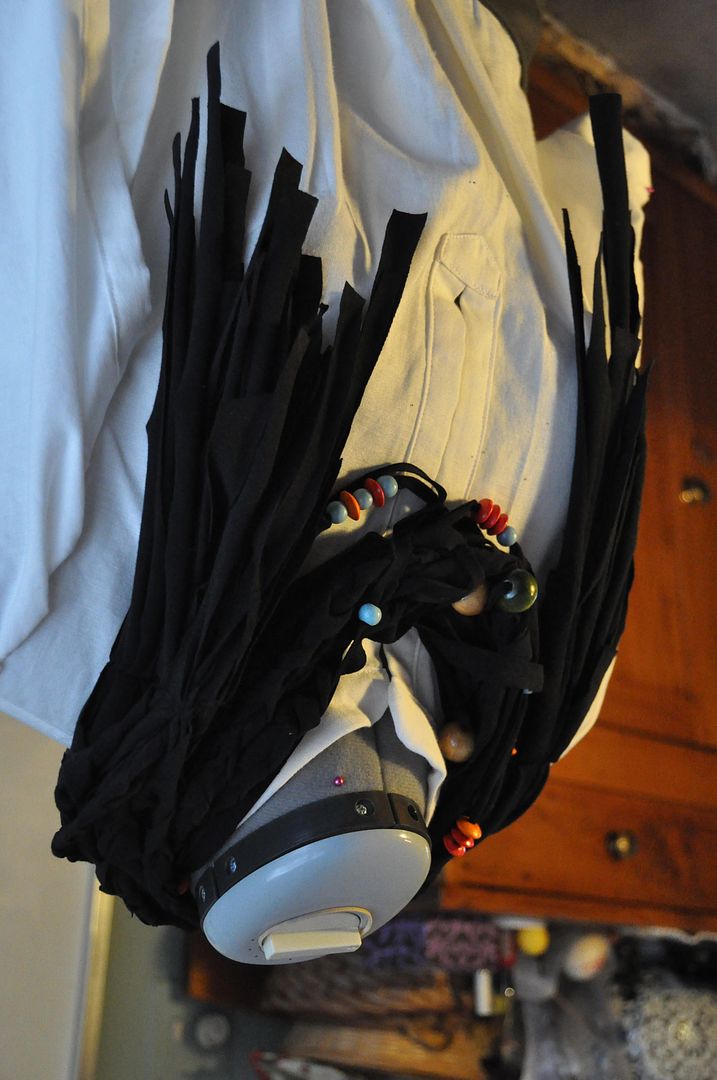
This was a gift I made for my older sister. It's a cross between a scarf and a necklace (a scarflace?).
It was fairly easy to make: I cut black jersey into long strips, some of which I braided, some of which I added a few coloured wooden beads to. The most difficult part was getting the beads on the jersey. This was done with straight pin, a needle and needle-nose pliers. It was therefore important that I picked beads with sizeable holes.
I twisted the fabric strips together and put a line of stitching on each end to hold the bundle together.
Tuesday, December 31, 2013
Sunday, December 29, 2013
December Update
Hello all, and Happy Holidays! :D
It's been a crazy Christmas so far, what with the ice storm and power outages on top of the usual Christmas mayhem. (It got to the point where I was using my backup battery from my computer to run my sewing machine so I could finish my Christmas presents in time...) Now I can actually post some pics of what I've been working on, since before it was top-secret elf work.
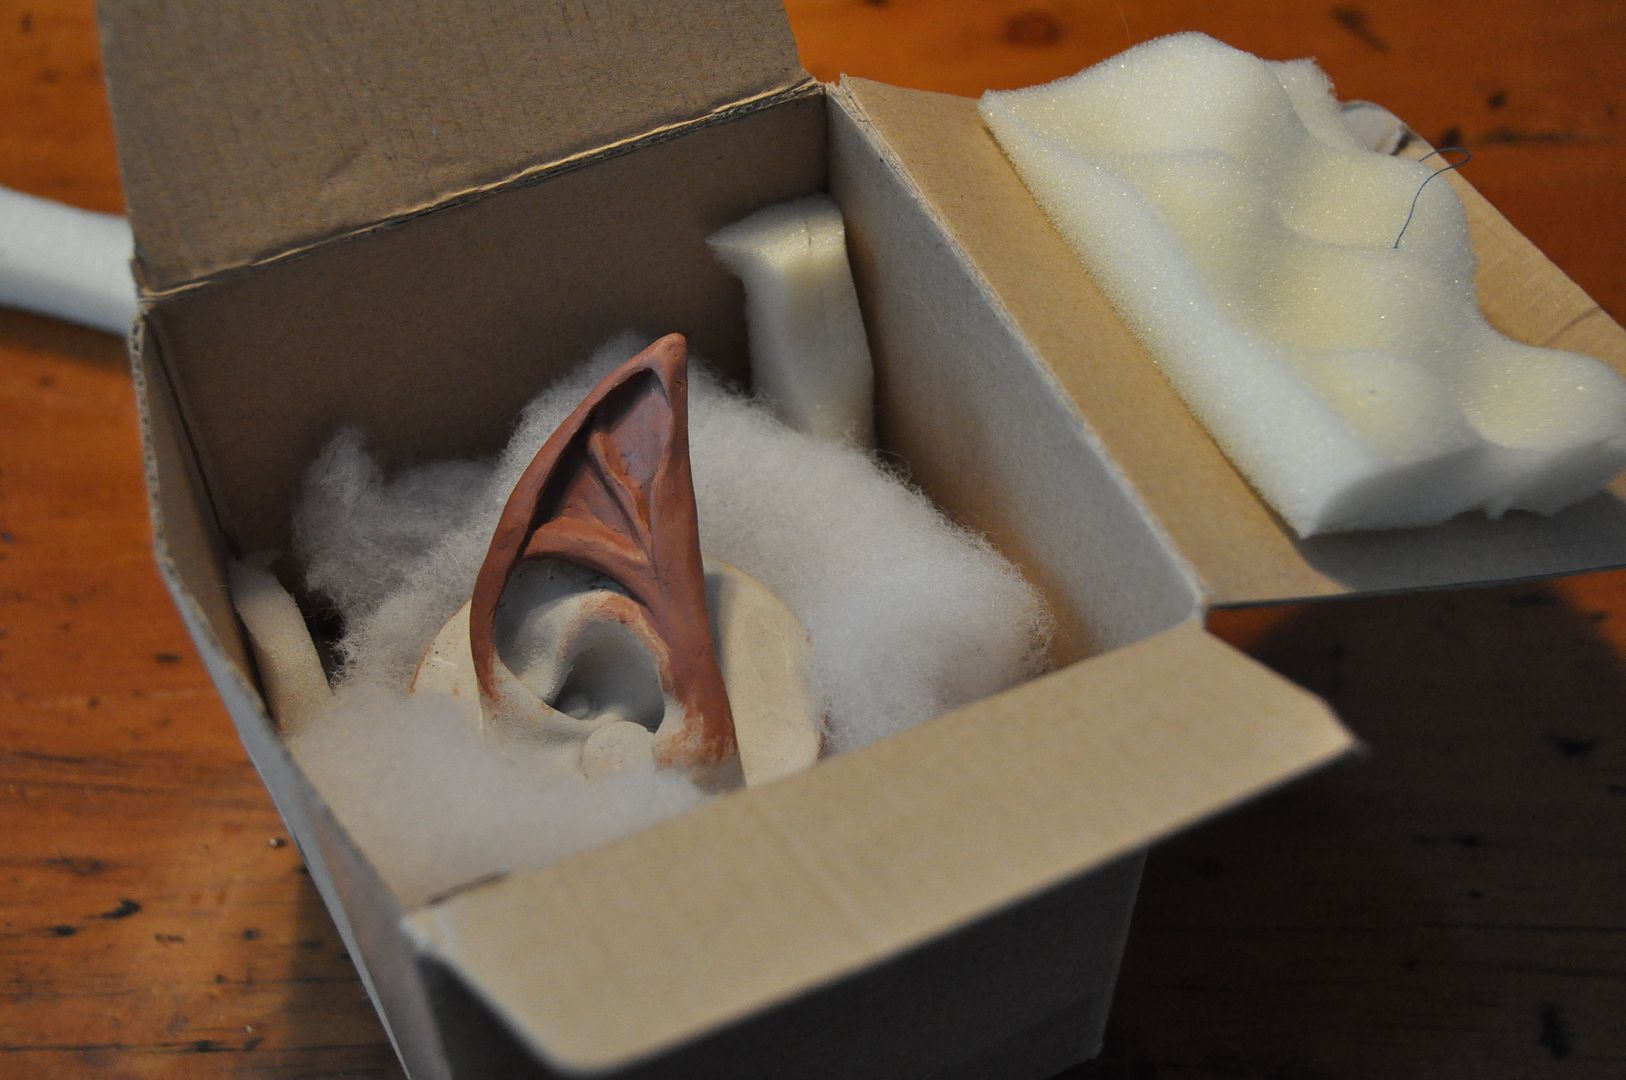
 There shall be more progress shots up on facebook this week, as I have some time to work on things before I am back to school, and I will be finishing the blog posts for my Christmas gifts and my Presea costume (once I fix up my axe and take some finished shots). Have some serious work to do on my original costume for costume-con, which has been on the back-burner for months. (But I have sent my ear-sculpts off to be turned into prosthetics, so I am excited to see how those turn out!) Hoping to finish the bulk of the sewing this week, leaving the details to work on over then next few months.
I received some cool new fabrics from my sister this Christmas and I am very excited to make some new things with it! (Though exactly what I am not sure yet...)
That's all for now folks!
It's been a crazy Christmas so far, what with the ice storm and power outages on top of the usual Christmas mayhem. (It got to the point where I was using my backup battery from my computer to run my sewing machine so I could finish my Christmas presents in time...) Now I can actually post some pics of what I've been working on, since before it was top-secret elf work.
 There shall be more progress shots up on facebook this week, as I have some time to work on things before I am back to school, and I will be finishing the blog posts for my Christmas gifts and my Presea costume (once I fix up my axe and take some finished shots). Have some serious work to do on my original costume for costume-con, which has been on the back-burner for months. (But I have sent my ear-sculpts off to be turned into prosthetics, so I am excited to see how those turn out!) Hoping to finish the bulk of the sewing this week, leaving the details to work on over then next few months.
I received some cool new fabrics from my sister this Christmas and I am very excited to make some new things with it! (Though exactly what I am not sure yet...)
That's all for now folks!
Sunday, December 15, 2013
Bean Bag Warmer
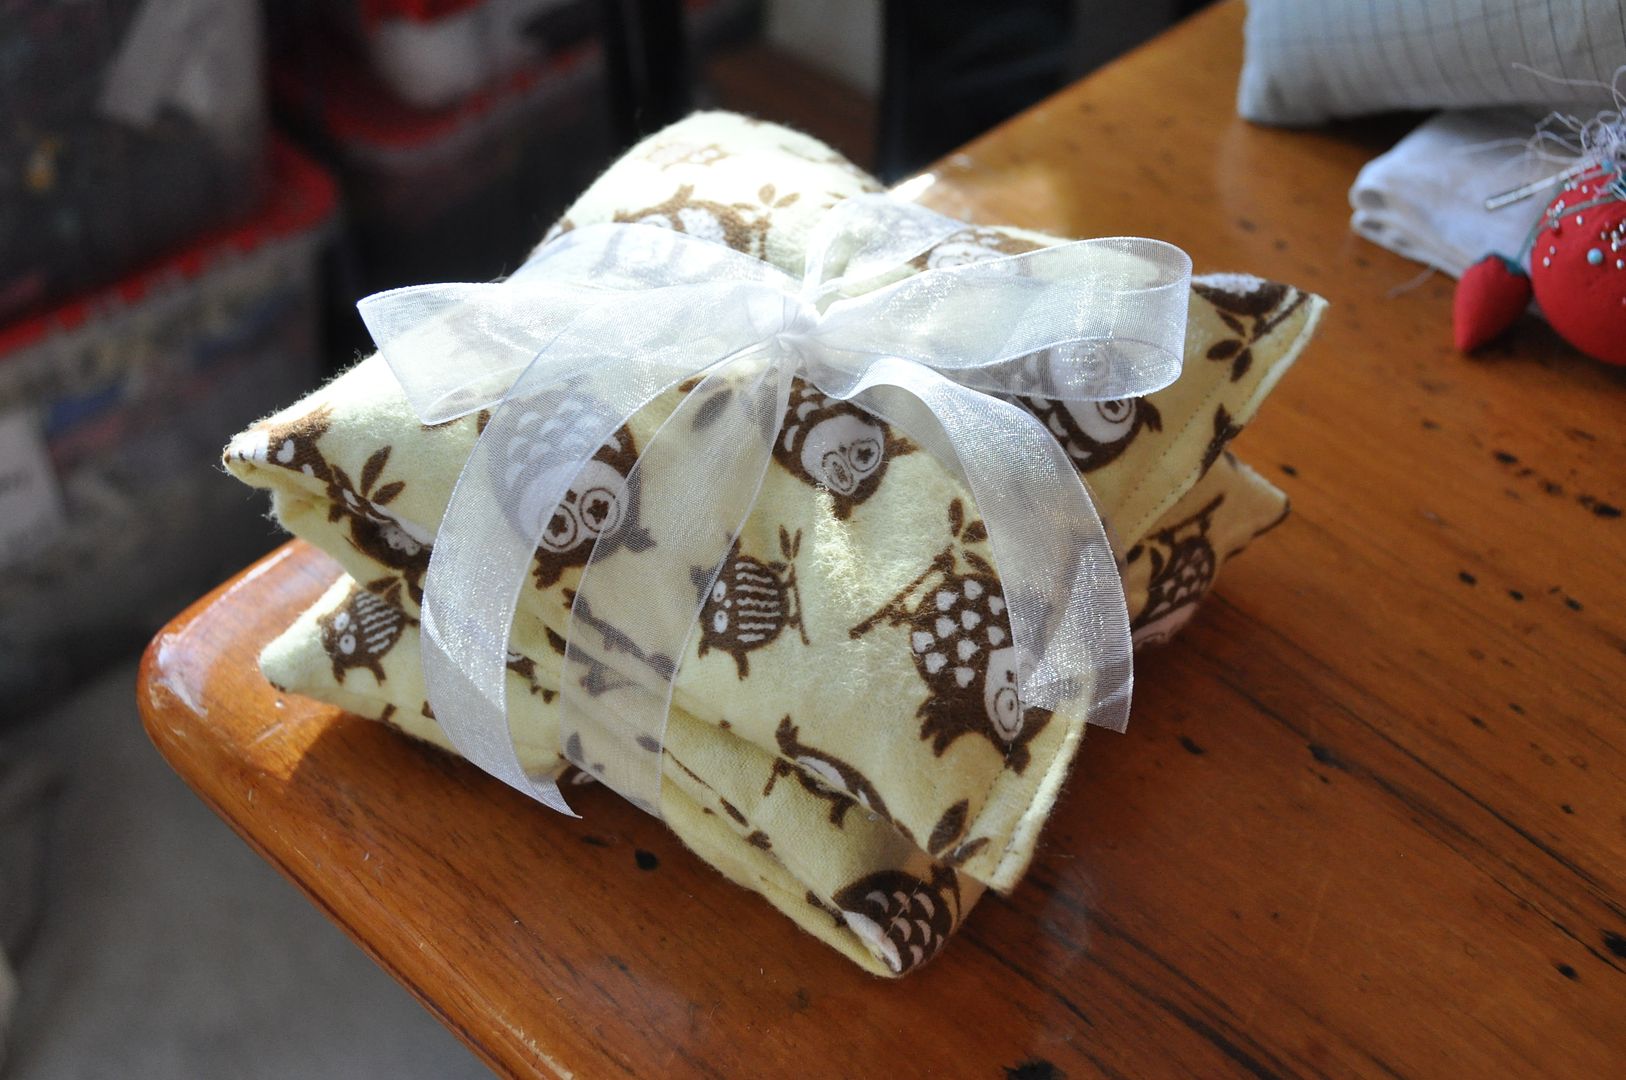
 Need an idea for a quick, easy, and practical homemade gift? This was my gift for a Secret Santa exchange this year. A microwaveable bean bag warmer. It is great for muscle pain and cold toes. ;D All you need is cotton fabric and some rice!
I made a 3-sectioned one that sits well on the neck. With cute owls. Hahaha
Remember to pick a cotton fabric, as synthetics should not be put in the microwave. Flannels are a good choice as they are soft! I used a little less than 6 cups of rice for this project. There are other things you can fill them with, there are lots of good suggestions floating around online. I would recommend putting dried lavender in them if you can find it, it makes them smell really good when you warm it up. Just remember: dried ingredients only!
 First I cut a rectangle of flannel that was 13"x22". I folded it in half lengthwise (patterned side together) and lined up the edges, pinning them in place. Then I stitched around 2 sides leaving one end open.
  Then I clipped the excess fabric in the corners and turned it right way out. I poured in a little less than 2 cups of rice, then did a line of stitching about 1/3 of the way down the rectangle. This ensures that the rice doesn't just all slide to one end of the bag. I repeated the process with the middle section. I poured my last 2 cups of rice in the final section and then folded the unfinished edge inside, top-stitching it closed neatly.
Subscribe to:
Comments (Atom)


