
I started by creating 4 equal panels. The process is all very rough and full of guesstimation, but basically I figured out the waistband measurement I wanted (pre-elstic), then added extra to make the gathers. I made that measurement equal to 2/3 the circumference of a circle, then solved for radius. Once I had my radius, I was able to draft a pattern piece using a string and pencil to make the arcs. I figured out the length I wanted added that to my radius and drew a second arc below. The measurement of the small arc was equal to 1/4 of my waistband measurement (pre-elastic).

 I drafted pockets for this skirt, ensuring that they would be secured to the waistband at the top, and not extend below the hem of the skirt.In order to make a pocket on each side I cut 4 pieces.
I then stitched the front and back seams together, leaving the sides open to insert the pockets.
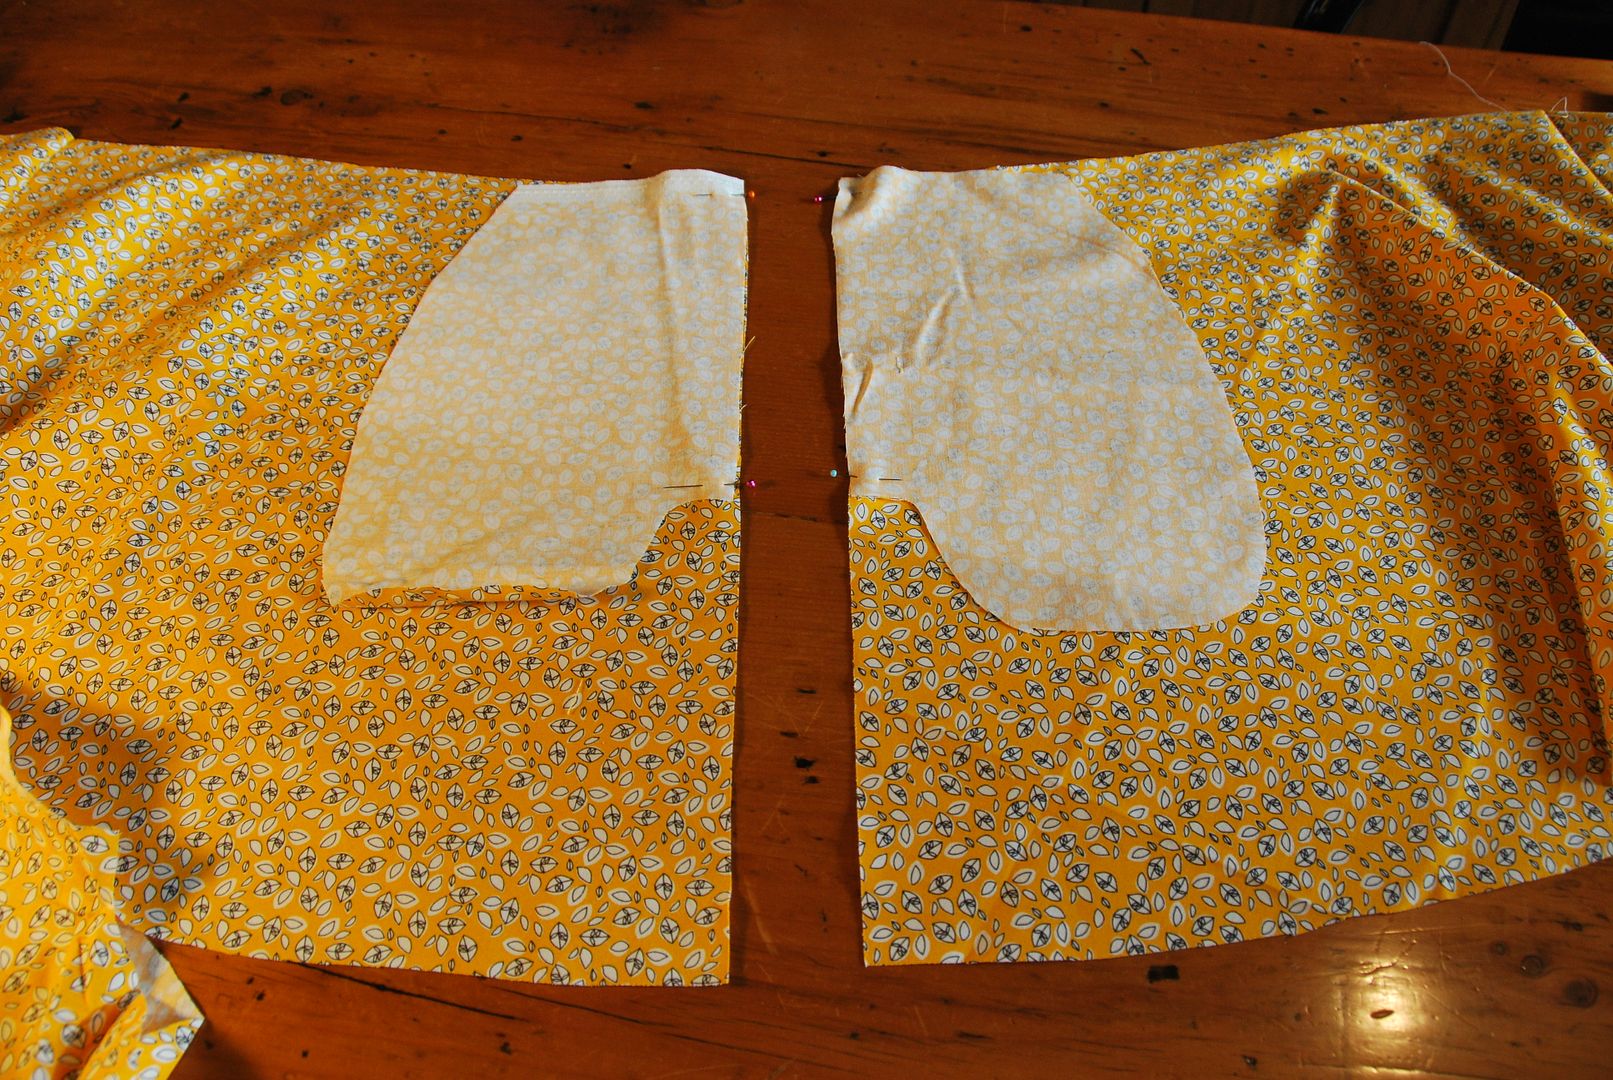
 On the two side seams, the pocket pieces were laid right sides together, with the flat seam edges lined up. These were then stitched down the side seam edge. (The above picture shows 1 side pocket before sewing.)
Then the seam was pressed flat, with the pocket hanging off the side like below.

 Left you can see the front panel with the pockets stitched on.
I then finished the seam edges where the pocket was attached.

 I then placed the front and back piece right sides together sewing up the side seam until the start of the pocket opening and then looping around to sew the pocket front/back together.
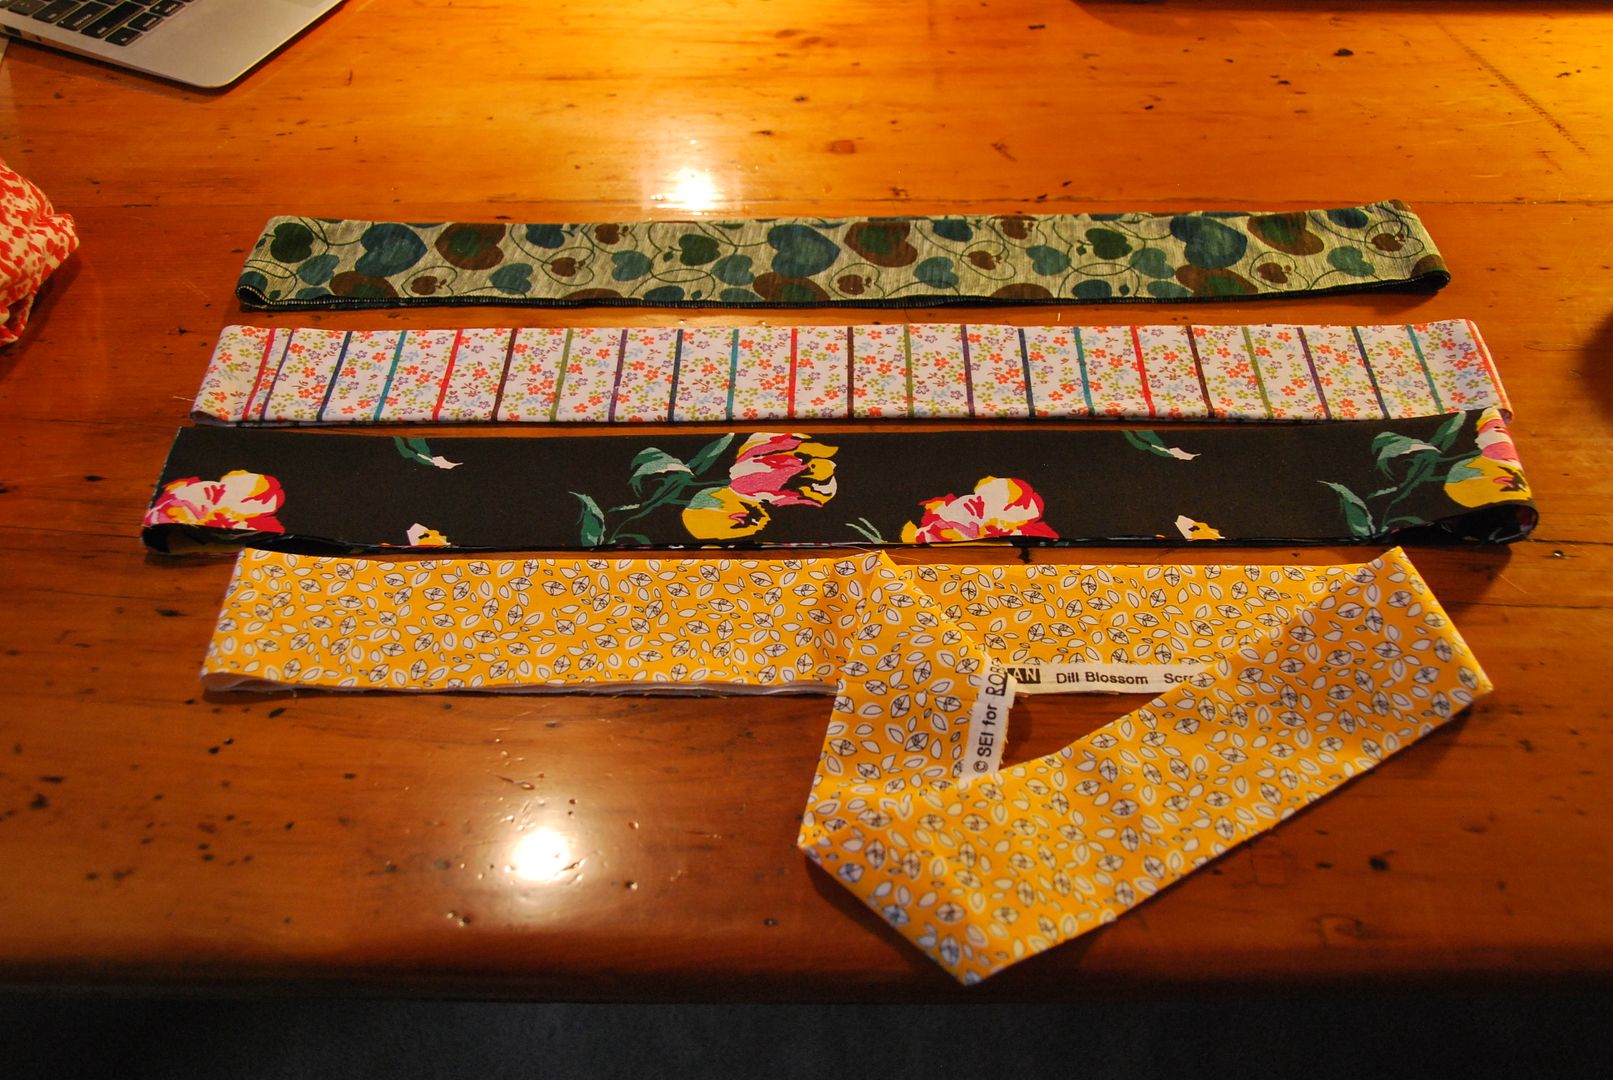
 I then made the waistbands, closing them into loops, and ironing them in half lengthwise.

 Even though both sides were technically the same, at this point I had to
designate a "front" of the skirt, meaning that the pockets (which until
this point were hanging free on the inside) were both tacked to the same side.
Even though both sides were technically the same, at this point I had to
designate a "front" of the skirt, meaning that the pockets (which until
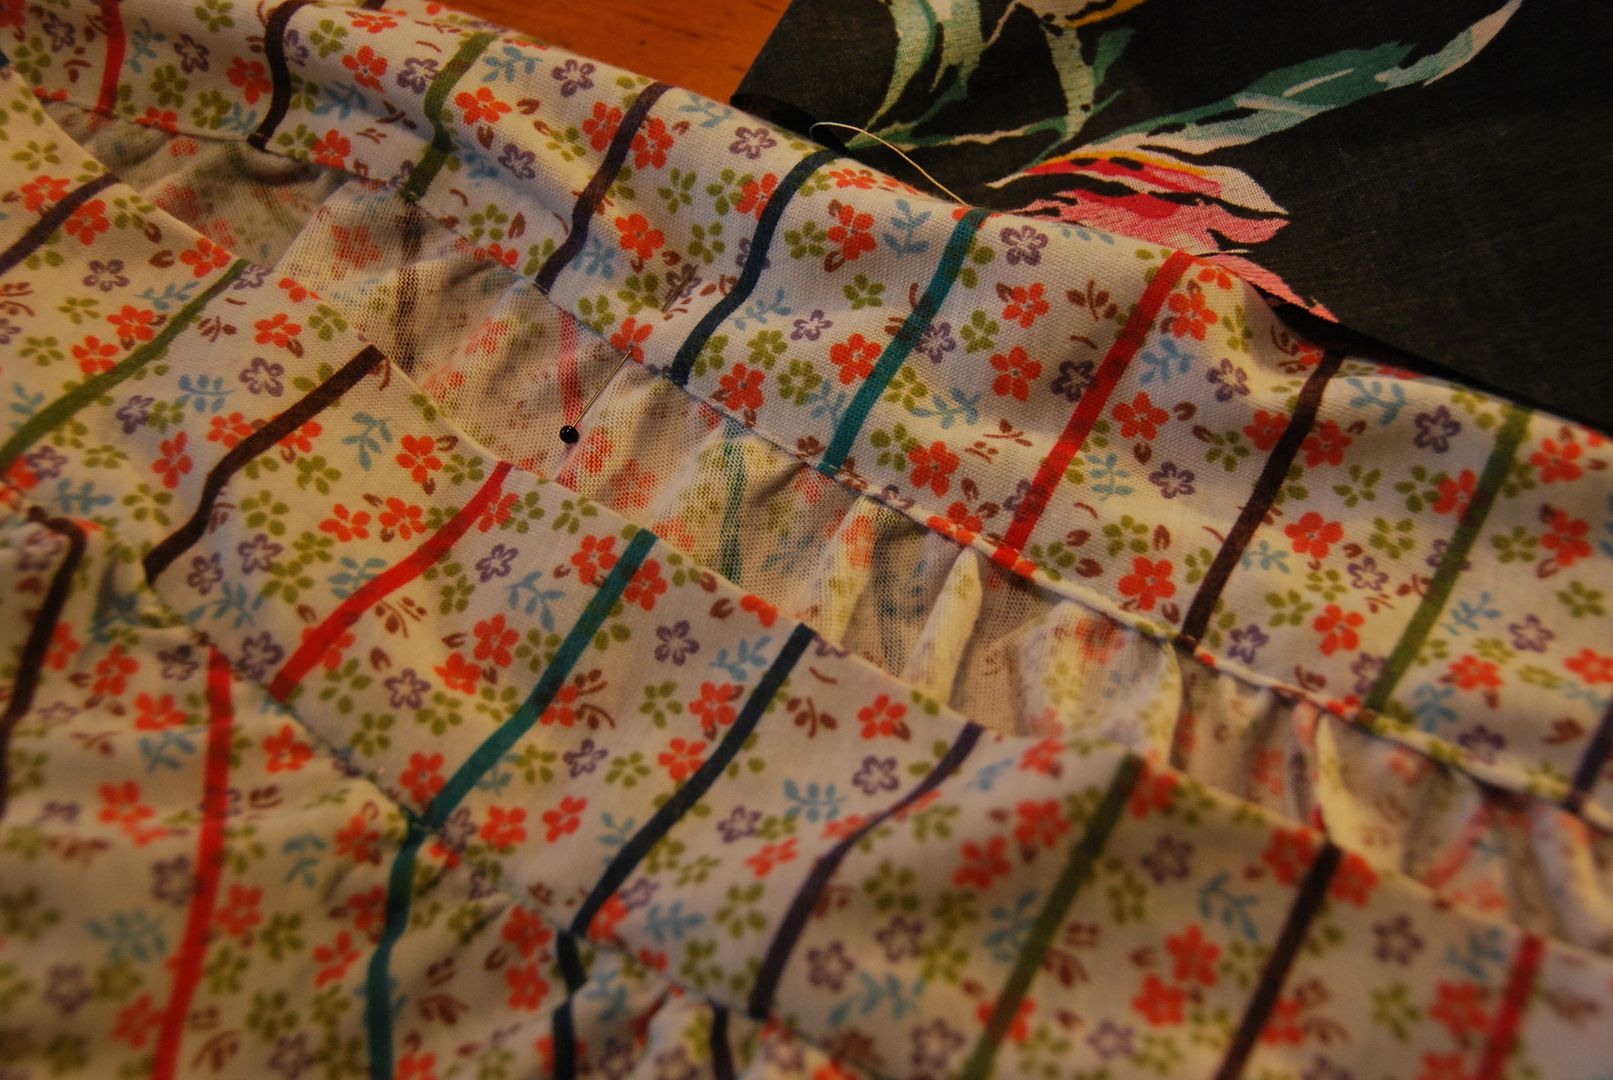
this point were hanging free on the inside) were both tacked to the same side.Using a long stitch length I basted around the top edge of the skirt without backtacking (two rows like pictured above), leaving the long extra thread hanging. (This ensured that I could grab onto them and easily cinch the gathers in by hand, distributing them evenly.) I gathered it until it was the same circumference as my waistband loop.
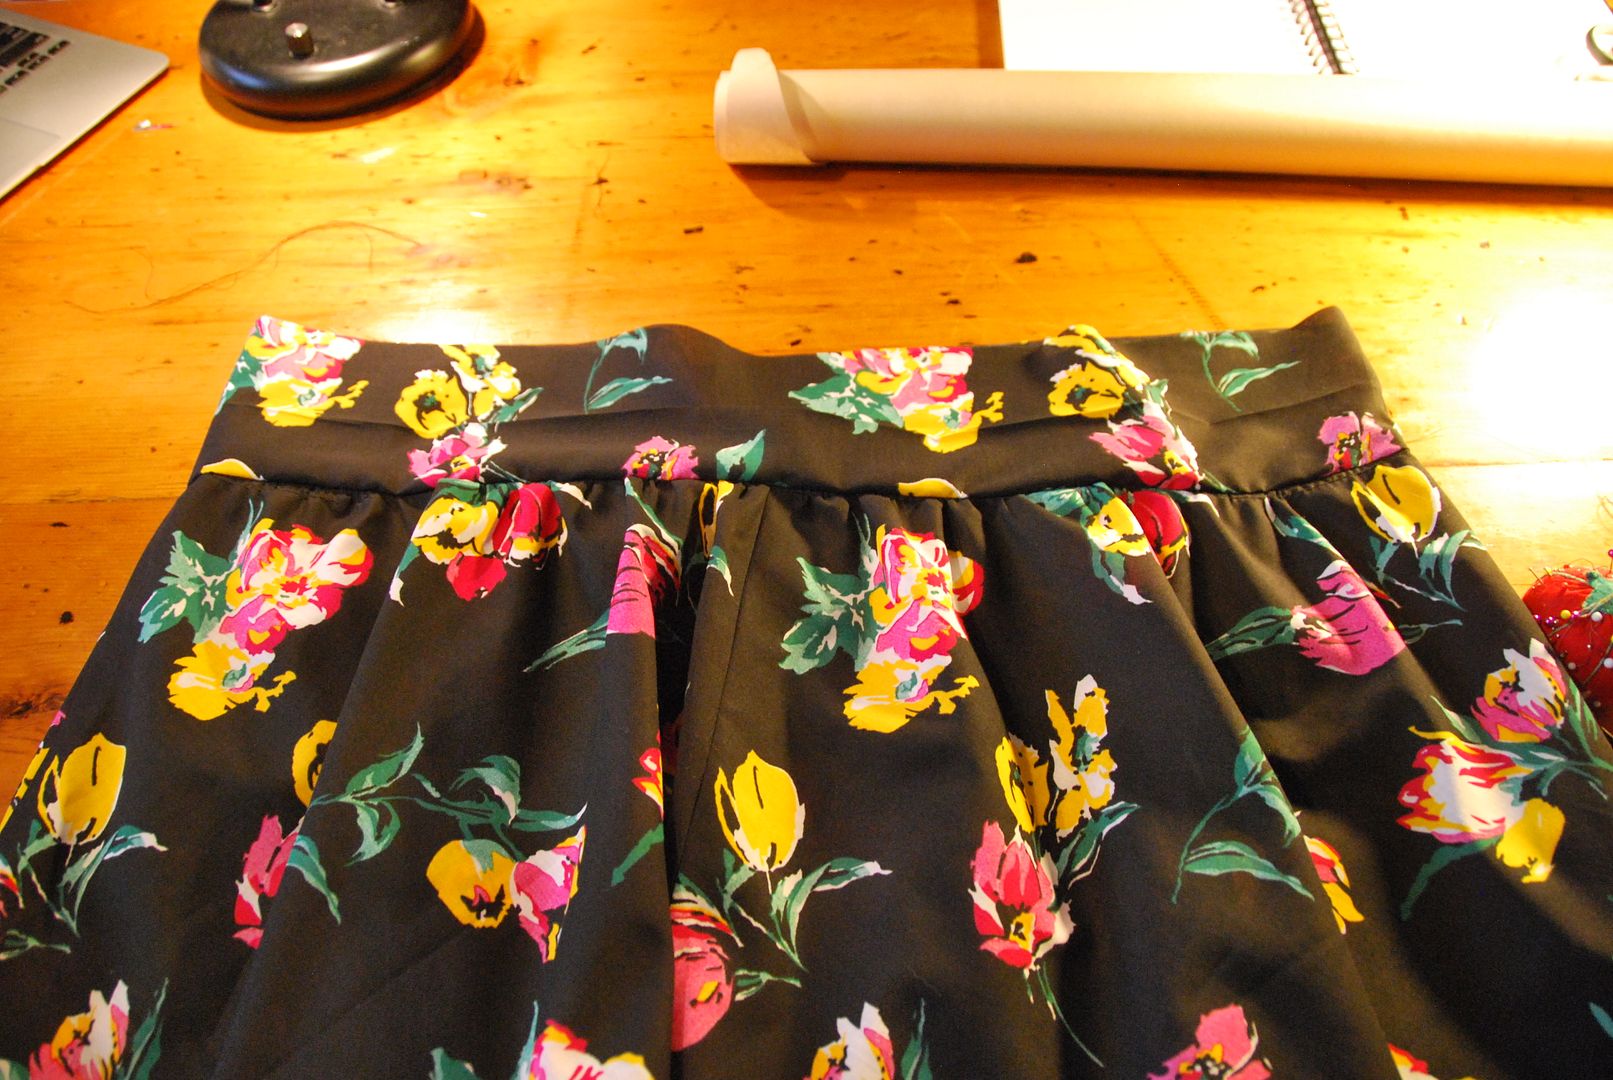
I unfolded my waistband and attached it right sides together with the top edge of the skirt.

 Then I folded the waistband over to the inside and neatly ditch stitched it in place, leaving a 2 inch opening to insert the elastic.
I inserted an elastic, and threaded it through the waistband. This elastic was made smaller than the actual finished waist measurement so that it would stay up nicely when worn. It was then stitched into a finished loop. I closed the hole. Then I secured the elastic in the waistband with 2 lines of stitching. This ensured that it gathered evenly. I stretched the elastic until the fabric was not bunched as I ran it through the machine.

(Switching my post day back to Tuesday, because Friday is just not working! hahaha)
You are really good with scissors and brilliant when it comes to sewing. :)
ReplyDelete