
 Hello! Thought I would post this one up here before diving into the cosplay content.
This is a Christmas present I made for my mum this past year. This jacket is an original design. Very geometric and architectural in design, with a stark contrast between black and white.

 I started by patterning a basic block based on my mum's measurements. This I modified to resemble my design, the white overlapping front panels would be straight lines, the curves would be in the black side panels.
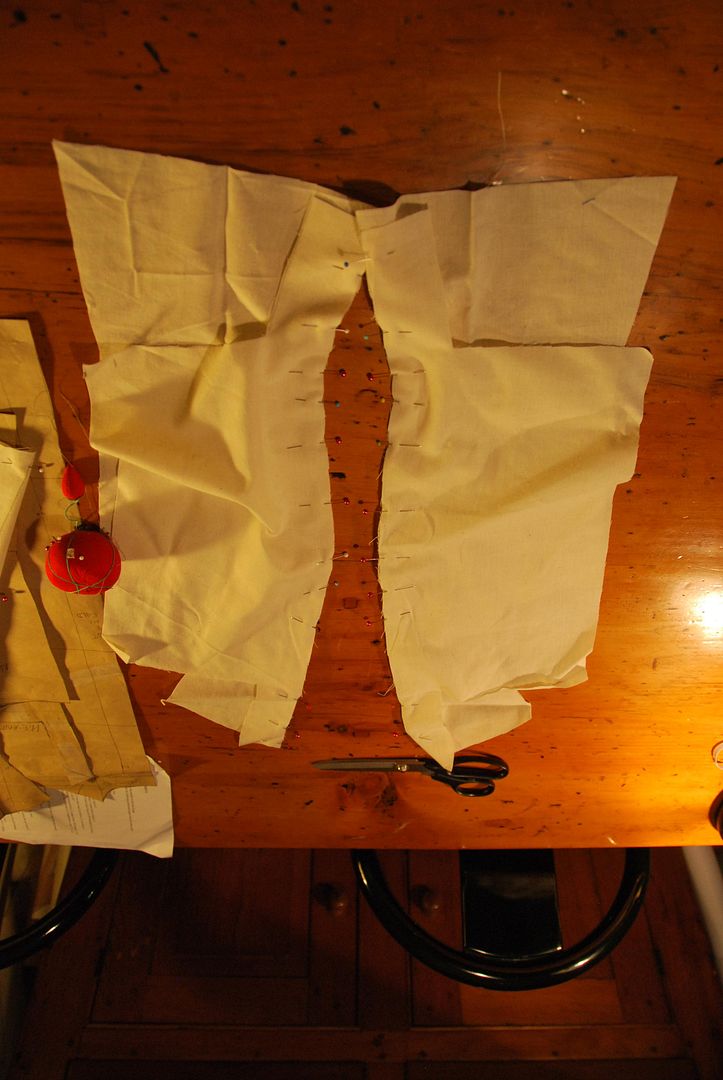
I first made a mock-up in muslin, which I had to try on my mum blind-folded so that I could ensure it would fit correctly. (While keeping exactly what I was making a secret.) Keeping in mind that this is an over-garment, I had to let in ease for movement so it could be worn over other clothes. (Basic blocks are designed to be form-fitting, and have to be modified accordingly)
After the first fitting and a few modifications I was ready to cut from my good fabric.
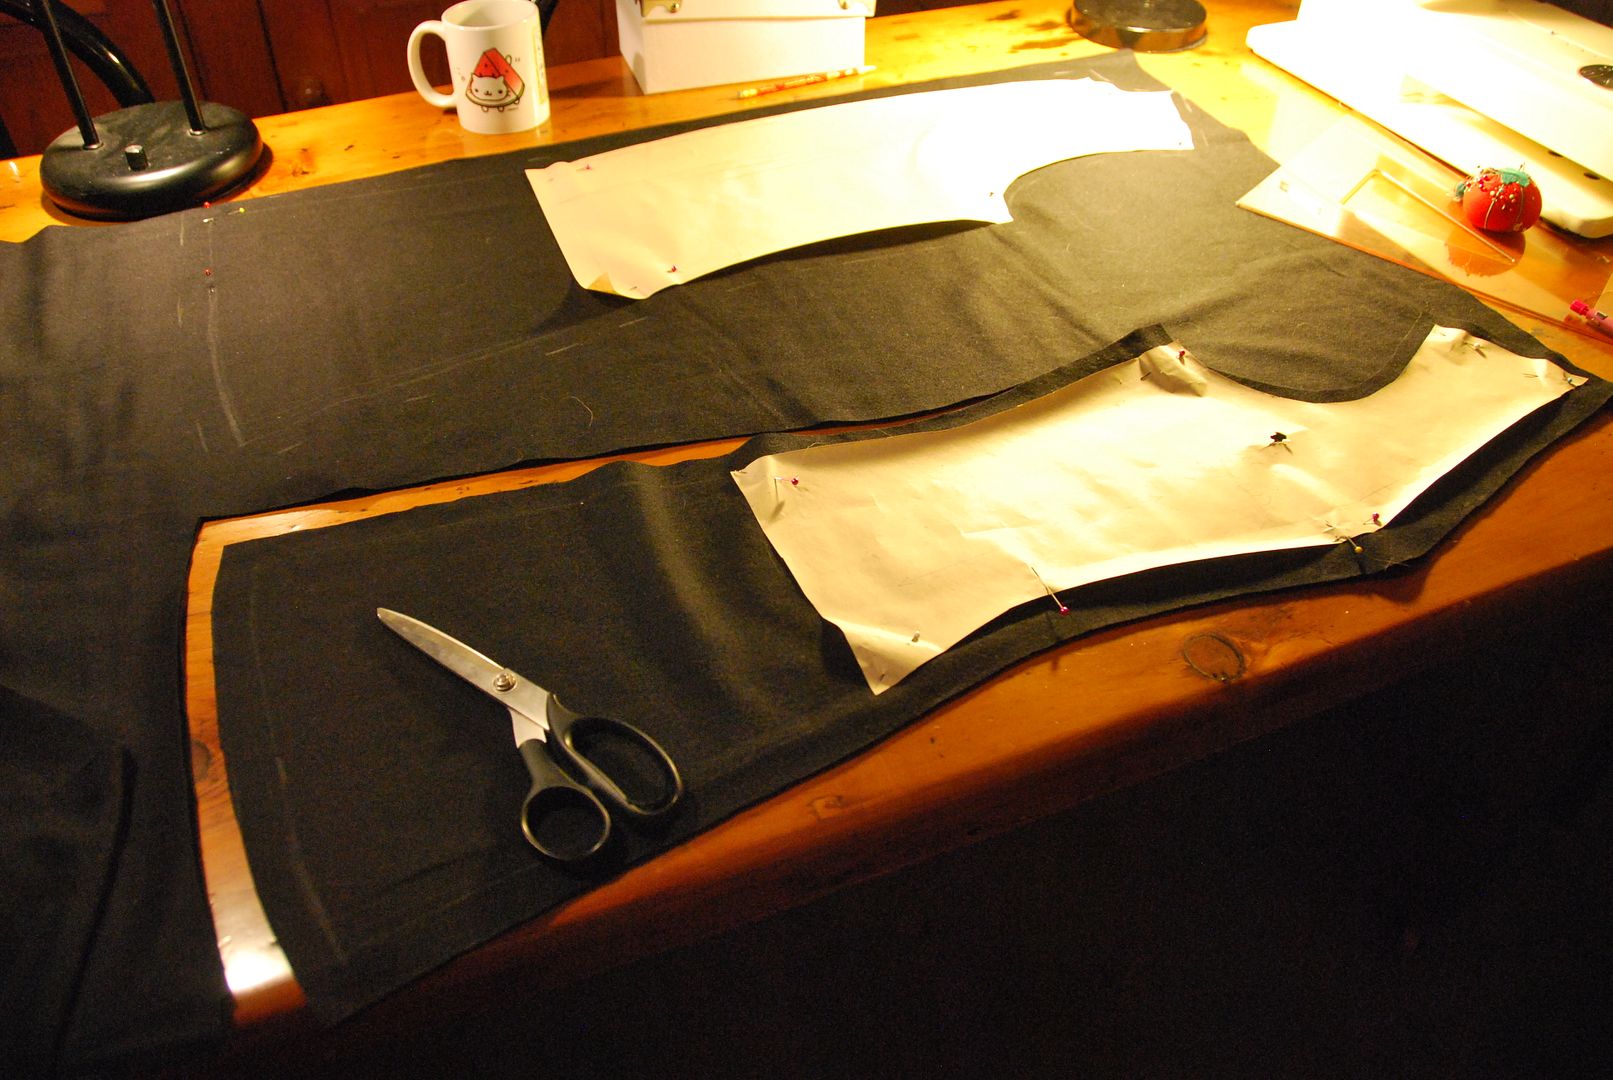

From the white (technically an off-white) fabric I cut the two pieces for the center back stripe, and 4 copies of the overlapping front panel.


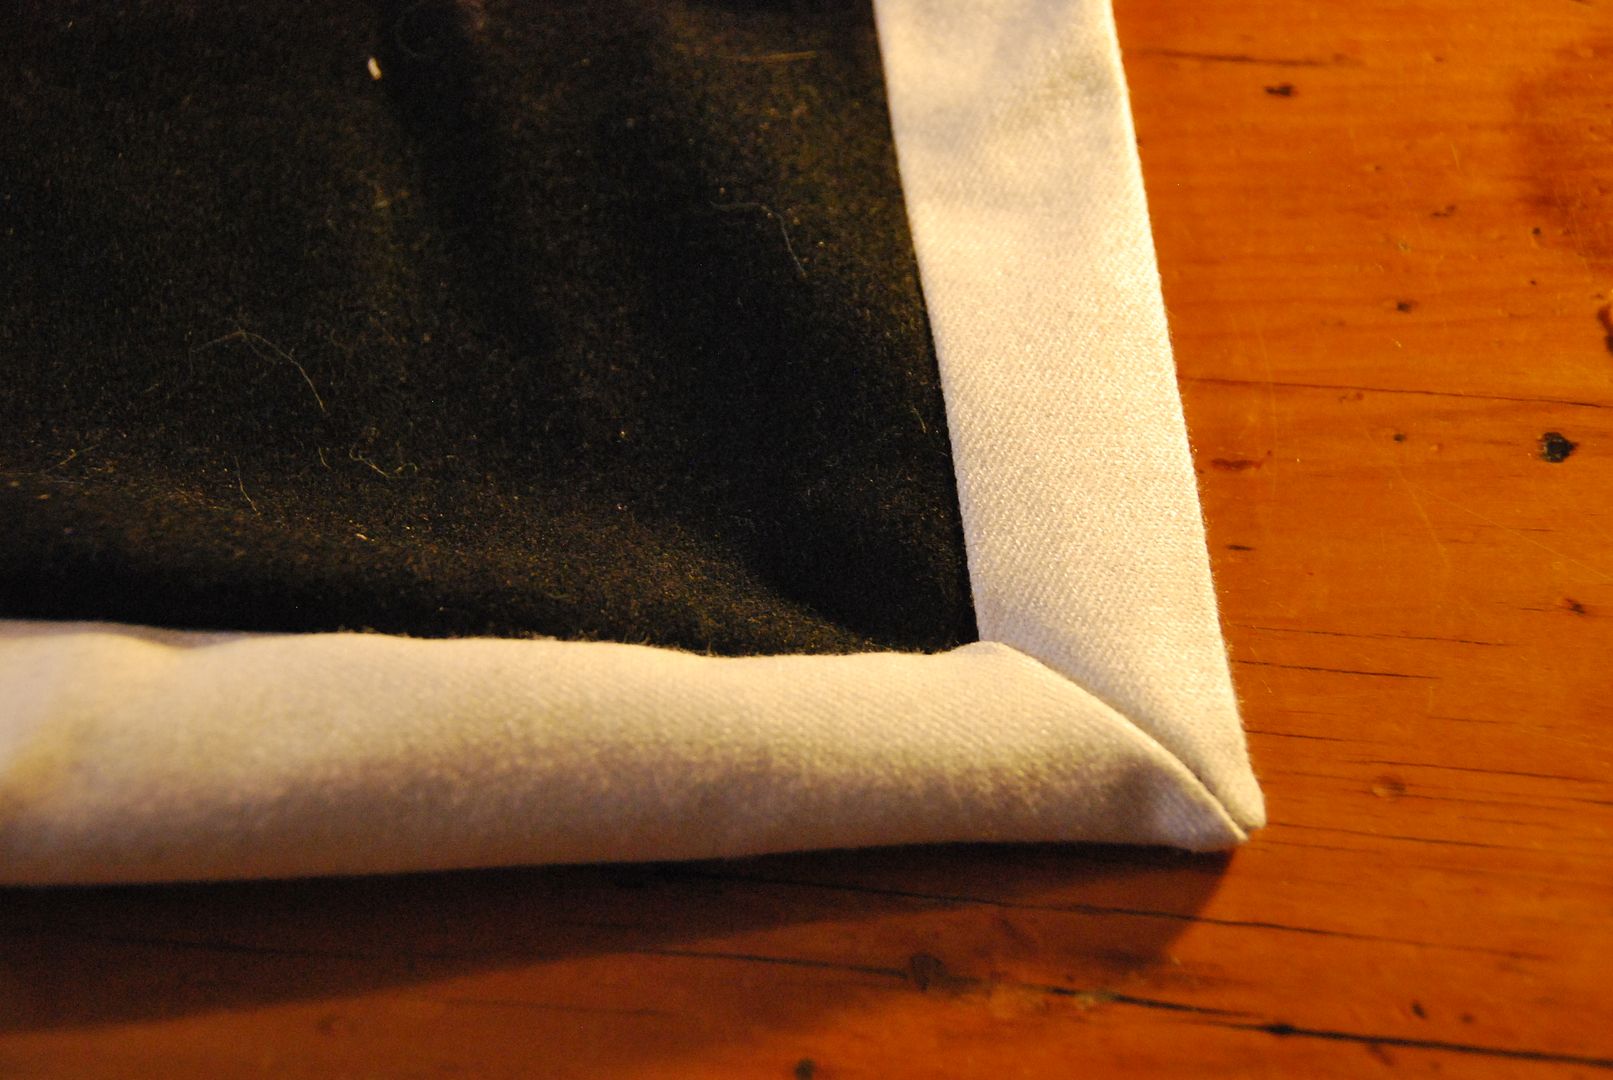
Each pair for the front panels were sewn right sides together along one edge, then clipped and turned right way out.
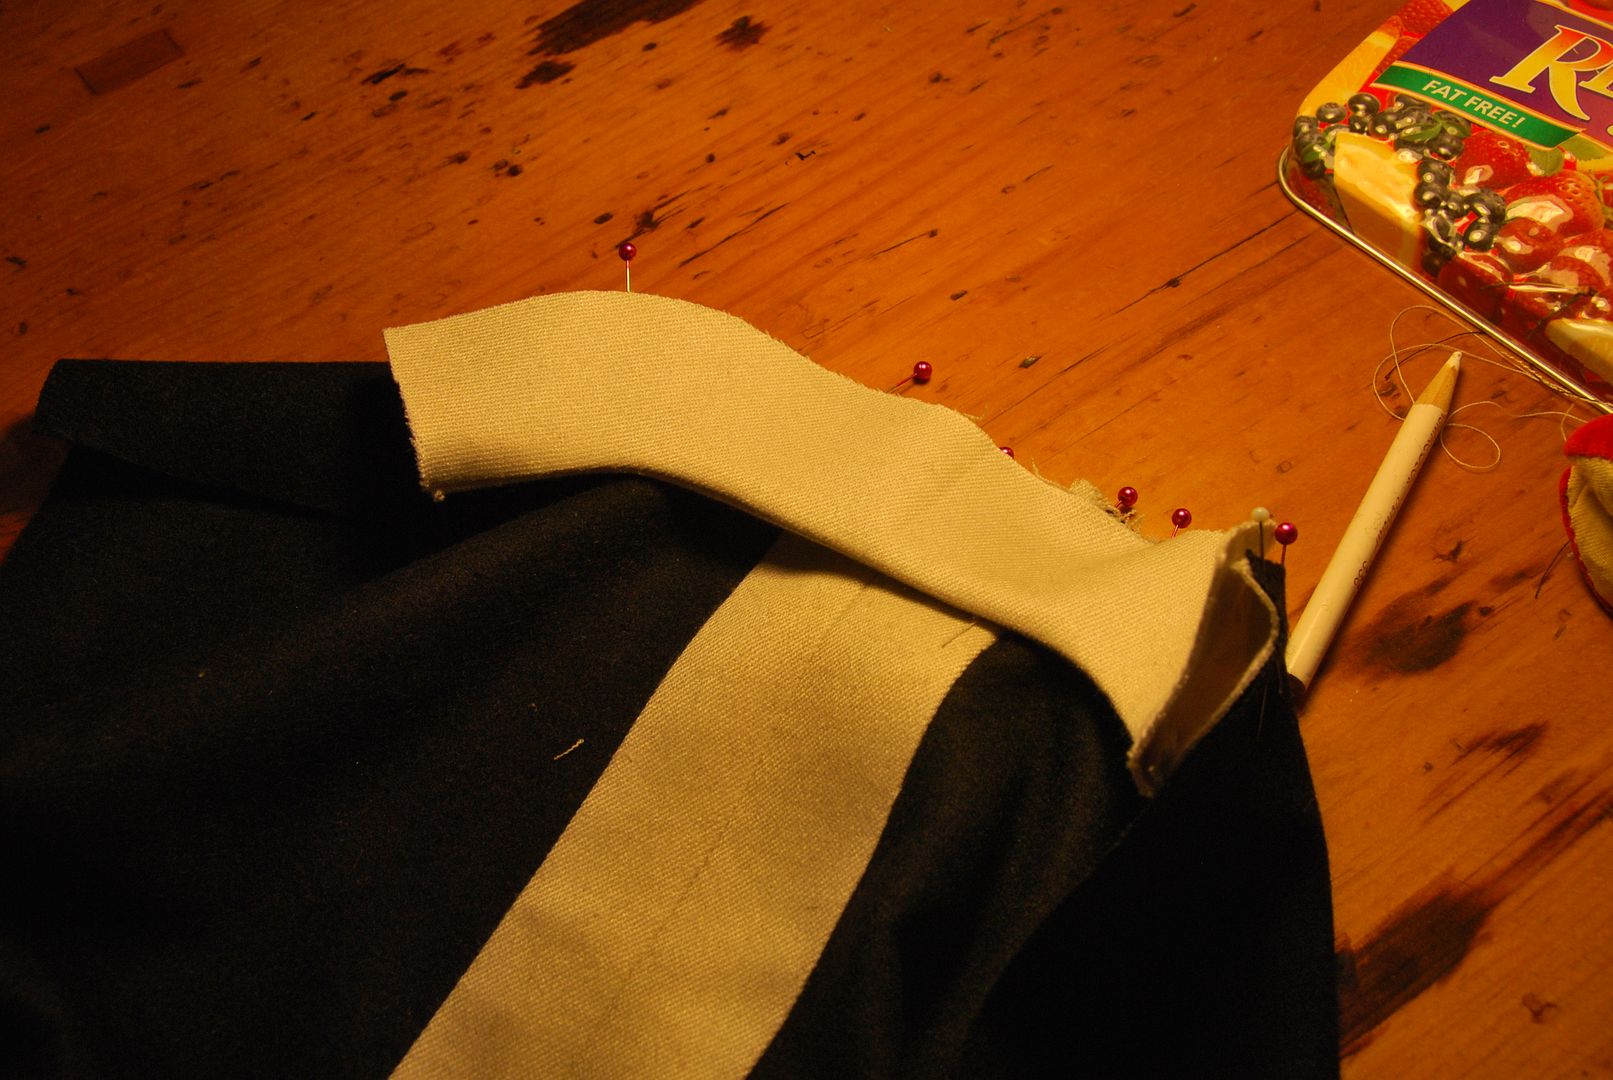
I cut the back piece for the collar. This was made of two pieces, sewn along the top edge, right sides together. This was then clipped and flipped right way out as well.


Then I sewed the white front panels to the black sides.


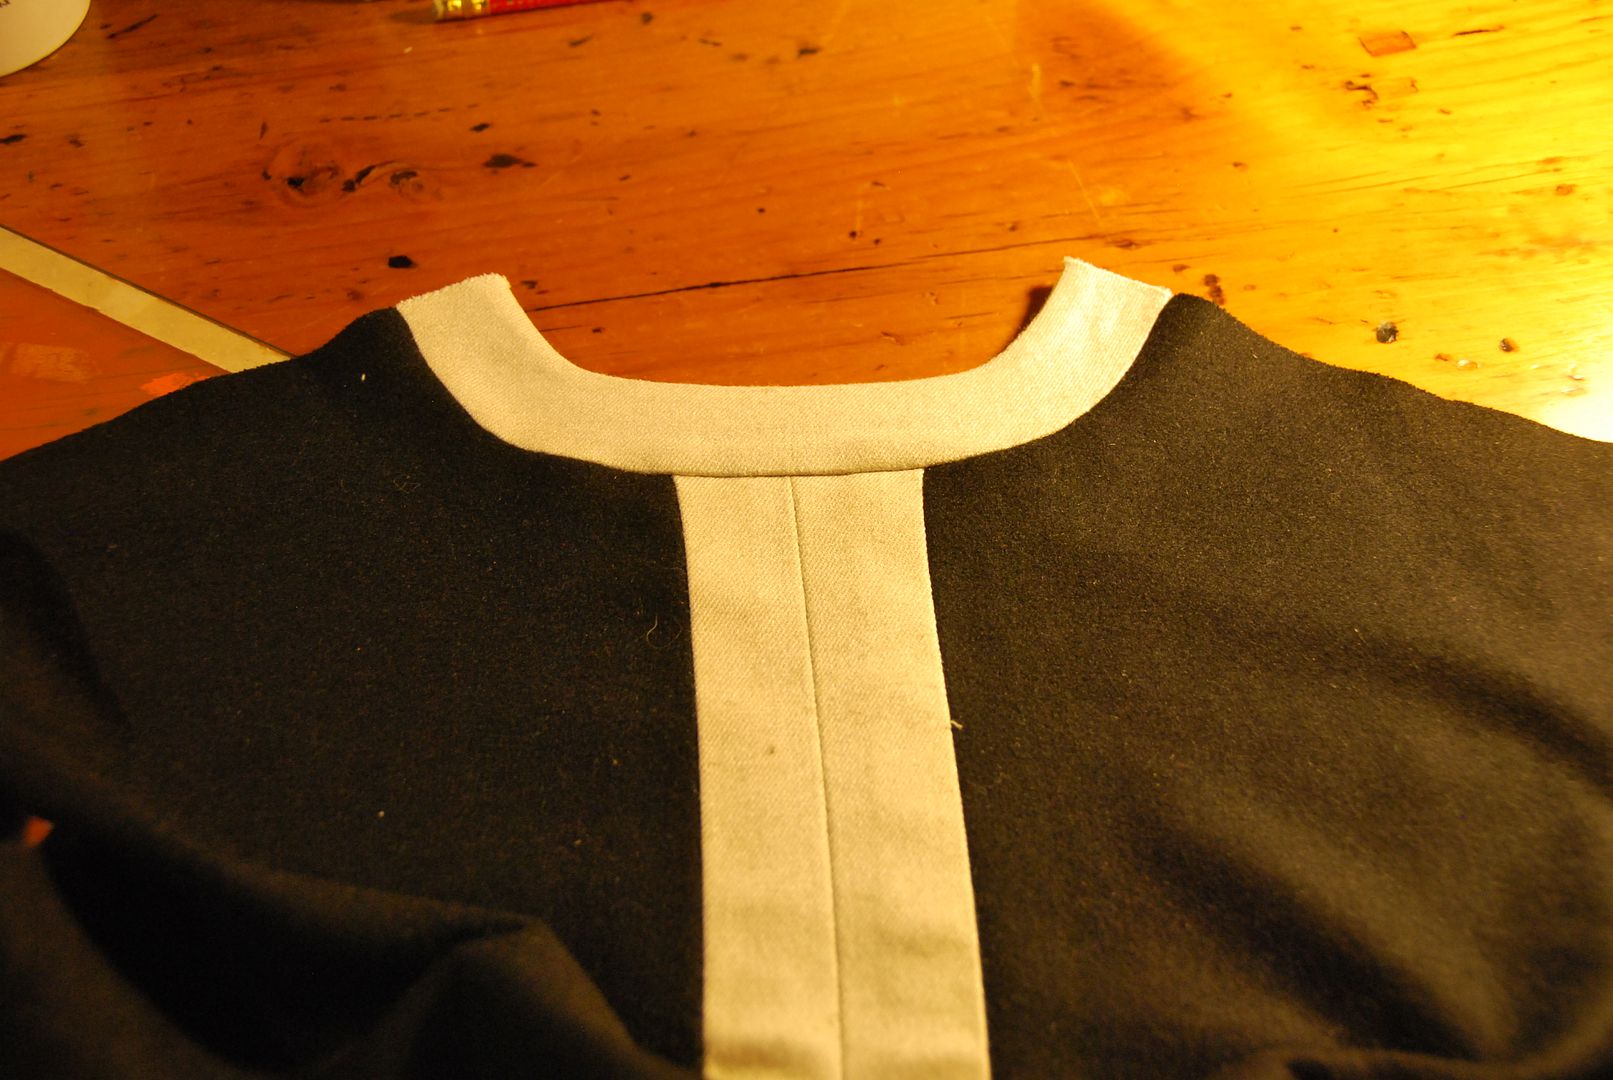
Then I was able to sew the shoulder seams.
At this point I used a school serger to finish inner seams before continuing.


This trim was then ironed over and cross-stitched in place. (Yes, by hand.)

These were eased into the armholes, then the edges were finished and hemmed.
And presto! A really nice jacket! >:D

No comments:
Post a Comment