Showing posts with label shorts. Show all posts

Tuesday, January 12, 2016

Vaporeon Gijinka - Under Layers - Pokémon


Let's talk about under layers!  This includes the front drape--with its built-in bra--and the navy booty shorts I constructed. If you want to see how I made the Bolero Jacket, go here!

Once again many thanks to Elemental Photography for the great photoshoot! I love this reflection shot. :) Credit for the original costume design goes to Cowslip!

Since the design only shows how the front looked I had to design a suitable back for the costume. I decided to make a second drape at the back, since it seemed logical and would cover more skin. Also, the design itself was originally designated as one of her "male" designs. I made a slight alteration to the design of the drape at the front for the purposes of female modesty--I changed the proportion of how the drape sat across the chest so it came further back towards my armpits at the top and would therefore properly cover my bust. This is one of the few minor changes I made to make the design work for me.

I started by using twill tape to outline on Molly where I wanted the gaps at the sides to be. I used some cheap broadcloth to drape the pieces.
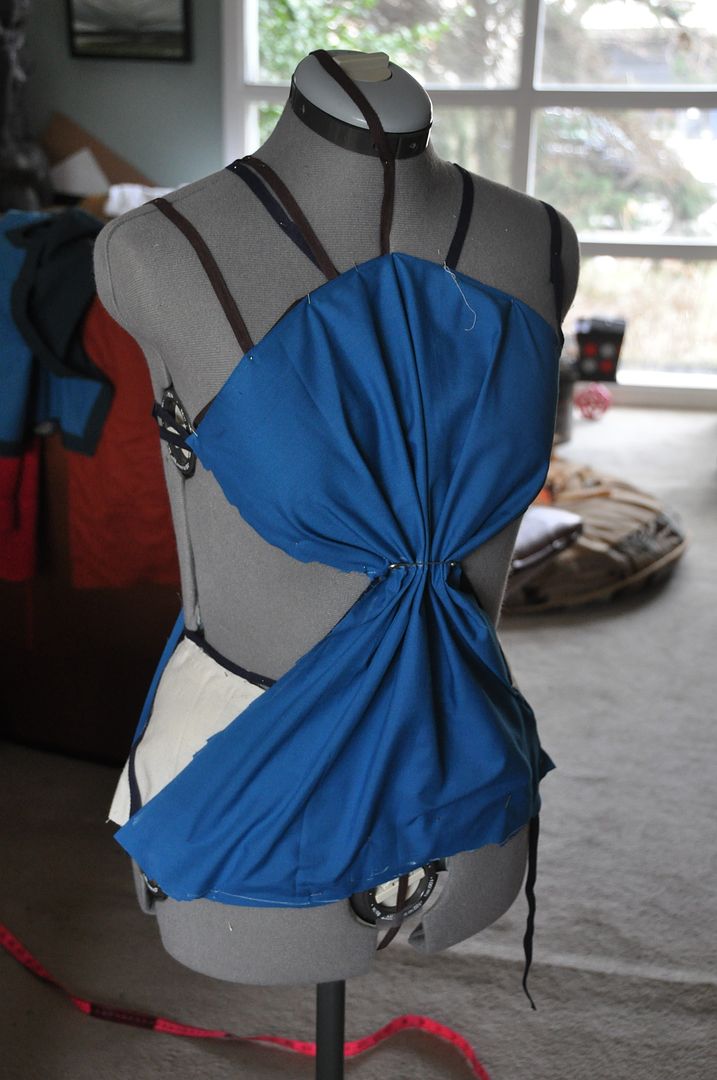
I pinned and trimmed the fabric until I was satisfied with the way it gathered. I used these to create my pattern pieces.

The fabric I bought was pretty see through, so I double layered both sides. Each piece was sewn rights sides together along the side edges and turned right way out. Then I top stitched those edges to keep them from shifting about. This fabric was fairly uncooperative...


I created shoulder straps for the drape piece in the same beige cotton. The close using velcro to make them a bit more adjustable.

The bottom edge of the drape was finished with a band of beige cotton. On both sides where it overlaps it has velcro to adjust the size around the hips and allow me easy on/off.
 
I had to build a bra of sorts into this costume. I bought nude coloured bra cups in the right size. Awkward shopping moments include me trying to find the right size by holding them up to my body and comparing. Hahaha

Using beige cotton fabric and elastic I made the bra layer to fit comfortably. It opens at the back of the band with hook and eyes. I tacked the bra into the draped piece at the front so it would shift and be revealed. The band at the side peeks out a bit when I lift my arms, but it is not the end of the world.

The bra itself provides moderate support--I am not super busty, so I don't need that much support. Mostly it needed to be something that I could a) sew into the costume, and b) choose the placement of the straps so they wouldn't stick out too much and look weird. Had I used a regular bra bought in a store, the band would be clearly visible at the sides. This one I made comes up higher in the sides and back than a typical store bought bra--which is why it doesn't give maximum support. Also I didn't give it an underwire. Because I didn't think it would be super necessary.

The last detail was the cording. I bought tons and tons of navy blue cording for this costume. It wrapped around the gather at the center front and looped to the back. It's tacked in place so it doesn't move. The ends of the cord were dipped in clear nail polish so they wouldn't fray.

The other under-layer for this costume was a pair of booty shorts. Somehow I didn't clue in until the very last minute that the wrap-skirt did not actually cover all at the front and I didn't have anything suitable to wear underneath. Hence, I decided to make a very simple but unobtrusive pair of matching shorts.

They were made of some navy blue jersey I picked up at the last minute. I patterned them based off some leggings I own. I pieced them together at a friend's house so I could use a serger.

The hem was done with a zig-zag stitch on my own machine. The waistband had a roll-over where I inserted an elastic band.

I think this is one thing that convinced me I needed to get a serger of my own... I have been avoiding stretch fabrics for so long because I lacked the equipment to work with them.

Wednesday, September 16, 2015

Inkling - Outfit & Accessories - Splatoon

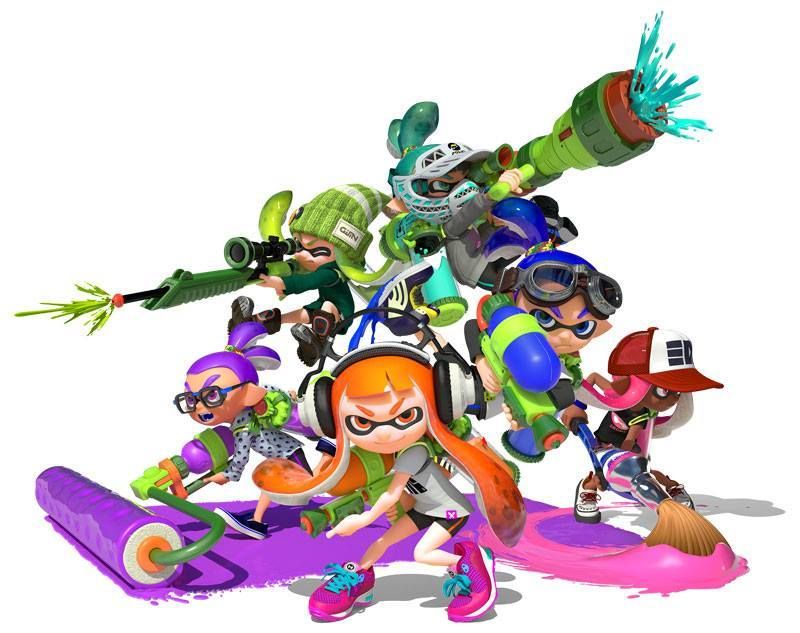
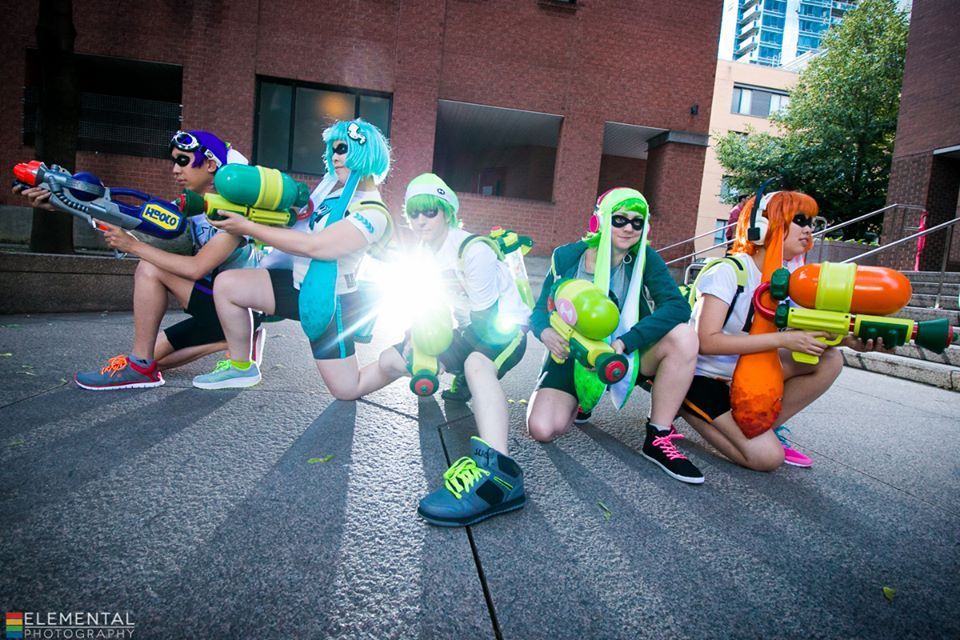
This is the first post on our Splatoon Squad--affectionately referred to by the group as "Squids or Kids?". What was supposed to be a group of easy casual cosplays quickly snowballed into a crazy colossal effort to make the most awesome Inkling costumes possible. Special thanks (and photo credit) to Elemental for doing the group photoshoot! All of the pics from the shoot were wonderful!

The current group from the photoshoot consisted of: Brian (Ragz Cosplay) --the brains of the operation; Andy (Yavarice) --our task manager; Michelle (Mage Cosplay) --a heat n' bond wizard; Kim --the only one who can actually has the power to create vector files; and myself--the squid hat pioneer. Special thanks also to our fellow squids--the wig expert Louise and magical wizard Adrien--for all their hard work as well! We look forward to them joining us for Squids 2.0. :) There will most likely be a second shoot at some point in the future, with even more Kids. Or Squids?

Obviously since this is a large group cosplay there is a certain amount of tasks that were shared or delegated so that everyone's costume would match! I will do my best to generally explain how things came together, but obviously credit goes to the individuals who made each specific thing!


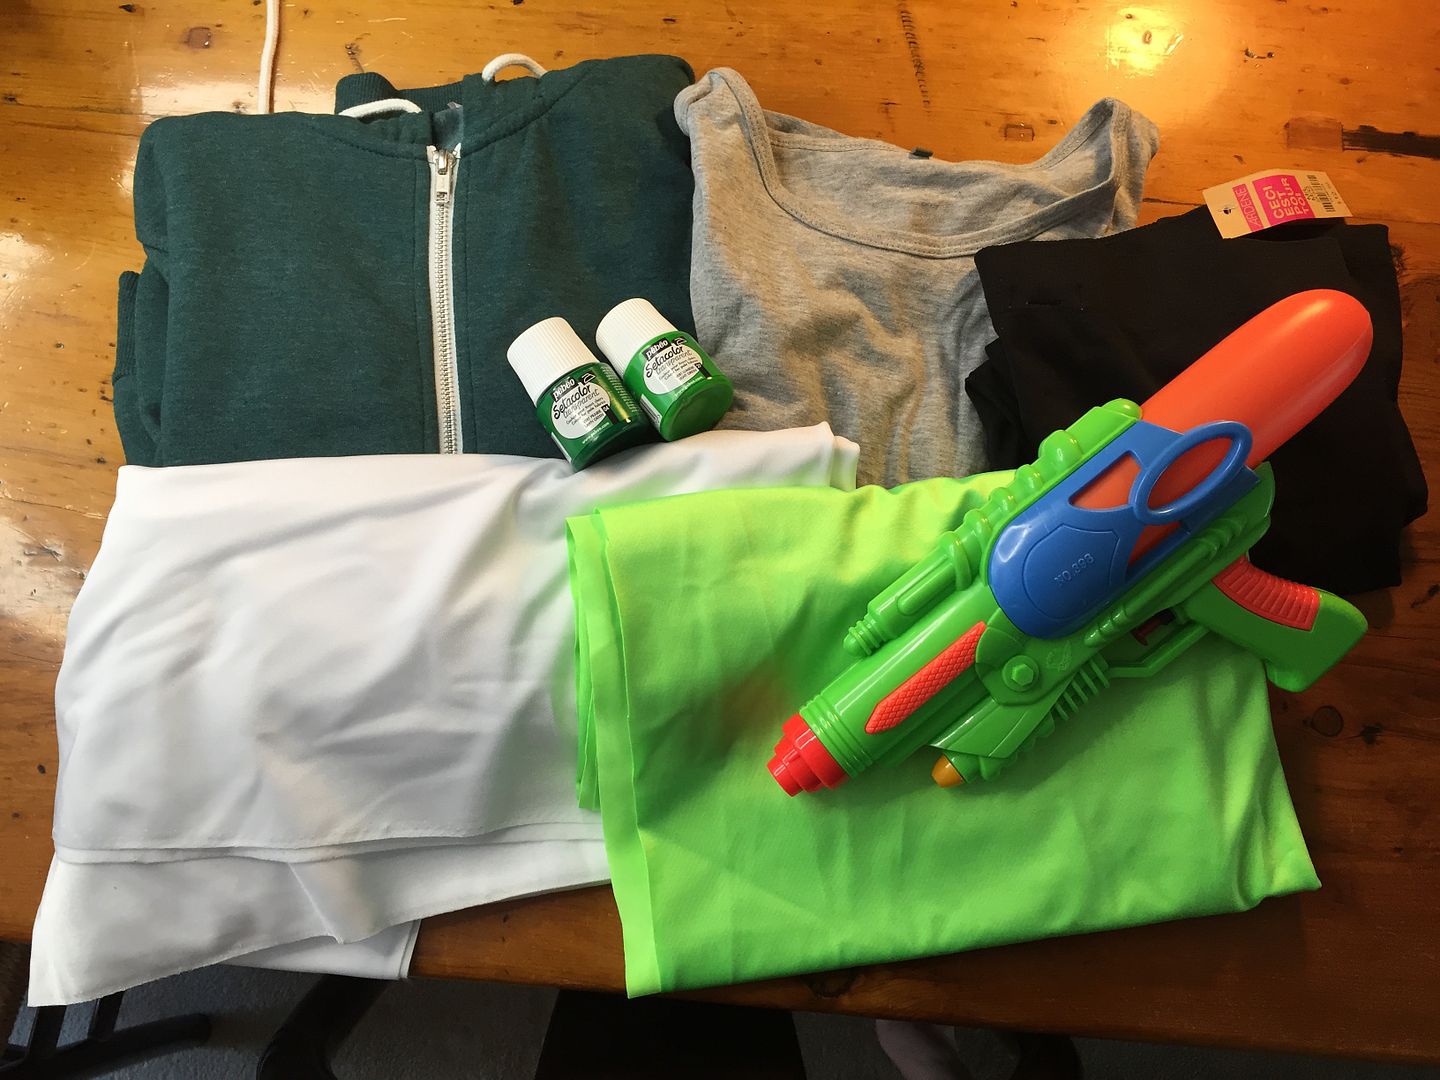
For the clothes we all set about creating our own outfits. I tried to keep the base items I bought on the cheap side.

Since the Inklings all wear a standard pair of black biking shorts with a stripe their team colour down the side, we all found black leggings/bike shorts to modify.

For my shorts, I bought a pair of black leggings at Ardenes for about $10. I marked how short I wanted them, then cut off the excess. I topstitched a stripe of green spandex down the side of each leg using a zig-zag stitch--so it would allow the fabric to stretch. Then I hemmed the pants.
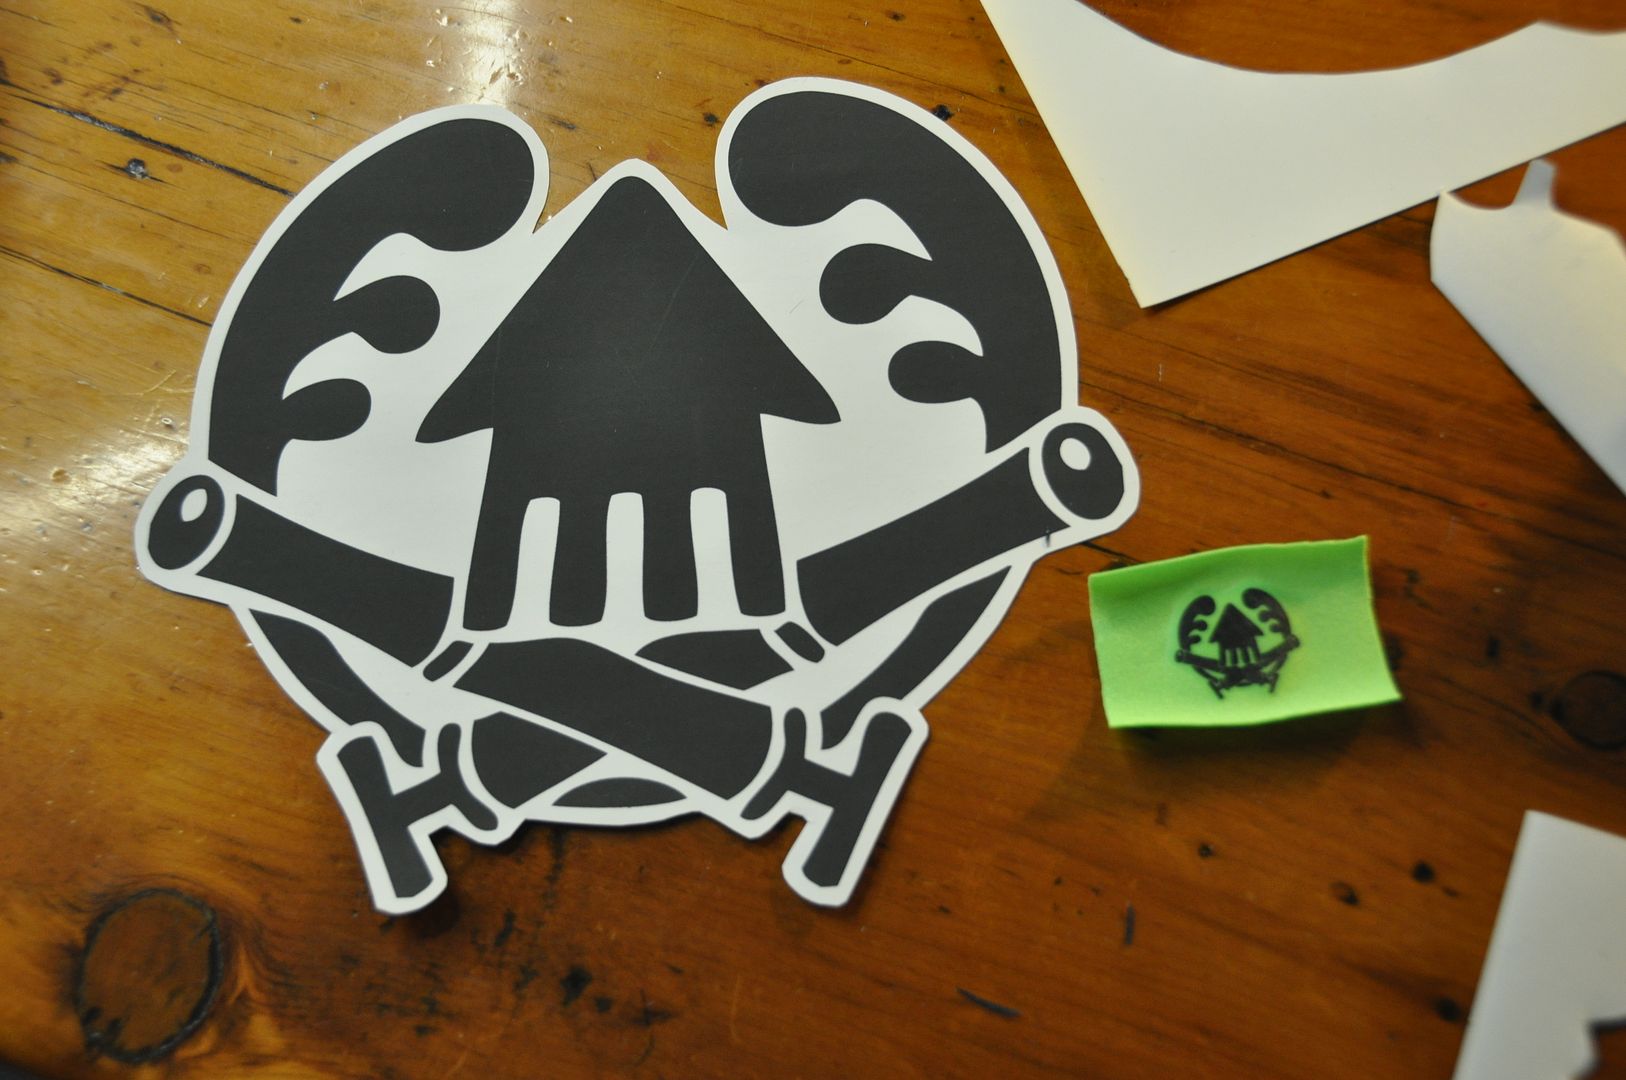
We all opted for t-shirts in varying colours with one of the various logos from the game on them. In the game the clothes you can buy have different brands to choose from, and each brand has a unique logo. For those of us who decided to create our logos with heat transfer paper, Kim vectored and resized the designs. Those of us with inkjet printers printed the logos onto heat transfer paper. (Which I believe was purchased at Michael's?) Those were then applied to the shirts using an iron.

I bought my t-shirt in chinatown for $2. I think other people bought theirs at Walmart. I also got a green hoodie at H&M to match my costume--in case it was cold. Brian layered his shirt over a long sleeved shirt.

For the coloured tags on the shirt we each used a rectangle of our own team colour fabric and used a small version of our logo applied with heat transfer paper. Then we used heat n bond to attach the tags to our shirts.

Mage actually created her adorable squid shirt logo entirely with heat n bond to appliqué the design on in the different coloured fabrics pieces. I think it turned out really awesome! She also made several of the simpler tags (like the one on my hoodie) in this method. She is a heat n' bond wizard.
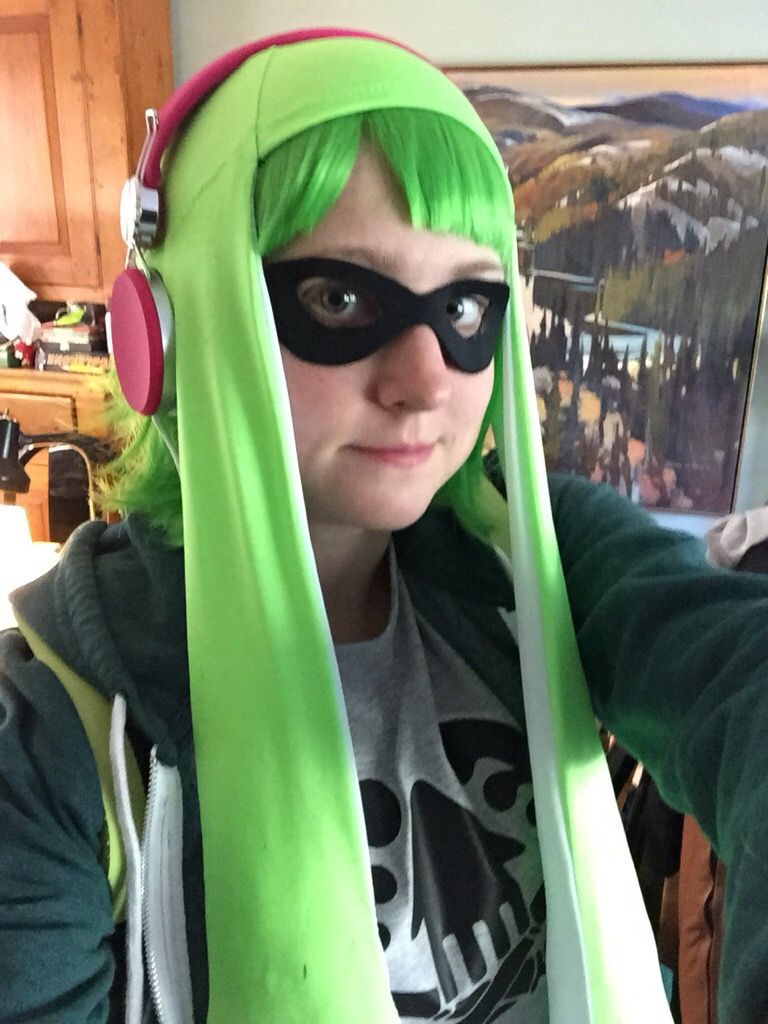
Accessories allowed us to personalize the costumes a bit more. We looked like a cohesive group, but the accessories gave our characters personality. For example: Andy wore goggles, Kim had headphones, Michelle had hair clips, and Brian wore glasses and a headband. In a lot of cases, we would find a colourful item for cheap and then slap a logo on it. Hahaha

For shoes, I got a pair of $14 high tops at Ardenes that I stenciled a logo on using fabric paint. I tried to make my accessories have a colour theme--which was pink. We had a group field trip to Walmart one night to pick up some accessories. We got some packs of brightly coloured shoe laces there, so I was able to swap out the boring white ones that came with my shoes for a pair of neon pink ones! Other members of the group picked up their brightly coloured running shoes at Walmart. I don't think anyone spent more than $30 on shoes.

I picked up a pair of bright pink headphones in chinatown for about $20. So I wouldn't have to worry about making any pointed ears for the costume, which we made a group decision later to forgo anyway. I wish the headphones I bought were a little bigger, but I wasn't willing to spend any more on them. I may mod them at some point. Perhaps for Squids 2.0?

The masks were our solution to not having to paint large areas of our eyes black. A friend of of the group put together an easy superhero mask tutorial, which you can find here! These masks are lightweight and can be spirit gummed directly to your face, or tied on. Andy made my mask for me, and it looks awesome, but unfortunately the felt backing seems to irritate my eyes a lot. :( I am going to look into alternative materials to make the same thing, because I really liked the look of the costume with the mask. Next time I am definitely going to fill in the area around my eyes with black makeup, though.

Stay tuned for part 2!

Wednesday, September 4, 2013

Kero & Suppi - Shirts & Shorts - Cardcaptor Sakura

This is the first part of my documentation for our Kero and Suppi gijinka costumes! (Or Keroberos and Spinel Sun if you want to get technical...) These are characters from my one of my favourite animes CardCaptor Sakura! This was the first anime I watched in Japanese with subtitles, and one of the first boxsets we bought. :D

This is my second time wearing a gijinka costume, but my first one making one myself! I had a lot of fun making these, particularly working with such bright contrasting colours. I got to try some new things on this project--namely tails and ears.

I got some nice photos thanks to Mike from EleventhPhotograph. We took a couple pics in the big candy store on the harbour!

For those of you unfamiliar with the term, a "gijinka" costume is essentially a humanization of an animal character.

This project is a collaboration with my sister Alex, of Alex Boake Illustration who did the very cute design. It's sort of inspired by the outfits in the 3rd ending song "Fruits Candy". Lots of fun working on these!

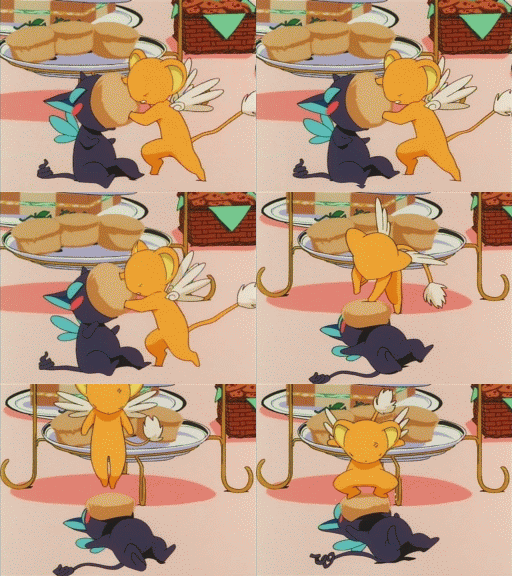
These gijinka costumes were based on the characters' "little" forms. FYI I love this gif... It reminds me of how I felt stuffing the foam into those wings...

But without further ado, let's get started!

I started first by washing all the fabrics, these costumes would be worn in a very hot place, so I thought it best that all clothing be washable. And since fabrics tend to shrink when you wash them (particularly cotton), it is always a good idea to pre-shrink your fabric before you cut anything. We opted to go a little more expensive with the fabric and bought quilting cotton, because it breathes really nicely. (Also it came in all the right colours, so that kind of sealed the deal.) The yellow and purple fabric were picked to match the wigs.
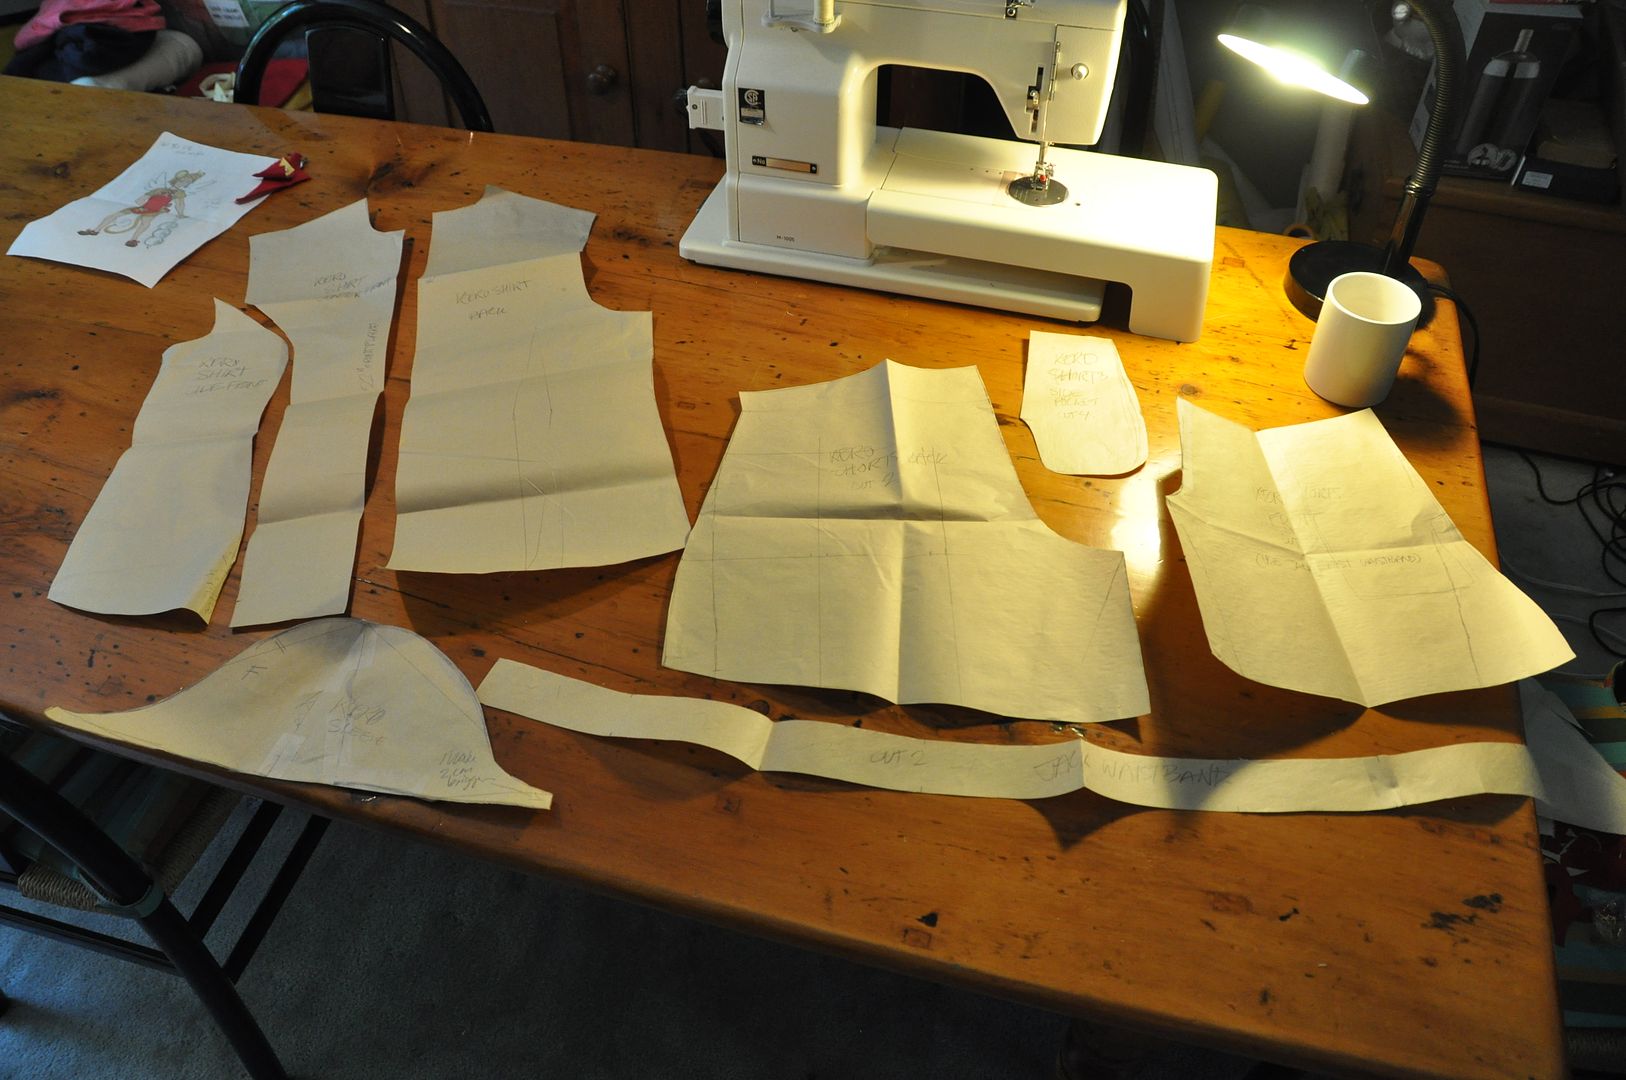
So I started by patterning the shirts and shorts. For the shirts I modified a basic block with a princess seam, widened the armholes a bit.

First I sewed up the back darts. Then I sewed the side seams, shoulders and front darts together.
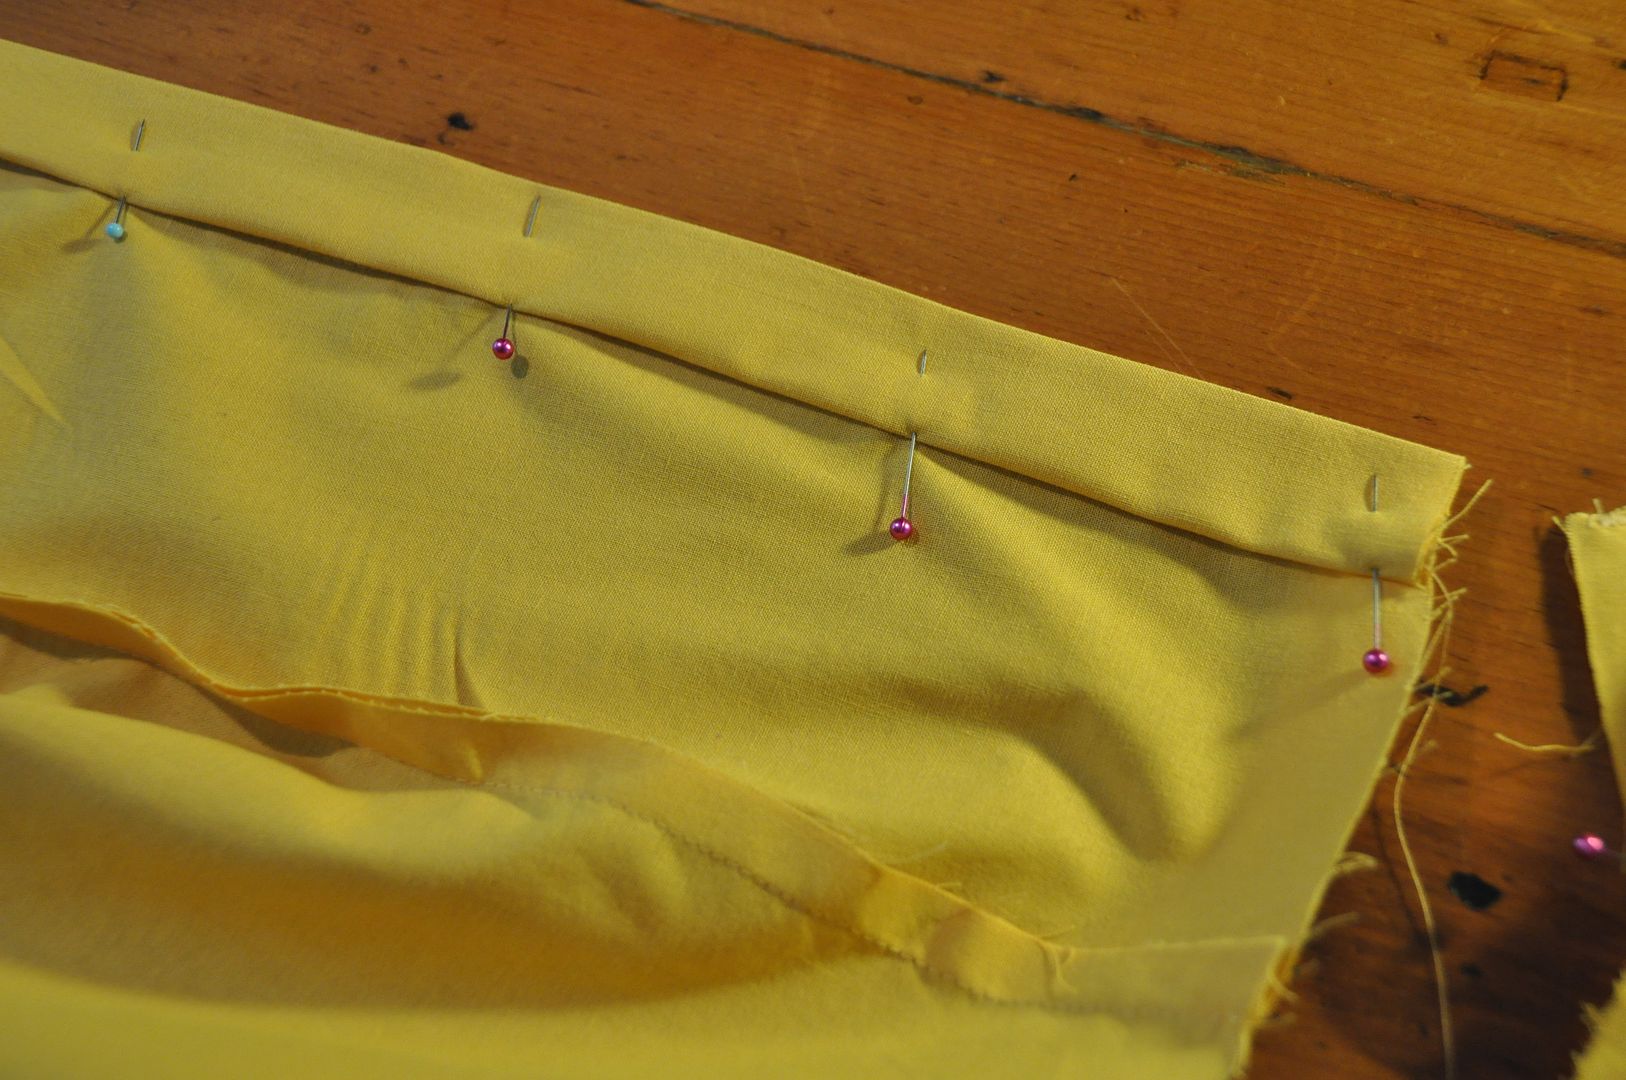
At this time I also sewed a placket to one side of the front overlap (this is where the button holes would go). It was a long strip with a fold ironed down the center. On one side of the fold it was attached right sides together with the left side of the shirt opening. Then I ironed the seam flat, and pinned the the other half of the strip to the inside, tucking the raw edge under (making sure it overlapped the seam). This was ditch-stitched in place from the front.

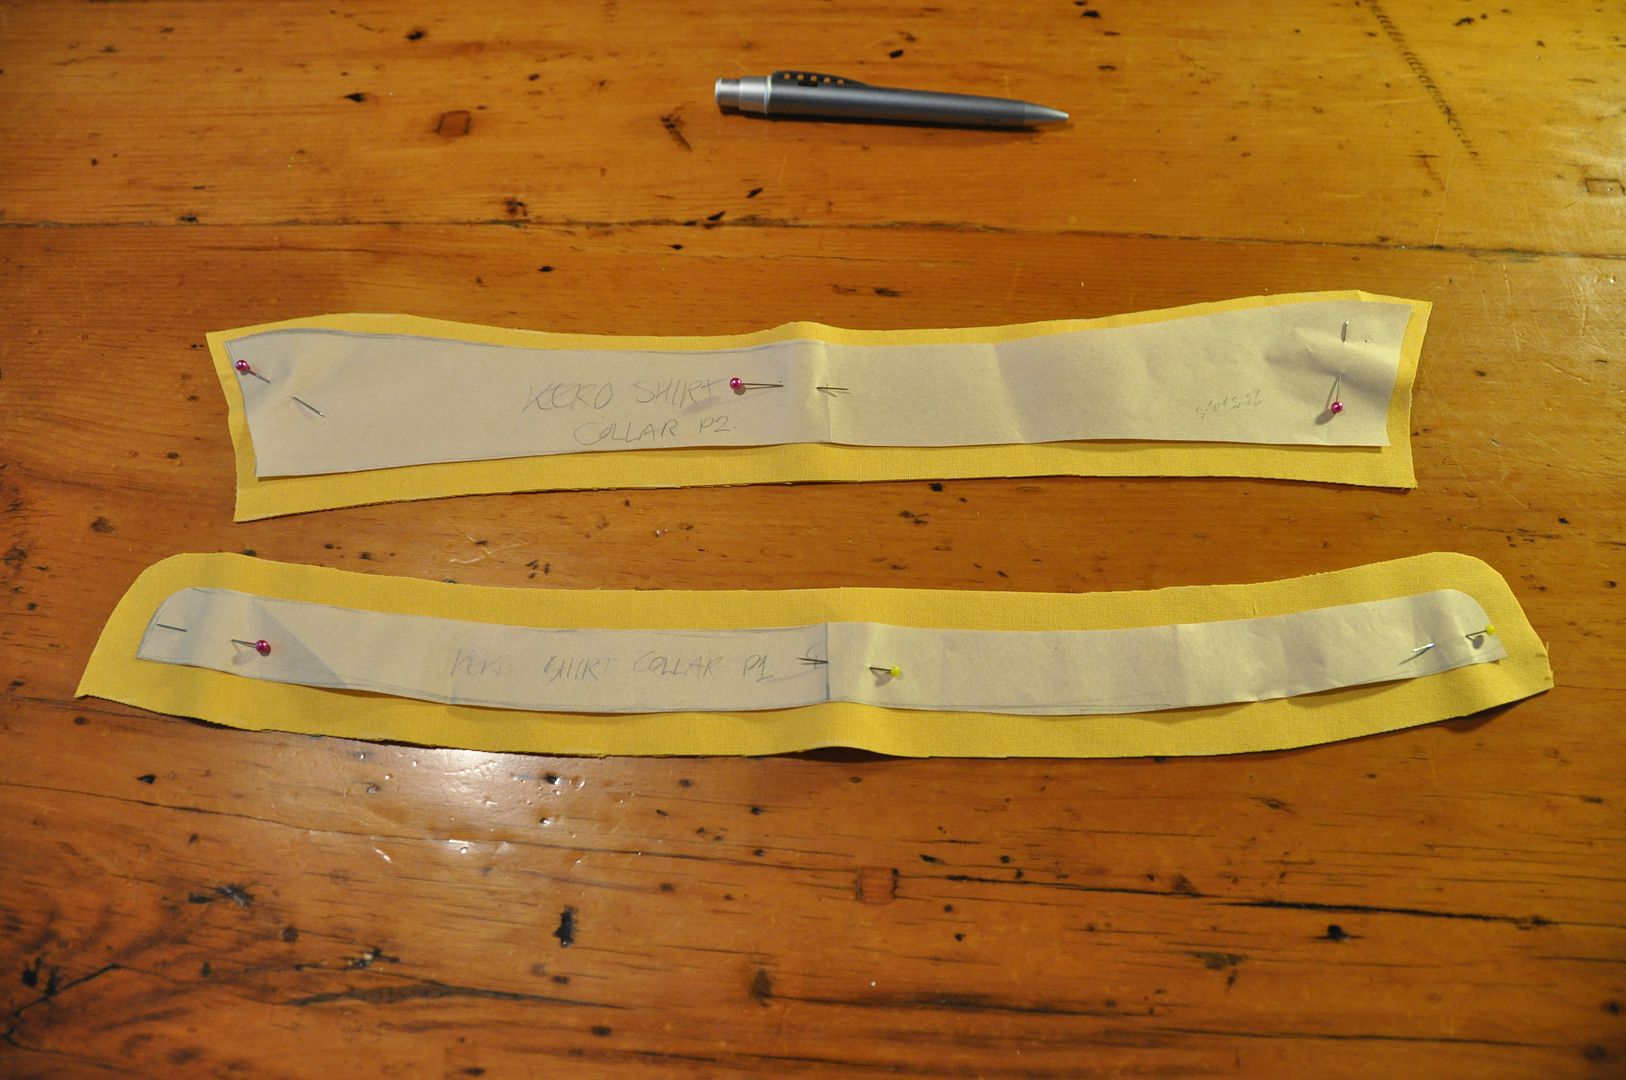
Then I patterned the collar. First the outer collar was sewn right sides together then clipped and flipped right way out. Then this piece was placed in between the 2 layers of the inner collar and it too was stitched together and flipped right way out.

One side of the open edge was sewn to the shirt, then the other edge was folded inside the collar and ditch-stitched in place. This left a clean finished collar.

Next I patterned the sleeves, I started with a normal sleeve pattern, which I then sliced up the middle and added a few inches of flair. To the edge of the sleeves I added a cute trim with a split near the front. This detail made the shirts a little more interesting.

The last thing was putting on the buttons and adding in the button holes.

----------------------------------------------------------

Now let's talk about the shorts. I decided that I should start making a habit of putting pockets in my costumes, because it seems like a logical thing to do! So Suppi and Kero both have pockets in their shorts. When making pockets just make sure that they are big enough to hold your average size cell phone (not those monster ones) and that the opening is large enough to slip your hand in. (Otherwise your pockets will be a tad useless...)

Since I don't really know how to properly pattern pants from scratch yet, I traced each of my pants patterns from existing pairs. I picked a pair of pants that fit me well at the butt and waist. This pattern I then modified to give the flair necessary to form the little bit of pouffe at the cuffs. I mocked these up in muslin first before I cut the good fabric.

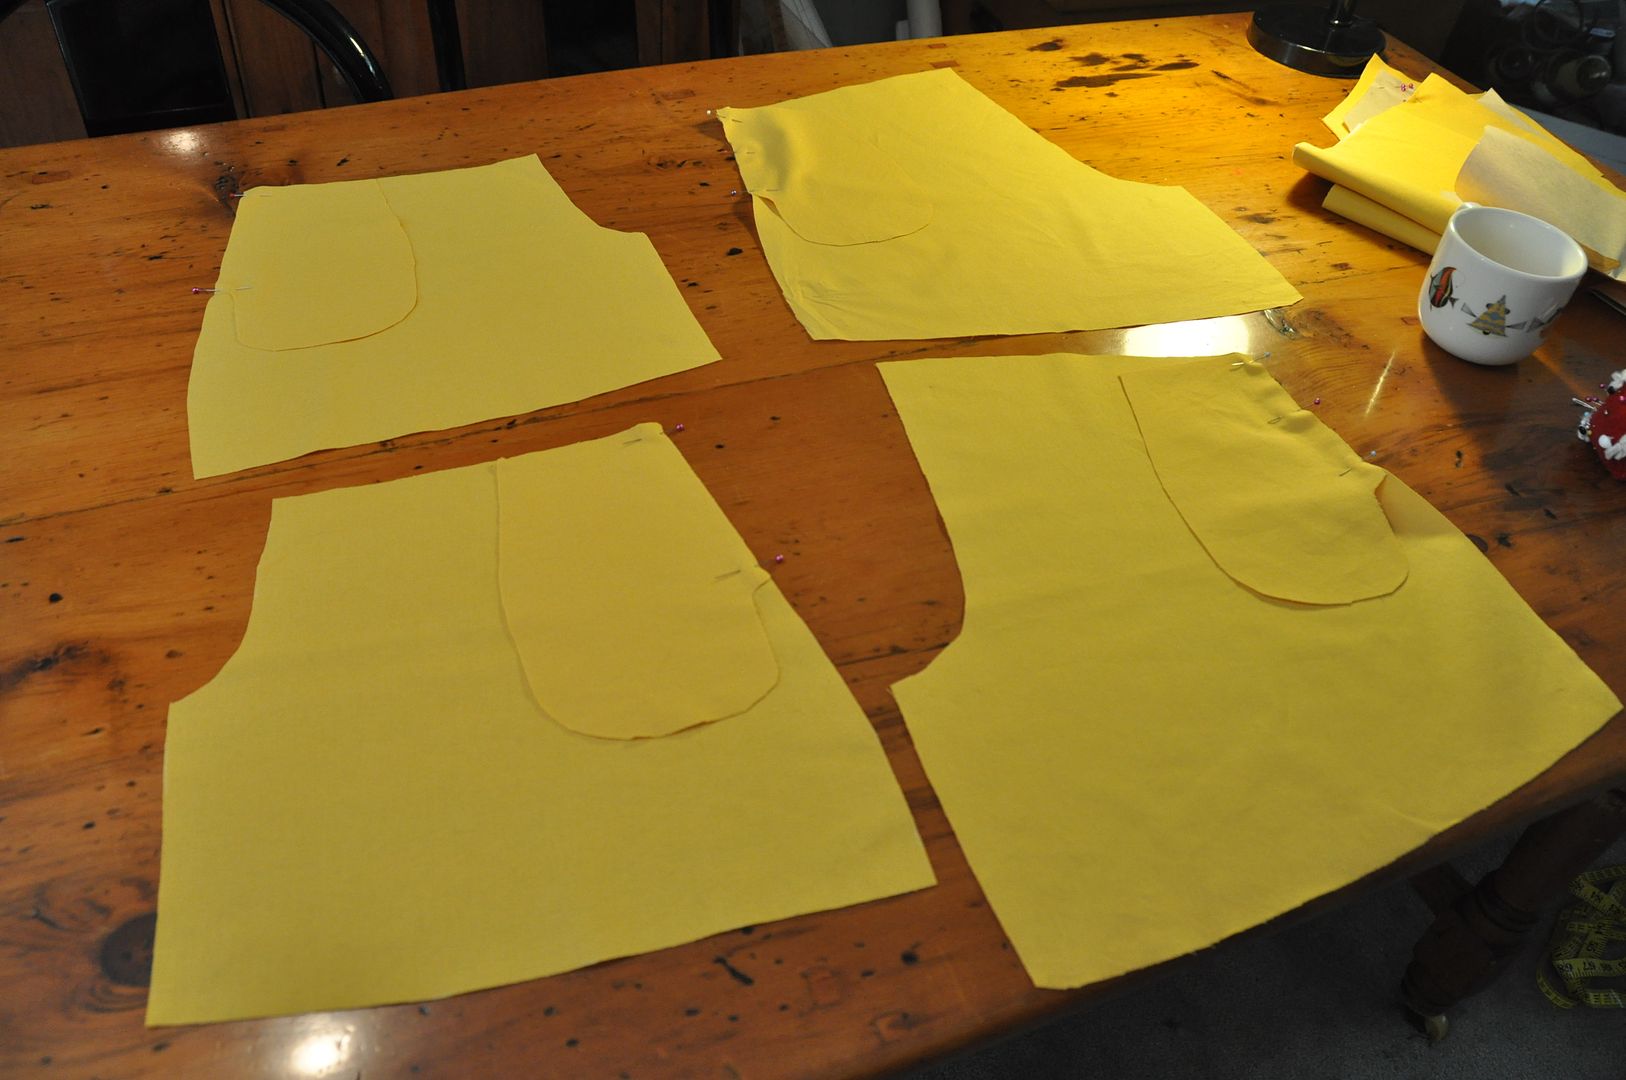
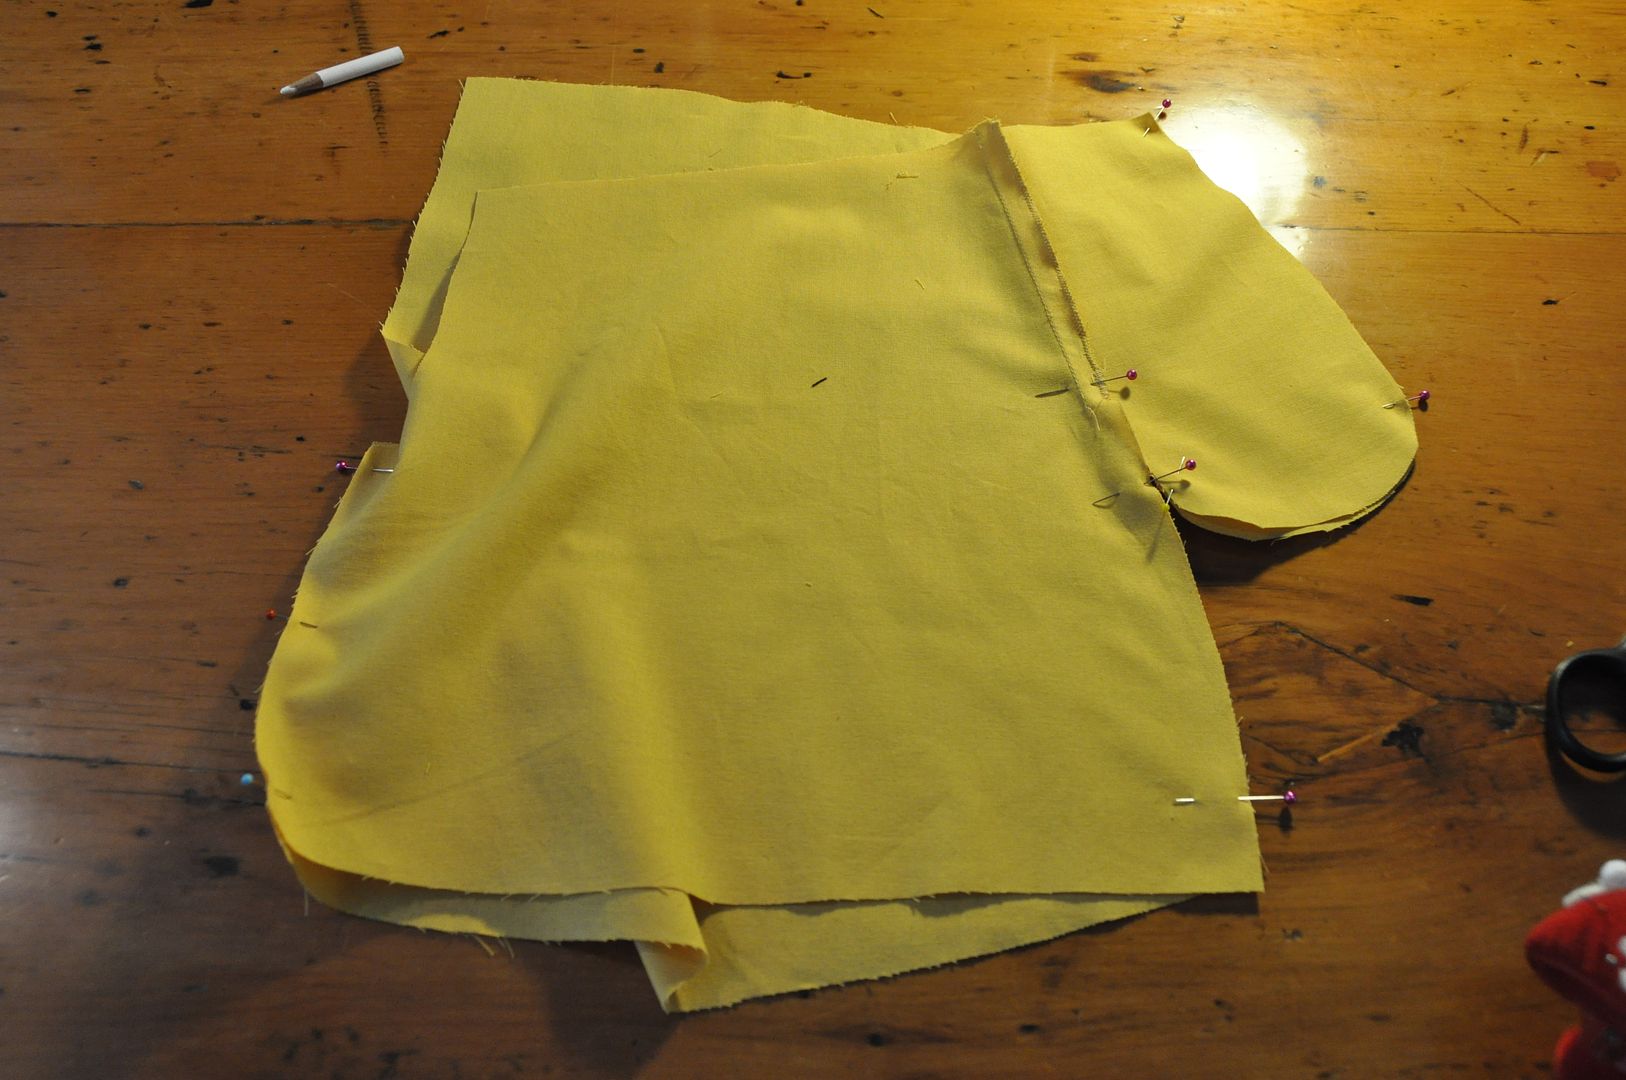
The process is essentially the same as the pockets on my Simple Gathered Skirt. I started by stitching each of the pocket pieces to the side seams. Making sure these were done to the correct sides so I would end up with a right and left pant leg, instead of 2 rights or 2 lefts. (If confused lay it out like I have in the picture above.) Then I pressed the pockets to the outside. (Before continuing it is best to finished the seam where you sewed the pocket to the pant panel, otherwise it will be difficult to do later.)


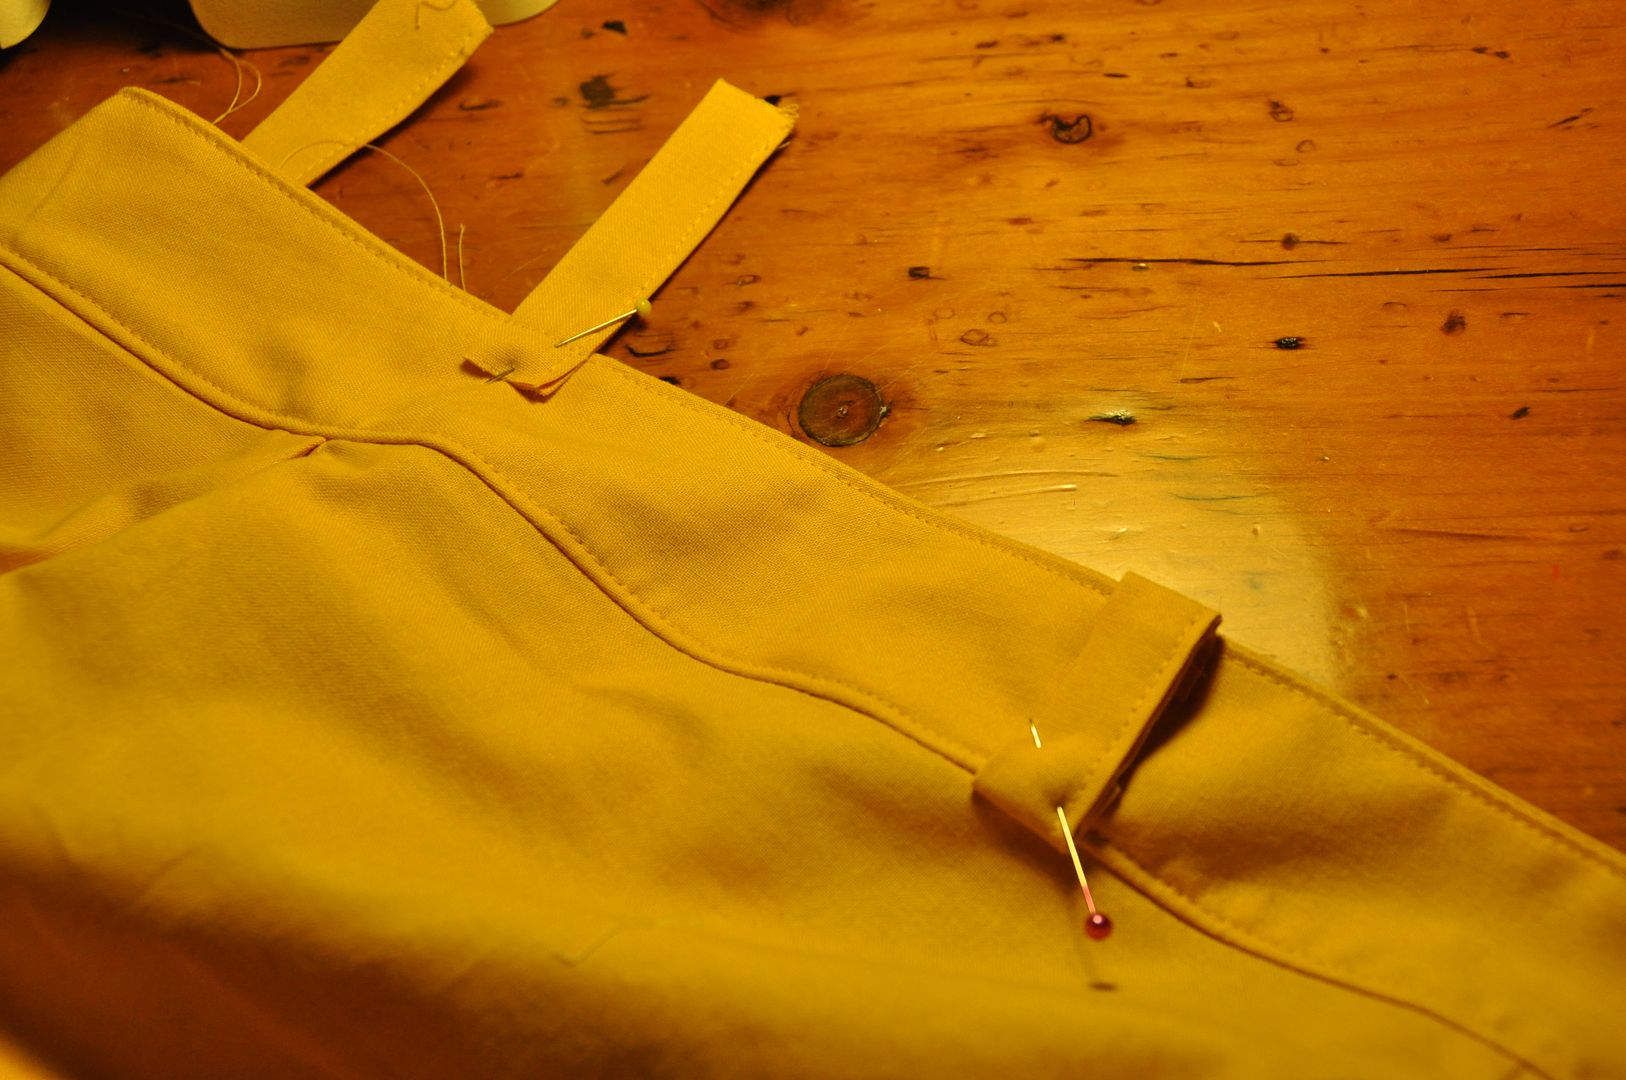
The next step is to stitch each side seam and pocket together. Go around the edge of the pocket, then turn and follow the side seam down. Then stitch together the inner leg seams. When you flip the pant leg right way out, the pockets will now be on the inside (like the picture below).
Then I sewed up the crotch seam, leaving the fly open. Then I made any adjustments necessary and finished off all the inside seams.
Then I made 2 pieces for the fly overlap. These were sewn to the outside. One would be flipped completely inside and tacked down, the other would be pressed flat so it would underlap the fly seam (if you are confused by this description, look at the fly on your nearest pair of jeans).

Then I made a slightly curved waistband. This was sewn right sides together along the top edge, then flipped right way out. Then it was sewn to the pants, the raw edge finished with a zigzag stitch then tacked down. I folded and finished the ends of the waistband.

For the pouffe I did a long basting stitch around the bottom edge of the pants (without backtack). Leaving the ends of the threads long I was able to grab hold of the bobbin thread and gently slide the ruffles on. I did my best to make the gathers even. The cuffs were simply rectangles made about 2" larger than the circumference of my thigh (so they wouldn't be constricting), folded over and sewn into a loop. I adjusted the size of the pouffy pant leg to fit the loop and sewed them together. This was don on the outside, then flipped down so the seam allowance would be on the inside of the pant leg. This was finished with a zigzag stitch.
The fly was finished with Then I added belt loops. When spacing them, I had to make sure the back two were far enough apart for the base of the tail (about 6").
These clothes were very simple, and very comfortable to wear. I liked this costume a great deal for that. :D

Though this is more yellow than I ever wear in real life, because I don't look very healthy in the colour yellow unless I have a tan, which is only at the end of summer. Hahaha