Showing posts with label brooch. Show all posts

Tuesday, March 8, 2016

Vaporeon Gijinka - Sandals & Accessories - Pokémon


The 6th and final instalment of my Vaporeon building quest: Sandals & Accessories! This costume was all about the details and finishing touches. Beading, painting, trimming, gems, accessories, props--all elements that helped give this costume the extra wow-factor. It's not often I break a costume down into 6 posts, but this one is certainly worthy of that.

Links to Part 1: BoleroPart 2: Under LayersPart 3: Wrap Skirt TailPart 4: Wig & Hairpieces, and Part 5: Wraps & Bracers!

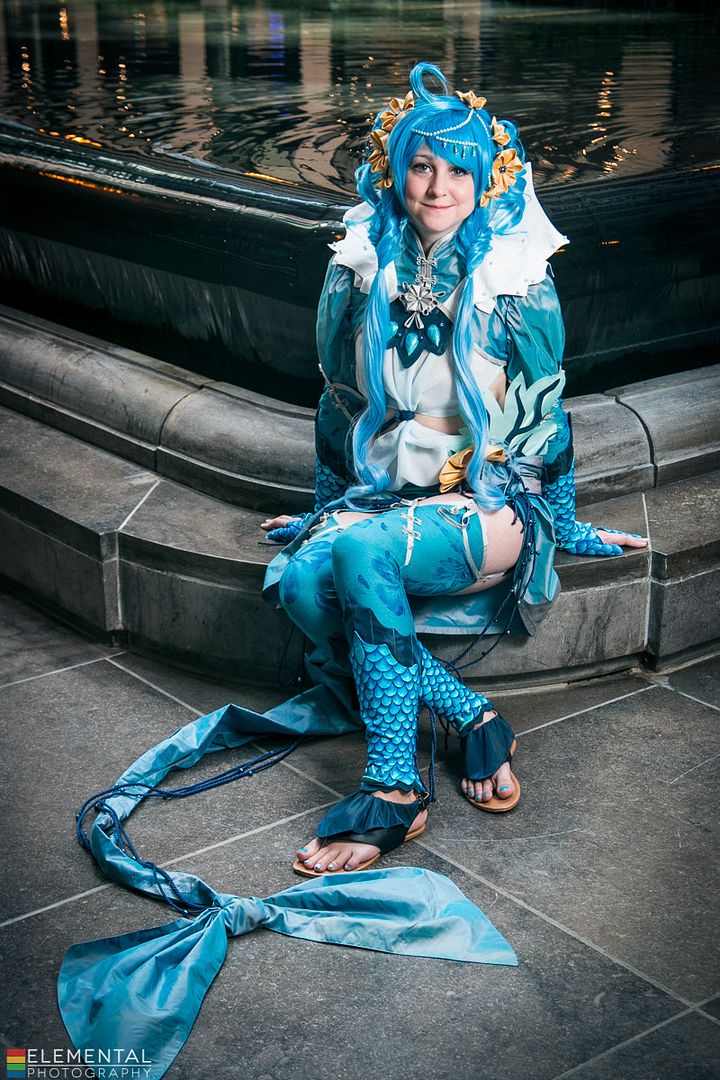
Thanks to Elemental Photography for the fantastical photoshoot! Credit for the original costume design goes to Cowslip!

Firstly I would like to thank my friend Harriet for lending me her fan! She does Chinese fan dancing and allowed me to borrow hers for this shoot. Thanks muchly!
For the sandals I started by buying a plain pair of cheapo flip flops from Ardene's. Which is a great place to buy shoes you don't care about.

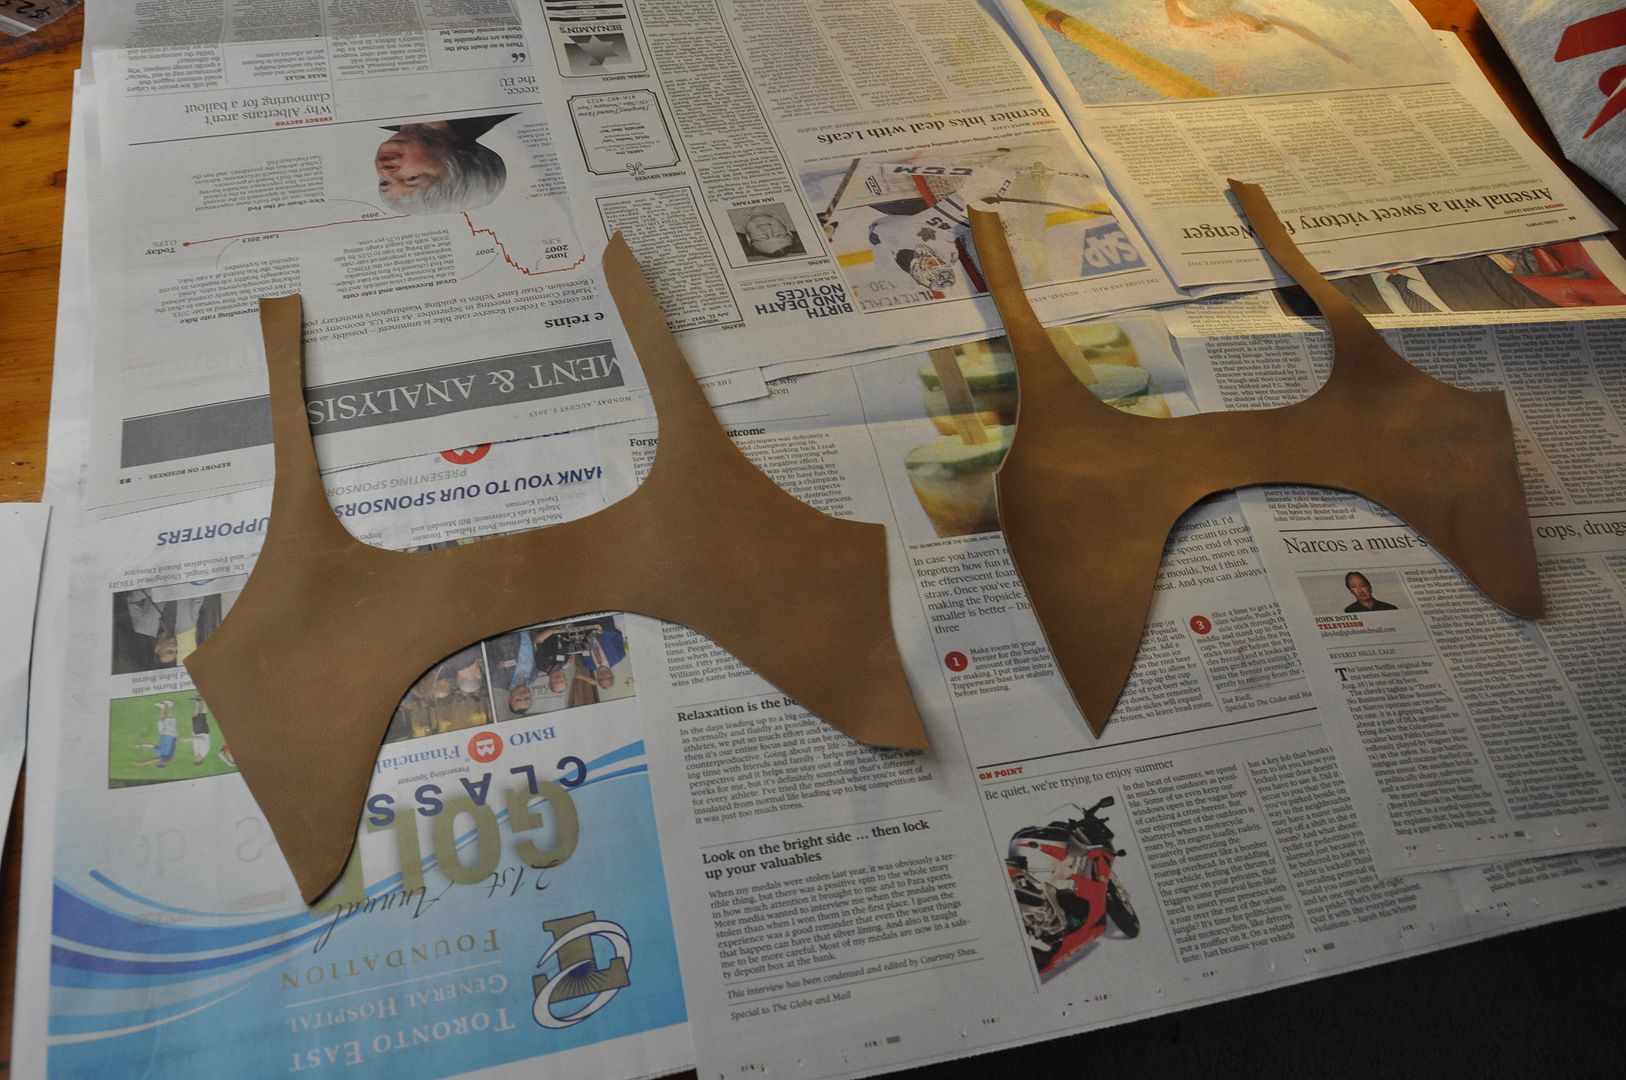
I patterned my base cover shape out of paper, then cut out my pieces (making sure they were mirror images) in leather. Using acrylic paint, I painted these leather pieces navy blue to match the costume.

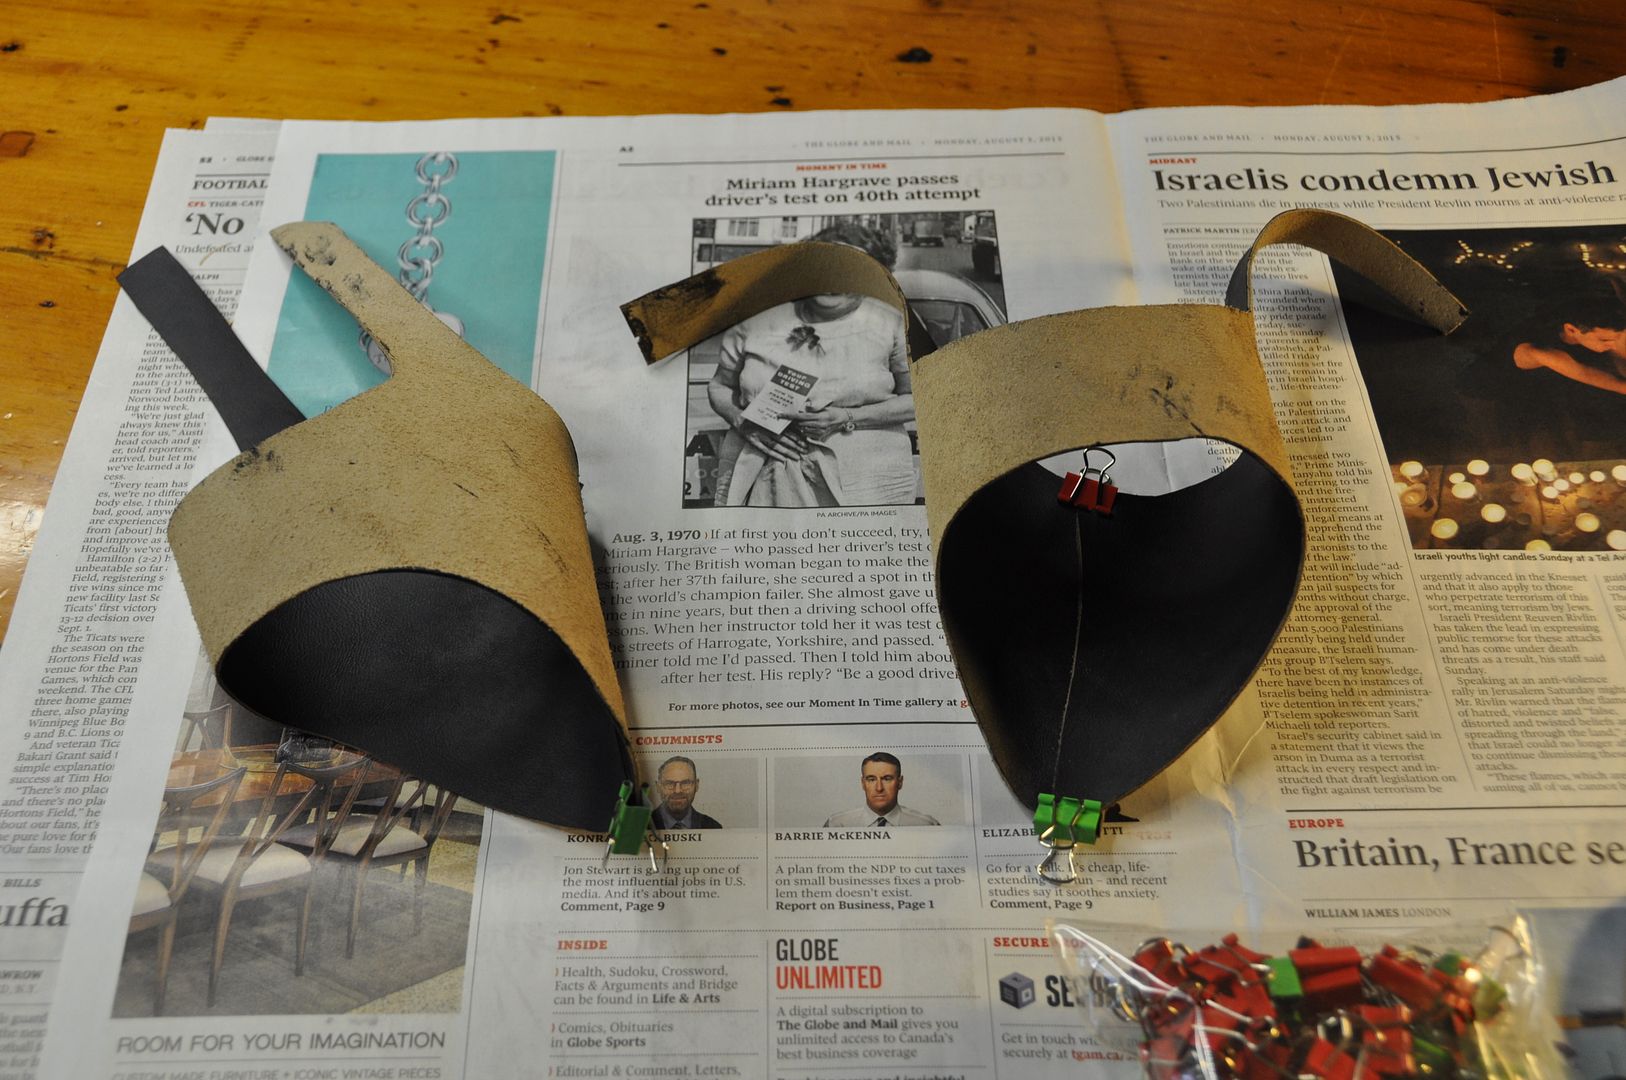
These pieces would wrap under the bottom of the shoe, with a single seam in the top. The long tails would be used to make a buckle strap around the back of the heel.

Once I was happy with the fit, I machine stitched that top seam.

Next step was to create ruffle bit. Using leftover navy fabric from the bracers I created the two pieces. Each is made of two layers, sewn right sides together along the outer edge, then flipped inside out and top stitched. 
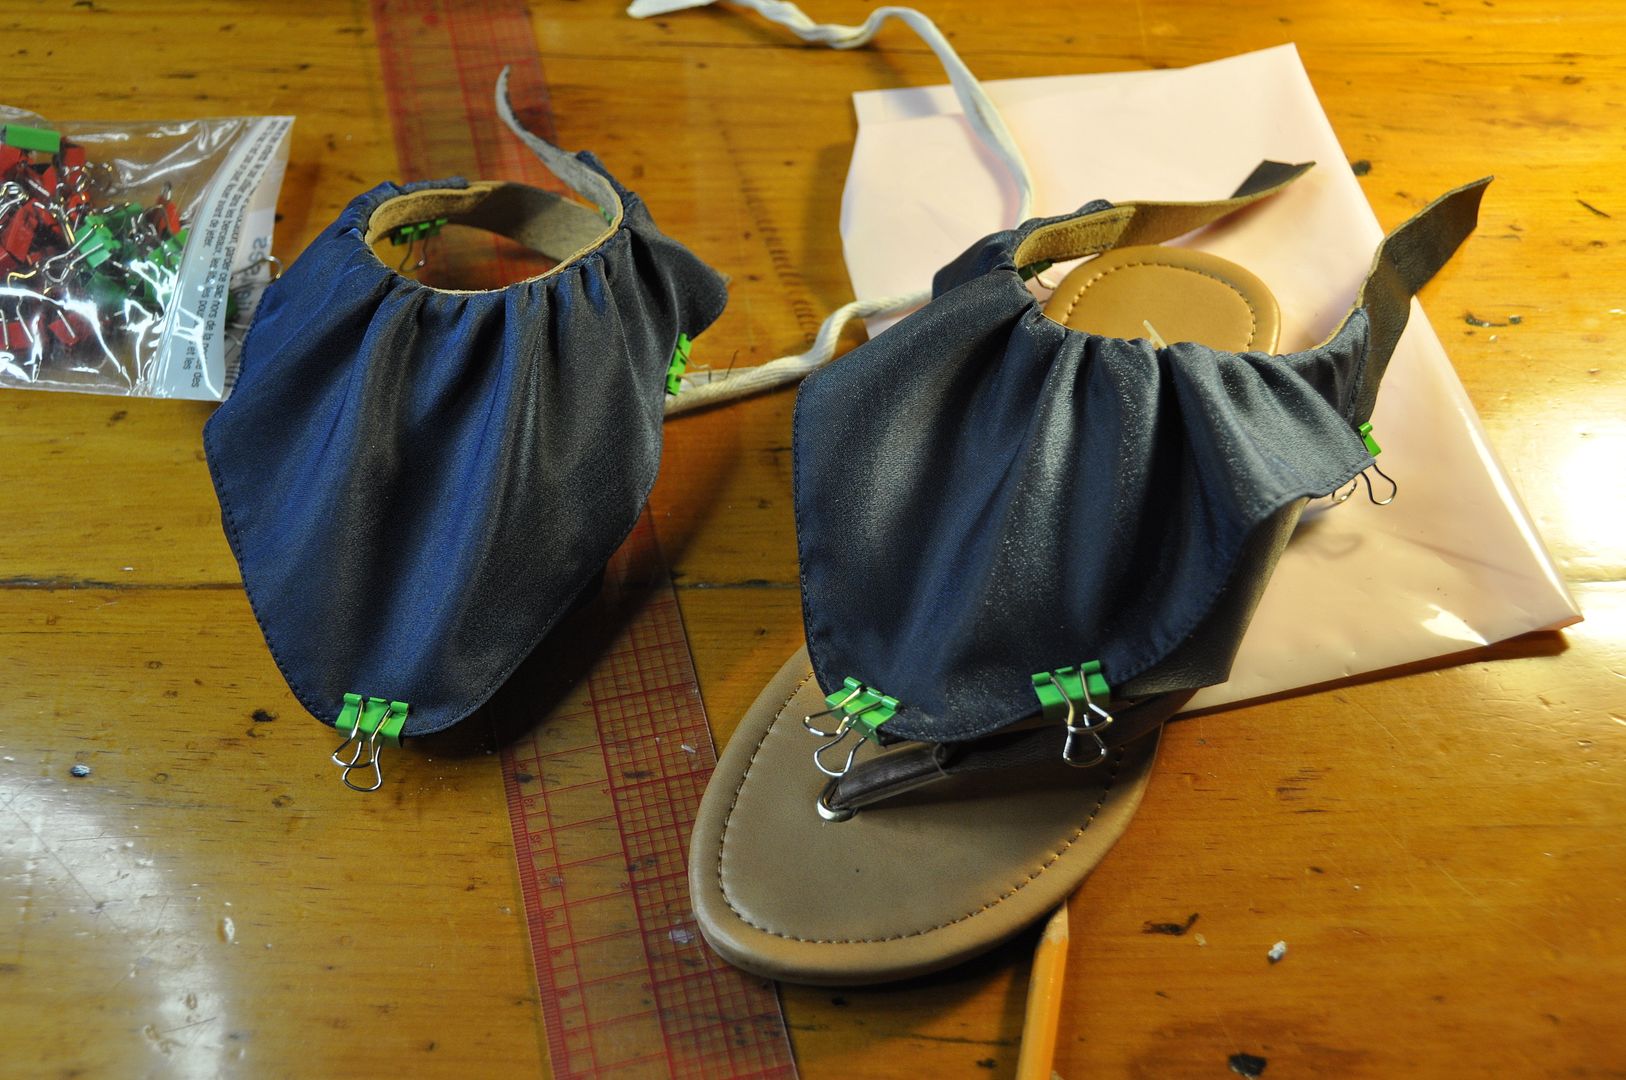
These were then gathered and stitched onto the top of the leather part of the sandal. I also tacked them down with a hand stitch in a few places on the outer edge, because the fabric was super stiff and didn't want to lie flat. 

Next I sewed a buckle into the back of each and punched holes to finish the closure. 

The last step was to glue the leather piece to the sole of the shoe to keep it in place/stop it from rotating. I used e6000 to glue it and it worked quite well. 

Another step in the detailing process for this costume was creating the gems for the center front and the edge of each bracer. 

I sculpted them using apoxie sculpt and then I painted them using a few different shades of nail polish. I did a splotchy application of my dark blue and light teal. And then went over that with a translucent shimmery blue, before finishing it off with a coat of clear gloss.

I applied the same paint to my toenails later! Details are important!

All of the gems were glued onto the costume with e6000. 

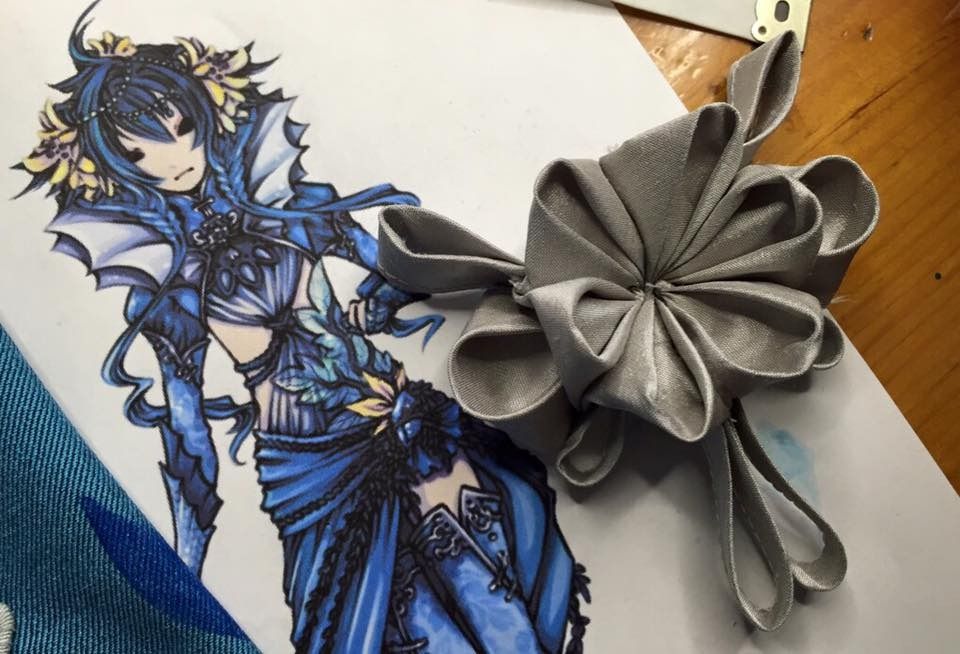
My last accessory was a brooch I created for the front of the costume. It was based on the very faint squiggle in the illustration. I got to interpret it how I wanted and this was the result. (I think I sewed beads to  the center later?)
Overall I am very satisfied with how this project turned out, and look forward to starting my next complicated fancy project.
Once again thanks for all your support! Now that this is done I can move on with my life! Hooray!
Tuesday, January 26, 2016

Vaporeon Gijinka - Wrap Skirt "Tail" - Pokémon


This is the third part of my Vaporeon Gijinka costume. If you want to see how I made the Bolero, go here! If you want to see how I made the under layers, go here!

Thanks to Elemental Photography for the great photoshoot! Credit for the original costume design goes to Cowslip!

One thing I loved about this design was the way that the tail was incorporated into this wrap skirt.

The "tail" was made from the same blue silk as the bolero jacket. It has a really nice shine to it--without being overly shiny. The fabric itself actually has a salmon-y pinkish colour woven in, which you can see in the shine. It helps to break up a bit of the blue overload.

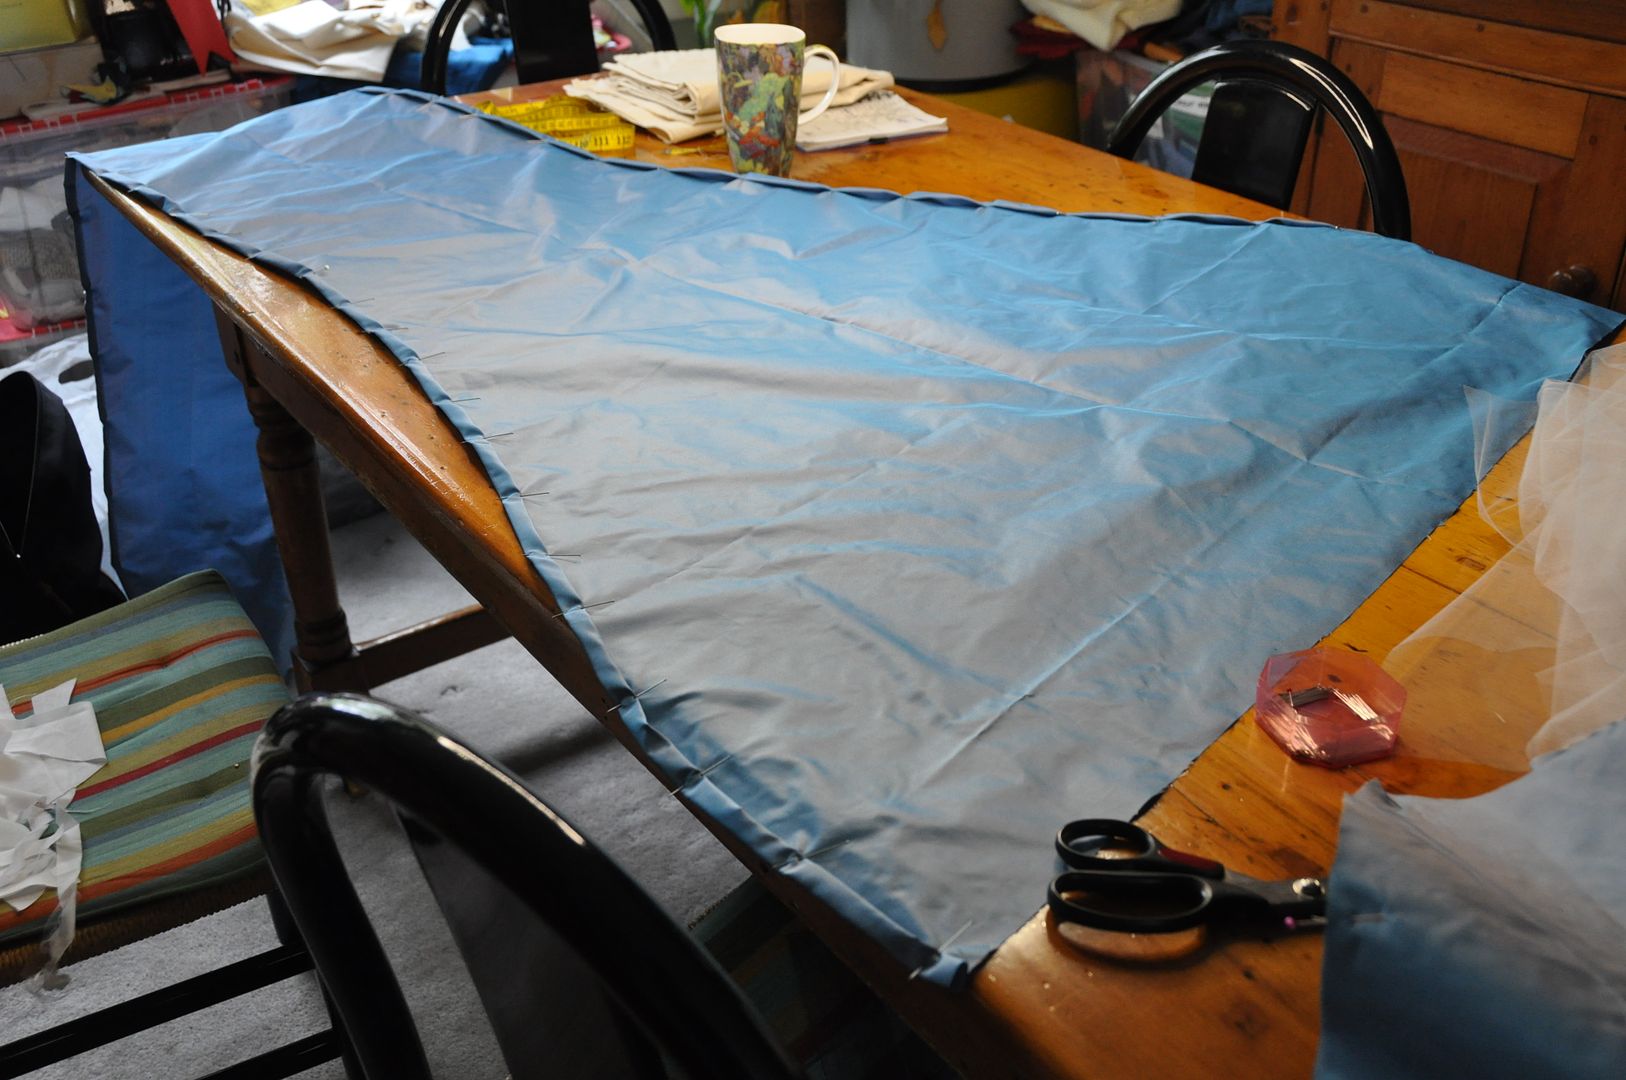
This piece took a bit of adjustment before I was satisfied. It was first draped and pinned in muslin to create the pattern--a much less scientific method than I am used to.

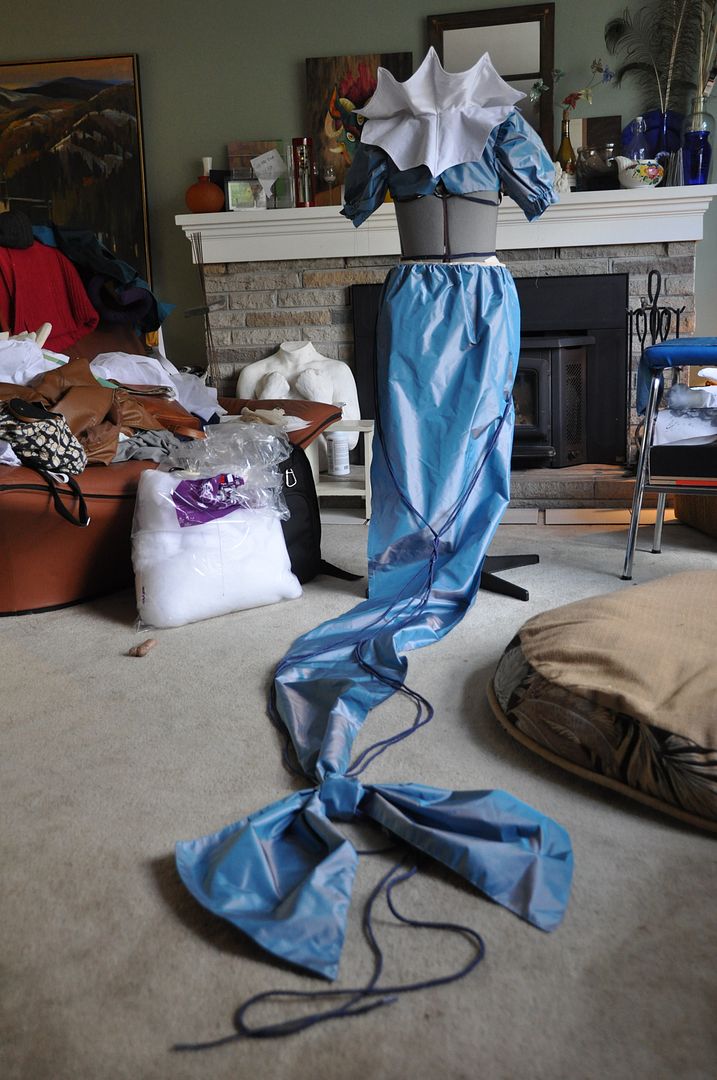
The tail itself ended up being over 5ft long. It was a bit cumbersome, so I pinned it up to walk about the con.
You can see how it tapers from the waistband down.

The next step was to finish off the edges. I neatly rolled them over and top stitched it. I wanted to make sure it looked neat from both sides, as the inside would be quite visible. Also, this fabric frayed like nobody's business. I wanted to make sure the edges wouldn't get destroyed.

I gathered it to the desired size and attached it to the waistband. The waistband was a simple rectangle of beige cotton that had a hook and eye closure. I would later reinforce the waistband with nylon webbing I had leftover from my Splatoon Inkling harness rig. This reinforcement was necessary, as later the leg wrapping rigging would be sewn into the waistband.

The tail fin pieces and decorative waistband ruffle were sewn right sides together, clipped, turned right way out and then top stitched to finished them off.

I used 4 long pieces of navy cording as my detailing on the train. I hand stitched them on at the top and tacked them at various points as they wrapped around the tail. There is easily over 12 yds of cording on this costume (including all the lacing on the bracers).

I pinned the tail fin to the end of the tail, arranging the ruffled look how I wanted it and then tacked it on with my most invisible hand-stitching. It's basically like a giant bow.

It was around this point that I realized I would not be meeting my original deadline (AN 2014) and gracefully admitted defeat. I took a year-long break from this costume.

The next step was to attach the decorative waistband ruffle. I arranged it and pinned it in place until I was satisfied with the look then tacked it on with hand stitching.

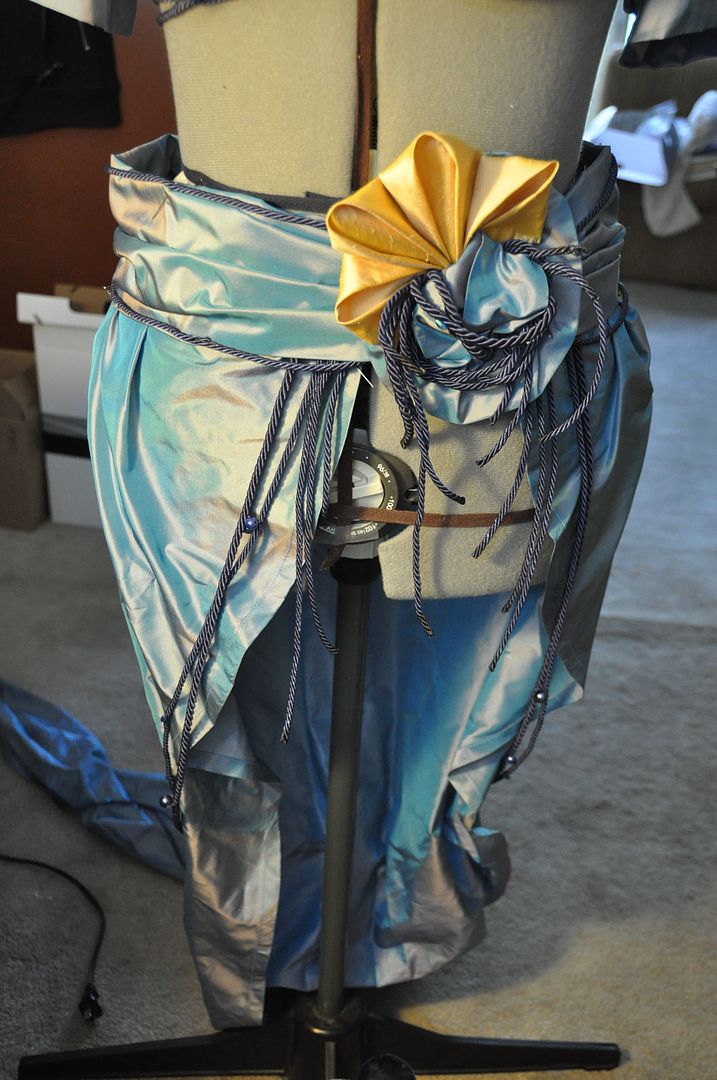
Then I went about creating the brooch that attaches to the waistband, covering the clasp. It was all made of scrap materials--leftover cording, fabric, beads, etc. I used some of the yellow silk from the hairpiece flowers to create a matching kanzashi style detail for the petals (I will go into more detail on my wig and hairpiece post for this costume.). The entire thing was sewn to a felt backing that was glued to a brooch pin.

Extra cording was used to decorate the waistband and create more dangling bits near the opening at the front.

Then I had my friend Harriet (the official Bead-Dazzler) sew on tons of beads. Props to her for her hours of hard work (in exchange for food)--I certainly have the skills to sew beads myself, but I definitely lacked the time.

The detailing is what really makes the design. There is such richness and embellishments, and I had a lot of fun realizing those little details.

Next I had to create the leaf detail that sticks up from the waistband of the skirt. The problem was, it need to be rigid, but also sheer. The fabric I had was nice and sheer, but super flimsy. 

On the Splatoon project I was introduced to this magical stuff called "heat n bond".  I essentially used it to fuse my fabrics together around a central support structure made of leftover corset bones. I have to say--I had no idea if my crazy idea would work, but it did, so YAY! 

First I traced out the shape I wanted on the paper side of the heat n bond. I cut this out and then ironed it to my first layer of silk. Then I used fray check and applied it all around the outline of the leaf shape and let it dry before cutting it out--this way, when I cut it out it would not fray. 

Then I laid the leaf shape heat n bond side down on the second layer of silk. I carefully lined up my corset bones where I wanted them and pinned them in place. I carefully sewed around them using the machine's zipper foot. The bones were now sandwiched between the two layers of silk. 

Then I ironed the whole thing, fusing my layers together.  

The next step was to apply more fray check, around the edge of layer two, allow that to dry and then cut it out.

The finished leaf feels completely different than the fabric I started with.

To create the veins on the leaf I used a similar process. 

First I traced out the desired shape in heat n bond. I then cut that out and used an iron to apply it to the first layer.

Then I fused it to the second side. I fray checked the outline, allowed it to dry and then cut it out.
This was then tacked on the leaf by hand in a few key spots.

The leaf was simply tucked into the waistband when I wore the costume.