Showing posts with label brown. Show all posts

Tuesday, November 8, 2016

Leia Rebel Scout - Star Wars VI - Wig

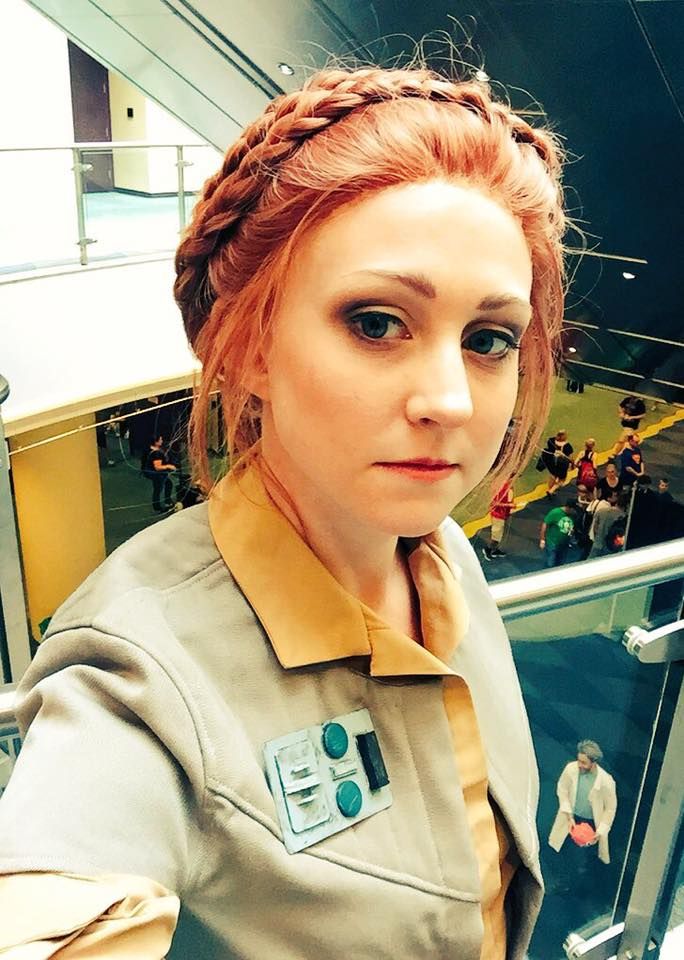
Hey guys! Lets take our first look at my Leia Rebel Scout costume! I won the "Best of Thursday" award at the FanExpo Cosplay Craftsmanship Contest 2016 with this costume.

I've wanted to do something Star Wars for a long time, but I was undecided what costume to do. I was interested in doing Leia, since I enjoy her character a lot (though not as much as my undying love for Han Solo). But as far as costumes go I thought her most iconic outfit is kind of bland and "slave Leia" is really not my kind of costume. I did however find the rebel uniforms pretty neat and really loved those bizarre ponchos they wear in the forest on Endor, so I thought I would do the most un-cosplayed Leia costume there is. Enter, Leia Rebel Scout!

This wig was a bit a leap for me in terms of wig skills--I have never worked with a lace front before this. So I was worried it was going to turn out awfully. My fears were unfounded though! For my first lace-front I thought the application went pretty damn smoothly.  Especially since my boyfriend Blayke was my assistant for the first trial run and we know how he likes to do cosplay (hint it involves using only staples).

But I got quite a few compliments on my wig! Most people were fooled into thinking it was my actual hair and praised my hair braiding wizard skills. If they were fooled, it must have worked? ;D
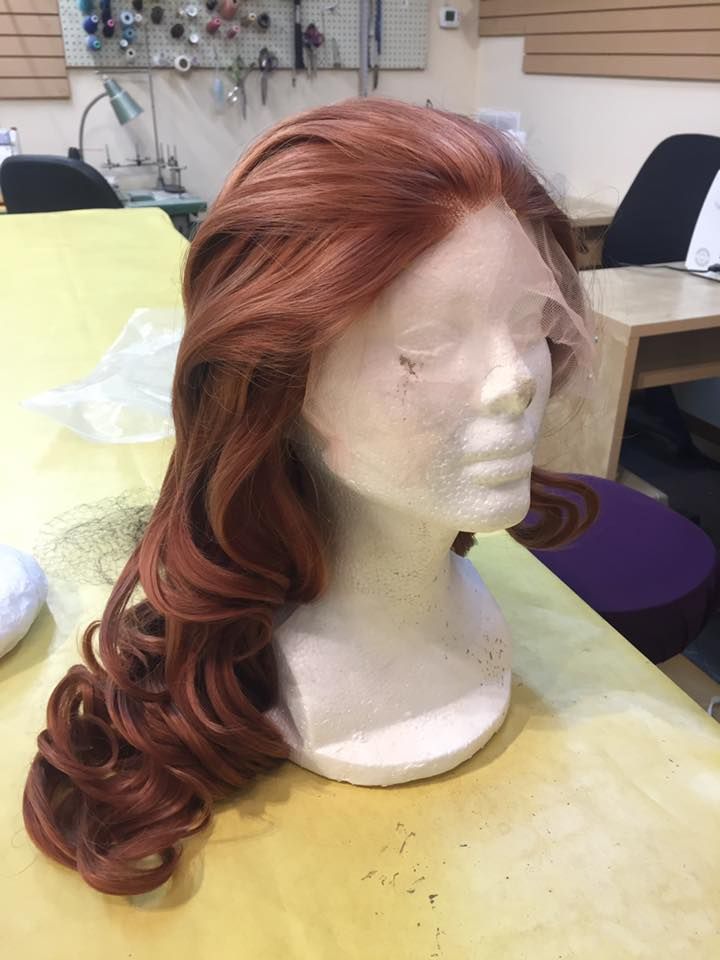
My base wig was from Arda Wigs--because they sell good quality lace-front wigs for cosplay. I got the Matilda in warm light brown. I was a bit disappointed to discover that it looked more ginger than I wanted, so I actually toned down the colour with a brown sharpie before I started styling it. What this means is that I took individual fibers/small bundles and coloured them in, this gave it a more natural look of colour variation that helped to darken it a bit.


This style involved next to no cutting--it was primarily sectioning the hair and braiding it. I sheared off a few strands at the front to create the wisps of hair that hang down at the sides of her face and give a more worn look to the hairstyle--like she has in the Endor scenes.


This style involved next to no cutting--it was primarily sectioning the hair and braiding it. I sheared off a few strands at the front to create the wisps of hair that hang down at the sides of her face and give a more worn look to the hairstyle--like she has in the Endor scenes. I straightened these later because they were a little too curly.

The two braids that come up and over the head start one on each side. As they passed the halfway point hair from the front hairline was french braided in to extend the length. Then they were tucked in and pinned in place.
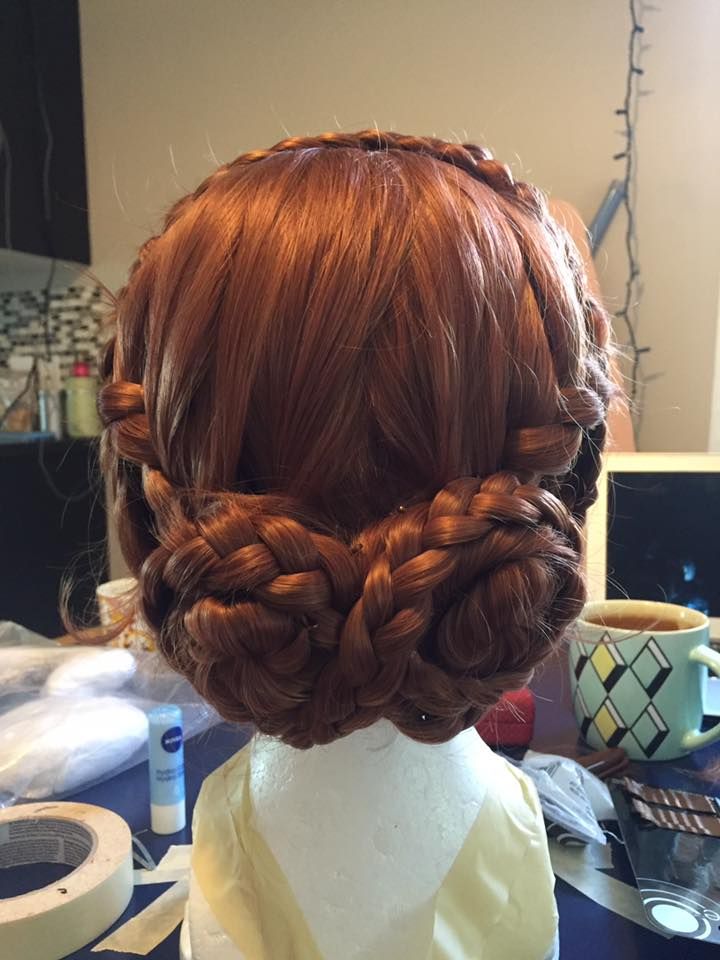
The bun at the back is made up of 6 sections. There are 2 braids that take most of the top section--these were held off to the side at first. I took the next two sections--which are fairly close together at the center back--and twisted them into two small buns. Then I took my next two smaller sections and braided them. 

The first two braids were crossed below the buns and then coiled around the bases. They were pinned in place there. The smaller braids were then coiled around the two buns in a figure eight--turning the two separate buns into one larger bun.

I trimmed the excess lace at the front down to less than 1/4".

The application process went fairly smoothly but took a hell of a long time. The wig actually has a comb clip in the front, which I hooked onto my own hair (I french braid my bangs when I wear wigs) to keep it from sliding. This wig is fairly back heavy.

I started at the center of the hairline and made sure it was sitting in the correct place. Then I moved outwards from the center along the hairline down each side doing small sections and gluing them in place with spirit gum. I used a hairdryer to speed up the drying time (that was Blayke's job) while I held things in the correct place. Once it was done it looked pretty convincing!


Thursday, October 13, 2016

Presea - Accessories - Tales of Symphonia

Welcome to Presea Part 4: Accessories! Feel free to venture back and check out the Gloves & Boots, Dress, and Wig. Many thanks to the ever fabulous Elemental for the amazing photos! We braved the cold and pulled it off!

This costume had a lot of smaller pieces involved. This post covers the belt, pouch, dagger, and Exsphere (necklace).

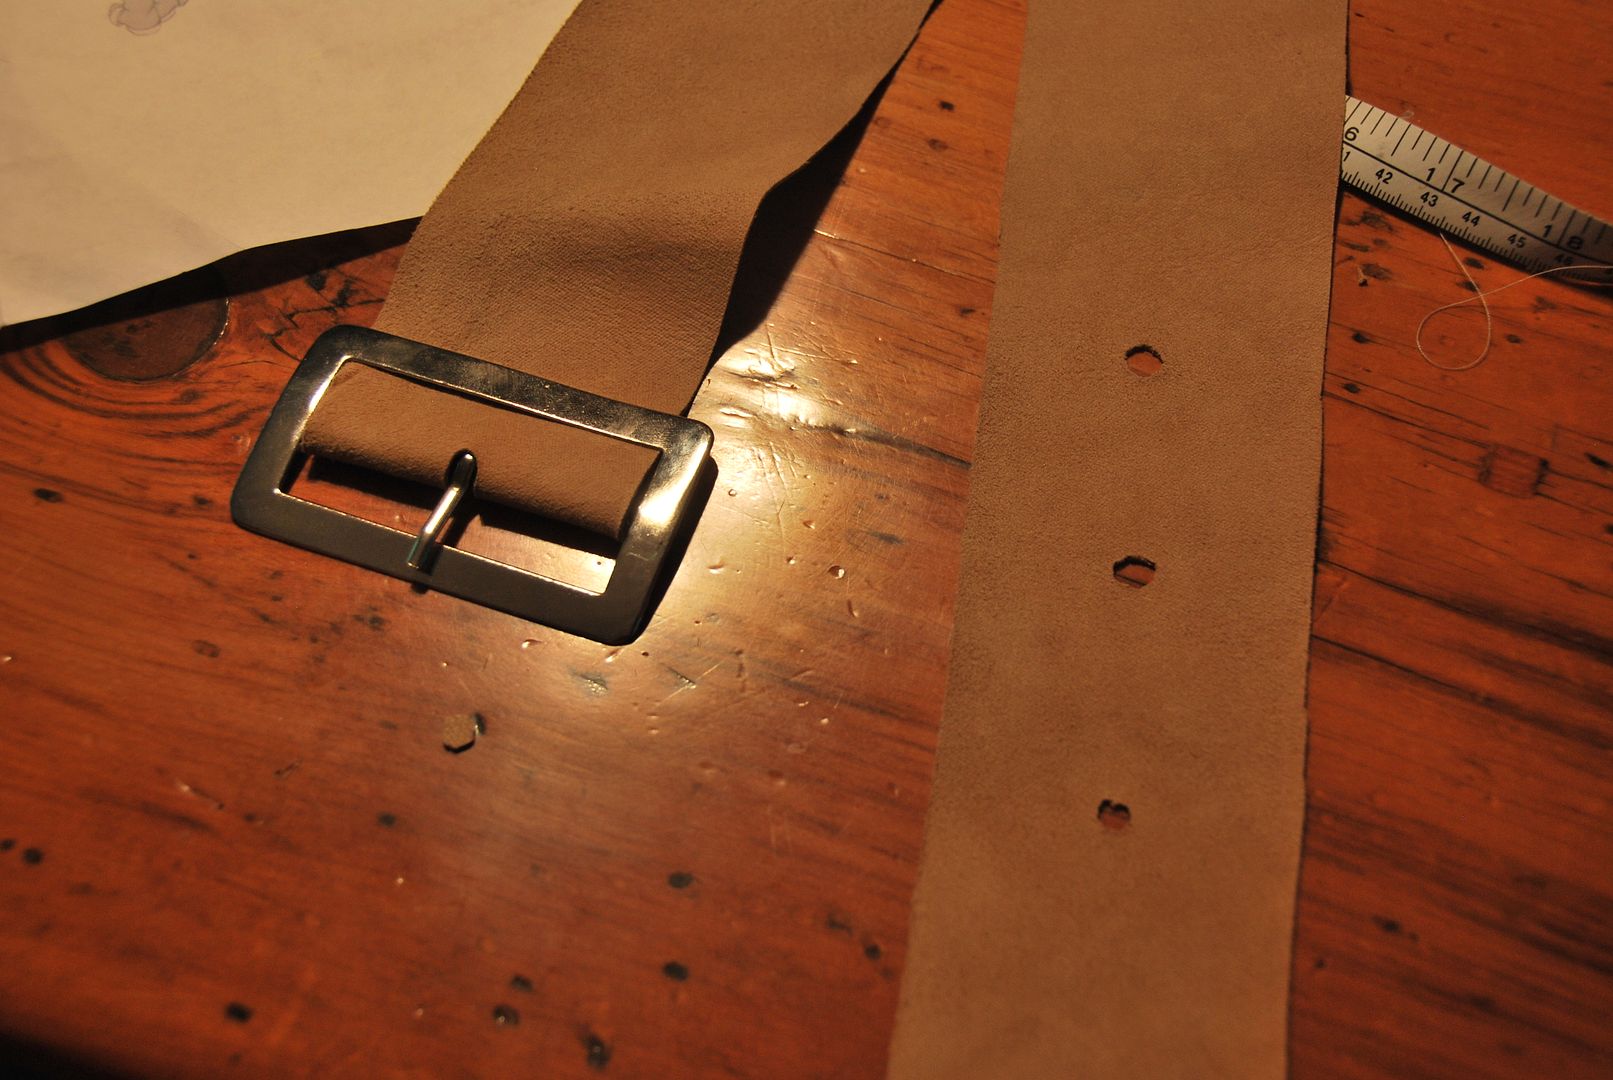
For this project I actually bought a piece of real leather to work with. I used the suede-like side as the outside (as opposed to the shiny side), because I thought it was more true to the character.

The first piece I cut was the long strip for the belt. Later I went back and reinforced this strip by sewing a second layer to it. I used scissors and carefully cut out the holes. The buckle was found in an store on Queen street after much searching.

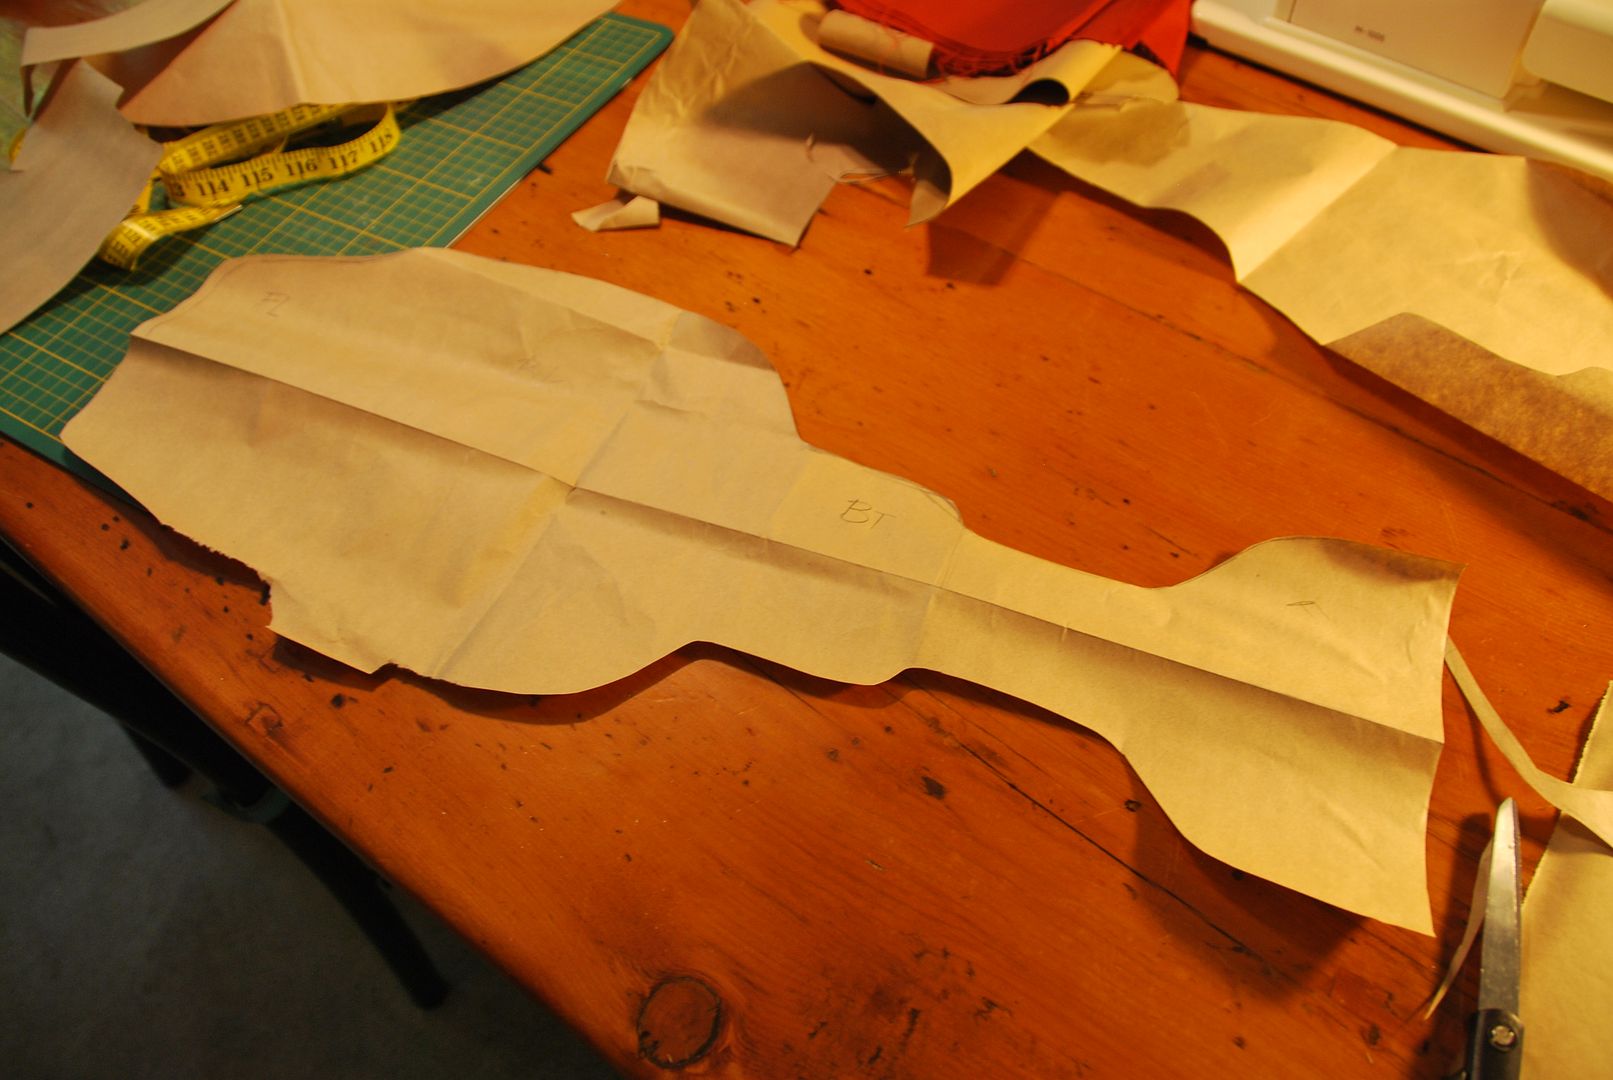
Then I patterned the pouch.
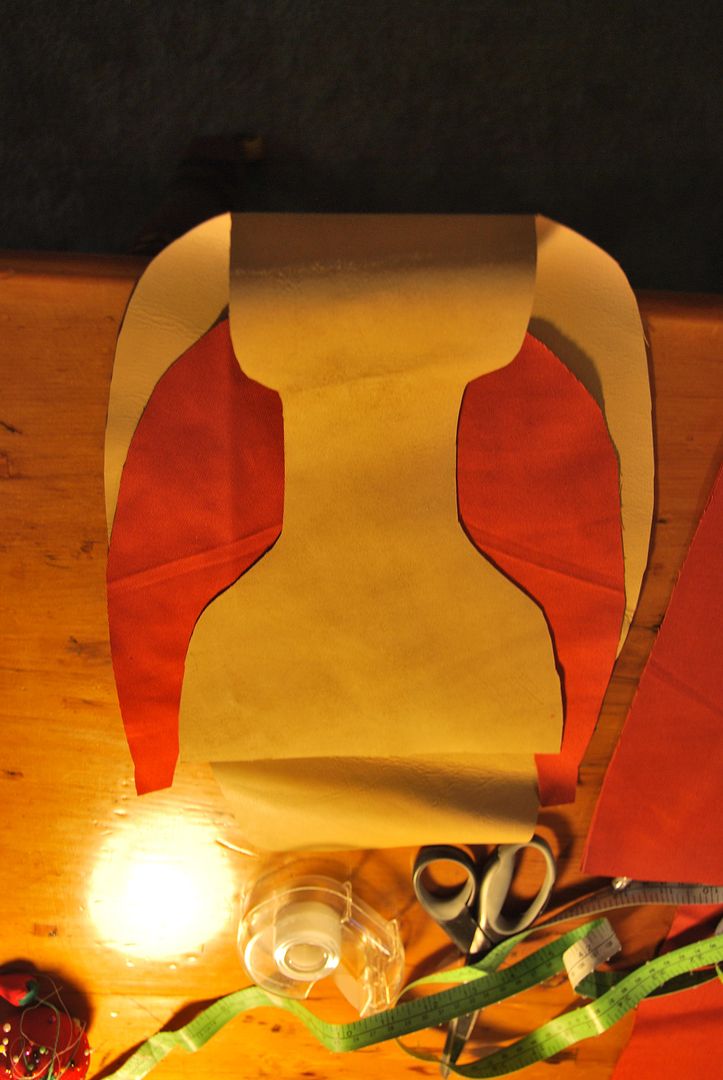
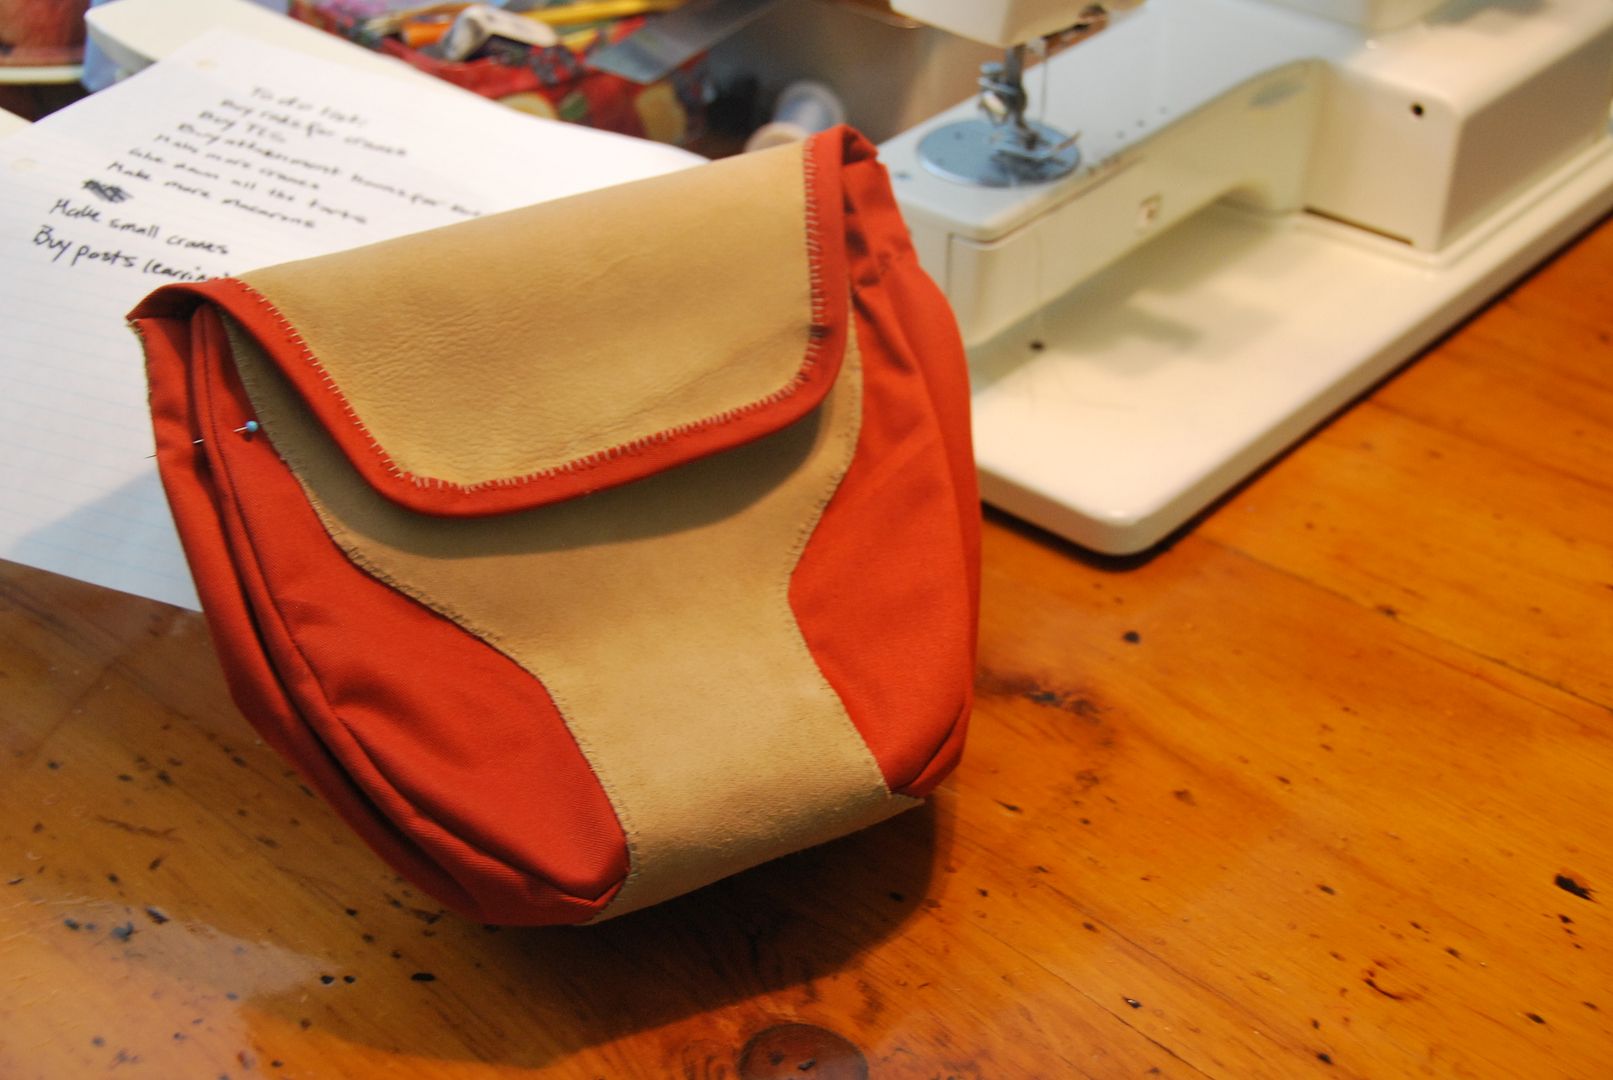
The pouch consists of one curvy strip of leather that folds over on itself to be the front, bottom, back and flap of the pouch.
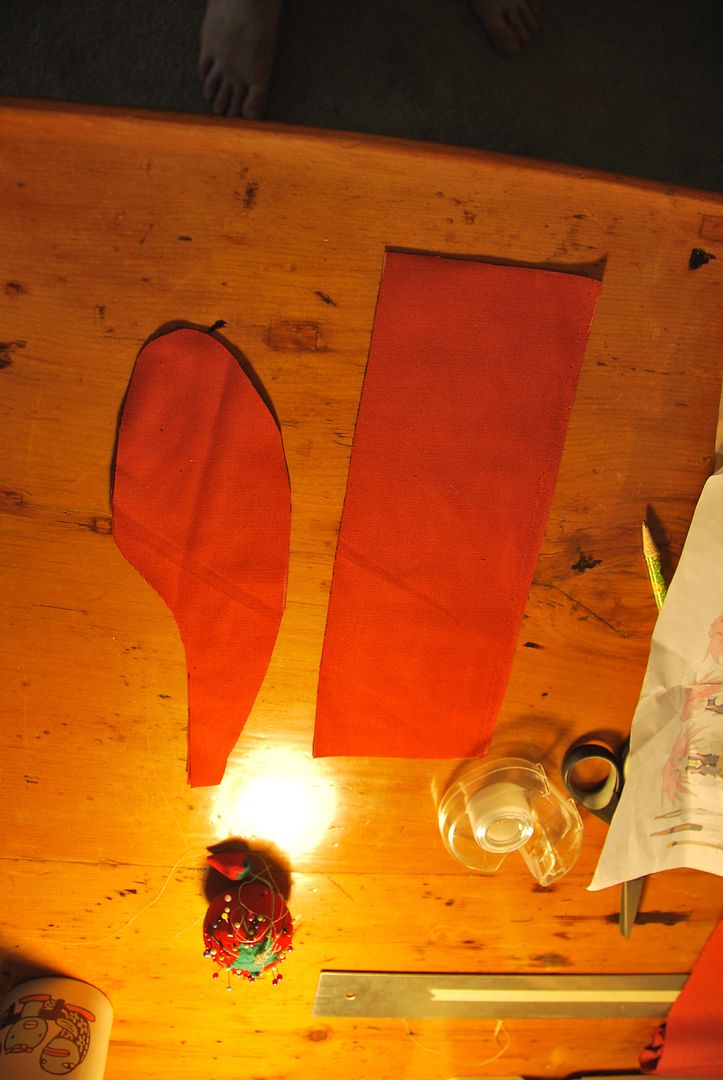
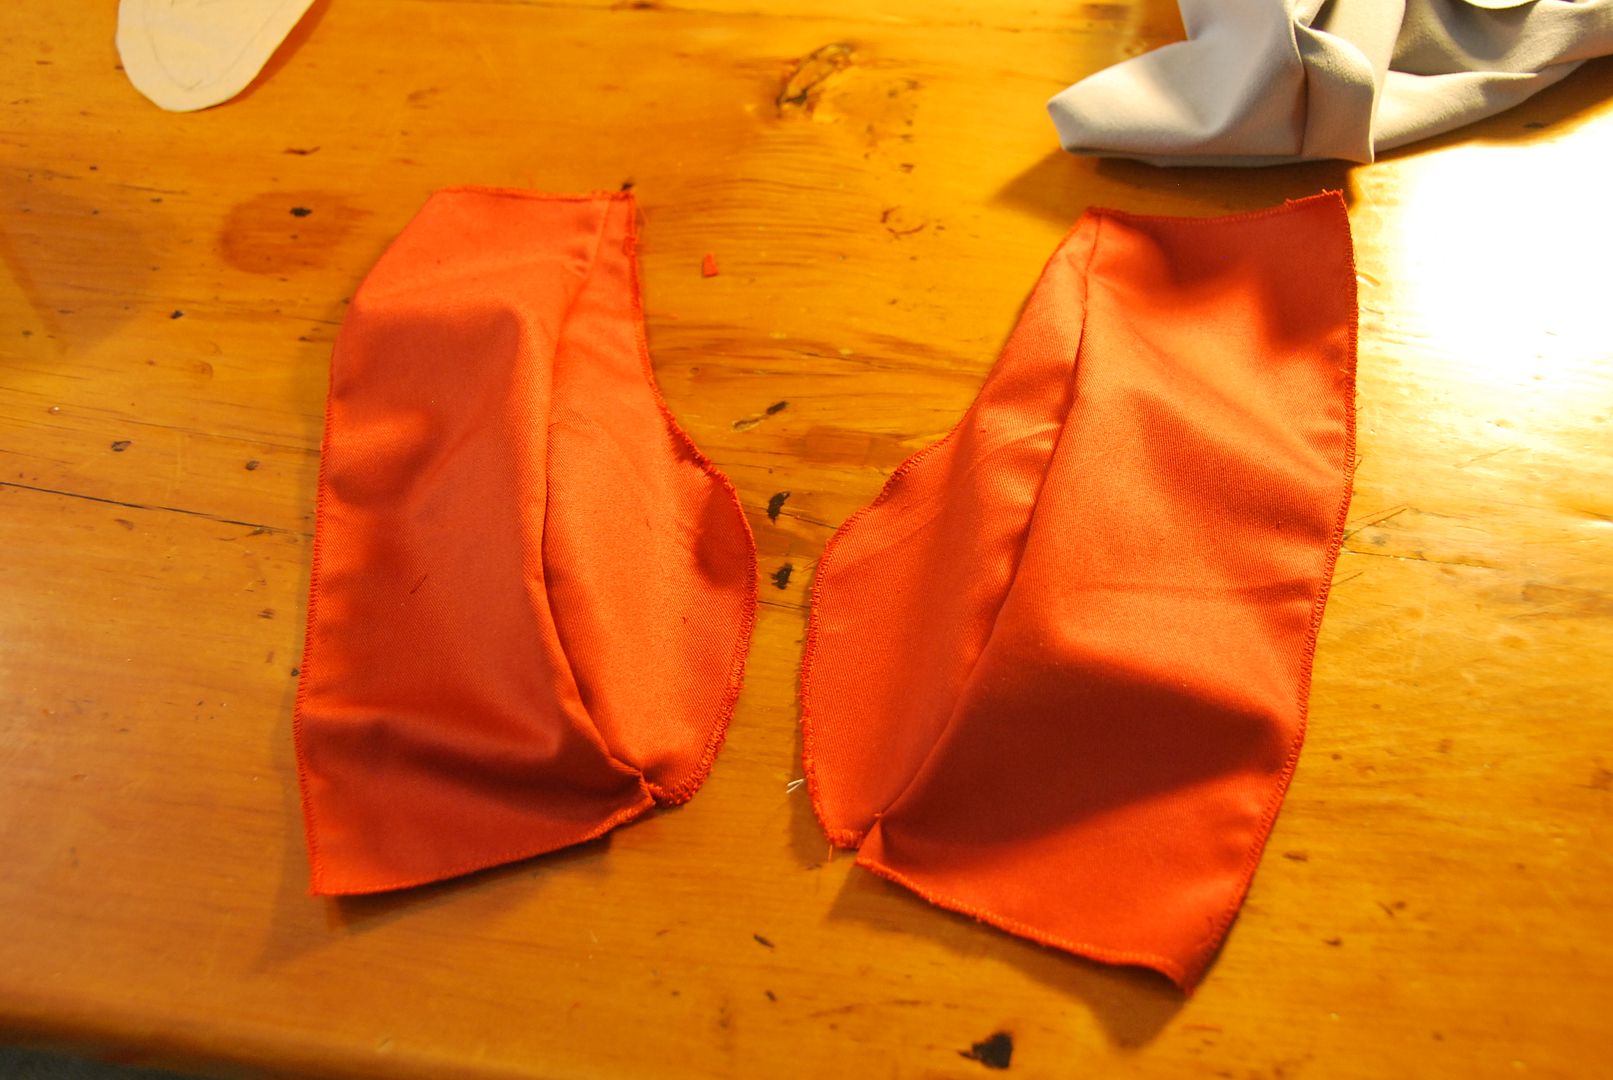
Then there are the 2 panels that form the two orange curved sides of the bag.


These were stitched together, then all the edges were finished.

These were then marked and very carefully hand stitched to the leather. At this time I was unsure if my sewing machine could handle leather, so I hand stitched all the leather on this costume. Turns out it can, with the right needle, which I found 1 year later when I returned to finish the project. Unfortunately I finished all the leather work before then...
I made a matching bias tape and stitched that on as well. The last step was to cut 2 slits in the back so the belt could be fed through the pouch.

I had intended for this bag to be functional, but unfortunately it was too floppy to hold it's shape with anything inside...
Next up is the dagger! The dagger is also attached to the belt, but the character never uses it, it seems purely part of the design.

I made the dagger out of wood, cutting it out with a jigsaw.

I had my friend Ian dremel out the blade edges because at the time the sanding bit on my dremel was not working. When I received it back I hand sanded it even smoother.
I created a sheath and loop to attach to the belt. The loop was on an angle so the dagger would be angled like it is on the character.

I started the paint treatment with grey primer, then silver and finally a light blue acrylic for the face of the blade.

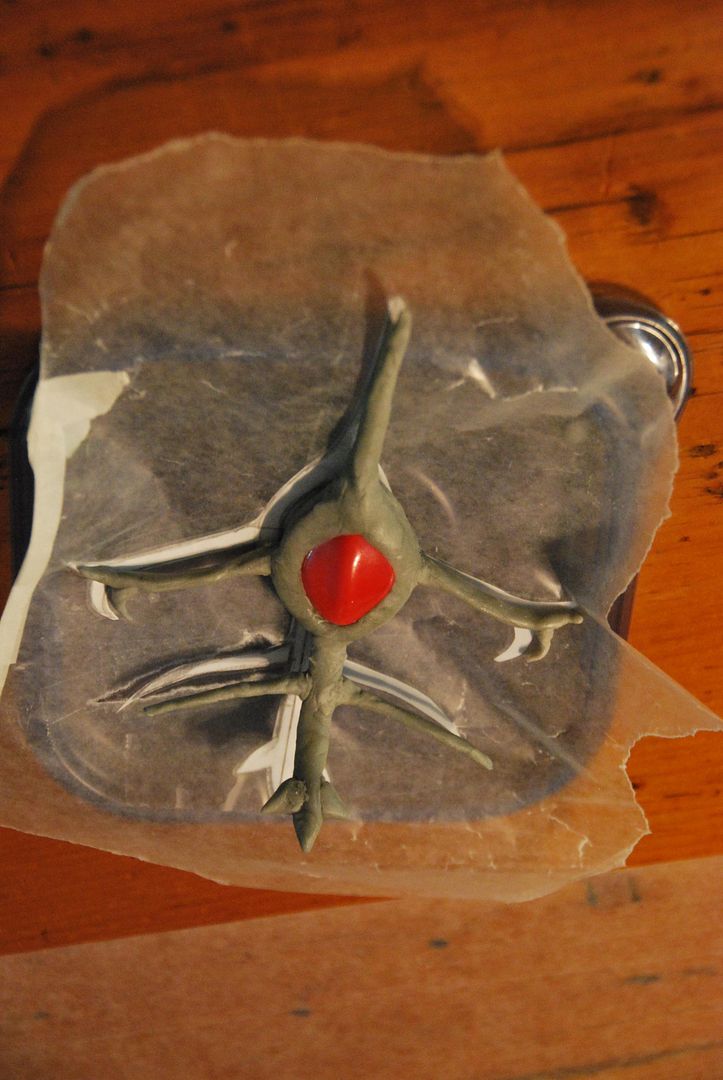
The last detail was the Exsphere. I started by drawing out the piece full scale, then making a wire frame for it. I bought a large red bead for the gem in the center. I sculpted the piece with apoxie sculpt, which is great for this kind of thing as it dries super solid. Later I went back and broke the two side arms and bent them further back to better contour the neck. I filled in any divots with more apoxie sculpt and sanded it smooth.
 

I masked off the gem with painter's tape and then sprayed the piece a matte black. Then I painted over that with a gold acrylic paint. Lastly I created a short chain so it could be worn. The actual character has this gold piece built around the gem, which is fused into her skin, I didn't think that was necessary for me! Hahaha I just had to be careful not to look down suddenly, otherwise I would be jabbed in the neck.

Friday, August 19, 2016

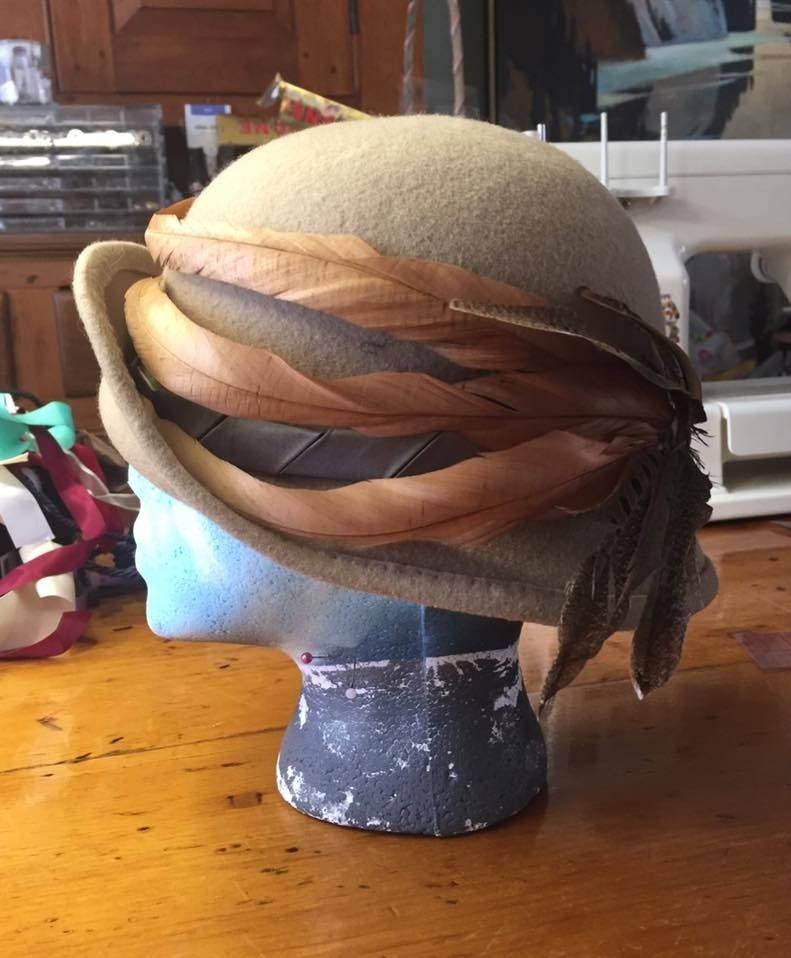
Brown Cloche Hat With Feathers


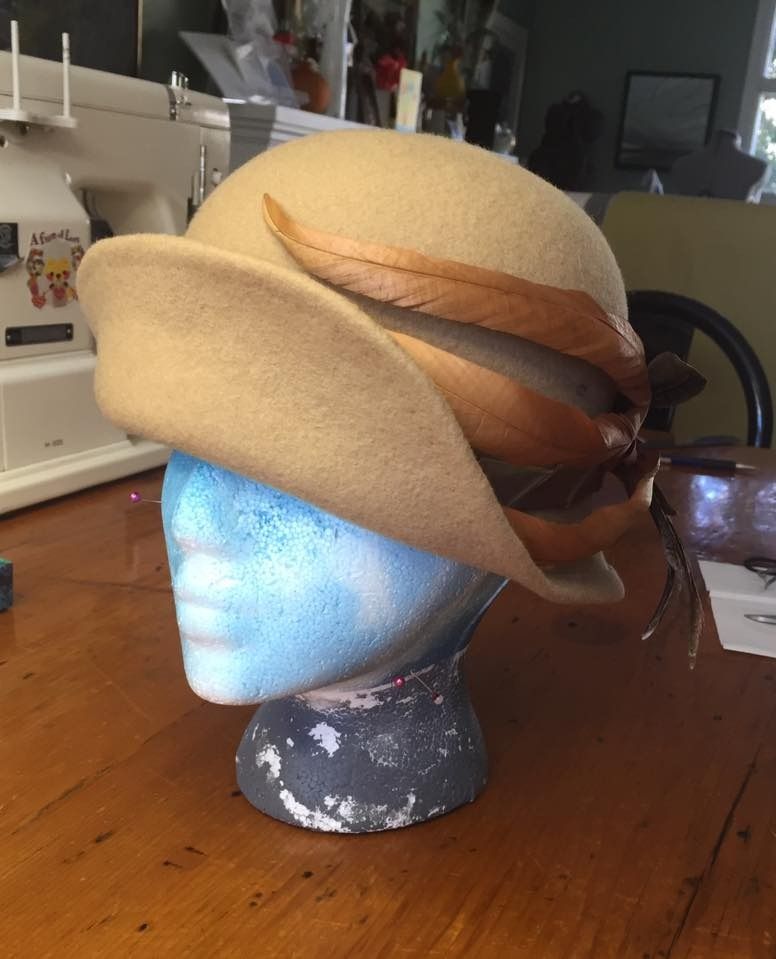
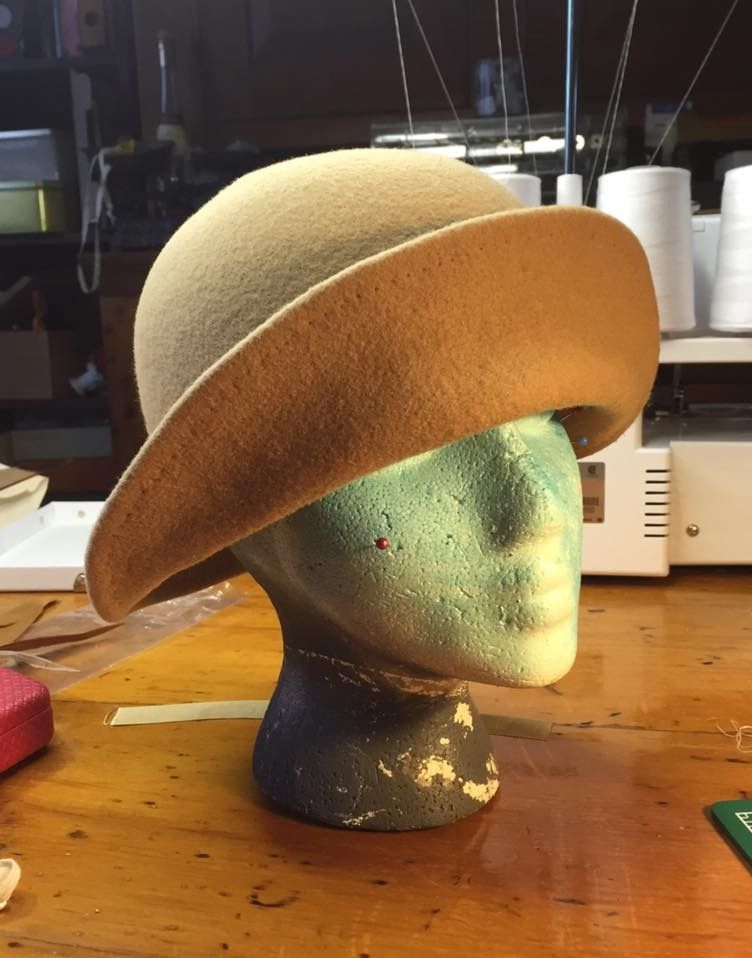
Let's take a look at my final millinery project: a blocked felt hat! I decided to do a simple cloche hat decorated with feathers. 
To make a blocked felt hat, you buy a "hood" or "capeline" which is 100% wool. (Or you can buy an 100% wool hat that has already been shaped and reshape it. You can get them at H&M.) 

You heat up a tea kettle that doesn't have an automatic shut off (so it will keep boiling--just make sure it doesn't run out of water, because you need the steam and to not set anything on fire). You place the hood/capeline over the steam spout and let it steam. It should have condensation on the outside and it will be really hot when it is ready for shaping. Use tongs to take the hood/capeline off the steam and place it over your desired block. I used a round crown top. Then you stretch it over the block, tie it tight and pin it in place. Let it dry for 24 hours. 

For my cloche, the crown and brim are all one piece. I was pressed for time with moving and was going to miss the last class, so doing a one piece hat was necessary--but also, I really like this style anyway.

If I were to do a separate blocked brim, at this point I would have carefully cut off the brim with an exacto-knife and blocked it on a brim block. For a one piece hat, I applied more steam and shaped the brim while the crown was still tied down on the block. I used rolled up pieces of fabric to shape around and let it sit while it dried. During this time I trimmed off some of the excess felt  from the brim to get it closer to the finished shape that I wanted.

When it was dry, I removed it from the block and set about finishing the edge of the brim. I decided to do a simple folded edge finish. I marked my finished edge and carefully trimmed the brim, leaving a 1/2" fold allowance. I folded it over, using bulldog clips to hold it in place so I could baste it. Then I carefully ironed it before stitching it as invisibly as possible. I ironed it again after stitching. This helped to give it a crisper edge.

Next I added the decorations and headband to the inside. I also gave it a label. I decided to accent it with more of that green silk I bought for the previous hat and feathers left over from my Forest Guardian costume. The goal is to stitch decorations on securely without making them look heavily stitched on,

I'm not too impressed with how the decorations turned out--specifically the feathers. I may replace them later. But I really love this shape--simple, yet elegant!


I've signed up for Millinery Part 2! So look forward to more hats, coming this fall! :D

Thursday, May 5, 2016

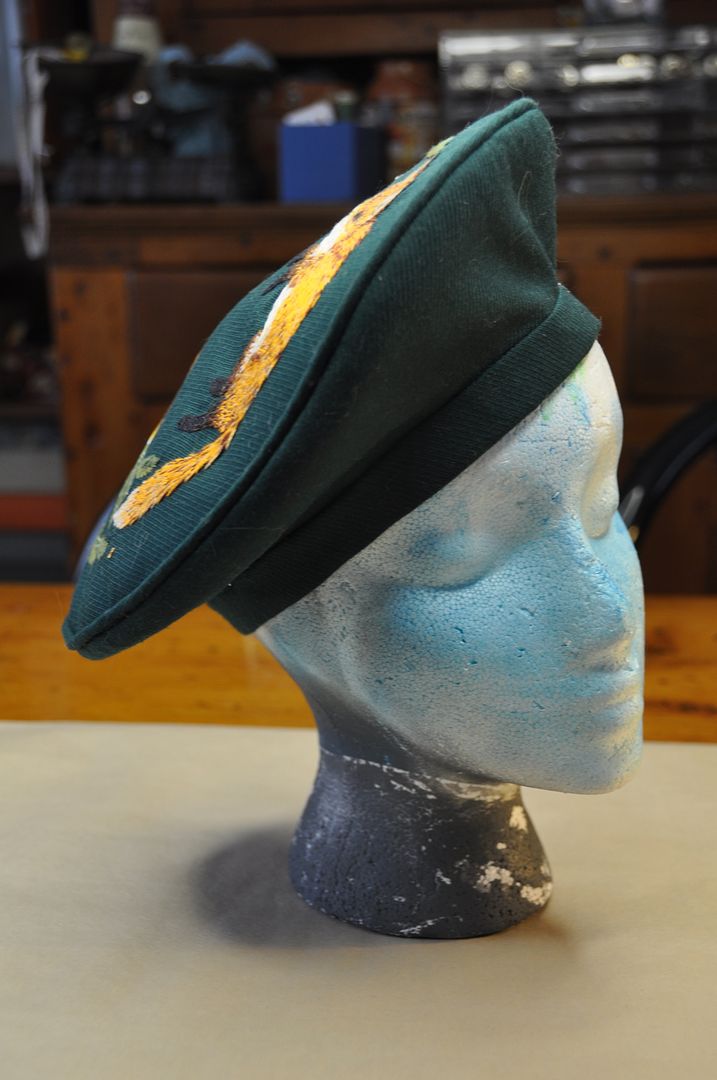
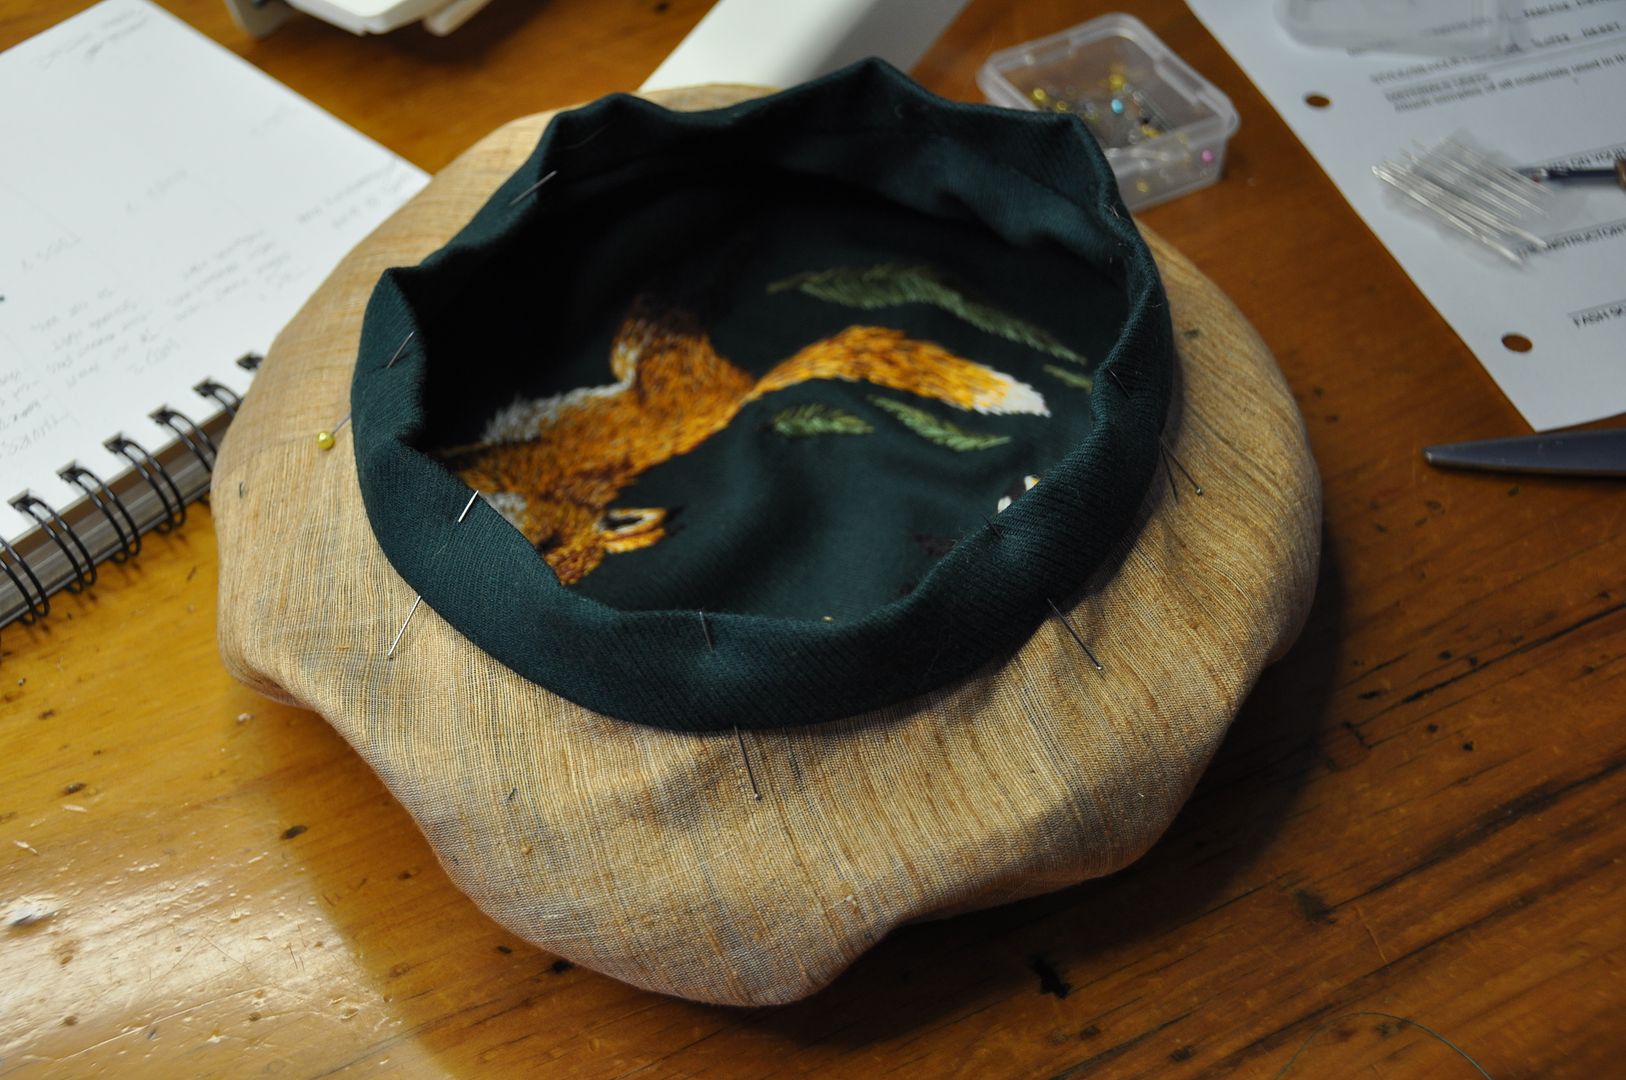
Fox Embroidered Beret

My first project for my millinery class--the project outline gave us a choice of a number of styles of sewn hats. I chose to do a side sloped beret. And since decorating was required and beret tops have such a nice flat surface area I decided to turn this into an embroidery project.

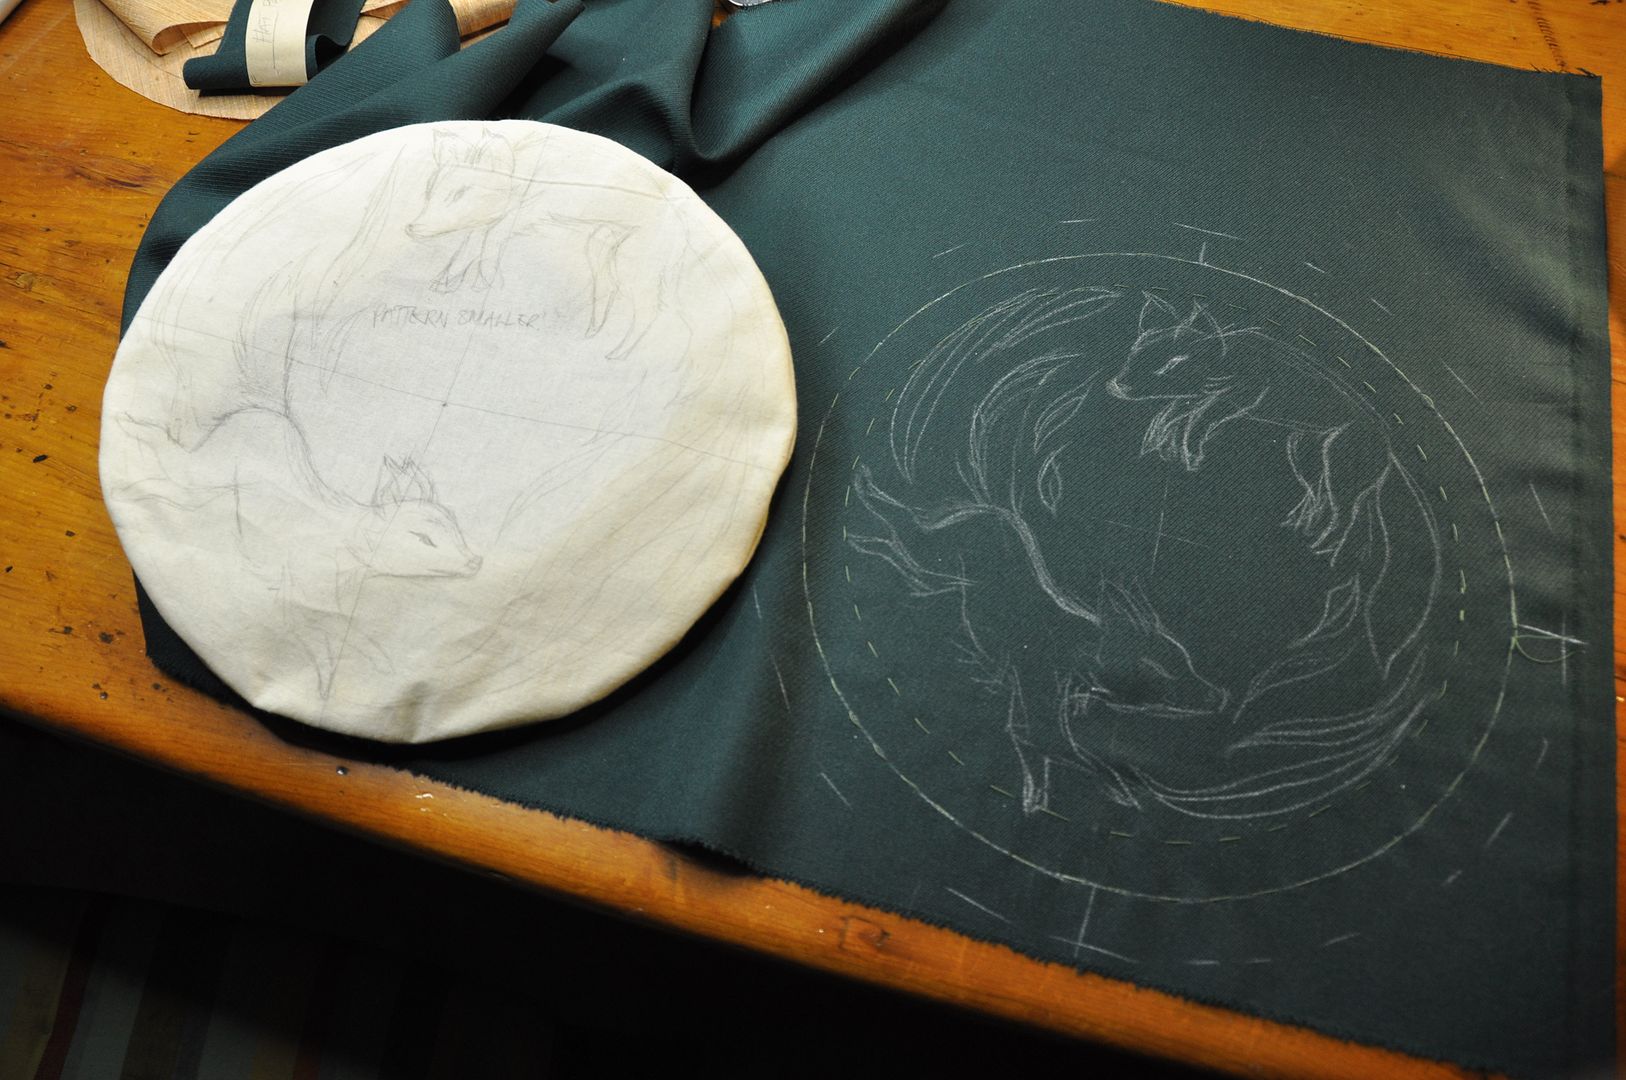
I patterned the hat from scratch. And mocked it up to ensure I liked the style and fit. Then I sketched out my design for the top. Once I was satisfied with that, I moved on to the real hat.

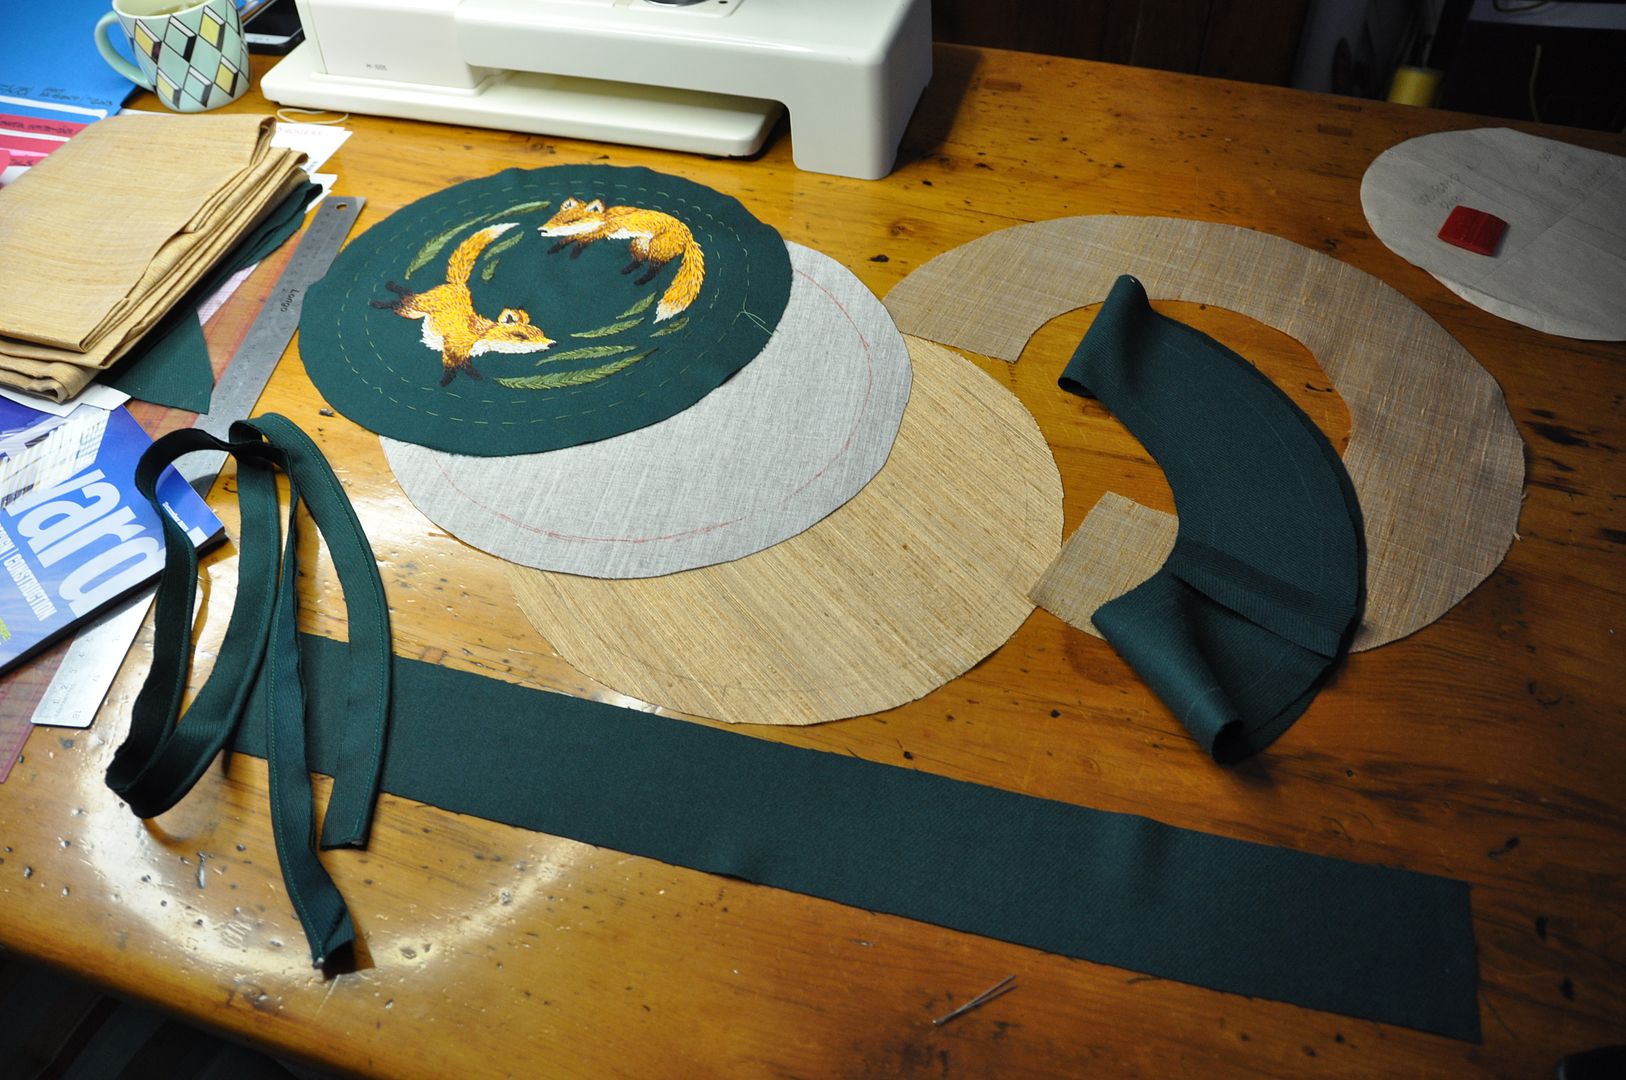
I first cut out all my pieces. I picked a beautiful green wool for the fashion fabric and the lining is leftover silk from my Steampunk Corset.

Then I embroidered the top. I had to finish my embroidery completely before moving on, so that the back of the embroidery stitching could be protected by the lining and interfacing layers. That is the part that obviously took the longest.


I sewed the center back seam on my sidebands--lining and fashion layer.

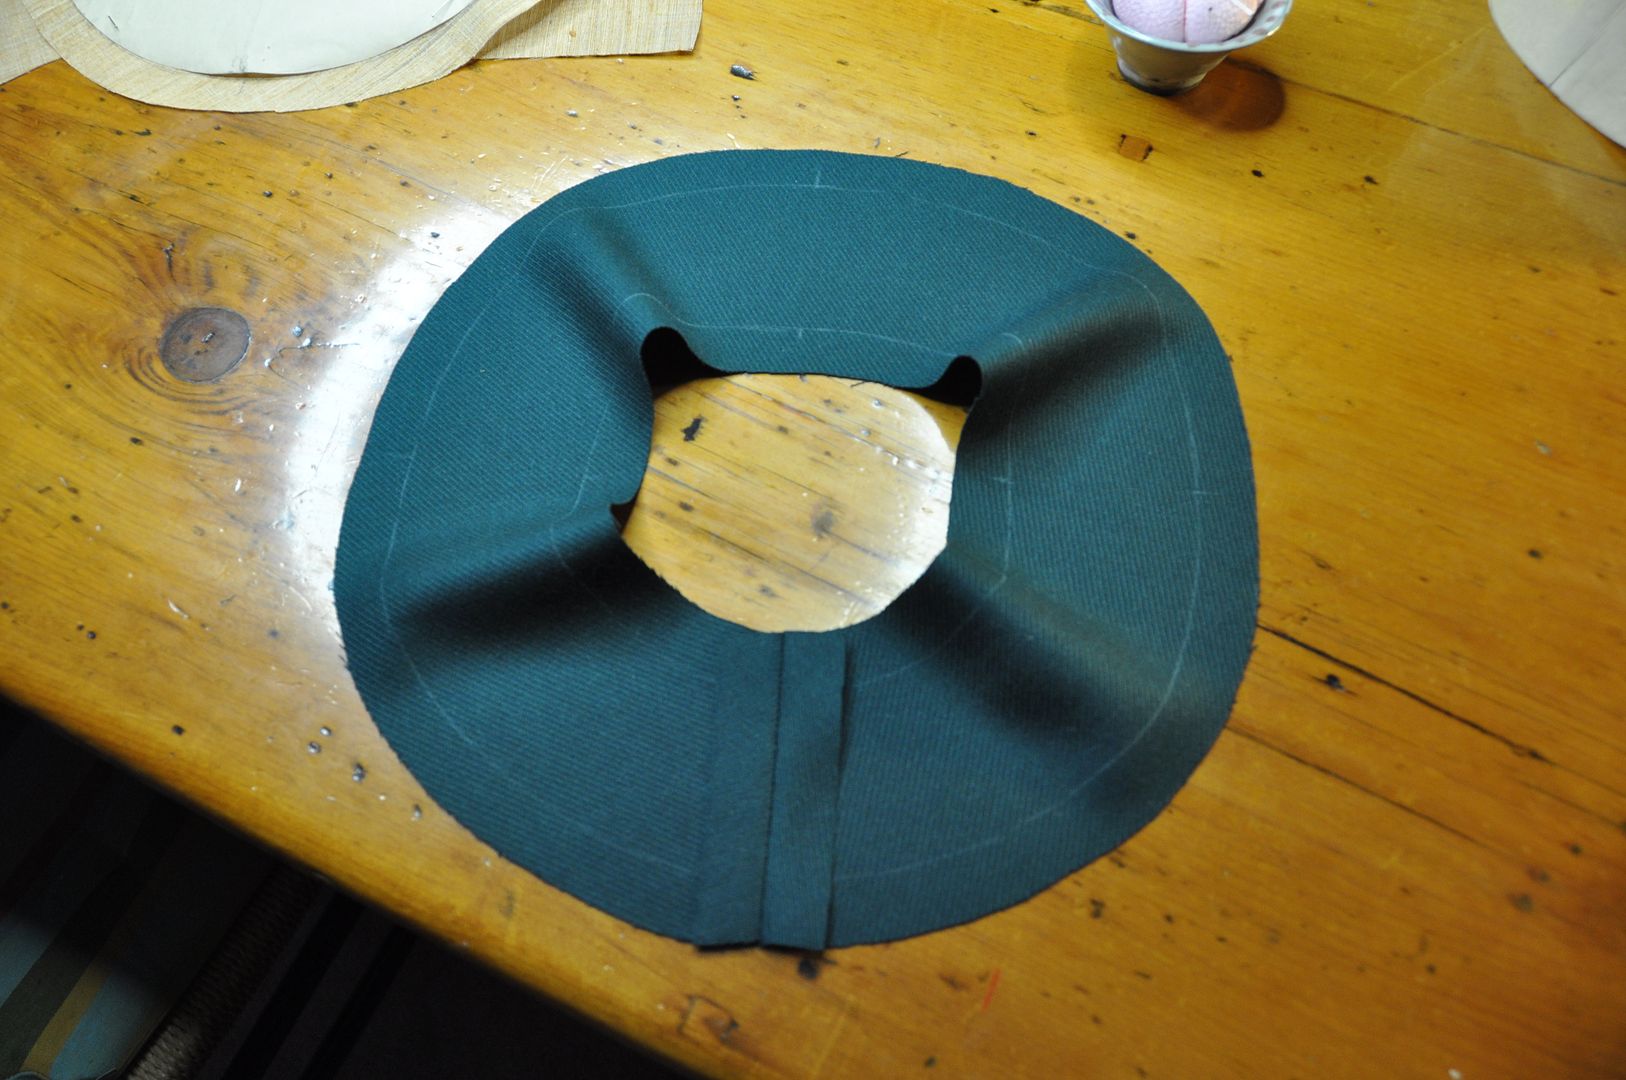
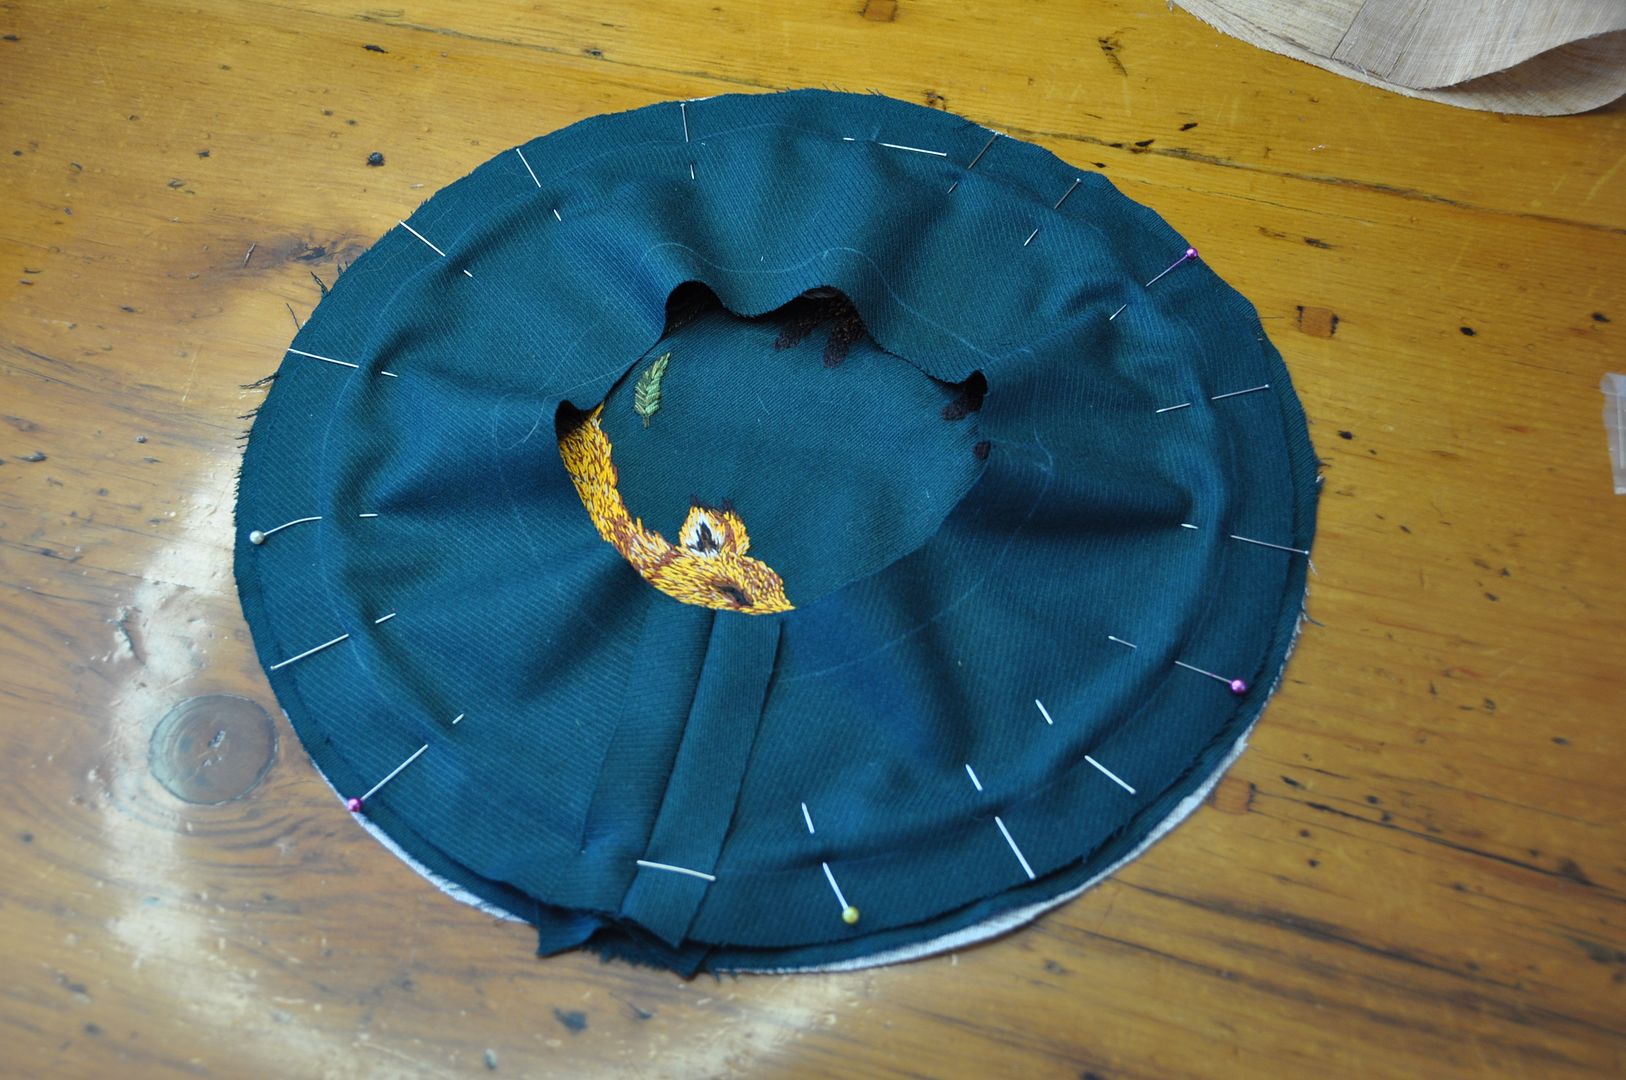
I constructed the hat in the "pancake" method. The tip (top) of the hat has 3 layers: the outer layer, horse hair canvas interfacing, and the silk lining. I basted the 3 layers together.


Next I made some piping trim. This was stitched onto the top layer, piping to the inside, and seam allowance to the outside of the stitch line.

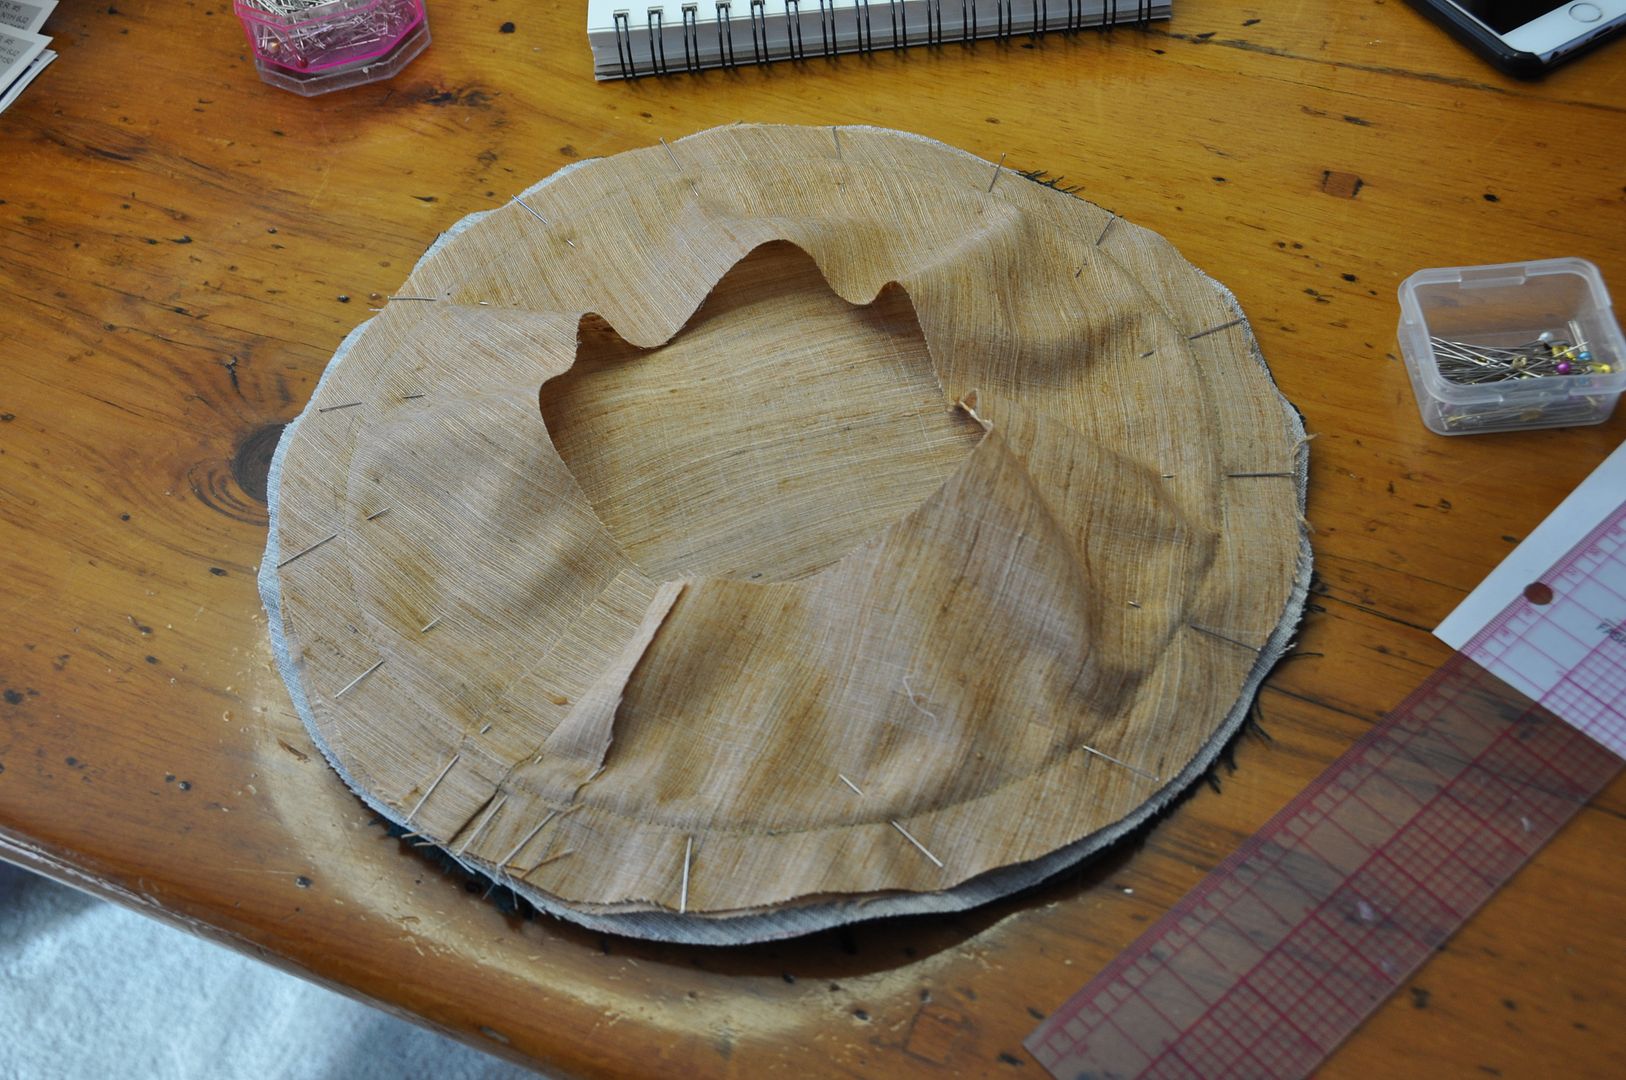
Then I basted on my outer layer of the side band. This was basted to the top, on top of the piping trim, following the same stitch line. Then I flipped it over and sewed the lining sideband to the bottom side, through all the layers.
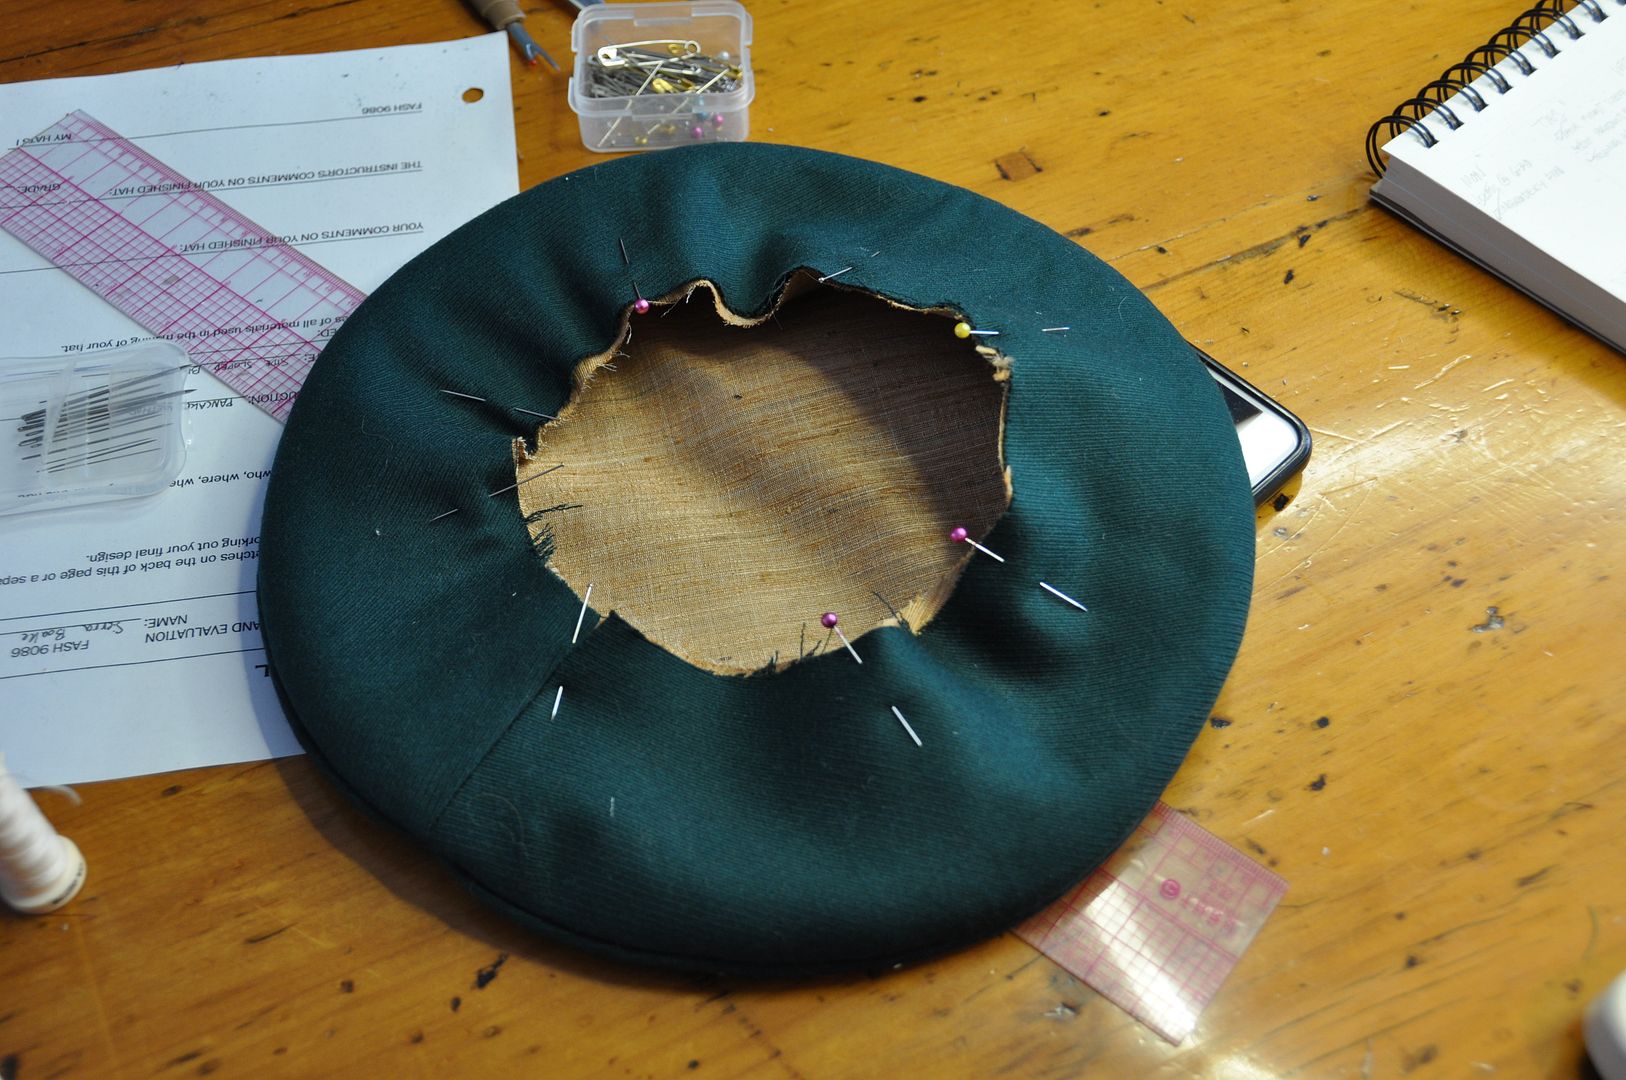
The next step was to properly grade and notch my seam allowances to cut down on the bulk. Then I flipped the outside sideband over to the bottom. I carefully pressed it--without crushing the piping trim. Now the top of the hat was completely constructed and lined, and I could move on to the final part--the headband.
I basted my sideband layers together along the bottom seam allowance. Then I sewed one edge of the headband to the outside. I graded and notched my seam allowances before ironing and folding over the headband to the inside. This was pinned and then carefully slip-stitched in place by hand.

Presto! A fabulous beret!


Friday, October 30, 2015

Sakura - Wig, Hat & Accessories - Cardcaptor Sakura

Part 3 of Sakura (1st Opening outfit)--lets talk accessories! The details are really what make this costume. If you want to see how I made the wings, go here! If you want to see the rest of the outfit, go here!

I entered this costume in the Friday night Workmanship Competition at Anime North in 2014 and won an award for Best Accessories in my category. That was pretty cool. It was my first (and so far only) time entering in a competition without a stage presentation component.

Once again, thanks to EleventhPhotograph for the photoshoot. I really love this black and white shot.

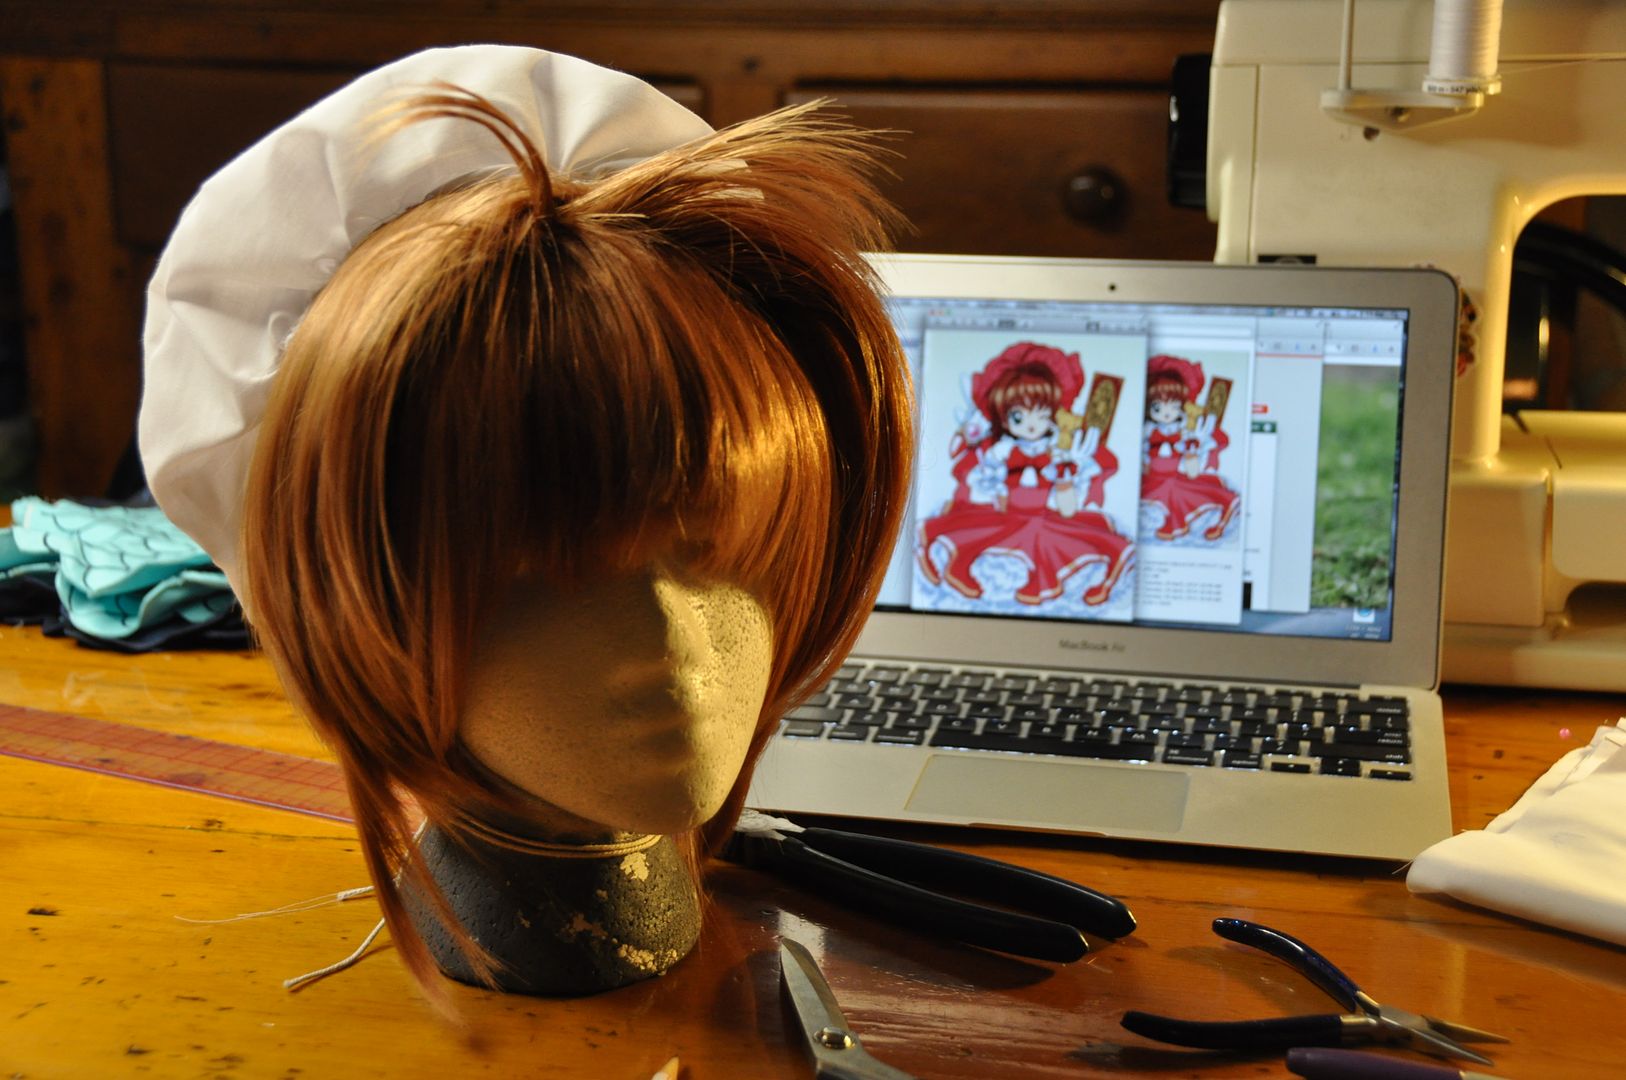
First we'll talk about the wig. I started with EpicCosplay's Aura in cocoa brown. I think this colour works really well for Sakura, it's not too brown or too blonde. It's almost a bit reddish. I think the colour works well on both my sister and myself.

Since I was doing a costume of hers with a hat, I didn't bother to add her iconic pigtails that she normally wears, because they wouldn't be visible. This has influenced my costume choices for my subsequent Sakura costumes to only be ones where Sakura is wearing a hat. Because this means I don't have to go back and fix the wig. And also because her costumes with hats are ridiculously cute.

As you can see the wig was pretty long. I purposefully picked a longer wig because she has those two small sections of longer hair in front of her ears. It is much easier to cut a wig shorter than it is to add in longer wefts.


I started by trimming the bangs. Using clips I separated off the different sections of the hair. The longer pieces were separated from the sides and the bangs. I left the long wisps at the original length, and simply thinned them out a bit. The sides were thinned and layered and trimmed to length. Then I trimmed the back of the wig.

The last step was to style the front of the wig to give the top that volume. I pulled sections of the hair up and hair sprayed them at the base. Then I used a blow dryer to set it. I made some shorter bits stick up while the rest parted and fell to each side. This created the look of her cute bob at the front.

Next I started work on the hat. Since I had very limited pink fabric left, I made a mockup. The hat's construction was pretty simple. The pattern consisted of a circle and a rectangle. The rectangle was the length of the circle's circumference.

First I rolled over the channel where the elastic would go later and ironed that. I didn't stitch it down yet, but pre-ironing saved me a ton of headaches later.

The next step was to sew the rectangle to the top of the hat, right sides together. Then I sewed the two ends of the rectangle together and then top stitched the channel for the elastic. I left an opening in the channel so I could feed the elastic through. The elastic both gathered the hat and helped it to stay on. When I was satisfied with the fit, I sewed the elastic ends together and closed the channel opening.

Lastly the bow was attached to the hat. Credit for completing the finishing touches goes to my friend Alli who handcrafted all the bows and hand stitched them on.

Instead of constructing socks and gloves I bought them, and made ruffles to add to them to help them match the rest of the costume.

Like the hat band, the ruffles are simply rectangles with a channel on on side for an elastic, which cinches them to fit and gathers them into a ruffle. These were tacked on to the gloves and socks.

Little red bows were also added to the gloves.

The shoes were an extremely lucky find. I managed to find flats at Ardene's in the perfect shade of red. They matched my red fabric perfectly. I added the bows to the toe. This is not 100% accurate to the design, but I didn't feel like adding straps to the shoe--I was worried it would make them uncomfortable. The bows were hot glued on.

I paid attention to the details so that everything would match perfectly. I wanted to do Sakura justice, and I think I achieved that. :)