Showing posts with label wand. Show all posts

Thursday, December 3, 2015

Sakura - Clow Wand - Cardcaptor Sakura

I'm back from hiatus guys, so let's look at the final part of my Sakura costume series--lets talk about the Clow Wand!

The wand was the only part of the costume that I did not have time to build for the original debut of the Sakura 1st Opening costume at AN 2013. Instead it was built for the Sailor Suit version for Otakon later that summer.

Once again shout-out to EleventhPhotograph for doing both the quick pics at Otakon and the awesome shoot this fall.

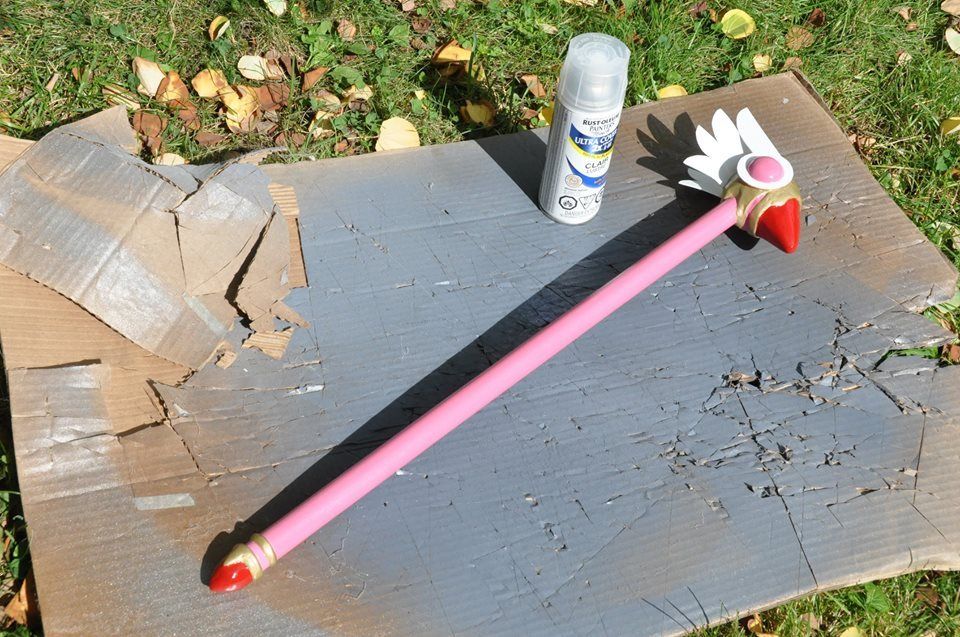
You may notice a slight difference between the photos from the school uniform shoot and the 1st opening outfit shoot I did over a year later--I redid the paint-job on the wand. Because the wand was originally painted in the hotel room the night before the con with acrylic paint and no reference picture. And I got the colours (based on the anime and not the manga illustrations) wrong! Yes, this does happen. (The eyes are pink like the handle and not red like the beak--whoops!) So, for subsequent events I had it repainted with spraypaints and finished it with a nice gloss coat to give it some extra shine. The gloss coat looks much better than the flat colours alone.

Also, at AN this past year I dropped the wand and broke it, chipping the beak. After fixing that I had to repaint it a third time.

I haven't built as many prop-heavy costumes in recent times (Splatoon doesn't count because I didn't build the props!). Props is where I started, and I would really like to get back into making more props. But I am always drawn in by more fabric construction heavy costumes I suppose?

Without further ado, lets get started talking about the build. I began by sketching out the wand at full scale based on the reference photos. Once I was satisfied I used my sketch as a template to make the 4 wing pieces out of styrene. Did I mention I am still working on leftover materials from the Asuna armour? Because I am.

I also used this to cut out the basic shape of the bird head in insulation foam. I cut out a place to stick the rod up the center.
I used a dowel for the rod. I suppose the wand could have been lighter if I had used a pvc pipe instead of a dowel, but I totally didn't think about that until way later and by that point it was too late to swap it out without restarting.

I cut 2 more copies of the insulation foam bird head shape and glued these to both sides. Then I started carving.
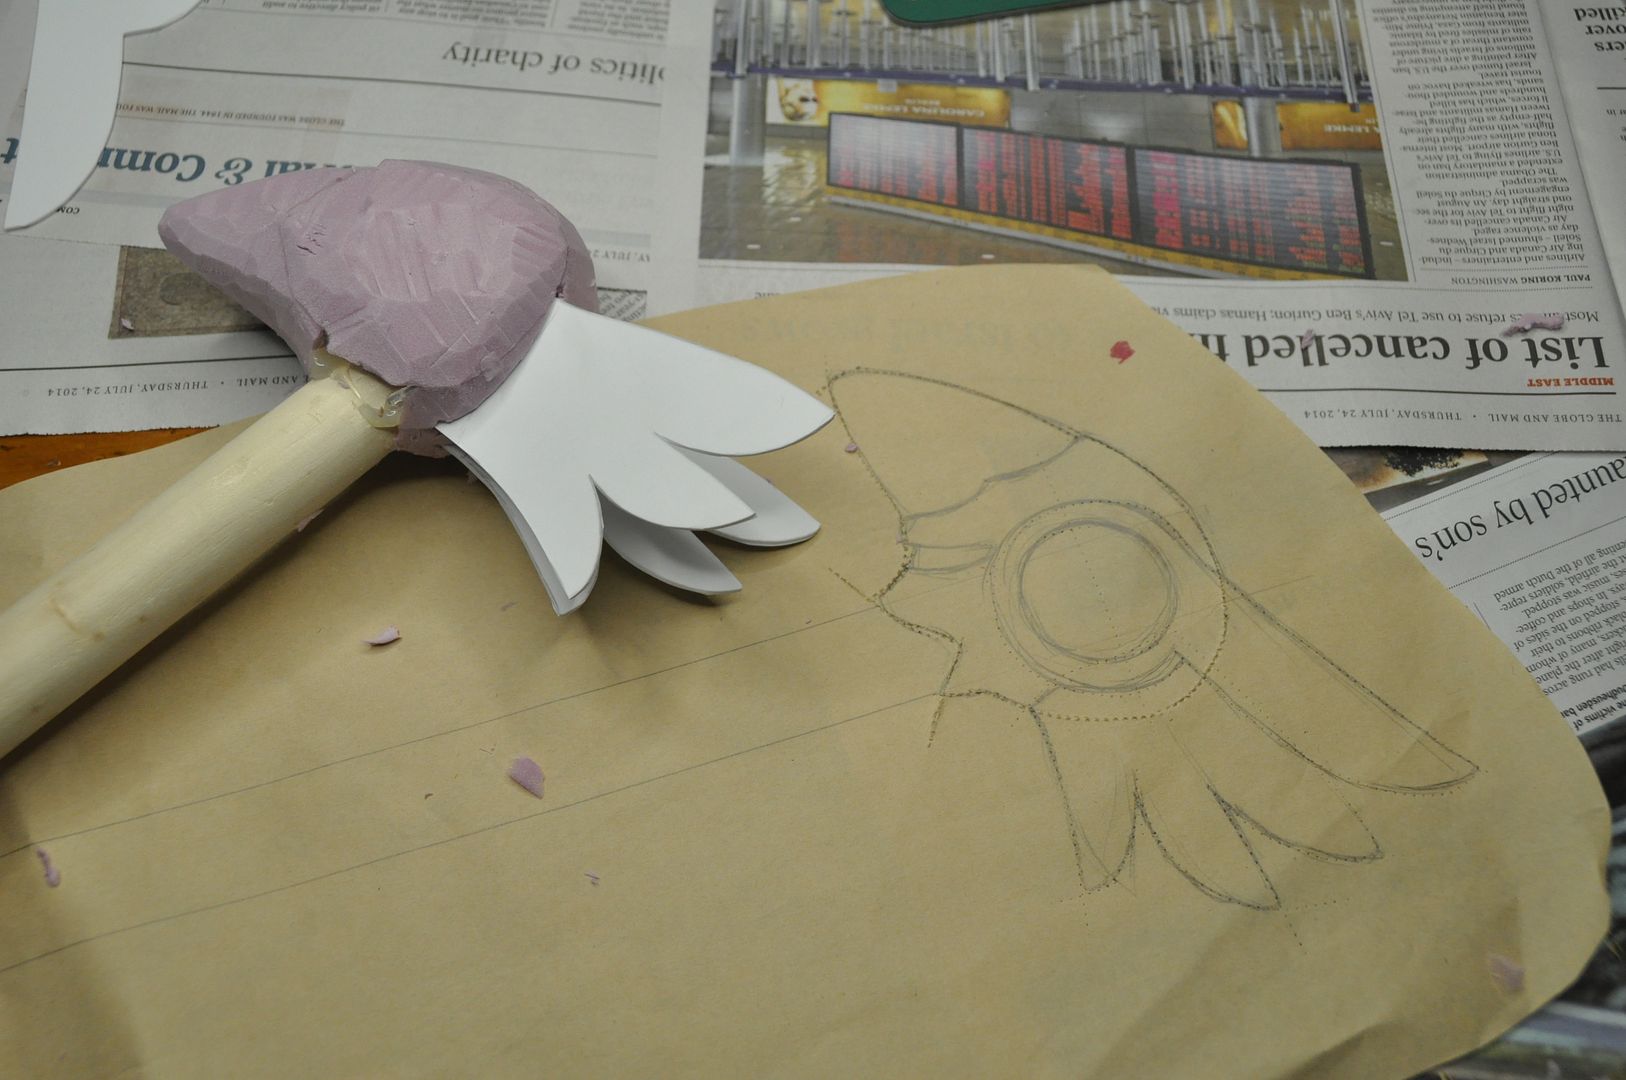
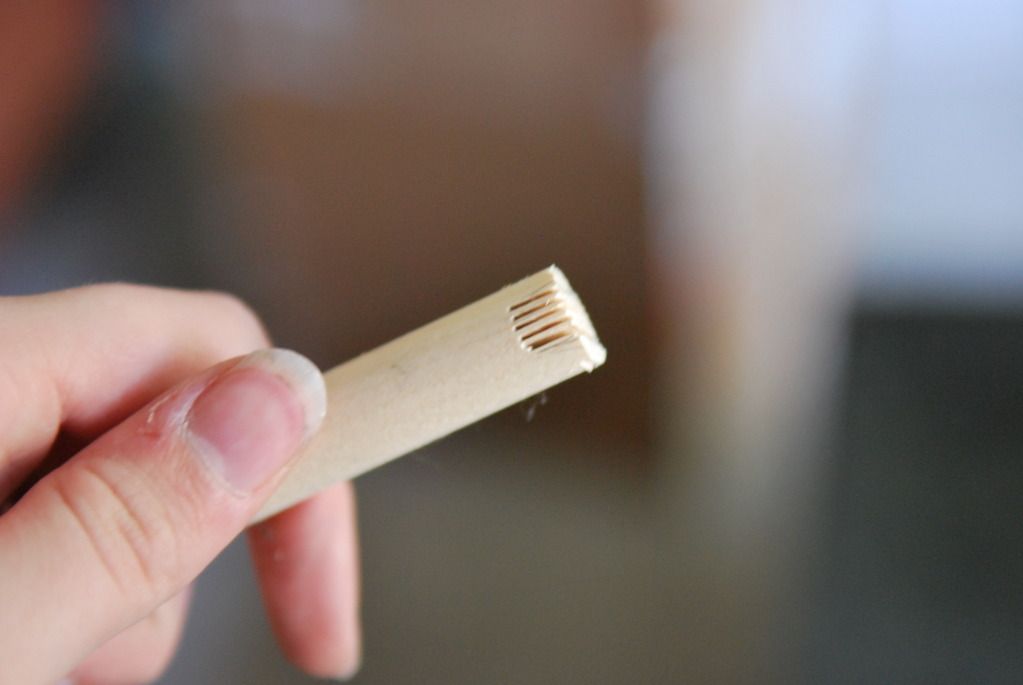
Then I cut two angled slits in the back to stick the first two wings. These were glued in place.

Then I used apoxie sculpt to add the raised details. I also used apoxie sculpt to make the detail on the bottom end of the rod. I had to do that in 2 stages though because the sculpting material tends to not want to stick to what I want it to. So I made a base layer in the approximate shape and then built up a smooth layer over top.


Once I was satisfied with the sculpt I sanded it down a bit. Then I glued the top wing on and built up the eye detail with more apoxie sculpt.

Then I sanded down the beak and painted over a few layers of gesso.

From this point onwards Clow Wand version 1.0 was finished in poor lighting in a hotel room using acrylic paints. The picture at the top of the article was the resulting paint job. Not terrible, but I was not satisfied.
I sanded off the majority of the original paint job so I could start with a more or less smooth surface. I decided to completely redo the paint job to better match the original Sakura costume.

I carefully used some leftover Shell Shock to paint a thin coat over the unprotected foam beak surface (this is what chipped off when I dropped it a year or so later).
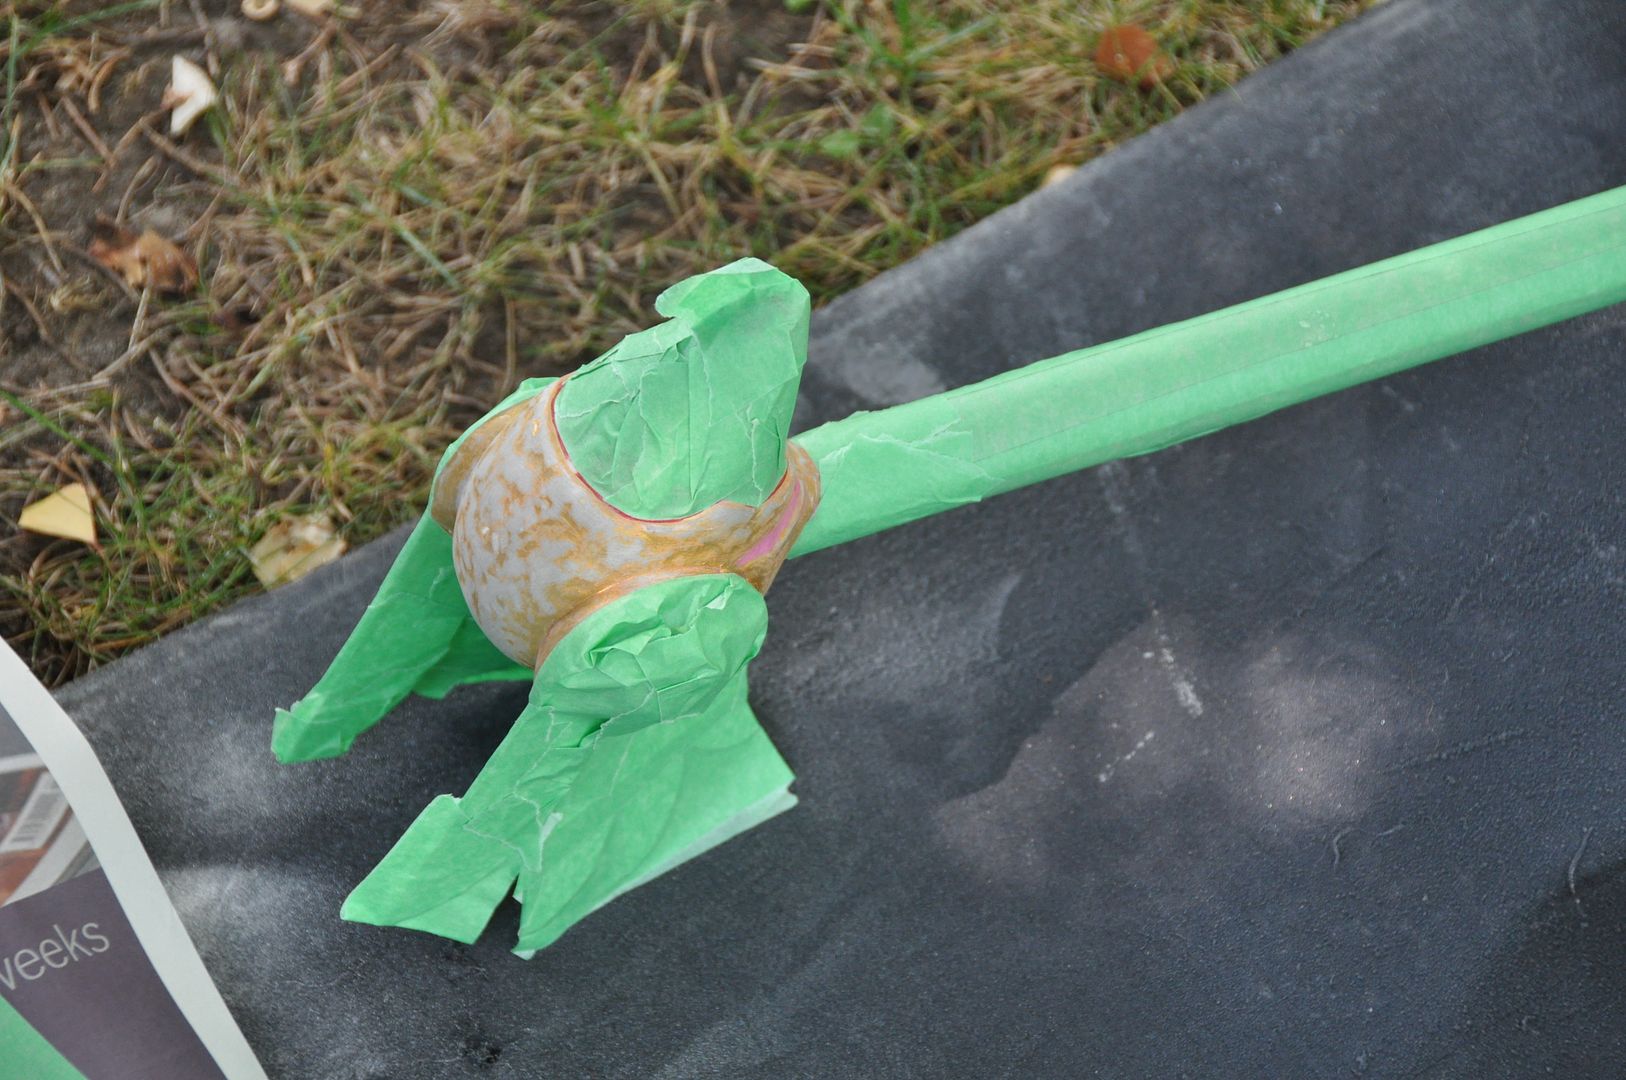
Using copious amounts of painters' tape to mask other areas, I began the paint process first with the gold. Then I hand painted the pink areas with acrylic, before re-masking and moving on the the red areas.

I finished the whole piece with nearly an entire can of gloss coat applied in many thin layers. 

This prop was pretty easy to make, it just took a bit of time with dry times, cure times, and sculpting times. 
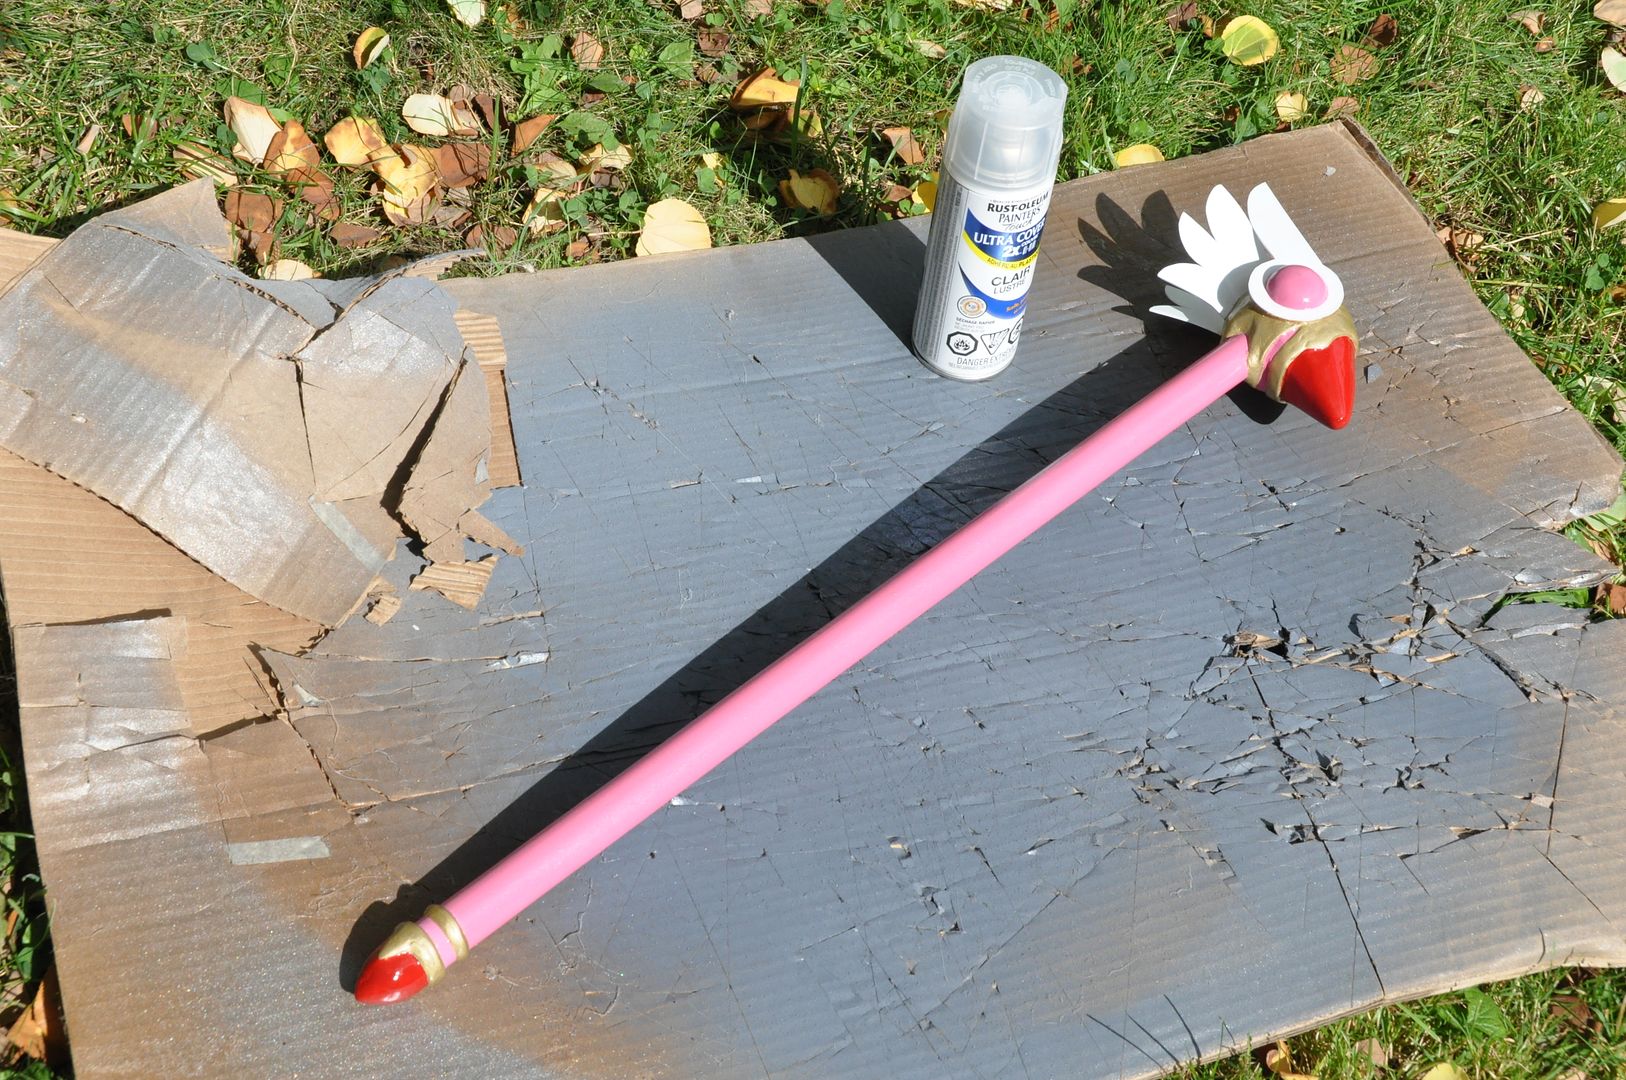
And that's it folks! After years of waiting, I finally finished documenting my Sakura costume! Haha

Stay tuned: Vaporeon is coming up next!

Saturday, October 4, 2014

October Update

edit: Technical issues with photobucket have been fixed!

Greetings folks! It's October, which means I am so swamped with school right now. Regretting how little time I have to work on my own projects, but having a blast working on so many shows at school. The 2 shows I have been working on for the past month have just opened this past week, so I will be getting a short reprieve before diving back into the fray.

Fortunately, this past month I finally finished repainting my Clow Wand, so we have many posts on both Sakura costumes coming up in the near future. Believe me when I say getting this done was a struggle, as I have had so little time at home coinciding with any form of decent weather for spray painting... It's been unseasonably terrible out. Now I just need to find a window of decent weather to do a photoshoot... Toph is coming along too, with any luck I will be photoshoot ready by reading week...

Still haven't decided what I should wear for Halloween, it always depends on the weather. But perhaps I can take out one of my costumes that glows to hand out candy. (Thinking either Crow Soldier or Nickel...) Provided it isn't raining. Because getting electrocuted would kind of ruin my evening.
Finished my first set design model for one of my classes. Yes, it is a marionette hand busting through a wall. Not for a specific play, but designed instead to represent an abstract notion. The word I chose was Power, but I think it also works for Danger. I will probably do a full post on my set designs at the end of term when I finish my second model.

Still haven't fixed the image rotation issues on the old posts... I'll get around to it. Eventually.

Buckling down for a busy term!

Friday, August 22, 2014

Otakon 2014

Two weeks ago I was in Baltimore for Otakon! This was my 3rd year attending the con and I had a really great time once again. :) Though I must confess it was a little sad for me to have my sister not attend a con with me for pretty much the first time ever. :( (She's moved to Japan, so there will be more cons sans-Alex in the future.) This is so far, the only American con I have attended, but I always enjoy it, so the trek down south is definitely worth it.

Thursday: We made the long drive down, picking up our roomies on the way. Special thanks to Mike, aka EleventhPhotograph for driving us down! (I don't even know how to drive, so I probably would never make it there otherwise, because planes are expensive.) Trivia: How many American flags did we count on our way from border crossing at Niagara Falls to Baltimore? Answer: approximately 886.

Sadly, I didn't get my cosplay lineup completely finished for the weekend, as I ran out of time. I finished my essay for school in the car on the way there, and arrived at the con absolutely exhausted. With some difficulty we got our hotel room sorted out and then went to pick up badges. Unfortunately they had already cut off the line so we didn't get badges that night. Instead, Mike and I had dinner with the lovely ladies of Pro Voltage Cosplay at Kona Grill. :) I finished Sakura's wand in the hotel room that night! XD

Friday: I got up pretty early to get into costume and then go get my badge. I wore Sakura for friday. I did a short photoshoot in the afternoon with Mike before going for lunch. I explored the convention and looked around the Artist Alley. We met Mike's friend Andrea (whose cosplay handle I have subsequently forgotten! D:) and her boyfriend for dinner at PF Chang's.

Saturday: I wore my more casual Asuna outfit, complete with harisen (because my sword doesn't fit in the car). Funny enough, because I was in the same hotel again this year I made my way over to the same café for breakfast and bumped into the same gentleman that my sister and I had become acquainted with the year before. I was pleasantly surprised! :D And also amazed that he recognized me in a completely different costume, without my sister. Apparently he's a regular, so who knows, we might meet again next Otakon? Hahaha We chatted for a bit before I went off to enjoy the con. I finished the Dealers Room and wandered around the con before going for lunch. I made the trek to Chipotle in honour of Alex! And also because its delicious. I spent some time in the games room that afternoon. We met with Andrea and friends again for dinner, this time at Cheescake Factory. Mmm Cheesecake <3

Sunday: I attended a panel on Cosplay and Identity that was fairly interesting before heading out to get lunch (Chipotle again!). Did some last minute shopping before helping our roomies pack up their Artist Alley table. The drive home was fairly uneventful; only some minor detours due to construction (and no trips to Best Buy). We got to see some fireworks and the super moon on the way home, while singing along to Mike's crazy playlist.
My one serious issue with Otakon this year is that they didn't provide a paper schedule, instead they wanted you to download an app that I couldn't find. I went to the information desk for help on the saturday afternoon and they gave me a paper schedule, only for me to discover that I had missed pretty much all the panels/videos that I wanted to see. I wish they could have given us a paper copy in the first place, for people without smart devices, as the intermittent access to wifi would have meant I wouldn't have had much luck accessing it anyway. >:(

Other than that, the weather was much nicer this year (less hot and not rainy!). Definitely planning to attend again next year (providing nothing unexpected happens to me in the meantime).

[Can you believe I forgot what day of the week it was and only realized now that I missed my Thursday post? hahaha]

Tuesday, October 16, 2012

Cosmo - Wand - Fairly Odd Parents

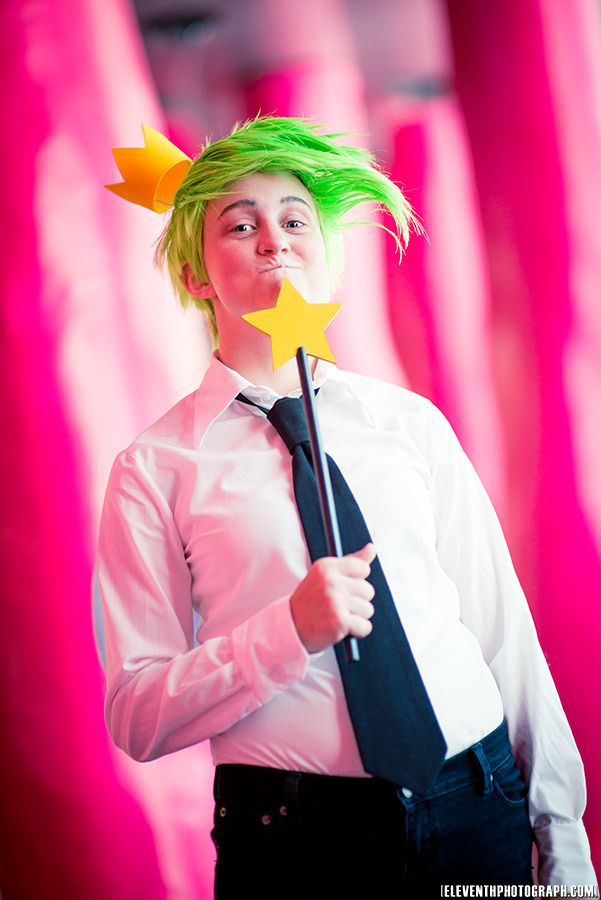
For the last bit of my Cosmo costume: here's a quick look at how I made my magic wand. It was really simple.

For the photoshoot, go here. ;D For the wig tutorial go here, and for the wings and blouse go here!

Probably the hardest part of the whole process was making the trace of a symmetrical 5 pointed star. I made this piece out of 1/4" masonite. I used a protractor and marked every 36 degrees around a central point (that gives us 10 marks equal distance apart. Because 360 degrees divided by 10 is 36. For those of you who cared about the math.) Then I drew a line from each mark to the center. 5 marks were the points and the 5 in between those were the 'valleys'. I made the distance from center to tip the same for all points. Then I did the same for each valley. By doing this achieved a perfectly symmetrical shape that I could cut out.

Then using my bandsaw I cut into the end of a wooden dowel, creating a groove that I could stick the star into. I rounded out the end of the dowel using some sand paper.

I cut the star out on my bandsaw and sanded the edges a bit so it wasn't so lethal.

I sanded down the handle to smooth it out a bit, so the wood grain would be less apparent when painted.
I painted the star and the handle separately with some spraypaint I had on hand. Once the paint job was finished I stuck the star on with some Weldbond. After it was dry it was ready to go!