Showing posts with label ruffles. Show all posts

Tuesday, March 8, 2016

Vaporeon Gijinka - Sandals & Accessories - Pokémon


The 6th and final instalment of my Vaporeon building quest: Sandals & Accessories! This costume was all about the details and finishing touches. Beading, painting, trimming, gems, accessories, props--all elements that helped give this costume the extra wow-factor. It's not often I break a costume down into 6 posts, but this one is certainly worthy of that.

Links to Part 1: BoleroPart 2: Under LayersPart 3: Wrap Skirt TailPart 4: Wig & Hairpieces, and Part 5: Wraps & Bracers!

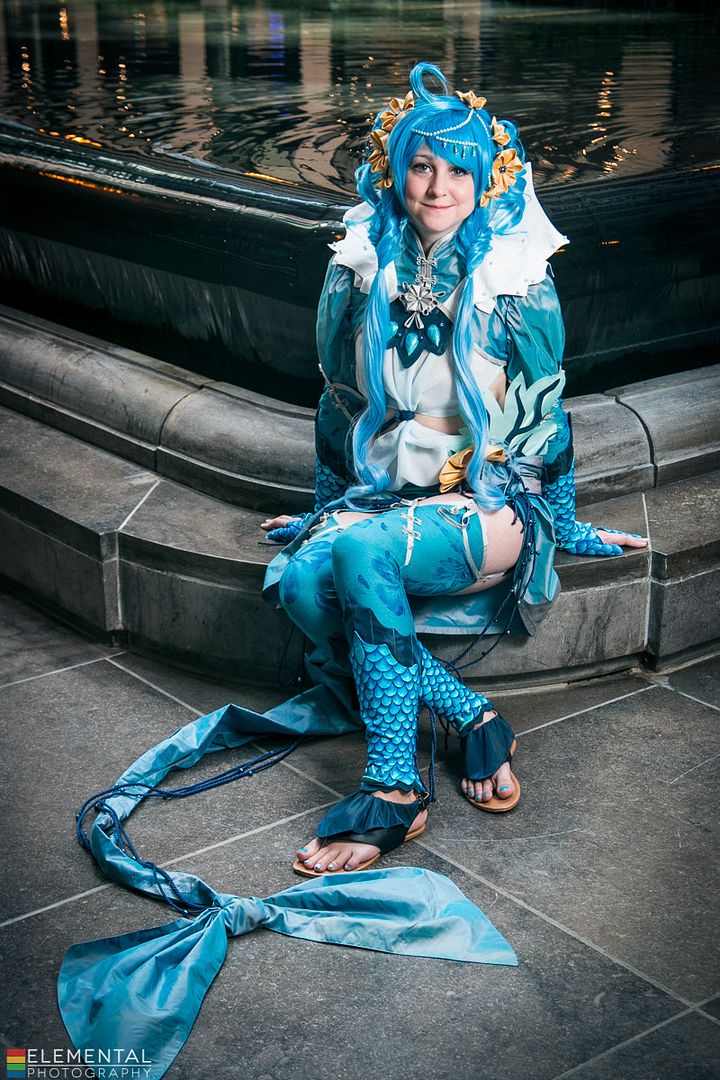
Thanks to Elemental Photography for the fantastical photoshoot! Credit for the original costume design goes to Cowslip!

Firstly I would like to thank my friend Harriet for lending me her fan! She does Chinese fan dancing and allowed me to borrow hers for this shoot. Thanks muchly!
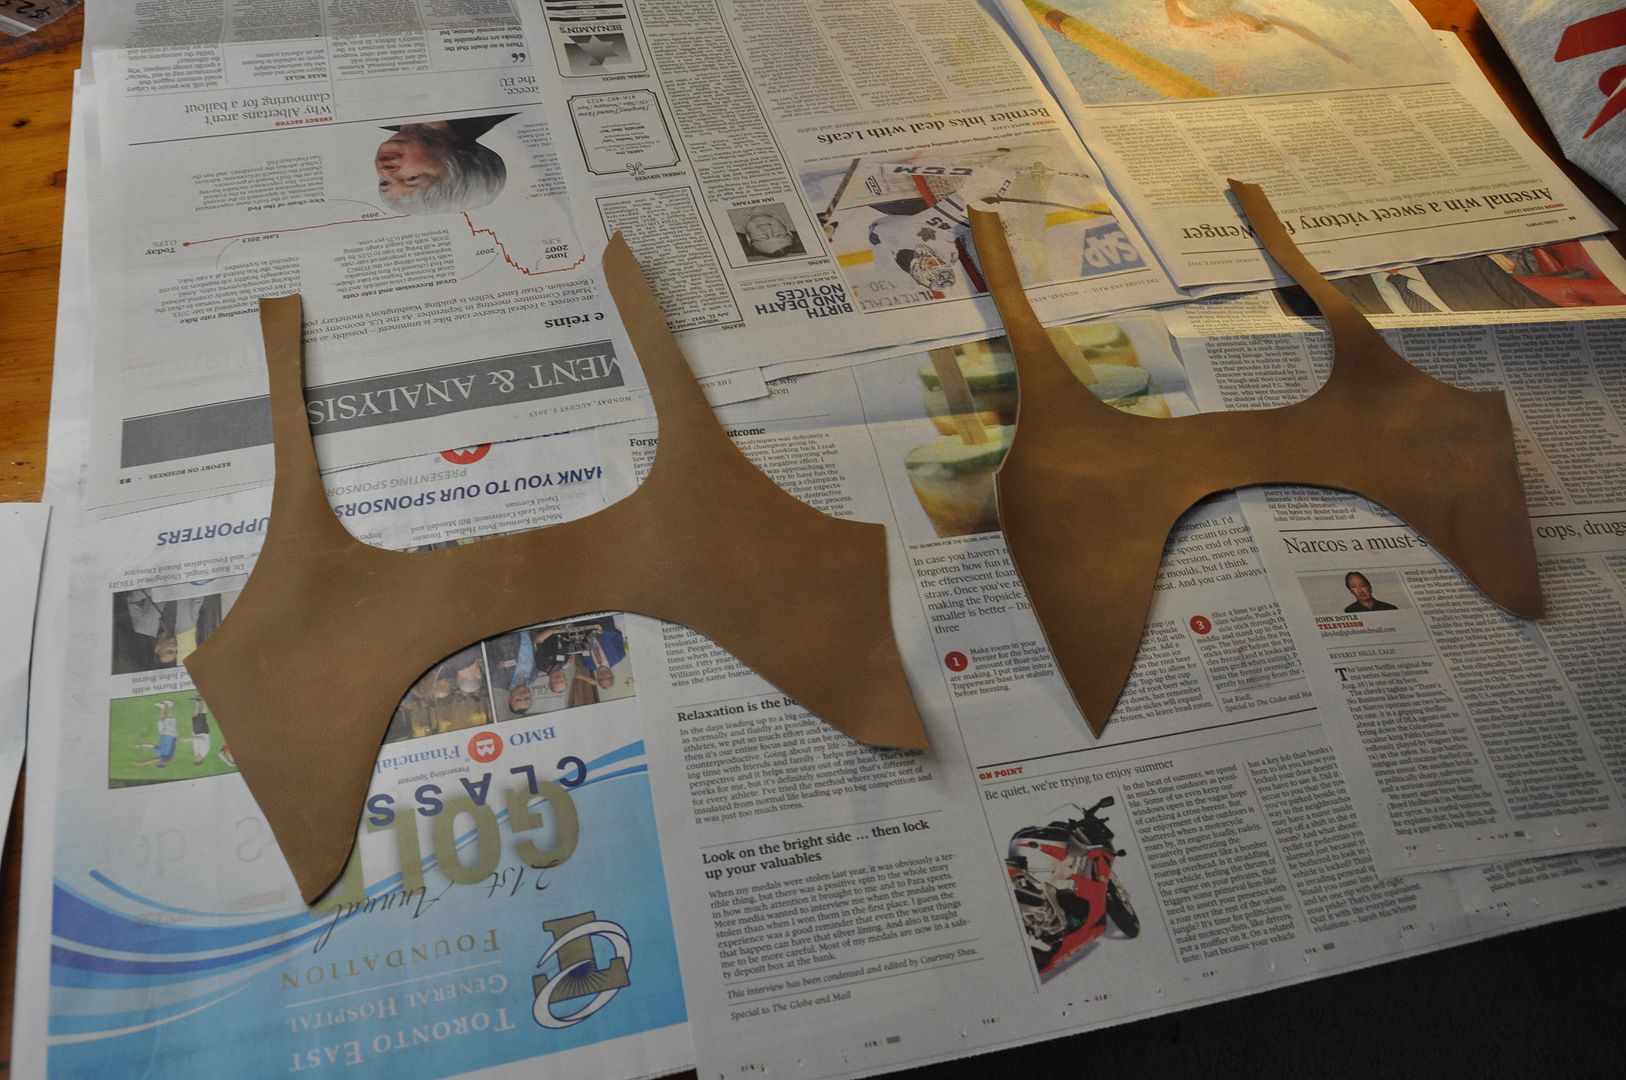
For the sandals I started by buying a plain pair of cheapo flip flops from Ardene's. Which is a great place to buy shoes you don't care about.

I patterned my base cover shape out of paper, then cut out my pieces (making sure they were mirror images) in leather. Using acrylic paint, I painted these leather pieces navy blue to match the costume.

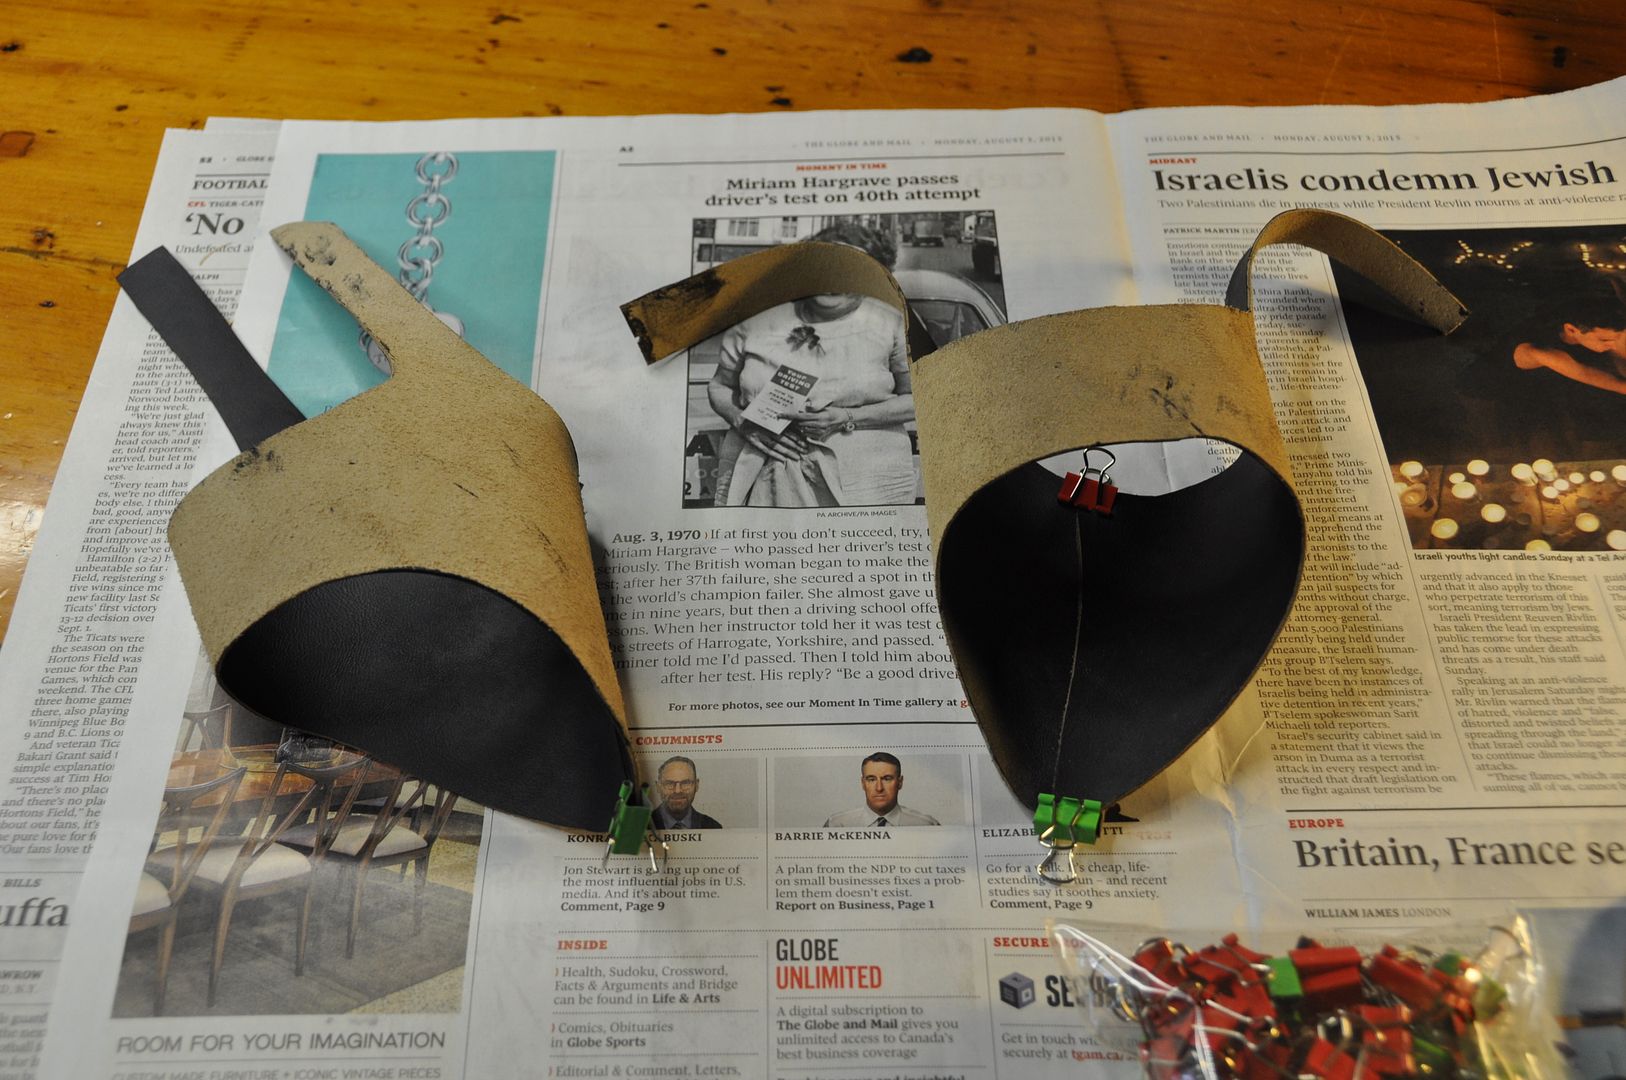
These pieces would wrap under the bottom of the shoe, with a single seam in the top. The long tails would be used to make a buckle strap around the back of the heel.

Once I was happy with the fit, I machine stitched that top seam.

Next step was to create ruffle bit. Using leftover navy fabric from the bracers I created the two pieces. Each is made of two layers, sewn right sides together along the outer edge, then flipped inside out and top stitched. 
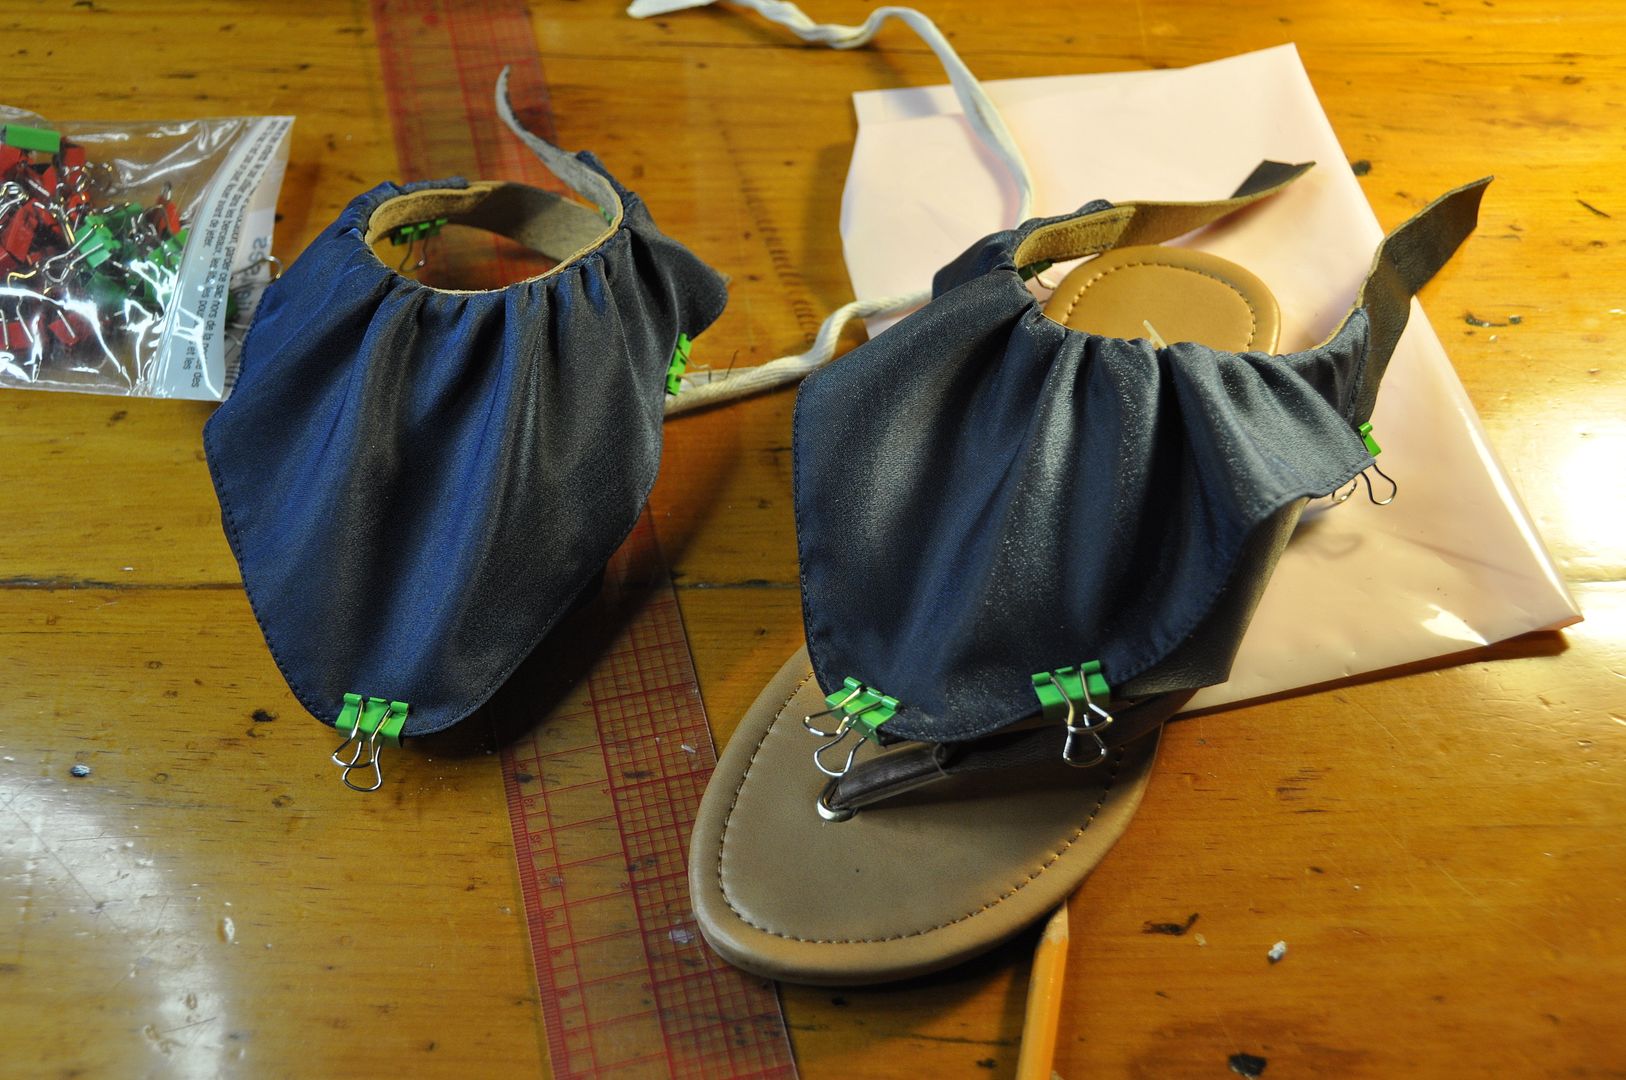
These were then gathered and stitched onto the top of the leather part of the sandal. I also tacked them down with a hand stitch in a few places on the outer edge, because the fabric was super stiff and didn't want to lie flat. 

Next I sewed a buckle into the back of each and punched holes to finish the closure. 

The last step was to glue the leather piece to the sole of the shoe to keep it in place/stop it from rotating. I used e6000 to glue it and it worked quite well. 

Another step in the detailing process for this costume was creating the gems for the center front and the edge of each bracer. 

I sculpted them using apoxie sculpt and then I painted them using a few different shades of nail polish. I did a splotchy application of my dark blue and light teal. And then went over that with a translucent shimmery blue, before finishing it off with a coat of clear gloss.

I applied the same paint to my toenails later! Details are important!

All of the gems were glued onto the costume with e6000. 

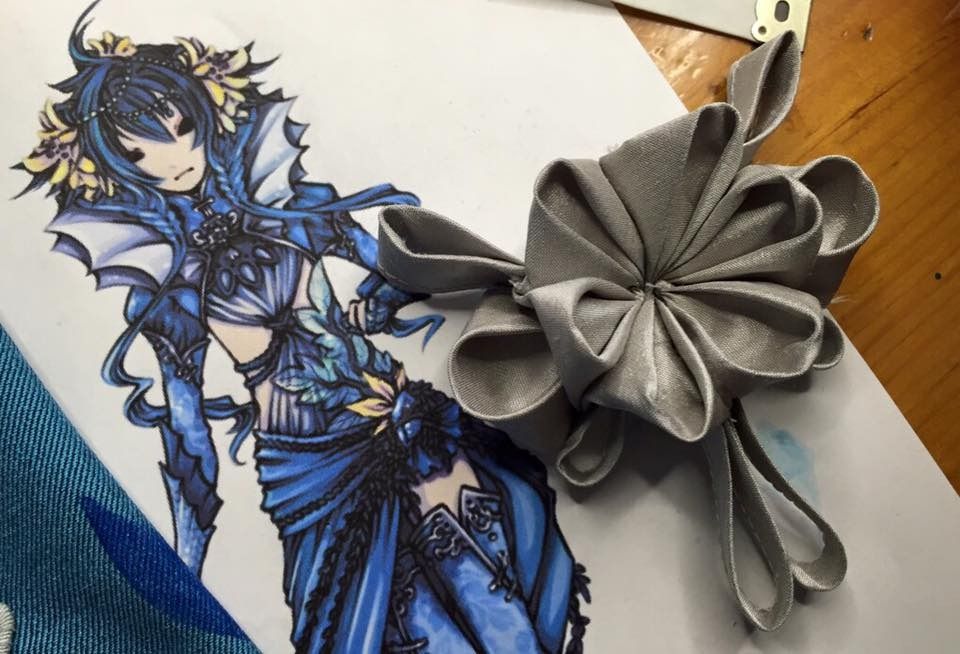
My last accessory was a brooch I created for the front of the costume. It was based on the very faint squiggle in the illustration. I got to interpret it how I wanted and this was the result. (I think I sewed beads to  the center later?)
Overall I am very satisfied with how this project turned out, and look forward to starting my next complicated fancy project.
Once again thanks for all your support! Now that this is done I can move on with my life! Hooray!
Tuesday, October 29, 2013

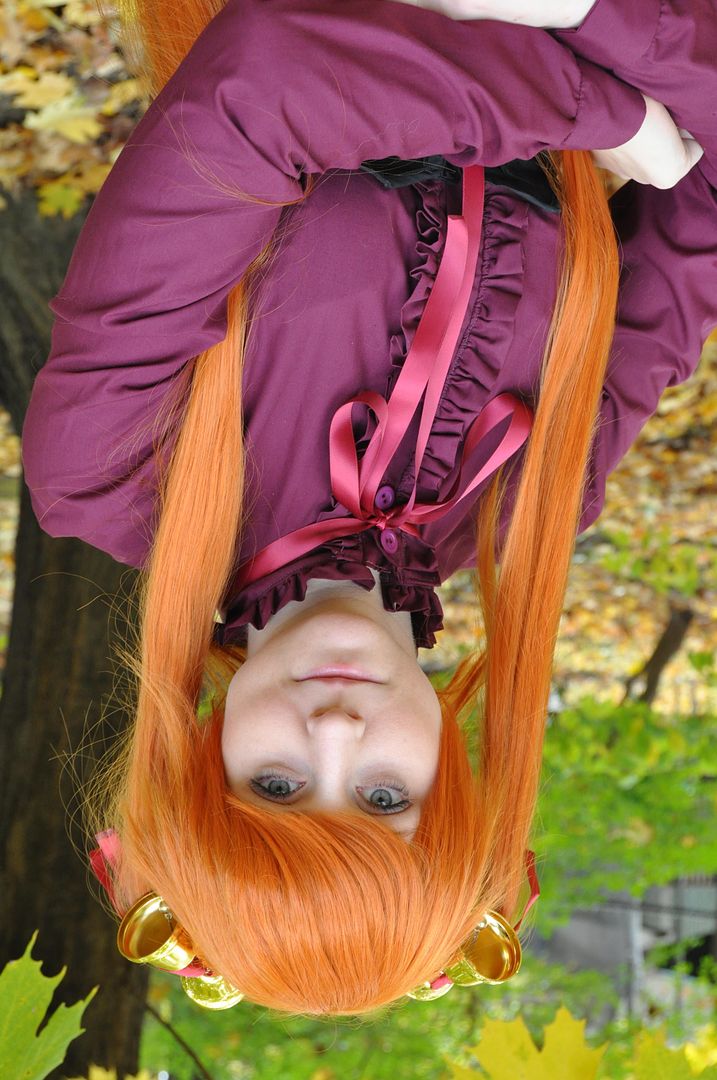
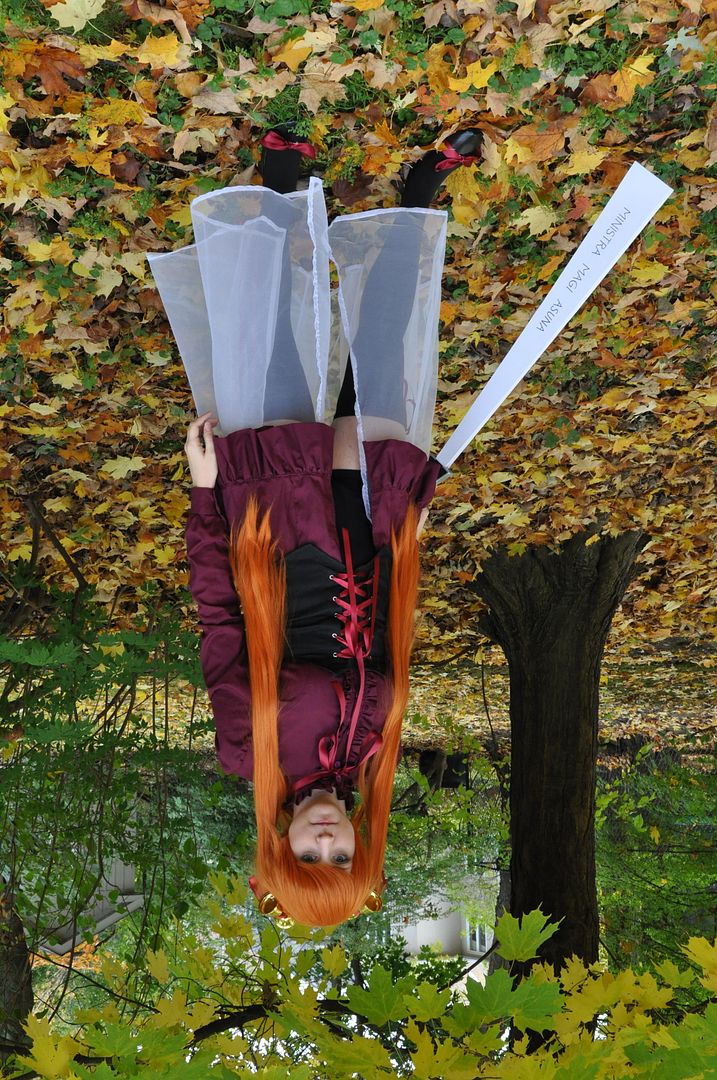
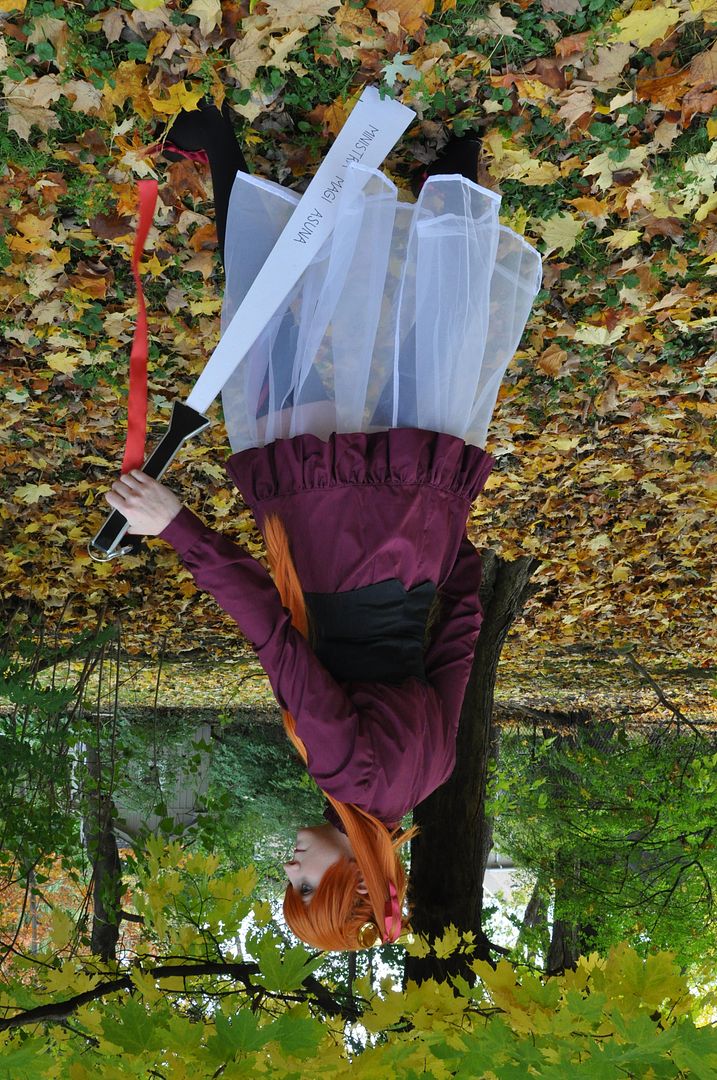
Asuna Kagurazaka (V.2) - Outfit - Negima

As my 3rd costume for Otakon I decided to make an alternate outfit of Asuna's. I already had a wig, and Asuna has many, many outfits in the manga, so I thought I would make one of my favourites.

Special thanks to my mum for doing an impromptu fall photoshoot in the backyard!

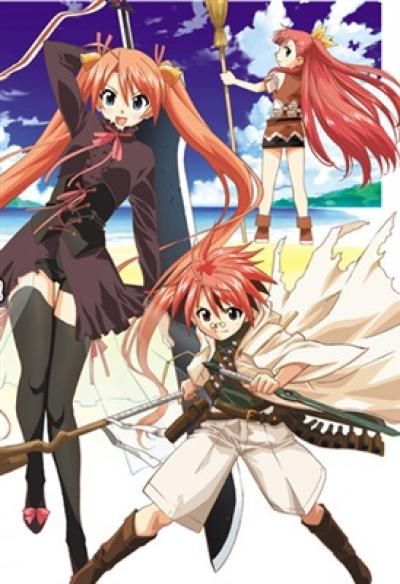
I picked this one (pictured left) particularly so I could re-purpose the sheer under skirt I had originally made for her other costume! This outfit is worn during the training arc prior to their trip to Mundus Magicus, for anyone who actually knows the series.

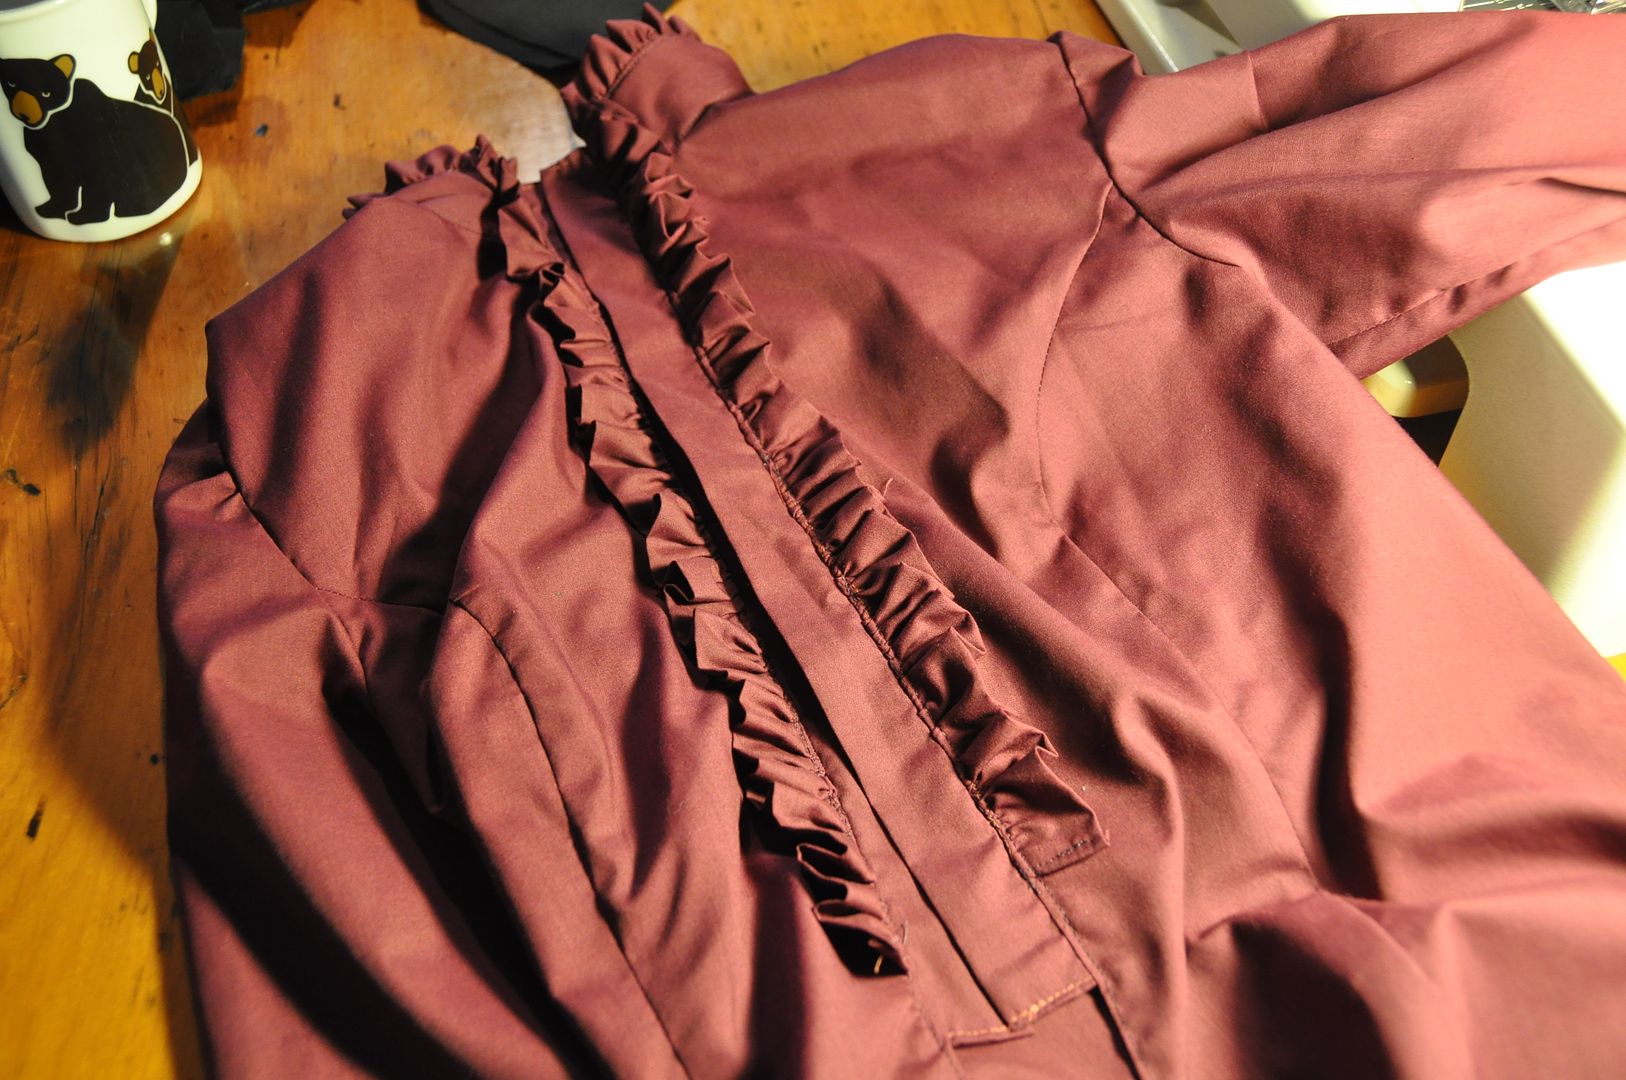
I really like the deep burgundy colour of the blouse (dress?), but I went more saturated with my colour choice.

(There sure are a lot of orange-haired characters in this manga...)

I drafted a basic block, with a princess seam that I extended to be longer and go outward in an a-line style at the sides.

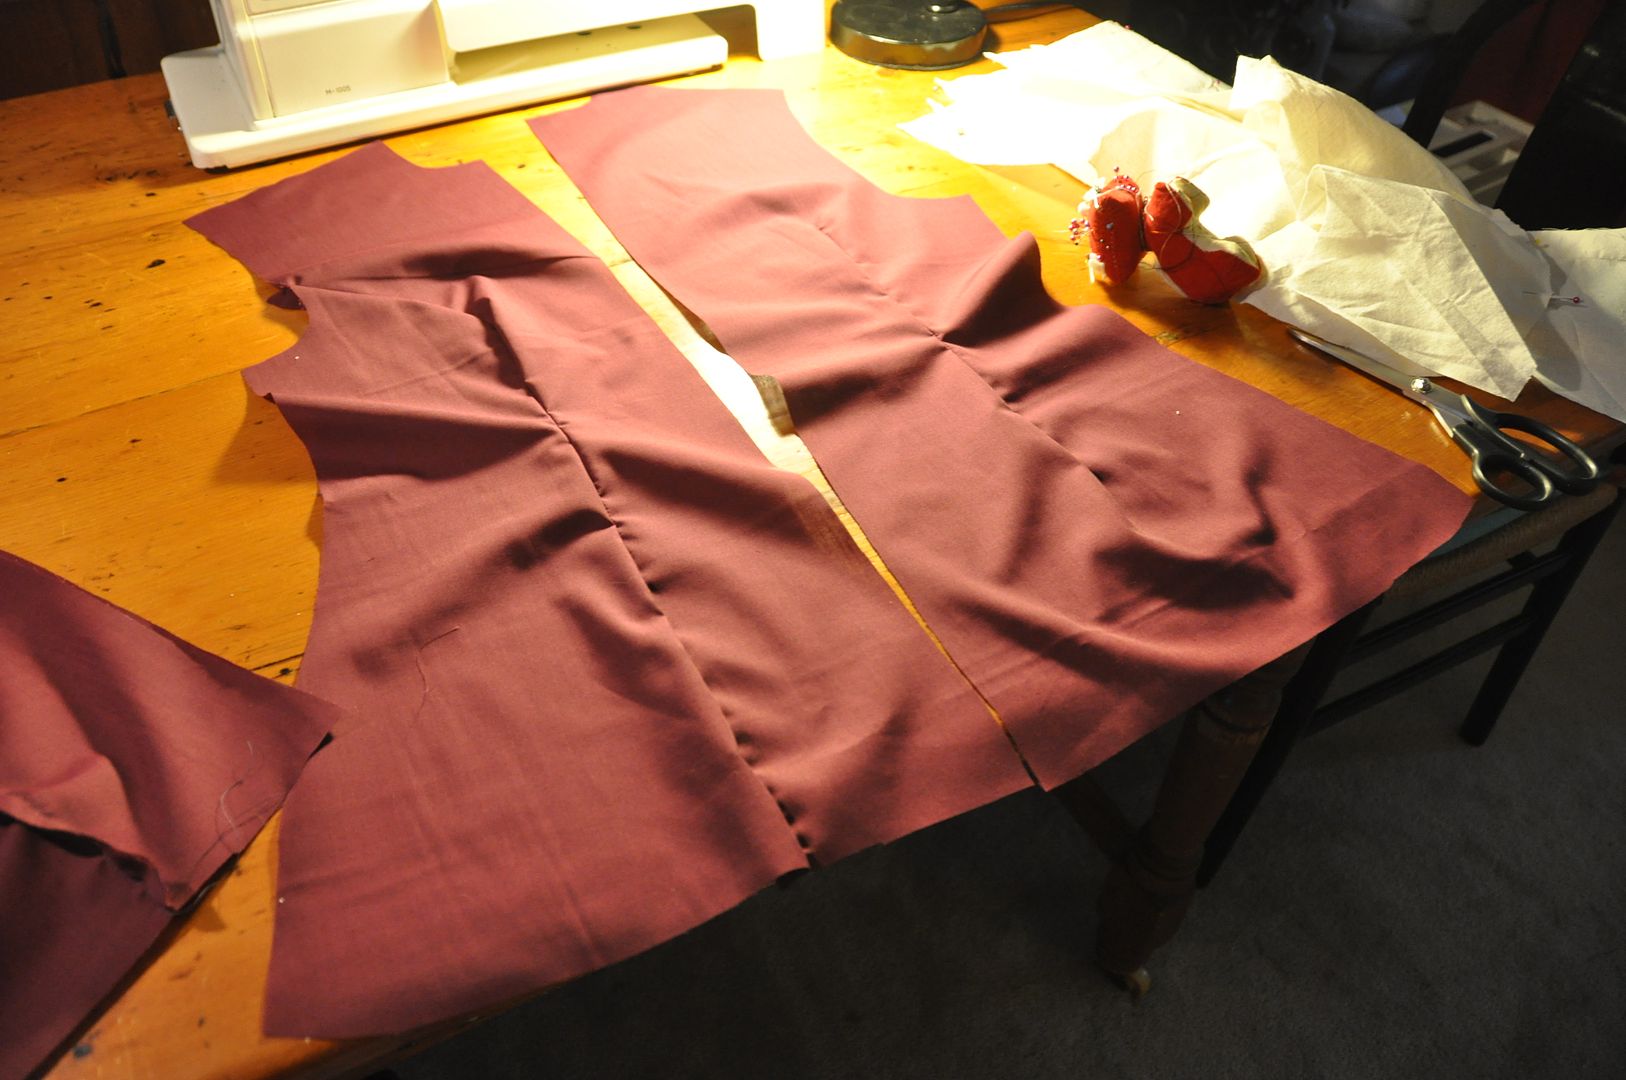
I cut out all my pieces (2 center front panels, 2 center back panels, 2 side front panels). Then I sewed up the darts, then side, back and shoulder seams. 

When this was done I finished the inner seams.
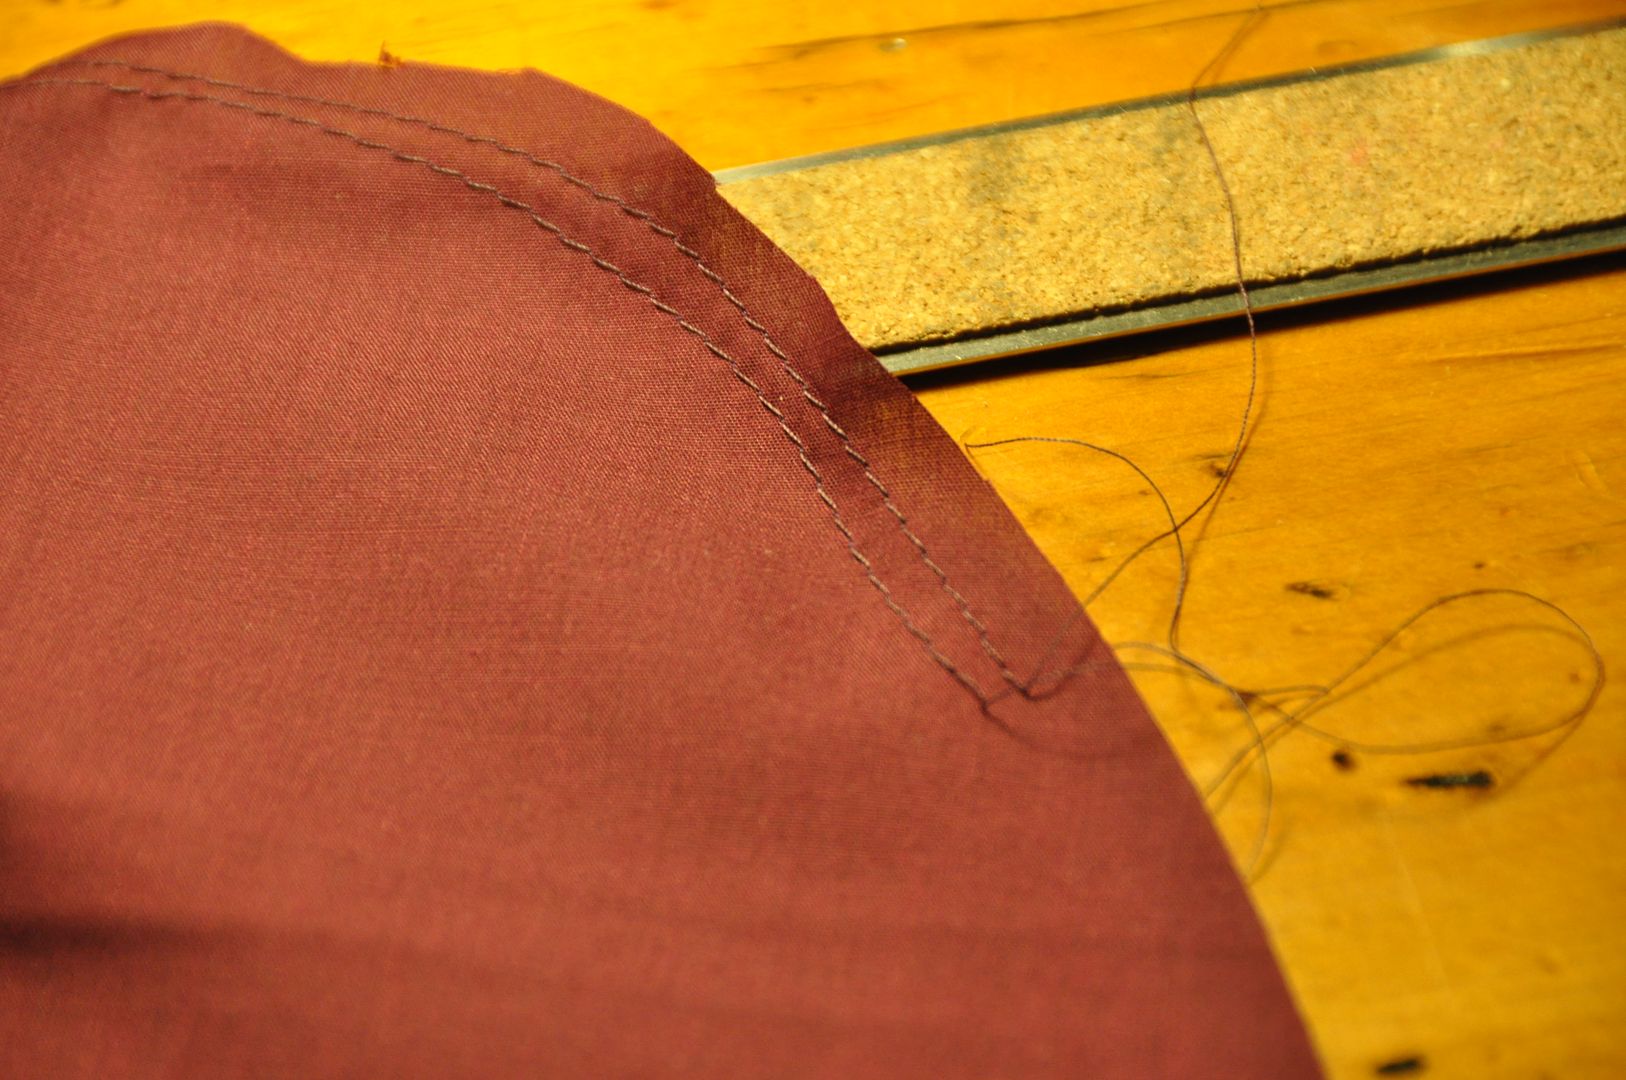
I drafted the sleeve to have a slight pouffe at the shoulder. I cinched the ruffle with a double row of basting stitches (leaving the thread ends long so I could pull on them). 


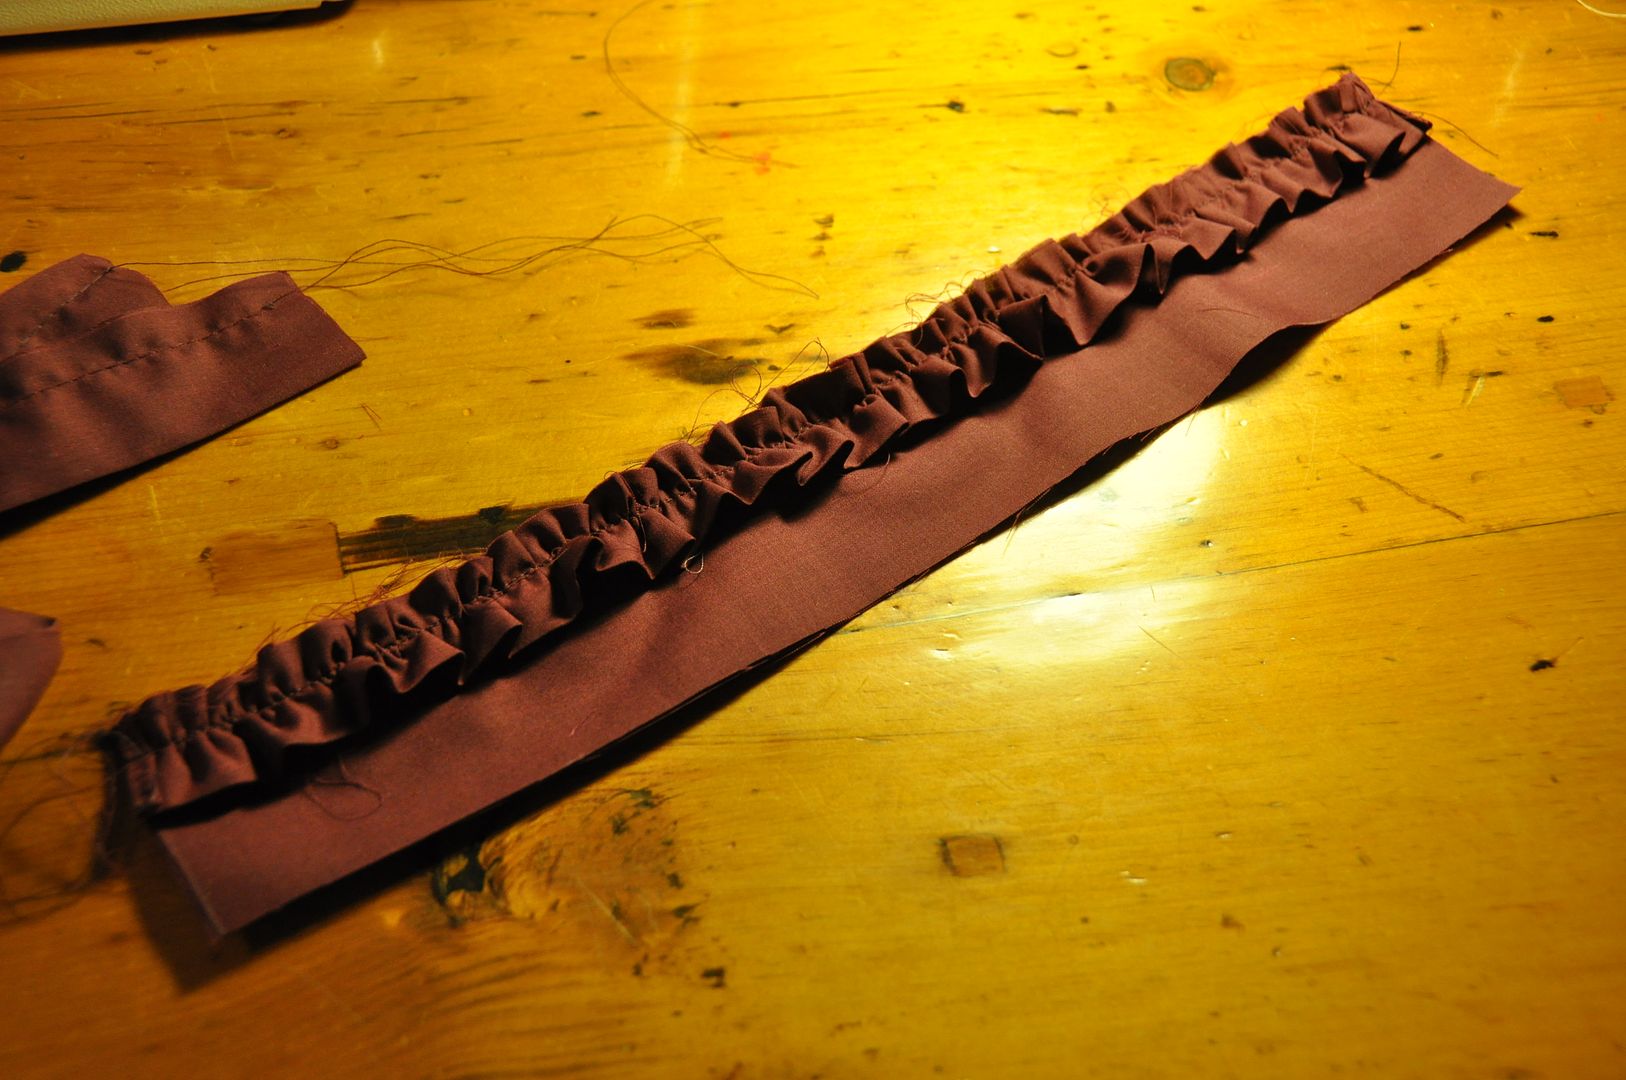
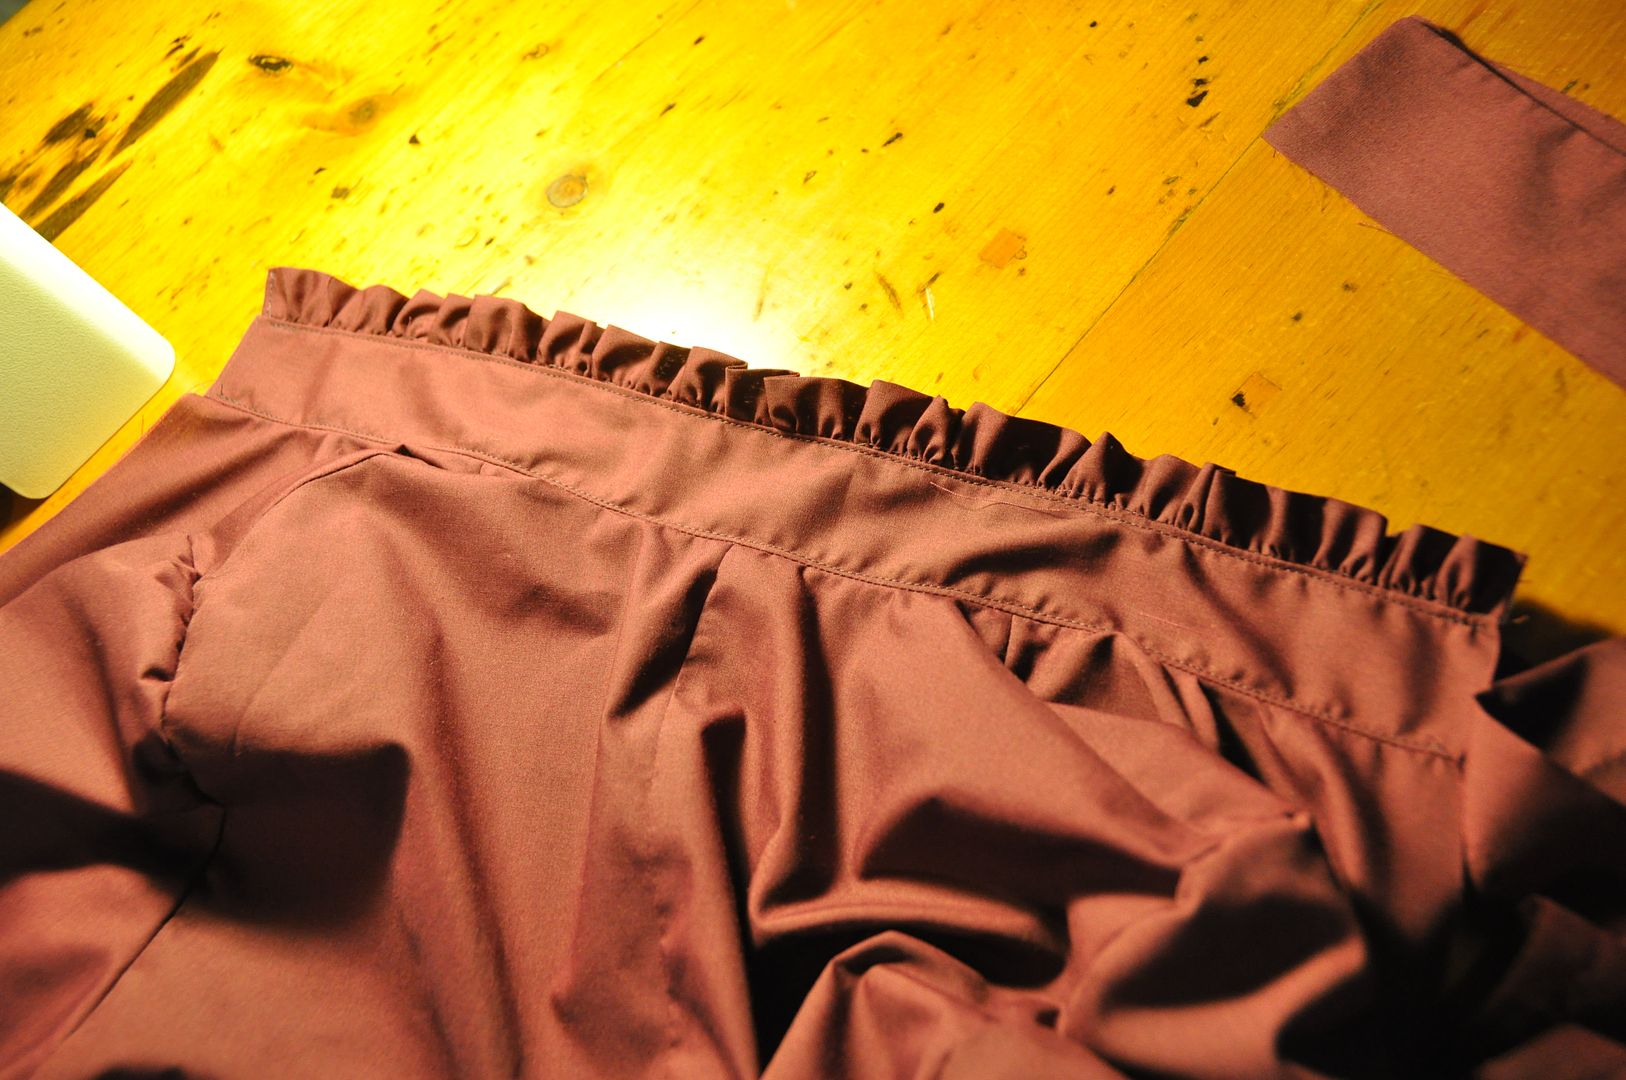
I made the collar ruffle, which was sandwiched inside the collar pieces and turned right way out. This was then attached to the neckline. 
I made the 2 front ruffles, which I stitched down to the front opening.

Then I attached the placket and finished off the opening edge and armhole seams.

Then I made a bias tape to finish off the sleeve slit, before I attached the cuffs. The sleeve pouffed just a touch at the cuffs as well.

The last thing I did was attach the bottom ruffle and do all the button holes.
Then I made the "corset". Now I say "corset" instead of corset, because this is just designed to look like an underbust corset, but does not have any of the structuring a corst would have (like boning). For all intents and purposes it is a glorified belt. Hahaha
I figured out how long I wanted ti to be, my underbust measurement, my waist measurement and natural waist measurement (where a modern pair of pants would sit). From there I was able to pattern this. Using my widest measurement I could then divide and calculate my darts.

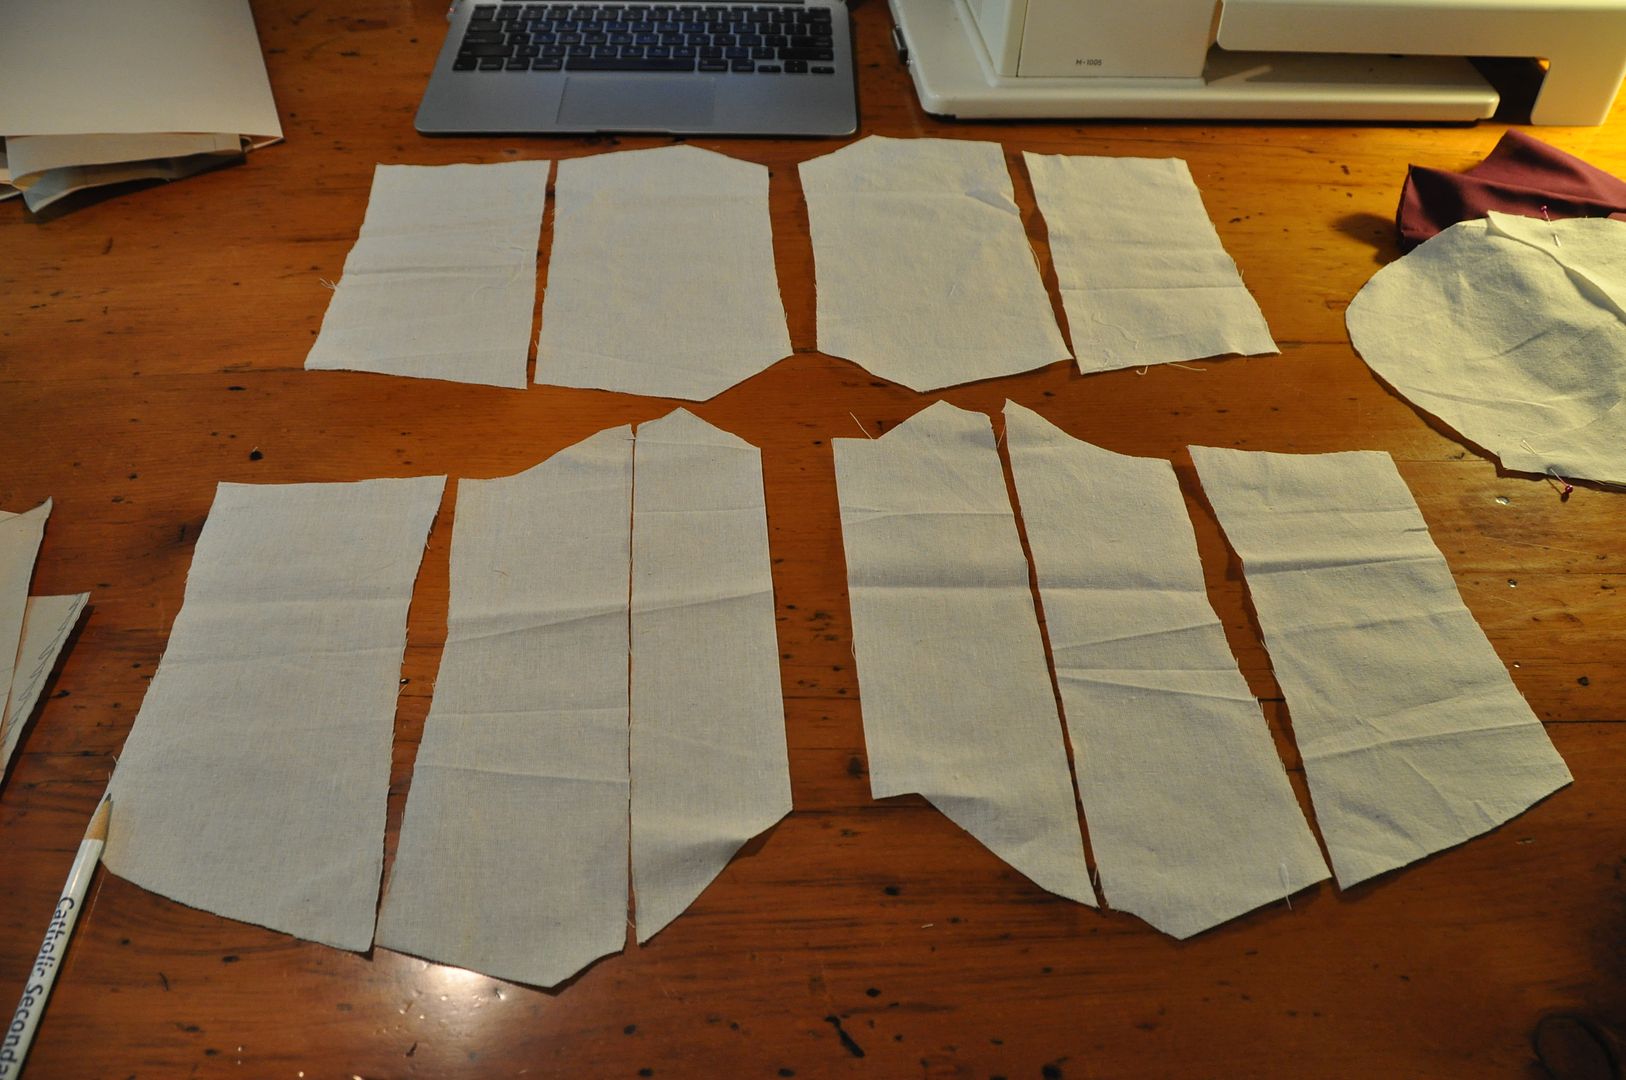
The result was these 10 pieces (pictured left: top row is the back panels, bottom row is the front panels). 

I made a mockup, then a good version.

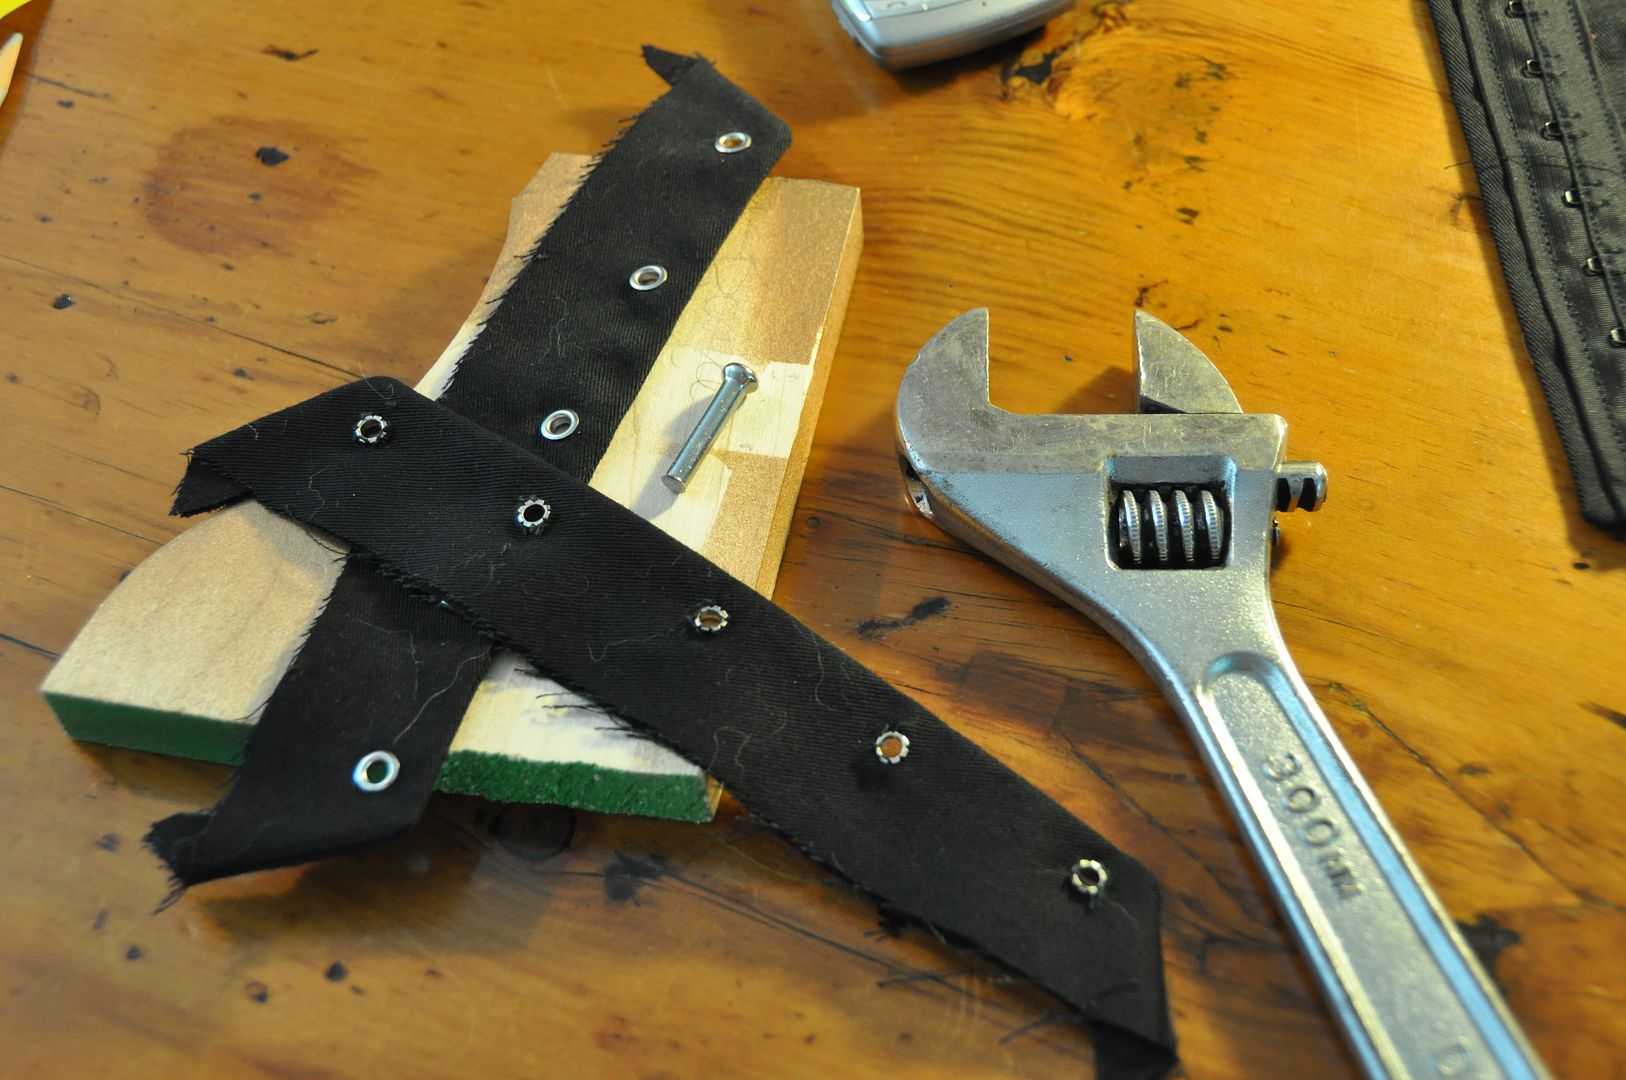
Then I hammered in the grommets. I couldn't find a hammer, so I used a wrench instead (my shop professor would be crying right now). It is always recommended to have a scrap piece of wood handy when hammering grommets, otherwise you will end up with dents in your table...
The grommets and lacing are just for show though, the actual closure is a row of hook and eye tape. Because it is way more secure.  Lastly I finished up the edges with bias tape! Woo!

I bought the thigh-high socks and ribbons for the costume. All of the bows on the socks were attached with safety pins, so I can use the socks for other things (and real life). The black flats are the same ones from my Alice costume.

Tuesday, July 16, 2013

Simple Gathered Skirt (Elastic Waistband)

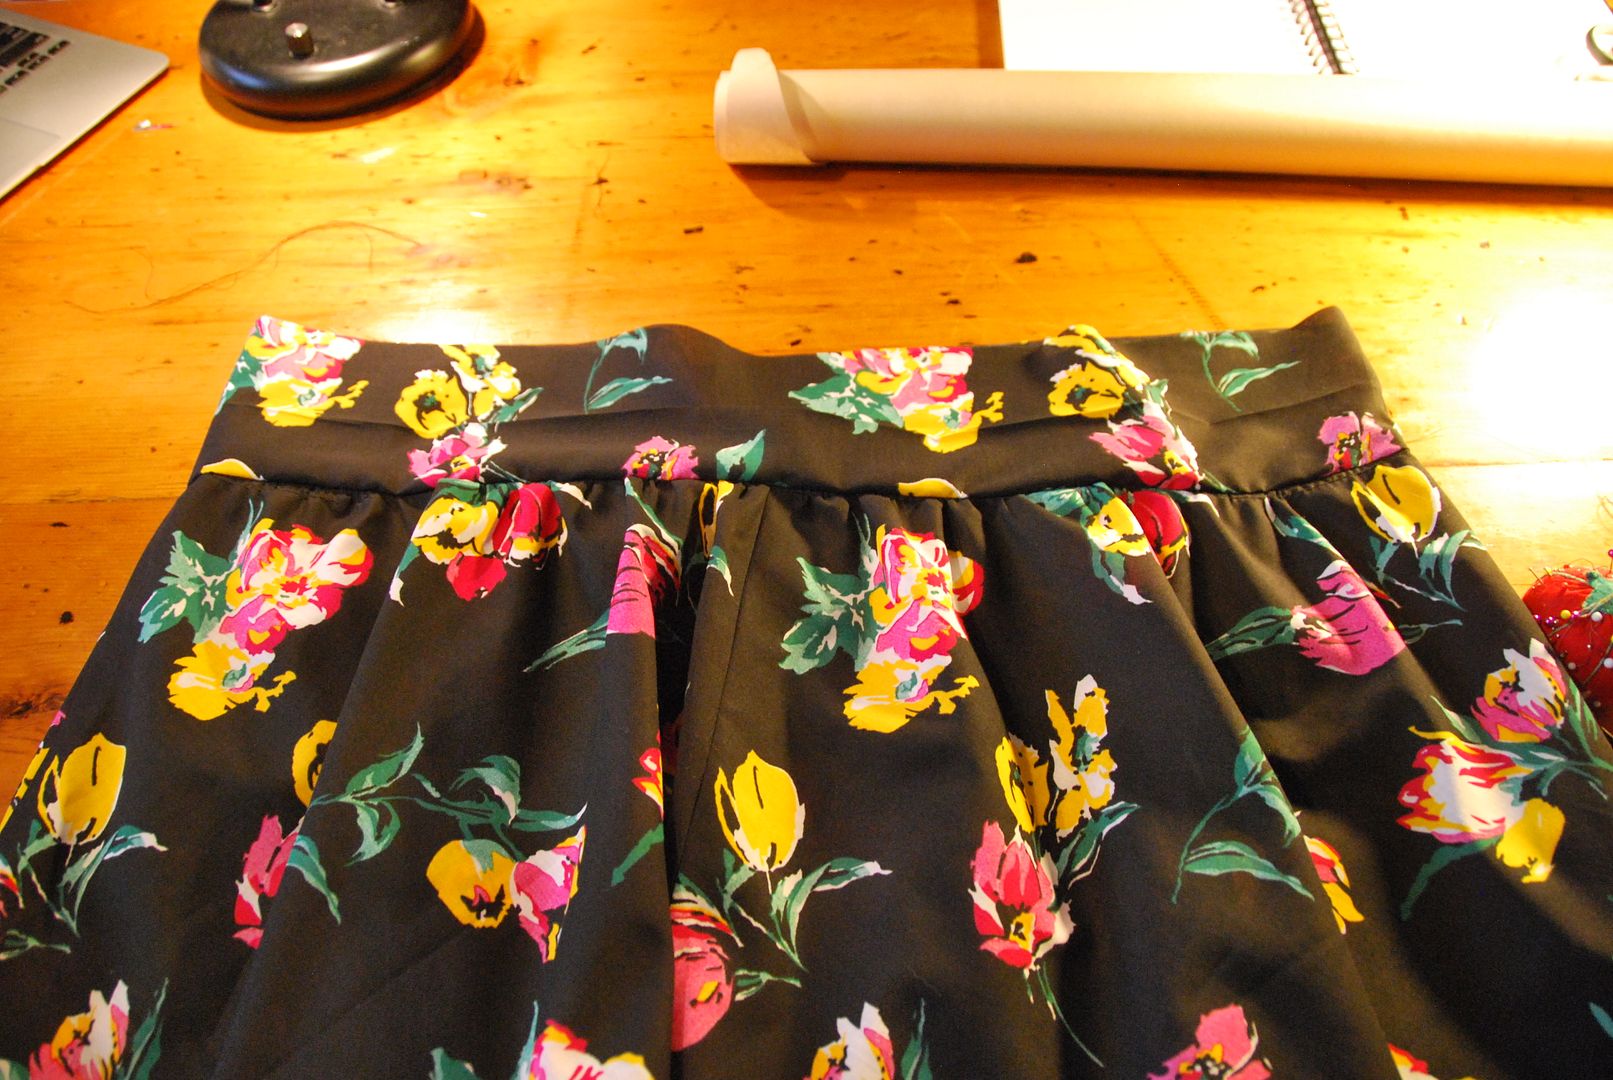
Hey all! I thought we would take a small break from the cosplay influx this week and look at a project I did way back in December as a Christmas present for my sister. I made 4 simple floral skirts for her, all from the same pattern. This is an original design of mine, using an existing skirt to base my pattern from. It is a circle skirt, with pockets and an elastic waistband. (Most of the pictures are of the yellow skirt, because it photographed the nicest!)

I started by creating 4 equal panels. The process is all very rough and full of guesstimation, but basically I figured out the waistband measurement I wanted (pre-elstic), then added extra to make the gathers. I made that measurement equal to 2/3 the circumference of a circle, then solved for radius. Once I had my radius, I was able to draft a pattern piece using a string and pencil to make the arcs. I figured out the length I wanted added that to my radius and drew a second arc below.  The measurement of the small arc was equal to 1/4 of my waistband measurement (pre-elastic).
I drafted pockets for this skirt, ensuring that they would be secured to the waistband at the top, and not extend below the hem of the skirt.In order to make a pocket on each side I cut 4 pieces.

I then stitched the front and back seams together, leaving the sides open to insert the pockets.
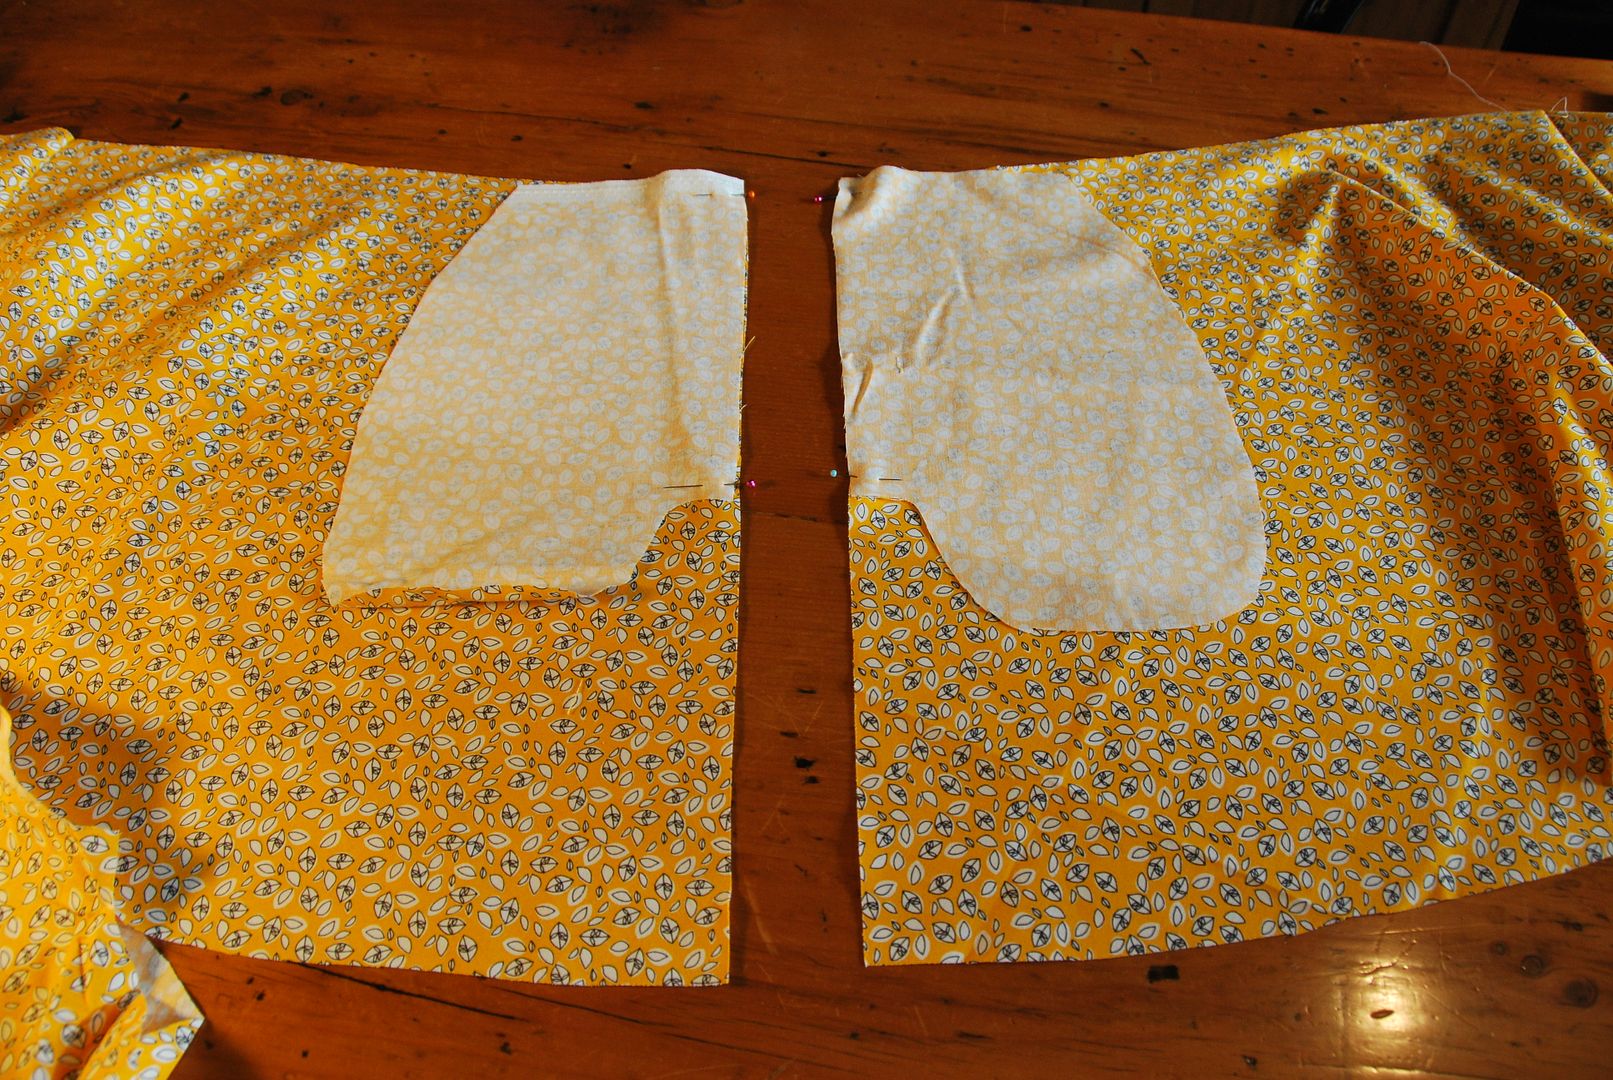
On the two side seams, the pocket pieces were laid right sides together, with the flat seam edges lined up. These were then stitched down the side seam edge. (The above picture shows 1 side pocket before sewing.)

Then the seam was pressed flat, with the pocket hanging off the side like below.
Left you can see the front panel with the pockets stitched on.

I then finished the seam edges where the pocket was attached.
I then placed the front and back piece right sides together sewing up the side seam until the start of the pocket opening and then looping around to sew the pocket front/back together.

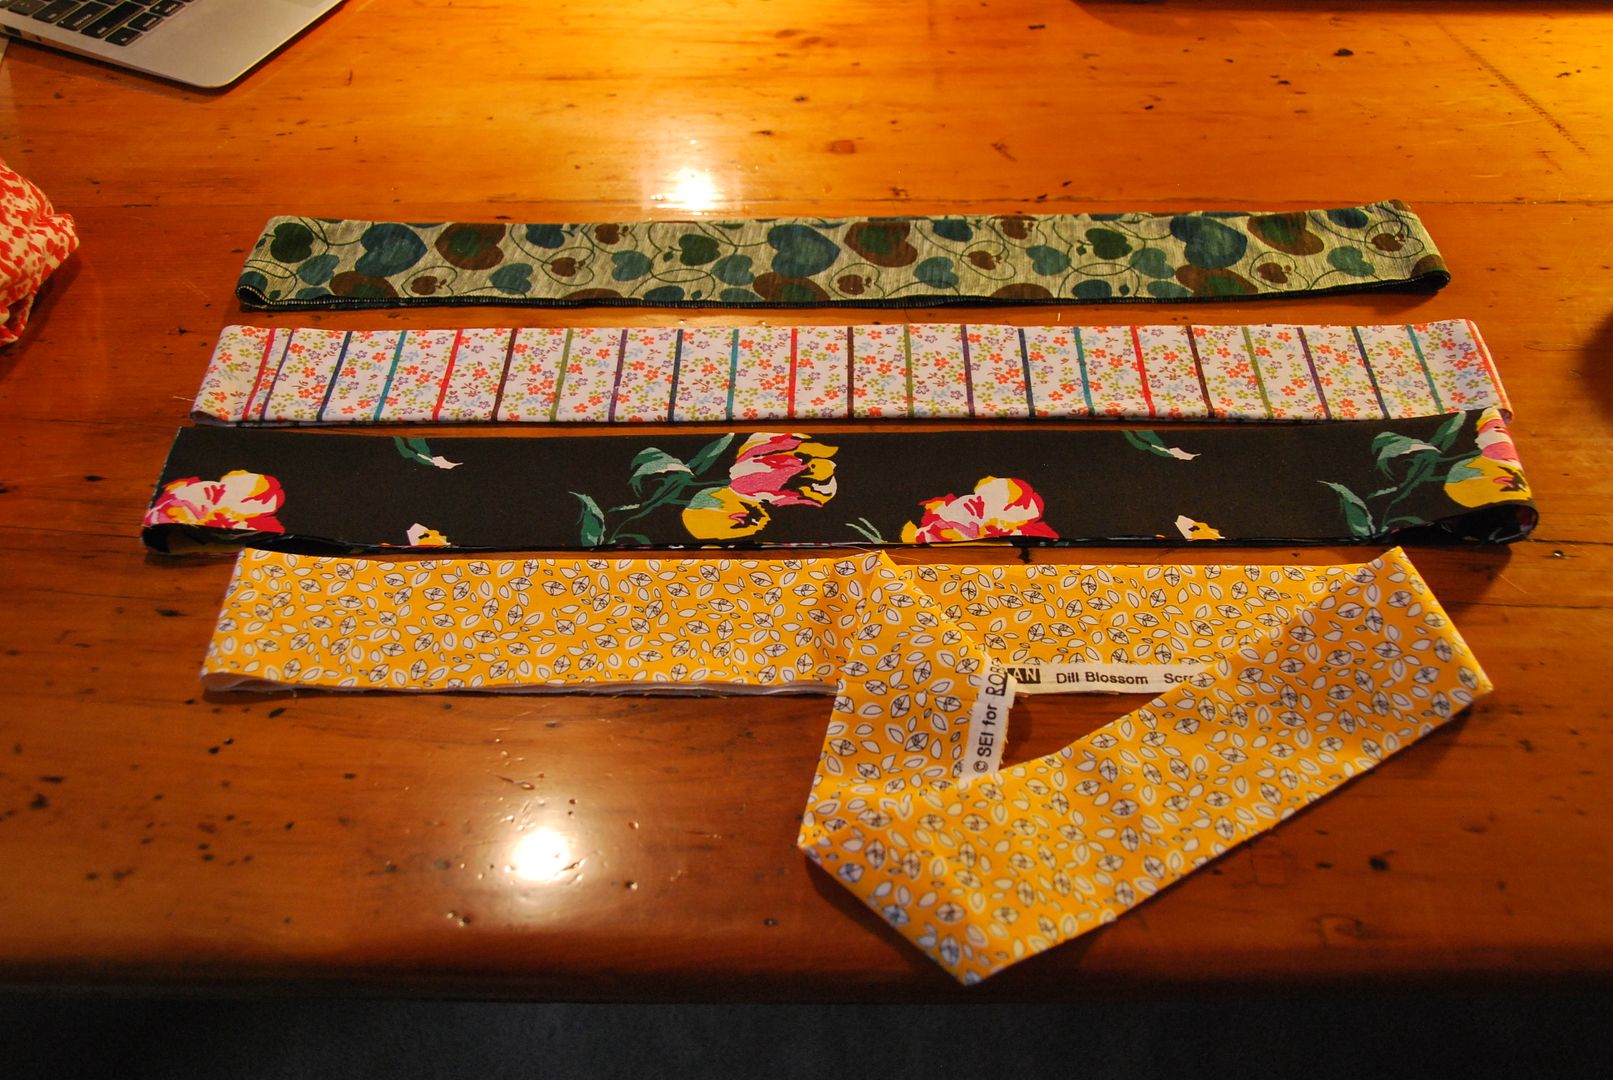
I then made the waistbands, closing them into loops, and ironing them in half lengthwise.
Even though both sides were technically the same, at this point I had to designate a "front" of the skirt, meaning that the pockets (which until this point were hanging free on the inside) were both tacked to the same side.

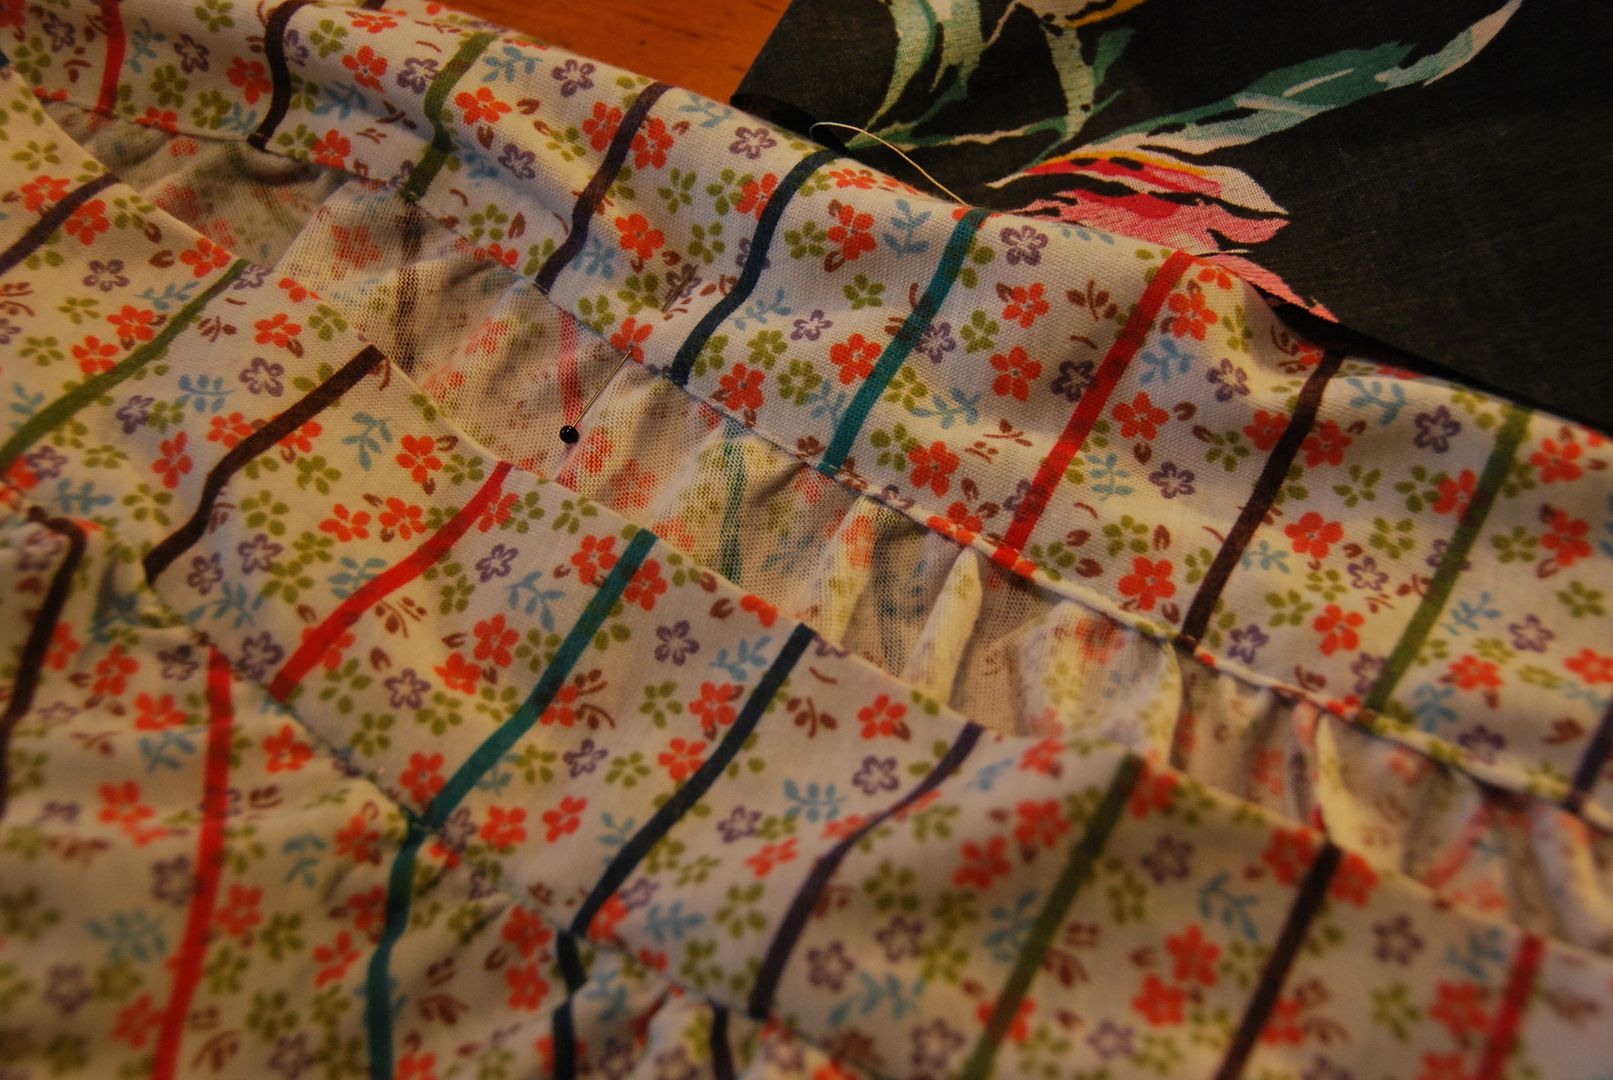
Using a long stitch length I basted around the top edge of the skirt without backtacking (two rows like pictured above), leaving the long extra thread hanging. (This ensured that I could grab onto them and easily cinch the gathers in by hand, distributing them evenly.) I gathered it until it was the same circumference as my waistband loop.

I unfolded my waistband and attached it right sides together with the top edge of the skirt.
Then I folded the waistband over to the inside and neatly ditch stitched it in place, leaving a 2 inch opening to insert the elastic.

I inserted an elastic, and threaded it through the waistband. This elastic was made smaller than the actual finished waist measurement so that it would stay up nicely when worn. It was then stitched into a finished loop. I closed the hole. Then I secured the elastic in the waistband with 2 lines of stitching. This ensured that it gathered evenly. I stretched the elastic until the fabric was not bunched as I ran it through the machine.
The last step was hemming, and then presto! 4 lovely skirts, all different while still using the same pattern. :)

(Switching my post day back to Tuesday, because Friday is just not working! hahaha)

Wednesday, February 13, 2013

Kitchen Utensils Gathered Skirt

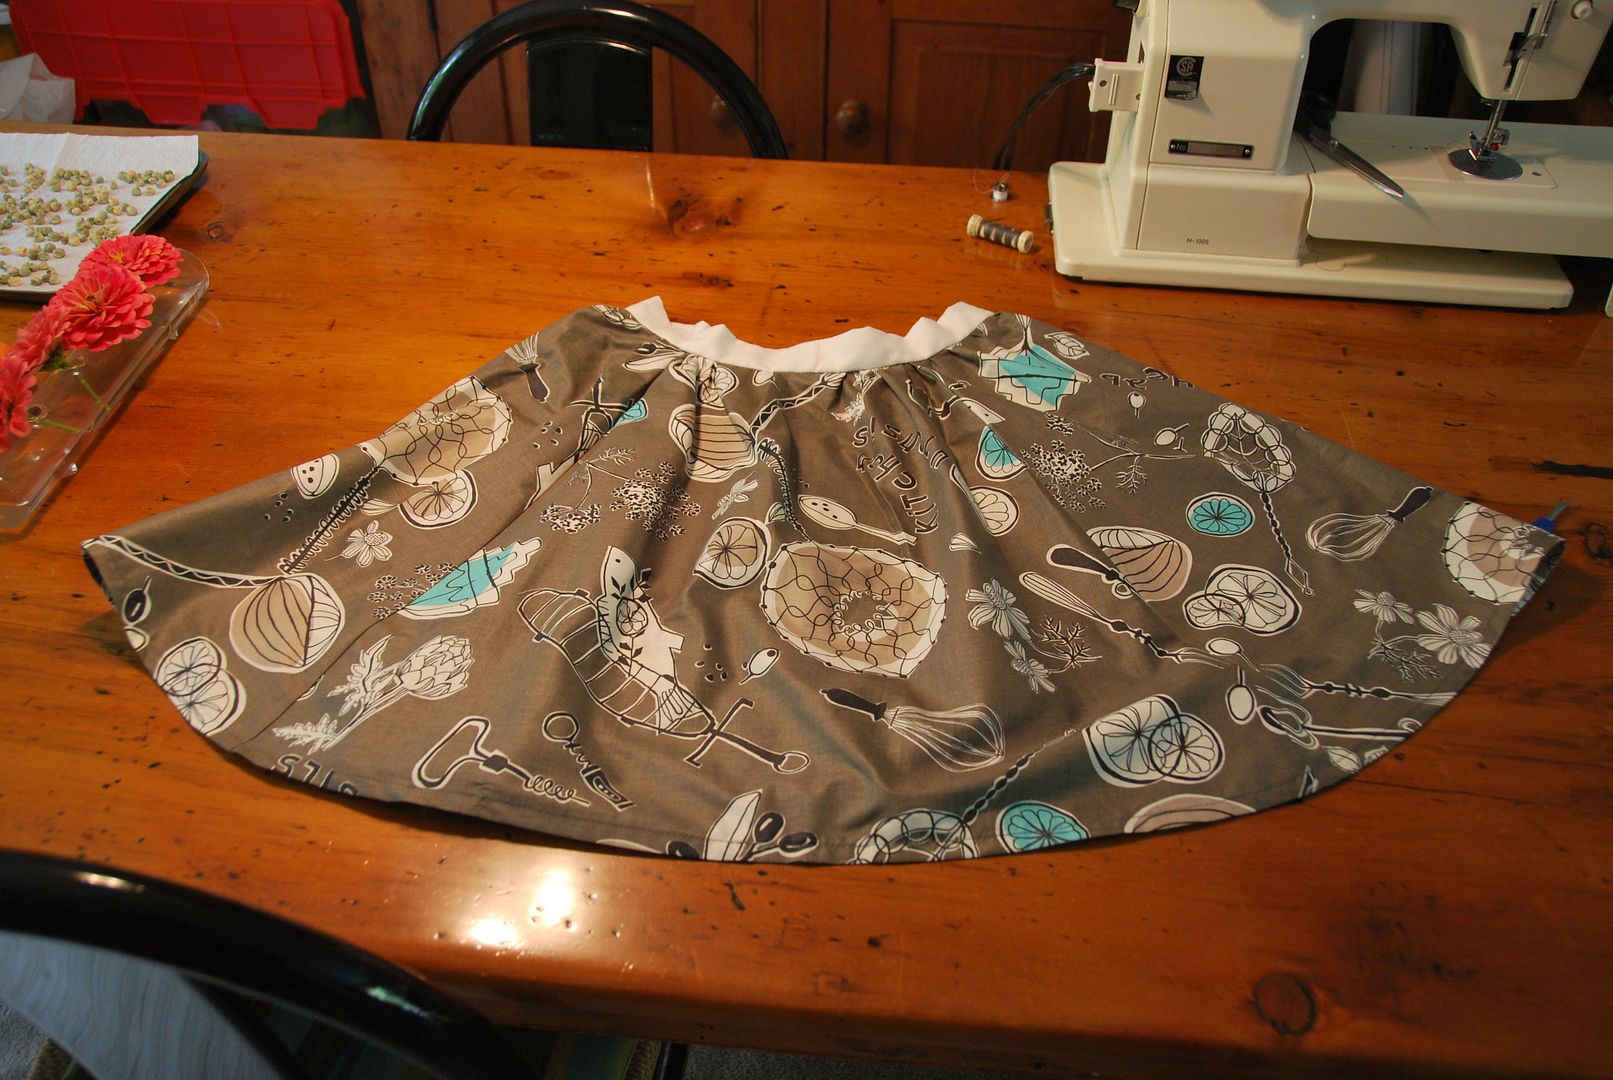
So here is my "Kitchen Utensils" skirt. Kitchen Utensils is the name of the fabric print that my sister got me for Christmas last year. She got the fabric on Super Buzzy, which is a online Japanese fabric shop. Lots of cute prints.
This is a simple gathered skirt with a zipper in the back. It is an original design.  I made this skirt in time to wear to the Legend of Zelda 25th Anniversary Symphony this past fall. Lots of fun!
I started by cutting 4 panels out of my fabric like this. The total inches at the top of the panels was made much larger than my actual waist size which would leave me fabric with which to do the gather. THe bottom was flared out and curved up at each side so the skirt length would be the same all the way around the skirt.

One of the panels was cut in half down the center. This would become the center back of the skirt where the zipper would go.
I stitched the panels together leaving the center back open then pressed the seams flat and finished them off.

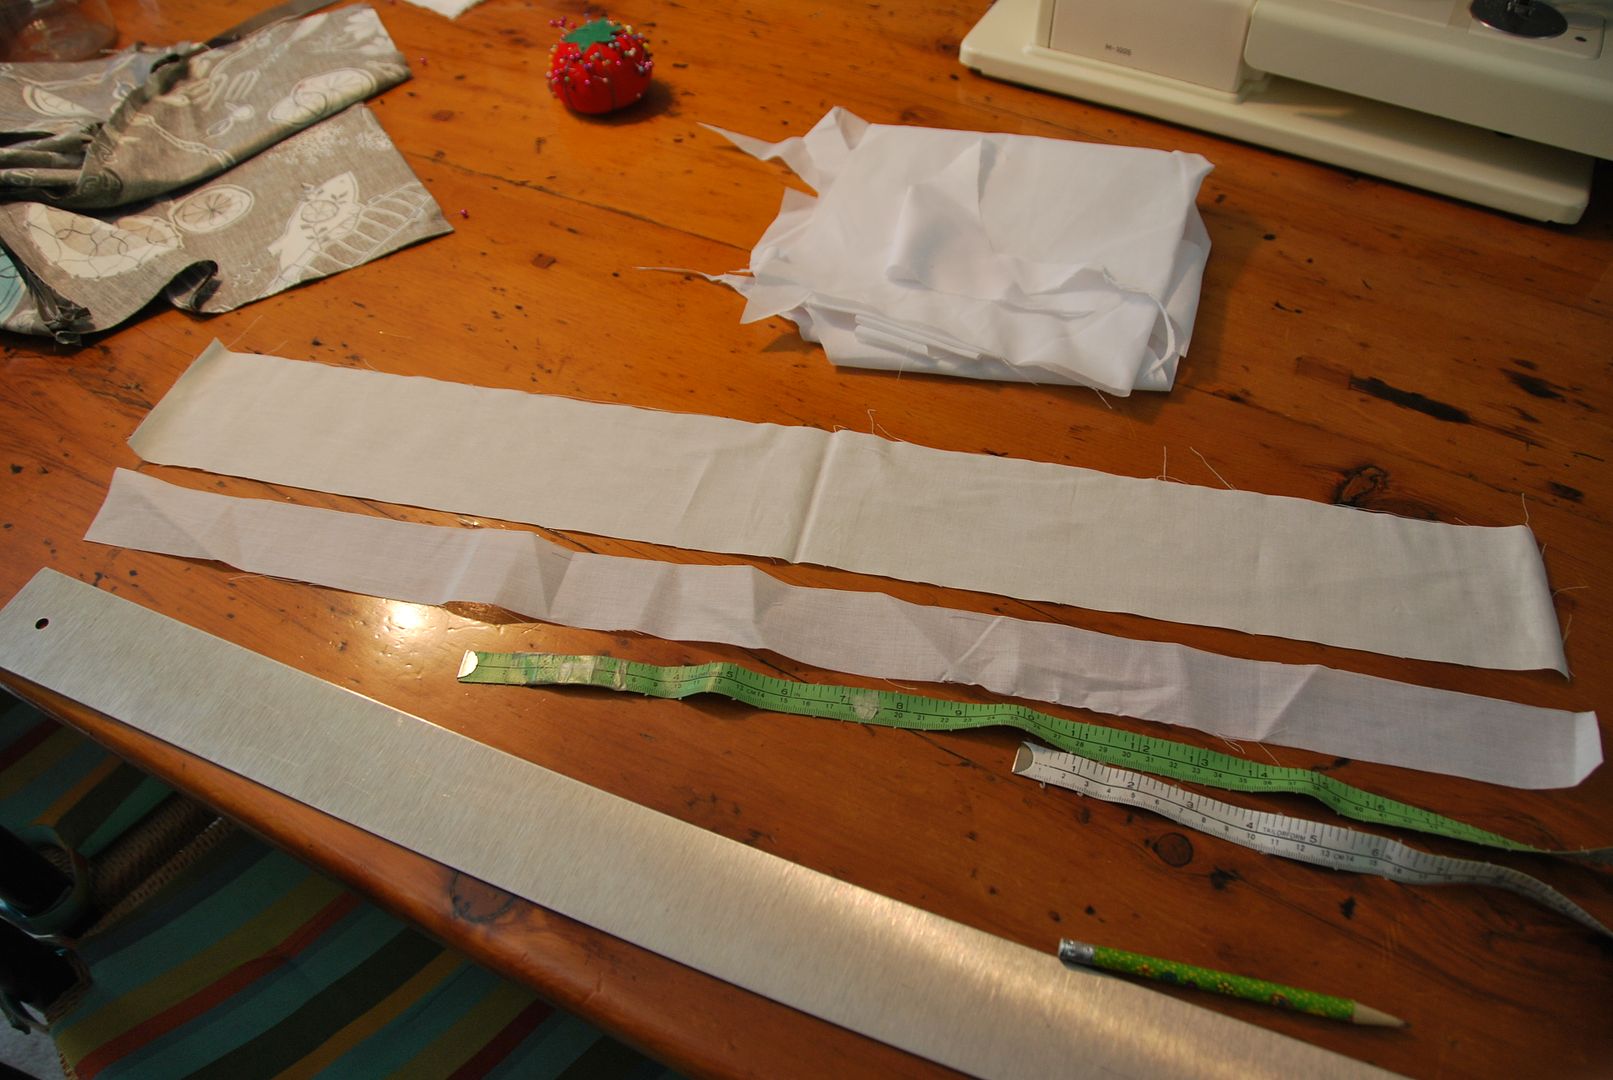
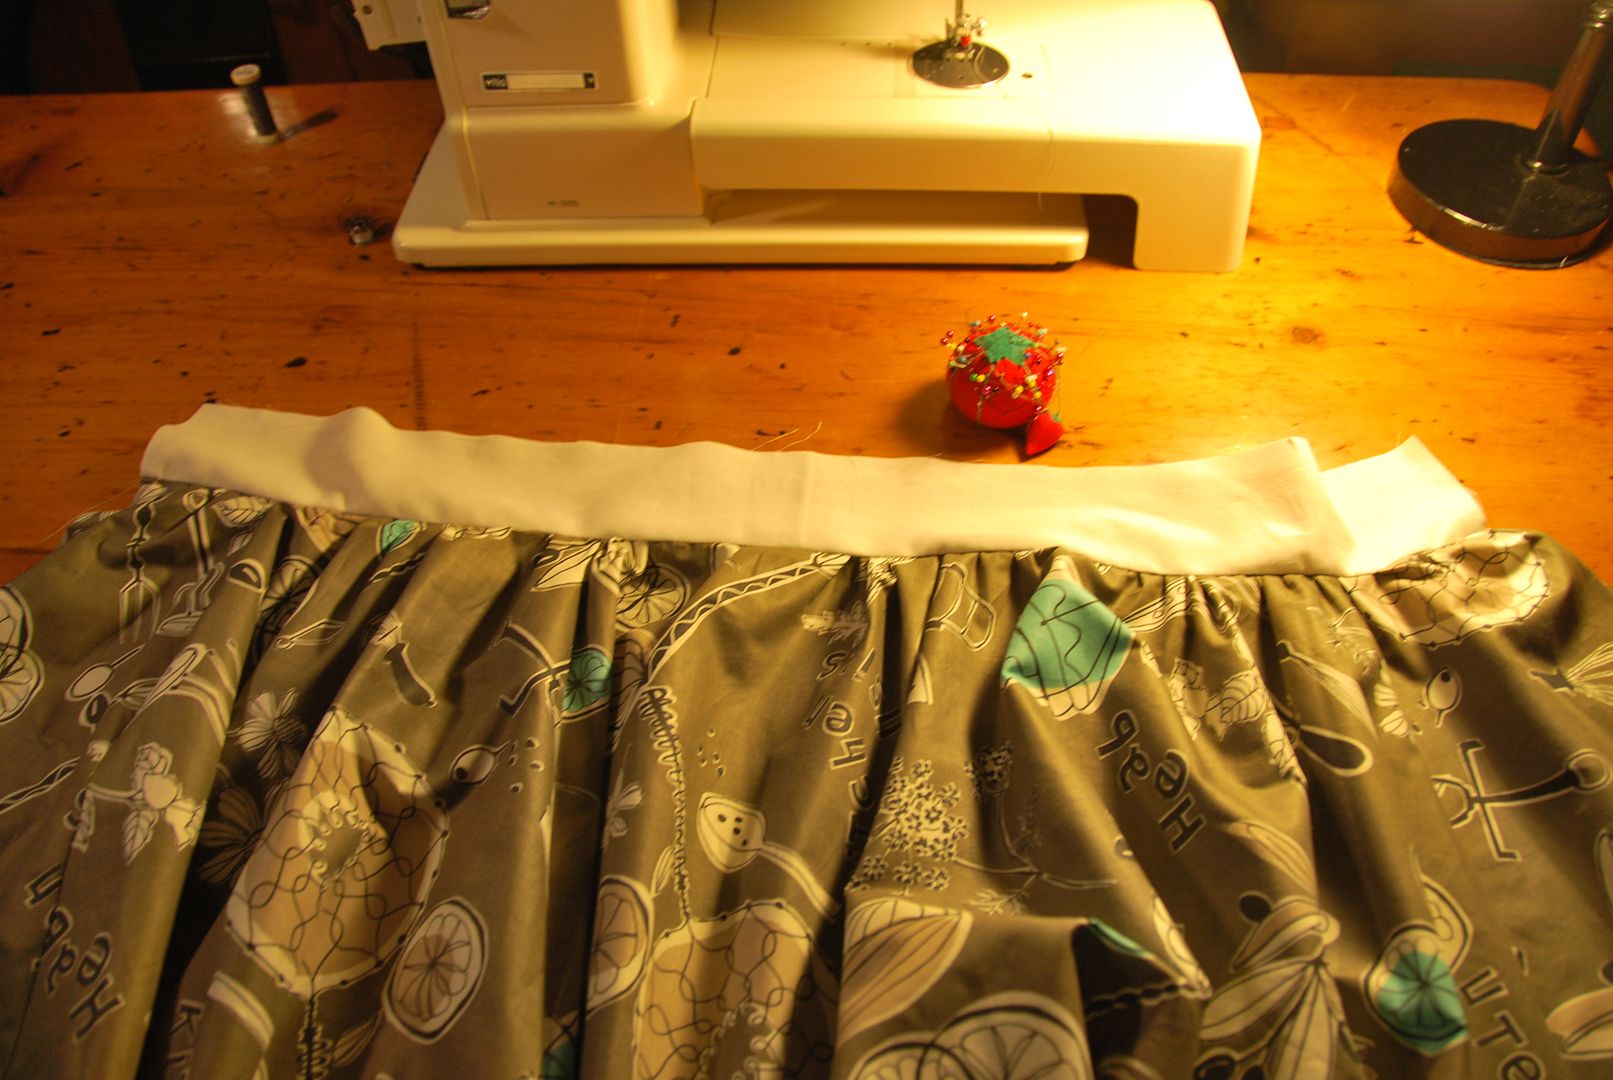
Then I cut a rectangle for the waistband. This would be a fold over waistband. I also cut a rectangle of interfacing that was half the width of first one.
I used a basting stitch to gather up the skirt to the waistband. Once that was done I pinned and stitched the waistband to the front of the skirt (right sides together).

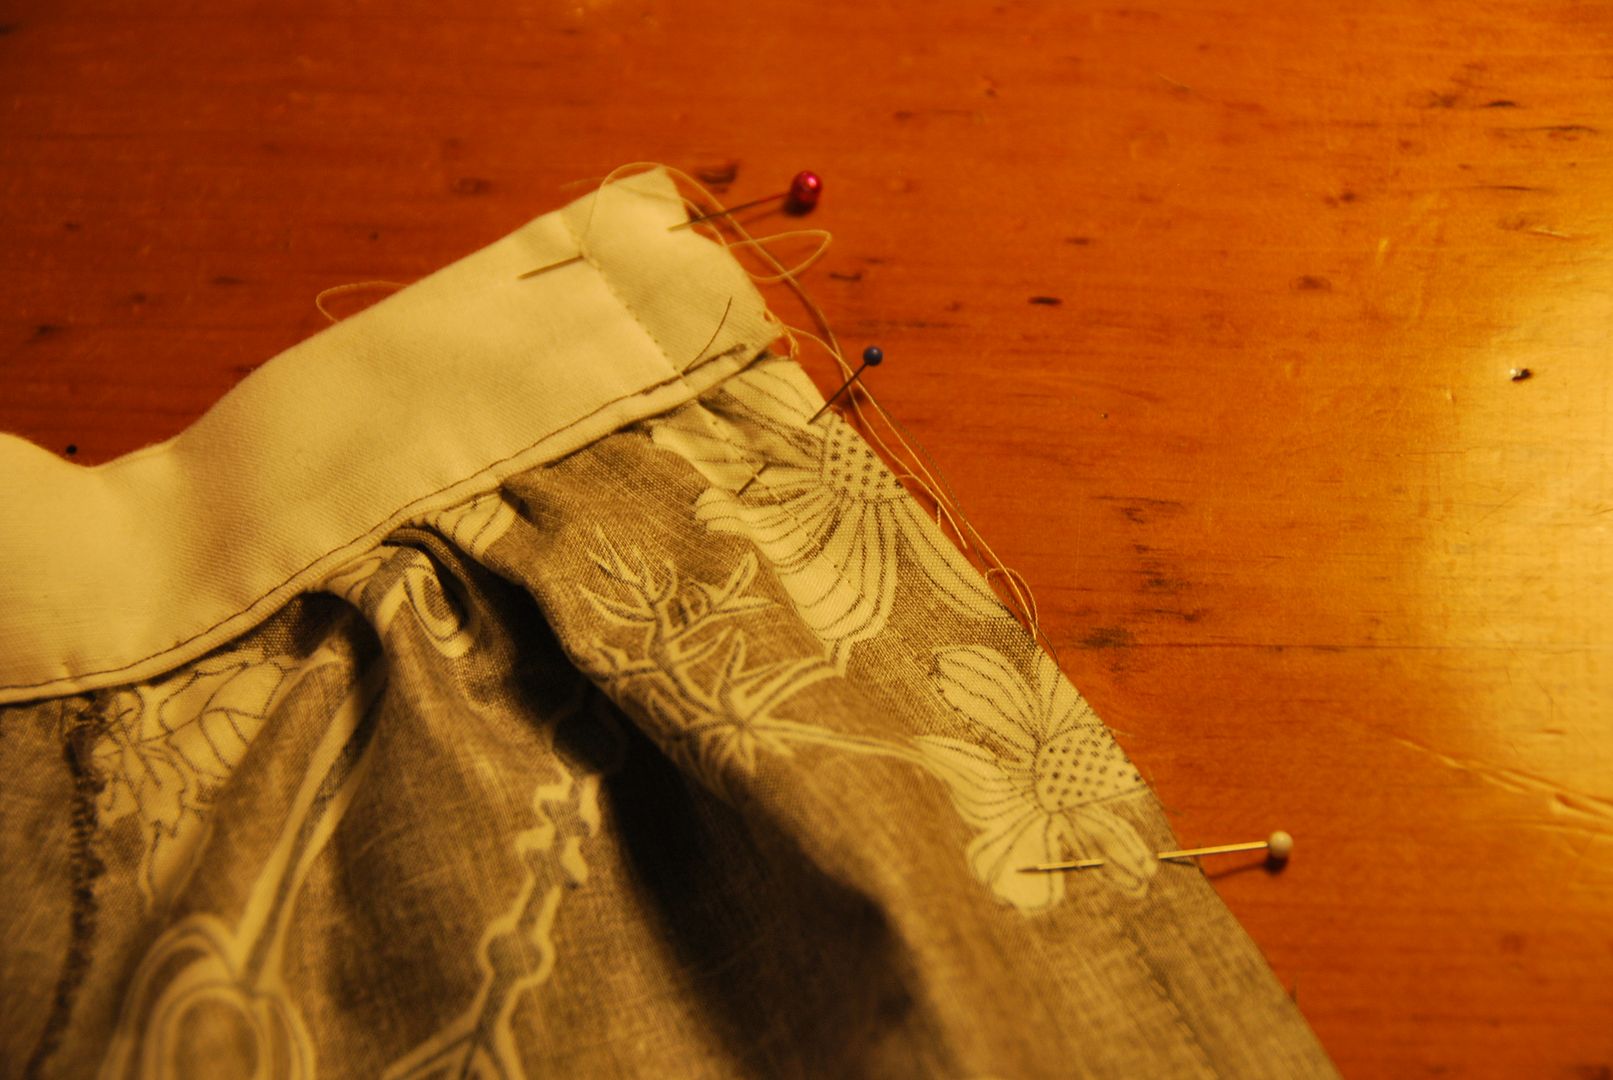
Then I ironed the waistband upwards and in half. The seam allowance was then neatly tucked up and ditch-stitched at the back.
Then I basted up the back seam. I pressed it flat and hand basted in the zipper. Then I machine stitched it in securely and opened up the seam, removing all the basting stitches.
Then I hemmed the skirt and added a bow detail at the waistband.


So I have changed my posting day to Wednesday evenings to better work with my new schedule for this term. Hopefully I can stick to it! ;D